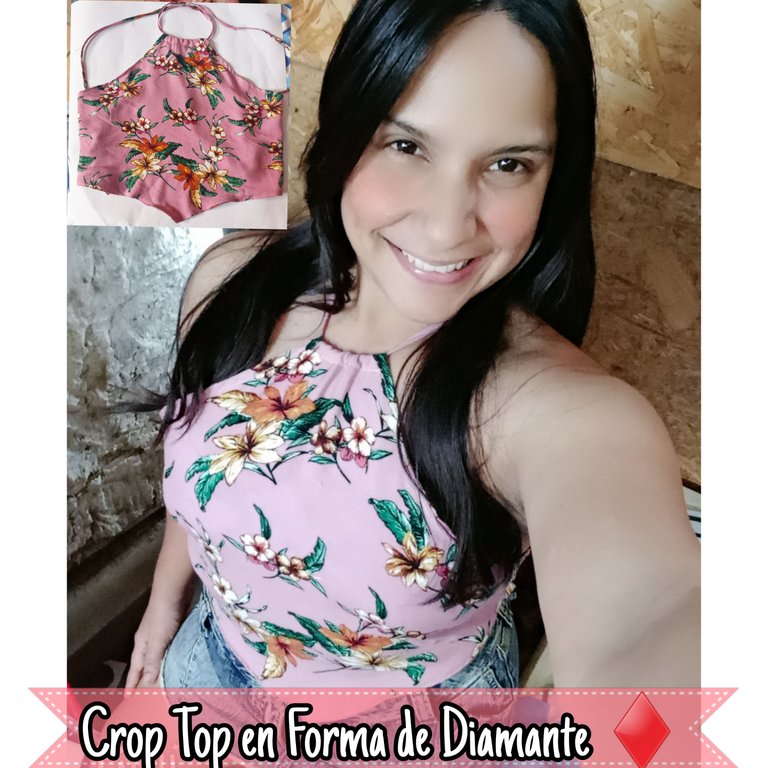
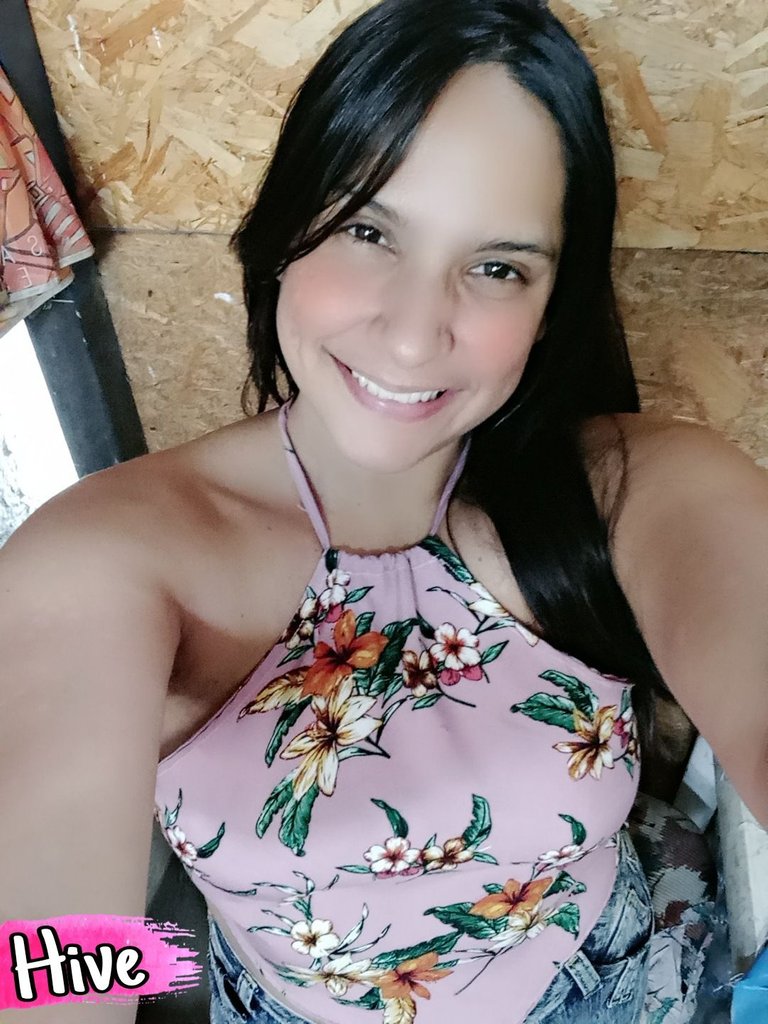
Hola, hola mi linda familia 👪 de #NeedleWorkMonday, deseo que estén pasando un resto del día agradable, con buena salud. hoy es lunes de costura y como siempre, les traigo un nuevo tutorial para confeccionar un Crop Top en forma de diamante con escote en la espalda, es una prenda que podemos lucir con falda, jeans o shorts, además tiene un estampado muy bello. Aquí te muestro cómo lo hice.
Hello, hello my beautiful family 👪 from #NeedleWorkMonday, I wish you are having a nice rest of the day, with good health. today is sewing Monday and as always, I bring you a new tutorial to make a diamond shaped Crop Top with back neckline, it is a garment that we can wear with skirt, jeans or shorts, it also has a very beautiful print. Here I show you how I made it.

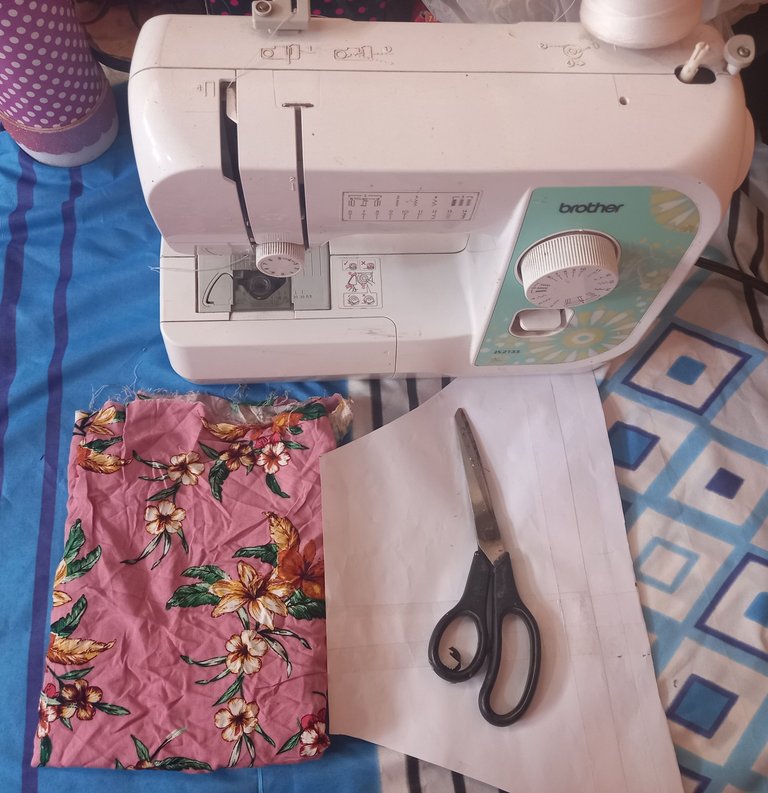
- Tela de rayón estampada.
- Patrón.
- Máquina de coser.
- Tijeras.
- Hilo.
- Printed rayon fabric.
- Pattern.
- Sewing machine.
- Scissors.
- Thread.

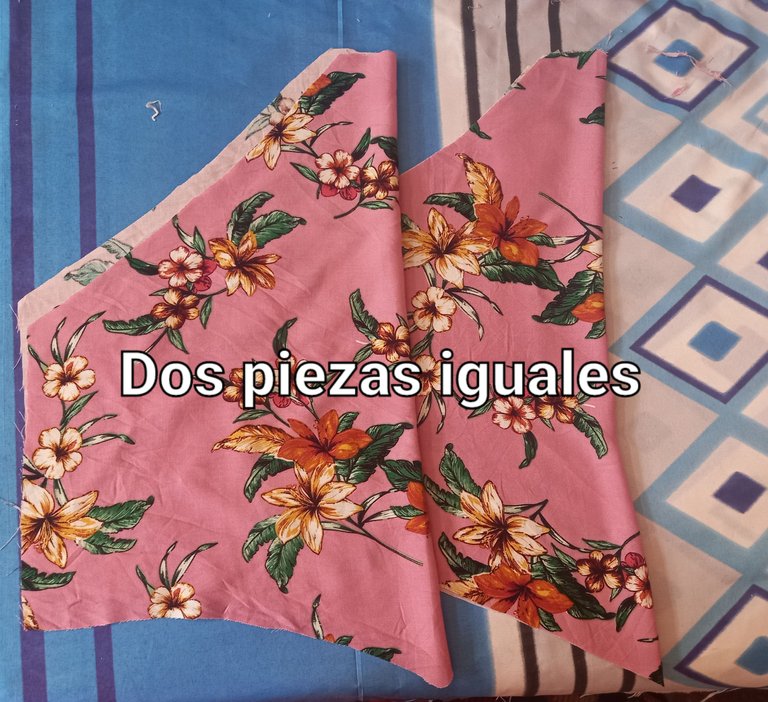
Colocamos el patrón sobre la tela de rayón doblada en dos y recortamos siguiendo el mismo.
We place the pattern on the rayon fabric folded in two and cut out following the same pattern.
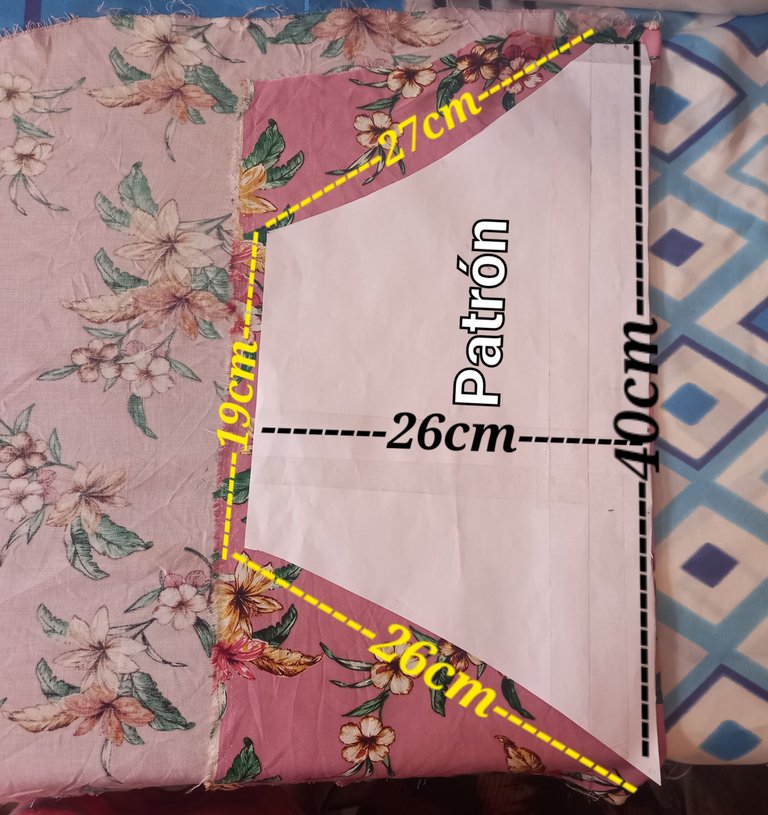
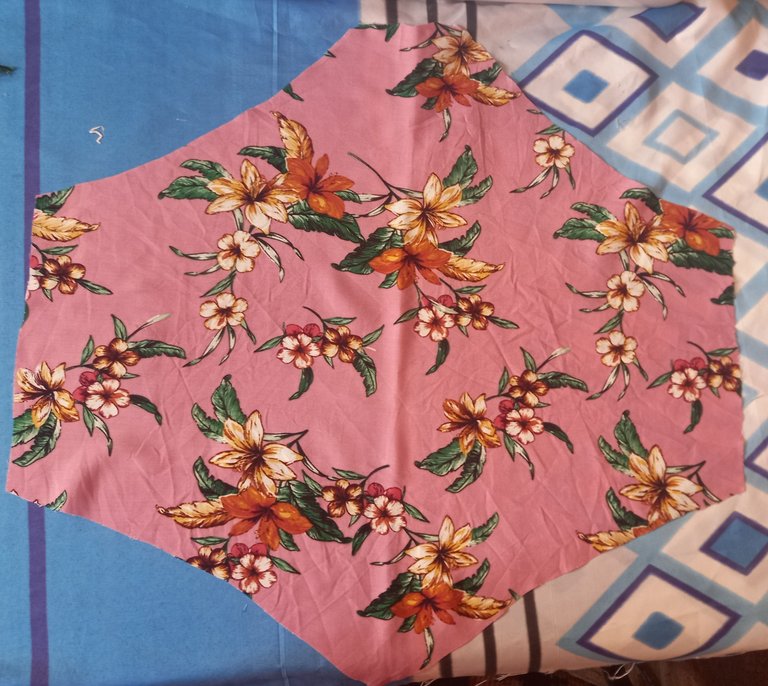
De éste patrón sacaremos dos piezas iguales, las cuales uniremos más adelante para obtener una sola pieza.
From this pattern we will take two equal pieces, which we will join later to obtain a single piece.
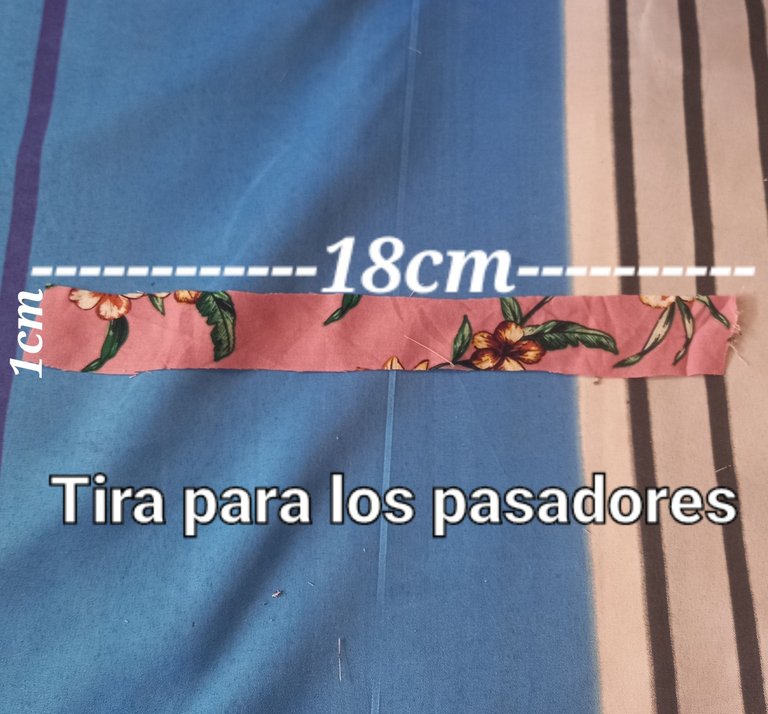
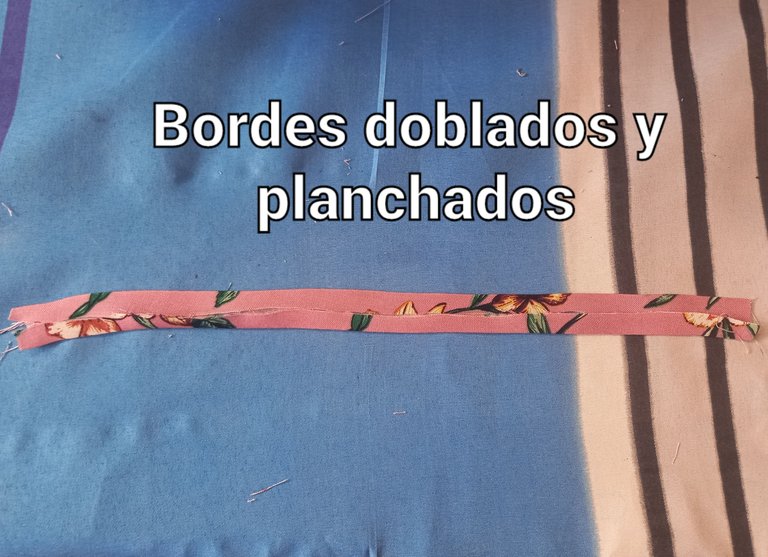
Luego procedemos a hacer los pasadores que irán en la parte de la espalda, por donde pasará la tira, para que nos quede el escote. Esto lo haremos recortando una tira de 18cm de largo y 2cm de ancho, doblamos uno de sus bordes horizontales y pasamos la plancha, de igual forma haremos con el otro borde para que queden aplastaditos.
Then we proceed to make the pins that will go in the back, where the strip will pass, so that we have the neckline. We will do this by cutting a strip of 18cm long and 2cm wide, fold one of its horizontal edges and pass the iron, in the same way we will do with the other edge so that they are flattened.
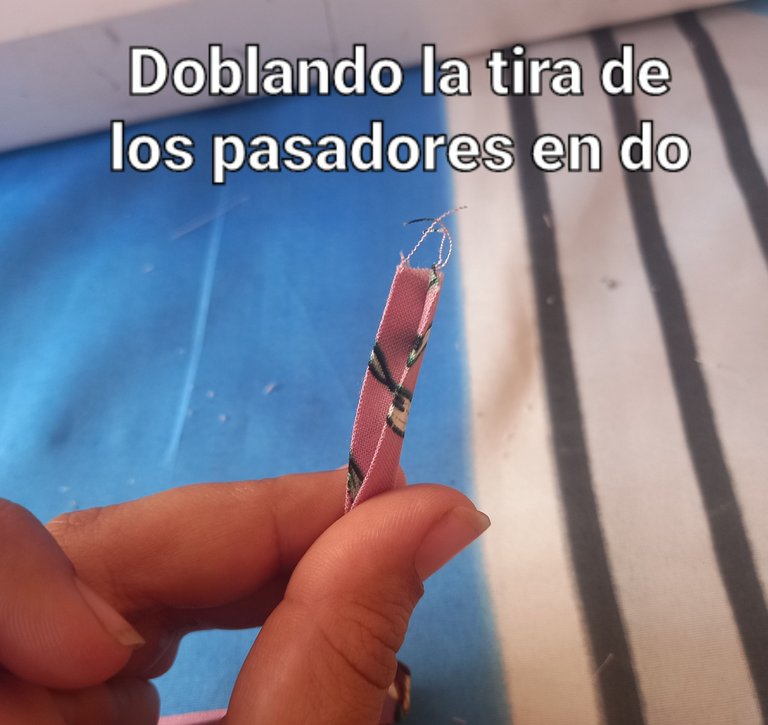
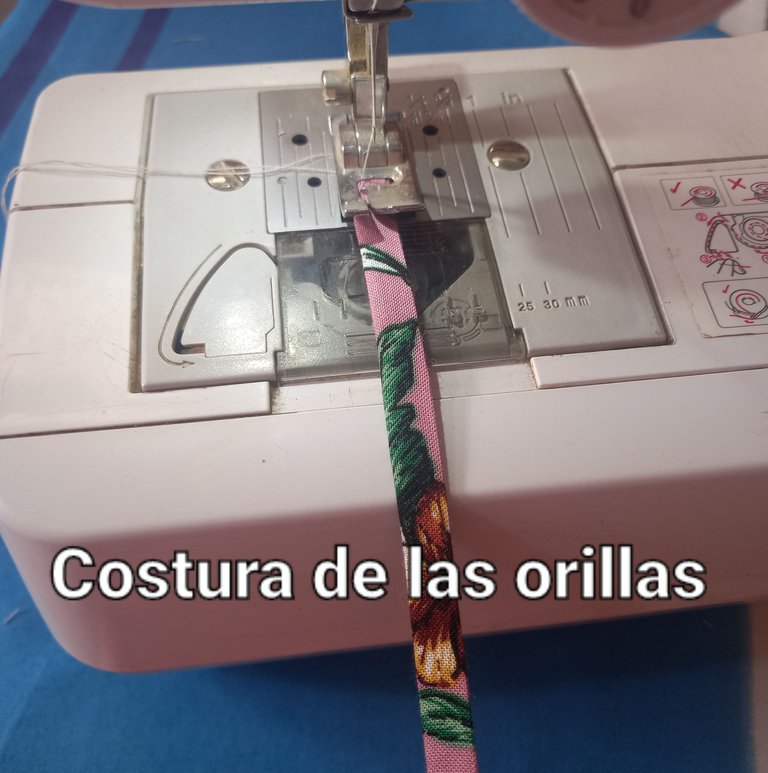
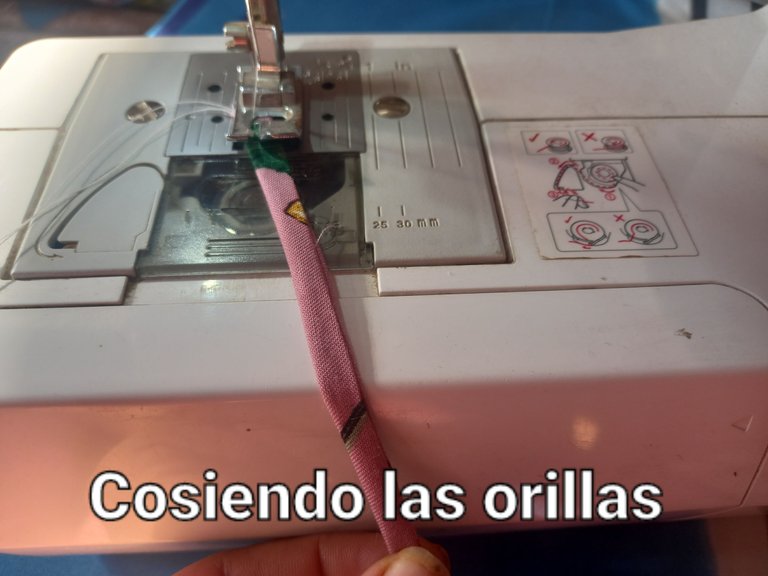
Después doblamos la tira por la mitad, cosemos la orilla y cortamos tiras pequeñas de 3cm de largo.
Then we fold the strip in half, sew the edge and cut small strips of 3cm long.

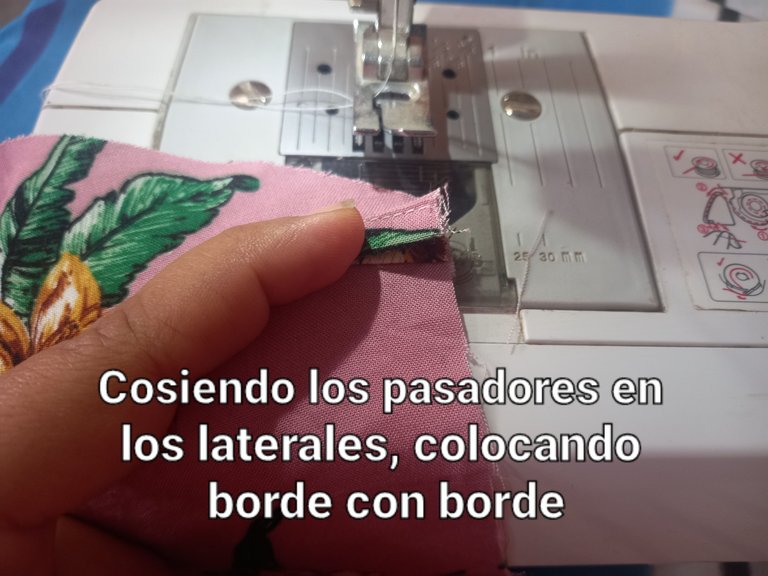
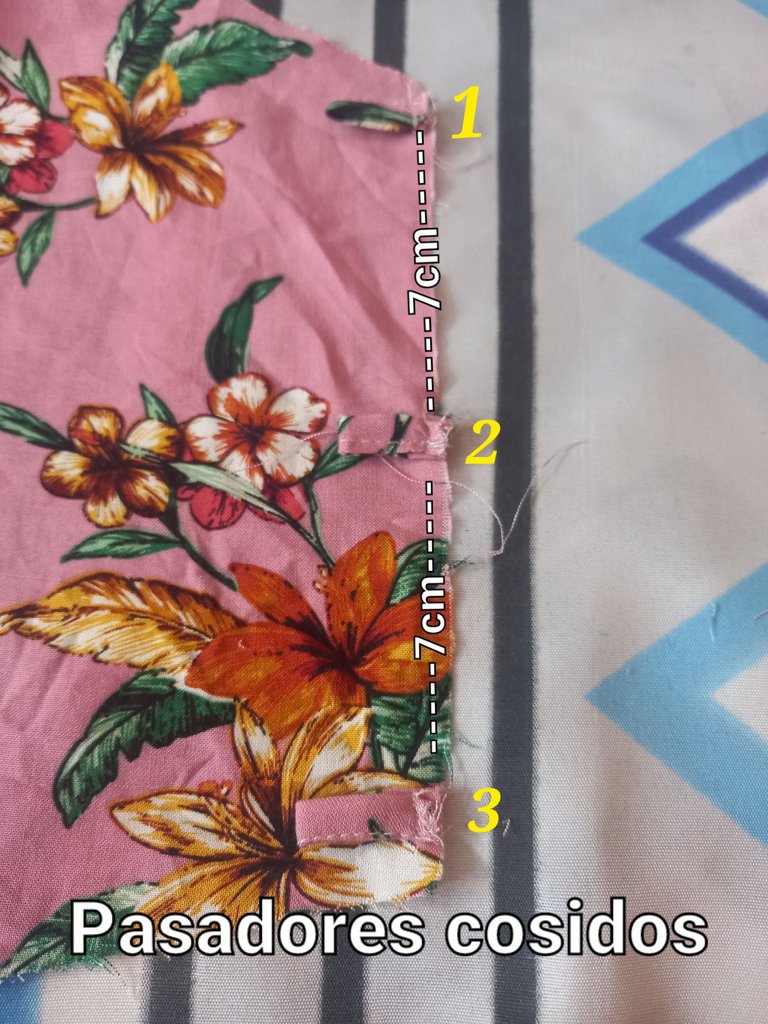
Doblamos las pequeñas tiras en dos y las cosemos en los bordes de los laterales de una de las piezas, dejando una distancia entre cada uno de ellos de 7cm. Debemos coser borde con borde.
Fold the small strips in two and sew them on the edges of the sides of one of the pieces, leaving a distance between each of them of 7cm. We must sew edge to edge.
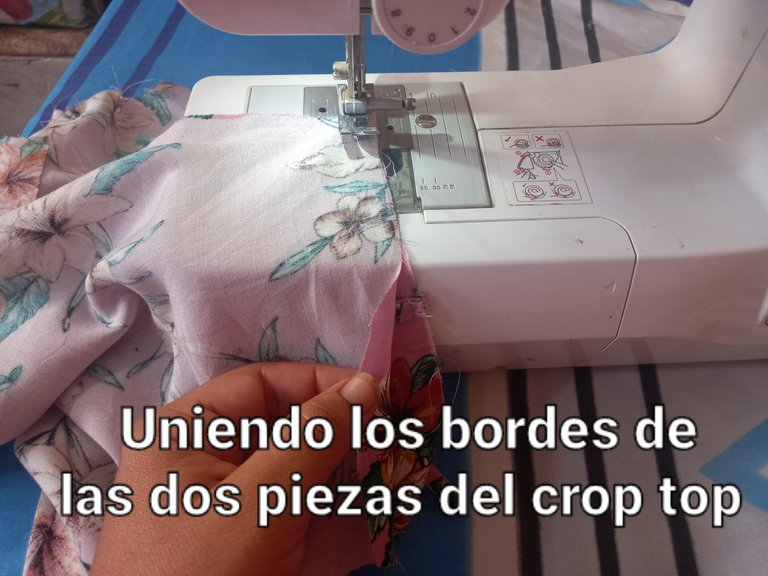
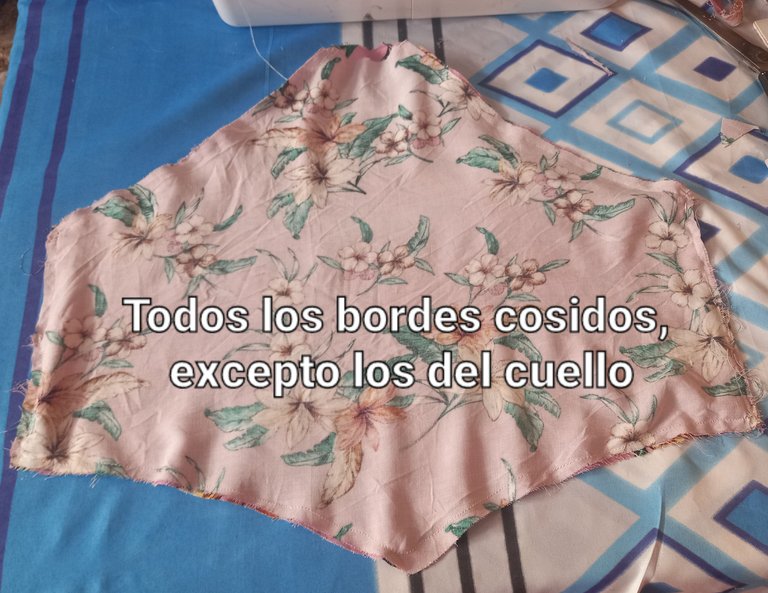
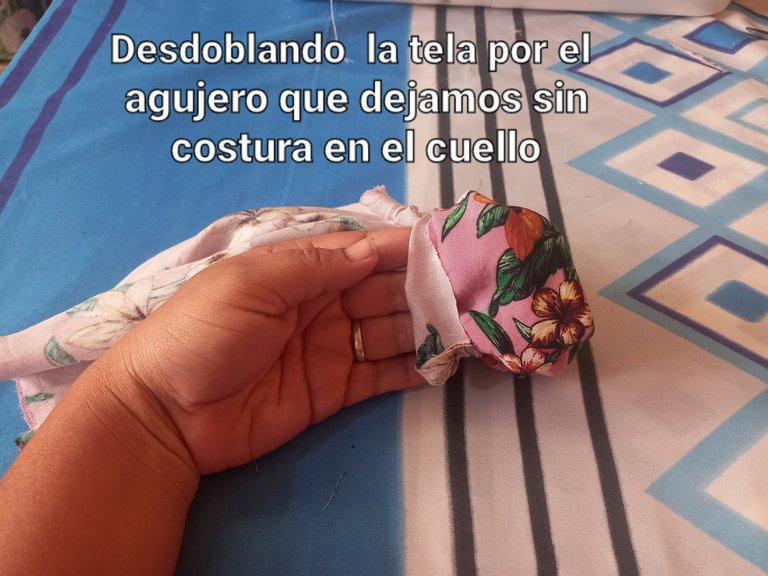
Una vez que hayamos terminado de pegar los pasadores, uniremos con costuras todos los bordes de las dos piezas, excepto la parte del cuello, ya que por allí vamos a desdoblar la tela.
Once we have finished gluing the pins, we will join with seams all the edges of the two pieces, except the neck part, since we are going to unfold the fabric there.
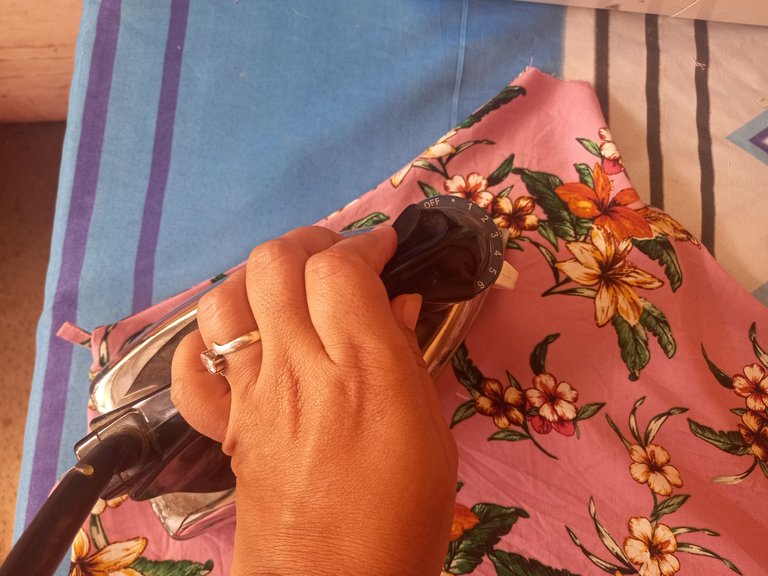
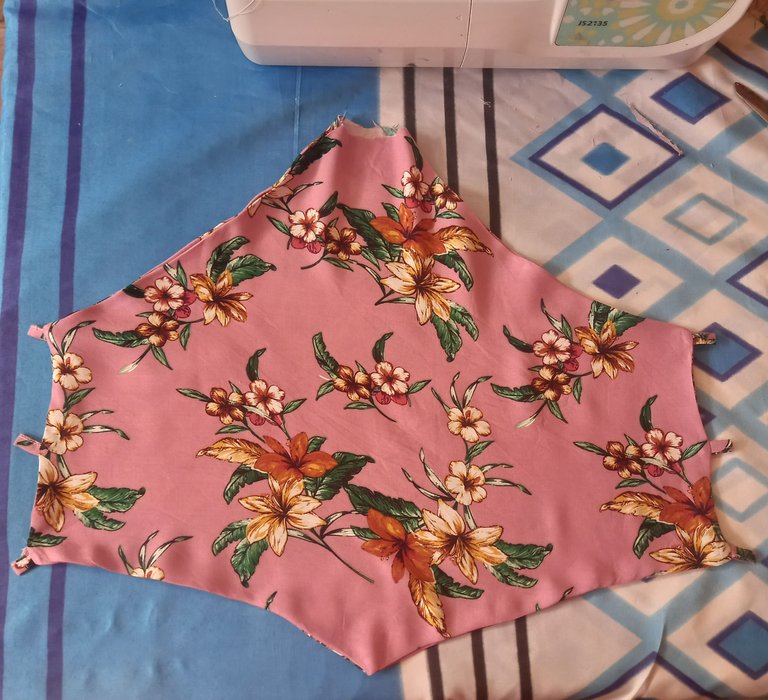
Desdoblamos y planchamos los bordes del crop top.
Unfold and iron the edges of the crop top.
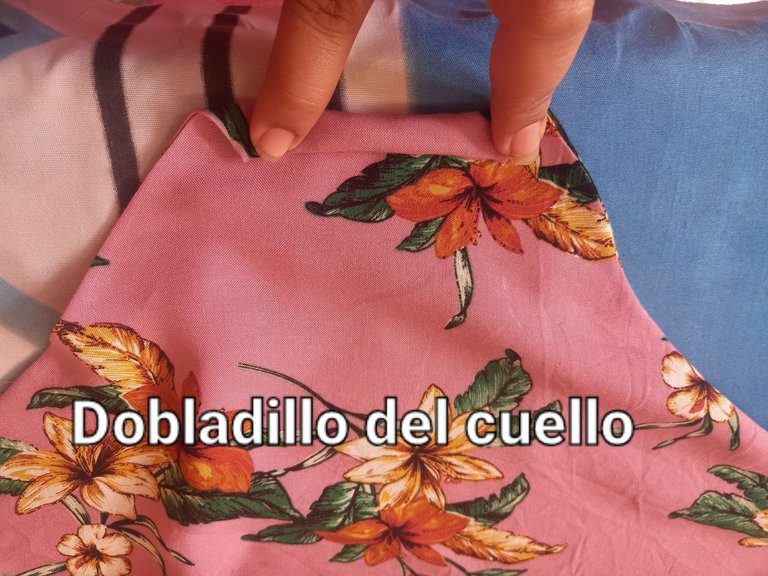
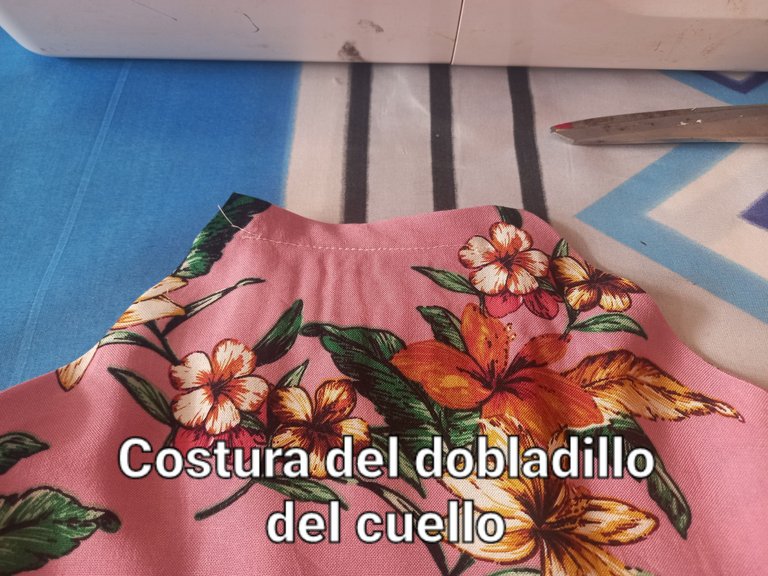
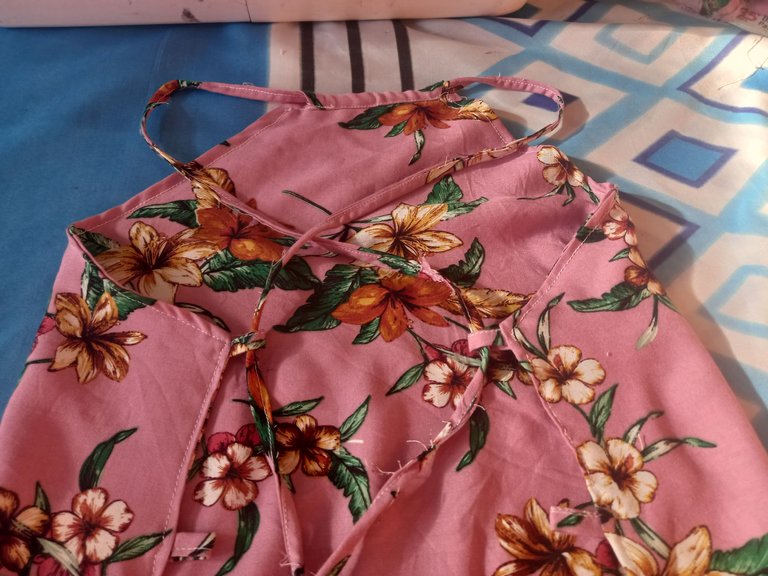
Hacemos un doblés en el cuello hacia dentro y cosemos, esto nos sirve de ruedo y también para pasar por allí la tira.
We make a fold in the neck and sew, this serves as a hem and also to pass the strip through it.
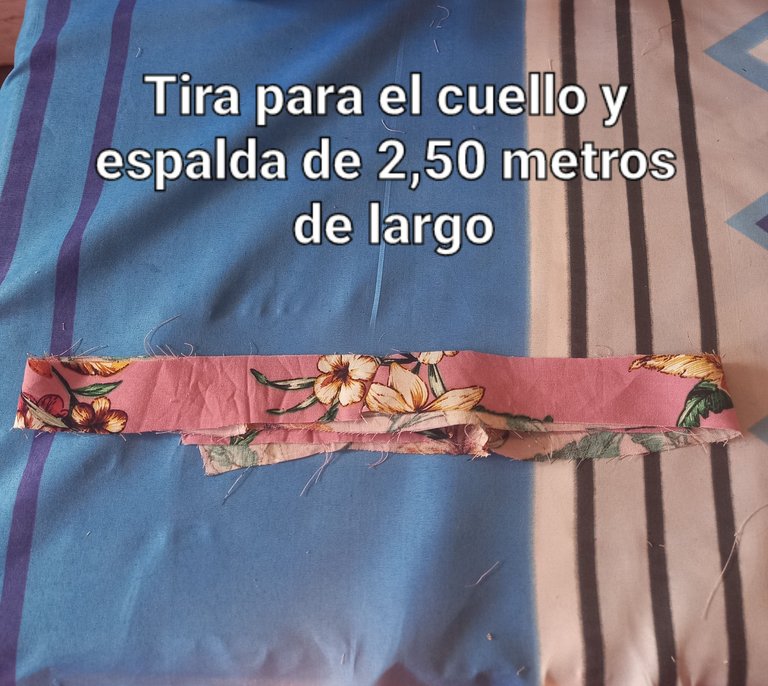
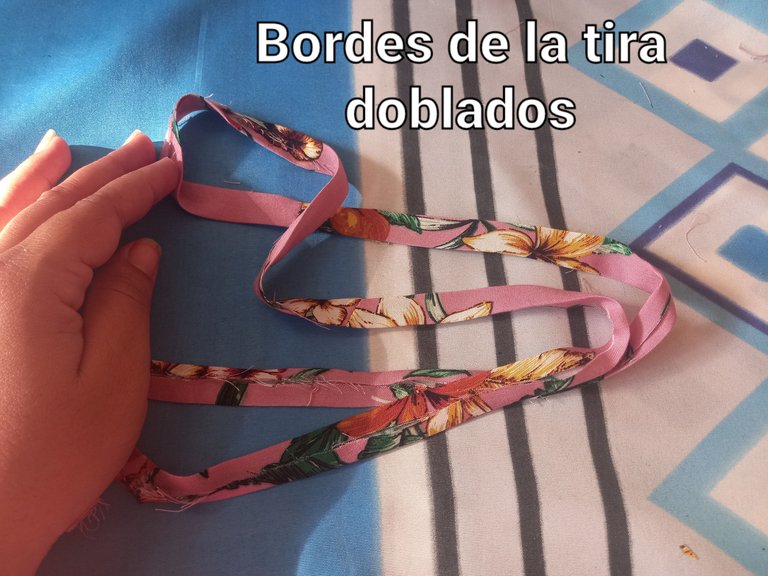
Finalizamos haciendo la tira que pasará por el cuello y los pasadores de la espalda, ésta la haremos de la misma manera que hicimos con los pasadores, es decir, doblamos y planchamos sus bordes, doblamos a la mitad y cosemos la orilla.
We finish by making the strip that will go through the neck and the pins of the back, we will make it in the same way we did with the pins, that is, we fold and iron its edges, fold in half and sew the edge.
¡Ahora si amigos, veamos el resultado!
¡Now, my friends, let's see the result!

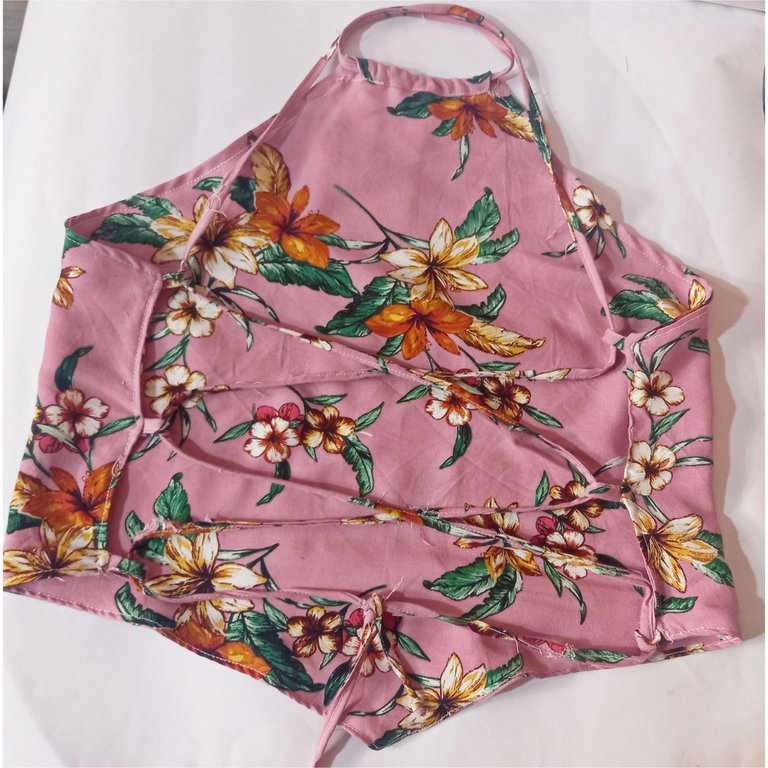
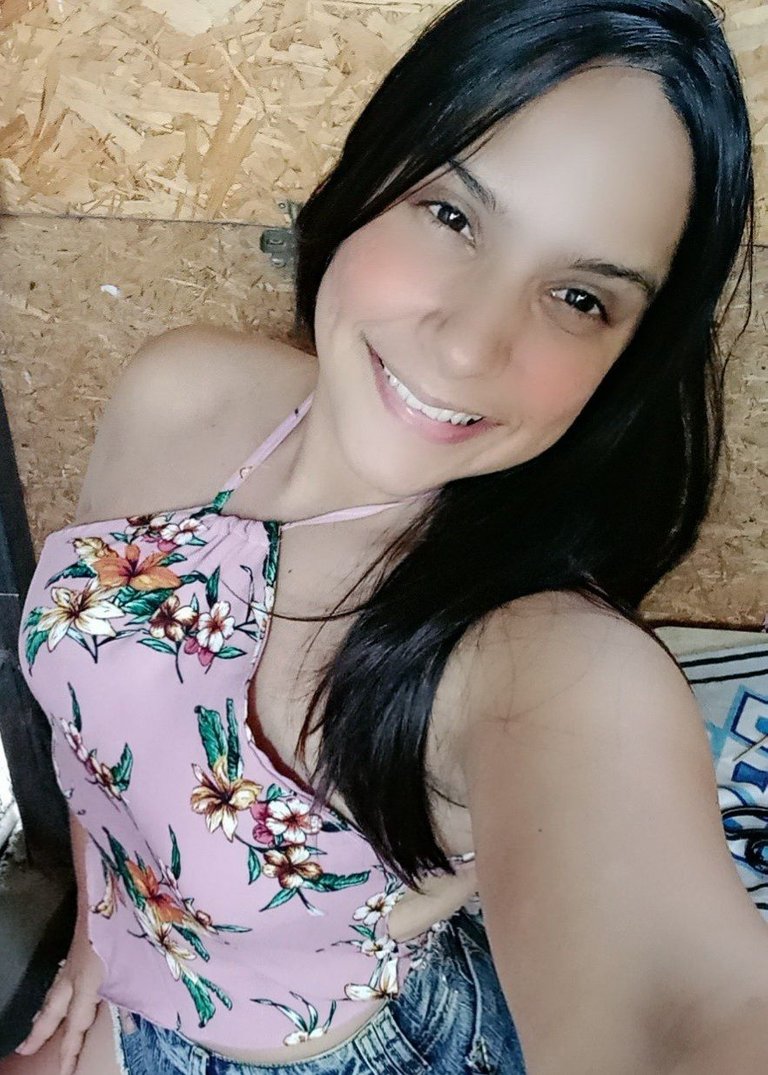
De esta manera vamos a obtener un crop top en forma de diamante, para lucir hermosas y muy juveniles. Espero que te haya gustado este paso a paso y sea de gran utilidad. Gracias por quedarte hasta el final de este tutorial. Dios los bendiga 🙏🏻 💕😊.
In this way we will get a diamond-shaped crop top, to look beautiful and very youthful. I hope you liked this step by step tutorial and that it will be very useful. Thank you for staying till the end of this tutorial. God bless you 🙏🏻 💕😊.
Hola @kathelopez77, me sorprende como con tan poco material has podido elaborar una prenda tan bonita.
Te felicito por la forma tan ordenada como presentas tu proceso creativo. Gracias por compartir. Saludos.
Hola mi linda amiga @kattycrochet, muchas gracias por tan bonito comentario,es un gusto para mi, siempre compartir mis proyectos de costura con ésta linda colmena y que el paso a paso sea agradable a la vista del lector. Gracias por comentar amiga, muchas bendiciones 🙏🏻😊
This is extremely brilliant content thanks for sharing @kathelopez77
Gracias a ti amigo @smilestitches por tu bonito comentario. Que tengas un lindo día.
Summer outfit turned out great👍
Muchas gracias @photohaus. Saludos 😊
Good day I think this is an excellent tutorial because nowadays this kind of flannels are used a lot, my girlfriend uses them almost every day because they are super comfortable and fresh.
Gracias amigo @oscargonzalez123 por comentar, así es, tu novia tiene mucha razón en usarlas, son cómodas,frescas y quedan muy bonitas. Saludos 👍🏻
Congratulations @kathelopez77! You have completed the following achievement on the Hive blockchain and have been rewarded with new badge(s):
Your next target is to reach 600 comments.
You can view your badges on your board and compare yourself to others in the Ranking
If you no longer want to receive notifications, reply to this comment with the word
STOPTo support your work, I also upvoted your post!
Check out the last post from @hivebuzz:
Support the HiveBuzz project. Vote for our proposal!
De mis favoritos. Muy buena tu explicación 😃
Gracias amiga @afrikablr. Bendiciones 🙏🏻 😊
Dear @kathelopez77, we need your help!
The Hivebuzz proposal already got important support from the community. However, it lost its funding a few days ago when the HBD stabilizer proposal rose above it.
May we ask you to support it so our team can continue its work?
You can do it on Peakd, Ecency,
https://peakd.com/me/proposals/199
All votes are helpful and yours will be much appreciated.
Thank you!
Hola, el modelo está súper lindo y me encantó la forma tan entendible en que haces el tutorial. Voy a intentarlo, claro yo sería una talla más grande como L , la tela está hermosa e hiciste un trabajo muy prolijo. Felicitaciones.
Gracias amiga, de corazón me llena de satisfacción leer comentarios como el tuyo, porque me hacen saber que vale la pena dedicar un poco más de tiempo al proceso, para que sea más fácil para otros... espero que puedas hacerlo y disfrutes el resultado, porque se que será satisfactorio. Saludos amiga @zullyscott 😊