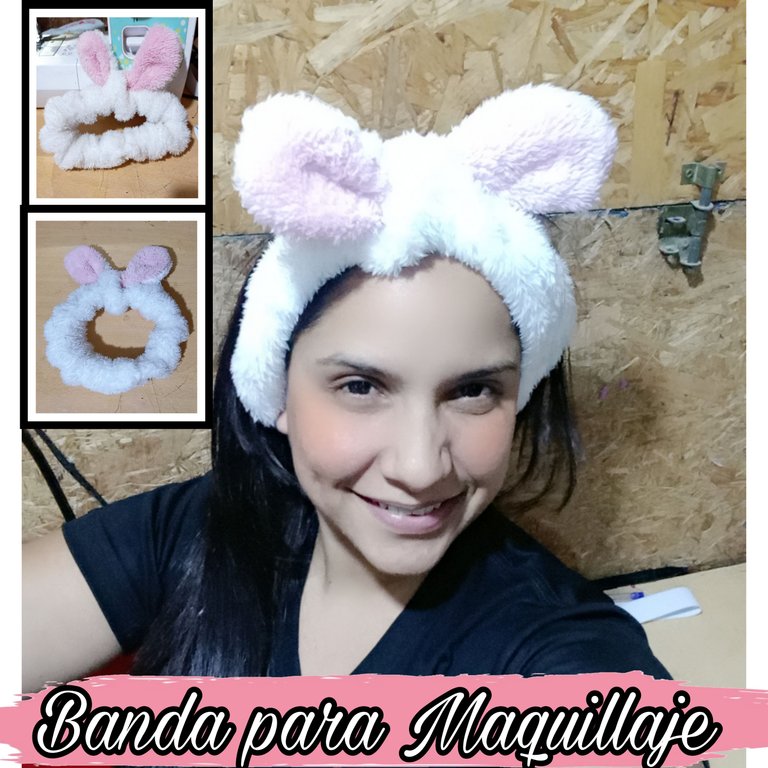
Hola, hola mi linda familia de #NeedleWorkMonday, deseo que estén pasando un resto del día agradable y bendecido. Hoy es lunes de costura, unas de las tantas cosas que me gusta hacer y quiero compartir con ustedes la confección de una Banda para Maquillaje con orejitas; está banda es muy útil para mantener toda el área del rostro despejada para aplicar maquillaje, mascarillas o depilación. Aquí te muestro cómo la hice.
Hello, hello my beautiful #NeedleWorkMonday family, I wish you are having a nice and blessed rest of the day. Today is sewing Monday, one of the many things I like to do and I want to share with you the making of a Makeup Band with little ears; this band is very useful to keep the whole face area clear to apply makeup, masks or hair removal. Here I show you how I made it.

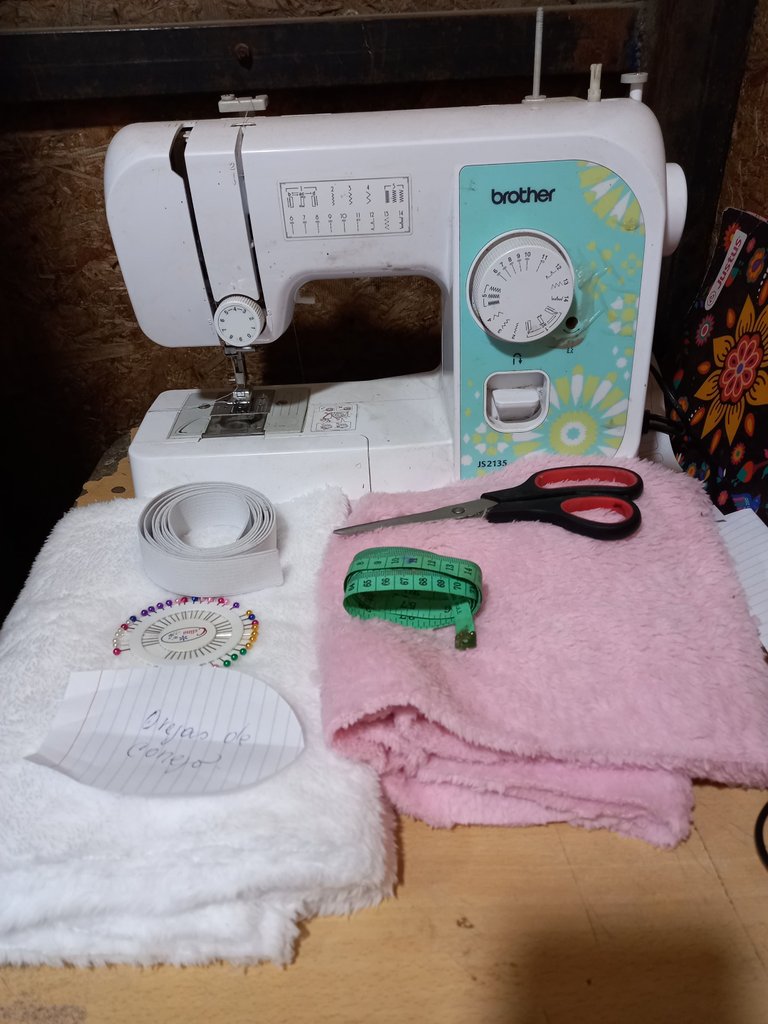
- Tela polar rosada y blanca.
- Elástico.
- Máquina de coser.
- Cinta métrica.
- Tijeras.
- Alfileres.
- Pink and white fleece.
- Elastic.
- Sewing machine.
- Tape measure.
- Scissors.
- Pins.

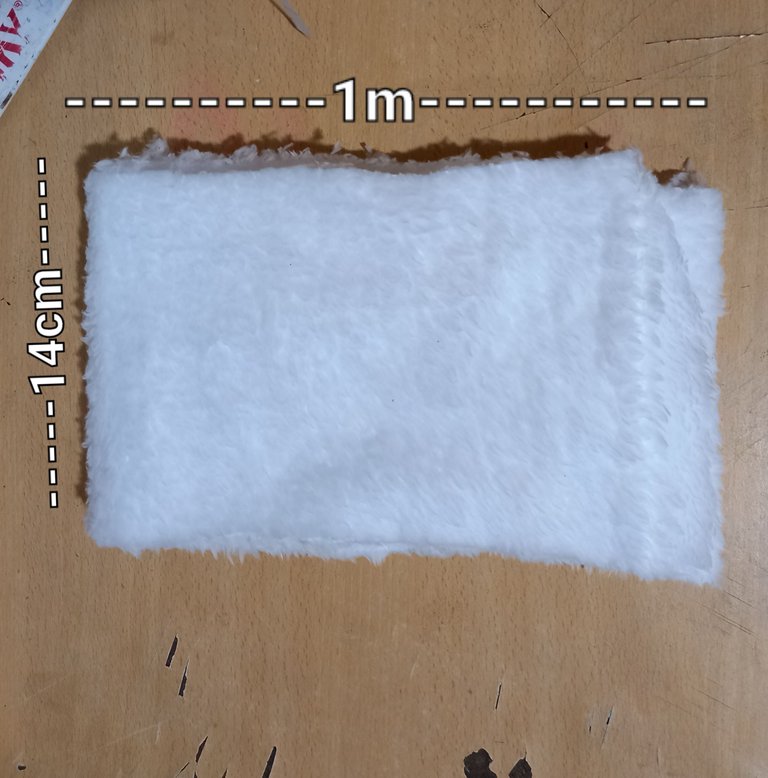
Cortaremos una tira de tela polar blanca de 1m de largo y 14 cm de ancho.
We will cut a strip of white fleece 1m long and 14 cm wide.
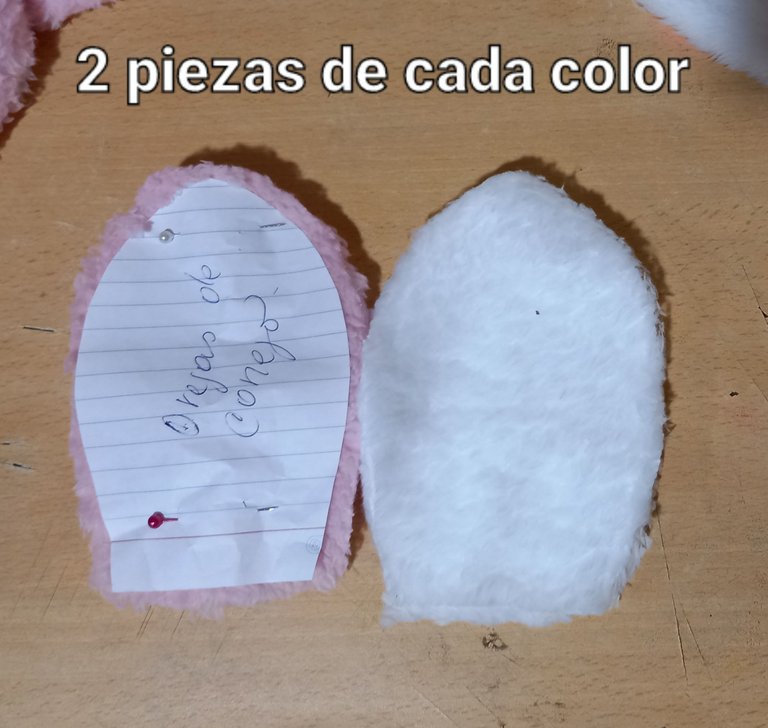
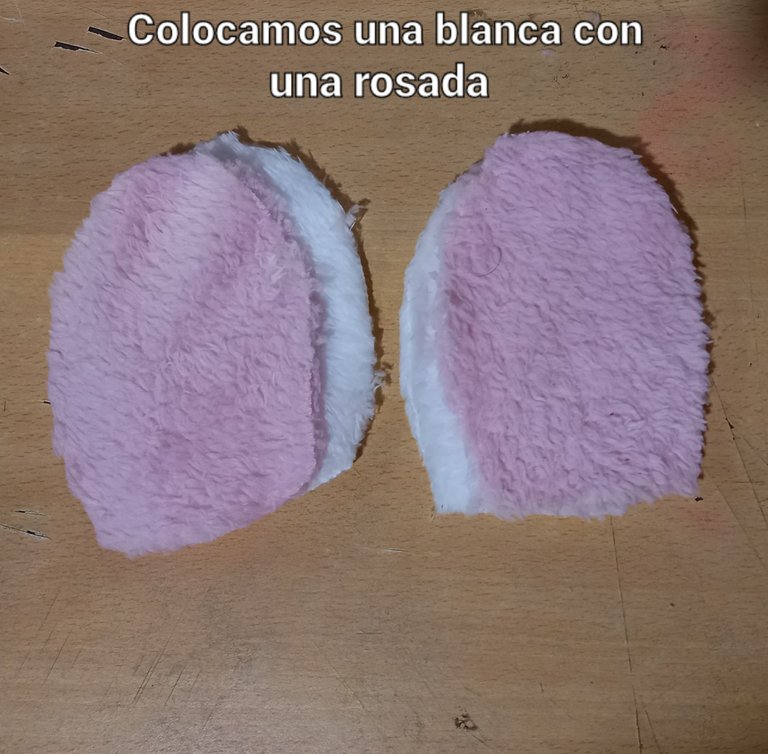
Luego marcamos los patrones de las orejas sobre las telas polar blanca y rosada; Sacaremos dos piezas de cada una.
Then we mark the patterns of the ears on the white and pink polar fleece fabrics; we will take two pieces of each one.
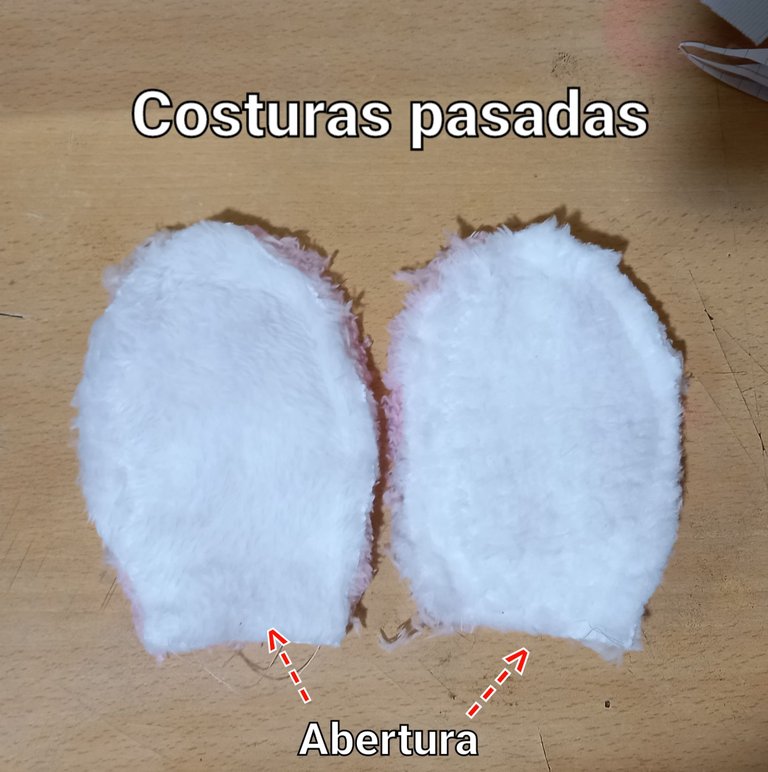
Después colocaremos una orejita blanca sobre una rosada, así haremos con las otras dos y cosemos los borde, excepto la parte recta, por donde vamos a voltearlas.
Then we will place a white ear on a pink one, we will do the same with the other two and sew the edges, except for the straight part, where we will turn them over.
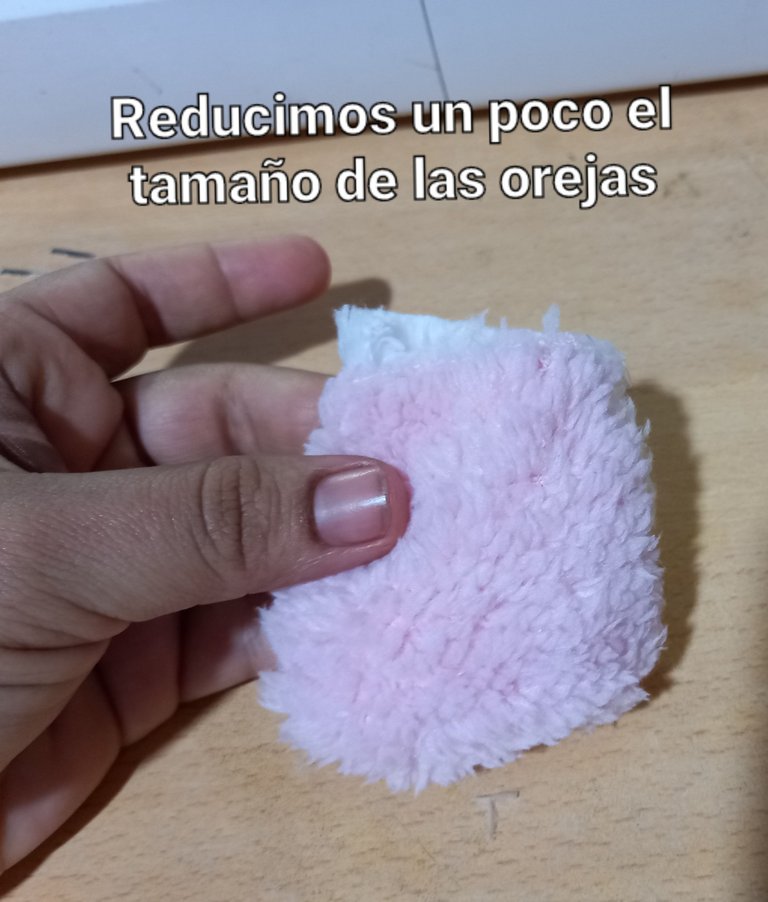
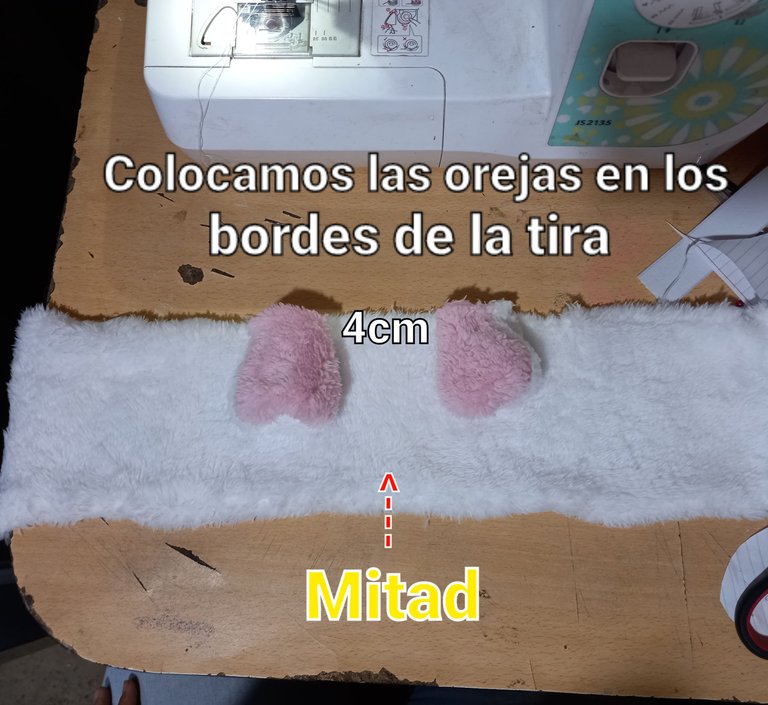
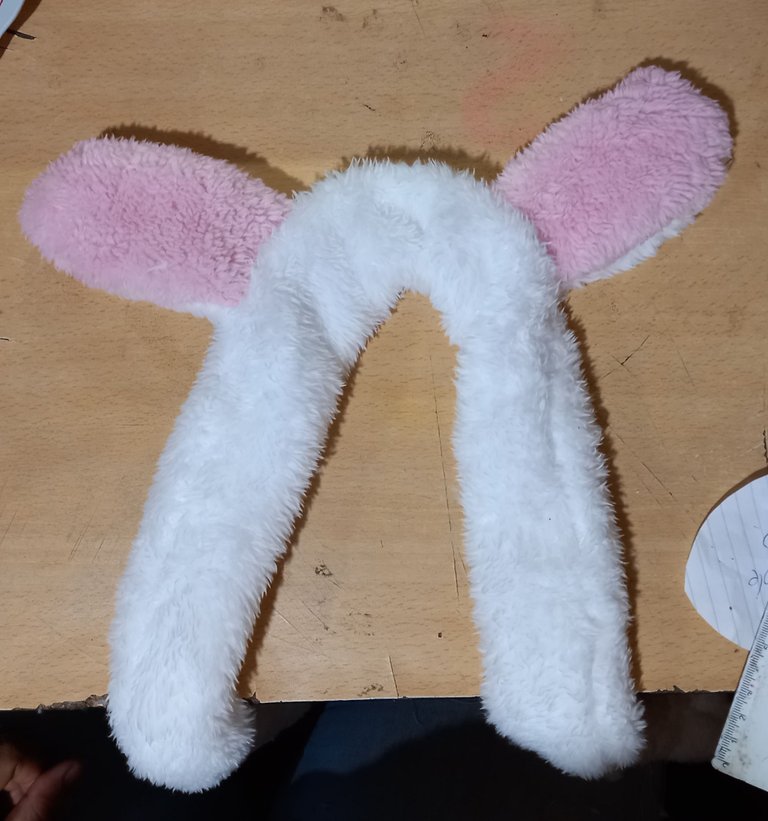
Volteamos las orejas, las ponemos pequeñas y las sujetamos en los bordes de la mitad de la tira, guardando una distancia de 4cm entre ellas.
We flip the ears, make them small and attach them to the edges of the middle of the strip, keeping a distance of 4cm between them.
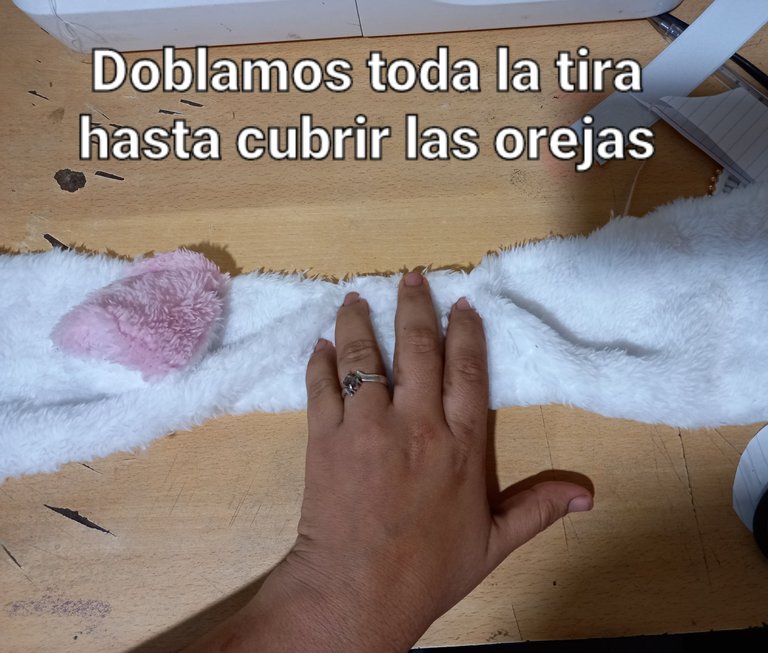
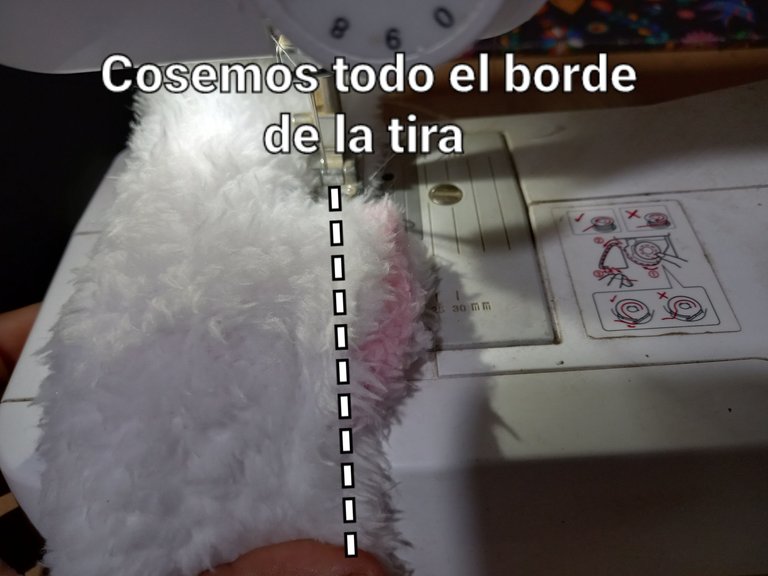
Luego doblamos completamente la tira, de tal manera que las orejas queden por dentro de esta, pasamos costura y desdoblamos.
Then we fold the strip completely, so that the ears are inside the strip, pass the seam and unfold.
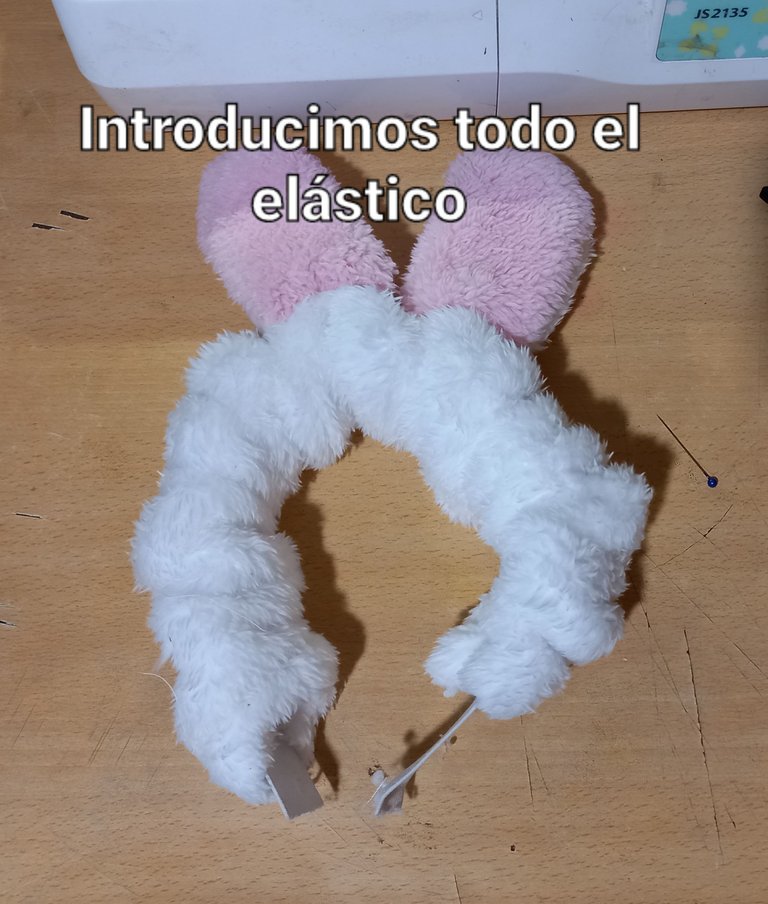
Una vez que la tira esté volteada, procedemos a introducir el elástico y cosemos los extremos de éste.
Once the strip is turned over, we proceed to insert the elastic and sew the ends of the elastic.
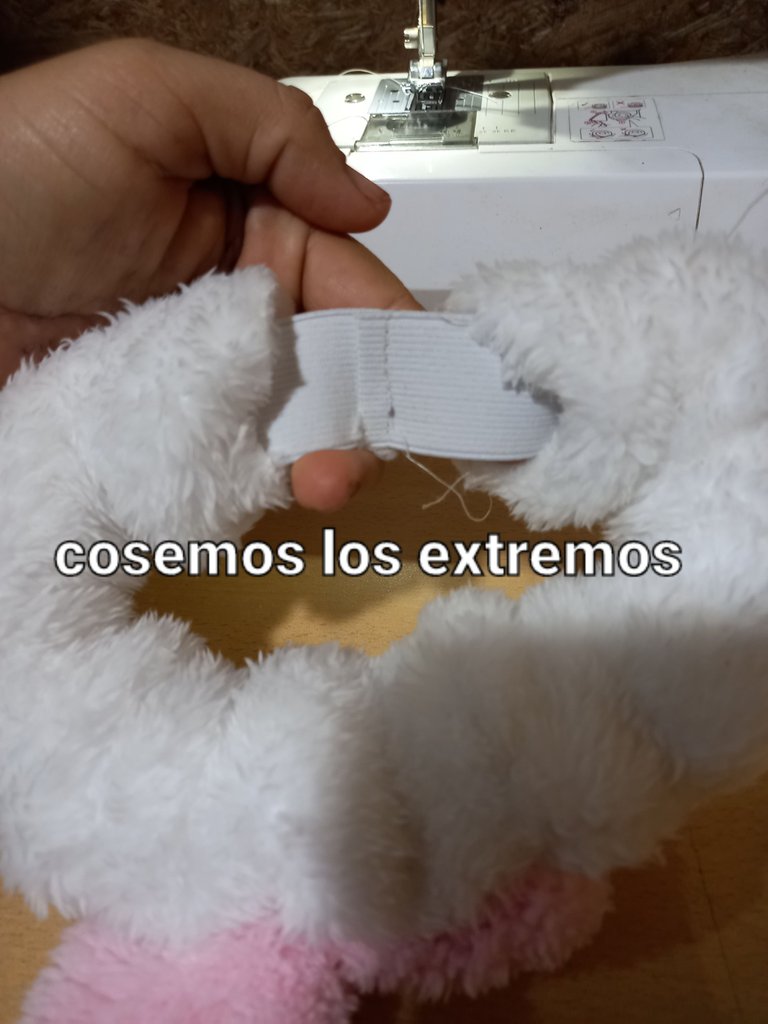
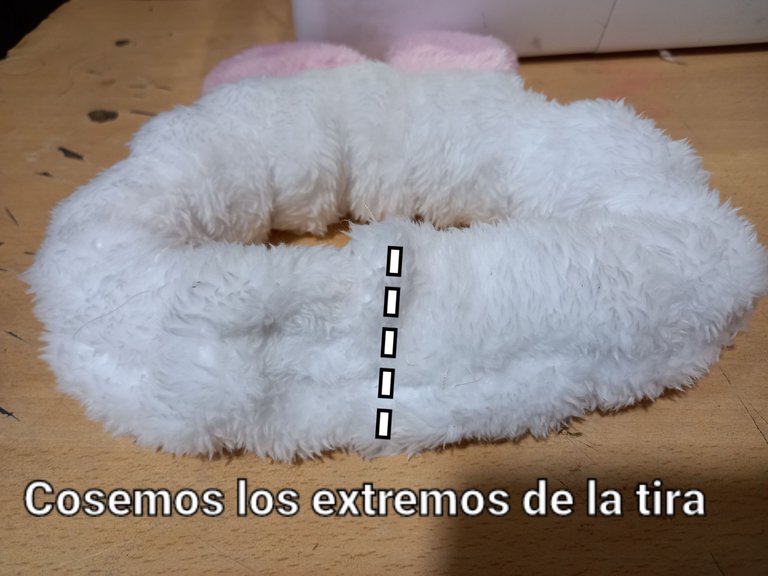
Cosemos los extremos de la tira sobre el elástico, colocando un extremo sobre el otro.
Sew the ends of the strip over the elastic, placing one end on top of the other.
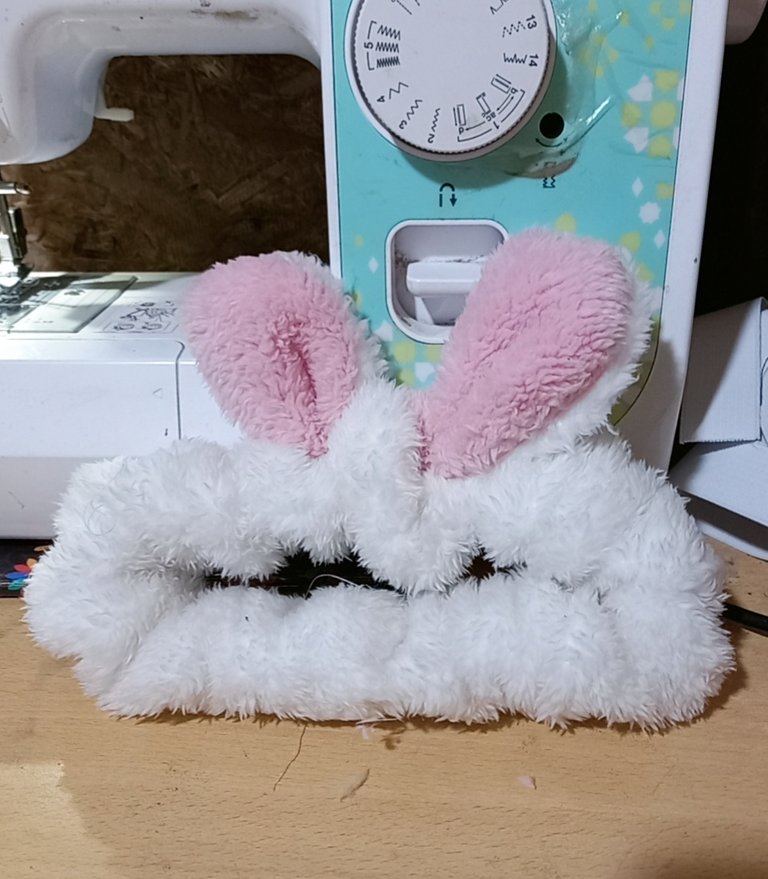
Finalizamos haciendo un pequeño nudo en las orejitas.
We finish by tying a small knot in the ears.

¡Veamos el resultado!
*Let's see the result!

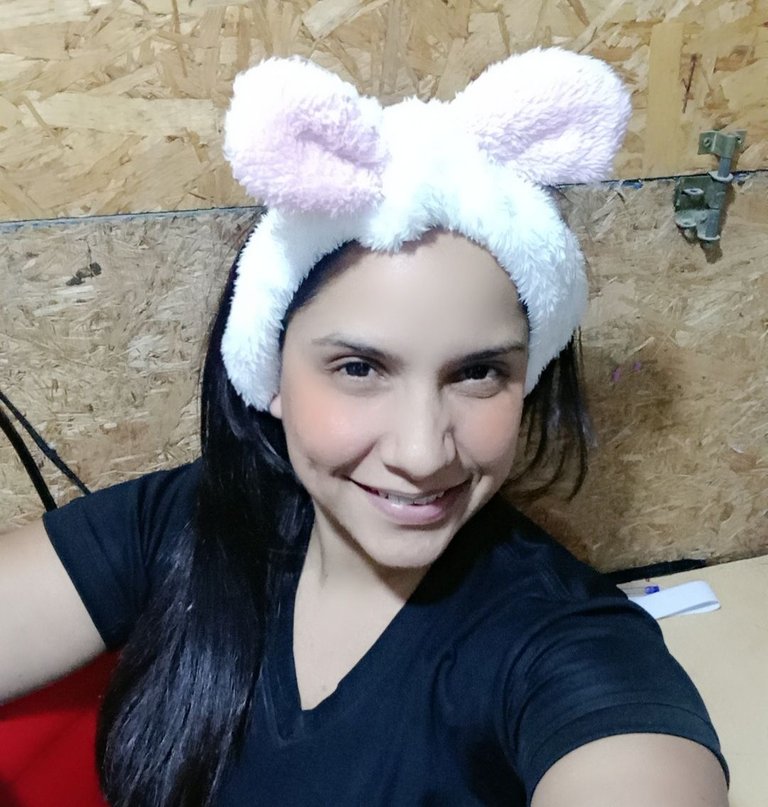
De esta manera obtendremos una banda muy cómoda. Espero te haya gustado éste tutorial. Será hasta otra oportunidad mis amigos. Bendiciones 🙏🏻 😊🤗.
This way we will get a very comfortable band. I hope you liked this tutorial. Will be until another time my friends. Blessings 🙏🏻 😊🤗.
Ay que lindo es tu proyecto, voy a tomarlo para hacerle algo así a mi sobrina, gracias por compartir.
Gracias a ti estimada amiga por el comentario. 😊
Ésto está sumamente genial 💖, estas bandanas me parecen demasiado cuchis y desde hace mucho tiempo he querido una, muchas gracias por compartir ésto, ahora tengo al nuevo por hacer 😌😉.
Gracias a ti por comentar, me alegro mucho que éste tutorial haya sido de gran utilidad para ti y hagas tu propia banda personalizada. Saludos y bendiciones 🙏🏻 😊
Es increíble lo fácil que parece su elaboración y lo hermosa que luce tu bandana.
Gracias por compartir, saludos!
Gracias a ti por comentar amiga @kattycrochet. Feliz tarde 😊🖐🏻
Wow, it's beautiful, I so much love the process it's easy to learn once I get the materials, thank you so much for sharing this with us.
Gracias a ti amiga por comentar, es bueno saber que éste tutorial fue de tu agrado. Saludos y bendiciones 🤗🙏🏻
You're welcome @kathelopez77, it's my pleasure.
Greetings to you too 🥰🥰.
Dear @kathelopez77, we need your help!
The Hivebuzz proposal already got important support from the community. However, it lost its funding a few days ago and only needs a few more HP to get funded again.
May we ask you to support it so our team can continue its work this year?
You can do it on Peakd, ecency,
https://peakd.com/me/proposals/199
Your support would be really appreciated.
Thank you!