

Hello my dear readers, I hope you are well and that you are having or have had an excellent and wonderful day. My daughter loves to play with stuffed animals and for the last few days, she had me crazy about giving her a stuffed rabbit. There is a little classmate at her school who brought a stuffed bunny to play with. They are in pre-school and they are allowed to bring a toy that is not so big, to entertain them at recess time.
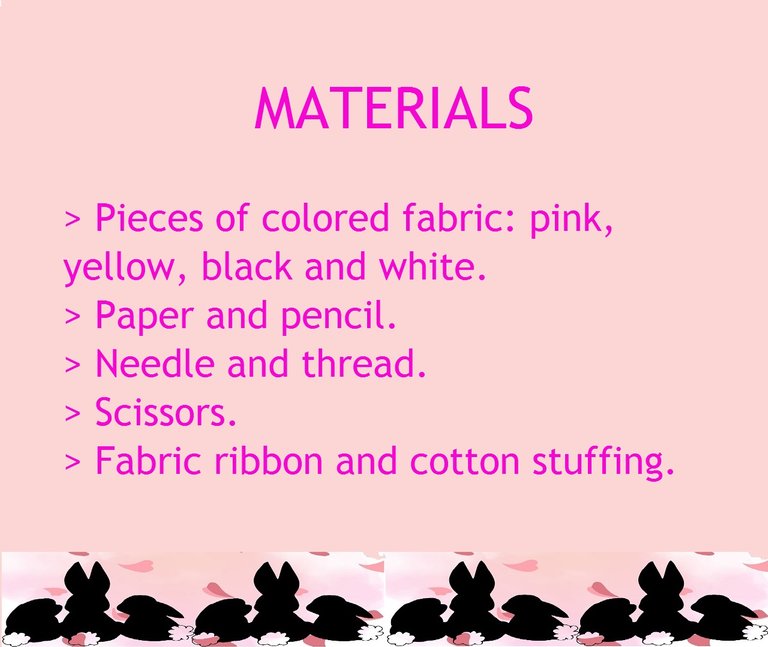
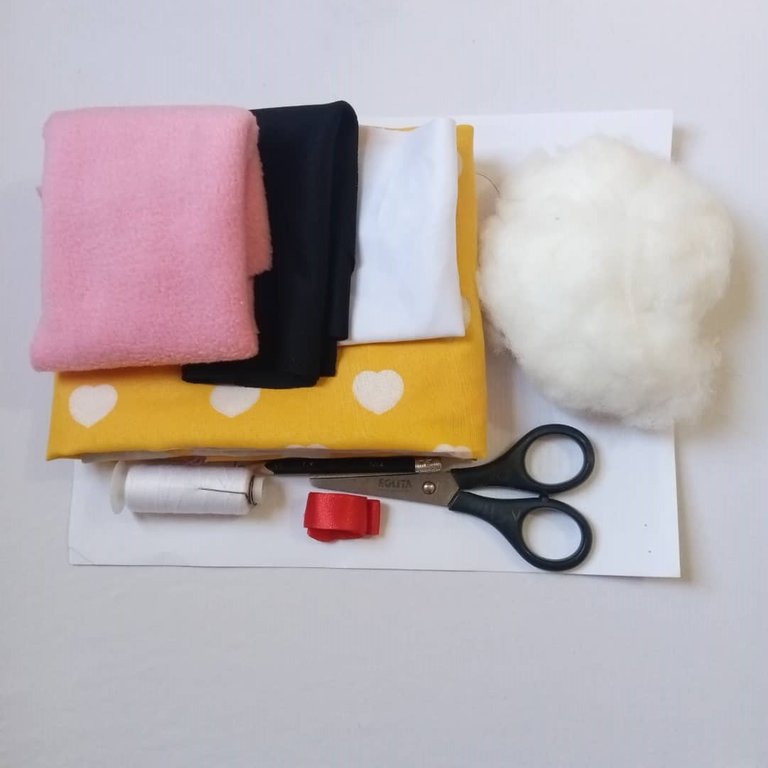
So I decided to please her and make her a cute bunny stuffed animal. I made it with recycled material and in a very quick and easy way, so here I explain the step by step.
STEP BY STEP:
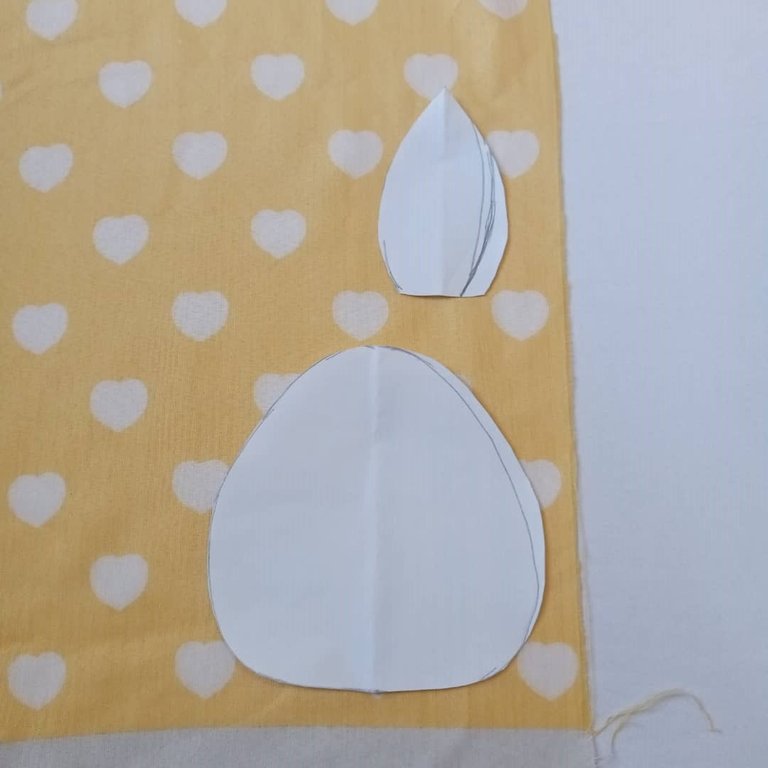
I will start by making a pattern on the paper. I will make the shape of the head, ears and paws, as you can see it is a pretty simple bunny and doesn't have many pieces.
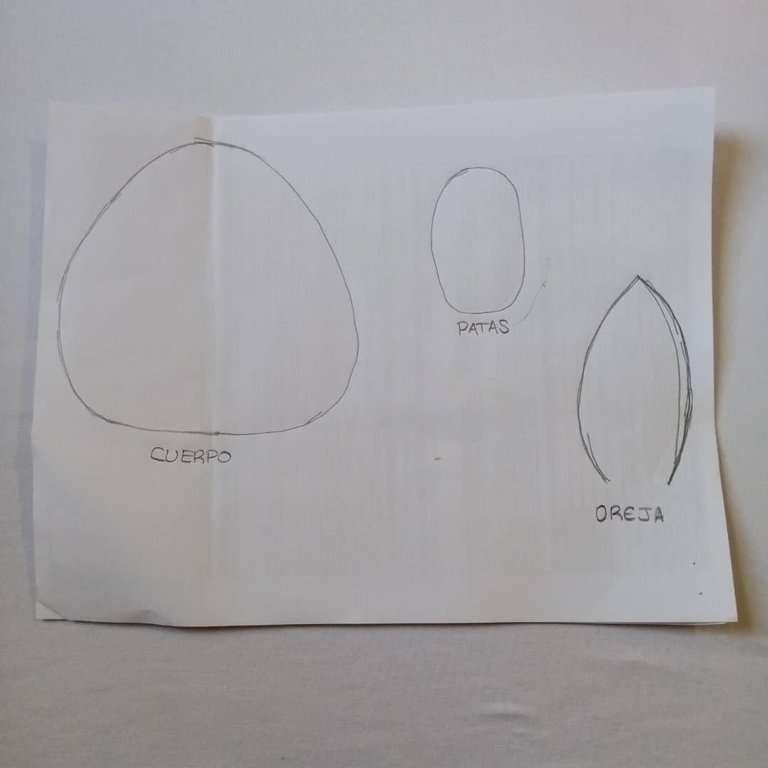
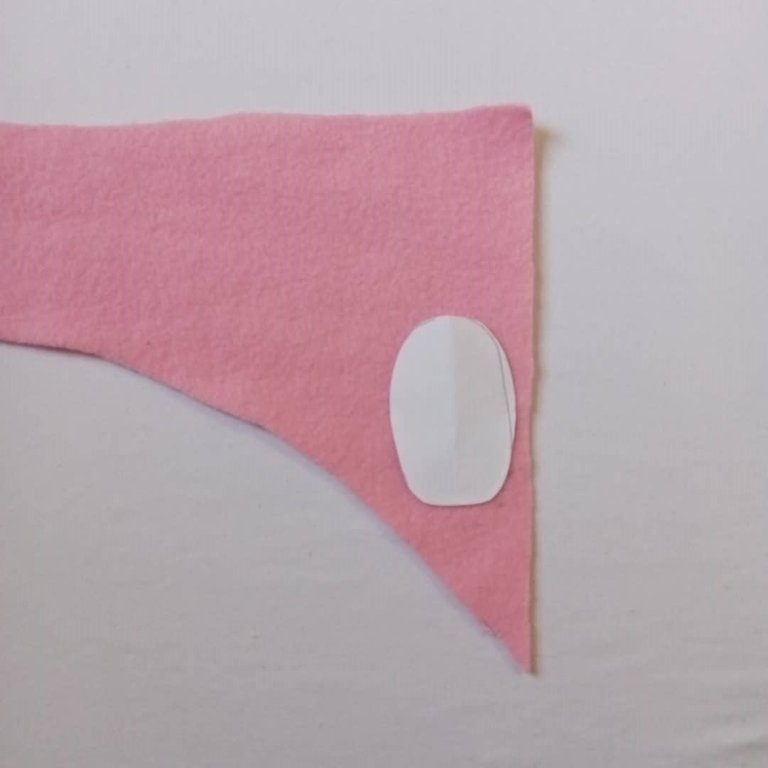
Then I will take the fabric, place it on the back and mark the pattern, and then cut it out. On the yellow fabric, I will take out two pieces of the head and two pieces of the ear.
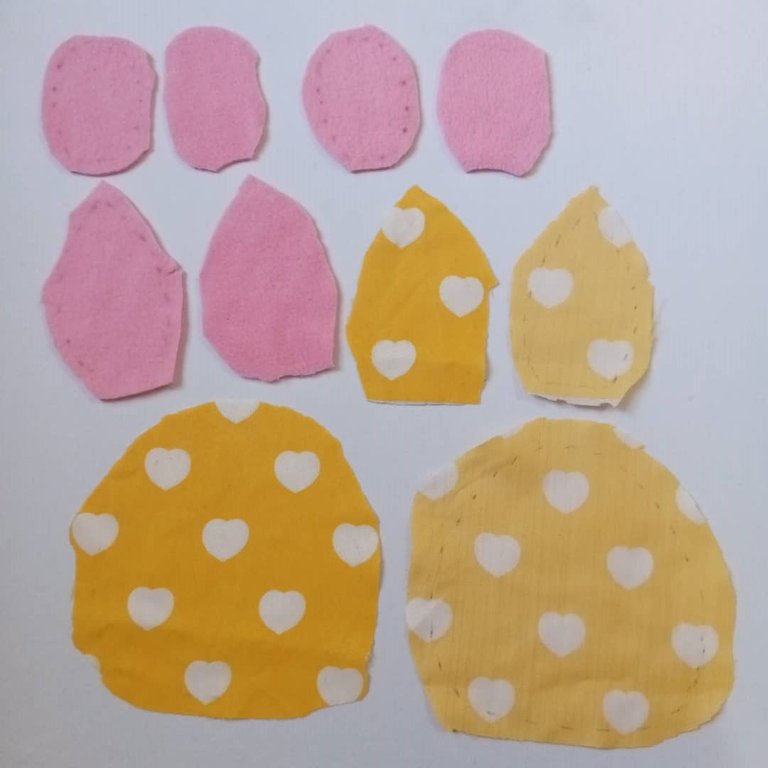
With the pink fabric I will cut 4 pieces of the legs and two pieces of the ears, leaving 5mm of fabric for sewing.
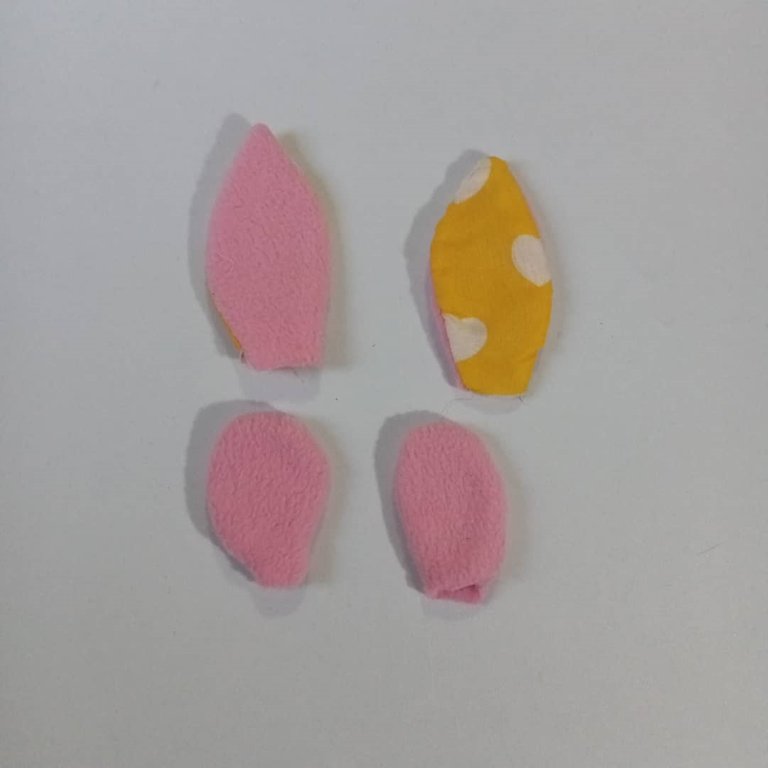
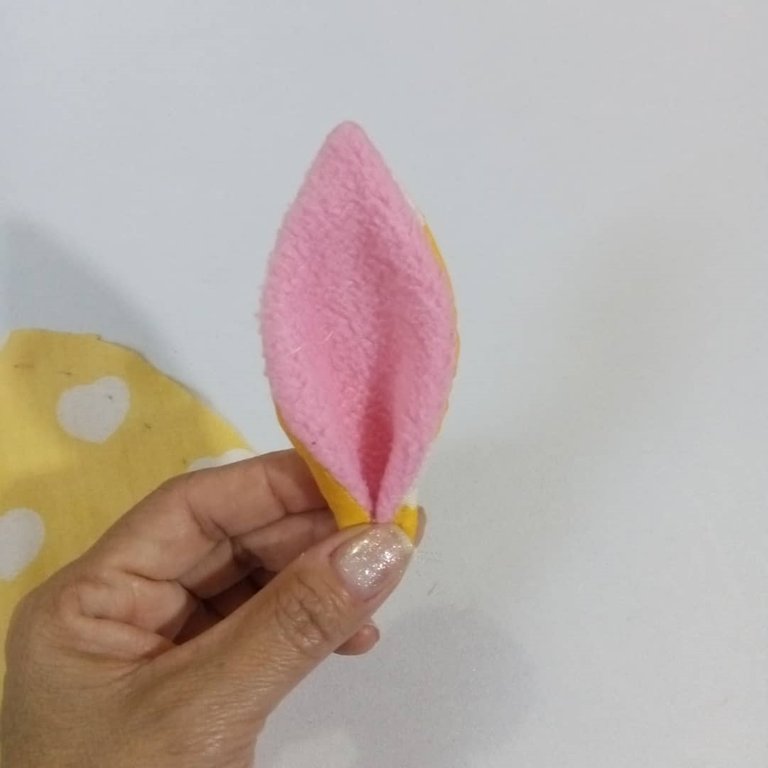
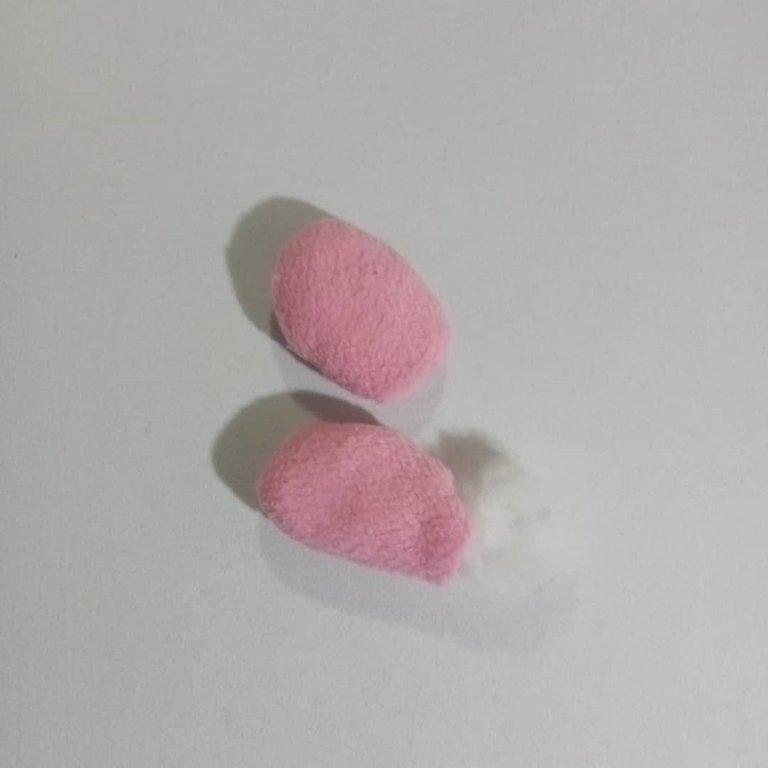
To make the ears, I will place one piece in yellow and one in pink and sew on the reverse side and then flip it over. I also took the opportunity to sew the legs, leaving an opening to fill in later.

Once the ears are ready, I will make a fold at the bottom, as shown in the image and with the help of a pin, I will fix it to one of the pieces of the head, I will place the other piece of the head on top and trying to make sure that the ears are facing inside the head at the time of sewing it.
 |  |
|---|
 |  |
|---|
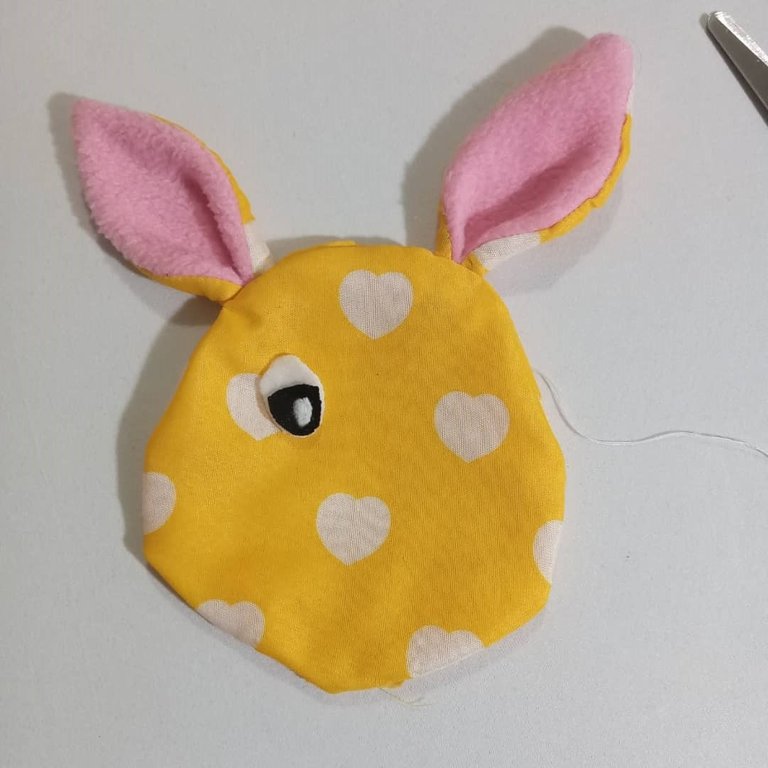
On the white fabric, I will cut two large ovals and two small ovals for the eyes. And with the black fabric I will cut two half ovals for the eyes and one piece for the nose, as shown in the picture.


With the help of the needle, I sewed the eyes piece by piece, and then glued it to the bunny's face, as shown in the pictures.
 |  |  |
|---|
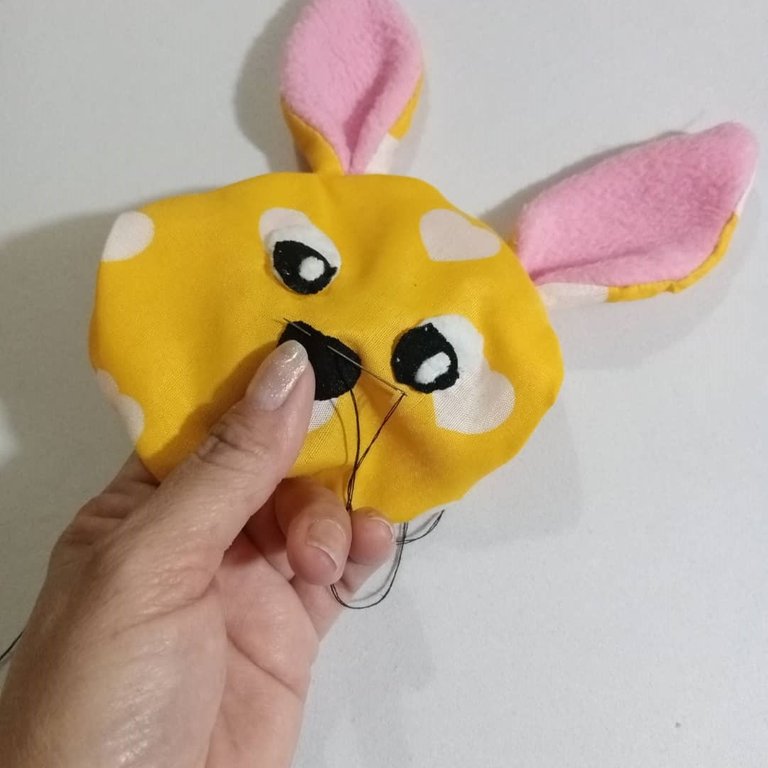
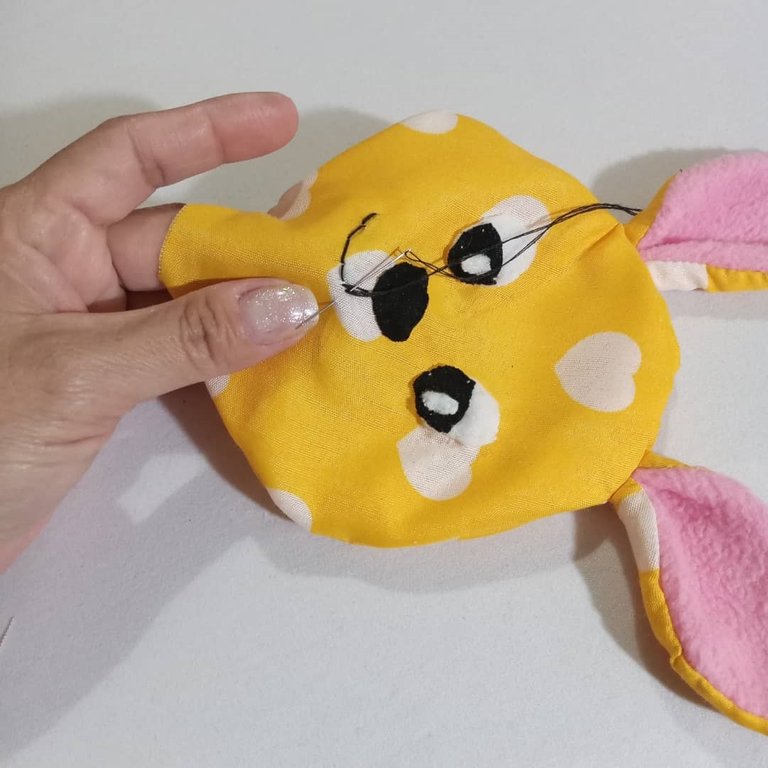
And with black thread I will sew what will be the mouth and eyelashes.
I will stuff the legs and sew the opening afterwards. And with the same thread, I'll make two stitches at the ends to form the toes.
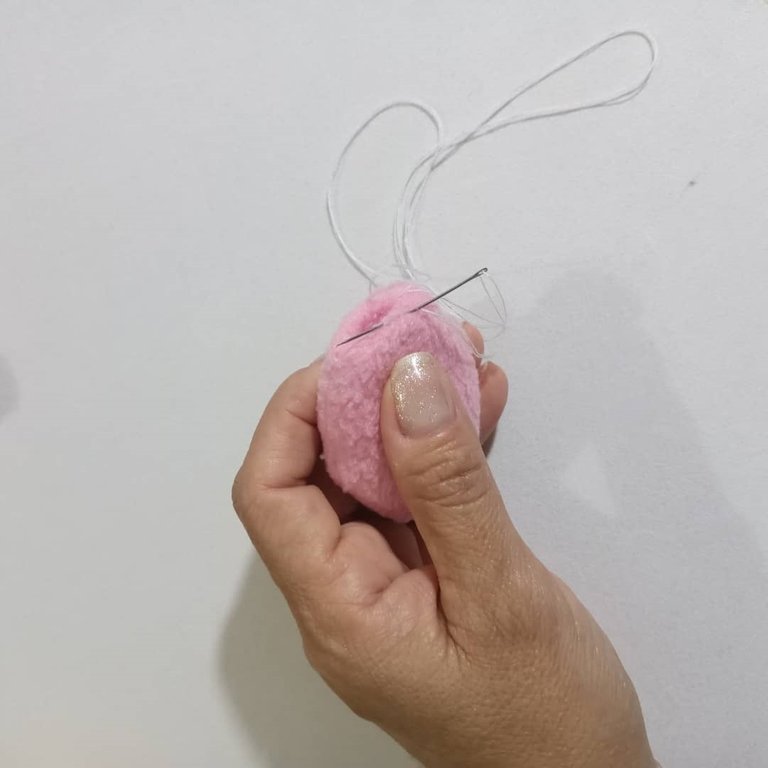
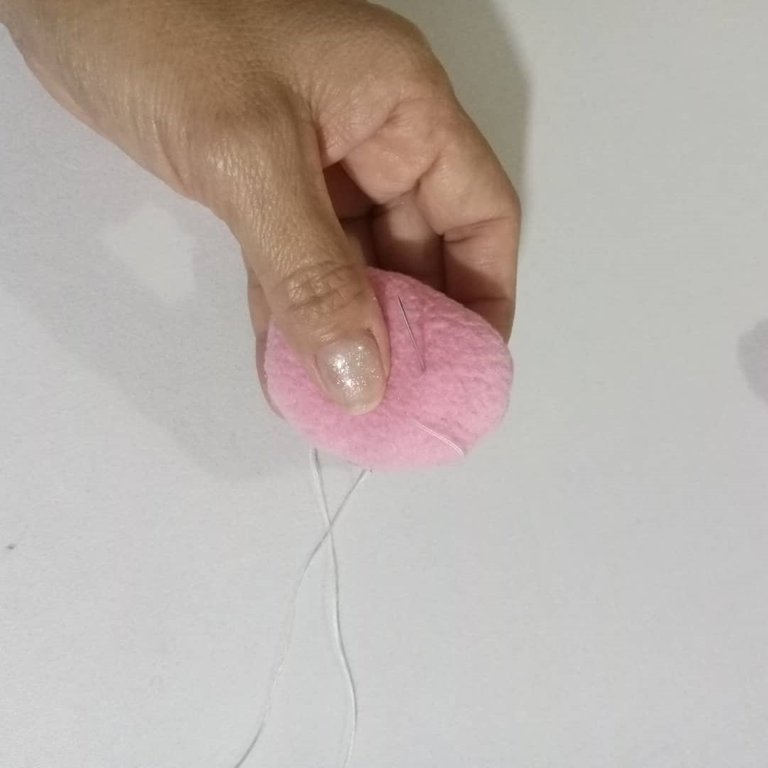
I will fill the head of the rabbit with the cotton, close the opening and with the help of the needle, glue the legs to the head.
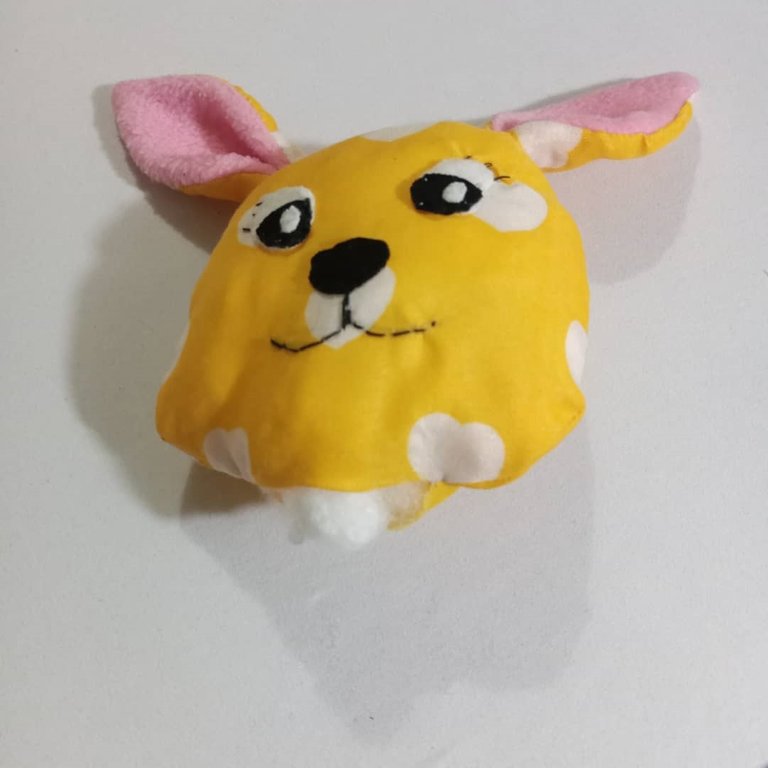
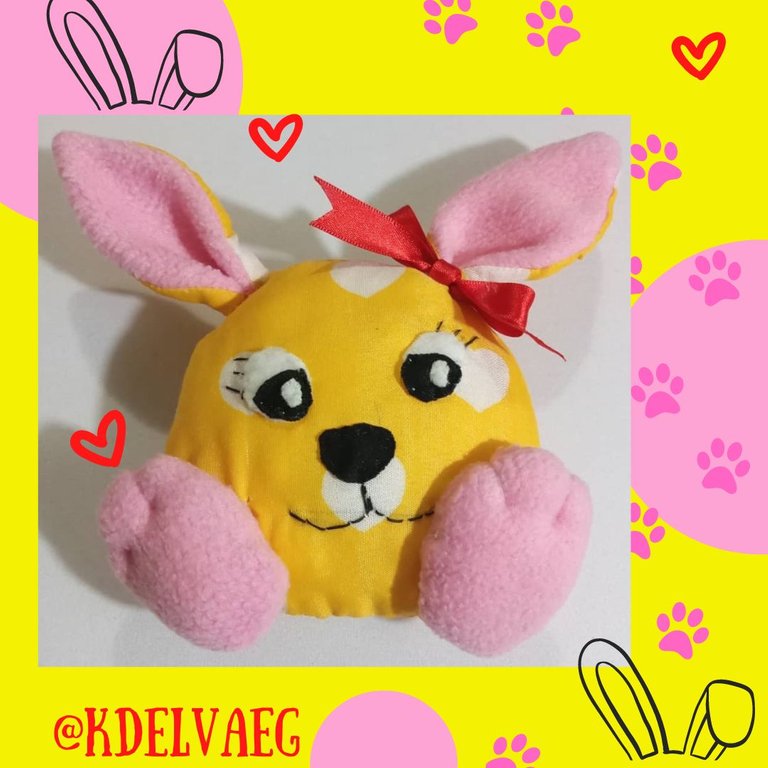
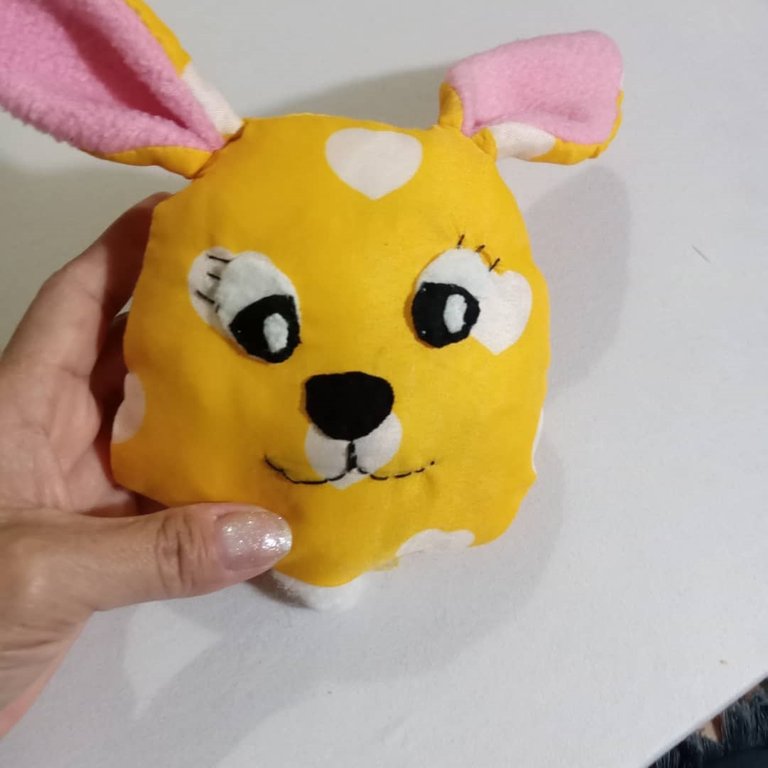
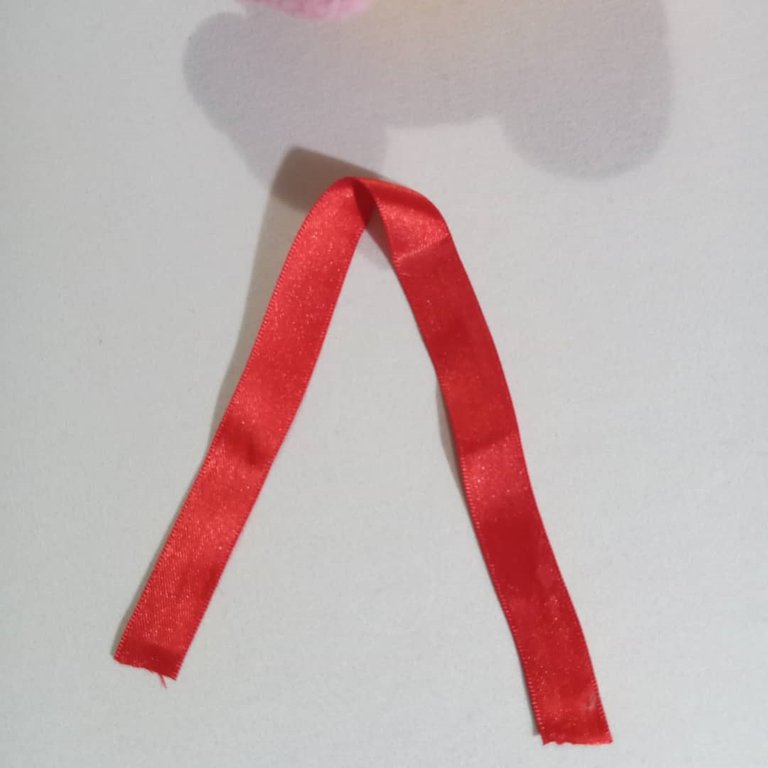
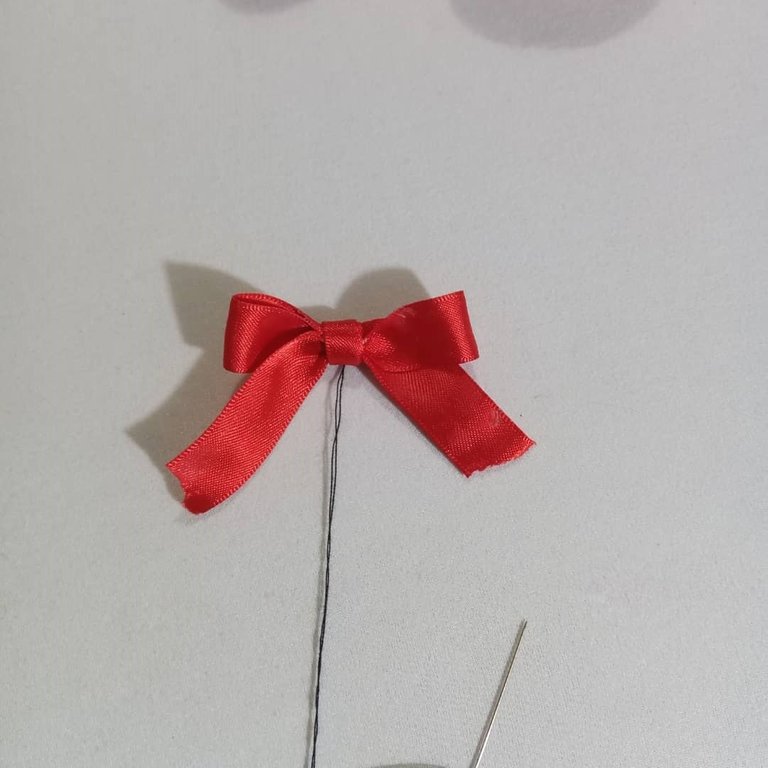
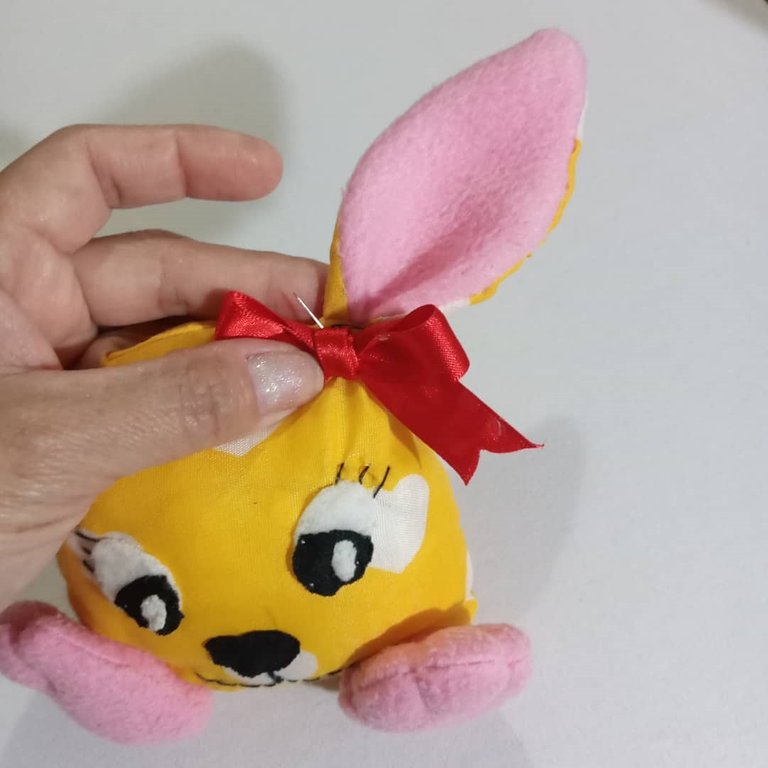
Finally, with the red ribbon I will make a bow, and I will glue it on one of the ears, as you can see in the pictures.
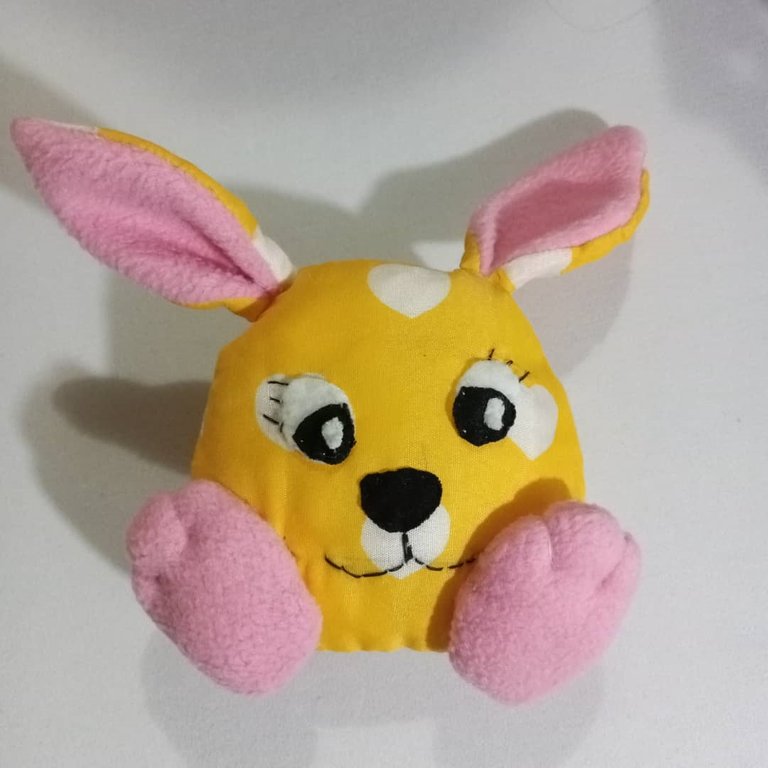
And as you can see, I have the bunny ready. It is very quick to make, without many materials and it looks very cute. Ideal for a gift or for your children. I loved how it turned out, I hope you do too.

I say goodbye as always, but not before thanking you for dedicating a little bit of your valuable time to me. I hope to see you in my next publication, be well and take care of yourselves.
Original creation content:
🐰 All photos are my property taken and edited with my Alcatel cell phone.
🐾 Cover image was made with Canva application and edited by me.
🐰 The divider images were taken from the Canva page and edited by me in Paint.
🐾 The English translation was done with the help of DeepL.
🐰 The letters indicating the languages, were taken from the Cooltext page.

Hola mis queridos lectores, espero que se encuentren bien y que tengan o hayan tenido un excelente y maravilloso día. A mi hija le encanta jugar con peluches y desde hace días, me tenía loca con que le diera un peluche de conejo. Hay una compañerita de la escuela donde ella esta, que llevo un conejito de peluche para jugar. Ellos están el pre-escolar y les permiten llevar algún juguete que no sea tan grande, para entretenerse a la hora del recreo.
Así que decidí complacerla y hacerle un lindo peluche de conejo. Lo realice con material reciclado y de manera muy rápida y fácil, así que aquí les explico el paso a paso.
PASO A PASO:
Empezare haciendo un patrón en el papel. Hare la forma de la cabeza, las orejas y las patas, como pueden ver es un conejito bastante sencillo y no tiene muchas piezas.
Luego tomare la tela, la colocare por la parte de atrás y marcare el patrón, para luego cortarlo. En la tela amarilla, sacare dos piezas de la cabeza y dos piezas de la oreja.
Con la tela rosada cortare 4 piezas de las patas y dos piezas de las orejas, dejando en todas las piezas, 5mm de tela para la costura.
Para hacer las orejas, colocare una pieza en amarillo y una rosada y coseré por el revés para luego voltearla. También aproveche a coser las patas, dejando una abertura para luego rellenarla.
Ya con las orejas lista, voy hacerle un doblez en la parte de abajo, tal como se muestra en la imagen y con la ayuda de un alfiler, lo fijare a una de las piezas de la cabeza, colocare encima la otra pieza de la cabeza y tratando de que las orejas queden hacia adentro de la cabeza a la hora de coserlo.
| |
|---|
| |
|---|
En la tela blanca, sacare dos óvalos grandes y dos pequeños, para los ojos. Y con la tela negra cortaré dos medio óvalos para los ojos y una pieza para la nariz, tal como se muestra en la imagen.
Con la ayuda de la aguja, cosí los ojos pieza por pieza, para luego pegarlo a la cara del conejo, tal como se muestran en las imágenes.
| | |
|---|
Y con hilo negro coseré lo que será la boca y las pestañas.
Rellenaré las patas y coseré la abertura luego. Y con el mismo hilo, le haré dos puntadas en las puntas para formar los dedos.
Rellenare la cabeza del conejo con el algodón, cerré la abertura y con la ayuda de la aguja, pegue las patas a la cabeza.
Para finalizar, con la cinta roja hare un lazo, y lo pegare en una de las orejas, tal como pueden apreciar en las imágenes.
Y como pueden ver, ya tengo listo el conejo. Es muy rápido de hacer, sin muchos materiales y queda muy lindo. Ideal para hacer un regalo o para sus hijos. A mí me encanto como quedo, espero que a ustedes también.
Me despido como siempre, no sin antes agradecerles, por dedicarme un poquito de su valioso tiempo. Los espero en mi próxima publicación, pórtense bien y cuídense mucho.
Contenido de creación original:
🐰 Todas las fotos son de mi propiedad tomada y editadas con mi celular Alcatel.
🐾 La imagen de portada fue realizada con la aplicación Canva y editada por mi.
🐰 Las imágenes del separador fueron tomadas de la página Canva y editado por mí en Paint.
🐾 La traducción al idioma inglés fue realizada con ayuda de DeepL.
🐰 Las letras de indicación de los idiomas, fueron tomadas de la página Cooltext.
Que coneja tan tierna, está muy linda, estos proyectos son ideales para aprovechar los retazos de tela que van quedando de trabajos anteriores, puedes decorar la habitación de los bebés mientras reutilizas los materiales.
Saludos!
Hola, asi mismo es. Hay una infinidad de cosas que se pueden hacer con los retazos de tela. Solo hay que tener un poco de imaginación y ganas de crear algo nuevo y hermoso. Gracias por la visita y por el apoyo.
Thank you for sharing this post on HIVE!
Your content got selected by our fellow curator ashikstd & you just received a little thank you upvote from us for your great work! Your post will be featured in one of our recurring compilations which are aiming to offer you a stage to widen your audience within the DIY scene of Hive. Stay creative & HIVE ON!
Please vote for our hive witness <3
@kdelvaeg How cute he looks 👍🏻😍
Gracias @anamariag y por tu apoyo. ☺️