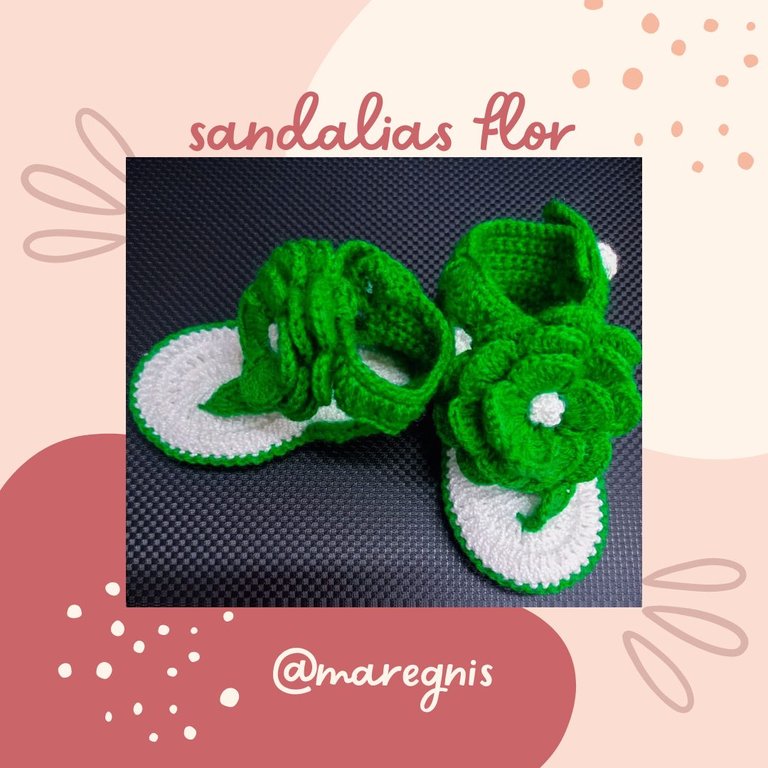
Hola a todos los amigos de HIVE, hoy les traigo el tutorial de un proyecto muy bello, unas sandalias para bebés de 3 a 6 meses. es un proyecto que me encantó porque me encanta hacer cosas para bebés, se ven muy delicadas y curiosas por el tamaño. bueno a continuación les haré el tutorial, espero que sea muy claro por si les gusta realizarlo puedan entender.
>Hello to all HIVE friends, today I will bring you the tutorial of a very beautiful project, sandals for babies from 3 to 6 months. It is a project that I loved because I love making things for babies, they look very delicate and curious because of the size.
>Well, I will make the tutorial for you below. I hope it is very clear so that if you like to do it you can understand.
MATERIALES / MATERIALS
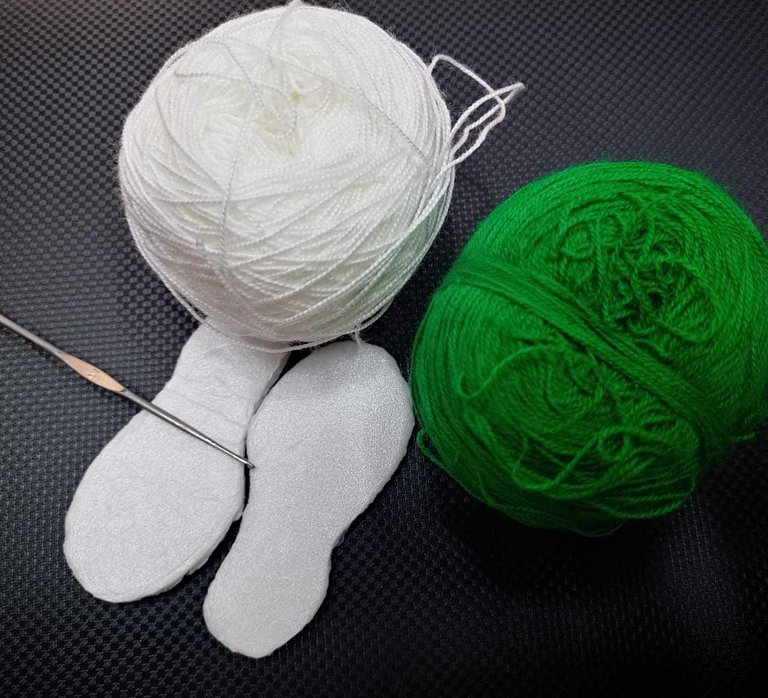
hilo coral doble hebra en este caso. / >double strand coral thread in this case.
aguja macrame # 2 /> macrame needle #2
tijeras / scissors.
aguja lanera / wool needle.
Un pedazo de icopor delgado reciclado / >a piece >of thin recycled Styrofoam.
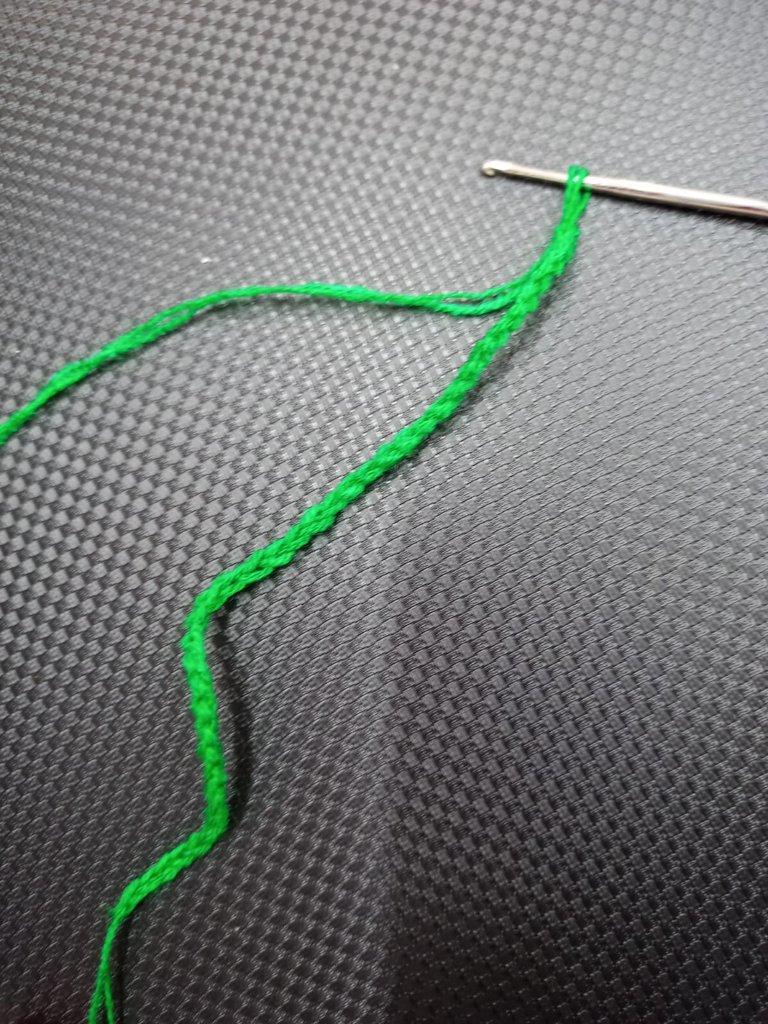
PASO 1️ / STEP 1
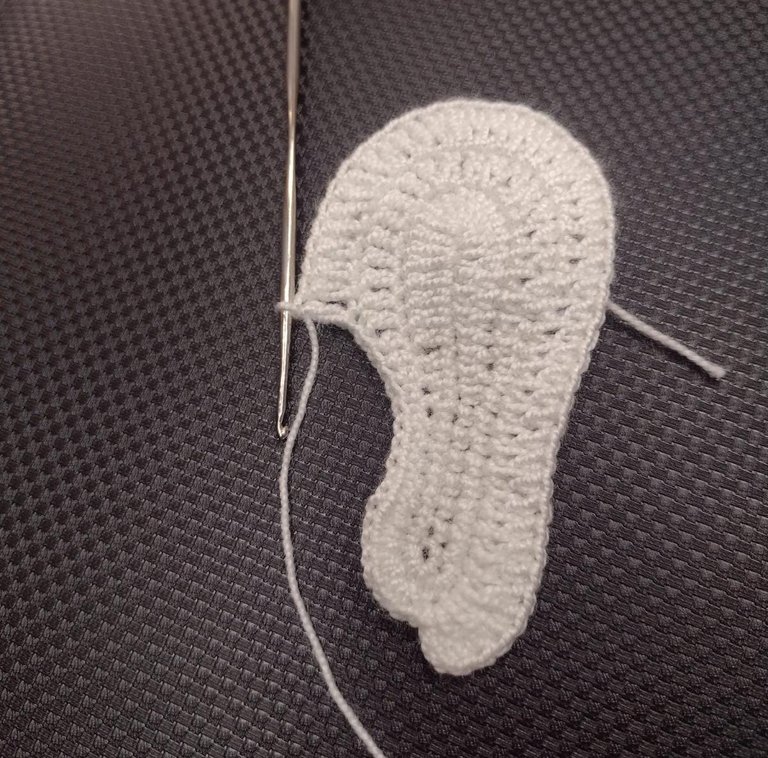
En este paso vamos a hacer las suelas de las sandalias, Para esta vuelta empezamos con una cadeneta de 18 puntos, luego desde donde se encuentra la aguja contamos 3 cadenetas y ahí haremos 1 aumento en puntos bajos, luego 6 puntos bajos, luego 3 medios puntos altos, 4 puntos altos y en la cadeneta que nos queda haremos 7 puntos altos en la misma cadena, así haremos punto espejo en el resto de la vuelta, que sería repetir lo que hicimos del otro lado de la vuelta y cerramos con un punto deslizado. Esta sería la primera vuelta.
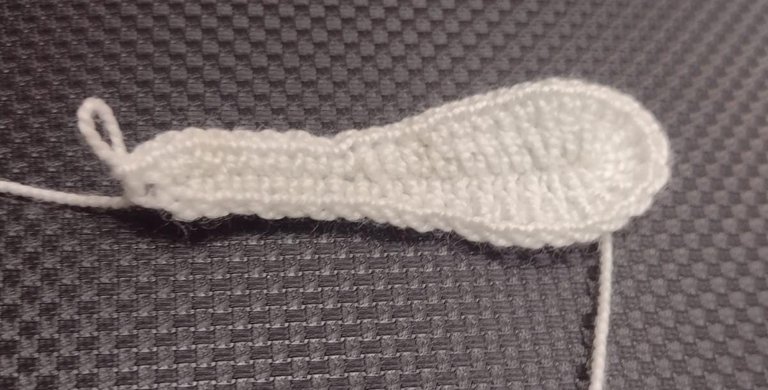
>In this step we are going to make the soles of the sandals. For this row we start with a chain of 18 stitches, then from where the needle is we count 3 chains and there we will make 1 increase in single crochets, then 6 single crochets, then 3 medium crochets double crochets, 4 double crochets and in the remaining chain we will make 7 double crochets in the same chain, so we will do mirror stitch in the rest of the round, which would be repeating what we did on the other side of the round and we close with a stitch slipped. >This would be the first round.
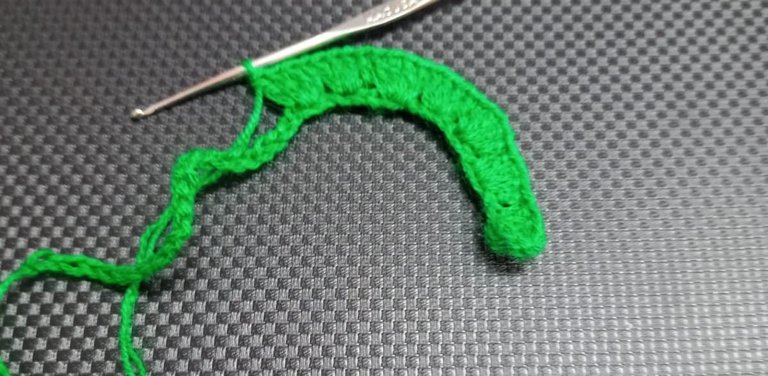
PASO 2 / STEP 2
Para la segunda vuelta hacemos 3 aumentos en puntos bajos, seguidos de 6 puntos bajos, 3 medios puntos altos y 4 puntos altos seguidos de un aumento de puntos altos, un punto alto y otro aumento, repetimos lo que hicimos en la otra cara 4 puntos altos, 3 medios puntos, 6 puntos bajos, 2 aumento de puntos bajos y cerramos con punto deslizado.
>For the second round we make 3 increases in single crochets, followed by 6 single crochets, 3 half double crochets and 4 double crochets followed by an increase in double crochets, a double crochet and another increase, we repeat what we did on the other side 4 stitches double crochets, 3 half crochets, 6 crochet crochets, 2 increases in crochet crochets and we close with a slip stitch.
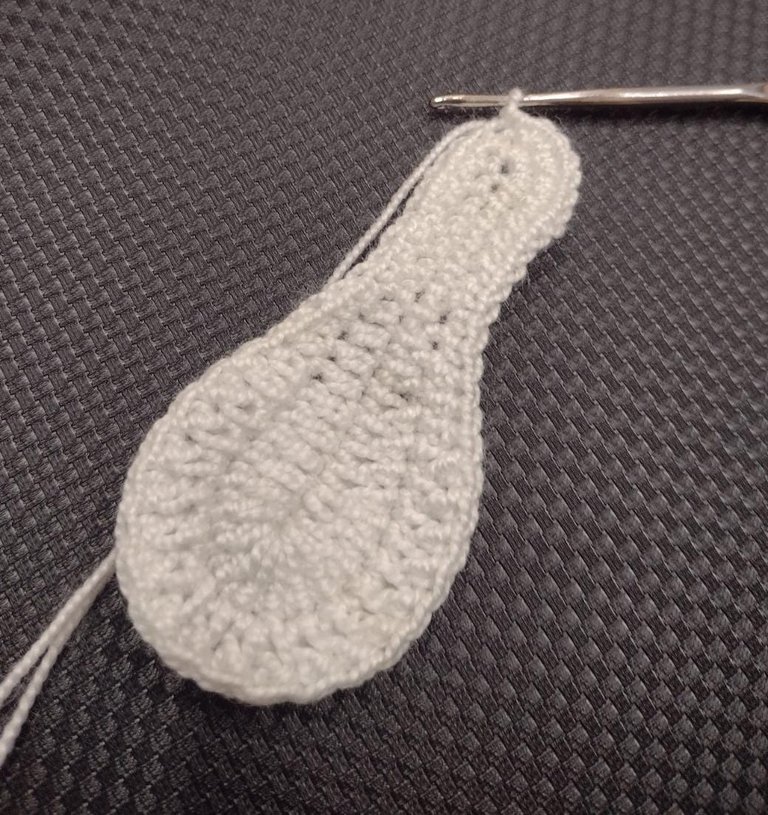
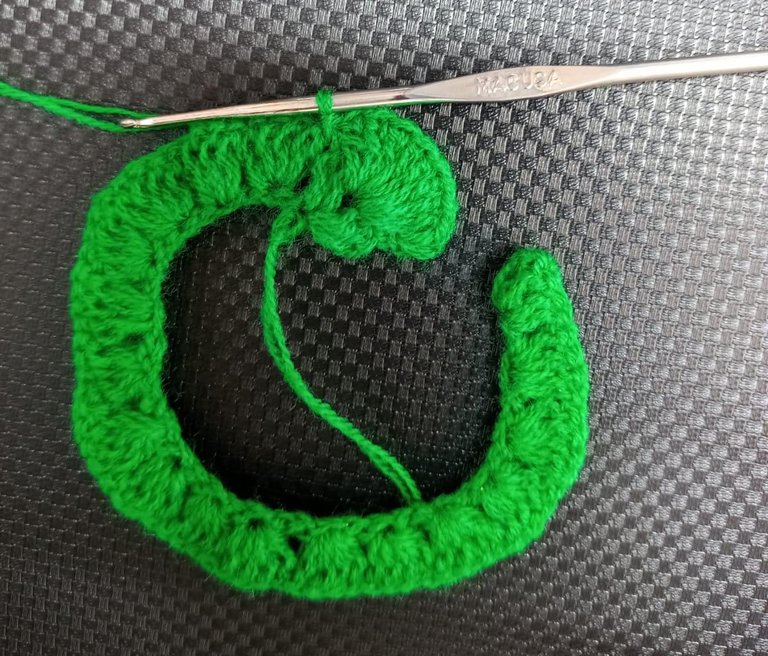
PASO 3 / STEP 3
para la tercera y última vuelta trabajaremos solo en varetas o puntos altos, empezaremos con 2 aumentos, seguidos de 17 puntos altos, uno por cada punto, luego haremos 9 aumentos, seguimos con 17 varetas o puntos altos y varetas en los puntos que quedan una en cada punto y cerramos la vuelta con punto deslizado.
*>For the third and last round we will work only in double crochets or double crochets, we will start with 2 increases, followed by 17 double crochets, one for each point, then we will do 9 increases, we continue with 17 double crochets or double crochets and double crochets in the points that remain one in each point and we close the round with a slipped stitch.
así terminamos la plantilla de la sandalia. Debemos hacer 4 iguales que queden con la misma tensión para que estén del mismo tamaño.

>This is how we finish the sandal template. We must make 4 identical ones that have the same tension so that they are the same size.
Ahora haremos lo que llamaremos el cuerpo de la sandalia. Empezaremos contando los 6 primeros puntos del centro de la plantilla, a esa misma altura hacia el borde pondremos un marcador de puntos, desde el marcador hacia atrás contaremos 28 puntos y pondremos otro marcador.
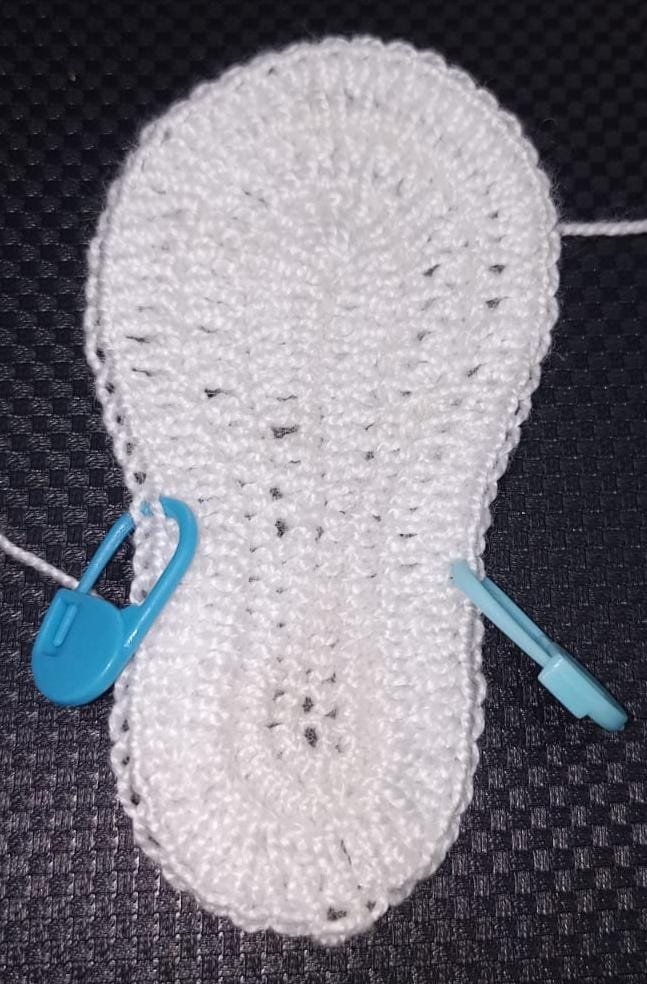
>Now we will make what we will call the body of the sandal. We will start by counting the first 6 points in the center of the template, at that same height towards the edge we will put a point marker, from the marker backwards we will count 28 points and we will put another marker.
Empezaremos la primera vuelta haciendo 28 puntos bajos de marcador a marcador. Subimos con una cadeneta y damos vuelta al trabajo. hacemos una disminución saltándose el primer punto y empezando la vuelta en el segundo punto así seguiremos haciendo puntos bajos hasta llegar al penúltimo punto donde volveremos a disminuir y terminamos la segunda vuelta. así seguiremos hasta completar 9 vueltas todas con disminuciones al comienzo y al final de cada una, para esta novena vuelta debemos tener 14 puntos bajos. Seguiremos avanzando hasta tener 6 vueltas de puntos bajos con 14 puntos cada una.

>We will start the first round by making 28 single crochets from marker to marker. We go up with a chain and turn to work. We make a decrease, skipping the first point and starting the round in the second point, so we will continue making single crochets until we reach the penultimate point where we will decrease again and finish the second round. We will continue like this until we complete 9 rounds, all with decreases at the beginning and at the end of each one. For this ninth round we must have 14 single crochets. We will continue advancing until we have 6 rounds of single crochets with 14 stitches each.
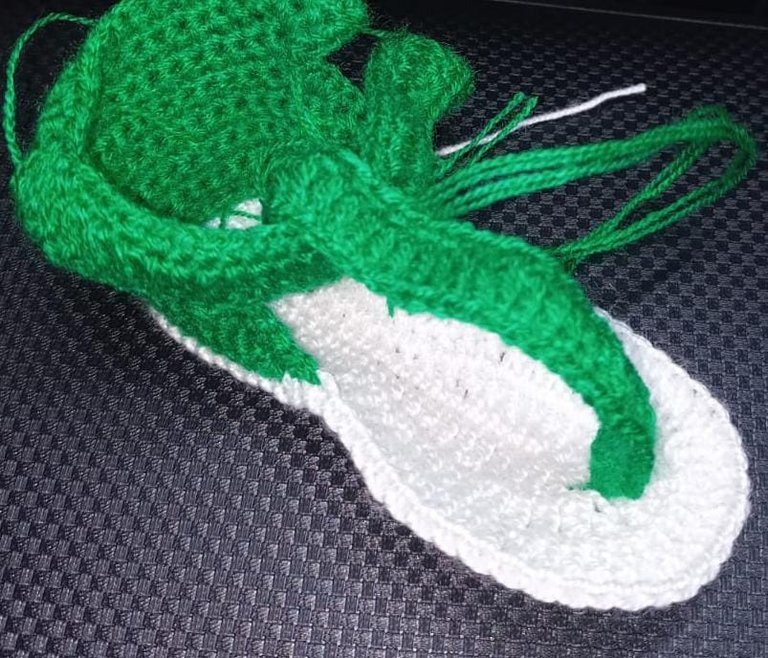
Ahí donde nos quedamos tejeremos 33 cadenetas que nos formarán la correa de nuestro trabajo. Al terminar las 33 cadenas nos devolvemos haciendo puntos altos a partir desde la 4 cadeneta hasta llegar al final de las cadenetas y cerramos deslizando un punto en la base del tejido. hacemos una cadeneta al aire y cortamos el hilo. Para el lado donde va el botón tomamos lazada y hacemos 4 puntos bajos por 4 vueltas, ahí terminamos hacemos el cierre y cortamos hilo.
>Where we stay we will knit 33 chains that will form the strap of our work. At the end of the 33 chains we return by making double crochets starting from the 4th chain until we reach the end of the chains and we close by sliding a stitch at the base of the fabric. We make an open chain and cut the thread. For the side where the button goes, we take yarn over and make 4 single crochets for 4 rows, then we finish, we make the closure and cut the thread.
Estos mismos pasos haremos con la otra plantilla teniendo en cuenta que una es derecha y la otra izquierda. debemos fijarnos bien para no hacer el par del mismo lado.
>We will do these same steps with the other template taking into account that one is right and the other left. We must pay close attention to not make the pair on the same side.
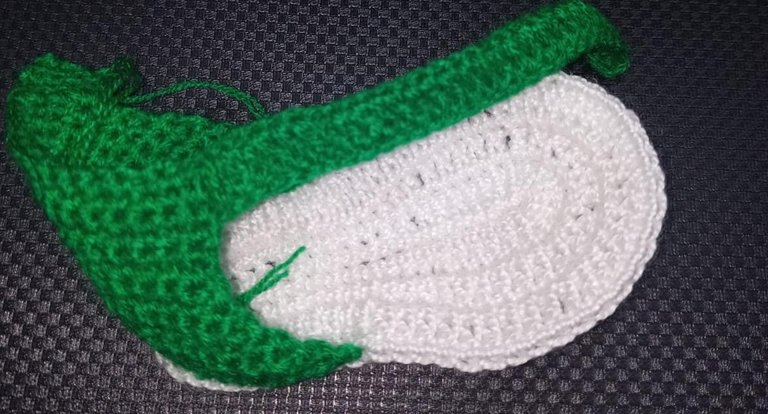
Para tejer la parte frontal de nuestro proyecto tejeremos 33 cadenetas a partir de donde se encuentra la aguja contaremos 3 puntos y haremos en el 4 punto 1 punto alto y así hasta hacer 29 puntos altos uno en cada cadena en el siguiente punto 3 puntos siguientes hacemos 5 medios puntos seguidos de 5 puntos bajos. damos la vuelta haciendo puntos bajos en todo el rededor de la pieza. Luego cosemos la pieza a la suela con la aguja lanera, y rodeamos la correa con la otra punta. Procurando no coser la pieza con la correa.
>To knit the front part of our project we will knit 33 chains starting from where the needle is, we will count 3 stitches and in the 4th stitch we will make 1 double crochet and so on until we make 29 double crochets, one in each chain in the next point 3 following stitches we will make 5 half crochets followed by 5 single crochets. We go around making single crochets all around the piece. Then we sew the piece to the sole with the wool needle, and we surround the strap with the other end. Trying not to sew the piece with the strap.
PASO A PASO DE LA FLOR / STEP BY STEP OF THE FLOWER
para la flor tejeremos 40 cadenetas. contando 4 cadenas desde donde tenemos la aguja hacemos aumentos de 4 puntos altos dejando un punto libre por toda vuelta hasta llegar al final.
*>For the flower we will knit 40 chains. Counting 4 chains from where we have the needle, we increase 4 double crochets, leaving one stitch free for every row until we reach the end.
Para la segunda vuelta subimos con 1 punto bajo y hacemos en medio de las 4 varetas de la vuelta anterior 9 puntos altos en el mismo punto, seguido de un punto deslizado en el siguiente espacio, esto nos dará el primer pétalo de la flor. Y así seguimos con toda la vuelta hasta el final. Cerramos con un punto deslizado y cortamos el hilo. Acomodamos la pieza para darle forma a la flor y la cosemos para ajustarla.
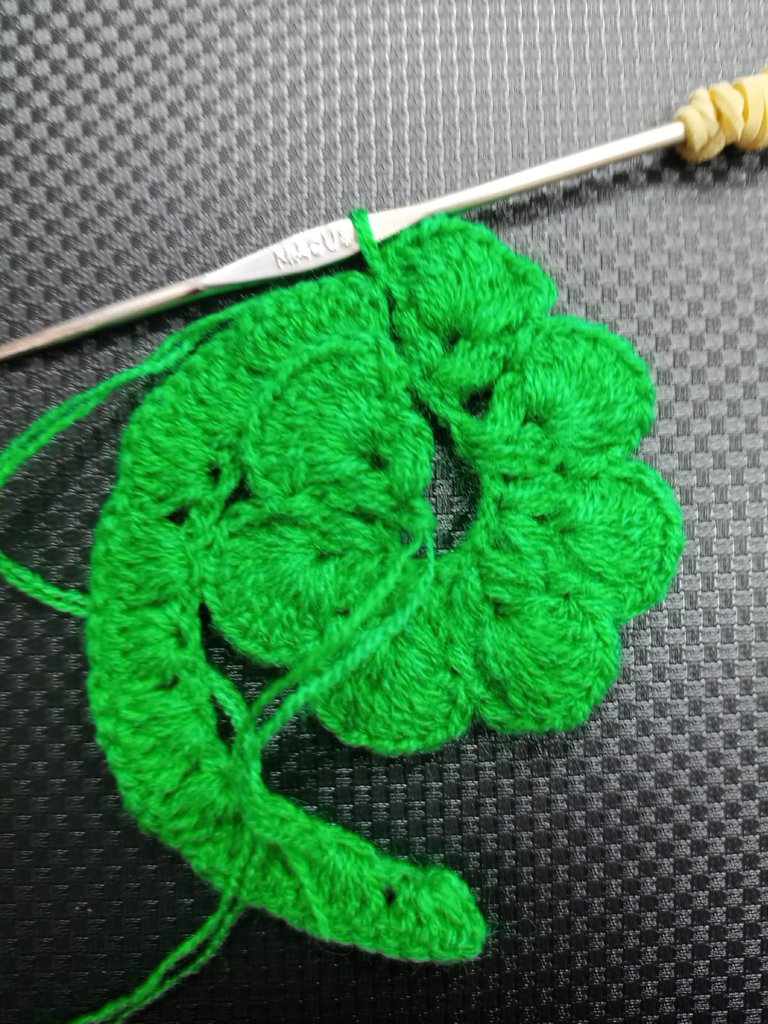
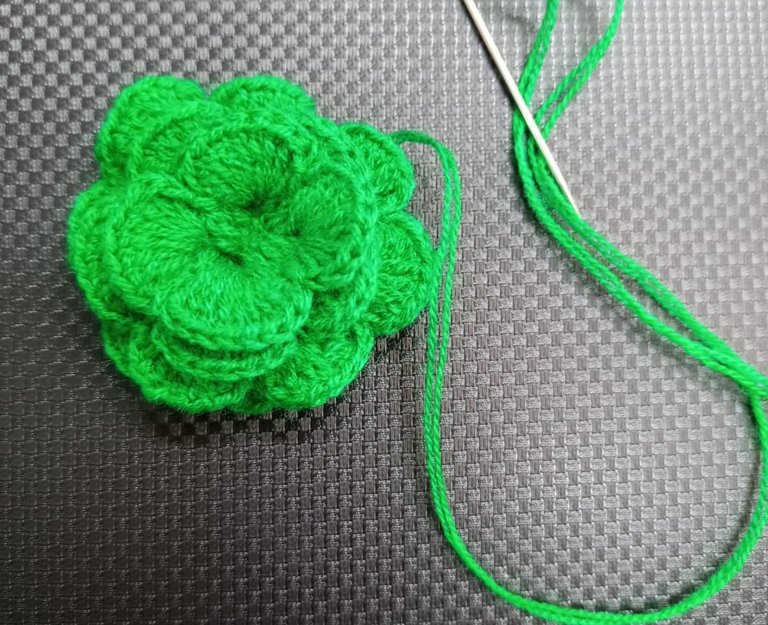
>For the second round we go up with 1 single crochet and in the middle of the 4 double crochets of the previous round we make 9 double crochets in the same point, followed by a slipped stitch in the next space, this will give us the first petal of the flower. And so we continue with the entire lap until the end. We close with a slipped stitch and cut the thread. We arrange the piece to shape the flower and sew it to adjust it.
Ahora vamos a pegar las plantillas para que nos queden fuerte, bueno a mi me gusta que queden fuertecitas. Para esto yo utilizo foami, cartón y también icopor delgado. Con esto hago una plantilla de la medida de la suela de mi trabajo para ponerla en el centro entre las dos partes iguales que hicimos al comienzo del trabajo.
>Now we are going to glue the templates so that they are strong, well I like them to be strong. For this I use foam, cardboard and also thin Styrofoam. With this I make a template of the sole measurement of my work to put it in the center between the two equal parts that we made at the beginning of the work.
las juntamos tomando lazada y haciendo punto deslizado por cada punto tomando las dos piezas. hacemos 1 punto deslizado seguido de 1 cadena así hasta cerrar todo alrededor de las 2 piezas.
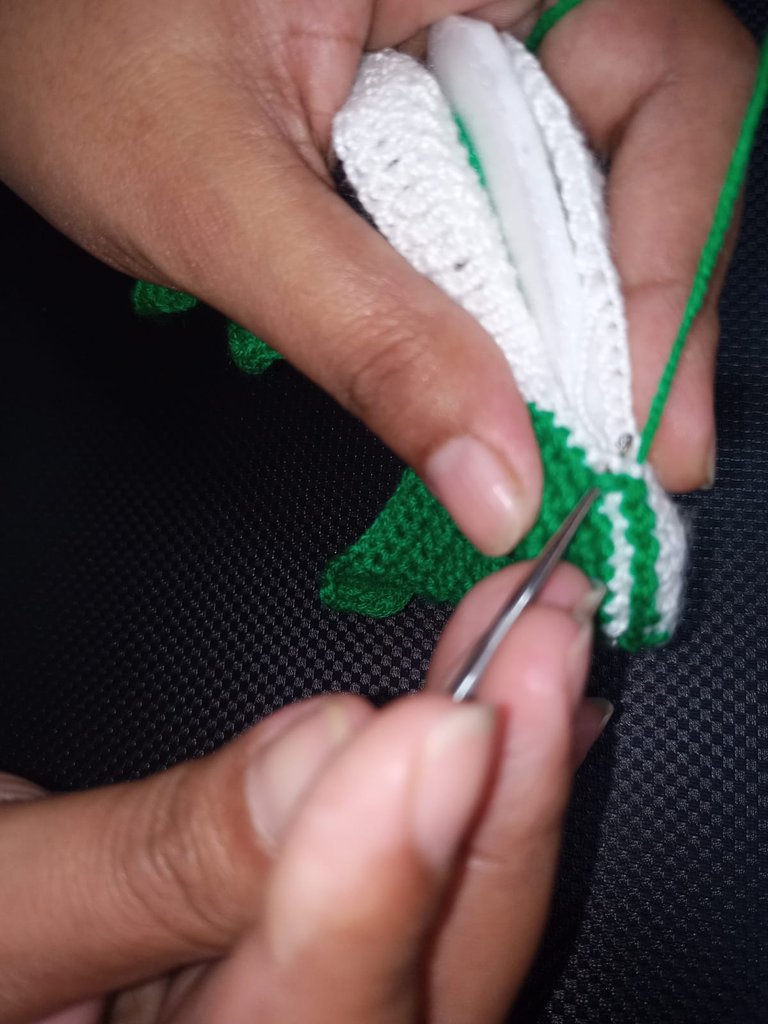
>We put them together by yarn over and do slip stitch for each stitch taking the two pieces. We make 1 slipped stitch followed by 1 chain like this until we close everything around the 2 pieces.
Ahora seguimos pegando la flor es muy sencillo. Con la aguja lanera la cocemos haciendo puntadas desde el centro de la flor con la pieza delantera de la sandalia, o la pegamos con silicona fría.
>Now we continue gluing the flower, it is very simple. With the wool needle we sew it by making stitches from the center of the flower with the front piece of the sandal, or we glue it with cold silicone.
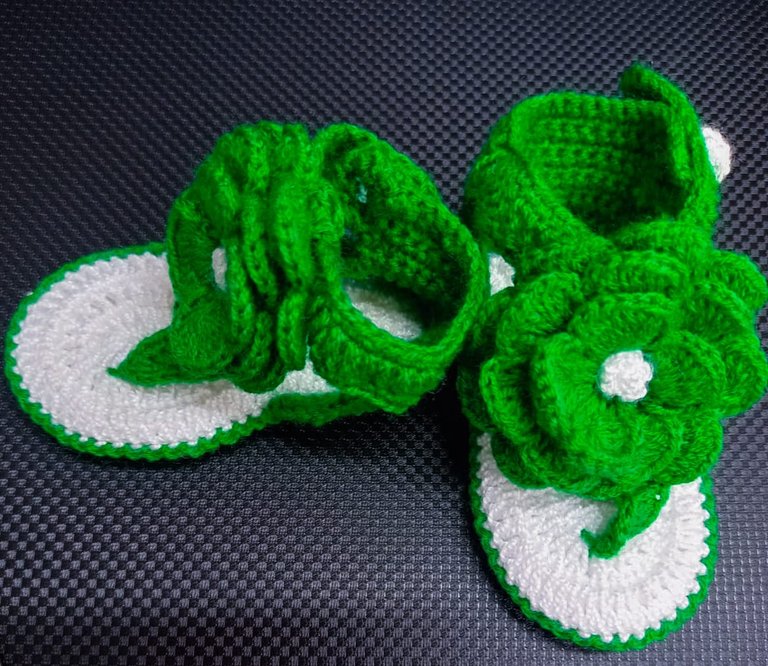
Así completamos nuestro proyecto de hoy, espero que les guste y sea comprensible el tutorial y puedan replicarlo.
>This is how we complete our project today, I hope you like and understand the tutorial and can replicate it.
Congratulations @mare0480! You have completed the following achievement on the Hive blockchain And have been rewarded with New badge(s)
Your next payout target is 100 HP.
The unit is Hive Power equivalent because post and comment rewards can be split into HP and HBD
You can view your badges on your board and compare yourself to others in the Ranking
If you no longer want to receive notifications, reply to this comment with the word
STOPTo support your work, I also upvoted your post!
Check out our last posts:
También me encanta hacer prendas para niñas por lo hermosas que quedan y esto ha quedado verdaderamente bello. La combinación de colores y esa flor me encantó. Gracias por compartir tu proyecto. Saludos.
Muchas gracias siempre me gusta compartir los proyectos que hago. Me alegro que le guste. Seguiré publicando
Esto es precioso un arte maravilloso, estas sandalias quedaron lindas y cuchis, 💕 💖 felicidades por tu arte.
Muchas gracias. Cada día me enamoro más de este arte.
Hola Maregnis :) Que hermosas que te quedaron estas sandalias y con todo el paso a paso para que cualquiera pueda realizarlas. Un trabajo muy prolijo, te felicito 💕.
¡Bienvenida a la comunidad Needle Work Monday! Cada semana los trabajadores de la aguja de todo el mundo compartimos nuestro trabajo, patrones, consejos, ideas y atajos mientras nos apoyamos unos a otros. El objetivo es inspirar a Hive blockchain a darle una oportunidad a la artesanía.
Los lunes usamos la etiqueta #needleworkmonday y los demás días usamos la etiqueta #needlework sin la palabra lunes. Compartimos y publicamos nuestro trabajo directamente desde la página de la Comunidad.
Animamos a nuestros miembros a que compartan el proceso de su trabajo a través de fotos. Esto no sólo valida su trabajo sino que nos lleva al viaje creativo con ustedes.
Para más información sobre lo que hacemos y para nuestras pautas de publicación por favor visita nuestras FAQs.
También te invito a unirte a nuestro canal de Discord.
Gracias 💕.
Muchas gracias a mí me encanta compartir lo que se y se también que hay imperfecciones pero la idea es mejorar cada día y en esta comunidad se que aprenderé muchísimas cosas.
Super cuchis, me encantan, Gracias por compartir el tutorial
Tengo una duda, yo soy de Venezuela nosotros aqui le decimos aguja de crochet o gancho de crochet, y macrame le decimos a tejer con nudos, de donde eres? Es una curisidad!
Hola soy de Colombia. Acá tambíen. Le decimos Maresme a tejer con nudos. Es que como yo a veces tejo crochet con hilo de macramé como que se me fue así. Pero es una aguja de crochet.
This is absolutely beautiful,I love it
You chose the perfect colors for this
I like how you decorated it with the flower too
This is really pretty
Sii me gustó mucho esa combinación de colores. Muchas gracias por el comentario.
que bellas te quedaron, me encanta el color.
Muchas gracias. Haré otras en otro modelo en estos días.
¡Qué sandalias más lindas!, además estupenda combinación de colores. Saludos.
Estoy feliz que a muchos personas les haya gustado mi proyecto
Que monada, buen trabajo. Impresionante.
Muchas gracias por su apoyo.