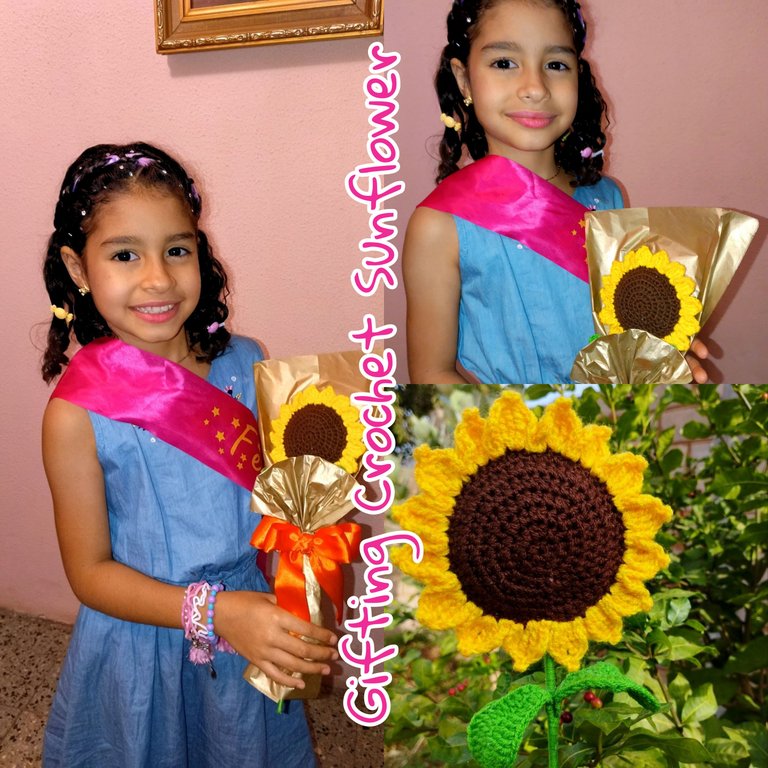
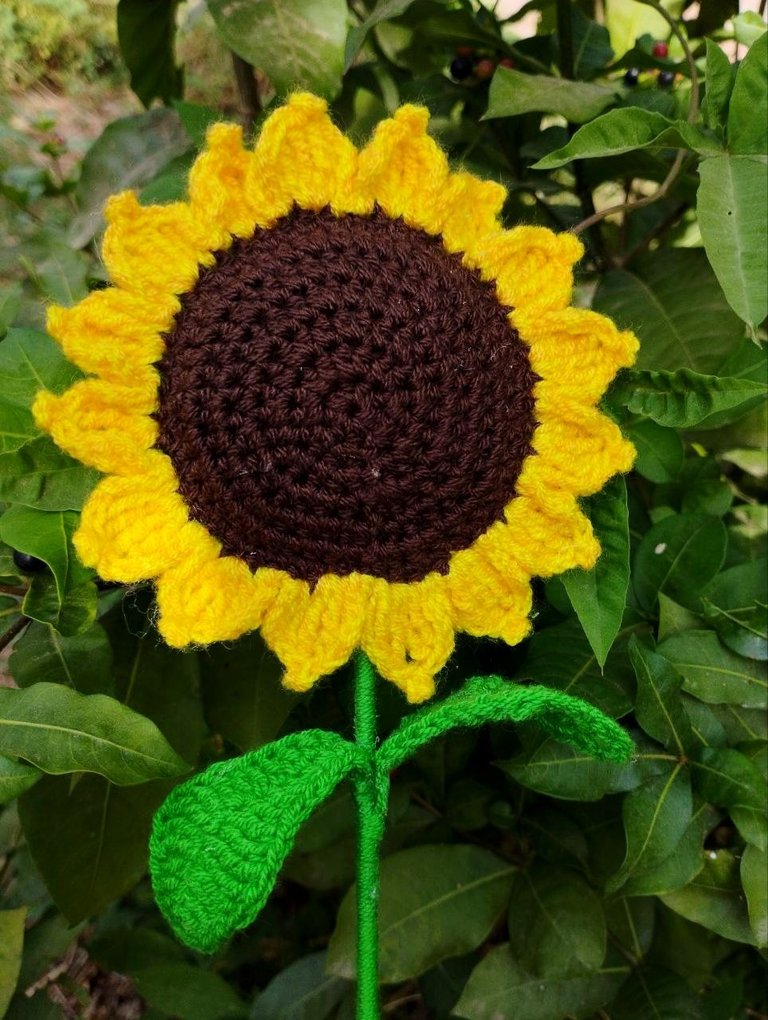
Hello my crochet friends, have a happy Friday! Today I'm sharing a beautiful crochet sunflower that I made as a birthday gift for my granddaughter. 🌻❤️
Hola mis amigos crocheteros tengan un feliz viernes, hoy les comparto un hermoso girasol elaborado a crochet que hice para obsequiar a mi nieta por su cumpleaños. 🌻❤️
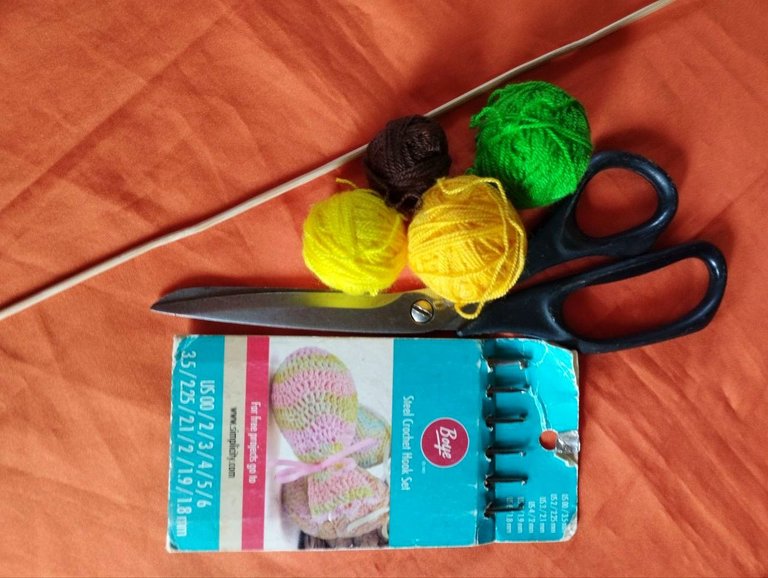
The materials used in its elaboration: Crochet threads in orange and yellow, green and brown, 1 skewer stick, cotton for stuffing, scissors, silicone glue, 1 tissue paper for decorating, the stitches used: Single crochet, normal double crochet, double crochet double loop, double crochet with 3 loops, double crochet with 4 loops and slip stitches.
Los materiales usados en su elaboración: Hilos de crochet en los colores naranja y amarillo, verde y marrón, 1 palito de brocheta, algodón para rellenar, tijeras, pega silicón, 1 papel seda para decorar, los puntos usados: Puntos bajos, puntos altos normales, puntos altos doble lazada, puntos altos de 3 lazadas, puntos altos de 4 lazadas y puntos deslizados.
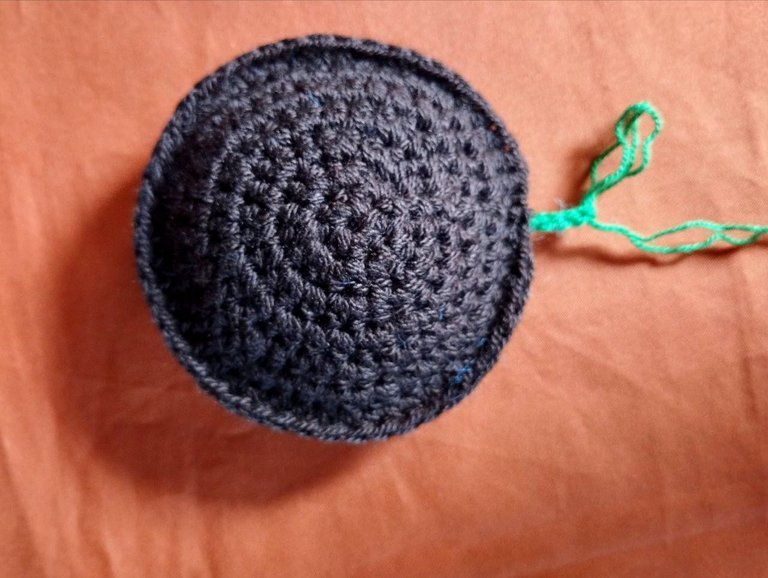
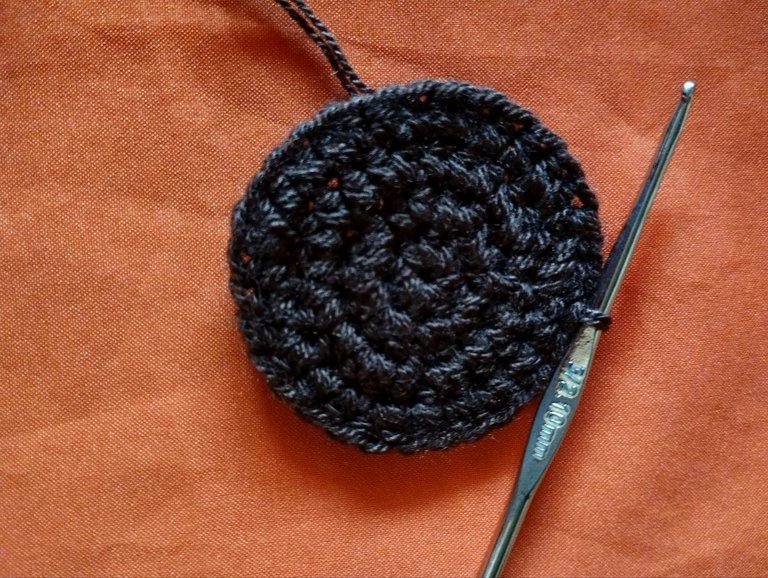
We'll work with double-stranded yarn. We start with the brown yarn, make the magic circle, and within it, we'll work 8 single crochet stitches. Row 2 is worked with pure increases.
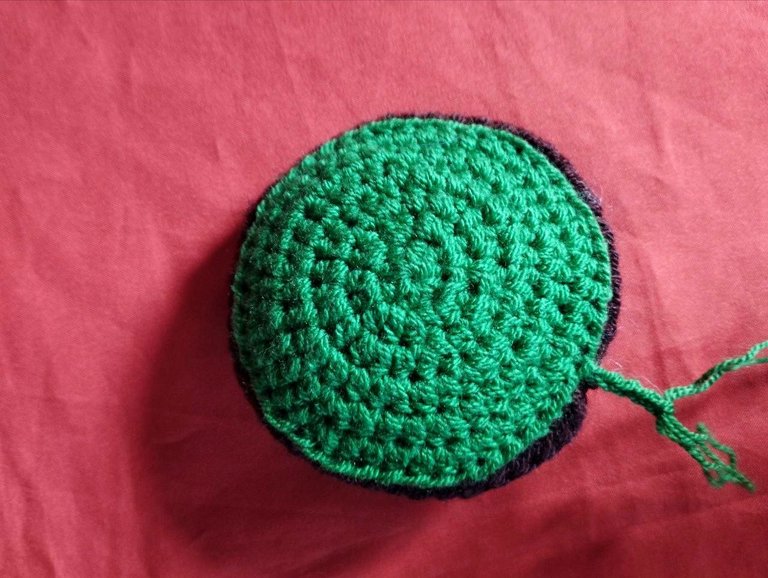
Rows 3, 4, 5, and 6 work 8 increases in each row, and we'll have a total of 48 stitches at the end. We don't cut the yarn and leave the piece waiting to continue. We switch to the green yarn and make a circle similar to the brown one with the same number of stitches (48).
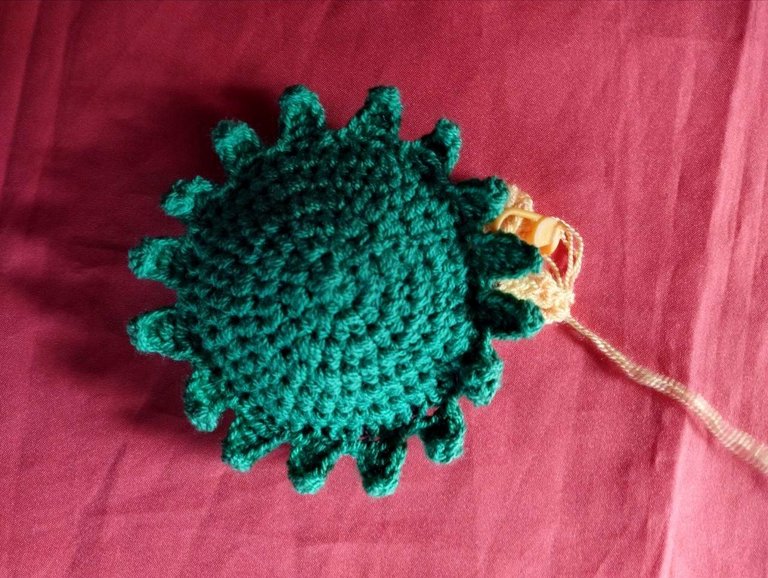
In this part we make the petals in the following way: taking only one chain from the row, we make 1 chain of 5 stitches, we go back with a single crochet, 1 half double crochet, 2 normal double crochets, we skip 1 space and slip stitch in the next one, we run another slip stitch and make another petal, we continue like this until we finish we will obtain 16 petals, we take again the brown circumference and join it with the green one in this way, taking the brown stitch completely and the other green chain and we make double crochets stitches over stitches we would have 48 stitches joined together.
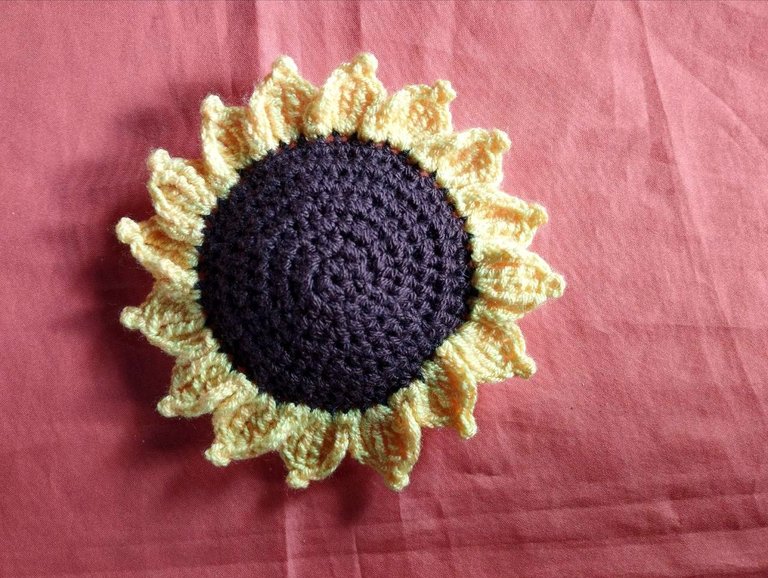
Before completely closing the two circles, we add a little synthetic filling to give it a better shape and leave 1 stitch loose to insert the height stick. Now we take the orange and yellow yarn and begin the flower arrangements as follows: 2 chains of 4 stitches, 1 double crochet loop in the same space, in the next space 1 double crochet loop of 3 loops, 1 double crochet loop of 4 loops, 1 picot stitch, 1 double crochet loop of 4 loops, 1 double crochet loop of 3 loops all in the same space, in the next space we make 1 double crochet loop of 3 loops and 4 chains, close with a slip stitch, make another slip stitch, and form another petal with the same sequence of stitches. This way, we work the entire circle, the result would be 16 petals in total.
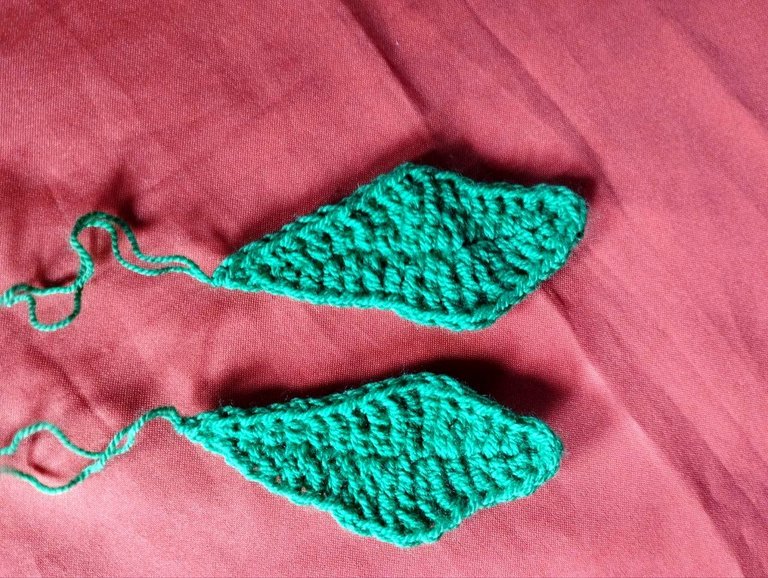
With the green thread we proceed to cover the tall stick leaving about 2 cm at the tip uncovered to make it easier to place, we work the leaves like this, 15 chains, we return with 2 single crochet, 2 half double crochet, 2 normal double crochet, 2 double crochet double loop in the same space, 2 double crochet of 3 loops in the same space, 2 double crochet of 2 loops in the same space, 2 normal double crochet, 2 half double crochet and in the last chain we make 3 single crochet and we return doing stitch over stitch like the other end, we leave a long thread to be able to place the leaves on the stick, to make them more secure we put a drop of silicone.
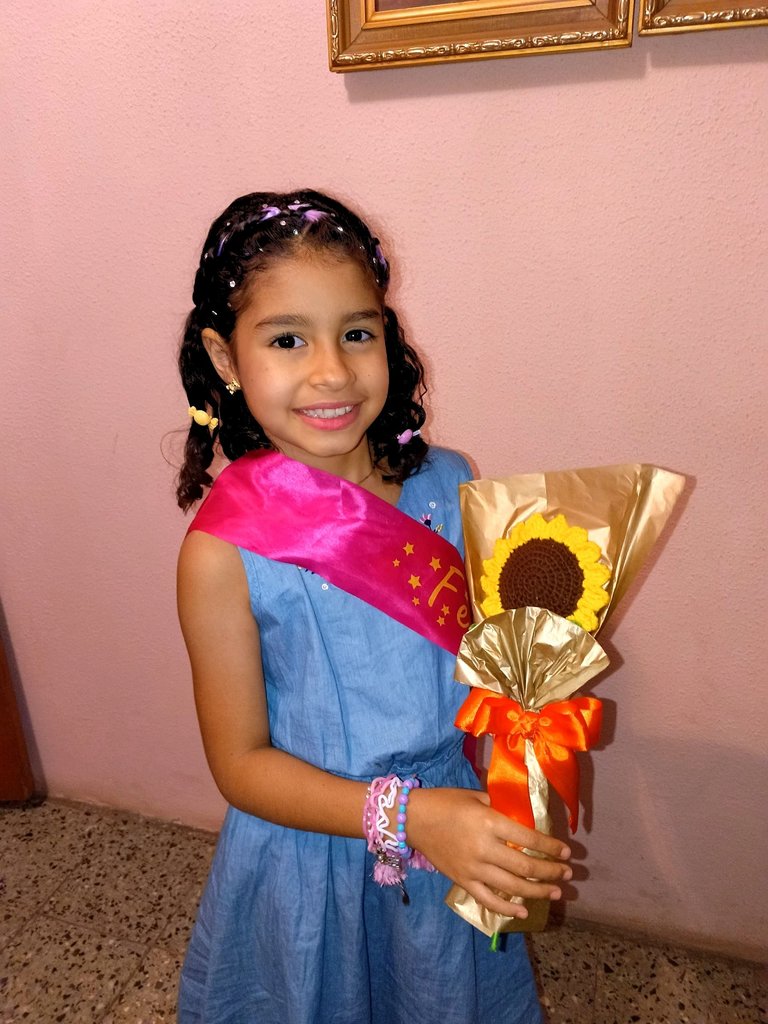
We also arrange the petals and place a small drop of silicone on them so that they are secured to the petals, then we proceed to place the stick inside the flower ensuring its stability with silicone. Once the entire flower is finished, I proceed to wrap it in tissue paper and then place a ribbon on it to secure the packaging.
Trabajaremos con el hilo doble hebra, comenzamos con el hilo color marrón, hacemos el circulo mágico y dentro de este y 8 puntos bajos, la fila 2 se trabaja con puros aumentos.
Las filas 3, 4, 5 y 6 trabajamos 8 aumentos en cada fila y obtenemos al final (48) puntos en total, no cortamos el hilo y dejamos en espera la pieza para continuar, cambiamos por el hilo color verde y hacemos un circulo igual al marrón con los mismos puntos (48).
En esta parte elaboramos los pétalos de la siguiente manera: tomando solo una cadenita de la fila, hacemos 1 cadena de 5 puntos nos regresamos con un punto bajo, 1 punto medio alto, 2 puntos altos normales saltamos 1 espacio y pinchamos con punto deslizado en el siguiente, corremos otro punto deslizado y hacemos otro pétalo, así seguimos hasta finalizar obtendremos 16 pétalos, tomamos de nuevo la circunferencia color marrón y la unimos con la de color verde en esta forma, tomando el punto marrón por completo y la otra cadenita de color verde y vamos haciendo puntos altos puntos sobre puntos nos quedarían los 48 puntos unidos.
Antes de cerrar por completo las dos circunferencias le colocamos un poquito de relleno sintético para darle mejor forma y dejamos un 1 punto o flojo para introducir el palito de altura, ahora tomamos el hilo de color naranja y el de color amarillo y empezamos los regalos de la flor de la siguiente forma; 2 cadenas de 4 puntos, 1 punto alto doble lazada en el mismo espacio, en el siguiente espacio 1 punto alto de 3 lazadas, 1 punto alto de 4 lazadas, 1 punto picót, 1 punto alto de 4 lazadas, 1 punto alto de 3 lazadas todos en el mismo espacio, en el siguiente espacio hacemos 1 punto alto de 3 lazadas y 4 cadenas cerramos con punto deslizado, hacemos otro punto deslizado y formamos otro pétalo con la misma secuencia de puntos, así trabajamos toda la circunferencia, el resultado serían 16 pétalos en total.
Con el hilo verde procedemos a forrar el palito de altura dejando unos 2 cm en la punta sin forra para que sea más fácil su colocación, las hojas las trabajamos así, 15 cadenas, nos devolvemos con 2 punto bajo, 2 puntos medio altos, 2 puntos altos normales, 2 puntos altos doble lazada en el mismo espacio, 2 puntos altos de 3 lazadas en el mismo espacio, 2 puntos altos de 2 lazadas en el mismo espacio, 2 puntos altos normales, 2 puntos medio alto y en la última cadena hacemos 3 puntos bajos y nos regresamos haciendo punto sobre punto como el otro extremo, dejamos un hilo largo para poderlo colocar las hojas en el palito, para que queden más segura le colocamos una gotita de silicón.
También los pétalos los acomodamos y les colocamos una gotita de silicón para que queden asegurados a los pétalos, entonces procedemos a colocar el palito dentro de la flor asegurando su estabilidad con silicón, ya terminada toda la flor procedi a envolverla en un papel seda y luego le coloque una cinta para asegurar el empaque.
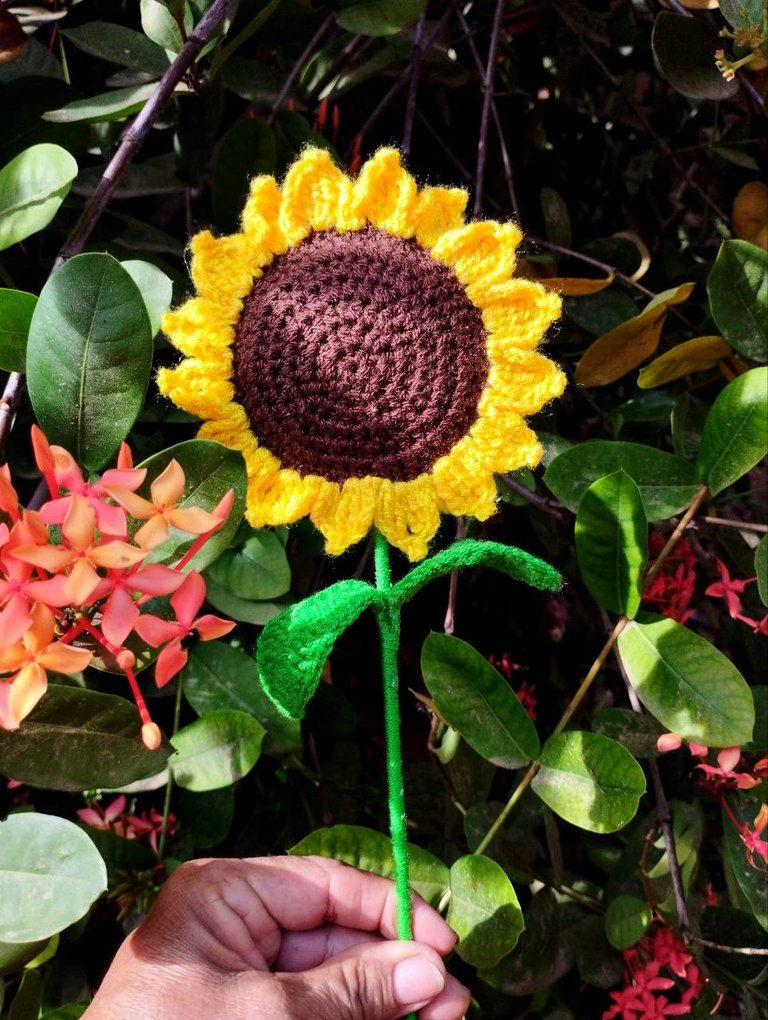
Dear crochet friends, thank you for sharing. Once again I present another sunflower that was inspired by the previous one, but this time for my princess who was turning 8 beautiful years old and she loves this kind of things. 🫂🫂❤️
Apreciados amigos crocheteros gracias por compartir, una vez más les presento otro girasol el cual se motivo al anterior pero en esta ocasión para mi princesa que cumplía 8 hermosos años y ella ama este tipo de cosas, sin más saludos 🫂🫂❤️

The photographs are my own, taken with my Redmi Note 11 cell phone and edited with the Instagram application, the translation of the text was done using this means: Google.
My Instagram account and work venture is:
Siriuscrochet, the magic of knitting.
Las fotografías son de mi autoría tomadas con mi celular Redmi Note 11 y editadas con la aplicación Instagram la traducción del texto la realice utilizando este medio: Google.
Mi cuenta de Instagram y emprendimiento laboral es:
Siriuscrochet, la magia de tejer.
Quedó muy lindo😍
Gracias amiga 🫂
That's really sweet of you. To the one you are giving this gift would keep this gift very carefully because your alot of effort is involved in making this sunflower crochet.
The final result of this sunflower is amazing.
Thank you very much, it was made with much love for my precious girl, 🙏🏻🙏🏻
Beautiful sun flowers for a beautiful granddaughter, that a great idea and the outcome is really lovely.
Thank you very much, I did it with the greatest love, for my precious girl. 🙏🏻🙏🏻
Todo bellísimo!!! La nieta hermosa y el girasol ni se diga...me encantó tu publicación. 🤗
Muchas gracias amiga, es mi niña consentida muchas 🙏🏻🙏🏻🫂
It's really creative idea of making the flower bouquet out of crochet. The final result is really really beautiful.