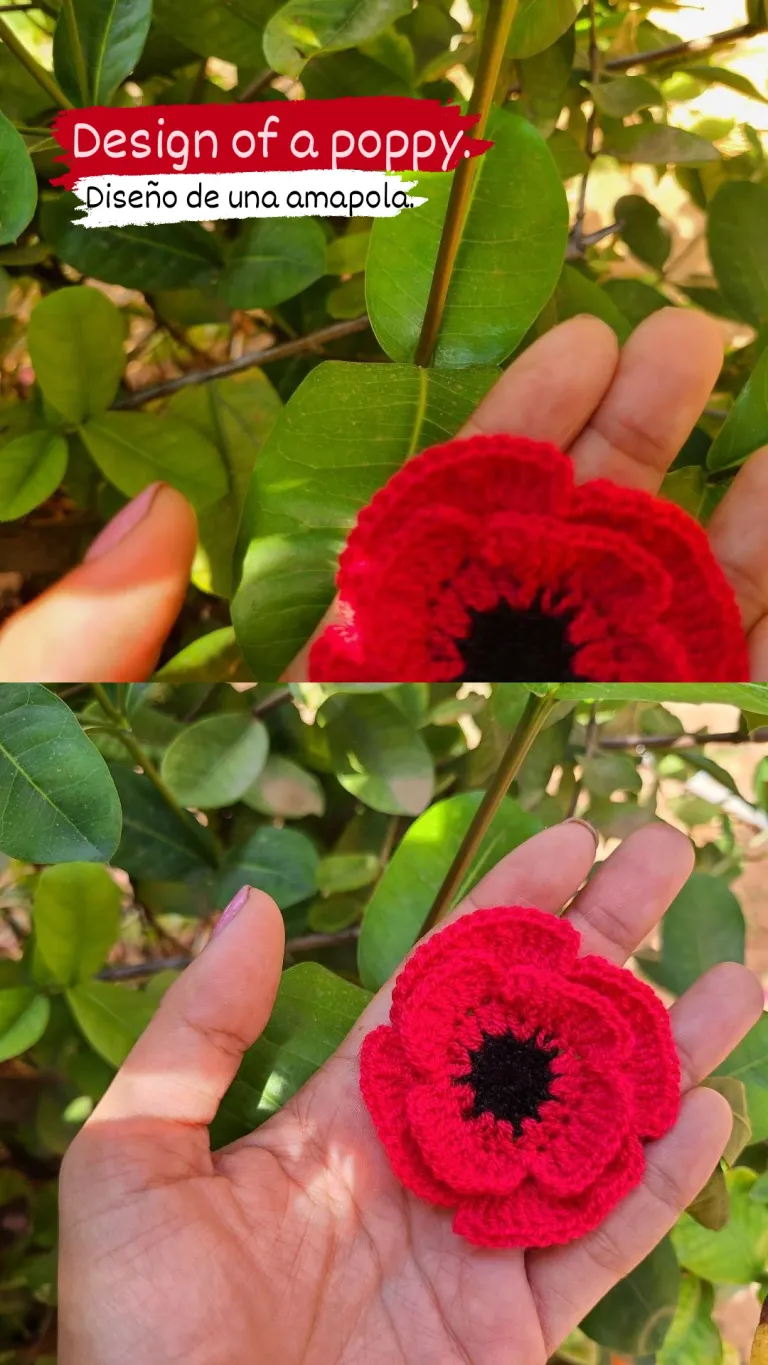
Hello friends, how are you, I hope you are enjoying your weekend ☀️ here is the tutorial of a mini poppy flower, I really like it to decorate girls' clothes and headbands, I hope you like it and it is useful to you
Hola amigos como están, espero estén disfrutando su fin de semana ☀️ acá la es dejo el tutorial de una mini flor de amapola, me gusta mucho para decorar ropa de niña y diademas, espero les agrade y les sea de utilidad.
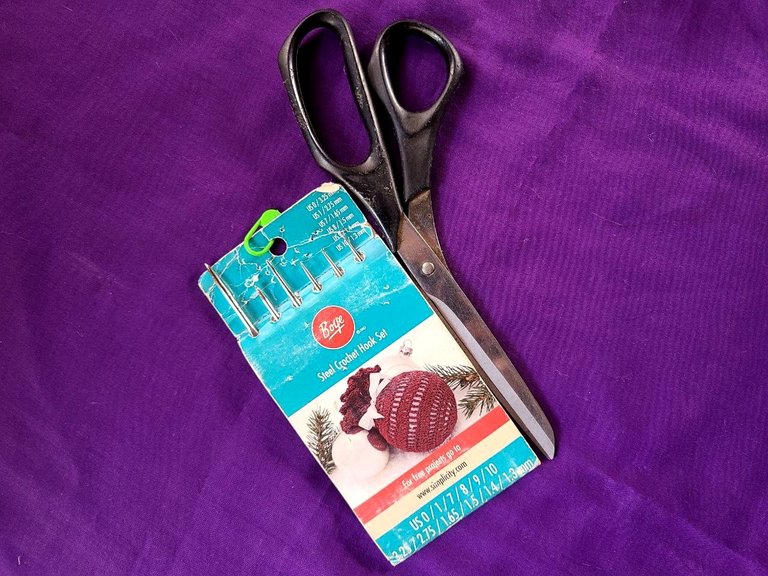
🧶 Materials to use:
✓Crochet threads: red and black. ✓Sewing needle number 5.
✓Scissors.
🧶 Points to use:
✓Normal high points.
✓Double high points.
✓Slided points.
🧶 Materiales a utilizar:
✓Hilos crochet: rojo y negro.
✓Aguja de coser número 5.
✓Tijeras.
🧶 Puntos a utilizar:
✓Puntos altos normales.
✓Puntos altos dobles.
✓Puntos deslizado.


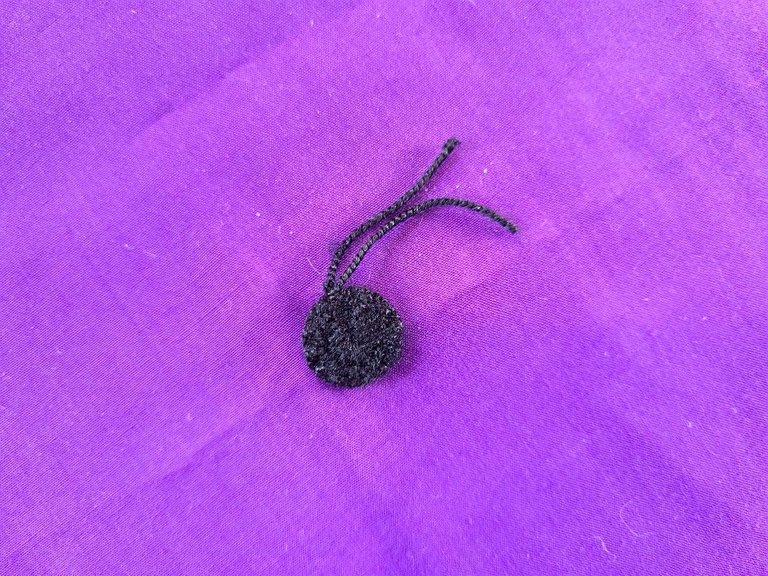
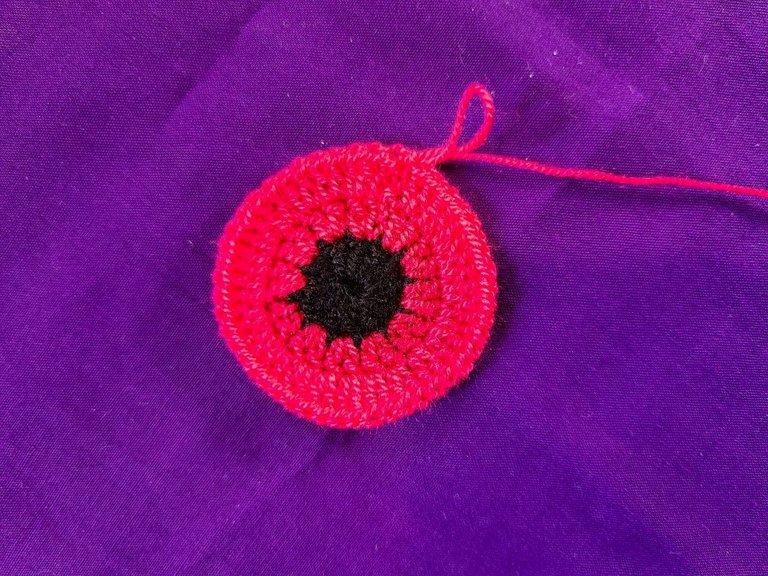
🧶 Step 1: We work with the black thread.
Row 1: We make a magic ring and inside we place 12 normal double crochets.
🧶 Paso 1: Trabajamos con el hilo negro.
Fila 1: Hacemos un anillo mágico y dentro colocamos 12 puntos altos normales.
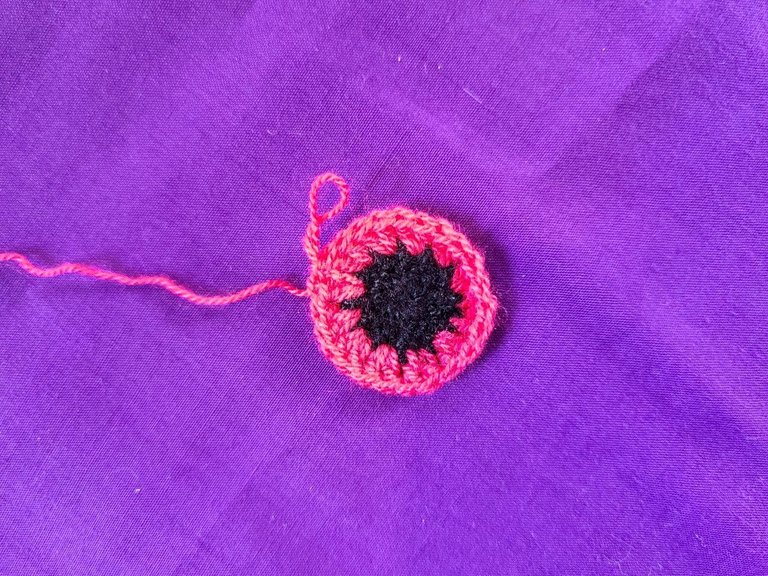
🧶 Step 2: Here we change the thread to the color red.
Row 2: We worked all the stitches with increase (24).
Row 3: 1 regular double crochet, followed by 1 increase.
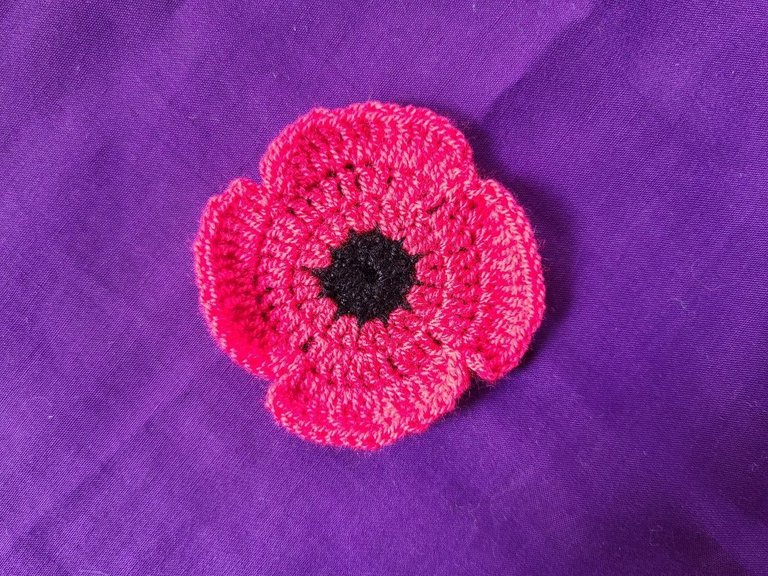
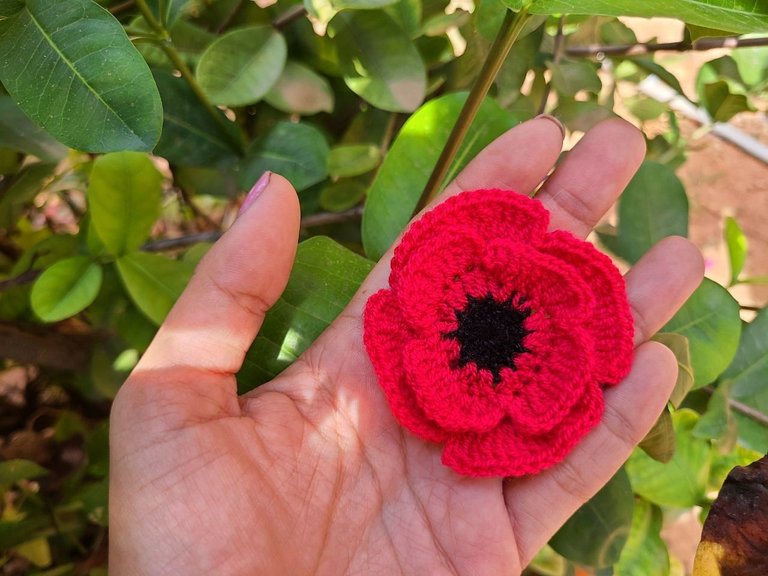
Row 4: We make the petals (4) 1 slipped stitch, 3 chains that replace 1 treble crochet, 7 double treble stitches with increase, 1 double treble crochet, 1 slipped stitch, we will also work the other 3 following petals.
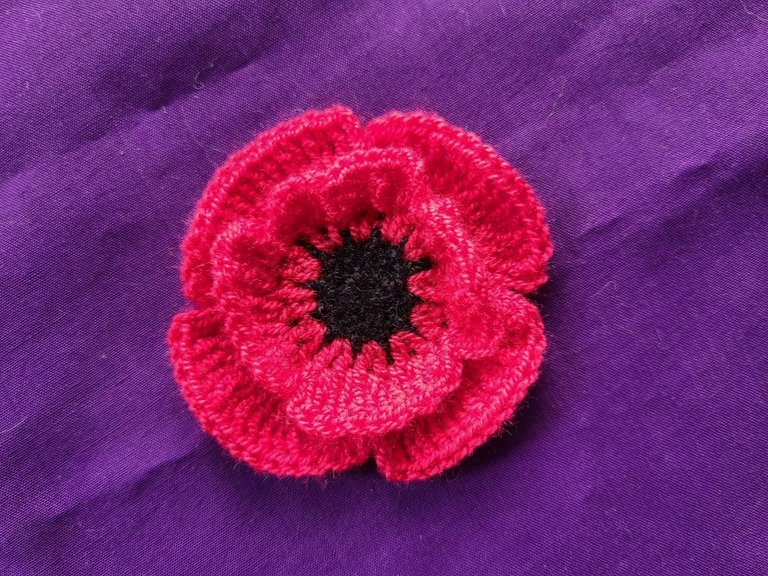
Between the first and second in the red row we raise 4 more petals, as follows: in the center of the other petal we start with a slipped stitch, 3 chains, 5 double treble crochets, 1 double treble crochet, 1 slipped stitch and continue as Likewise, form the other 3 petals.
🧶 Paso 2: Acá cambiamos el hilo por el color rojo.
Fila 2: Todos los puntos los trabajamos con aumento (24).
Fila 3: 1 punto alto normal, seguido de 1 aumento.
Fila 4: Hacemos los pétalos (4)
1 punto deslizado, 3 cadenas que suplen 1 punto alto, 7 puntos y altos dobles con aumento, 1 punto alto doble, 1 punto deslizado, así mismo trabajaremos los otros 3 pétalos siguientes.
Entre la primera y segunda en fila rojo levantamos 4 pétalos más, de la siguiente forma: en el centro del otro pétalo empezamos con un punto deslizado, 3 cadenas, 5 puntos altos dobles, 1 punto alto doble, 1 punto deslizado y continuamos de igual forma los otros 3 pétalos.
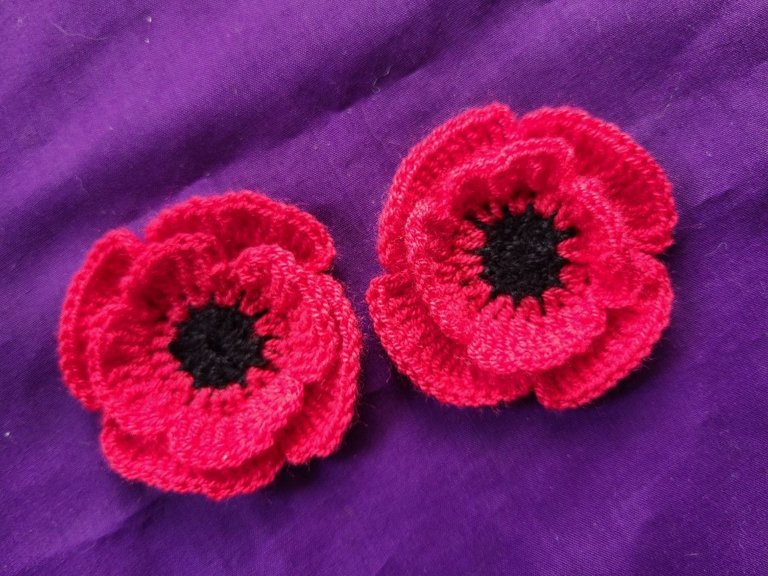
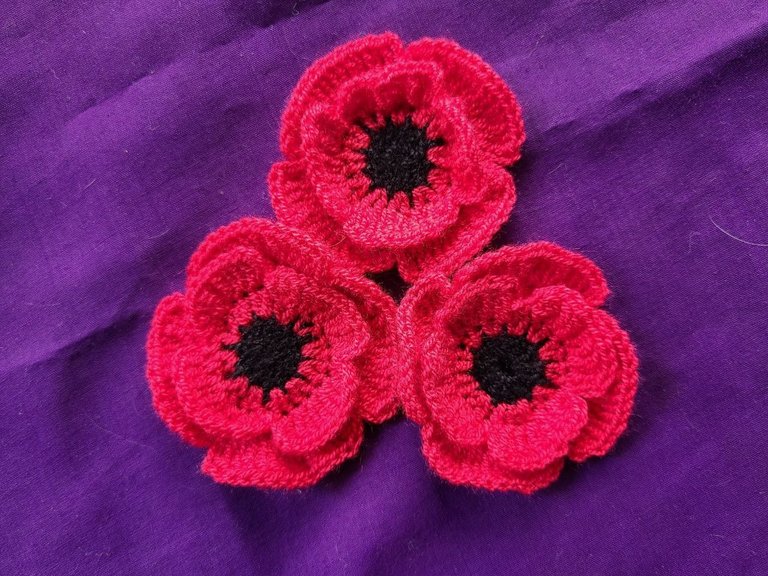
So we come to the end of this publication, as you can see, it is very short, because it is a very small flower, it is a mini poppy flower, especially for decorations on children's pieces. Greetings friends, have a nice weekend. 🌺
Así llegamos al final de esta publicación como pueden ver es muy corta, por que se trata de una flor muy pequeña, es una mini flor de amapola, especial para decoraciones en piezas infantiles. Saludos amigos que pasen un bonito fin de semana. 🌺🩷

I remember this so well. We were always forced to get them in school every 11th November. This looks great and well done
thank you very much friend, greetings🙏🏻🫂
You’re welcome