ENSEÑANDO COMO HACER UNA ZAPATERA


TEACHING HOW TO MAKE A COBBLER
Hello to everyone in the NeedleWorkMonday community.
A few days ago we had problems with the internet, since a part of the wifi router in my house was damaged so we talked to a friend @yohadice who lent us her wifi so that my daughter @angels212 could post, so talking to my friend while my daughter was posting, I discovered that she wanted to learn some sewing since her mother has a sewing machine.
I decided to teach her something very useful for her house, as she had commented to me that she needed to make the most of the space in the rooms.
So I came up with the idea of teaching her how to make a beautiful shoe rack that I had learned to make a few years ago.
So we set a date to make the best use of time and resources.
Well here I share with you how to make this shoe rack:
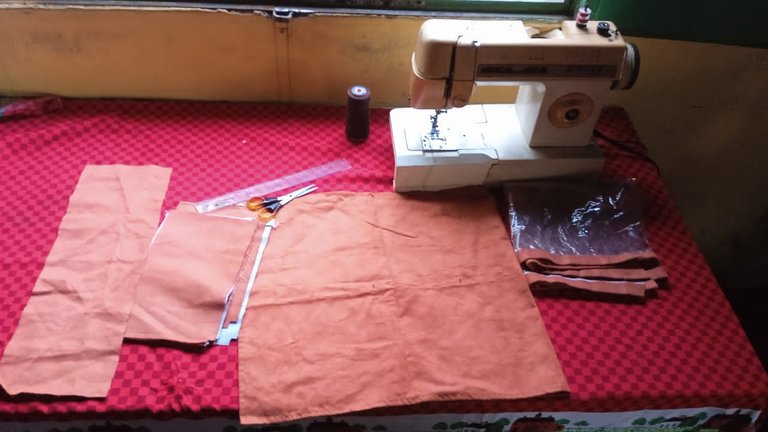
Materials
1 meter of mustard semi-leather
½ Transparent plastic
Scissors
Needle
Thread
One Meter
In addition:
2 sheets of office size machine
PRIMER PASO.
STEP ONE.
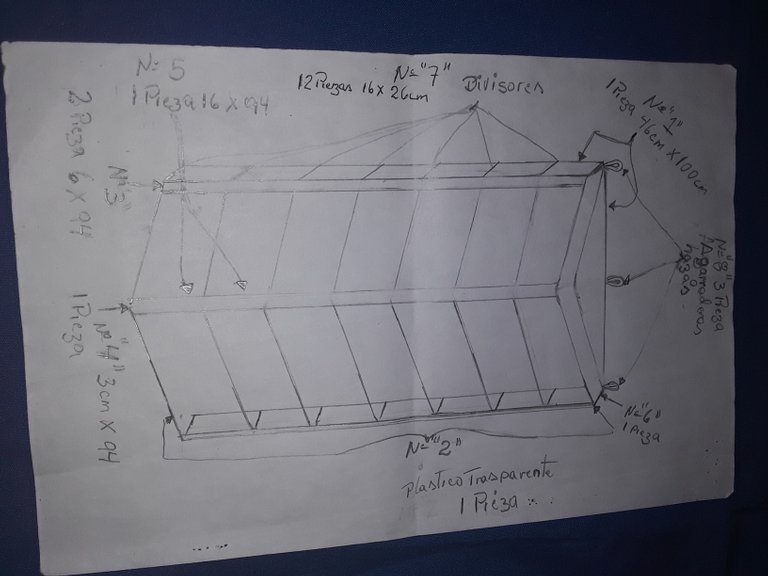
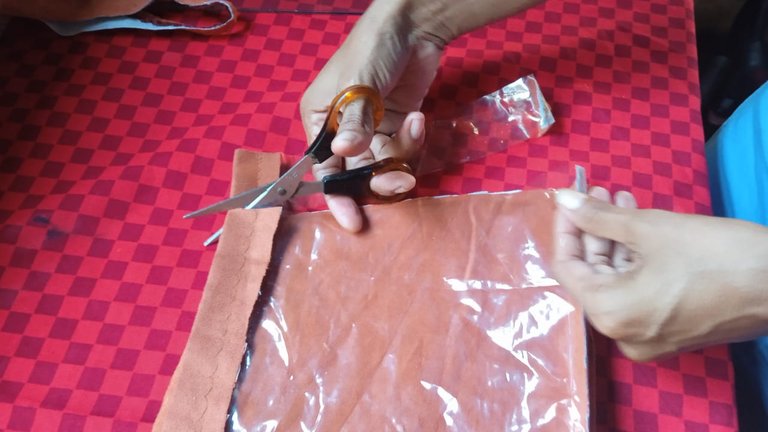
Cut the pieces. Well I was guided by one that I already had.
But when I saw the pictures at the time of making the publication I realized that it did not explain the step by step.
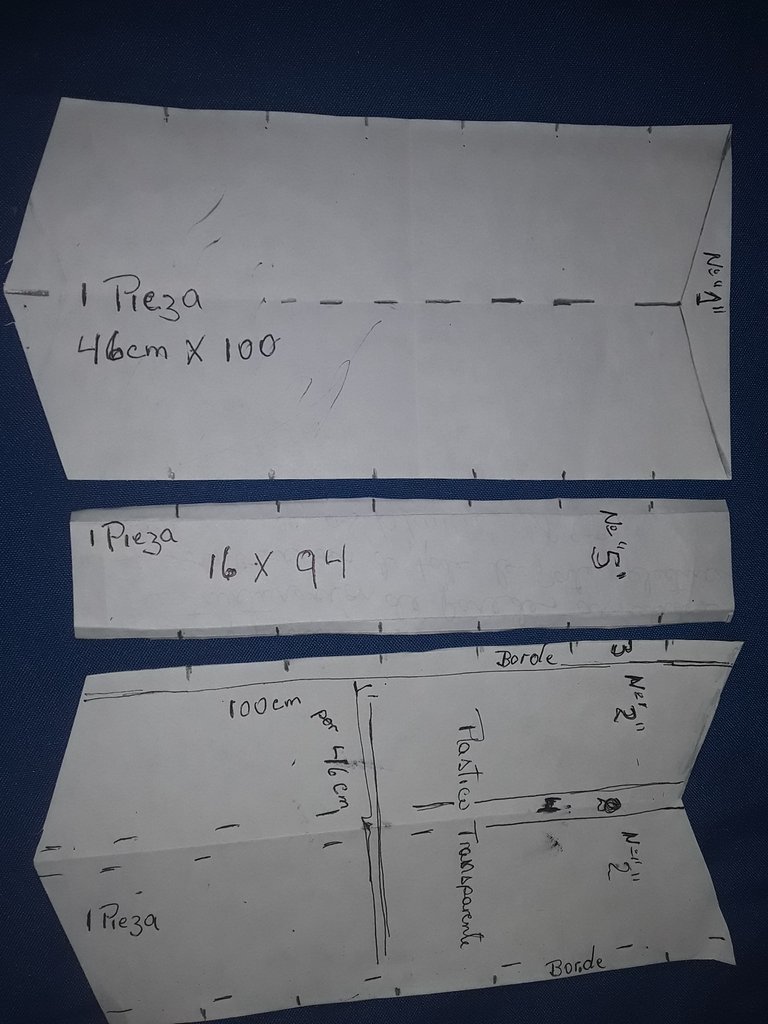
So I decided to make a pattern on an extra-office size machine sheet, to make it easier for everyone to understand the process. This thinking of those who are just starting out.
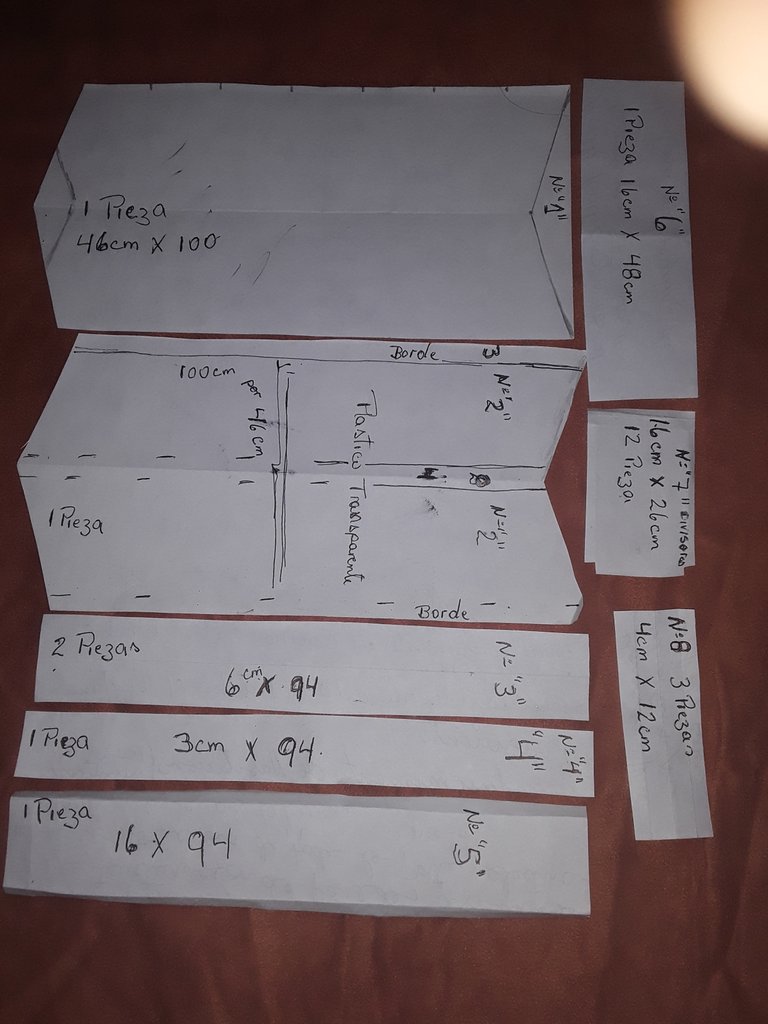
Also on another sheet I drew and cut out each of the parts and put the legend, listing each of its parts, with the number of pieces, the size in centimeters that has the shoe we made.
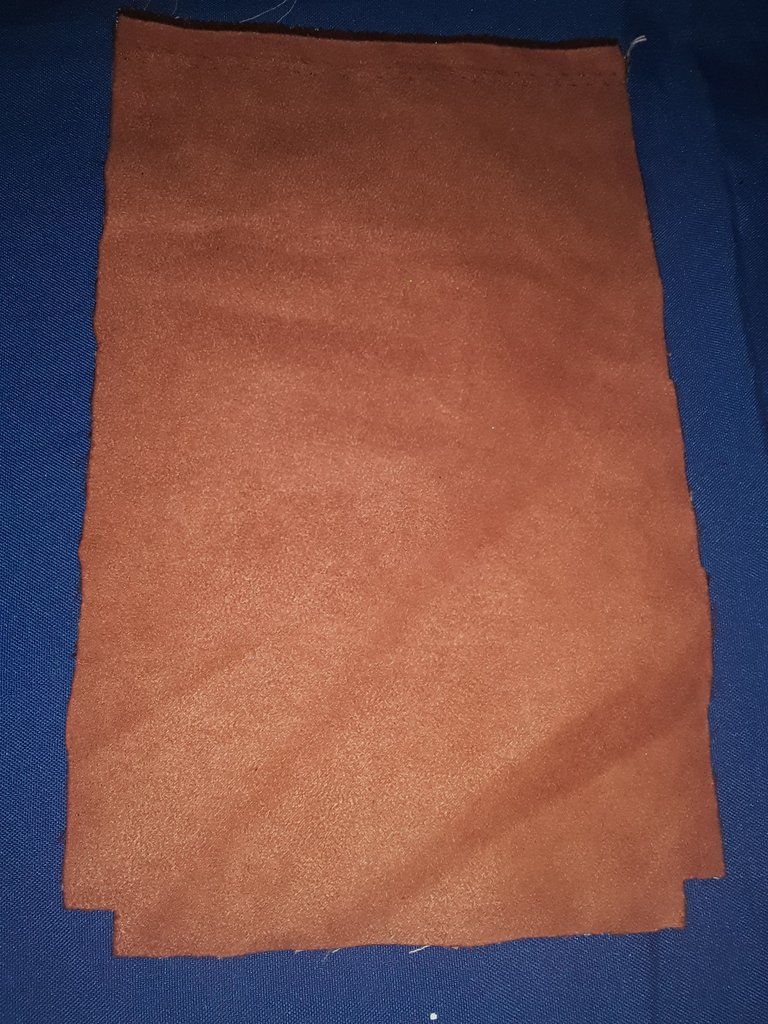
SEGUNDO PASO.
Luego corte cada una de las piezas que lleva.
Parte número 1.
Una pieza en Semicuero mostaza de 46cm por 100cm luego se dobla y se le quitan 8 cm en las esquinas de abajo y en el centro queda igualParte número 2.
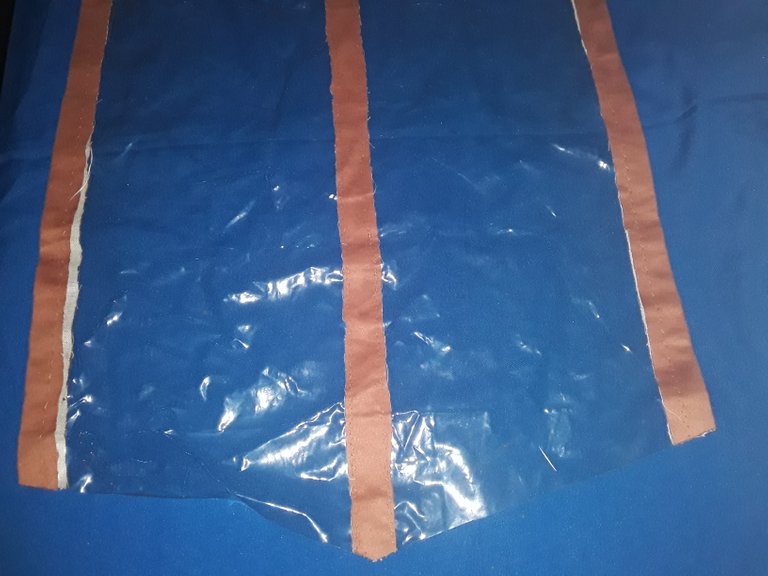
Una pieza en plástico transparente de 46cm por 100cm, luego se dobla y se les cortan en la parte de arriba 8cm en el centro y queda igual en las esquinas.
En la parte de abajo se les cortan los 8cm en las esquinas y en el centro queda igual
Parte número 3.
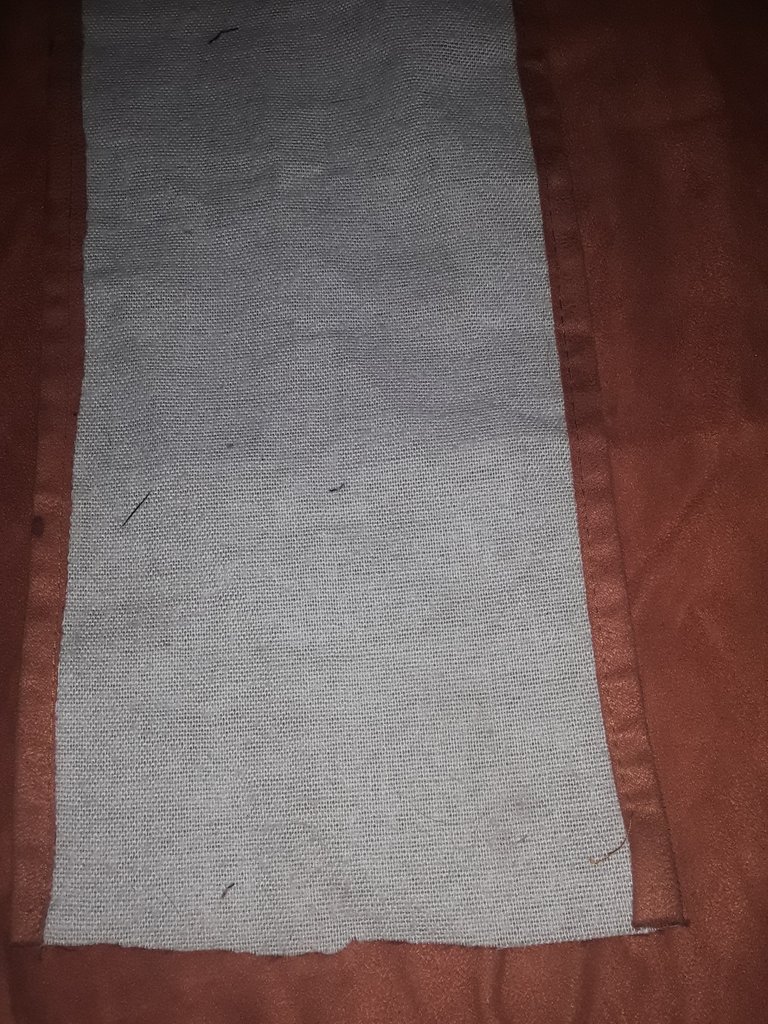
Dos piezas en Semicuero de 46cm por 94 cmParte número 4.
Una pieza en Semicuero de 46cm por 94 cmParte número 5.
Una pieza en Semicuero de 46cm por 94 cmParte número 6.
Una pieza en Semicuero de 16cm por 48cmParte número 7. O separadores
Doce piezas en Semicuero de 16cm por 26cm luego se dobla y quita en las esquina de abajo un cuadrito de un centímetro, es lo que permite crear la pestaña para la unión en el centro con la parte cinco (5)Parte número 8.
Tres piezas en Semicuero de 4cm por 12cm. Esta es para crear las agarraderas o las hazas
STEP TWO.
Then cut out each of the pieces you are carrying.
- Part number 1.
A piece in mustard semi leather of 46cm by 100cm then fold it and take off 8 cm at the bottom corners and in the center it remains the same.
- Part number 2.
A piece of transparent plastic 46cm by 100cm, then folded and cut 8cm in the center at the top and the corners remain the same.
In the bottom part cut 8cm in the corners and in the center remains the same.
- Part number 3.
Two semi-leather pieces of 46cm by 94cm.
- Part number 4.
One piece of half leather 46 cm by 94 cm.
- Part number 5.
One piece in half leather 46 cm by 94 cm.
- Part number 6.
One piece in half leather of 16cm by 48cm.
- Part number 7. Or separators
Twelve pieces in half leather of 16cm by 26cm then fold and remove in the bottom corner a square of one centimeter, is what allows to create the tab for the union in the center with part five (5).
- Part number 8.
Three pieces in Semicuero of 4cm by 12cm. This is to create the grips or the handles.
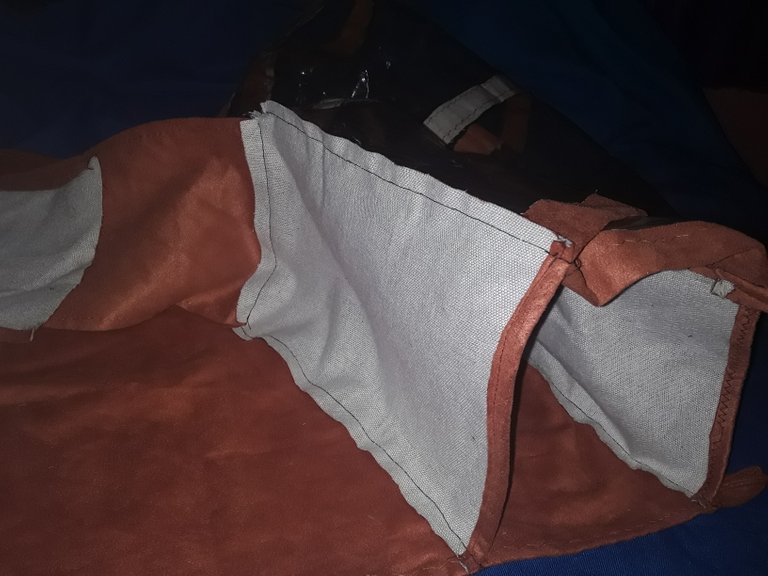
TERCER PASO
También colocarle a la parte número dos (2) que es el plástico, los bordes o parte número tres (3) y el refuerzo o la parte número cuatro (4) que la lleva en el centro
Coserle el ruedo por los lados a la parte número cinco (5).
Coserle el ruedo por los lados que va hacia a fuera a la parte número seis (6).
Coserle el ruedo por el lado que va hacia a fuera a las doce (12) piezas de la parte número (7), estos son los separadores.
Y coser doble a las tres piezas de la parte número ocho (8) que son para hacer las tres hazas.
STEP THREE
After cutting all the pieces.
The next step is to sew the hem on all sides to part number one (1).
Also place part number two (2), which is the plastic, the edges or part number three (3) and the reinforcement or part number four (4) which is in the center.
Sew the hem on the sides to part number five (5).
Sew the hem on the sides facing outward to part number six (6).
Sew the hem on the side facing out to the twelve (12) pieces of part number (7), these are the dividers.
And double stitch the three pieces of part number eight (8) which are to make the three rows.
CUARTO PASO
Una vez terminados todos los ruedos se marca con tiza o color en la parte número (1) donde van cada uno de los separadores
Asimismo en la parte numero dos (2) y en la parte número cinco (5) se marca también donde van cada uno de los separadores.
STEP FOUR
Once all the rows are finished, mark with chalk or color on the part number (1) where each of the separators go.
Also in part number two (2) and part number five (5) also mark where each one of the separators go.


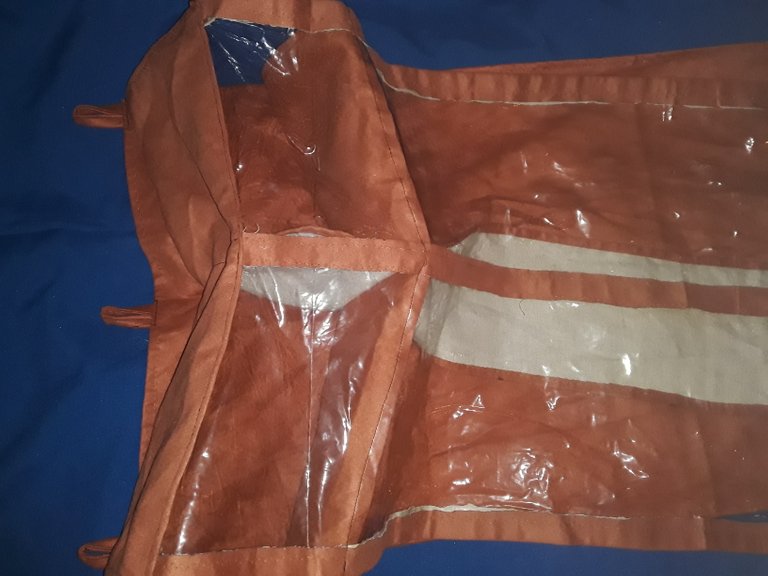
QUINTO PASO
FIFTH STEP
Then proceed to sewing:
Between the part number one (1) and part (2) goes the part number six (6) if you prefer it should be fixed with pins or with a stitch with needle and thread before, so as not to make a mistake.


SEXTO PASO
SIXTH STEP
Then glue the part number (5) and each of the spacers, which are twelve in total, in each of the marked points, fixing them also with pins or stitches so as not to make a mistake

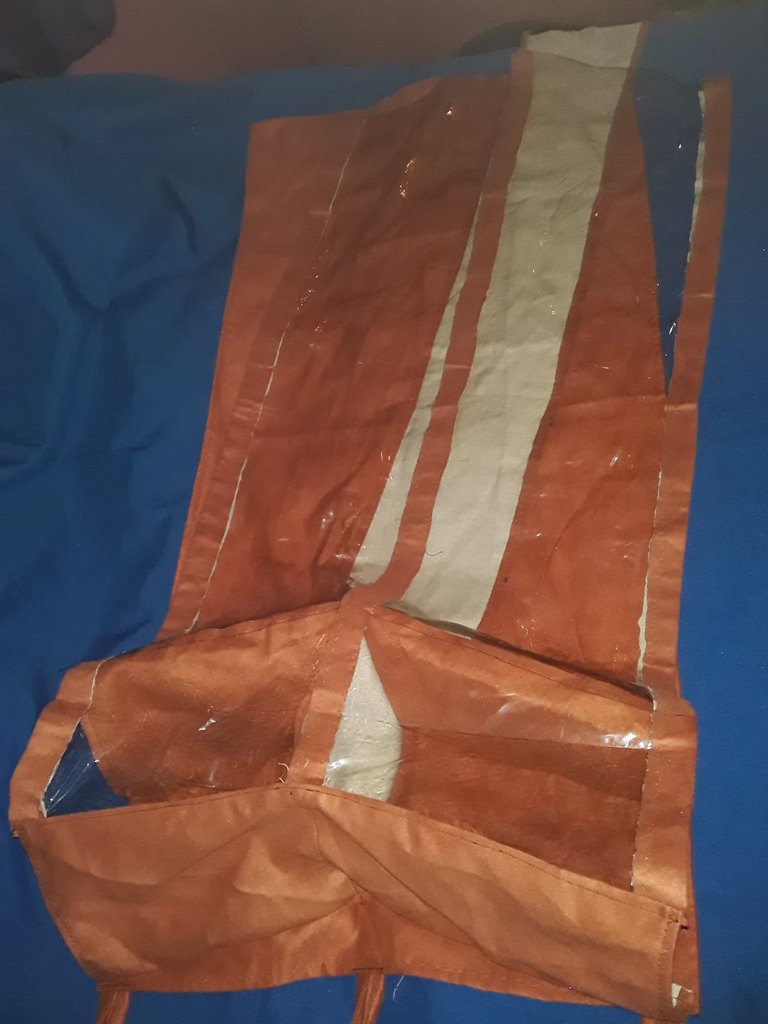
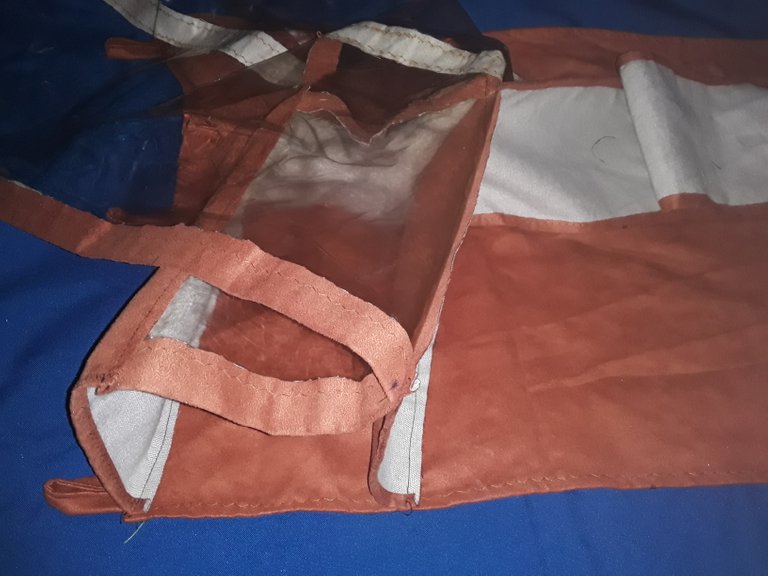
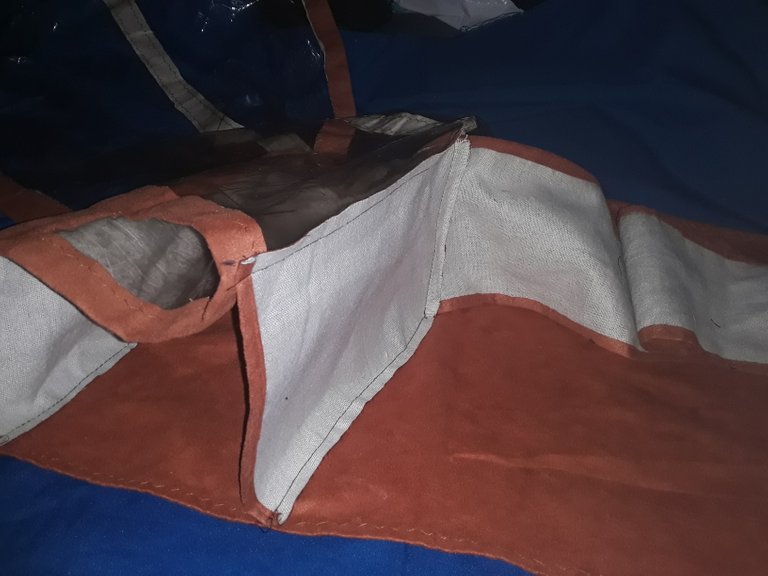
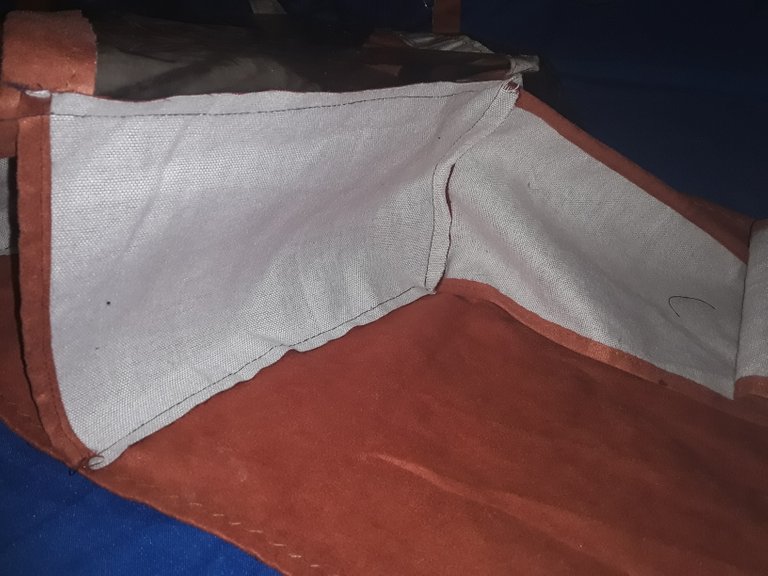
PRODUCTO FINAL
Bueno hasta la próxima y muchas bendiciones
FINAL PRODUCT
And this is how the finished work turned out.
Well I really enjoyed with my friend this project, to show her how to make a cobbler, especially because my friend is a beautiful person.
Well until next time and many blessings

Gracias por leer mi publicación
Thank you for reading my publication
Este es contenido original
This is original content
Este texto se tradujo en traductor Deepl.
Hola Lourd!! Buena maestra, la verdad es que me gustó mucho y bueno todos los días algo nuevo se aprende.. gracias por esa enseñanza.. bueno yo voy a escribir mi post desde mi experiencia y como una forma de agradecimiento a este inmenso detalle. Abrazos amiga
hola amiga . gracias me alegro que te haya gustado .. bueno en lo que necesites aprender de costura de lo que se, estoy a la orden, sera un placer .. claro amiga me encanta la idea de que publiques, estaré pendiente... un abrazotote
Hi miangel100pre,
Join the Curie Discord community to learn more.
hola @curie que hermosa noticia muchas gracias, es muy gratificante recibir este comentario, es de gran estimulo .. gracias, gracias feliz día .. En cuando a discord tengo unos detalles por resolver .
Congratulations @miangel100pre! You have completed the following achievement on the Hive blockchain and have been rewarded with new badge(s):
Your next target is to reach 900 upvotes.
You can view your badges on your board and compare yourself to others in the Ranking
If you no longer want to receive notifications, reply to this comment with the word
STOPCheck out the last post from @hivebuzz:
Support the HiveBuzz project. Vote for our proposal!
Un trabajo muy laborioso y también muy practico, se gana mucho espacio en los cuartos y mantienes el orden, saludos
hola @leslieq78 si es muy practico, excelente para los espacios pequeños.. Gracias por leer y comentar un abrazo