Hello family
How are you all doing, I hope you all are doing great and if you ask of me I am doing very great. I am happy to share the completion of the work I have be fighting to finish since last week and to tell you the truth it was not tool easy because me my self was feeling sick which make me not to be too strong. I feel so lazy to do anything that is why I did post here for some days but I try my best to make sure I upvote and comment to make my self active because if I stay a day without #hive I feel some how. For now I am back full time.
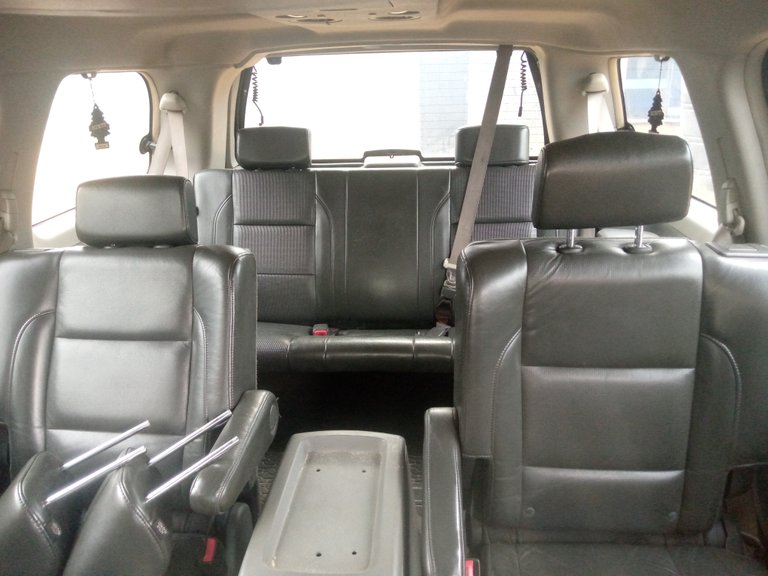
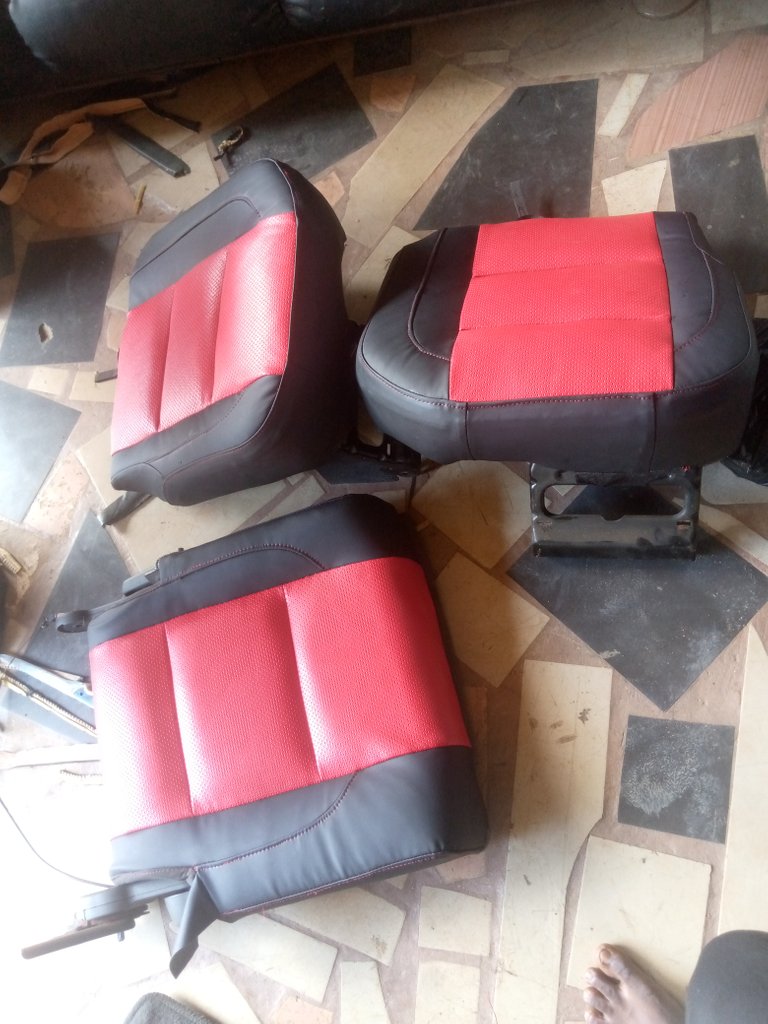
Here are the finished work
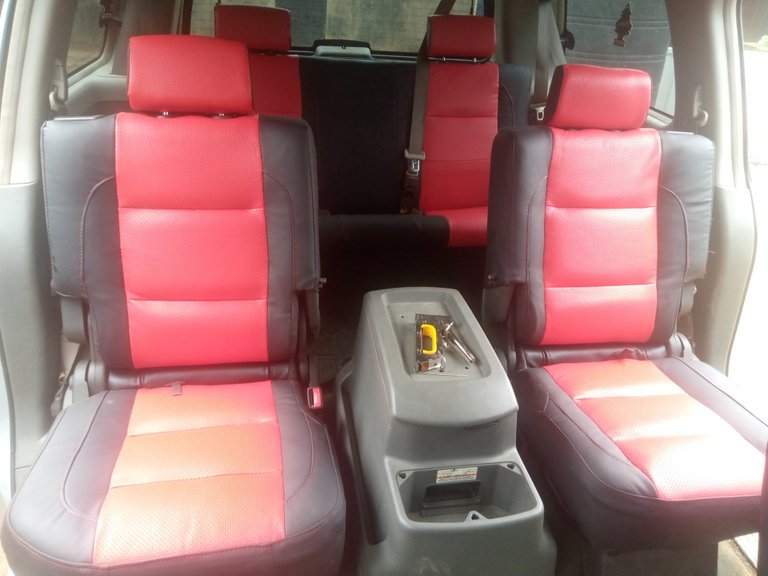
This seat was given to me by my customer that I work his seat and according to him the owner (brother) is not around here in Nigeria but because of how I mold out his own seat he was forced and also moved to call us brother to work on the seat that he has finally found where the will turn the seat new.
I then request to change the color of the seat from original colour to back and red and I thank God I did it successful to his test .
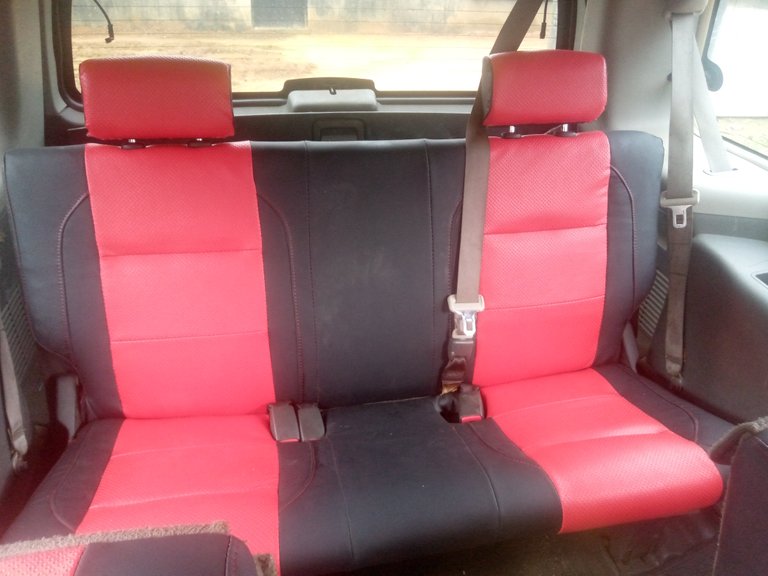
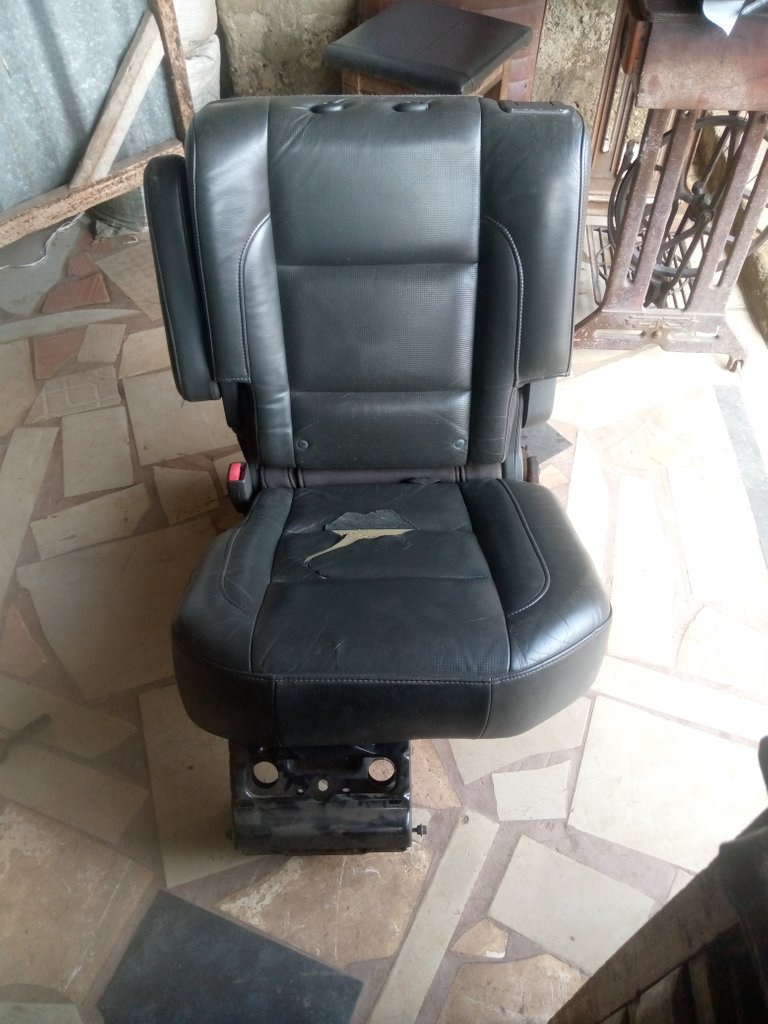
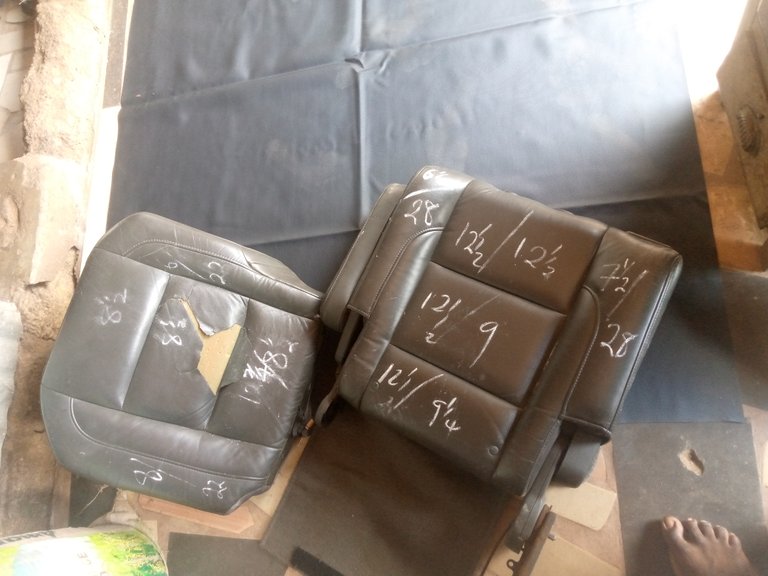
Here was the seat before
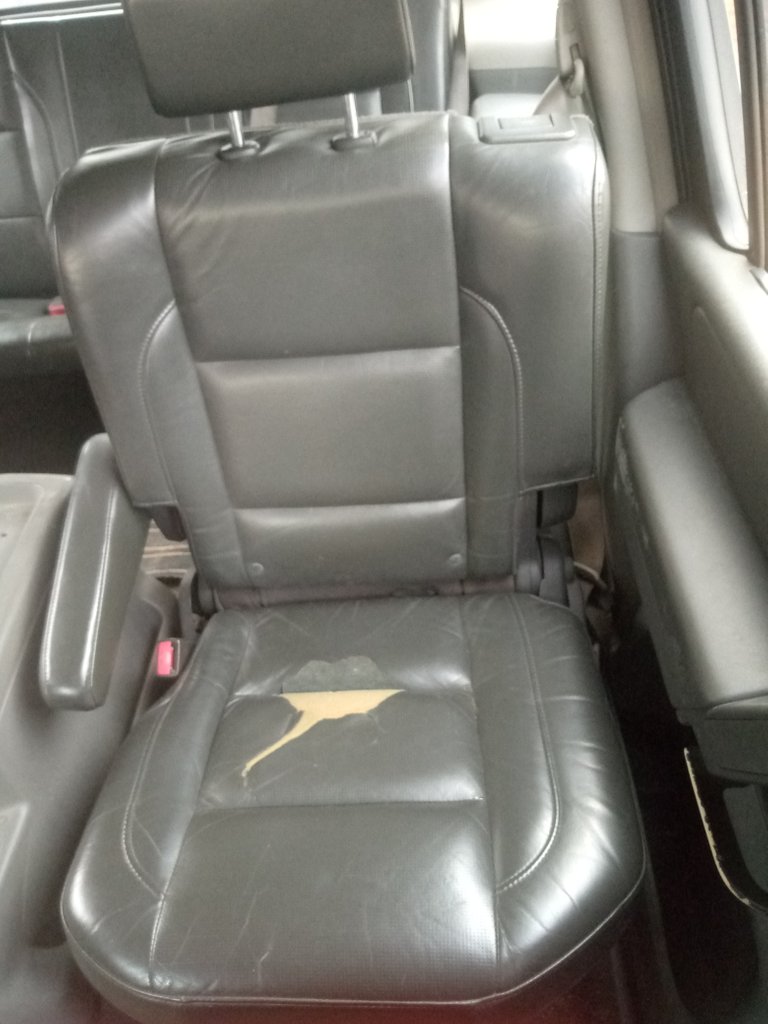
If you are to compare the seat before to the new seat I cover you will seat alot of differences, the finished work was send to the owner and he feel so happy
Look at it the seat are 5 in numbers and it took me 1 week to complete it and it was so stressfully.
Let see how I change those seat to new.
Step 1
I first of all loose the seat from the car to my work shop with the help of spanners 🛠️ and below you can see the picture
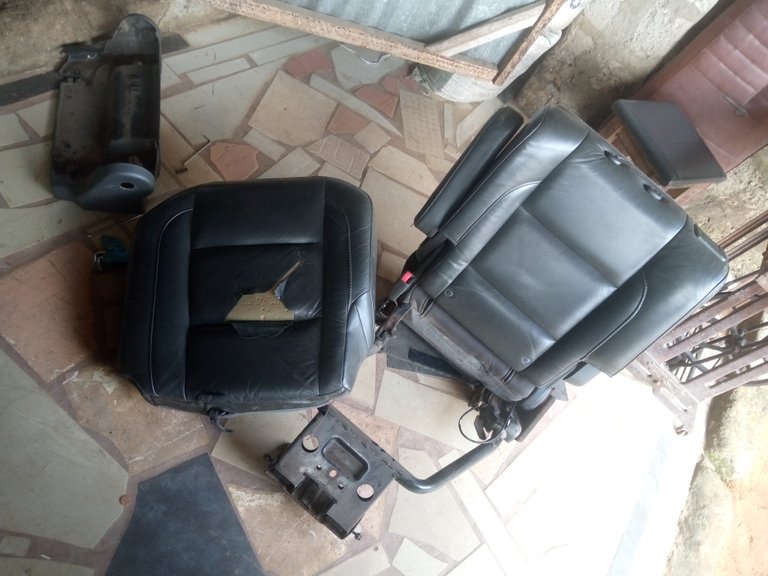
Step 2
I then datch out the back seat separate from the main seat for easy measurement and upholstery
Step 3
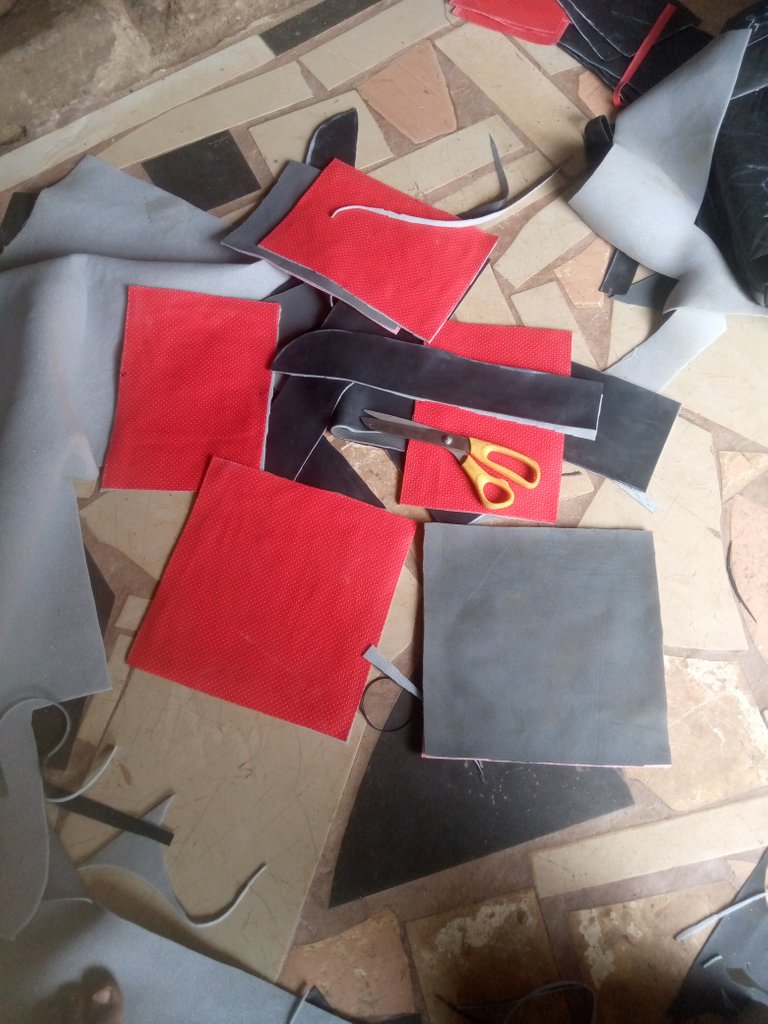
I then use the sewing tape to take the measurement of each joining pattern on the old seat and then write out the measurement
Step 4
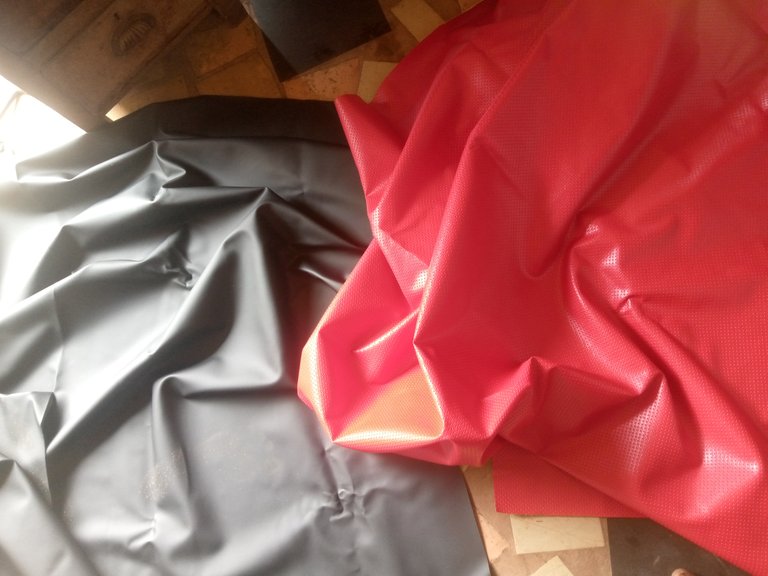
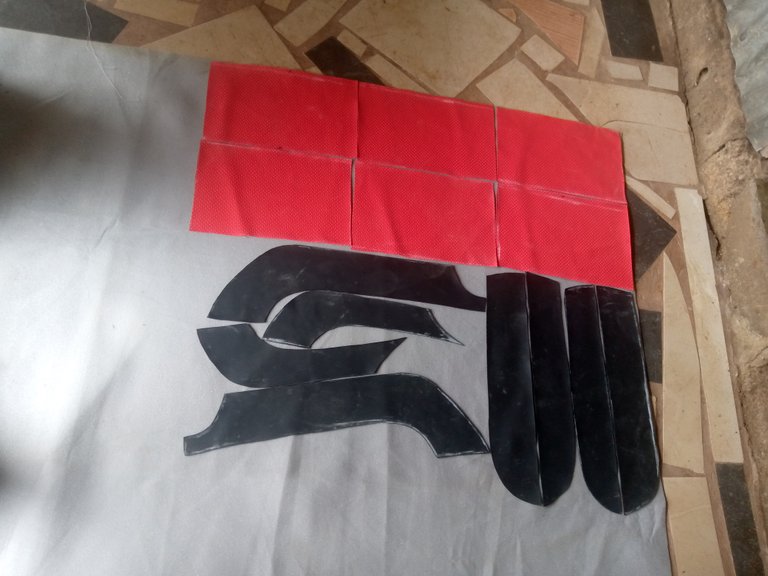
Now check for the leather I am using for the project, has I mention before for this project I am using black and red leather for the work.
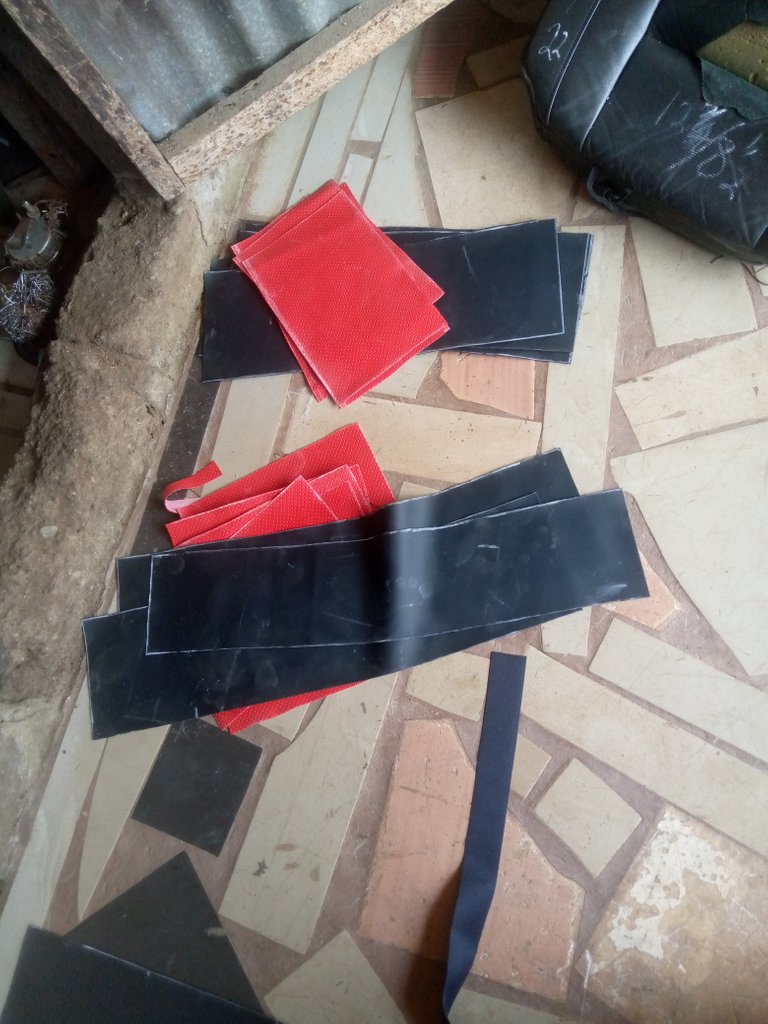
I finally transfer the measurement to the new leather

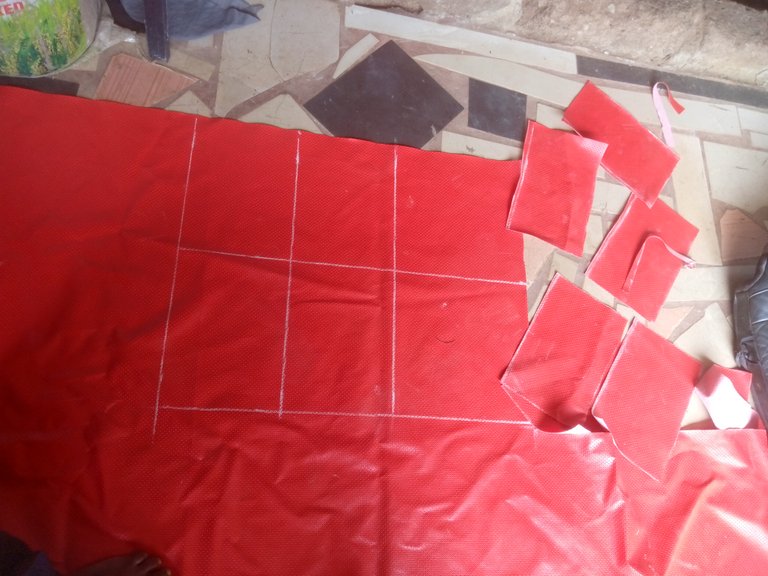
Then I use scissors ✂️✂️ to cut them out.
Step 5
Here I place the cut material to the old seat at it possible and draw out the pattern, you may be confused at this point but I promise I will share a video on this particular steps to make it simple to understand. After getting the pattern I then place it on a roof material and then cut them out for sewing process
Step 6
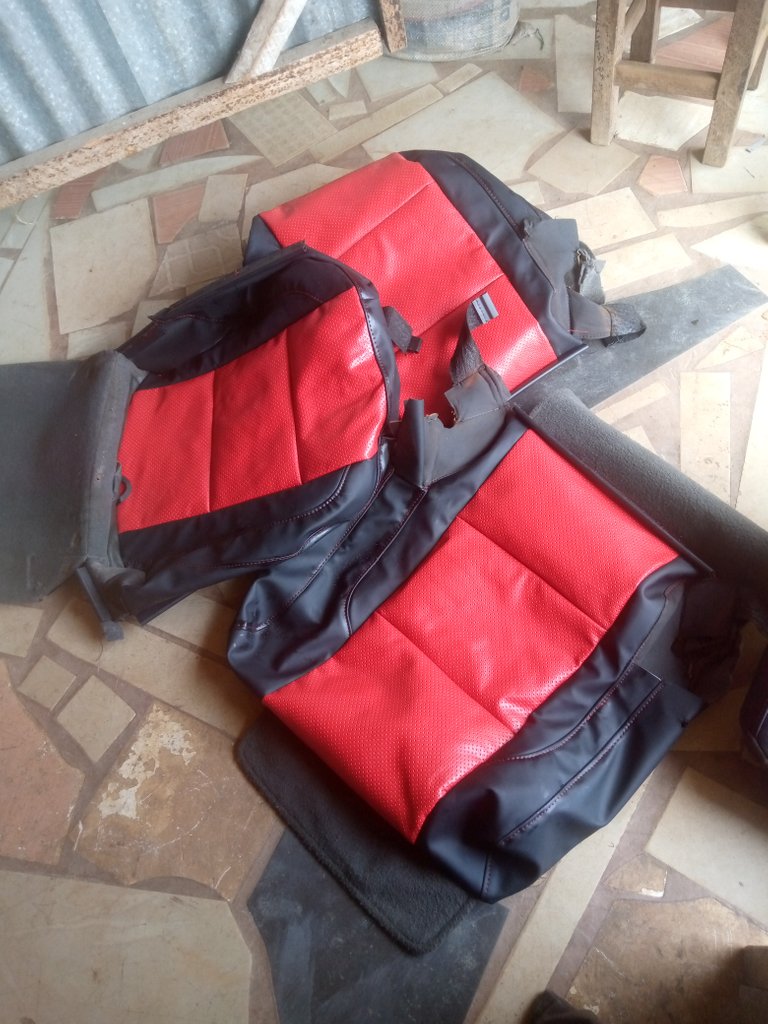
After getting my pattern ready, I then use my sewing machine to join them together has exactly has it is in the old seat in which after sewing it it give me my new seat cover. See photos below 👇👇

Step 7
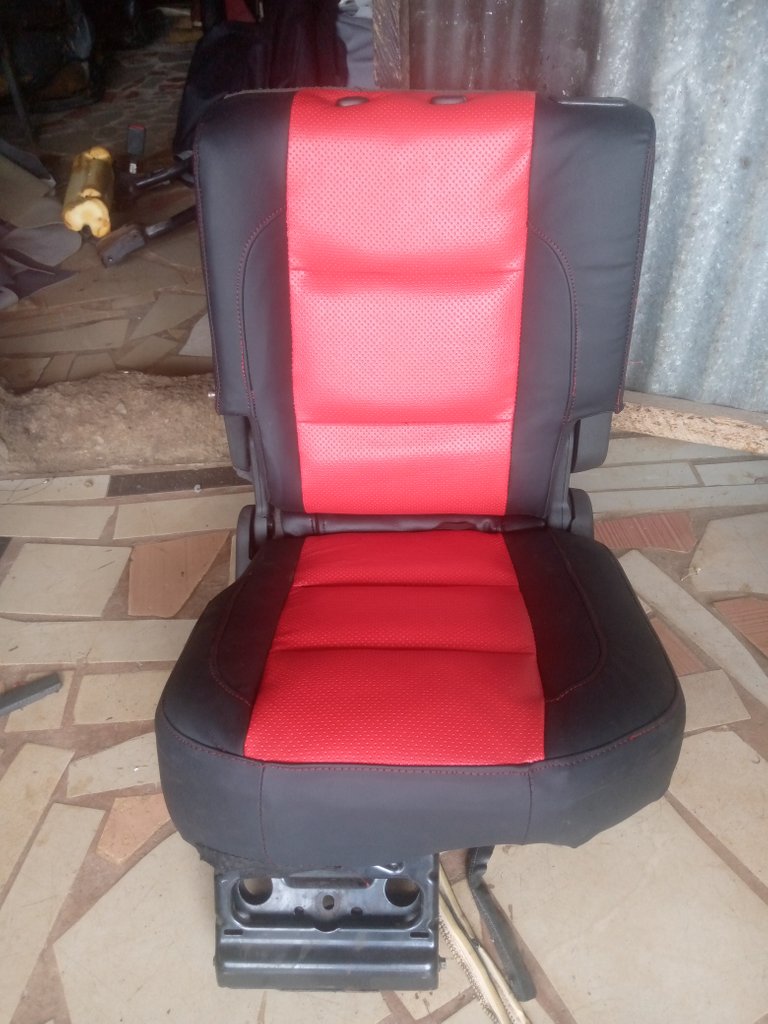
The final step, here in this step I clip my new seat cover to my old seat and is very simple, I promise to also do a video on this to make it simple to everyone.
See photos below
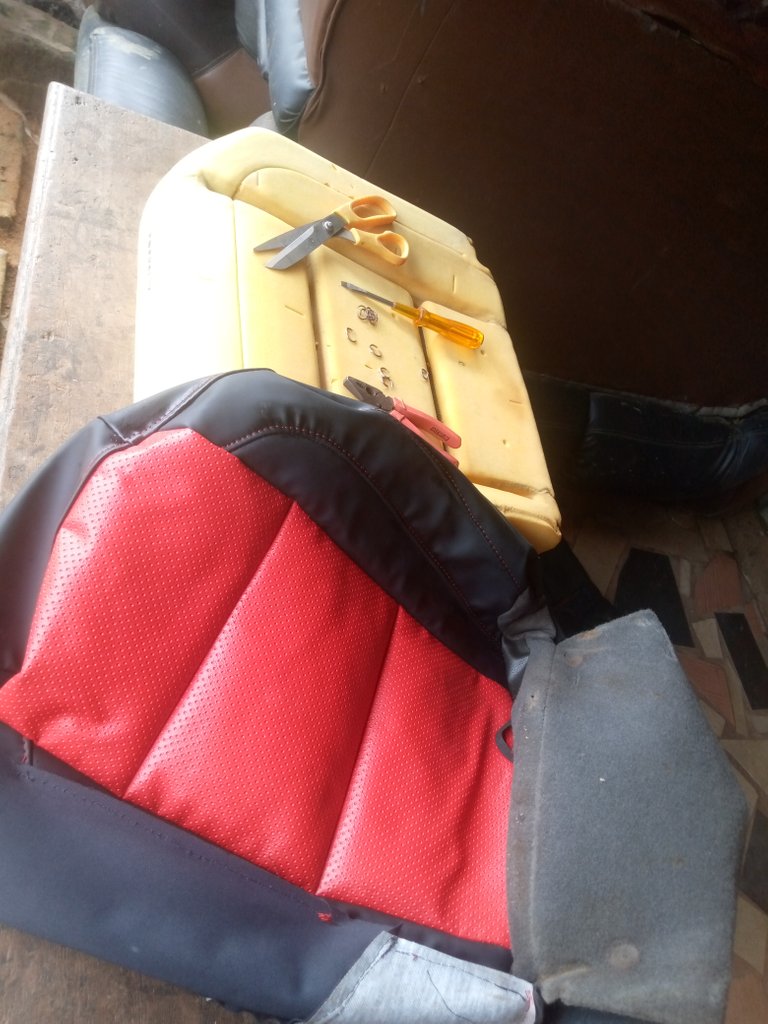
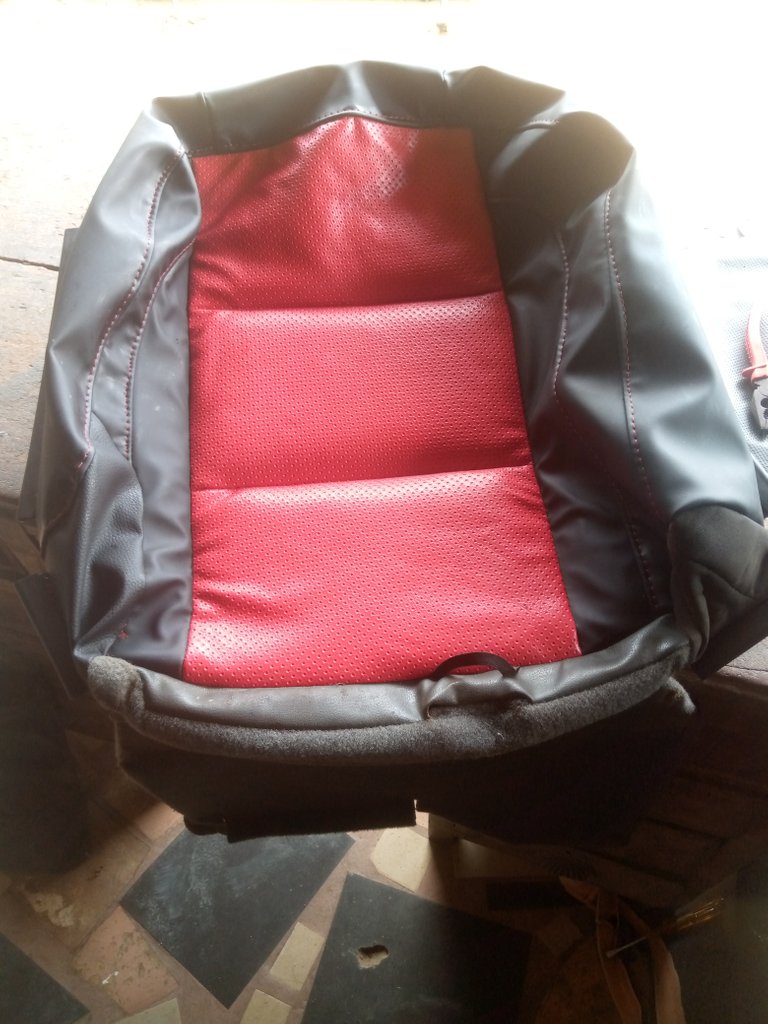
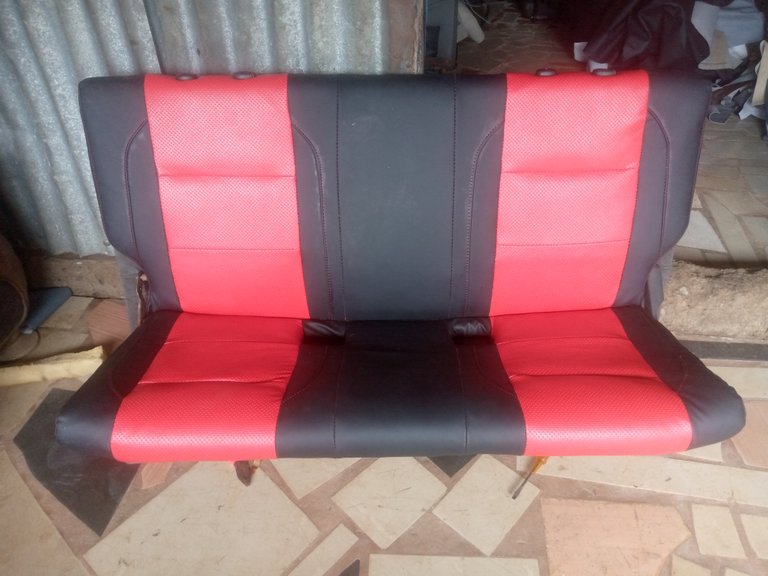
And I finally tight it back, and here is the outcome of it.
I use the same steps in all others
Hope it look beautiful , please do well to promote my skill I love you all, thanks for visiting my blog
Hello Moses ❣️. Congratulations on finishing this great project, it shows all the effort you have made to complete it even when you are sick. I'm glad your client liked it, I liked it too because it looks elegant and neat.
I wish you a good week friend. Cheers! ❣️
Thanks so much I really appreciate your comment it make me feel happen when ever you stop by. Have a good week too my best friend
These are brilliant, you got it looking so good. Really stylish too! I would totally hire you to reupholster my car seats! Well done!
Thanks so much for such a comment
Bro finally you were able to complete those car seats and they look pretty nice, it gave his own beauty to the car☺️☺️