Hola , hola feliz y bendecida noche mi gente bonita espero se encuentren muy bien.
En esta ocasion les compartire mi paso a paso para la elaboracion de una linda camisa que le hice a mi hijo , elegi este estampado ya que que a mi hijo le gusta mucho este personaje de Mario Bros y me parecio que la camisa quedaria muy linda, les confieso que es la primera camisa que le hago a mi niño y me emosione mucho al momento de hacerla bueno en realidad me emosiono mucho al momento de hacer un nuevo trabajo ya sea costura, comidas, manualidades , entre otras.
Acompañenme en el proceso de elaboracion de este trabajo.
Hello, hello, happy and blessed night my beautiful people, I hope you are well.
On this occasion I will share with you my step by step for making a nice shirt that I made for my son, I chose this print because my son really likes this Mario Bros. character and I thought that the shirt would be very nice, I confess that it is the first shirt that I have made for my child and I was very excited when making it, well in fact I am very excited when doing a new job whether it be sewing, food, crafts, among others.
Join me in the process of preparing this work.
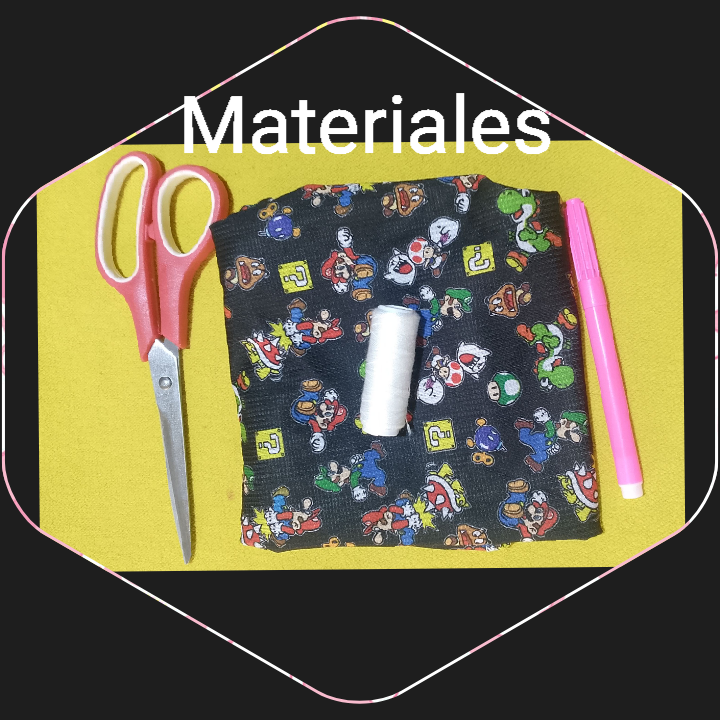
Para hacerlo se necesitaran pocos materiales los cuales te mensionare a continuacion:
- Tela del color y estampado de su preferencia.
- Aguja e hilo.
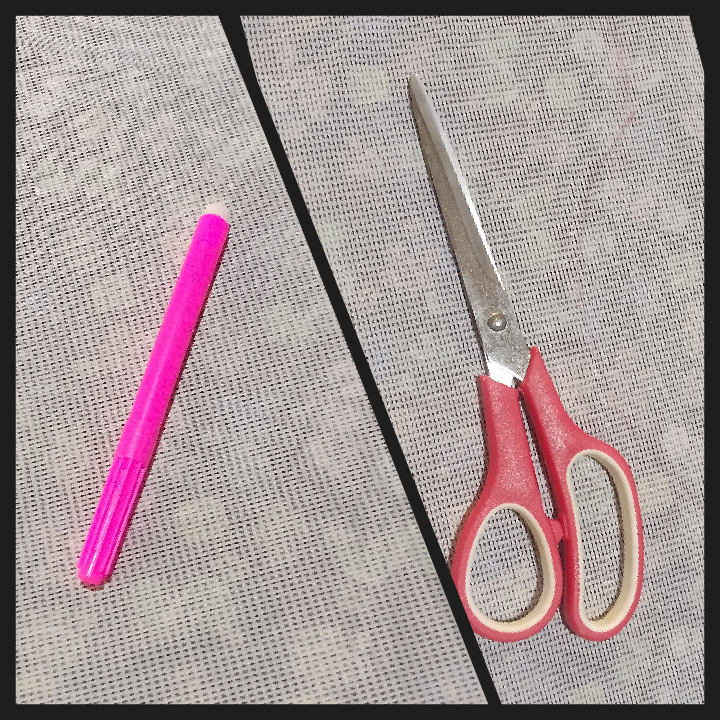
- Tijera.
- 1 Marcador.
- Maquina de coser.
To do it, you will need a few materials, which I will mention below:
- Fabric of the color and print of your preference.
- Needle and thread.
- Scissors.
- 1 Marker.
- Sewing machine.
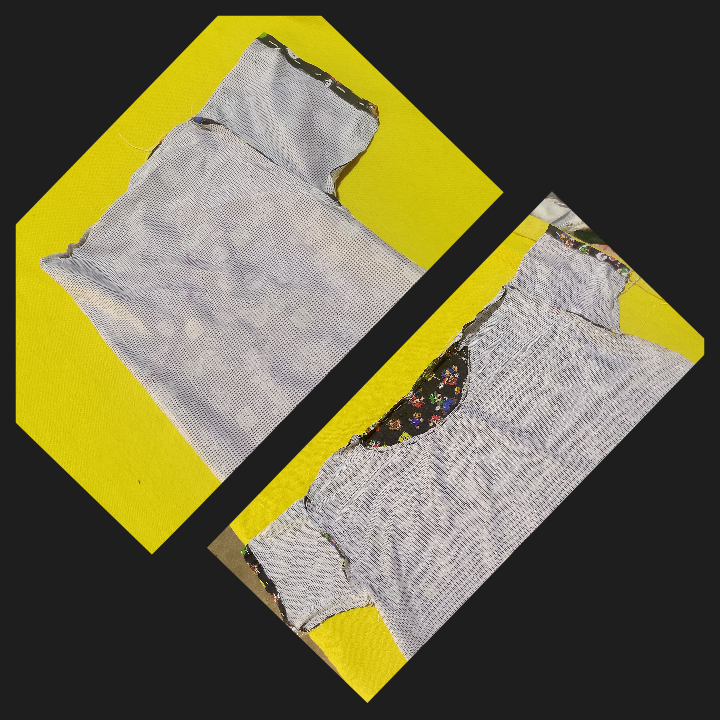
- Lo primero que harás será marcar el diseño de la camiseta o cualquier otra prenda que quieras realizar. Cabe destacar que siempre debes doblar la tela por el lado opuesto, es decir, por el reverso. De esta forma te será más fácil marcar correctamente el diseño y saldrán las dos partes de la prenda. Luego procede a cortar, dejando el borde de la tela aproximadamente medio centímetro o un centímetro.
The first thing you will do is mark the design of the shirt or any other garment you want to make. It should be noted that you should always fold the fabric on the opposite side, that is, on the reverse side. In this way, it will be easier for you to correctly mark the design and the two parts of the garment will come out. Then proceed to cut, leaving the edge of the fabric approximately half a centimeter or one centimeter.
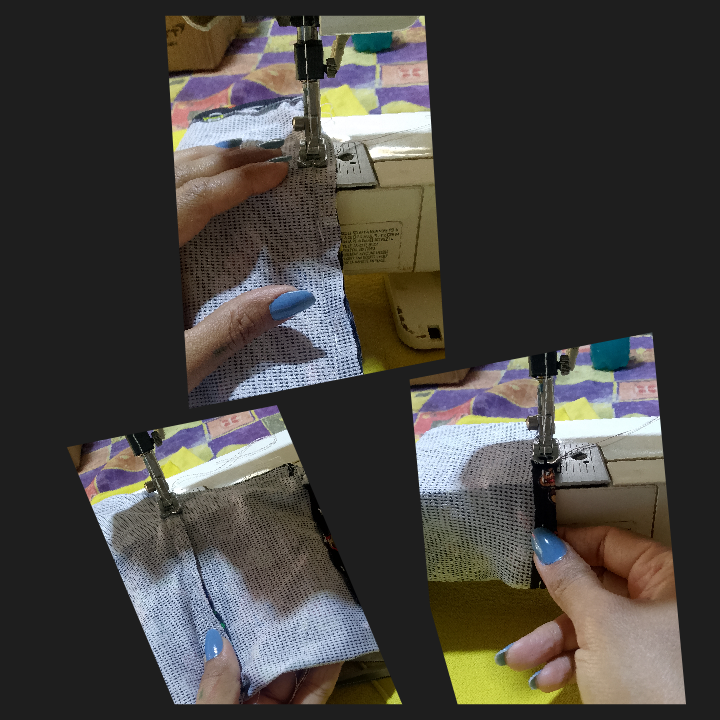
- Ahora procede a bastear ambas partes de la prenda , tambien coloca las mangas de la camisa y empieza a coser con ayuda de la maquina de coser , sino tienes una no hay problema lo podras coser a mano.
Now proceed to hem both parts of the garment, also place the sleeves of the shirt and start sewing with the help of the sewing machine. If you don't have one, there is no problem, you can sew it by hand.
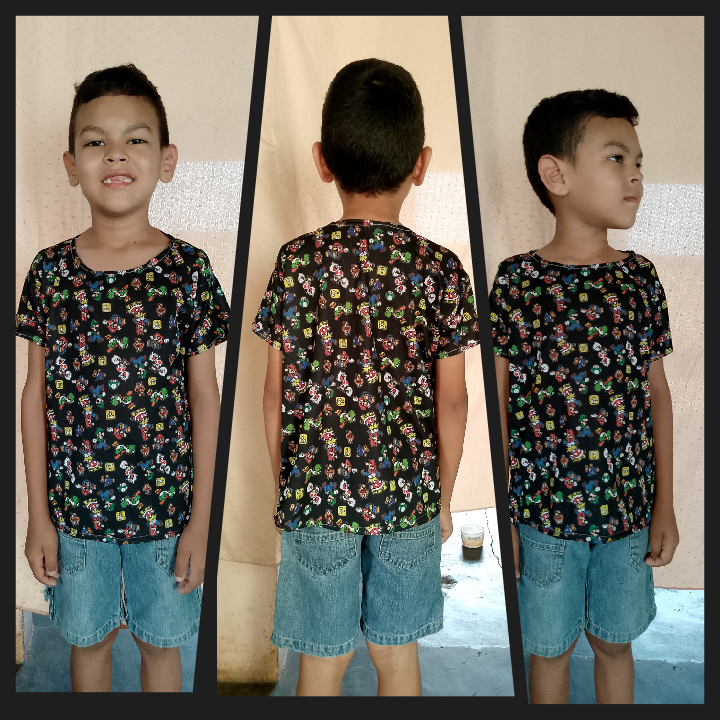
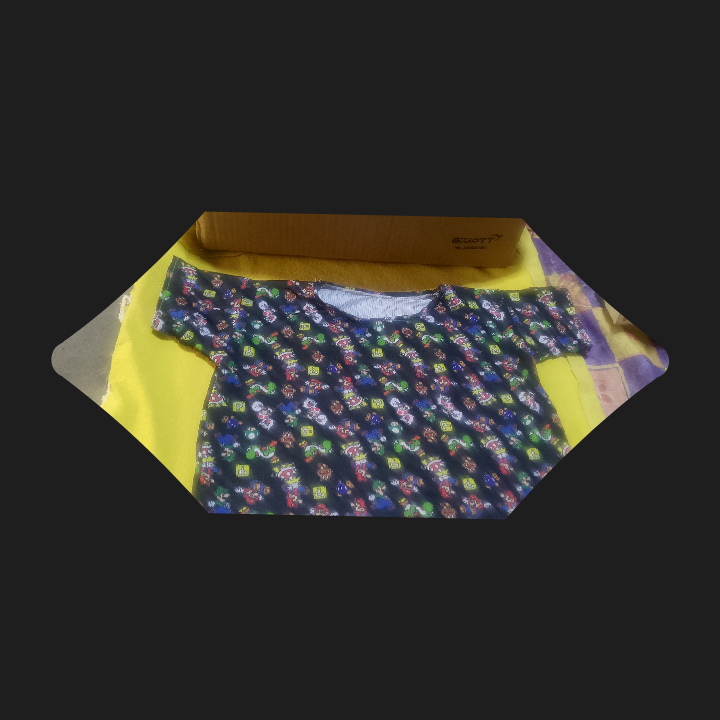
- Una vez que la camisa esta armada procede a coser los dobles de las mangas y del cuello de la camisa y finalmente quedara asi.
Once the shirt is assembled, proceed to sew the doubles of the sleeves and collar of the shirt and it will finally look like this.
Espero que les haya gusta este trabajo, les agradezco a cada uno de ustedes por visitar mi blog y por leer hasta el final , su apoyo es muy importante para mi. Hasta la proxima vez.
I hope you like this work, I thank each of you for visiting my blog and for reading until the end, your support is very important to me. Until next time.
Nota: Las fotos fueron editadas por el programa Photo Pip, Photo Editor.
Note: The photos were edited by the Photo Pip, Photo Editor program.
Hola amiga, te felicito, esta franela con tela estampada de Mario te quedo estupenda, este chico se nota orgulloso, cómodo y feliz.🤗
The jumpsuit turned out great and your choice of fabric and color is superb. You did an amazing job and we applaud your creativity. Thanks for walking us through the creation process.