
Muy buenas tardes mis queridos compañeros de esta maravillosa colmena feliz y bendecido domingo para todos espero se encuentren super bien acompañados de familiares y amigos y si no es el caso tambien espero que esten disfrutando de su propia compañia ...
En este nuevo blog les compartire mi paso a paso para elaborar unas sencillas pero muy lindas moñeras para el cabello, en lo particular me encantaron ya que son ideales tanto para nosotras como para las mas pequeñas de la casa siento que nos da un toque de elegancia ya sea para hacer un moño alto o simplemente para colocarla en la punta de un trenzado y lo mejor de todo es que no necesitaras muchos materiales ya que podras hacerlas con trozos o retazos de tela que de seguro tenias guardadas y que quizas no sabias que hacer con ellas pues a mi me parecio una muy buena opcion para reutilizar esos retazos de tela , sin mas preambulos los invito a disfrutar del siguente material espero les guste este trabajo.
Very good afternoon my dear colleagues from this wonderful hive, happy and blessed Sunday to all, I hope you are very well accompanied by family and friends and if that is not the case, I also hope you are enjoying your own company...
In this new blog I will share with you my step by step to make some simple but very pretty hair bows, in particular I loved them since they are ideal for both us and the little ones in the house. I feel that they give us a touch of elegance either to make a high bun or simply to place it at the end of a braid and the best of all is that you will not need many materials since you can make them with pieces or scraps of fabric that you probably had saved and that perhaps You didn't know what to do with them because it seemed like a very good option to reuse those scraps of fabric. Without further ado, I invite you to enjoy the following material. I hope you like this work.
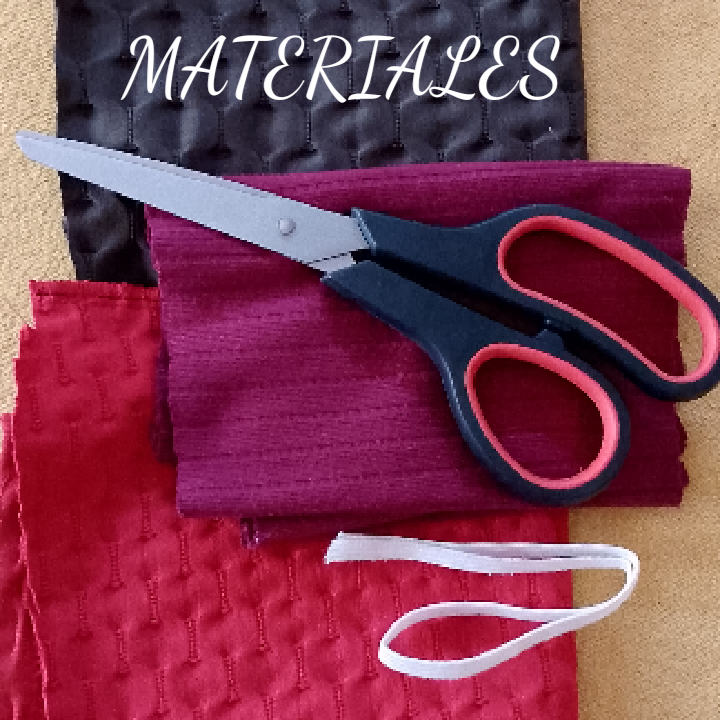
Para ello se necesitara:
- Retazos de tela.
- Tijera.
- Aguja e hilo.
- Elastica fina.
- Un marcador.
For this you will need:
- Scraps of fabric.
- Scissors.
- Needle and thread.
- Fine elastic.
- A marker.
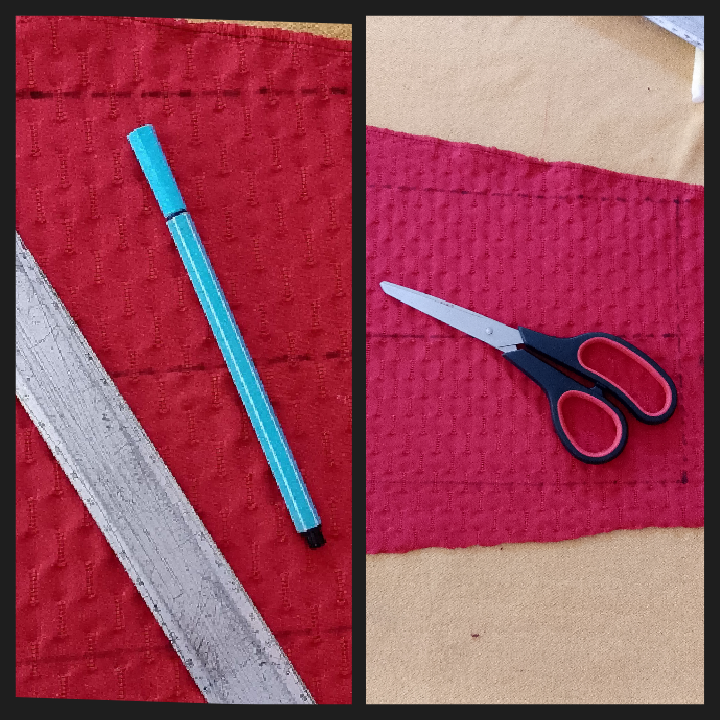
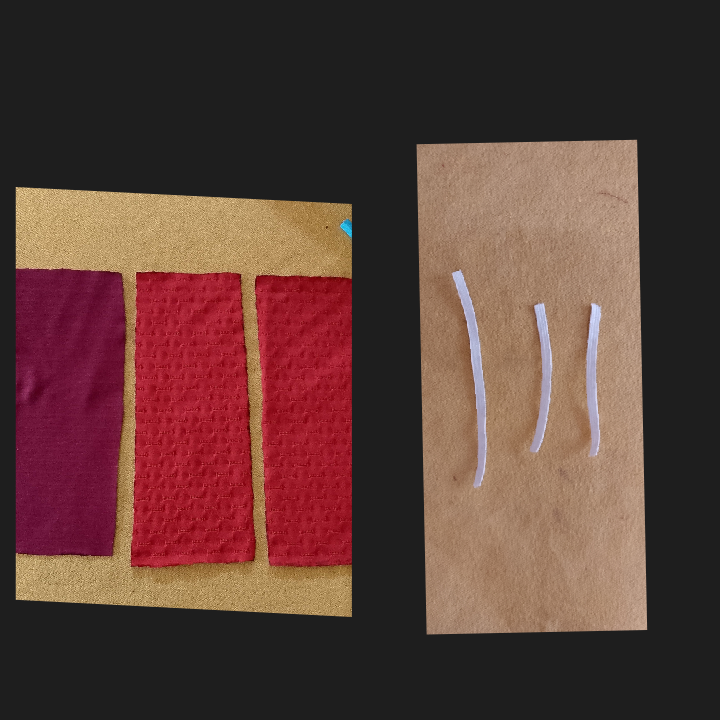
Comencemos con el proceso de elaboracion:
Lo primero que haras sera colocar la tela alreves y procede a marcar un rectangulo de 25 centimetros de largo por 10 centimetros de ancho aproximadamente luego comienza a cortarlo, tambien corta trozos de elastica de 10 o 12 centimetros aproximadamente.
Let's start with the process:
The first thing you will do is place the fabric face down and proceed to mark a rectangle approximately 25 centimeters long by 10 centimeters wide, then start cutting it, also cut pieces of elastic approximately 10 or 12 centimeters.
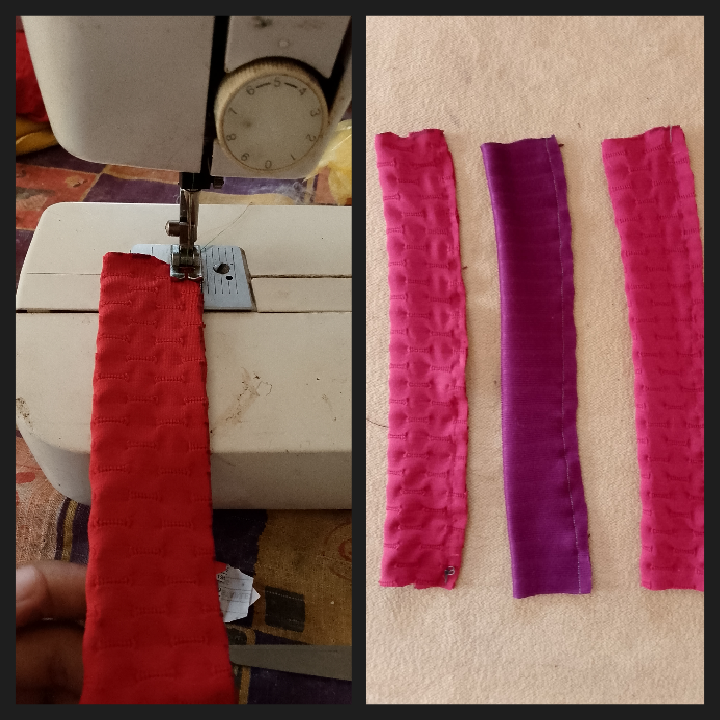
Ahora procede a doblar el rectangulo que hiciste anteriormente y proce a coser ya sea con ayuda de la maquina de coser y sino tienes una no hay problema tambien lo puedes coser a mano , recuerda coser del la alreves.
Now proceed to fold the rectangle that you made previously and proceed to sew either with the help of the sewing machine and if you don't have one, no problem, you can also sew it by hand, remember to sew backwards.
Luego comienza a doblar la tela como se observa en la imagen puede ser con la ayuda de un alambre o tambien lo puedes hacer con tu dedo como se te haga mas facil hacerlo.
Then begin to fold the fabric as seen in the image, it can be with the help of a wire or you can also do it with your finger as it is easier for you to do.
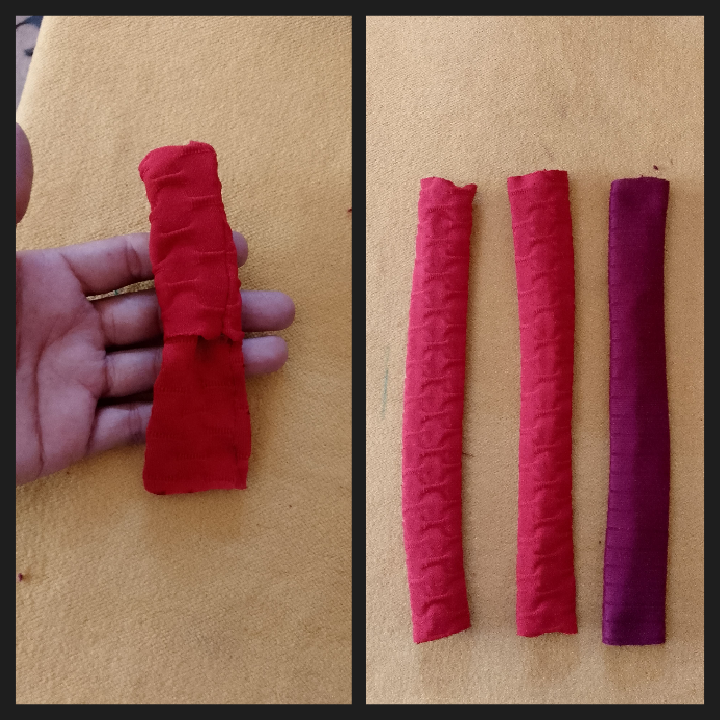
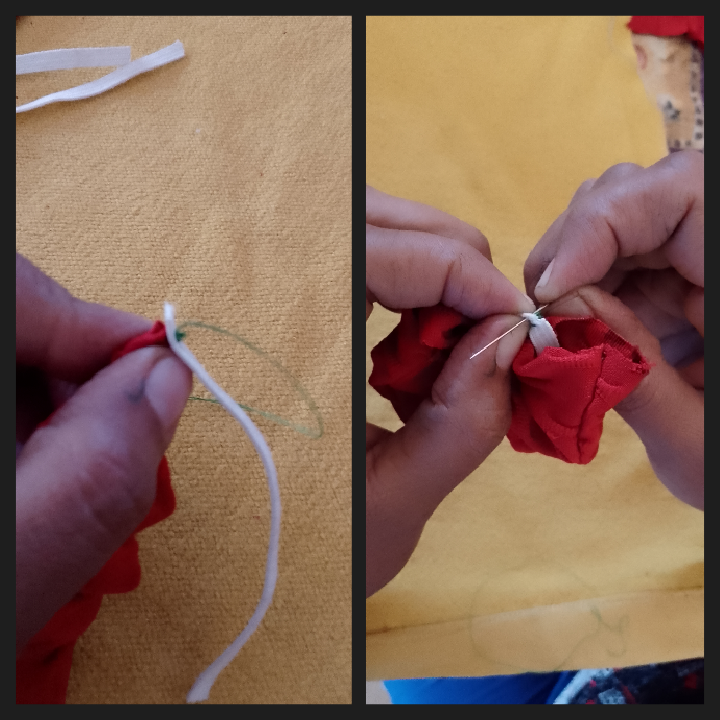
Por ultimo pero no menos importante introduce la elastica dentro de la tela y une ambos extremos como se muestra en la imagen y finalmente procede a coser ambos extremos haciendoun dobladillo de esta manera daras forma a la moñera.
Last but not least, insert the elastic into the fabric and join both ends as shown in the image and finally proceed to sew both ends, hemming this way you will give shape to the bun.
Este es el resultado final, quedaron hermosas me encantaron.
Asi que ya sabes no tires los retazos de tela reutilizalos y podras hacer diversidad de cosas lindas , esto fue todo por hoy en un proximo post te mostrare otras opciones para reutilizar trozos y retazos de tela.
This is the final result, they turned out beautiful, I loved them.
So now you know, don't throw away the scraps of fabric, reuse them and you can make a variety of beautiful things, this was all for today, in a next post I will show you other options to reuse pieces and scraps of fabric.
Ojalá la tendencia de los scrunchies se convierta en un must atemporal más que una moda, porque no solo son hermosas sino una gran manera de darle nueva vida a esos pedacitos de tela que nos quedan, gracias por compartir tu proceso y te acompaño en la selección de color, ese tono de rojo es increíble ! ! 🌹 🌹 🌹
Hermosas y prácticas, ideales para cualquier ocasión, los colores me encantaron te felicito feliz noche
Congratulations @sergimarmartinez! You have completed the following achievement on the Hive blockchain And have been rewarded with New badge(s)
Your next target is to reach 400 replies.
You can view your badges on your board and compare yourself to others in the Ranking
If you no longer want to receive notifications, reply to this comment with the word
STOPCheck out our last posts:
Son muy hermosas estas scrunchies o colitas como decimos nosotras, de verdad quedan muy elegantes. Que bueno que hayas podido aprender a hacerlas. Felicitaciones ❤️.
This scrunchies are really easy to make. I will try this soon. Thanks for sharing it with us.
You make a beautiful scrunchies, good work dear.
It is elegant, beautiful and stylish. It looks fantastic. Good to see how you made this. Keep it up!