¡Hola comunidad de Hive!
Hello Hive community!
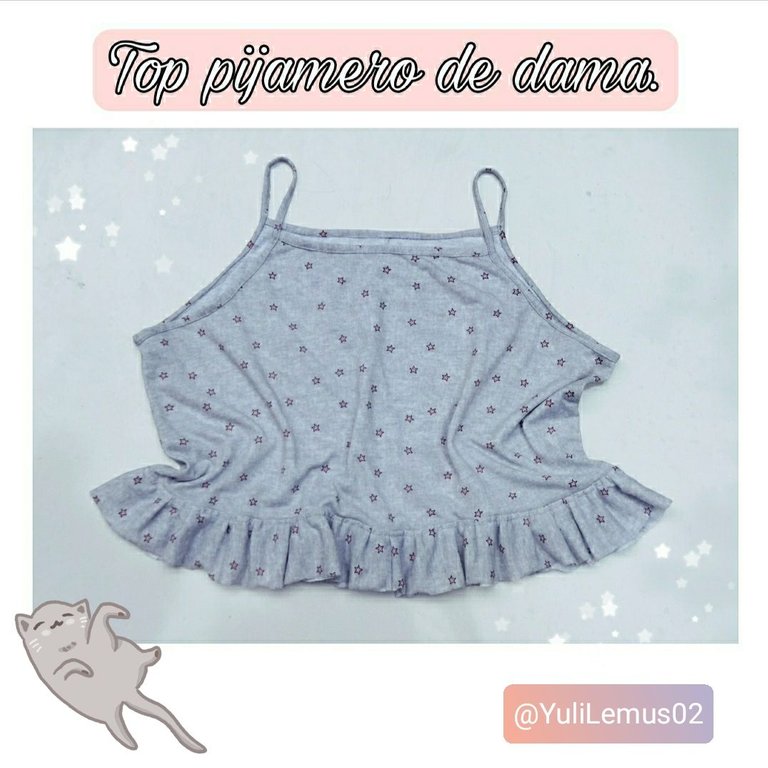
Fotografía de mi propiedad editada en Picsart.
Photo of my property edited in Picsart.
Hola gente linda de Hive Blog, espero hayan tenido un lindo y productivo día. Después de un tiempo sin publicar en esta comunidad pues tenía mi máquina de coser dañada he regresado, hoy cómo deuda a mi hermana le realicé este hermosa top con un retazo de tela que me había quedado de trabajos anteriores, está tela es algodón para pijamas así que este es un crop top ideal para ponerse al ir a dormir. Sin más que decir comencemos...
Hello beautiful people of Hive Blog, I hope you had a nice and productive day. After a while without posting in this community because I had my sewing machine damaged I'm back, today as a debt to my sister I made her this beautiful top with a piece of fabric that I had left from previous works, this fabric is cotton for pajamas so this is an ideal crop top to wear when going to sleep. Without more to say let's start...
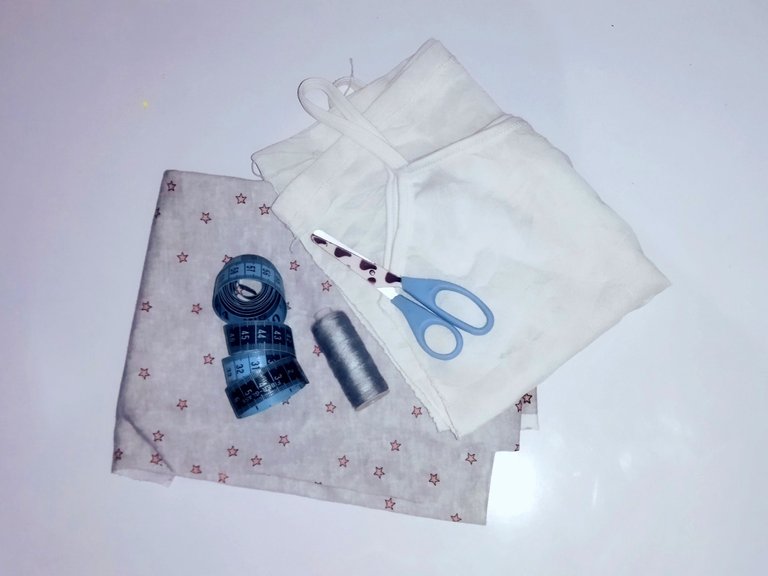
Materiales:
- Tela de algodón
- Cinta métrica
- Tijera
- Hilo
- Máquina de coser
Materials:
- Cotton cloth
- Tape measure
- Scissors
- Thread
- Sewing machine
Paso 1 || Step 1
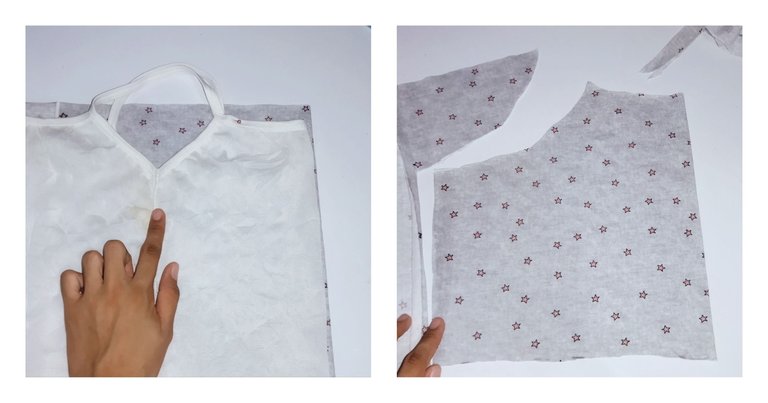
Coloqué sobre el retazo la parte delantera de la camisa molde y corte dejando un centímetro de margen de costura, hice lo mismo para cortar la parte trasera.
I placed the front part of the molded shirt on the patchwork and cut it, leaving a centimeter seam allowance, and did the same to cut the back part.
Paso 2 || Step 2
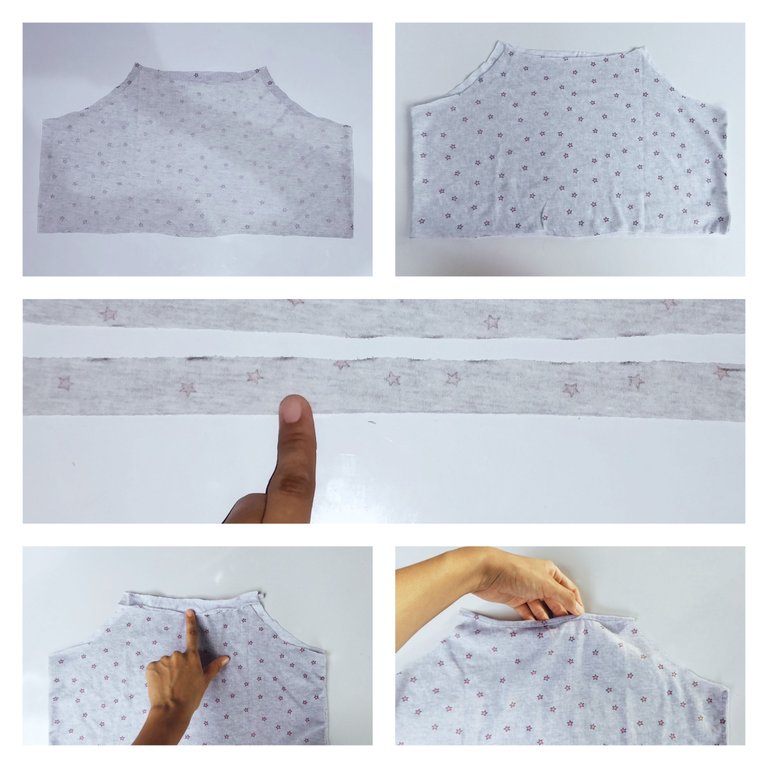
Luego de tener cortadas las partes delentera y trasera del top, las enfrenté derecho con derecho y cosí los laterales, primero pase costura sencilla y luego zigzag.
Corte tiras de 2 cm de ancho para hacer los vivos, los cosí desde la parte trasera del cuello del top y luego hice un doblez hacia adelante para luego pasarle costura recta, hice lo mismo con la parte trasera.
After I had cut the front and back of the top, I faced them right sides together and sewed the sides, first I sewed a single seam and then a zigzag seam.
I cut 2 cm wide strips to make the piping, sewed them from the back of the neck of the top and then made a fold forward and then sewed straight stitching, I did the same with the back.
Paso 3 || Step 3
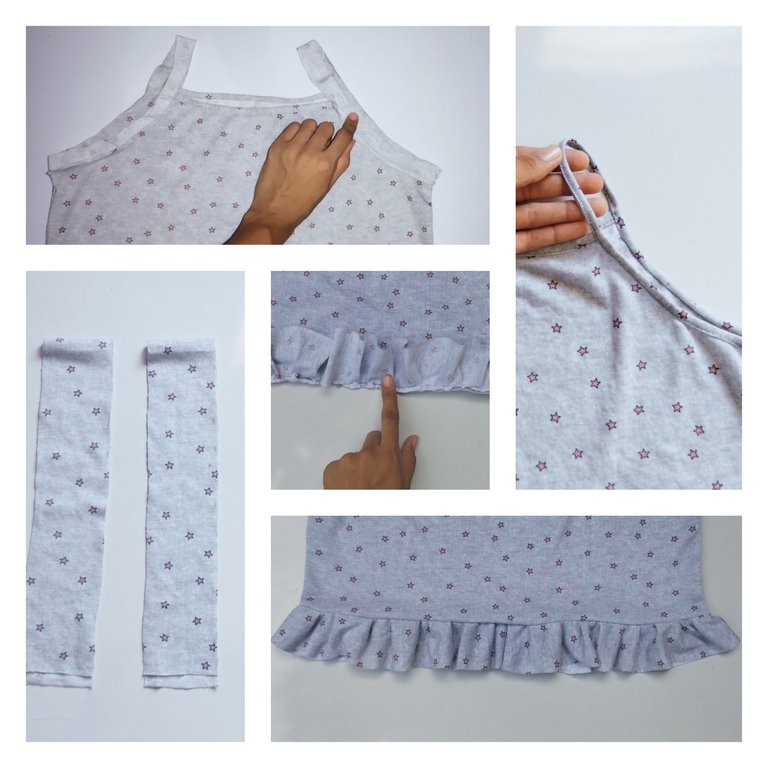
Para hacer los tiros hice el mismo procedimiento realizado anteriormente. Corte dos piezas de 6cm de ancho para hacer el faralao, entonces comencé a coser en la parte de abajo del top frunciendo la tela, me ayude con alfileres para que no se me moviera la tela en la máquina. En esta ocasión no cosí la orilla del faralao.
To make the straps I did the same procedure as before. I cut two pieces of 6cm wide to make the faralao, then I started to sew on the bottom of the top gathering the fabric, I helped myself with pins so that the fabric would not move in the machine. This time I did not sew the edge of the faralao.
Resultado final.
Final result.
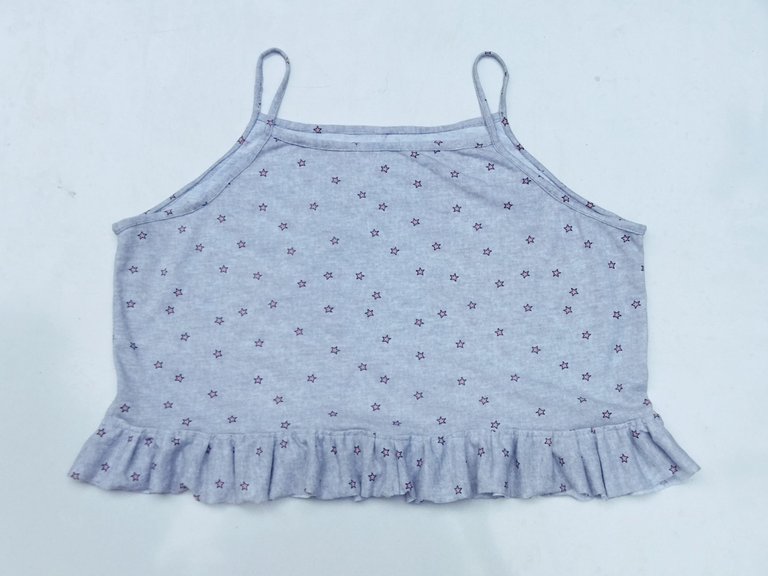
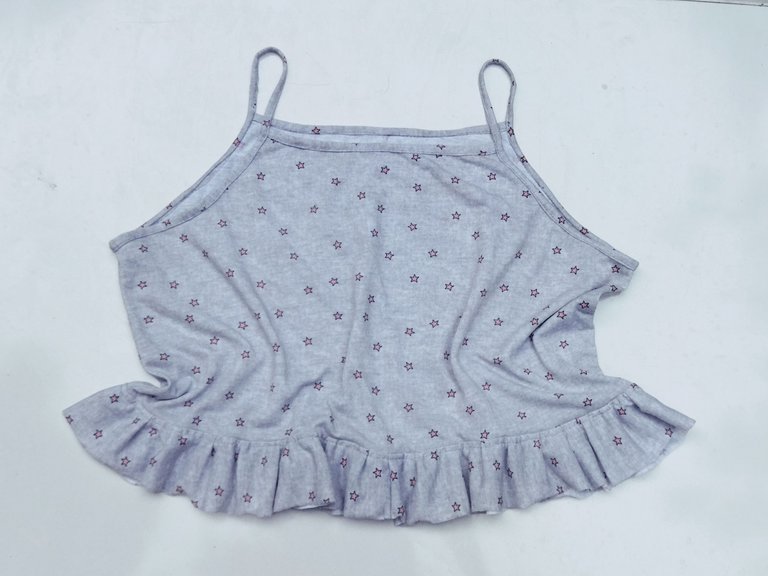
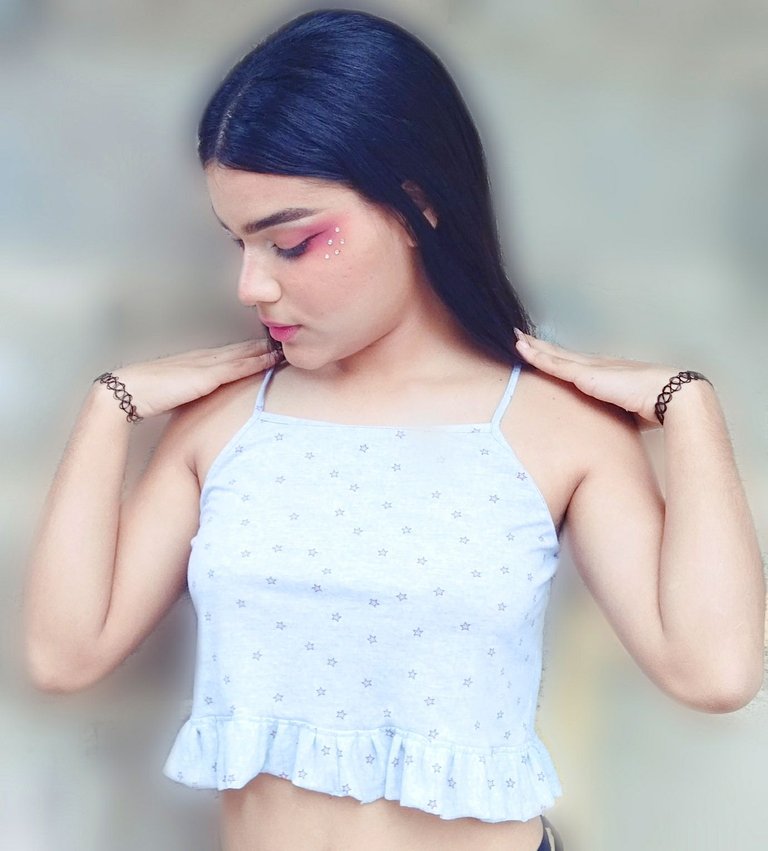
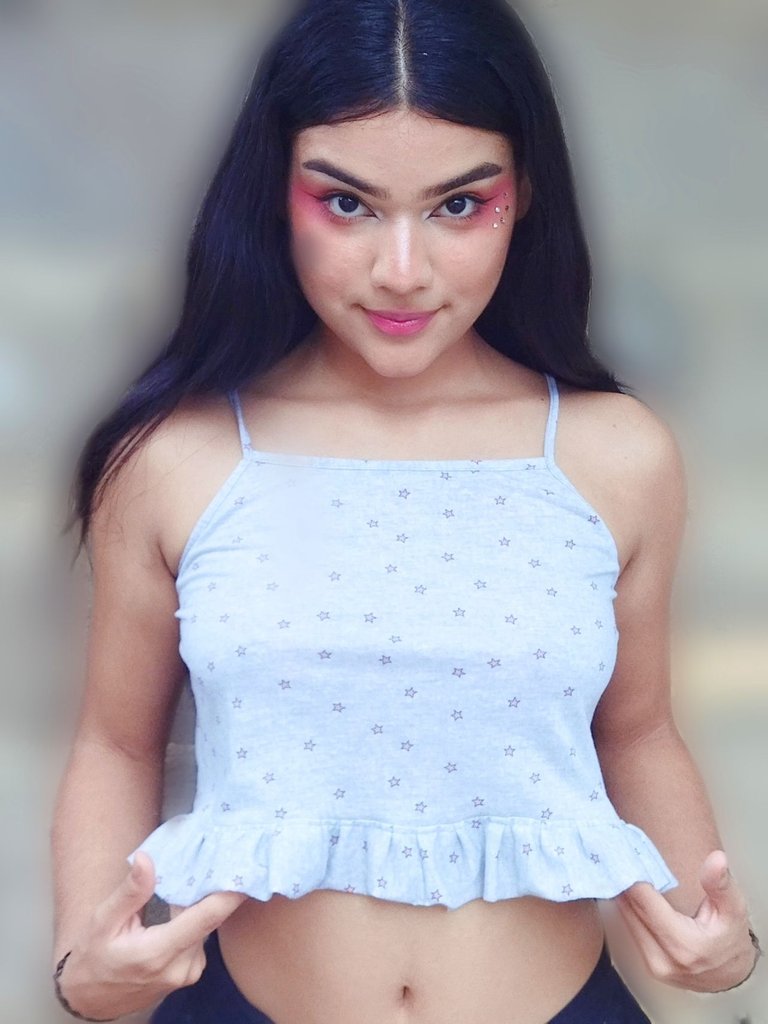
Y así quedó el resultado final del top con volado, la de la imagen es mi hermana @byveruzka cómo le quedó?. Si llegaste hasta aquí gracias por leer mi post.
And this is the final result of the ruffled top, the one in the picture is my sister @byveruzka, how did it look like? If you made it this far thanks for reading my post.
All images are my property / Todas las imágenes son de mi propiedad
Camera: Xiaomi Redmi 9T.
Translation: Deepl.com

me encanta como te quedó la blusa, se ve super sencillo de hacer, gracias por compartir...ahhh y también la tela y el color me encantó.
Gracias, si es un complemento hermoso, y el top quedó muy lindo. Gracias por tu comentario
Lovely blouse