Hola amigos de Hive espero se encuentren bien, en este post les quiero enseñar como pueden realizar un tapa boca en 3D. así evitaremos la propagación del Virus. Son una medida de barrera, que por sí sola, nos constituye una protección altamente efectiva; la efectividad aumenta si se suma el aislamiento y el lavado de manos!
Hello friends of Hive I hope you are well, in this post I want to show you how you can make a 3D mouth cover. so we will prevent the spread of the virus. They are a barrier measure, which by itself, is a highly effective protection; the effectiveness increases if you add isolation and hand washing!
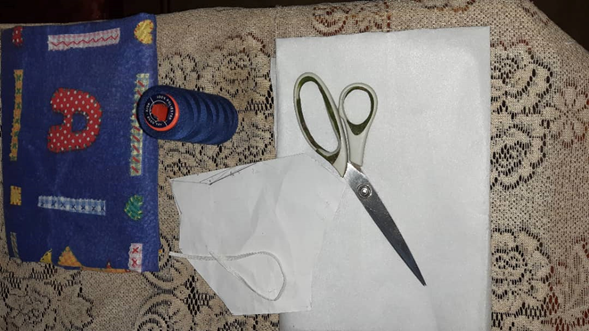
Materiales:
- Hojas.
- Regla.
- Tijera.
- Aguja.
- Lápiz.
- trozo de tela.
- trozo de tela con filtro.
Materials:.
- Sheets.
- Ruler.
- Scissors.
- Needle.
- Pencil.
- Piece of cloth.
- piece of cloth with filter.
 paso:
paso:
Steps:
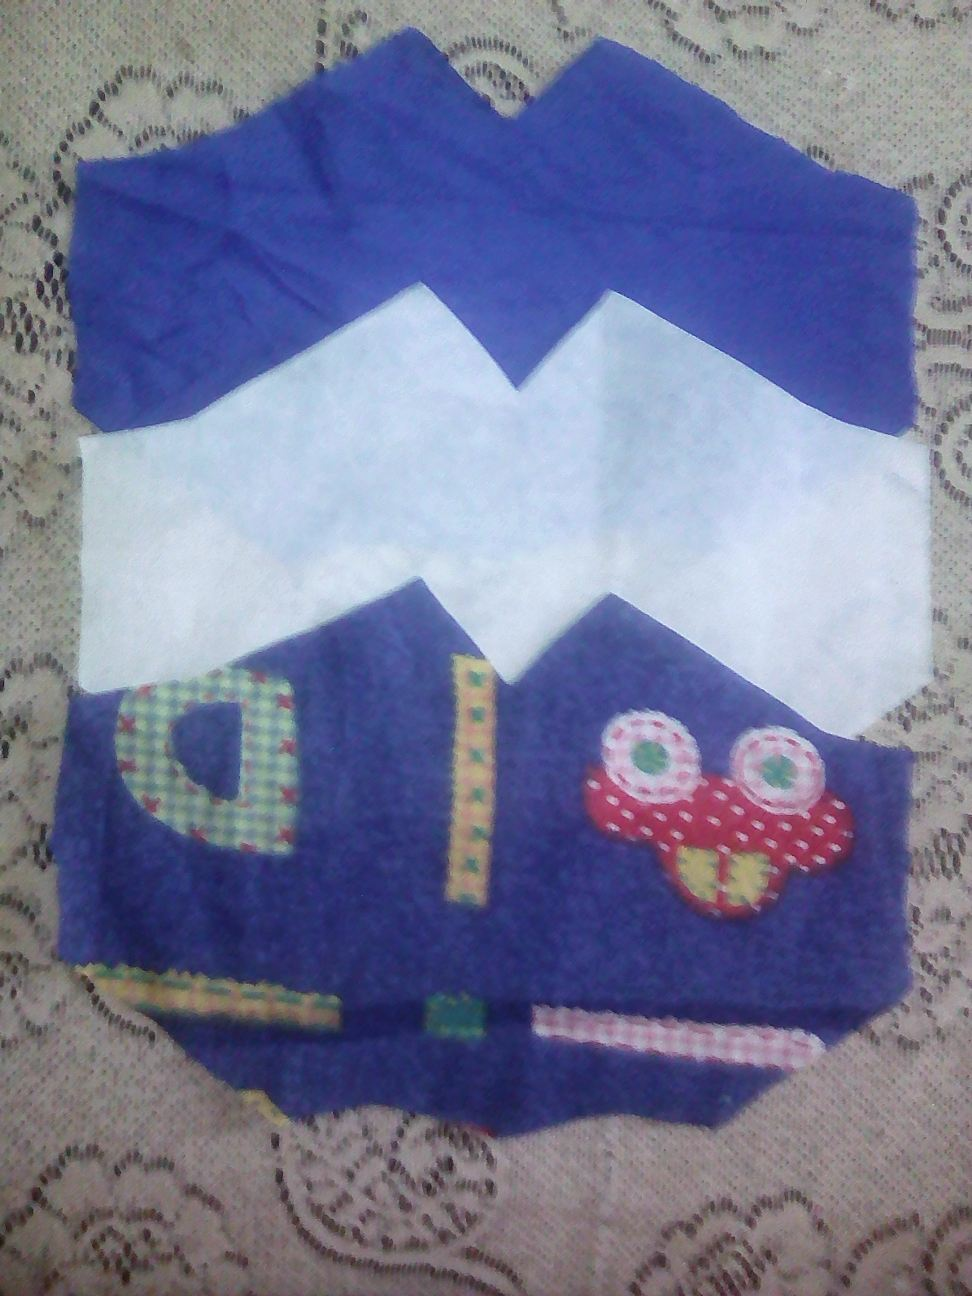
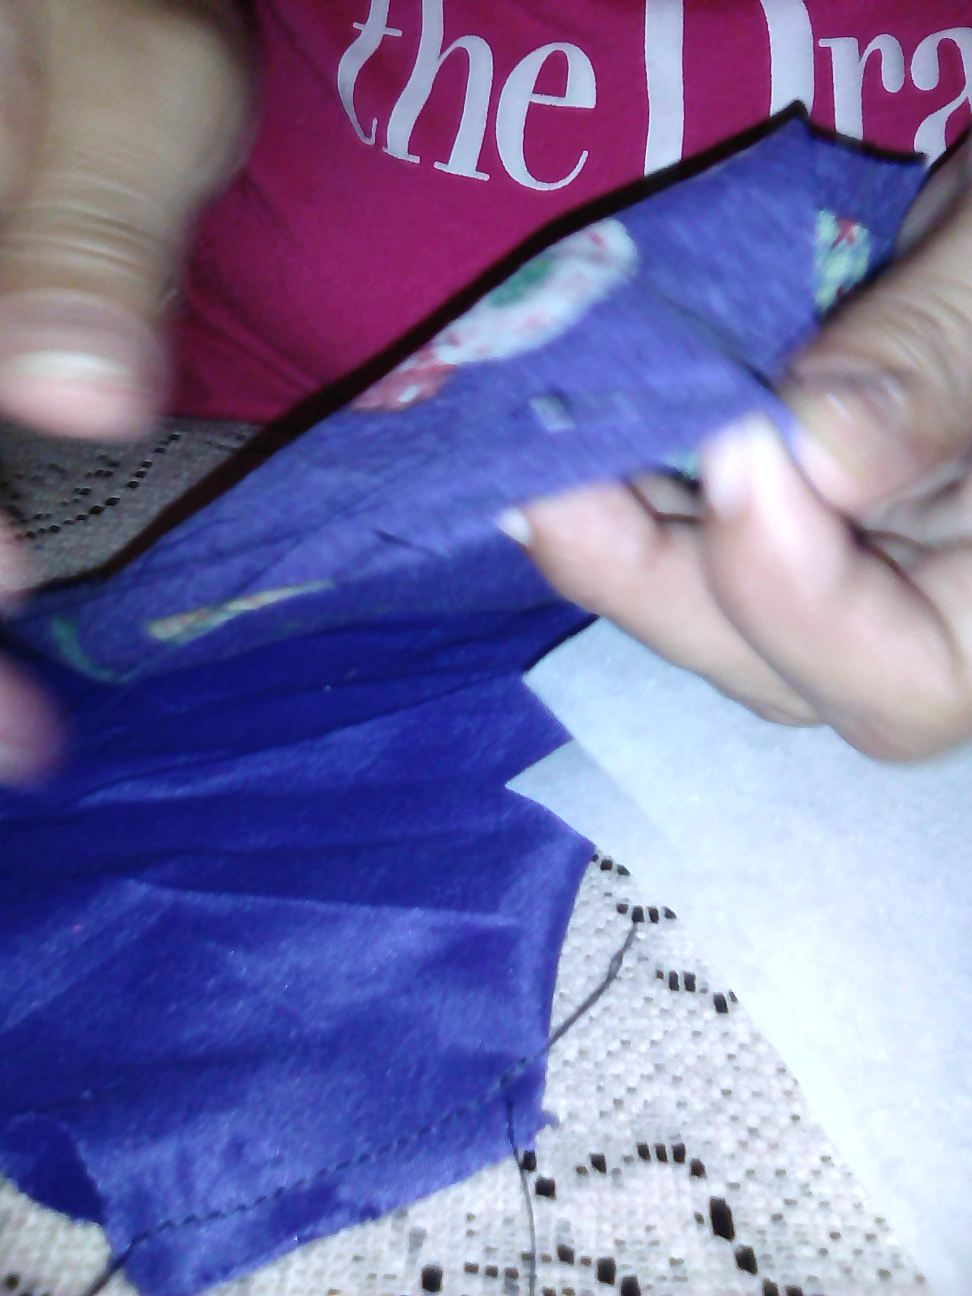
Paso 1: Primero realizaremos el molde para proceder hacer el tapabocas. Con la regla y el lápiz harás un rectángulo con medidas de 13.8 cm de largo y 12 cm de ancho. Ahora toma dos trozos de tela en forma rectangular y coloca uno sobre el otro con el lado derecho hacia arriba y dobla a la mitad. Coloca sobre los dos trozos de tela el molde y sujeta con los alfileres para que la tela no se mueva y traza con un lápiz sus alrededores. Para este paso utilizarás las tijeras y cortarás los alrededores de la tela. Al terminar, retira los alfileres y deberán quedarte tres trozos de tela del mismo tamaño.
Step 1: First we will make the mold to proceed to make the mouthpiece. With the ruler and the pencil you will make a rectangle measuring 13.8 cm long and 12 cm wide. Now take two pieces of fabric in a rectangular shape and place one on top of the other with the right side up and fold in half. Place the mold on top of the two pieces of fabric and hold it with the pins so that the fabric does not move and trace with a pencil its surroundings. For this step you will use the scissors and cut around the fabric. When finished, remove the pins and you should be left with three pieces of fabric of the same size.
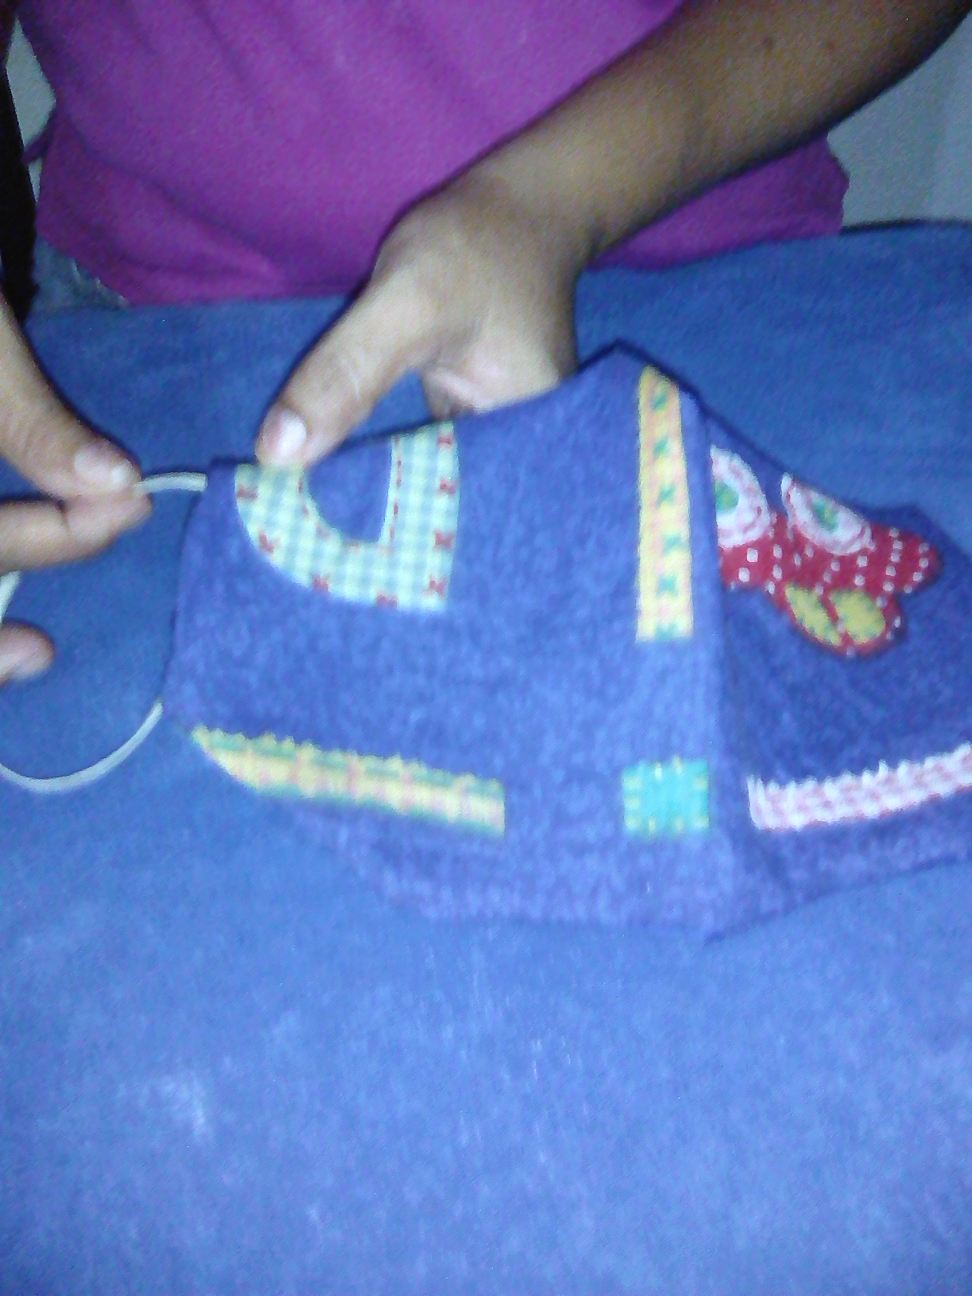
 Paso 2: cosemos alrededor de toda la orilla y luego volteamos al lado derecho, y se cose las elásticas de lado a lado.
Step 2: sew around the entire edge and then flip to the right side, and sew the elastics from side to side.

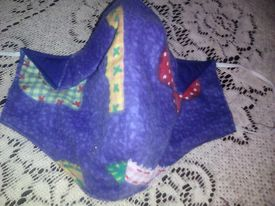
 paso 3: se doblan las esquinas de ambos lados se pasa costura y listo. y este es el resultado, espero y les guste muchisimo.
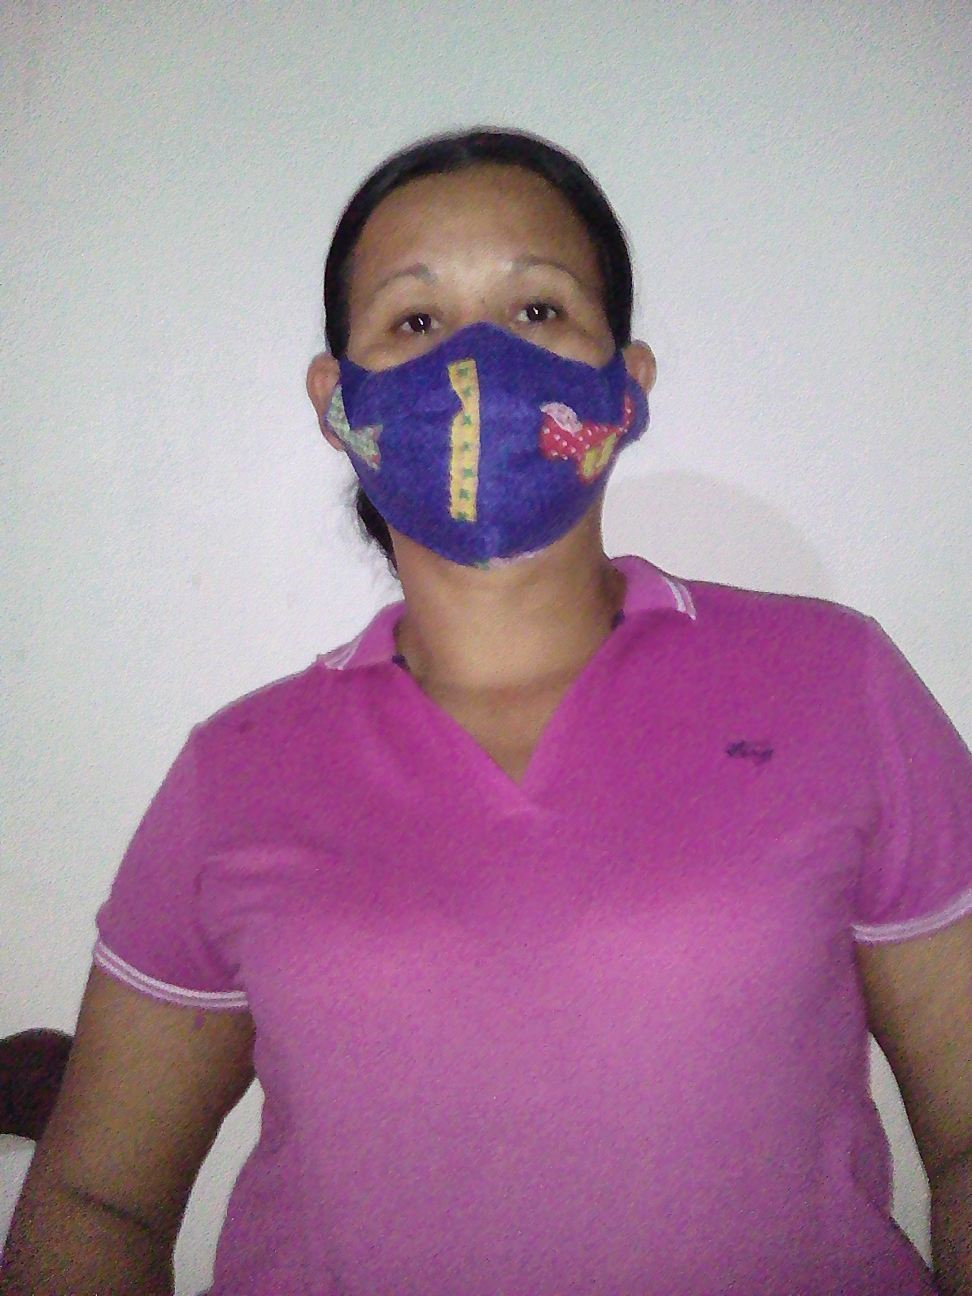
step 3: fold the corners of both sides, sew the seam and that's it. and this is the result, I hope you like it very much.
Todas las fotos son de mi autoria.
All photos are my own.

Congratulations @yusmelis26! You have completed the following achievement on the Hive blockchain and have been rewarded with new badge(s) :
Your next target is to reach 20 posts.
You can view your badges on your board and compare yourself to others in the Ranking
If you no longer want to receive notifications, reply to this comment with the word
STOPCheck out the last post from @hivebuzz:
Support the HiveBuzz project. Vote for our proposal!