Greetings friends! Today I share how I made a simple table with recycled materials I had at home.
Saludos amigos! Hoy comparto como realice una sencilla mesa con materiales reciclados que tenia en casa.
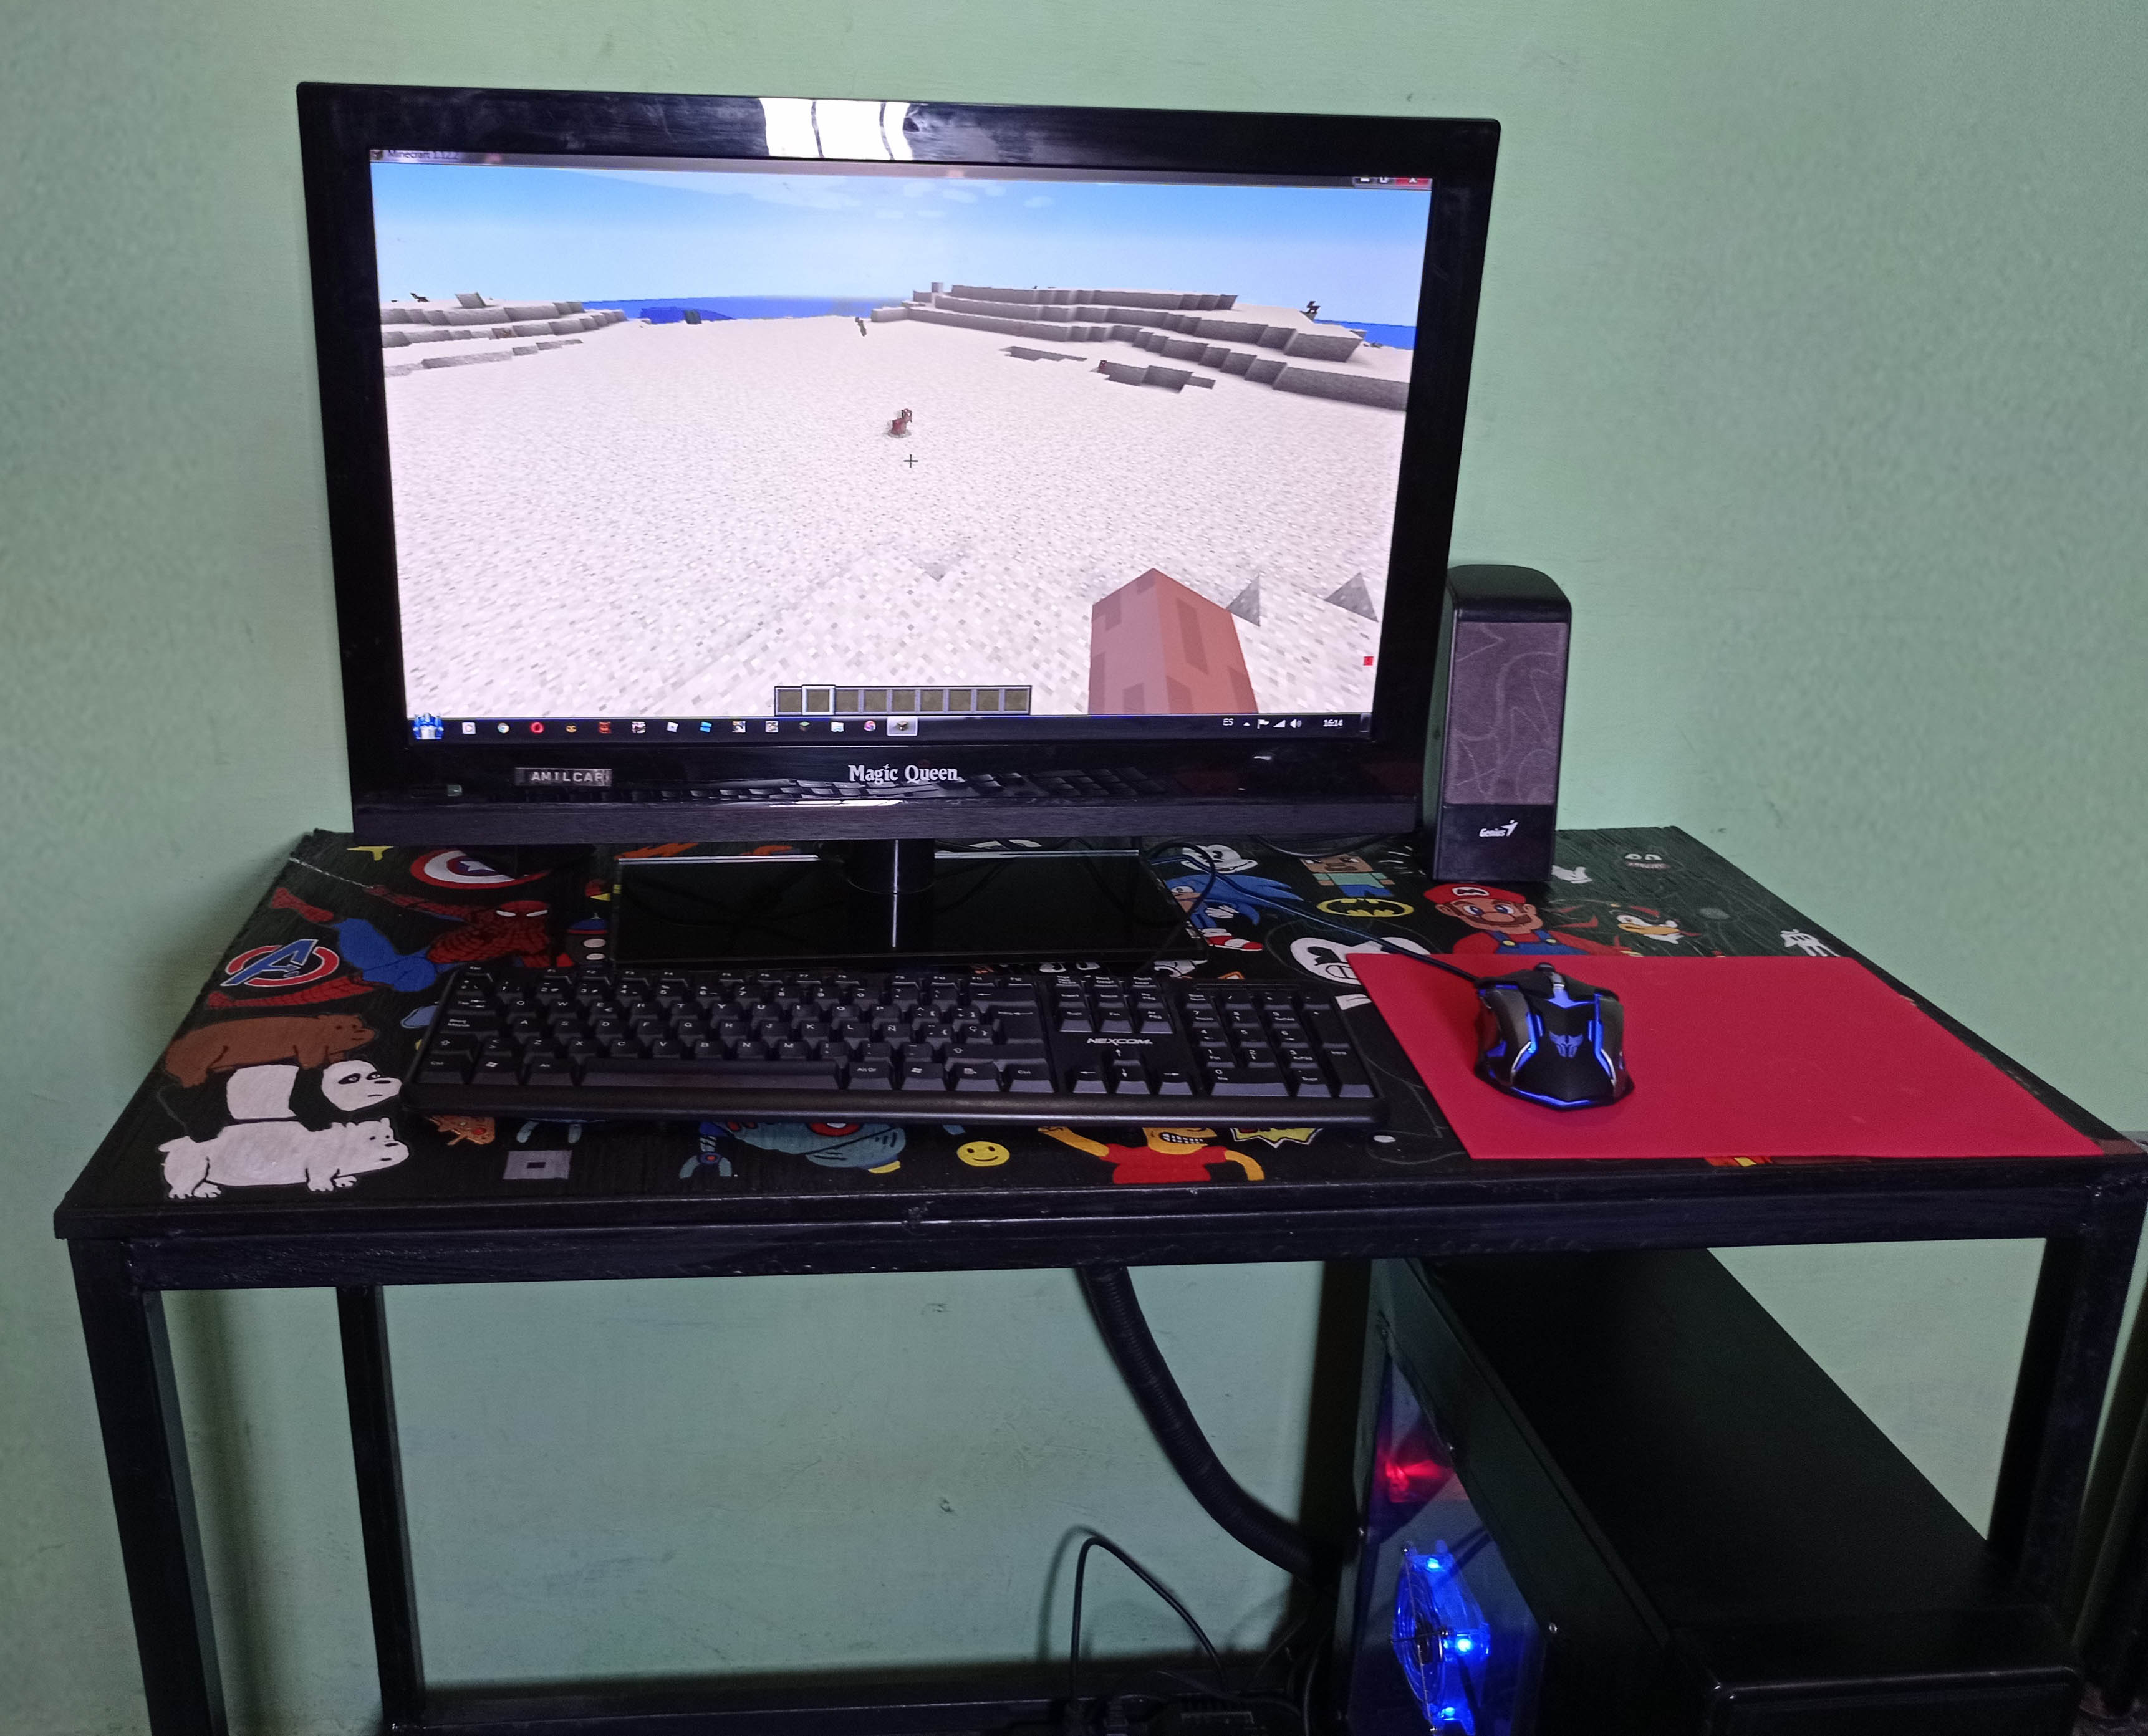

I made this table for my son's computer, so I decided to give it a personal touch for him and draw a kind of collage with the characters of his favorite cartoons and games.
Esta mesa la fabrique para el ordenador de mi hijo, asi que decidí darle un toque personal para el y dibujarle una especie de collage con los personajes de sus caricaturas y juegos favoritos.

The following materials and tools are used for this project:
- 1" x 1" recycled tubes.
- 200cm x 2cm plate.
- 100cm x 45cm wooden sheet.
- 2 screws of 2".
- 6 welding electrodes.
- 200grs of sawdust.
- White glue.
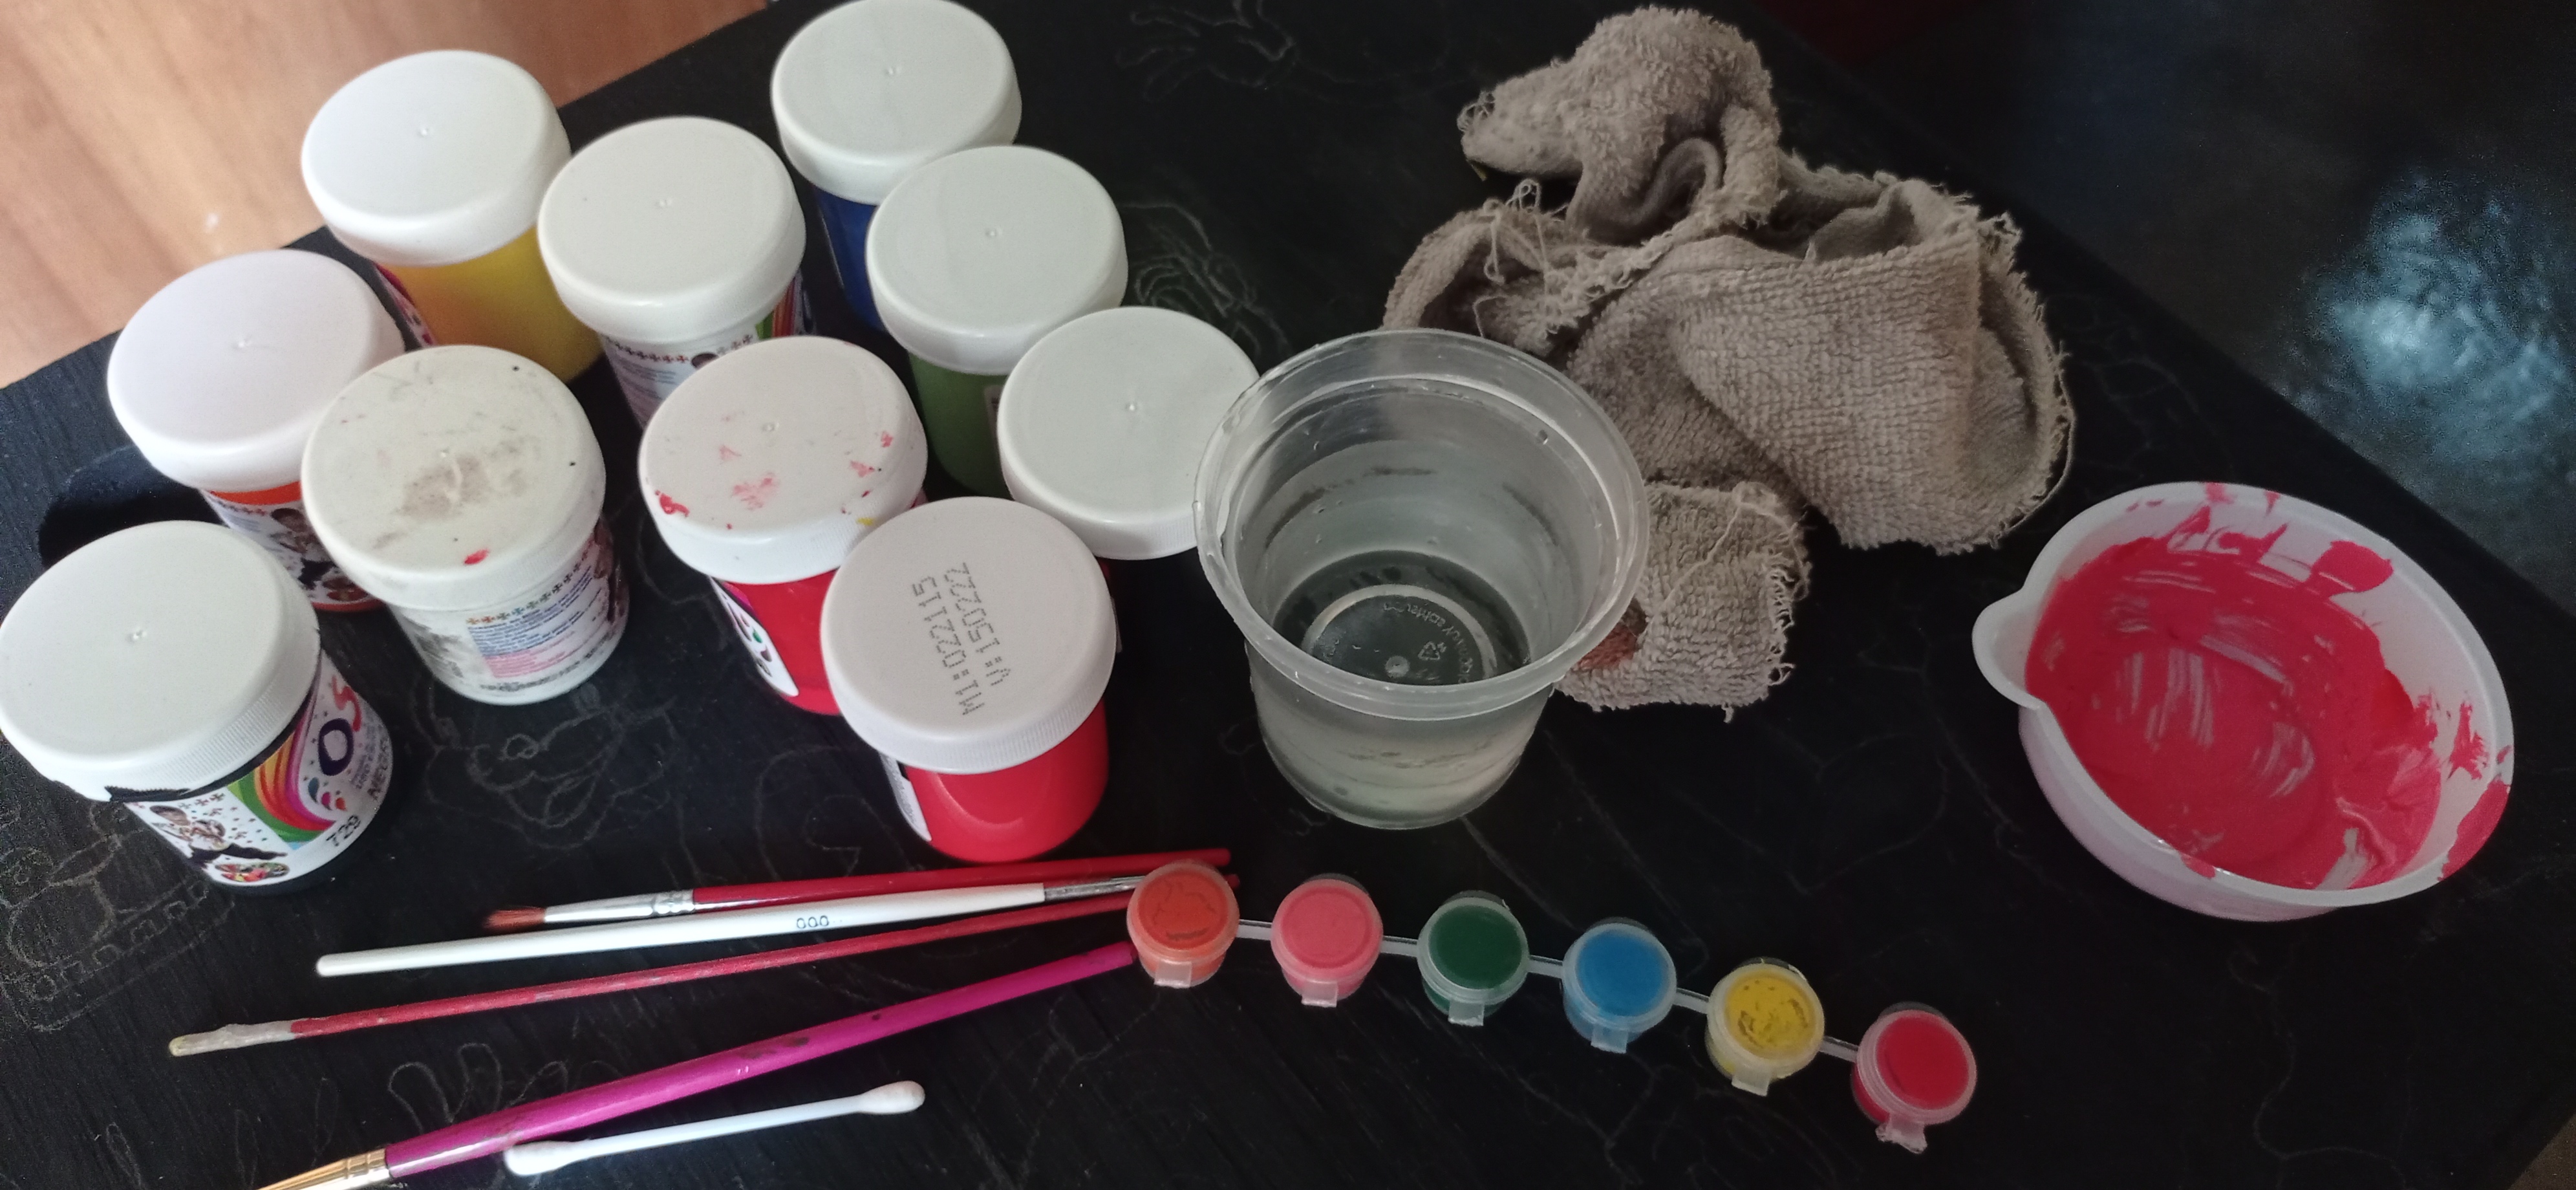
- Cold paint, red, white, black, orange, yellow, green and blue.
- Black acrylic paint, to paint the metallic structure.
- Sandpaper.
- Drill.
- Grinder.
- Welding machine.
- Screwdriver.
- Brushes and paintbrush.
- Graphite pencil.
- Measuring tape.
Para este proyecto utilice los siguientes materiales y herramientas:
- Tubos de 1" x 1" reciclados.
- Platina de 200cm x 2cm.
- Plancha de madera de 100cm x 45cm.
- 2 tornillos de 2".
- 6 electrodos para soldar.
- 200grs de aserrín.
- Pega blanca.
- Pintura al frio, roja, blanca, negra, naranja, amarilla, verde y azul.
- Pintura acrílica negra, para pintar la estructura metálica.
- Papel de lija.
- Taladro.
- Esmeril.
- Maquina de soldar.
- Destornillador.
- Pinceles y brocha.
- Lápiz de grafito.
- Cinta métrica.
Let's go through the process:
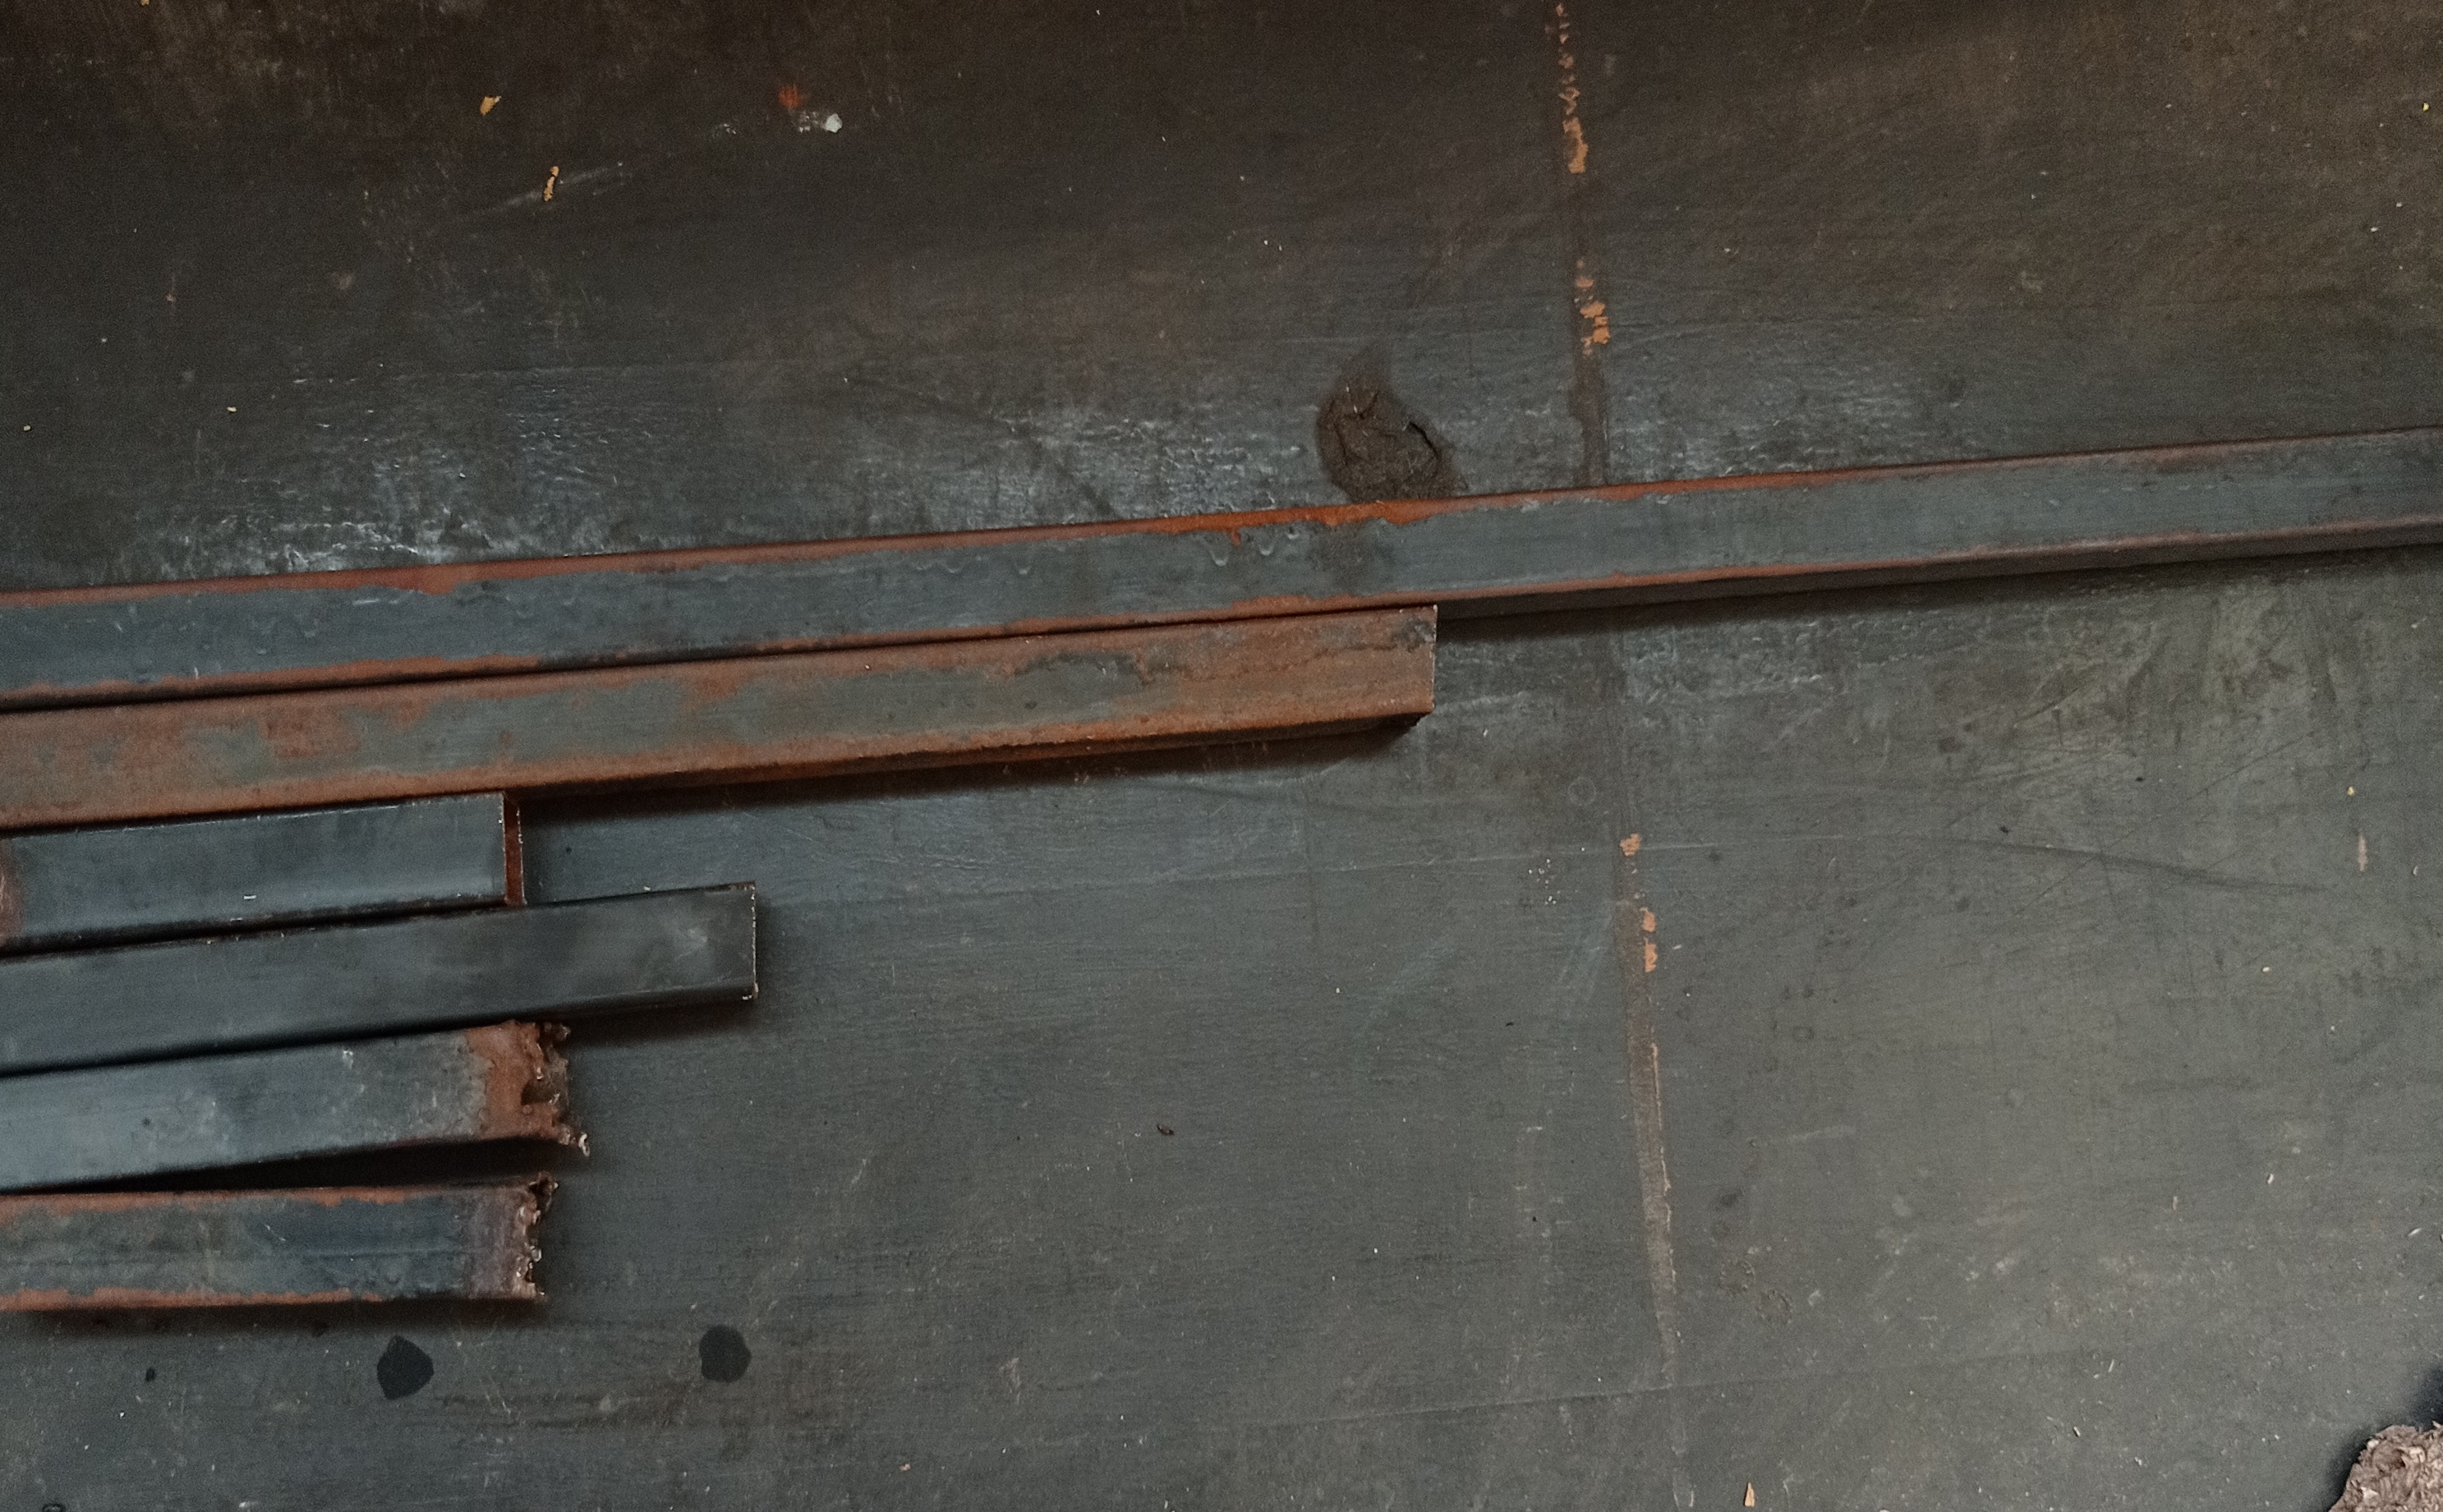
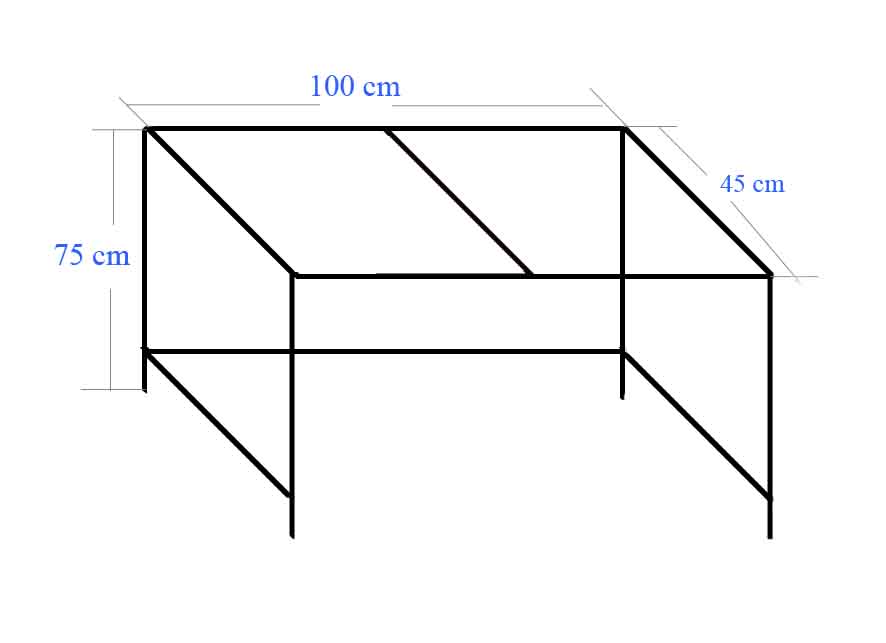
To make the structure of the table I took some tubes left over from an old fence, which I measured and cut:
3 tubes of 100cm.
5 tubes of 45cm.
4 tubes of 75cm.
Vamos con el proceso:
Para hacer la estructura de la mesa tome unos tubos restos de una vieja reja, de los cuales medí y corte:
3 tubos de 100cm.
5 tubos de 45cm.
4 tubos de 75cm.Adicional de un trozo de una platina de 200cm de largo y 1cm de ancho. corte un trozo de 100cm y 2 trozos de 45cm que utilizare en la parte de arriba de la estructura donde ira incrustada la madera del tope.Como no dispongo de maquina de soldar lleve los tubos cortados donde mi amigo que me ayudo a armar la estructura de la mesa.
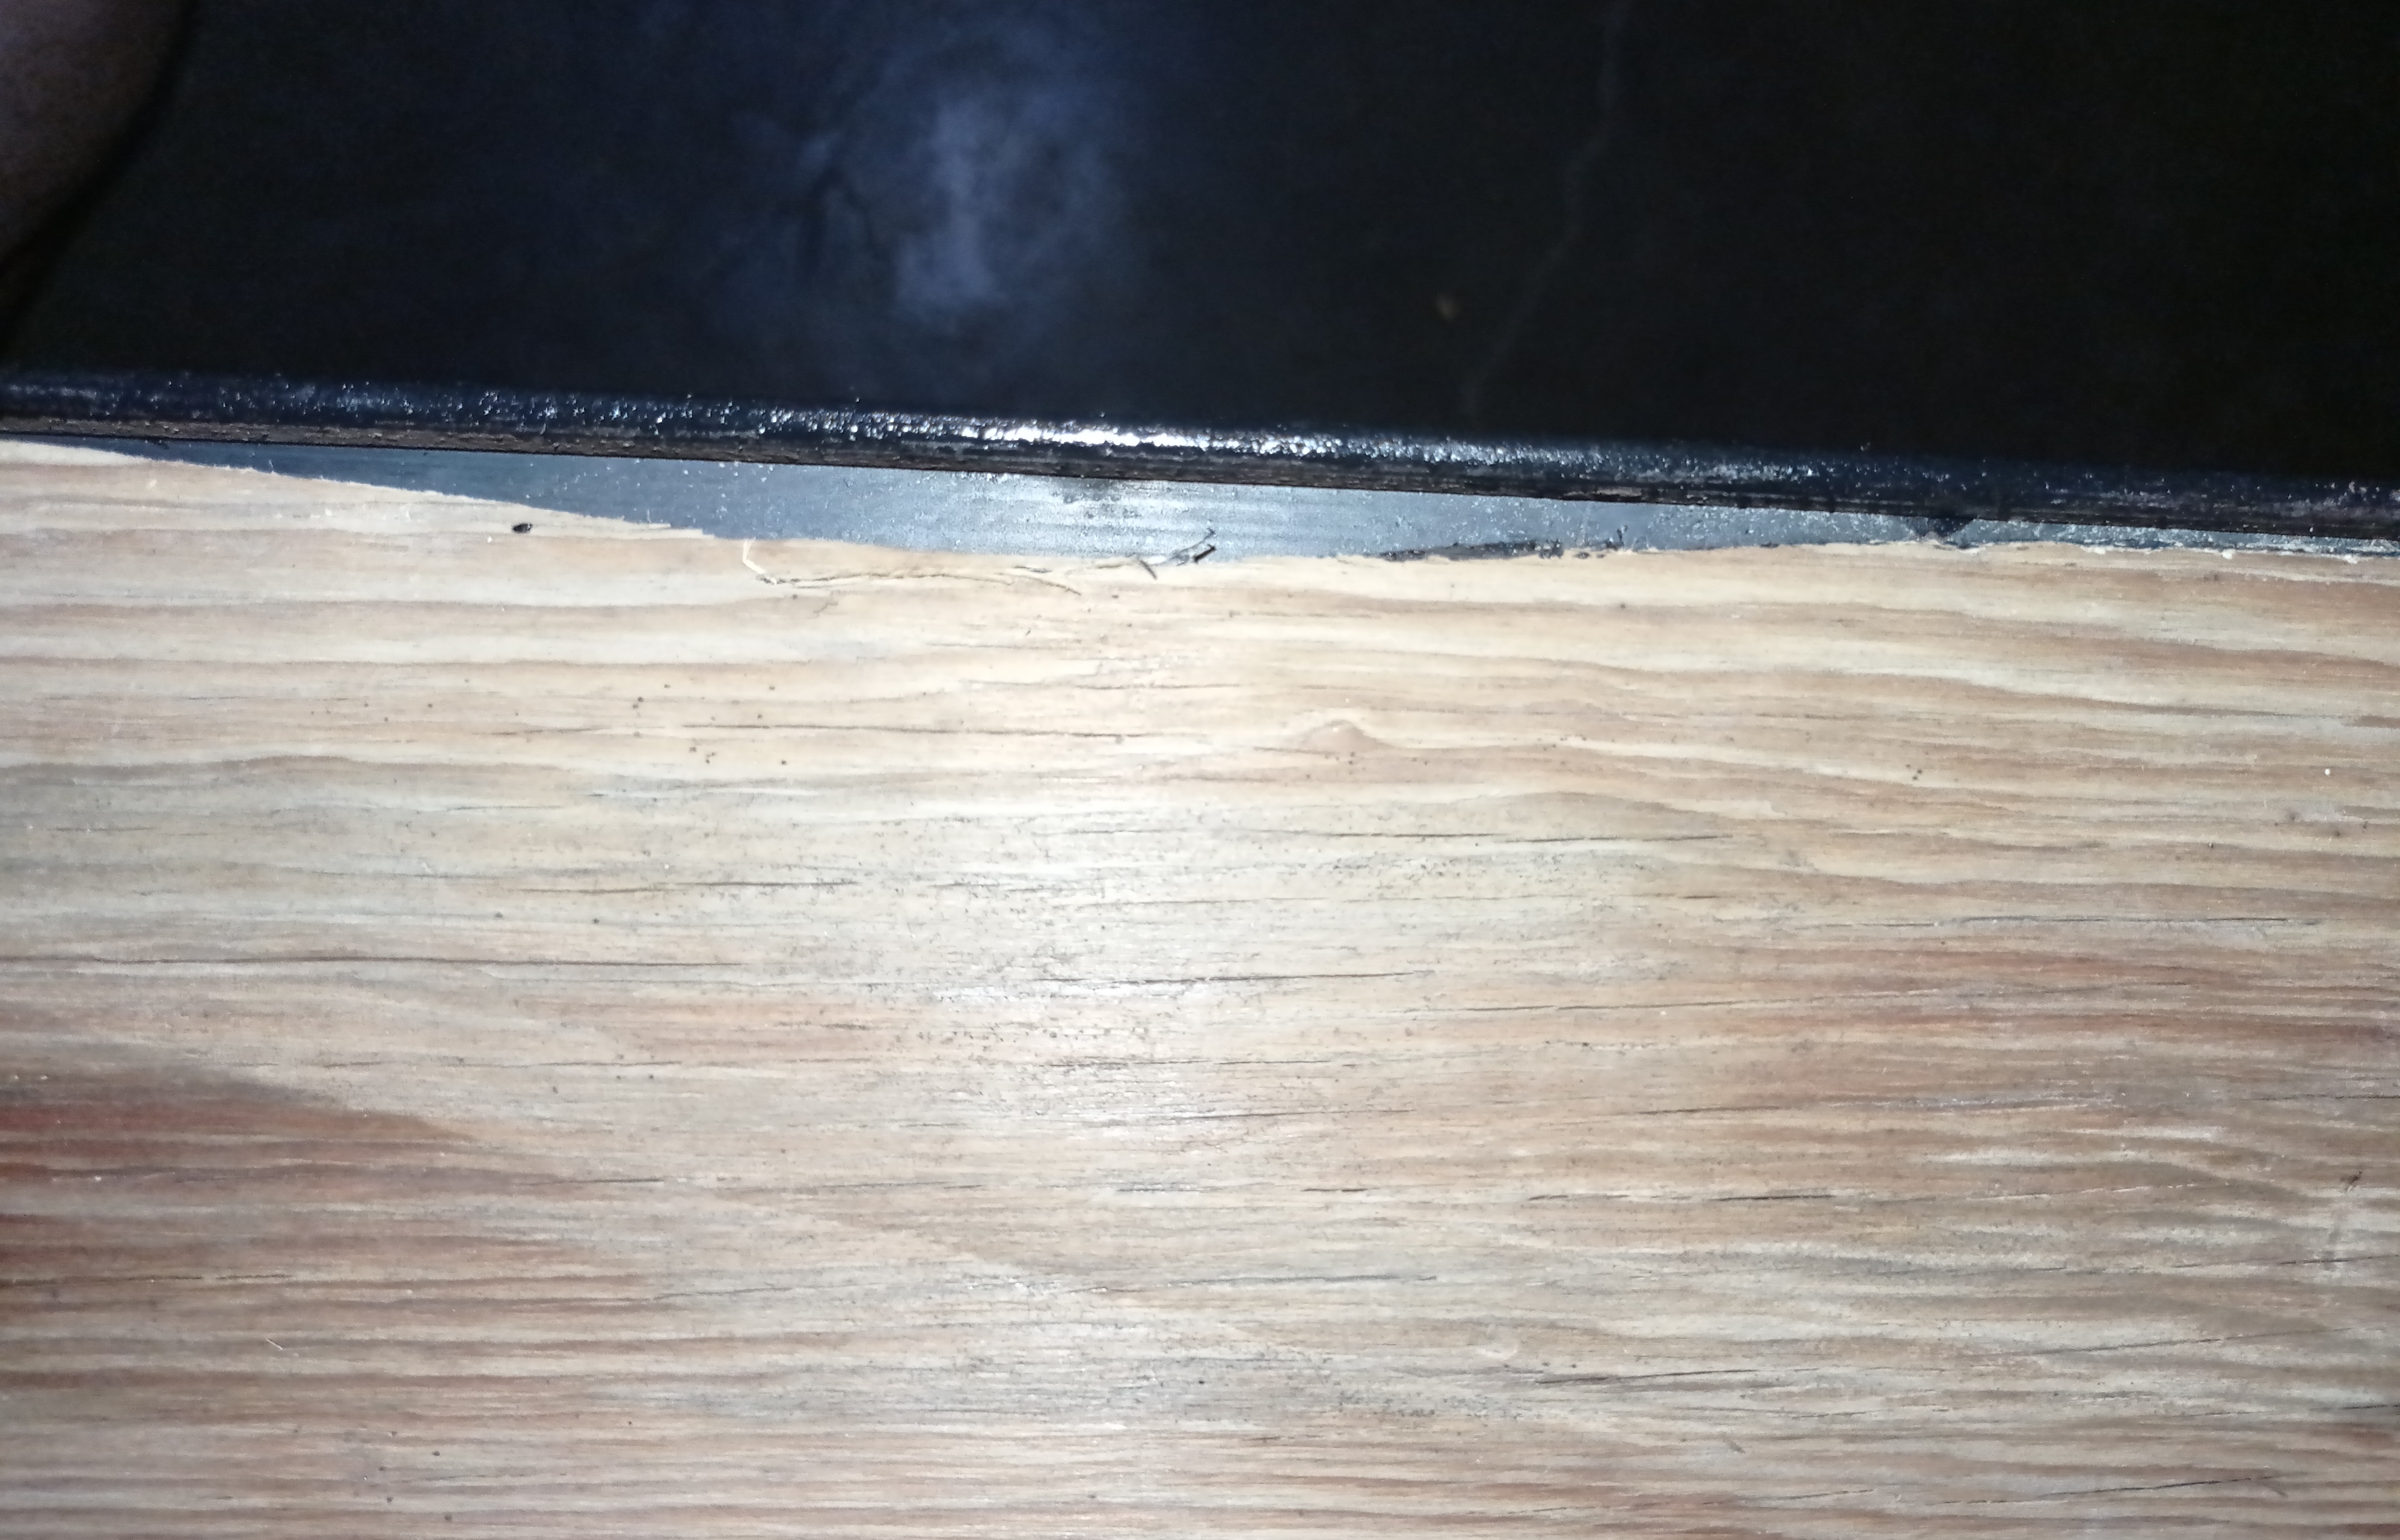
Para el tope de la mesa utilice una plancha de madera que tenia en casa de 100cm x 45cm de la cual obtuve las medidas para realizar la estructura. Con la estructura metálica lista incruste la madera del tope y la asegure atornillándola a la estructura.

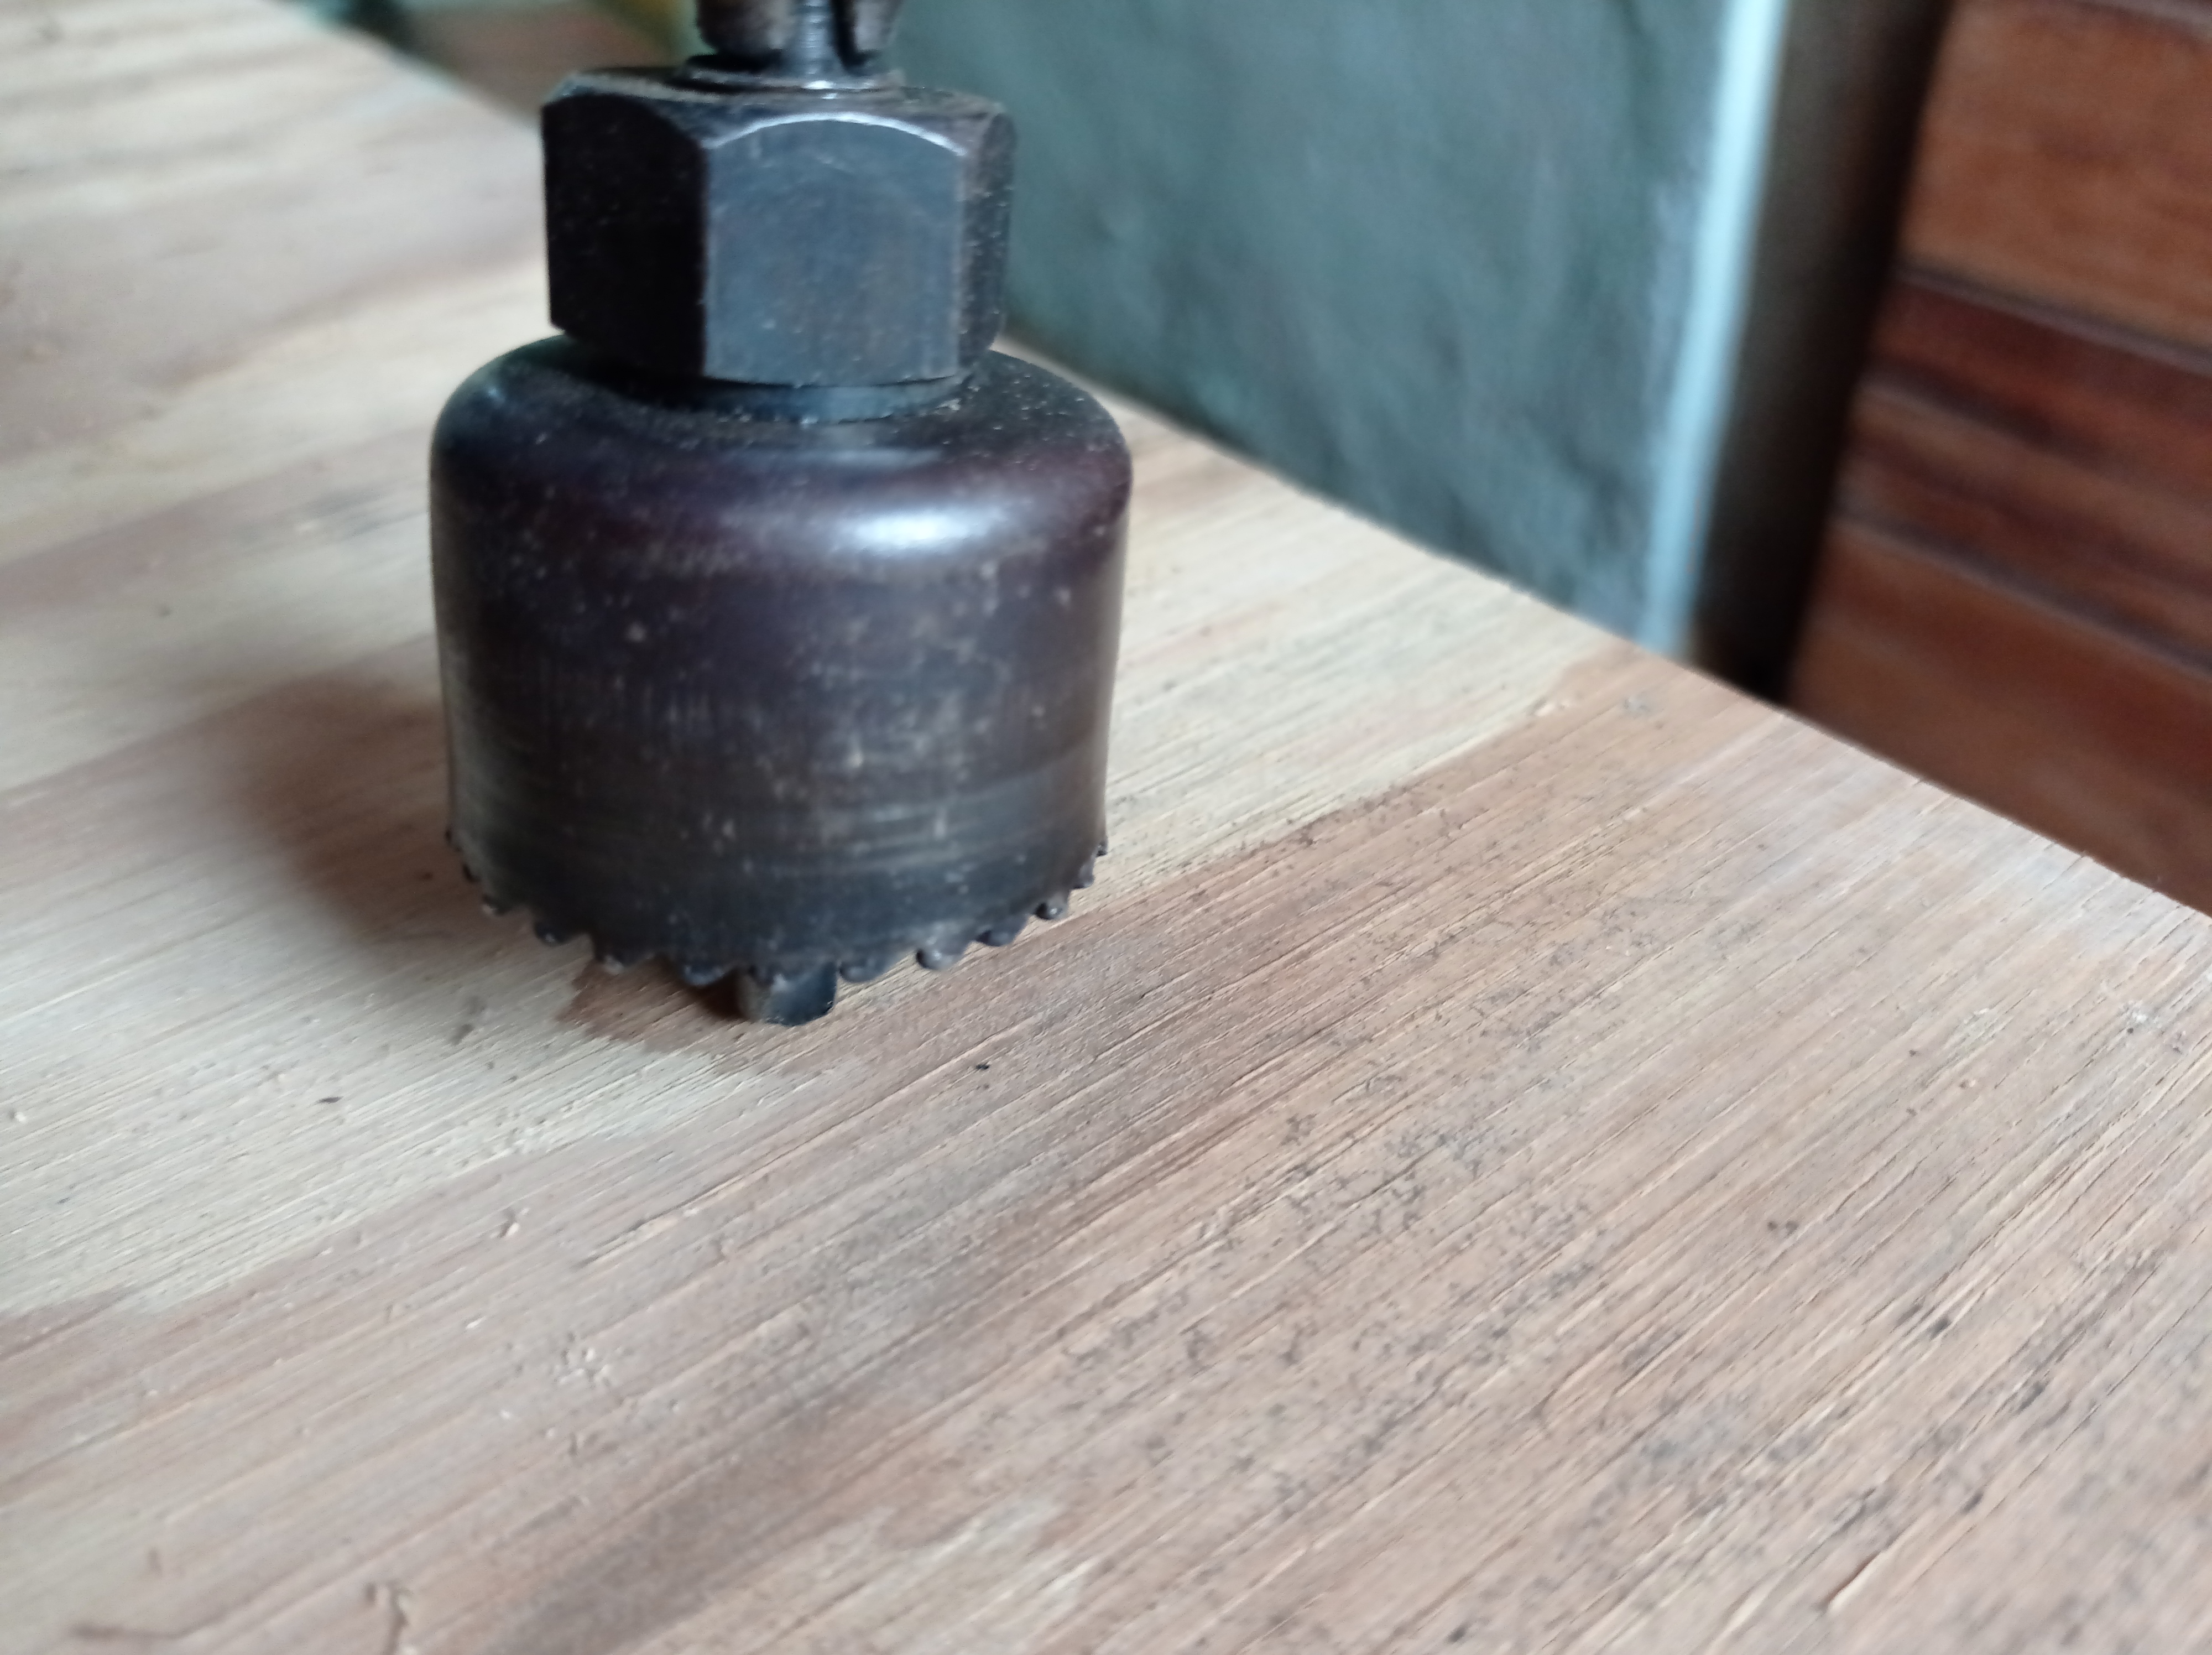
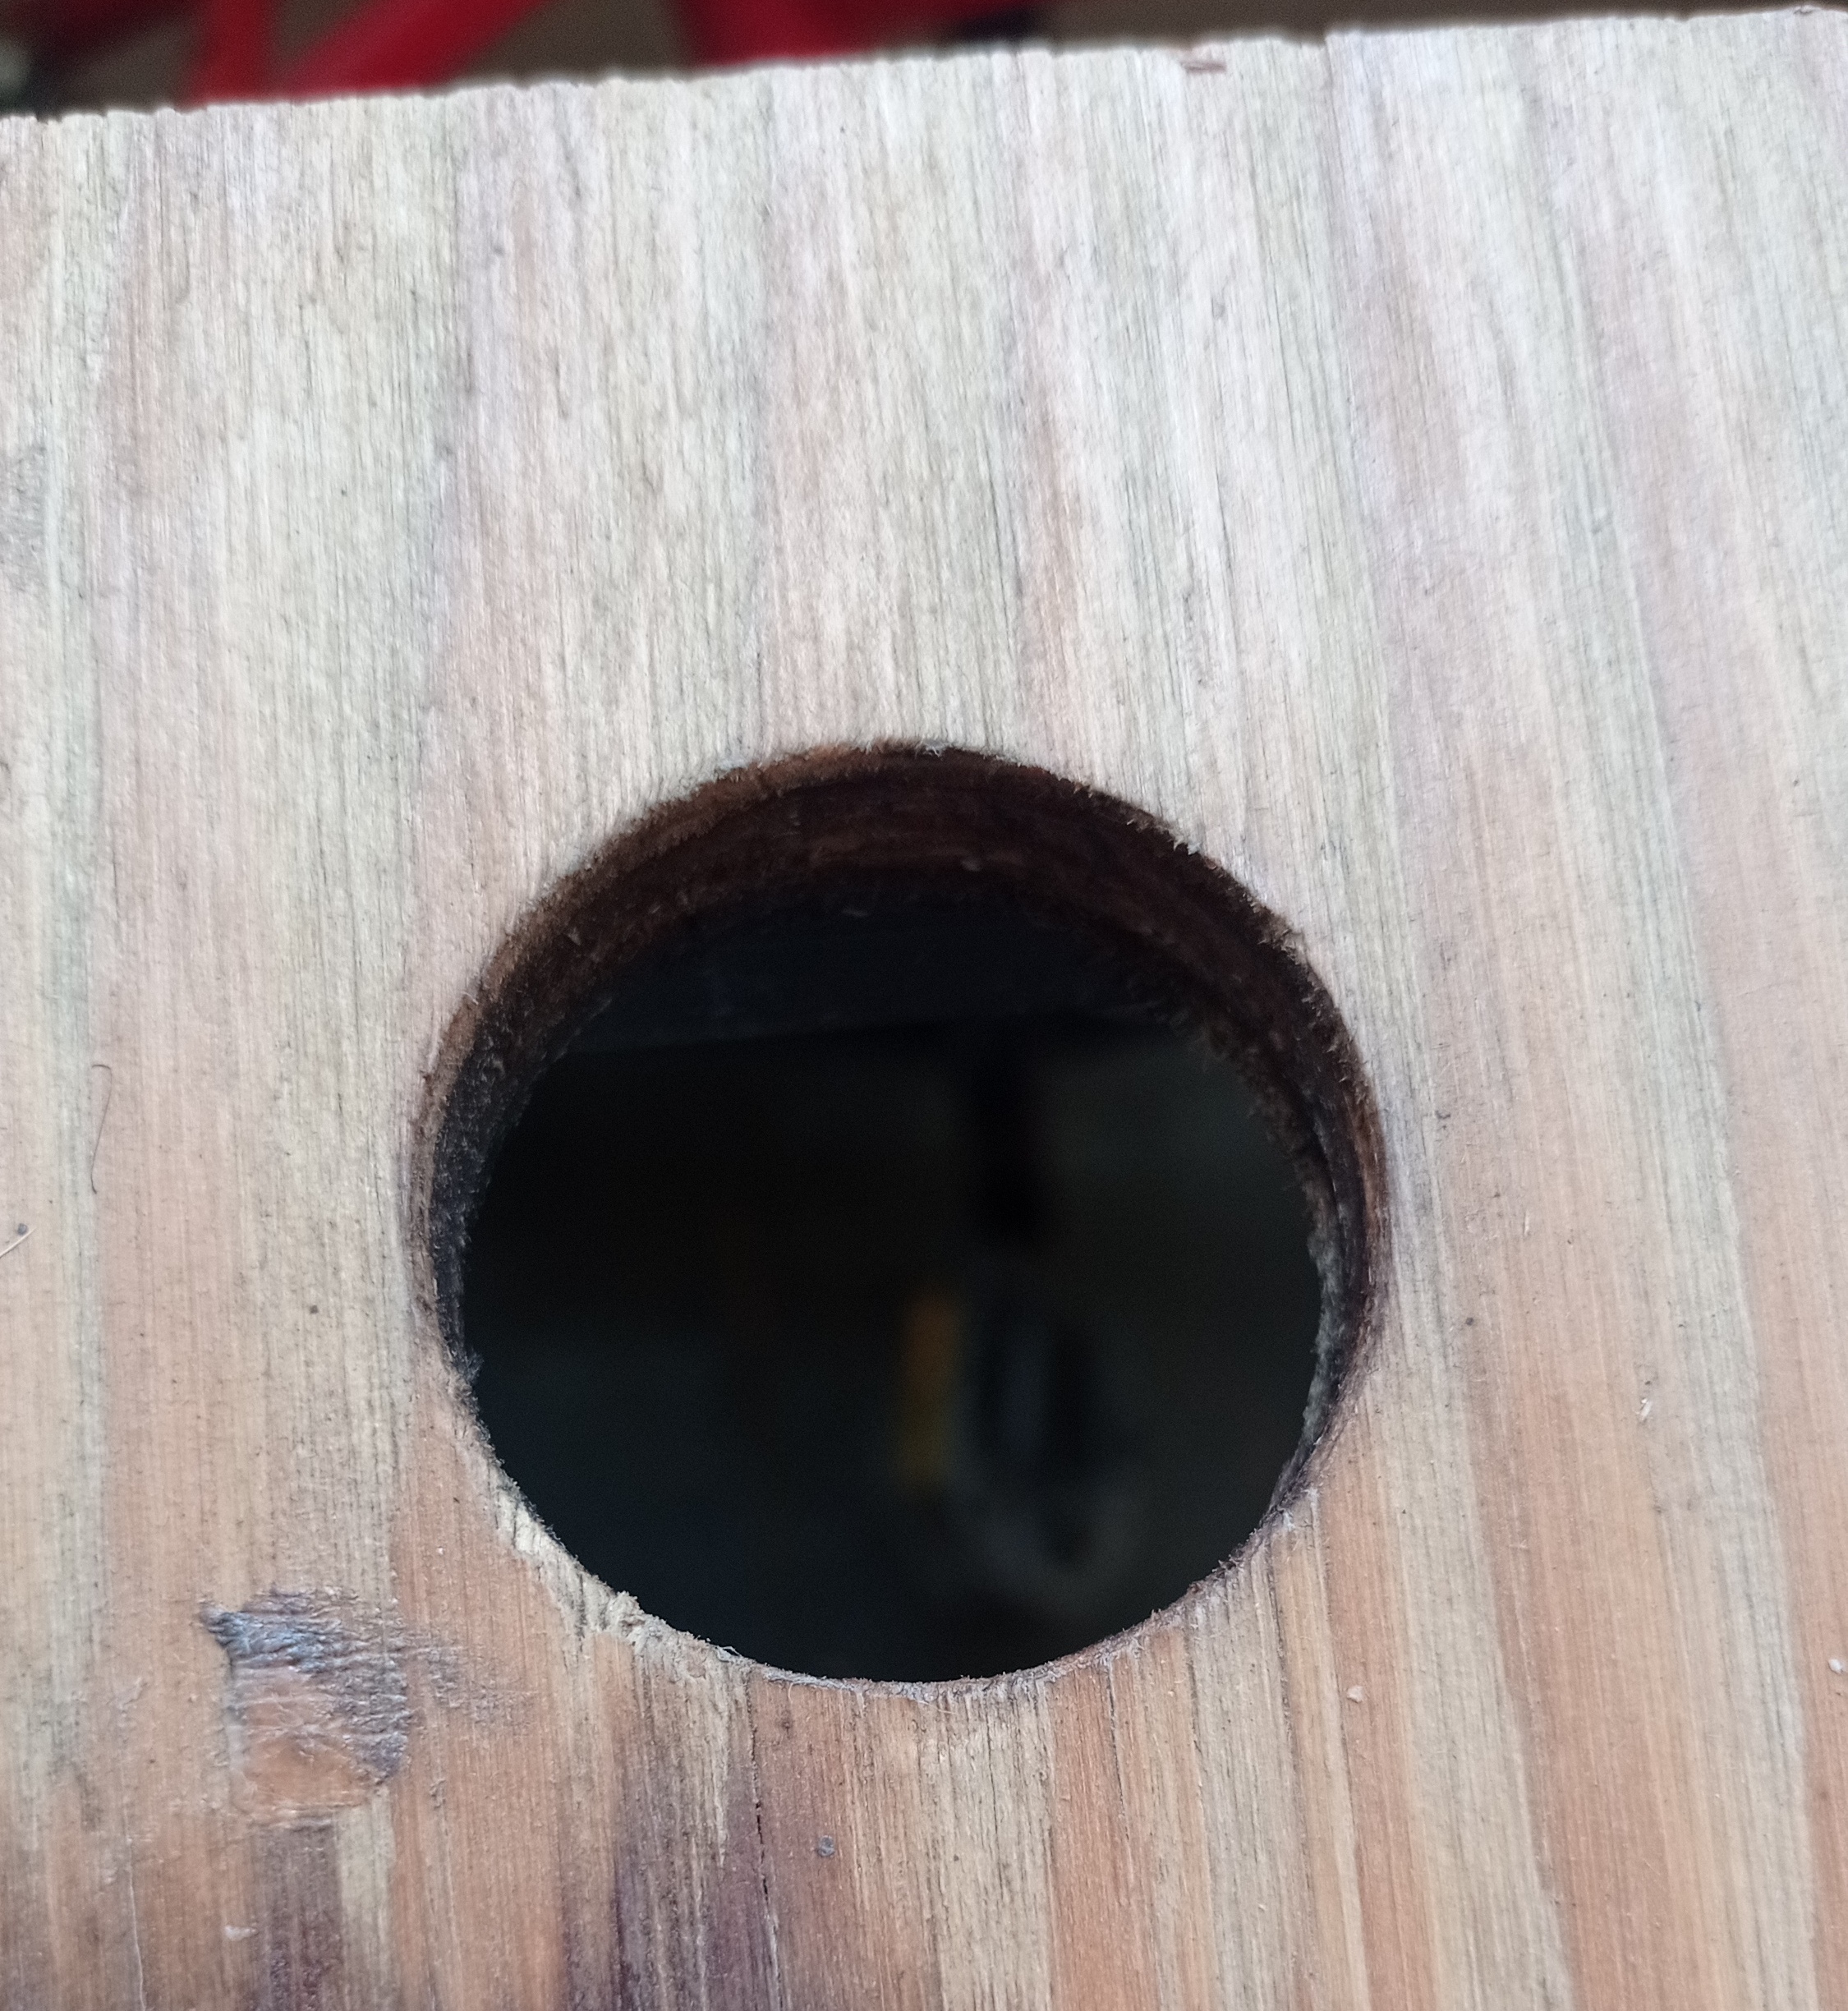
With the drill and the wide drill I made a hole in the center of the table, to be able to pass the cables of the computer.
Con el taladro y la broca ancha realice un agujero en el centro de la mesa, para poder pasar los cables del ordenador.
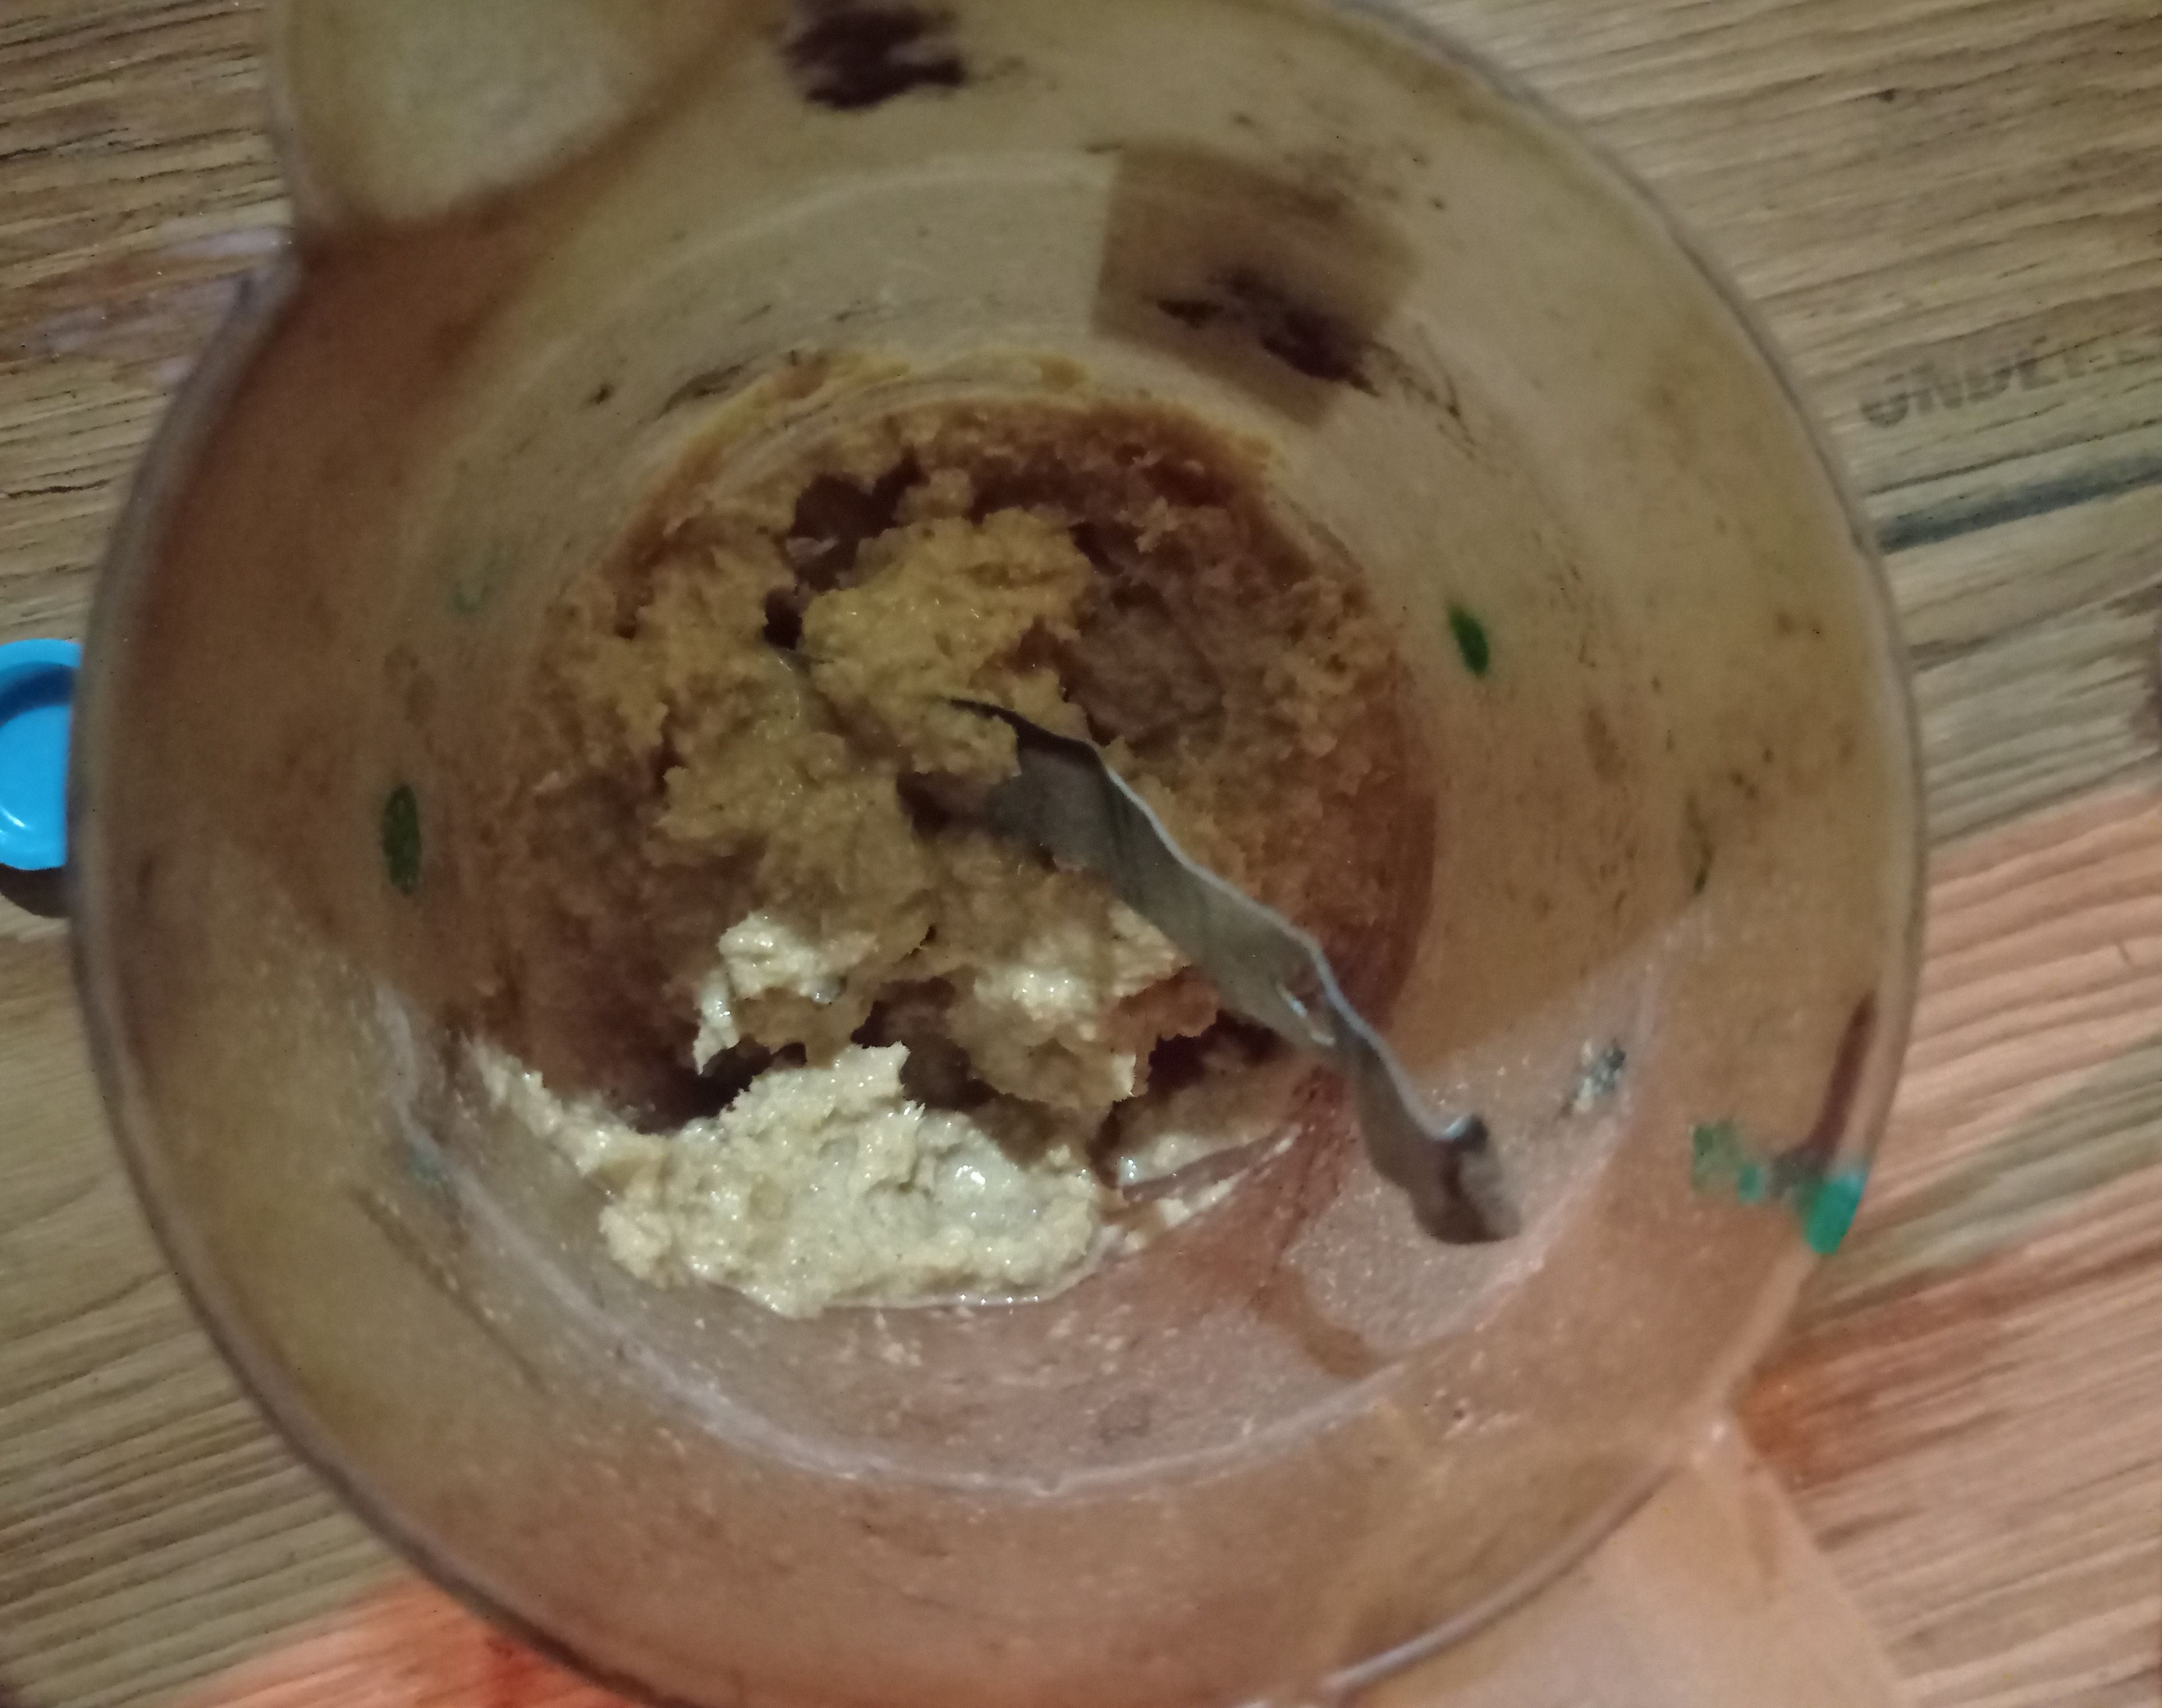
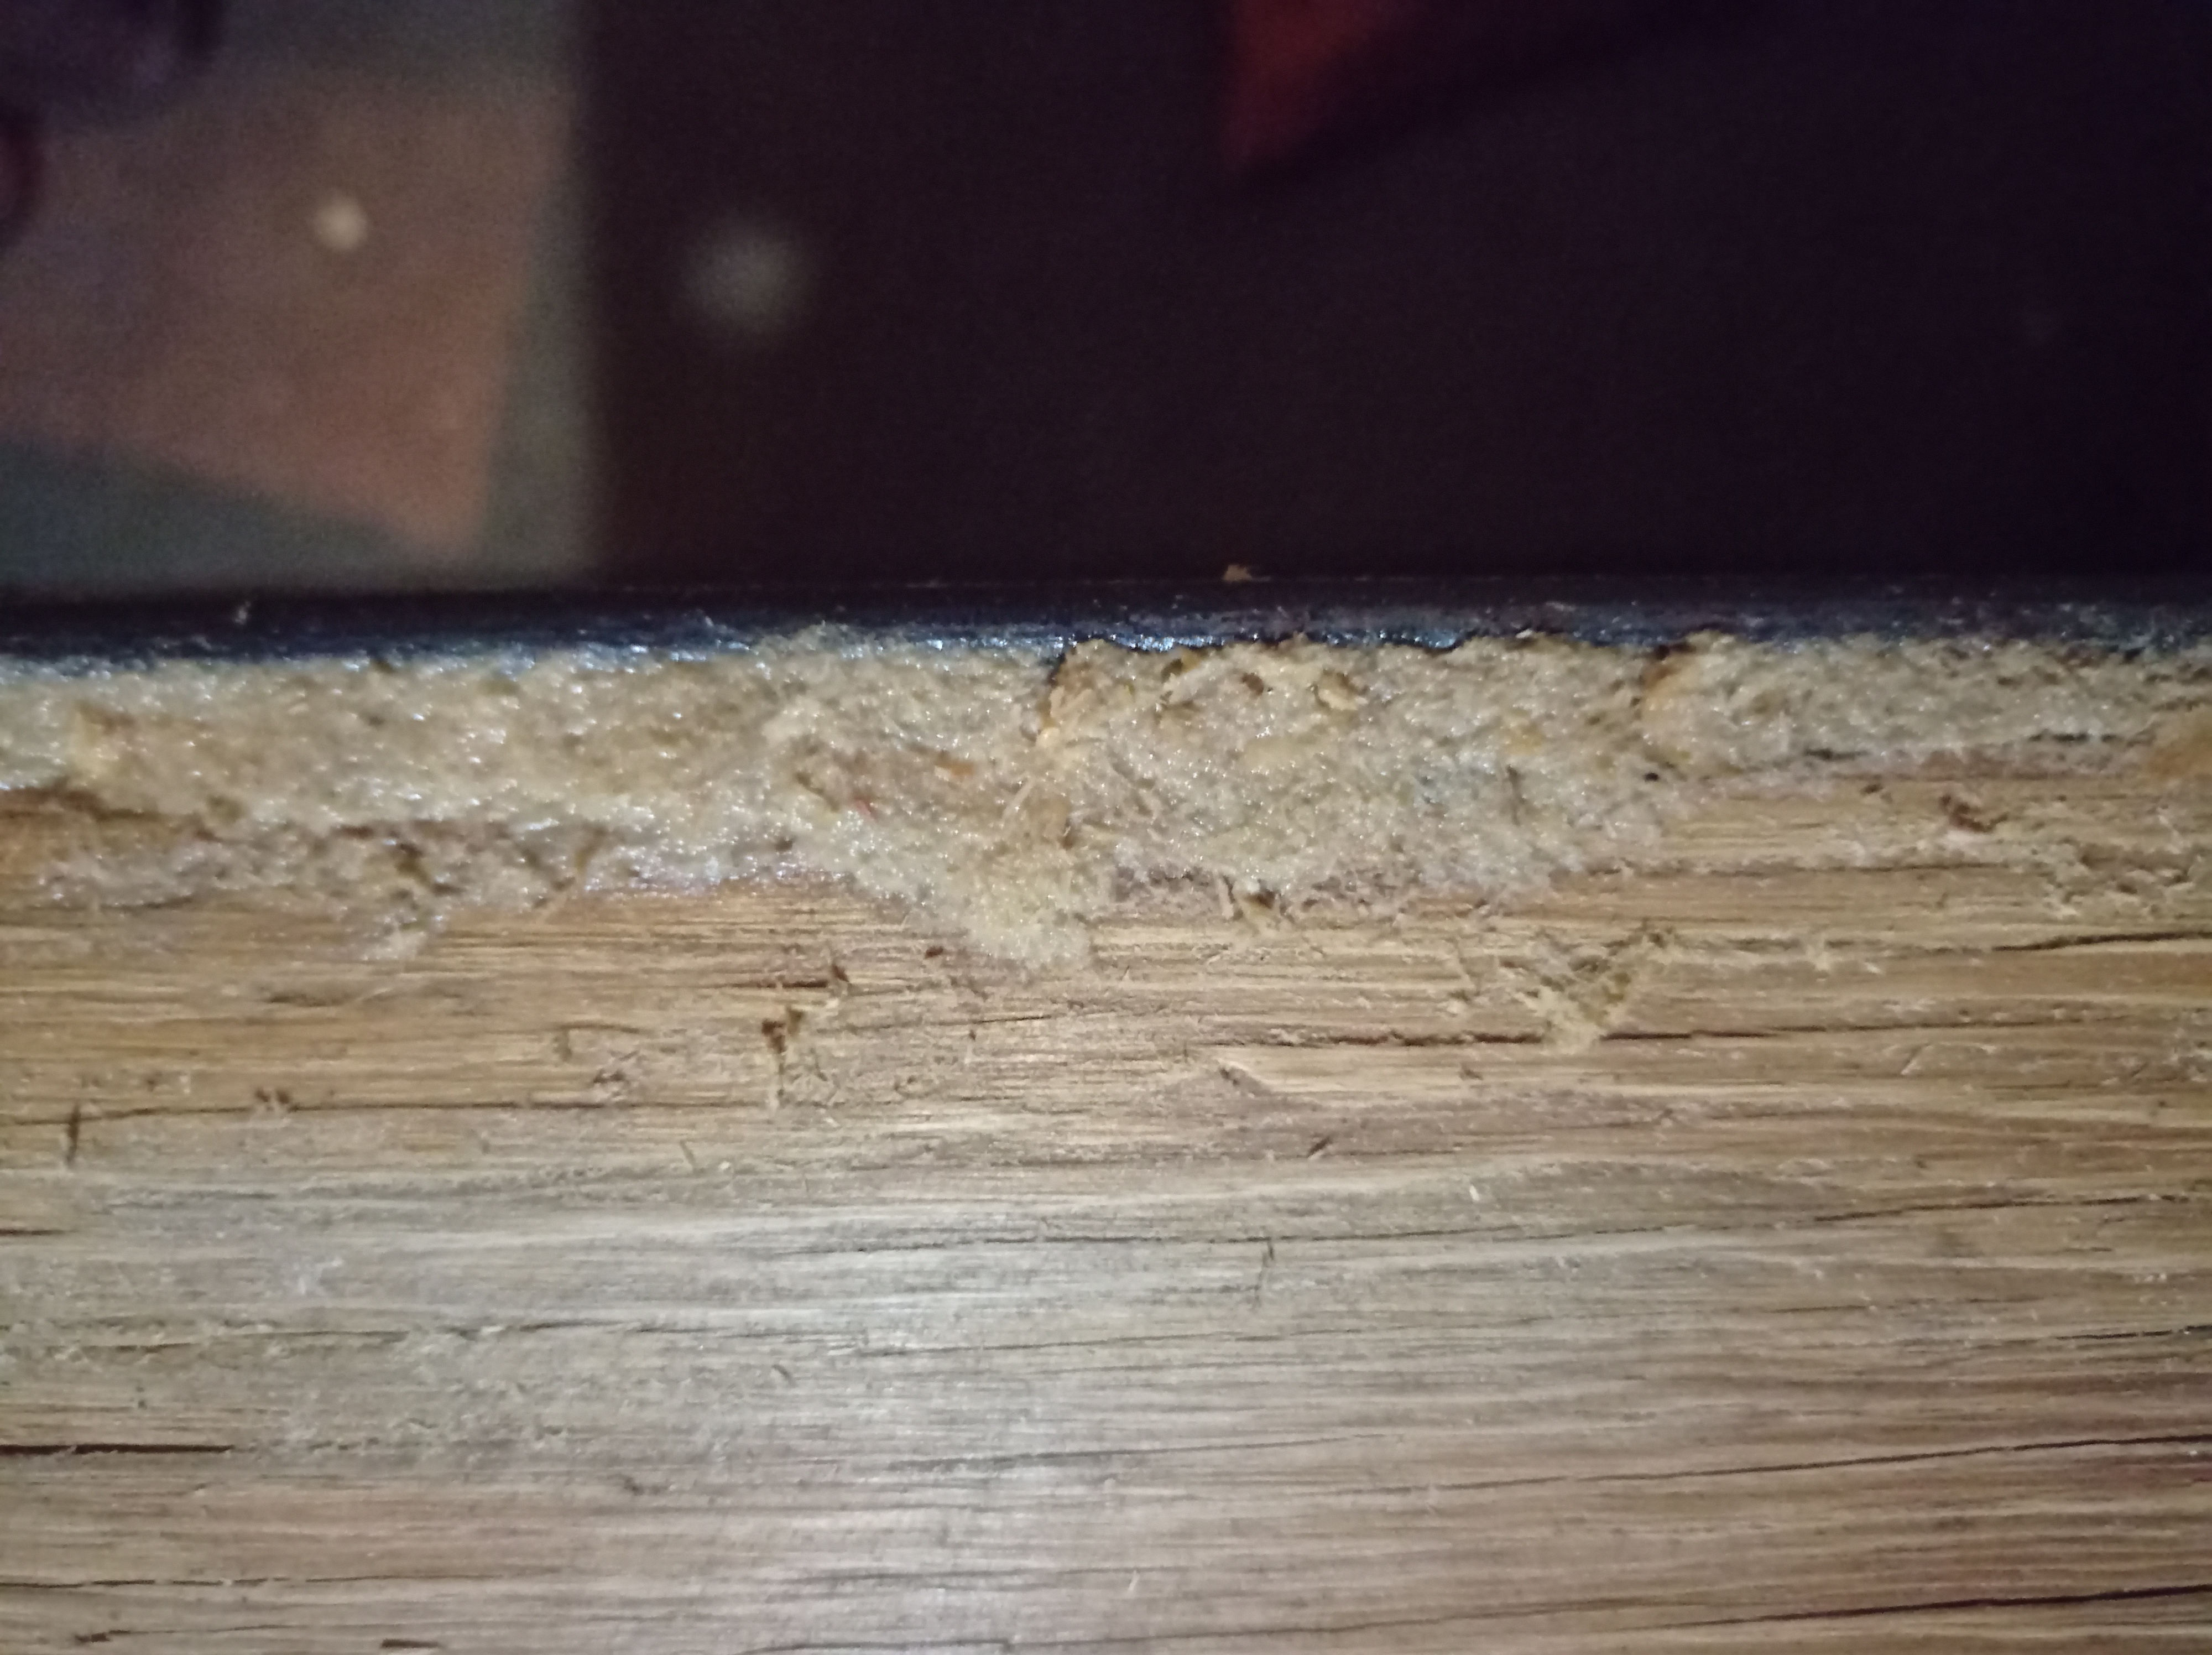
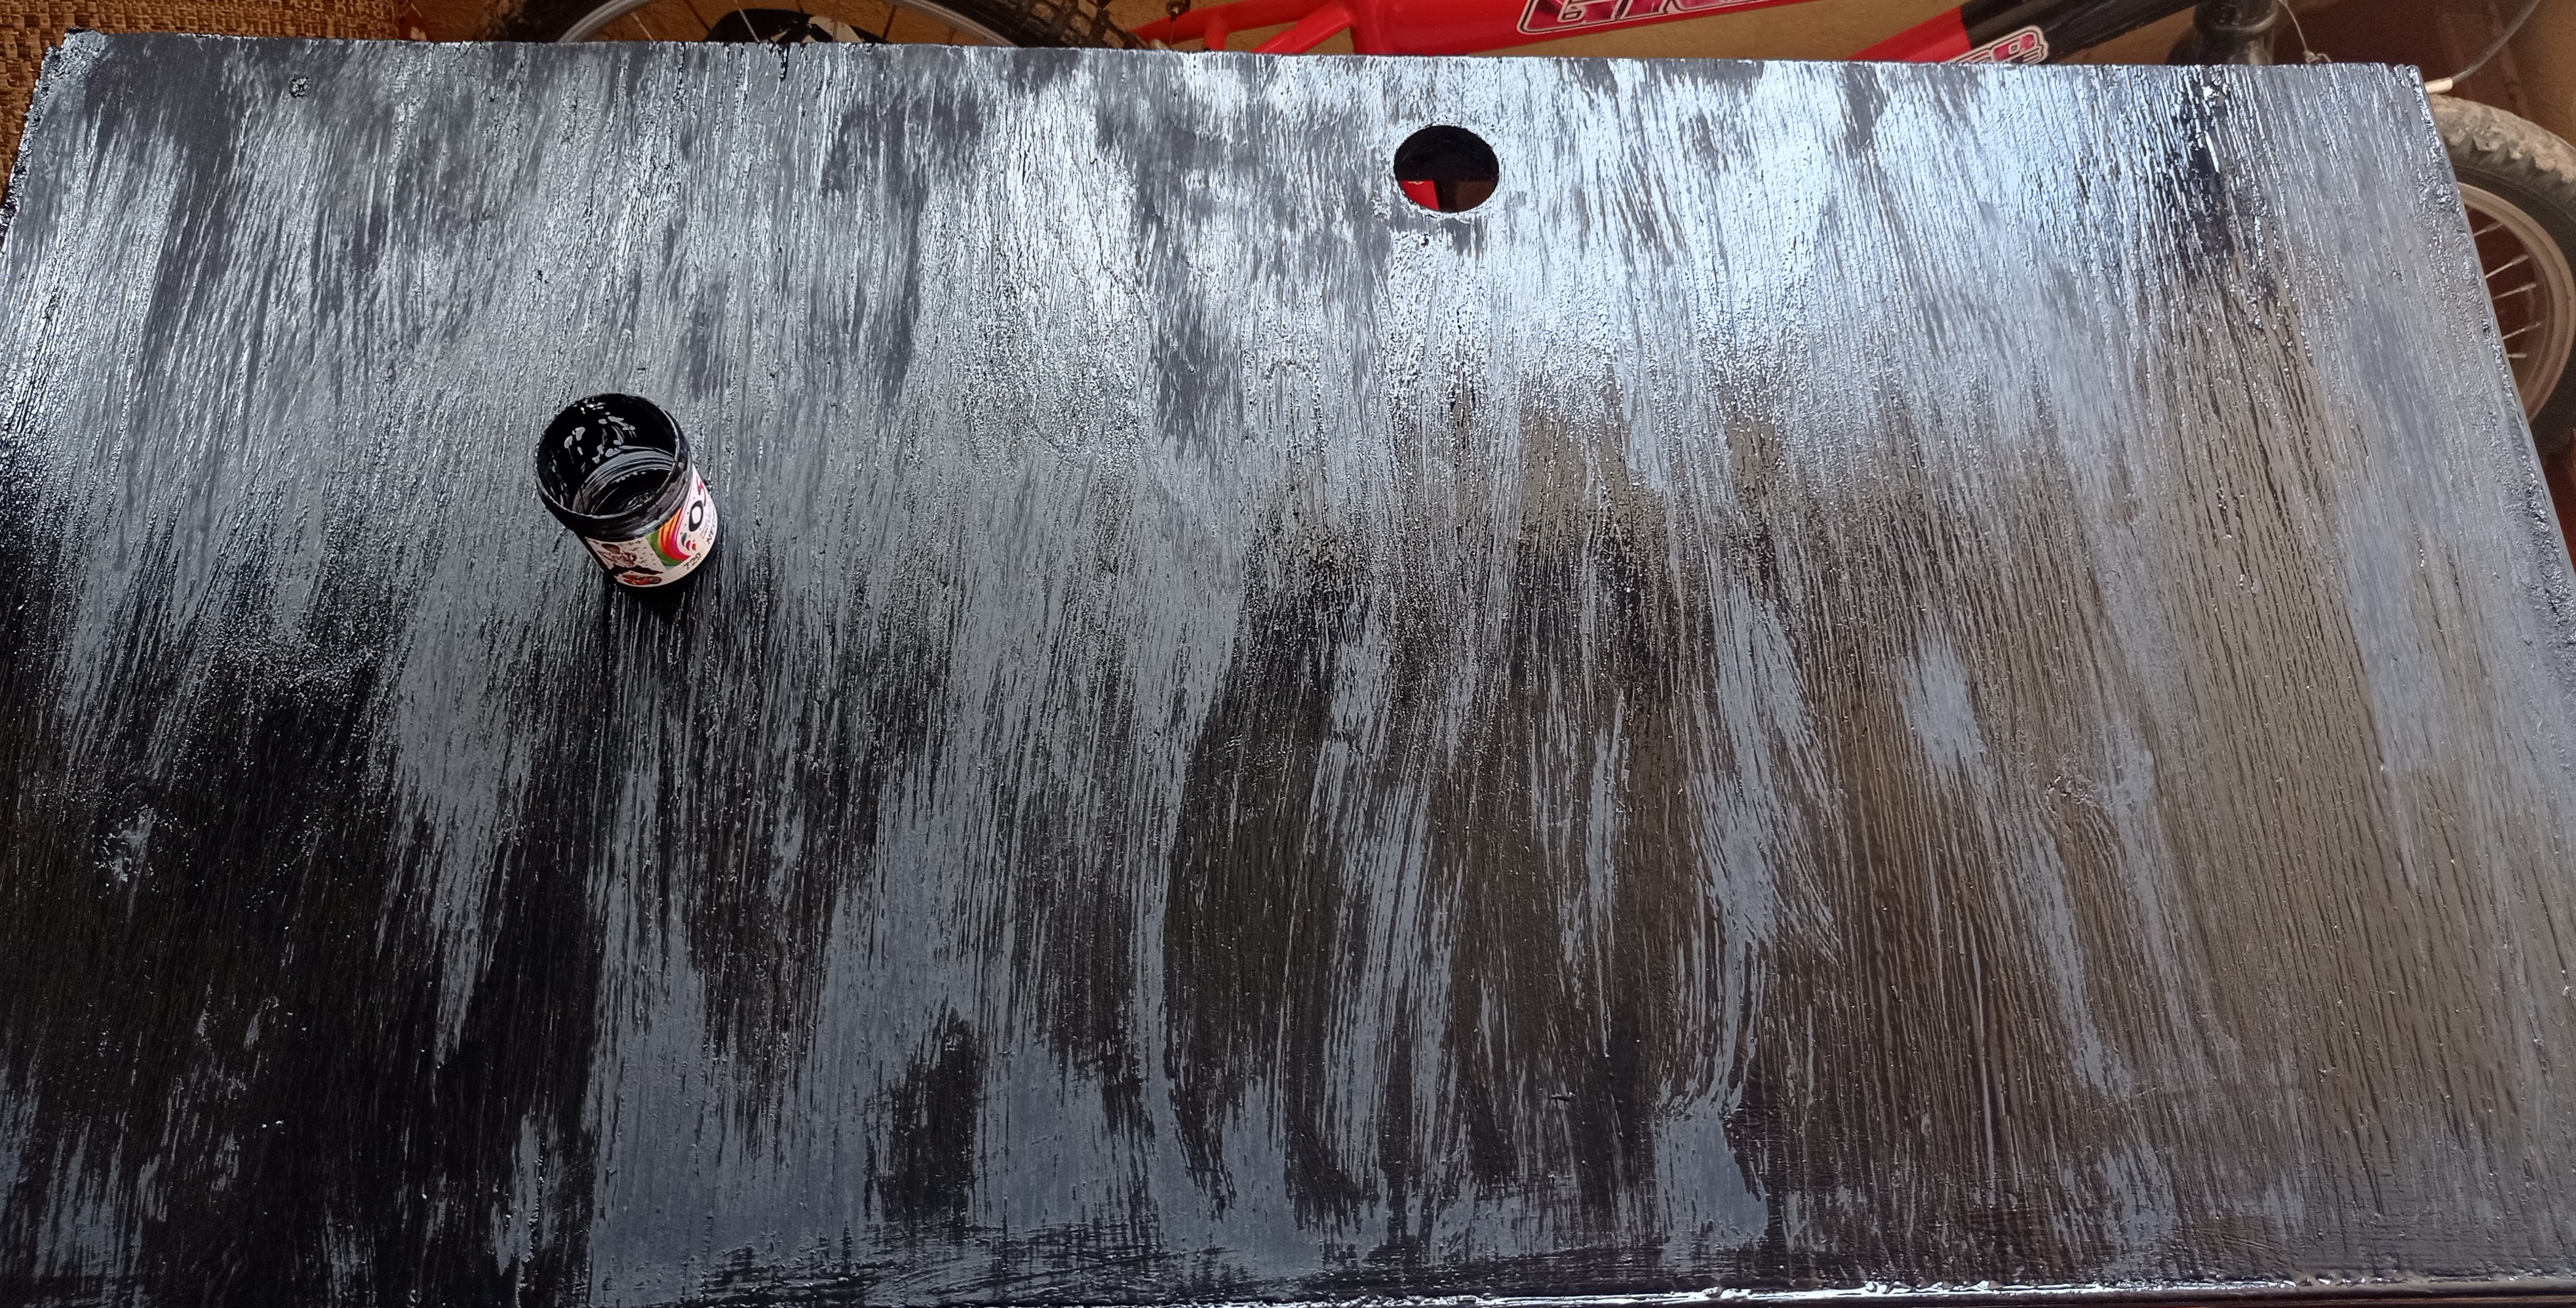
As the board I used for the top was not straight on some sides, I filled the edges with a mixture of white glue, sawdust and a little water.
Como la tabla que utilice para el tope no estaba recta por algunos lados me dispuse a rellenar los bordes con una mezcla de pegamento blanco, aserrín y un poco de agua.
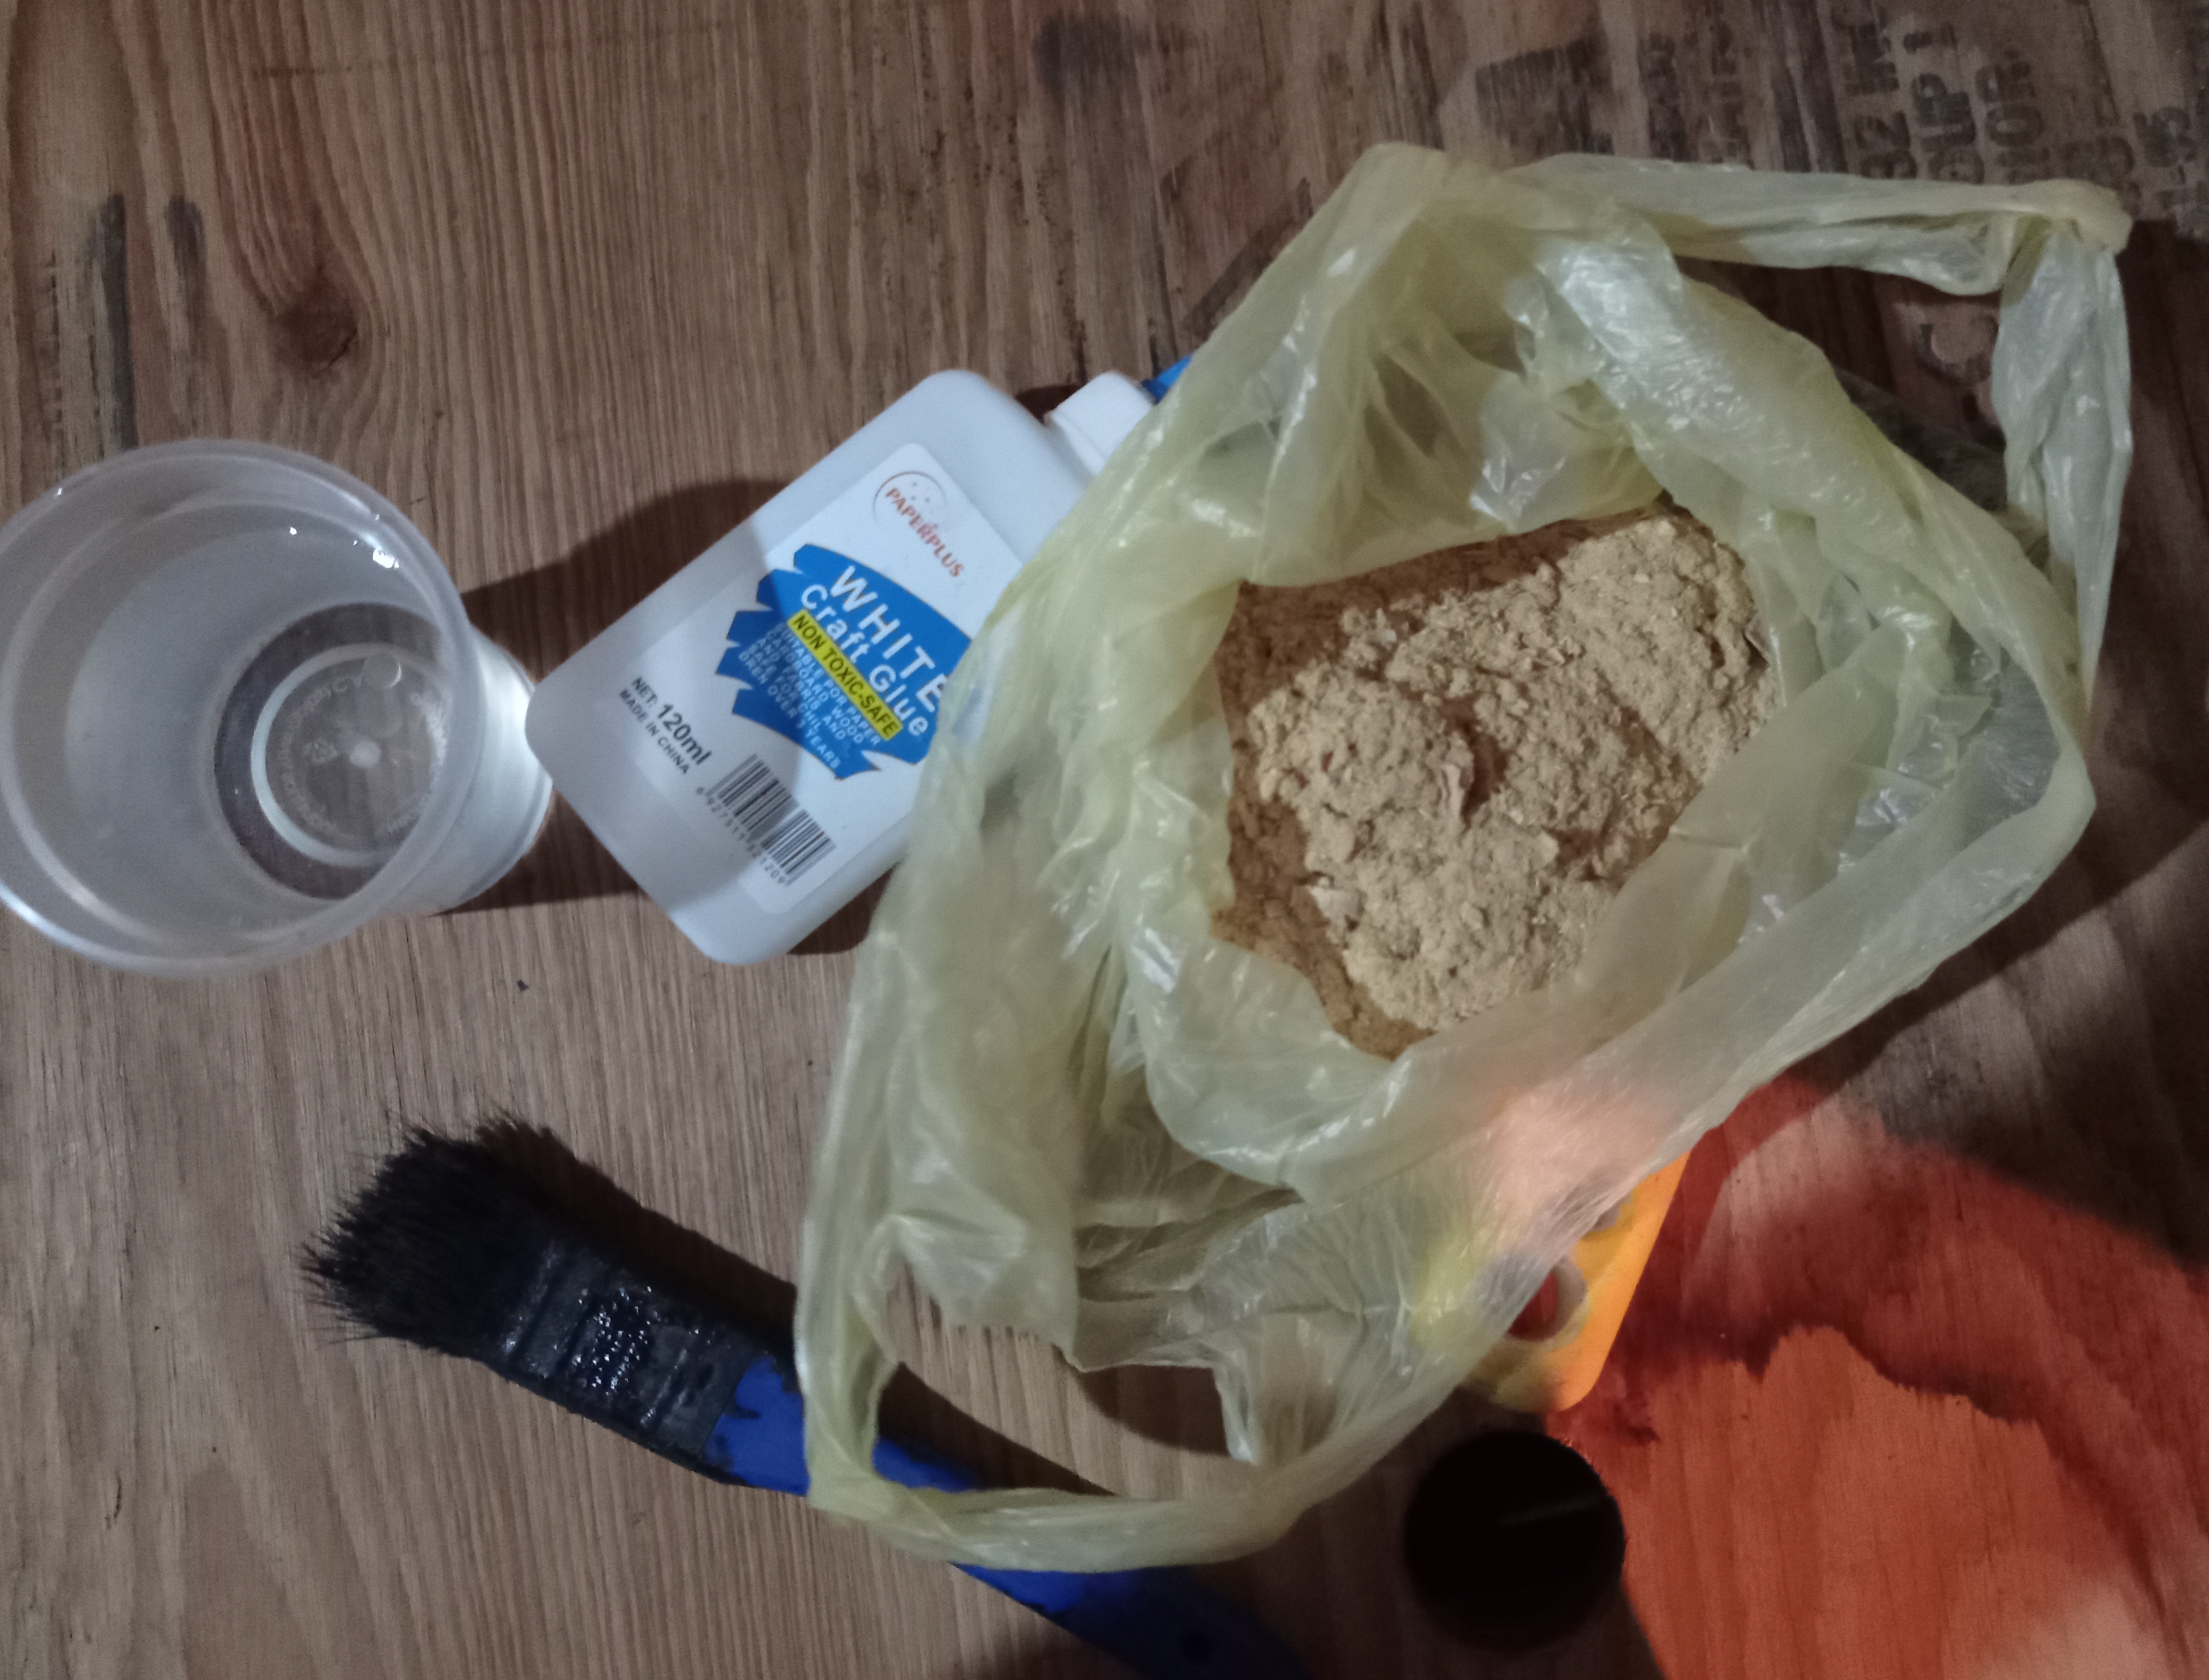
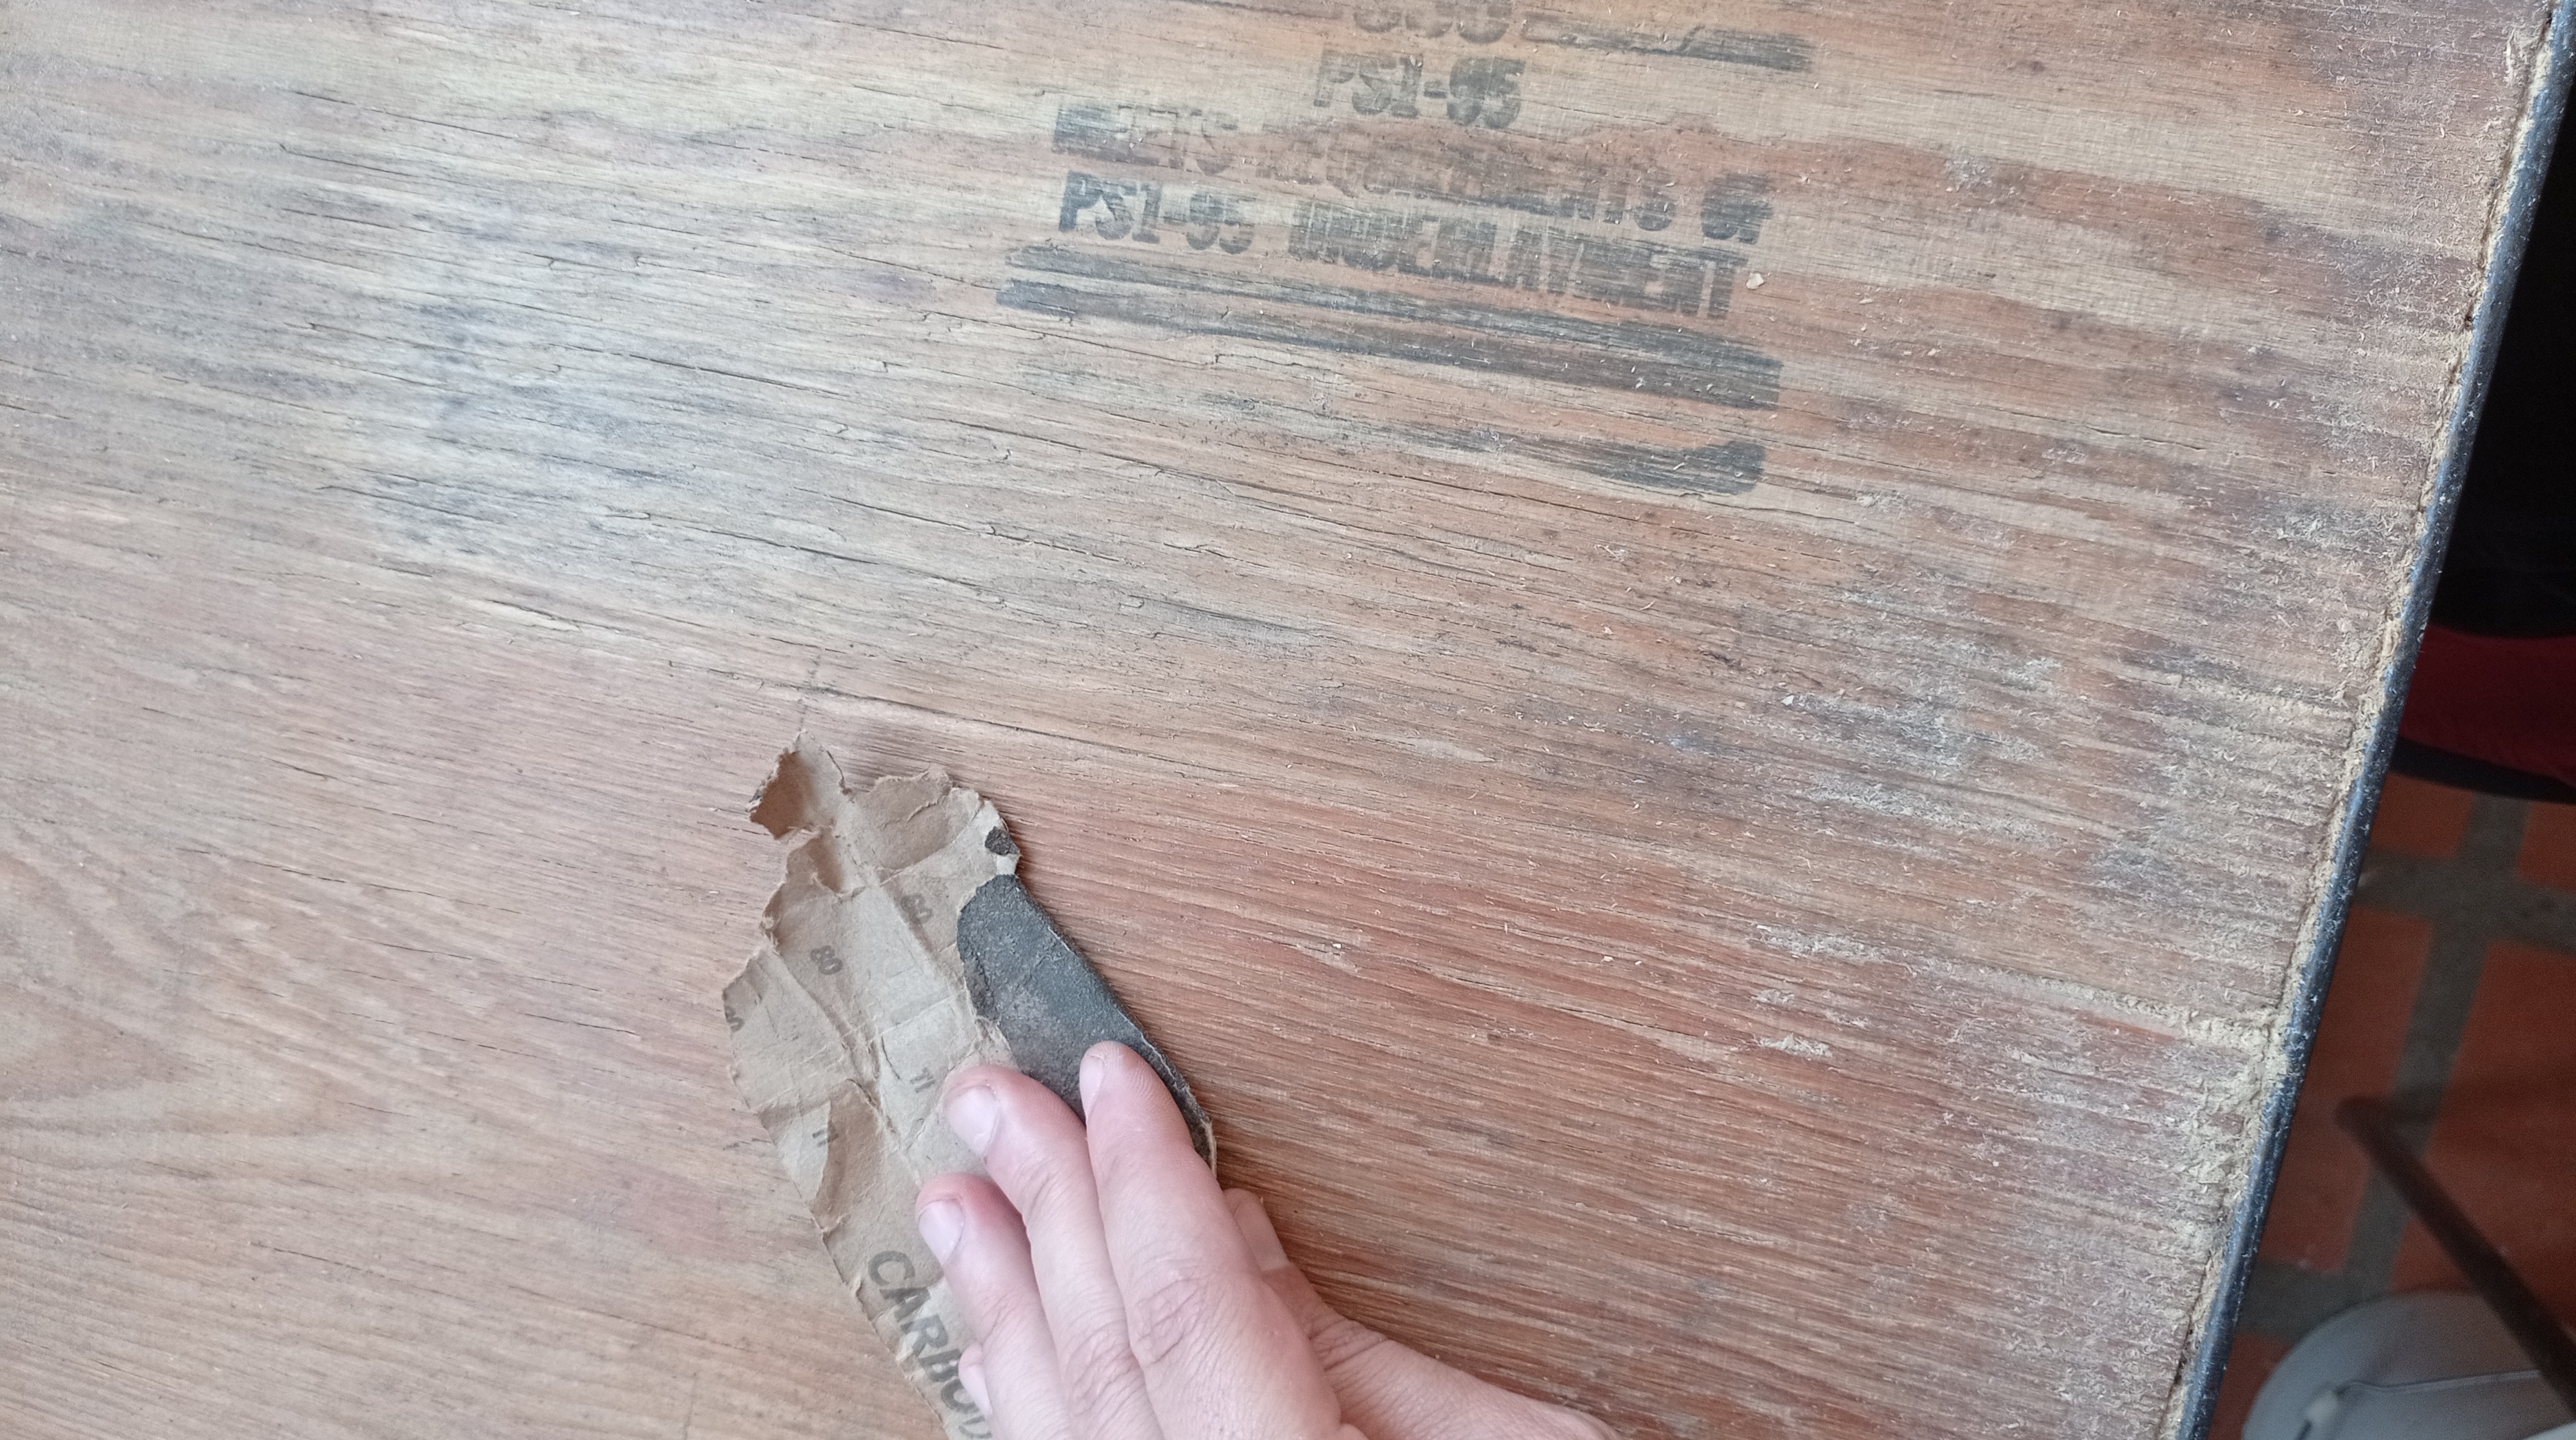
Una vez seco la mezcla de aserrín que aplique comencé a alisar la madera con papel de lija para luego aplicar una capa de pegamento blanco en la madera para dejar la superficie lisa. Luego aplique una capa de pintura negra a base de agua.
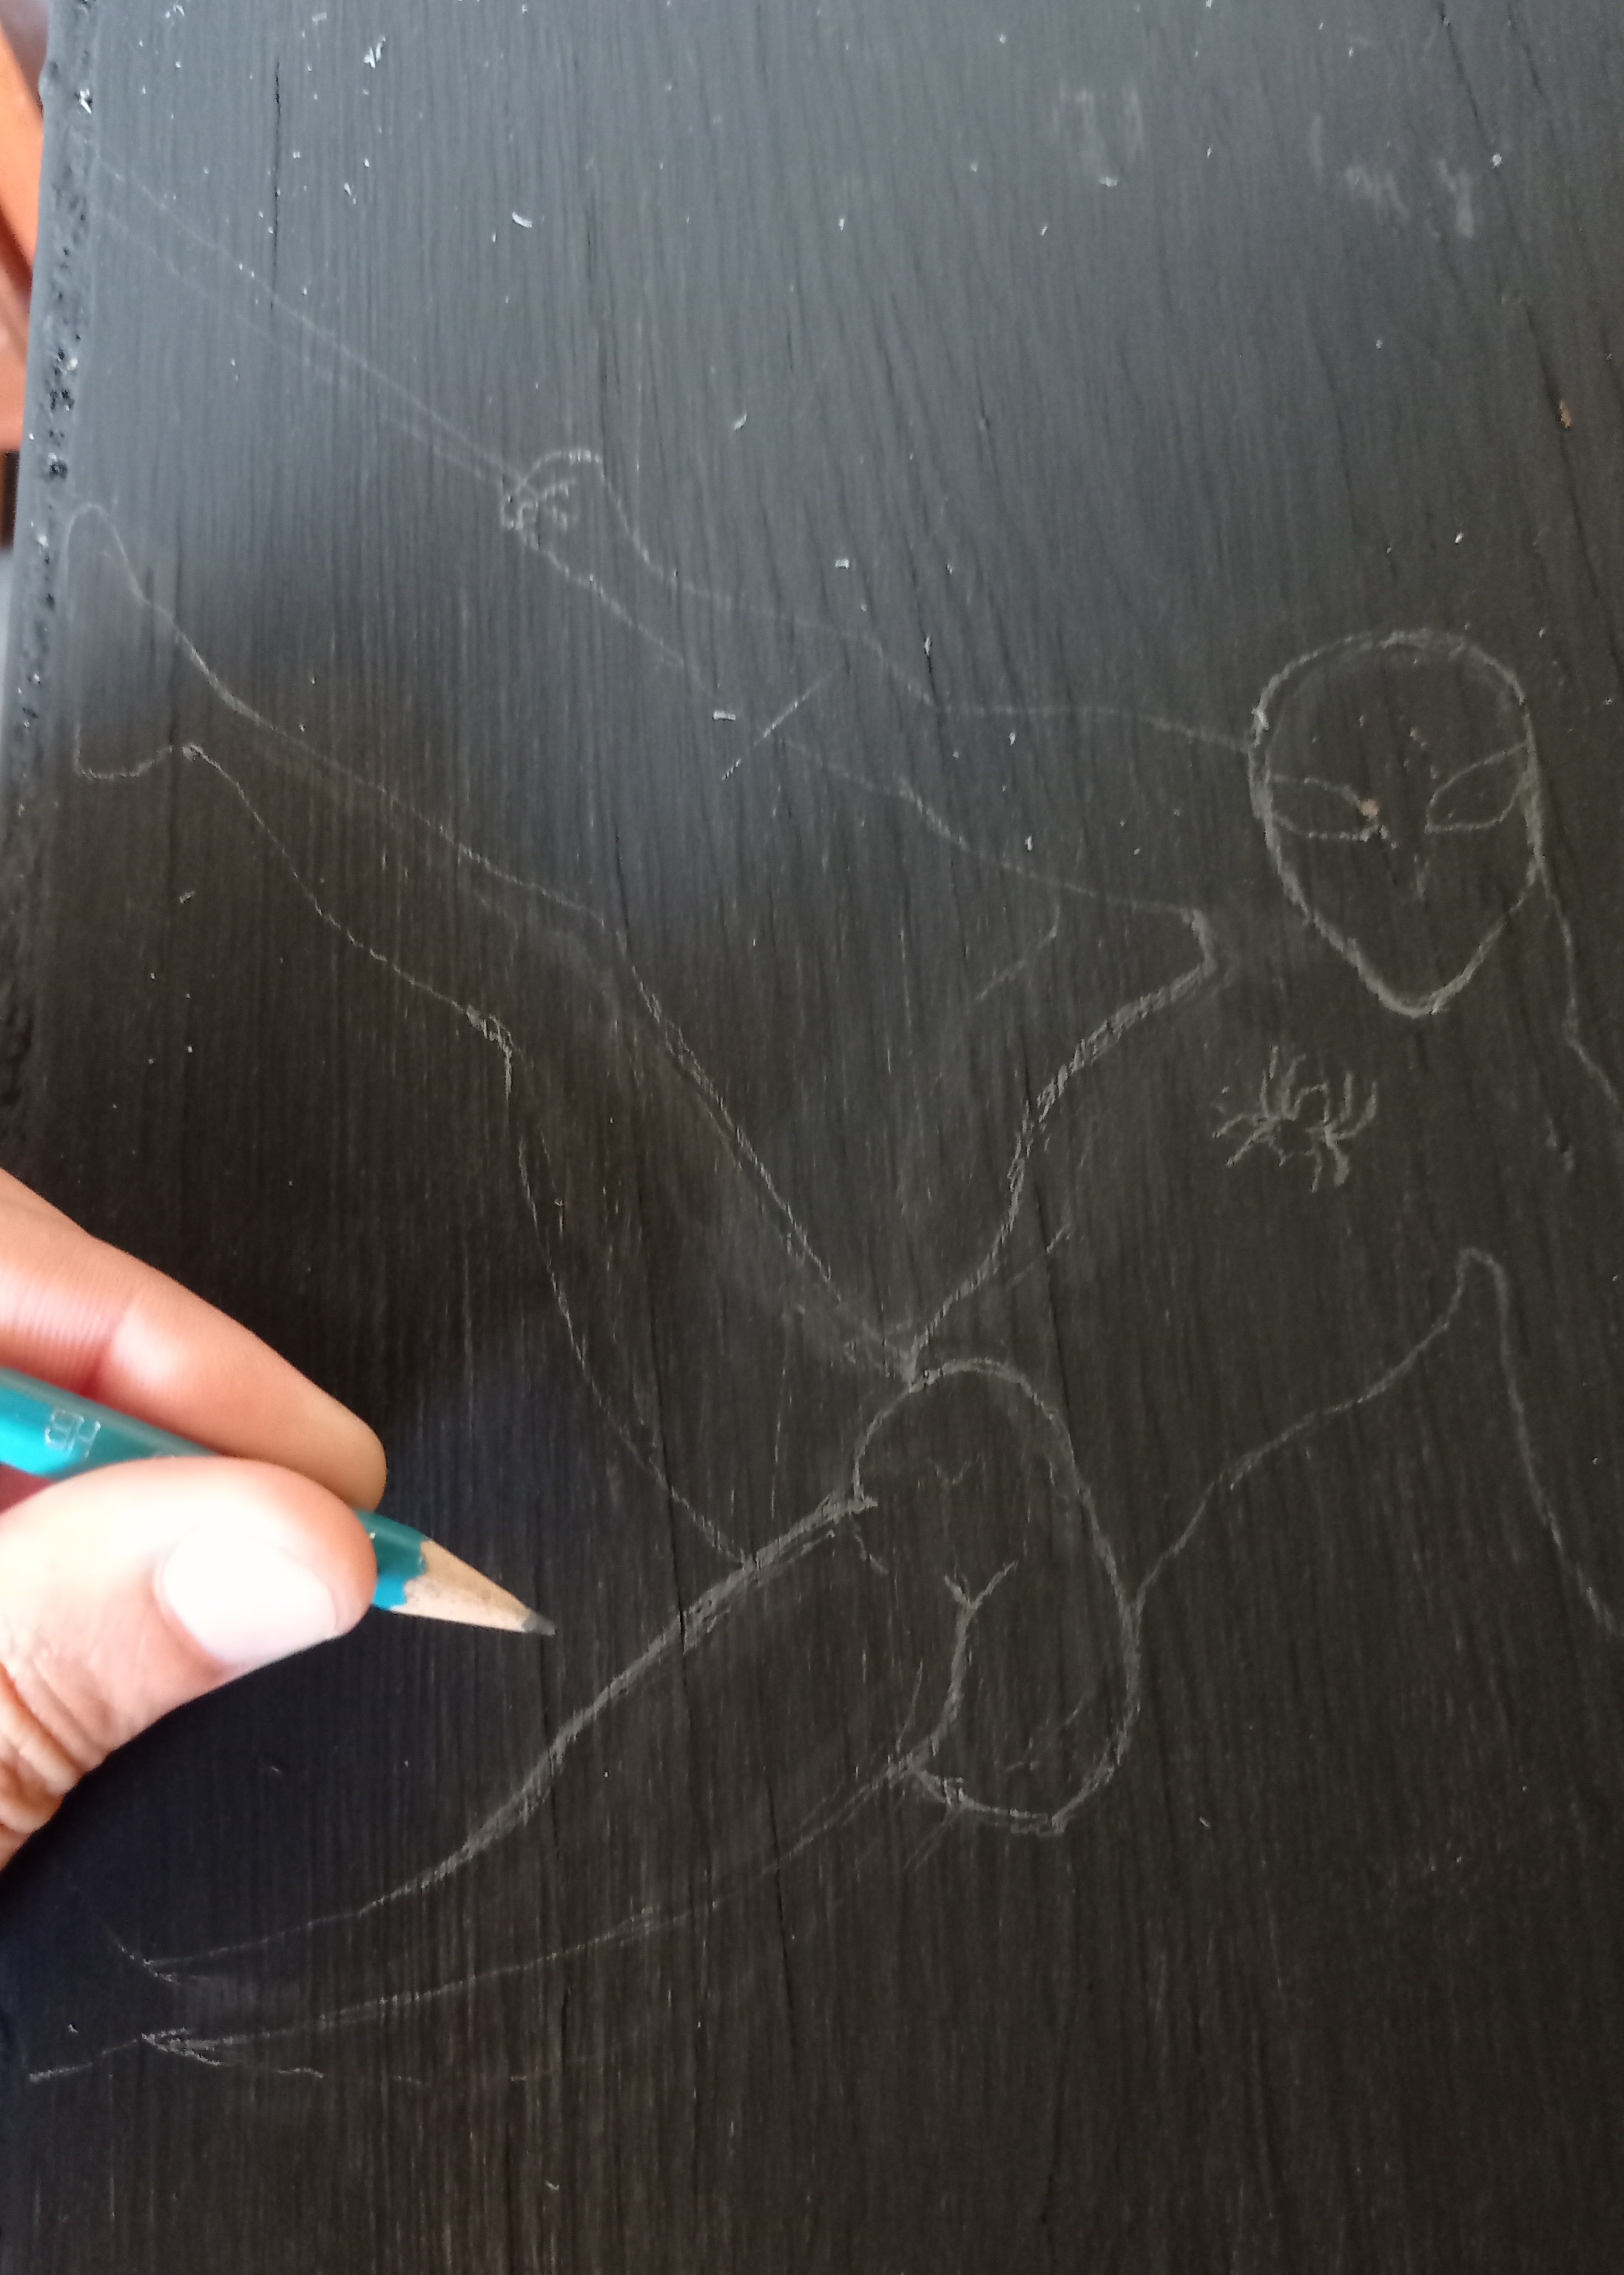
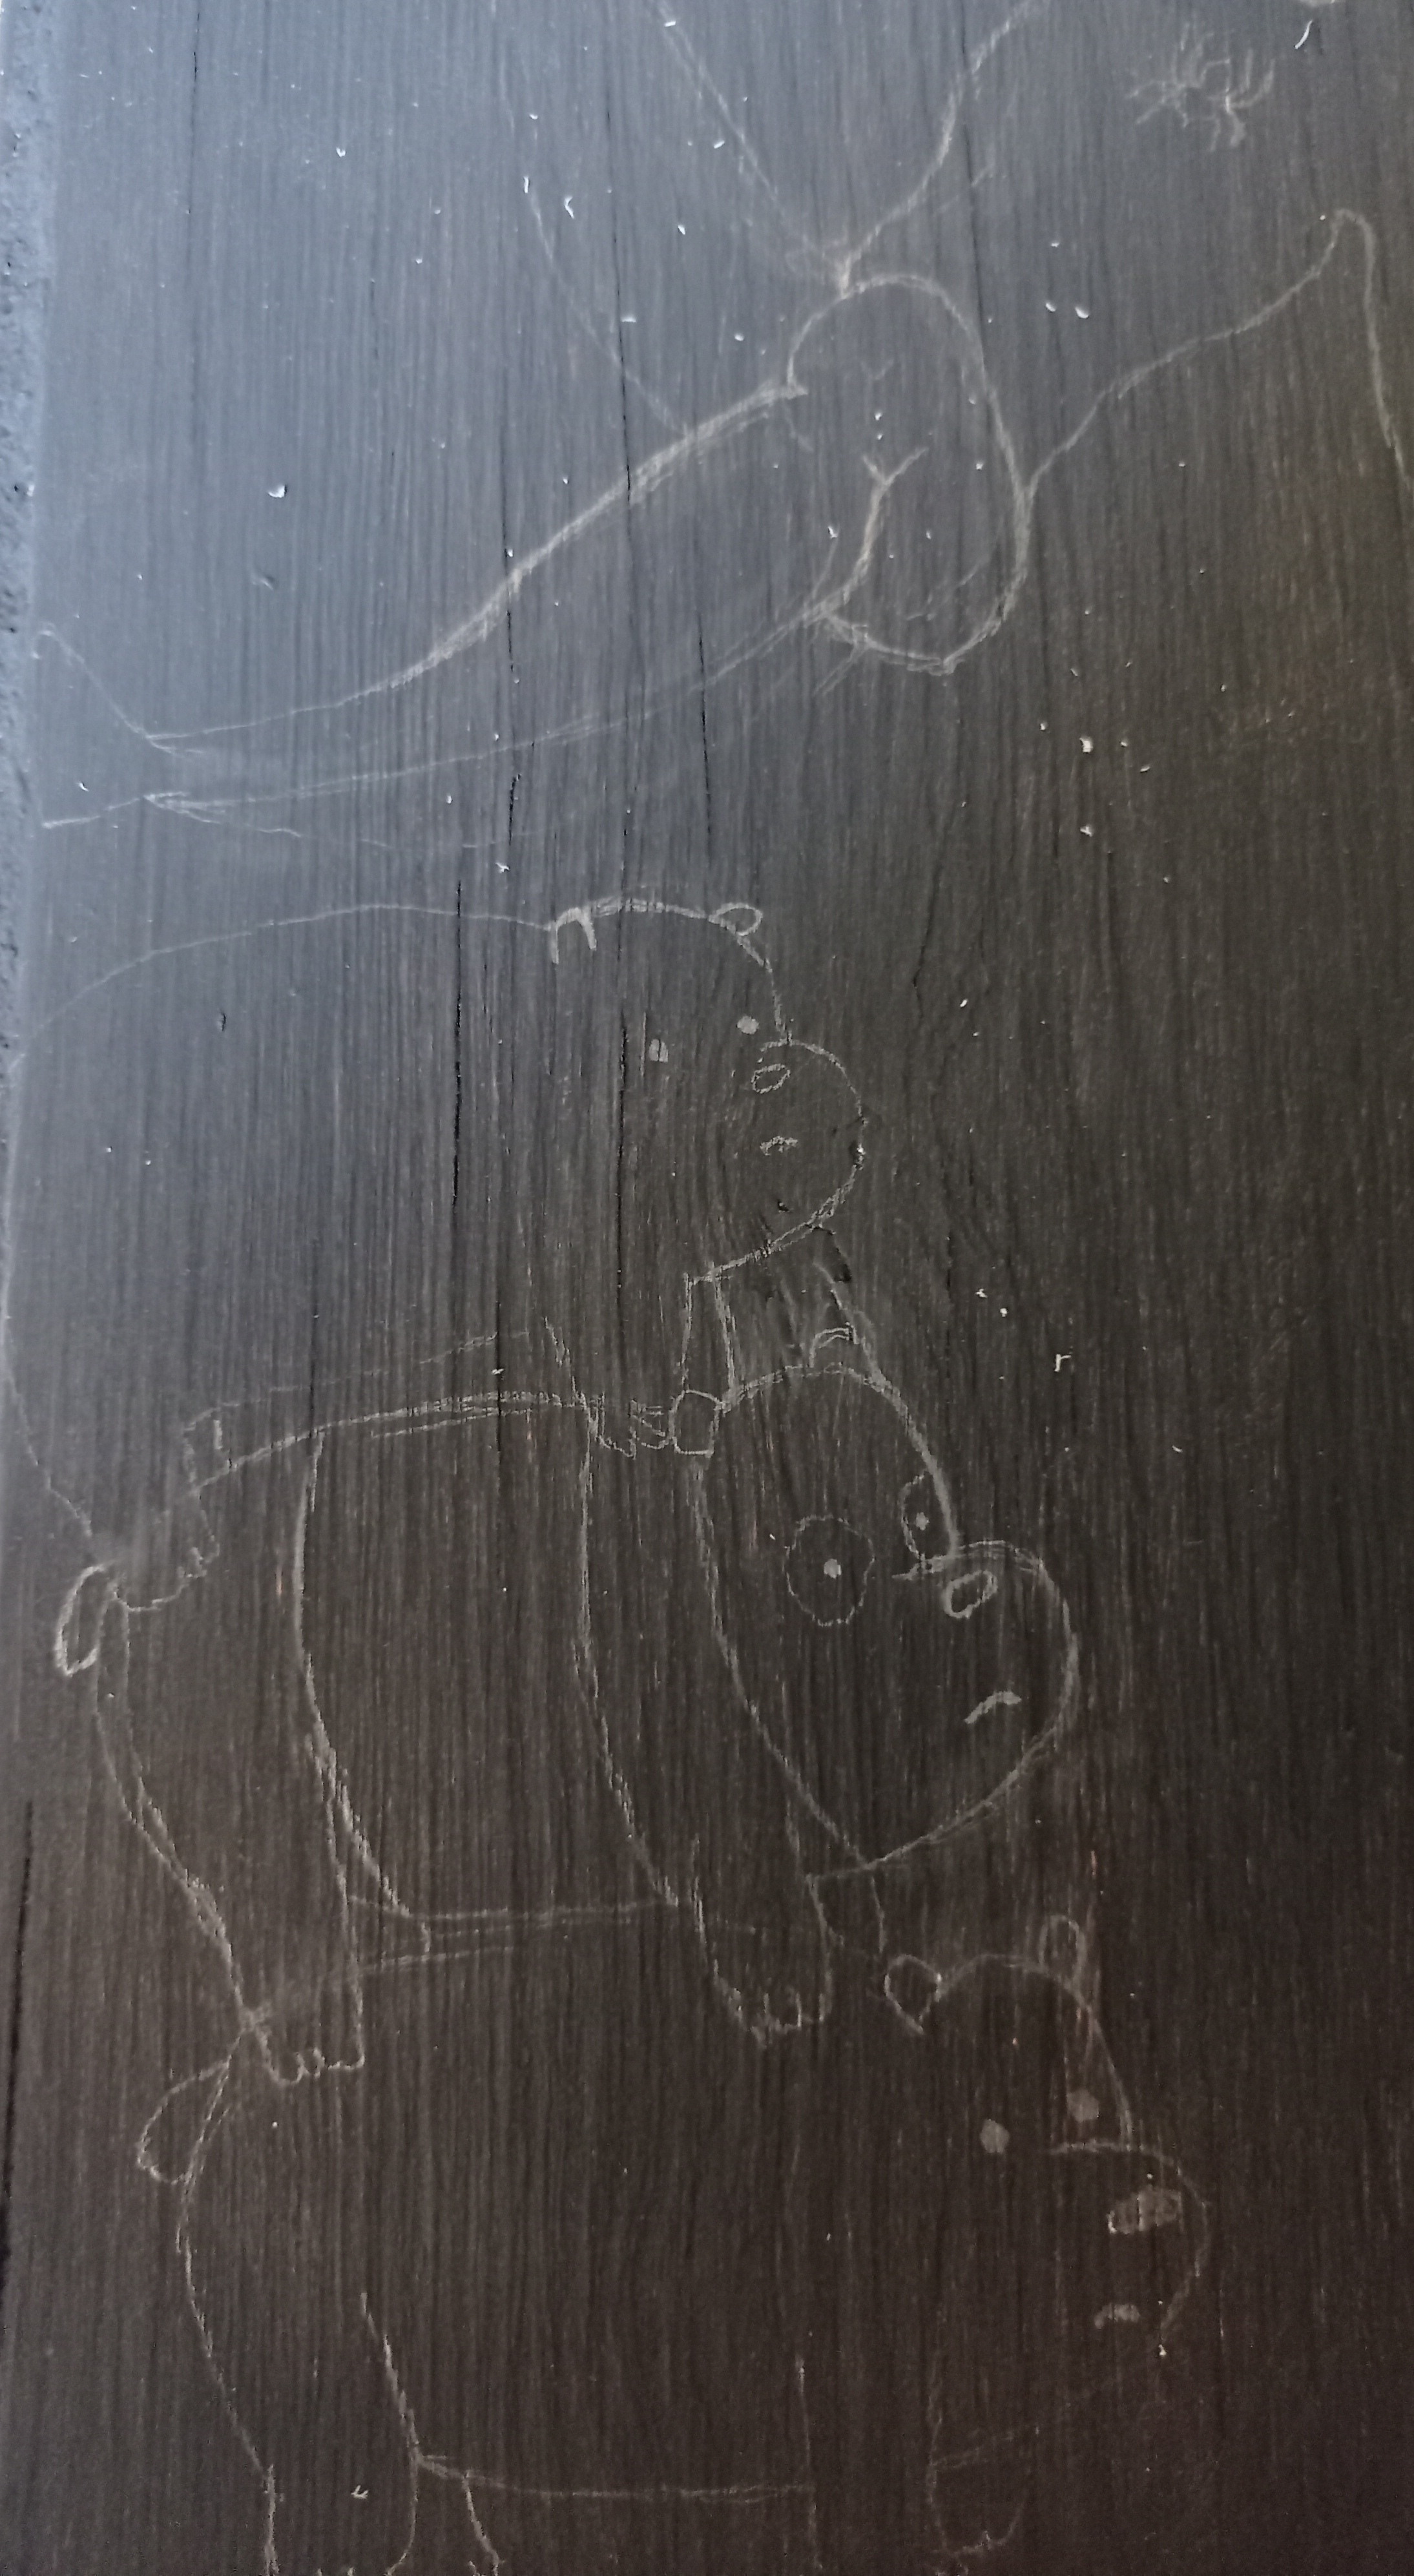
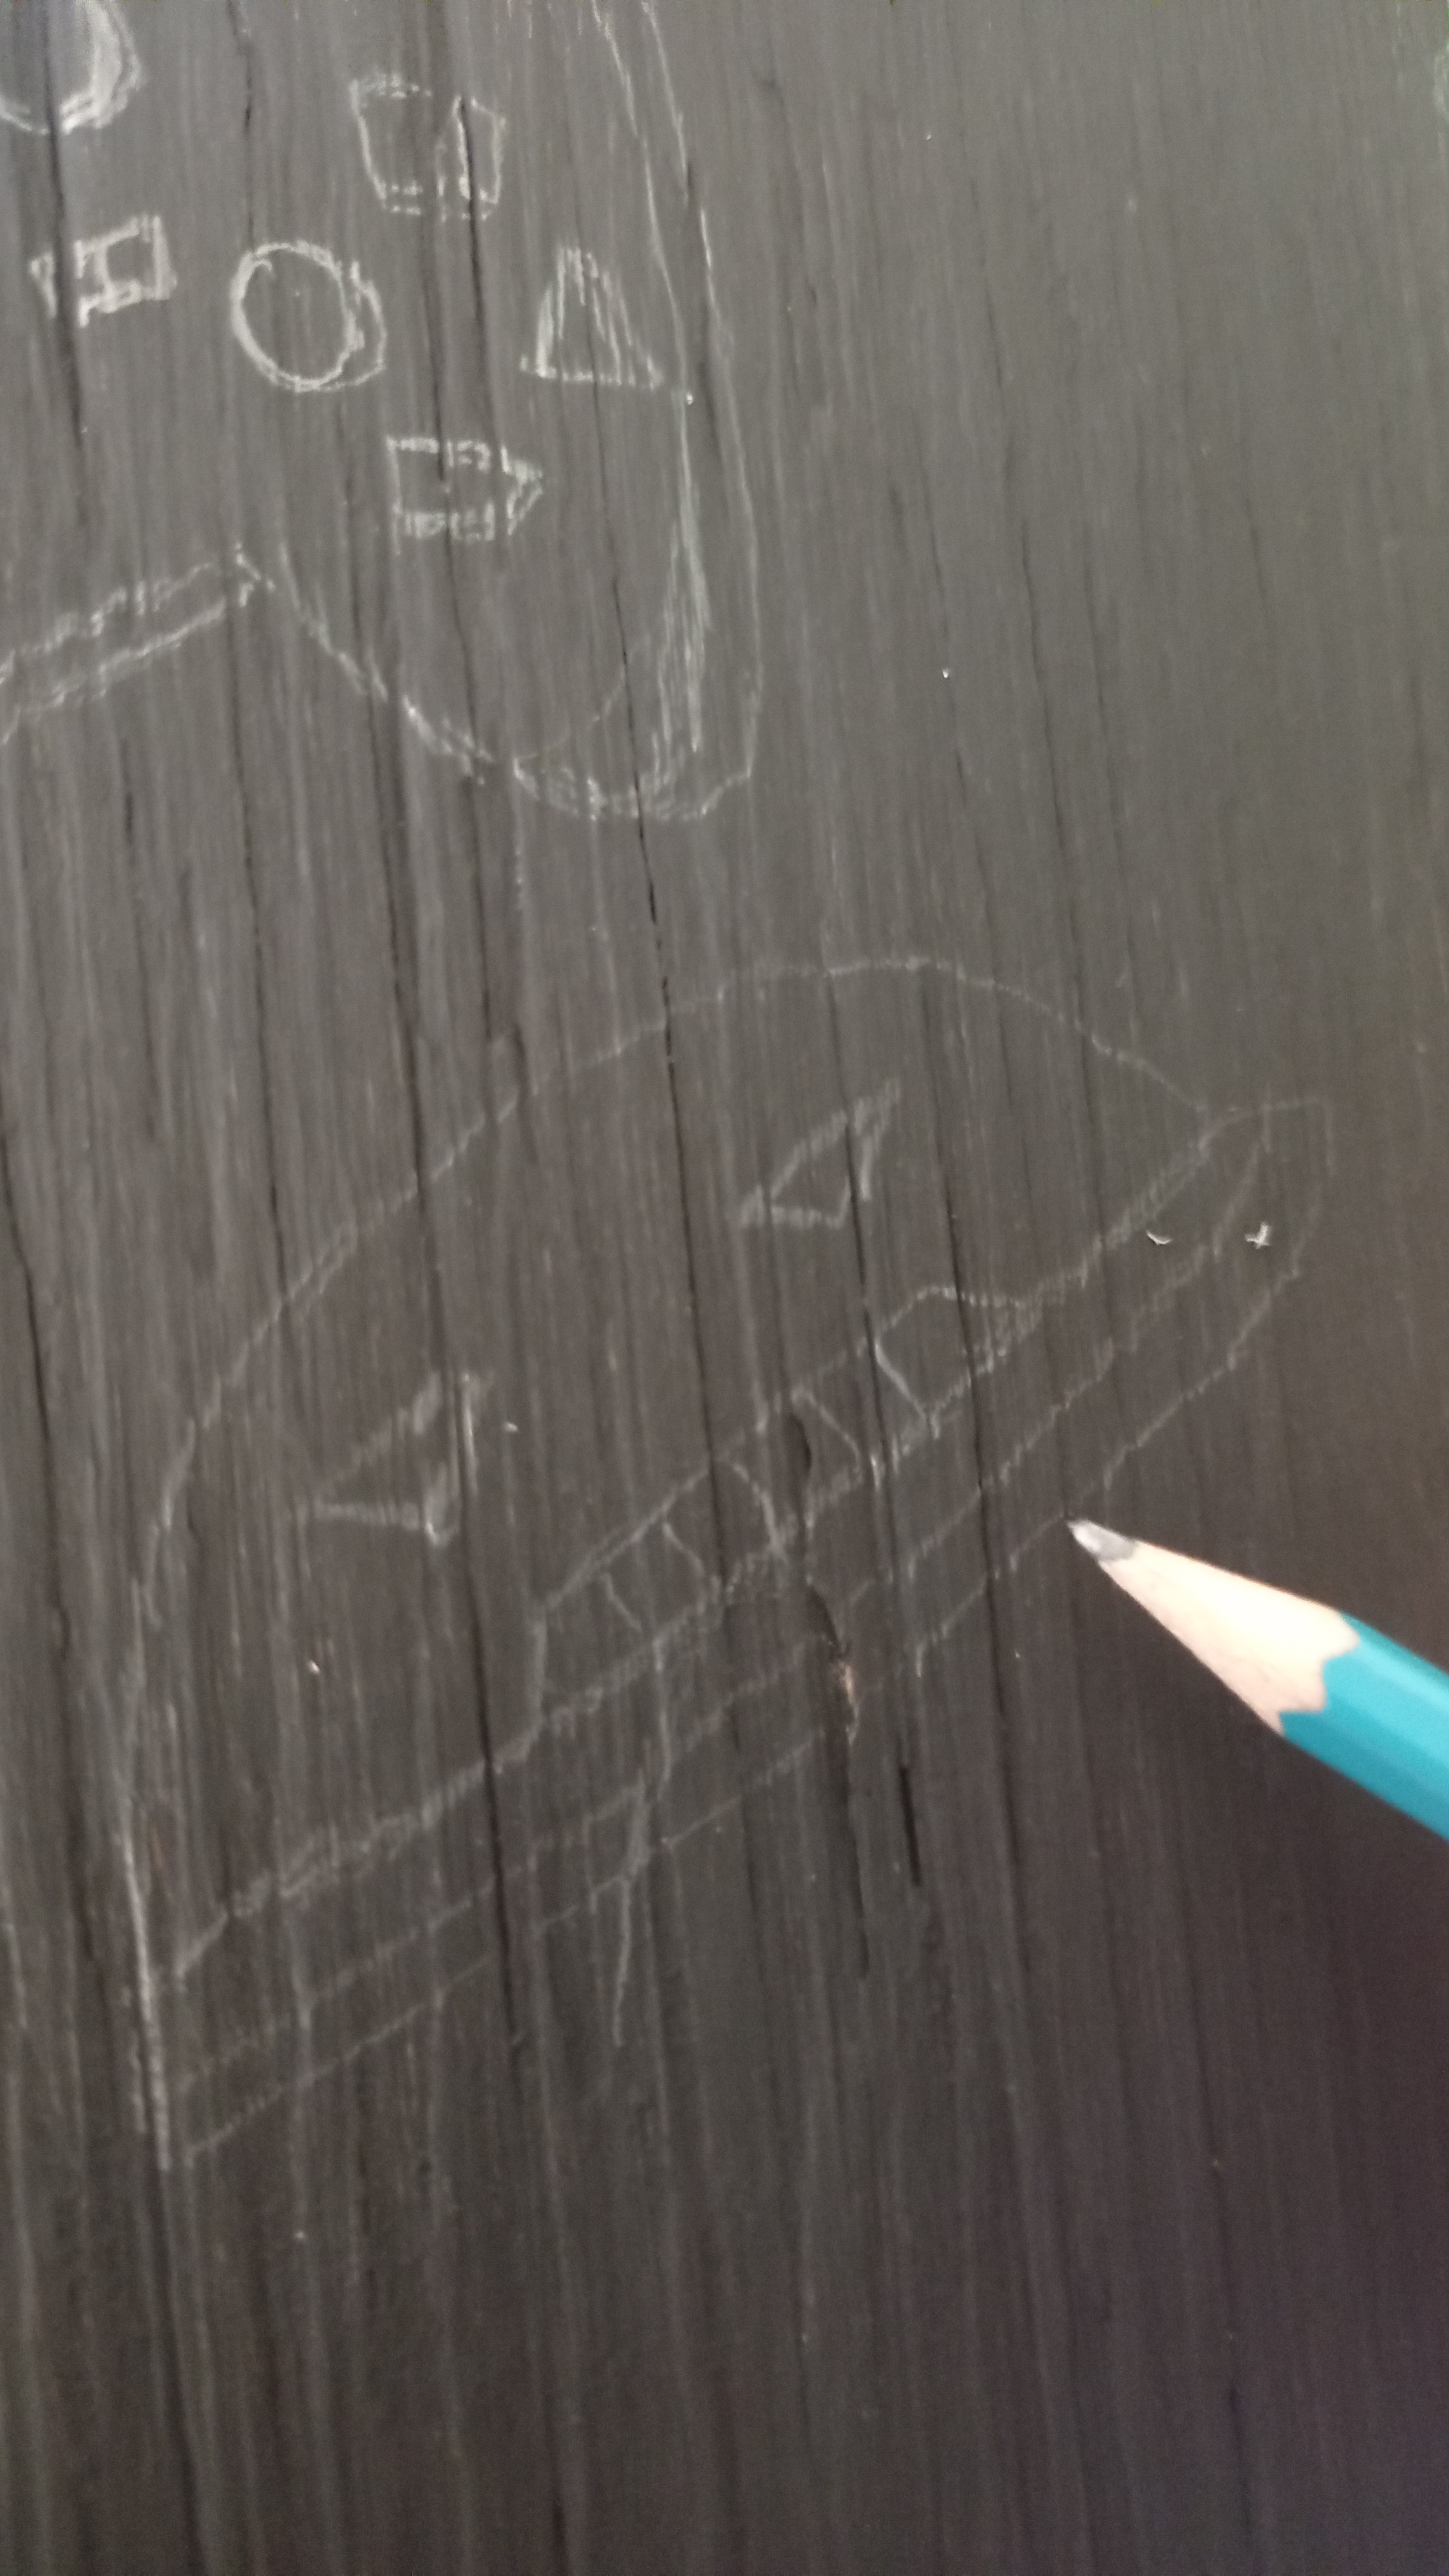
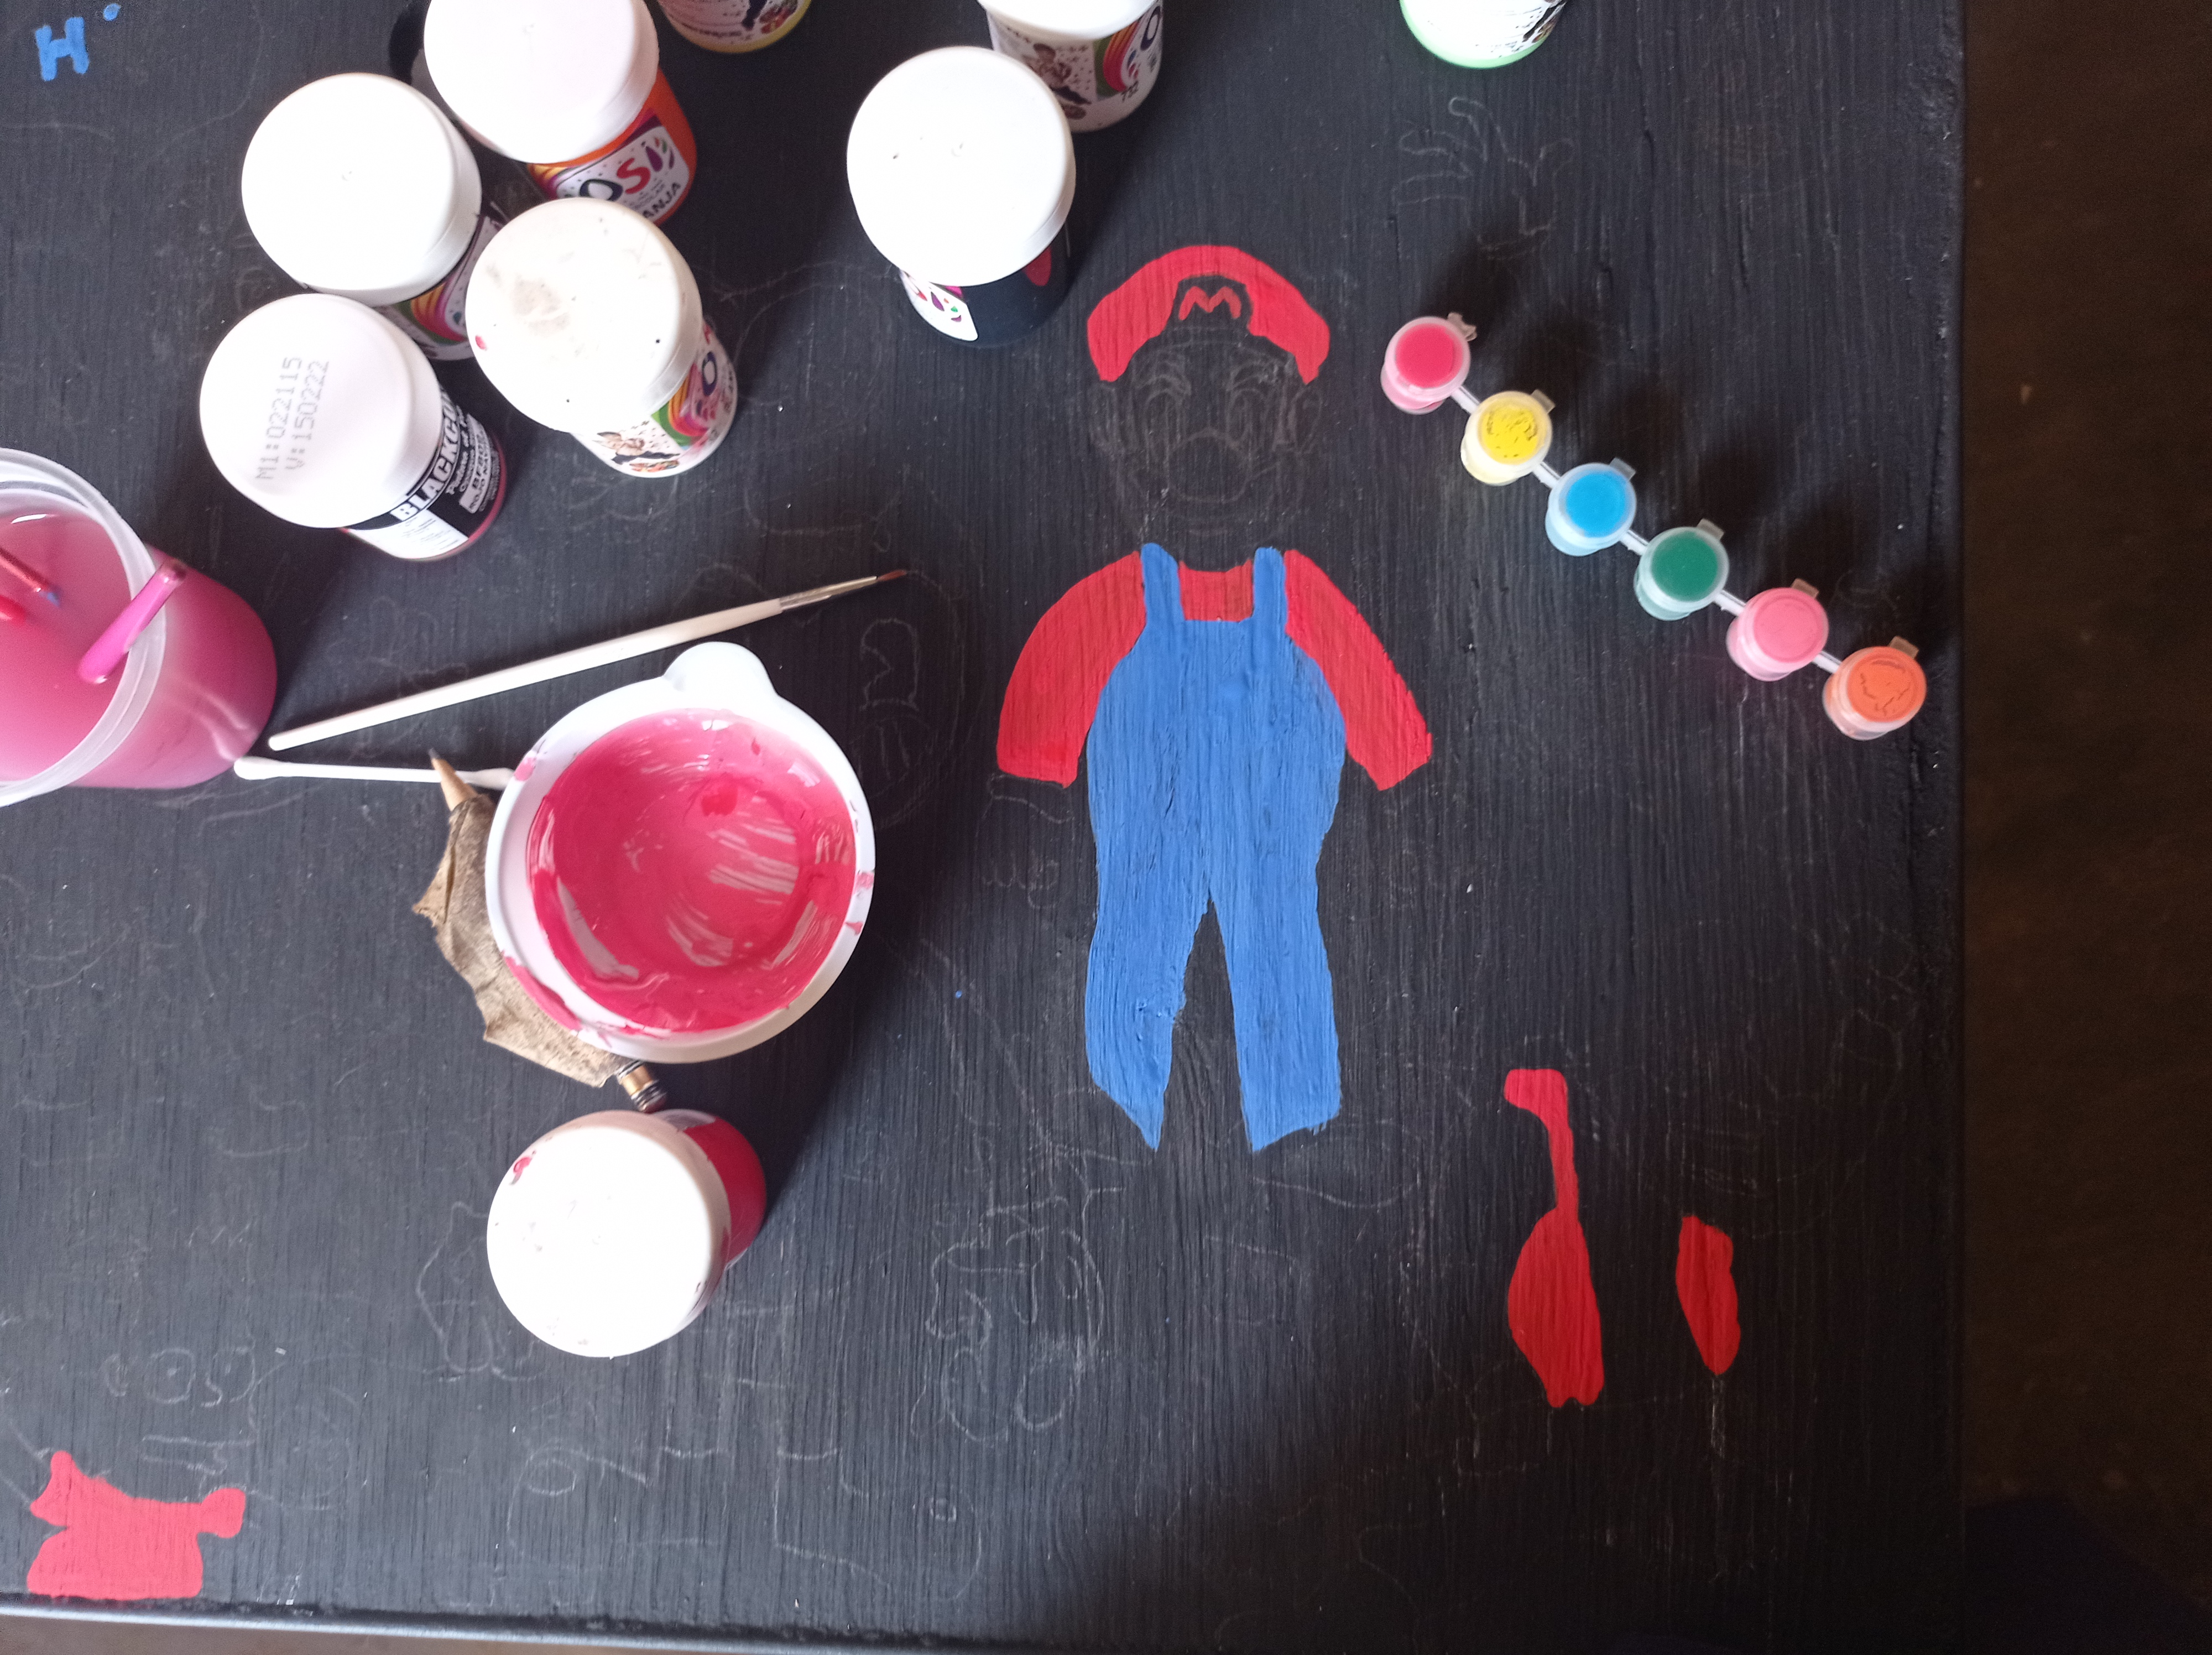
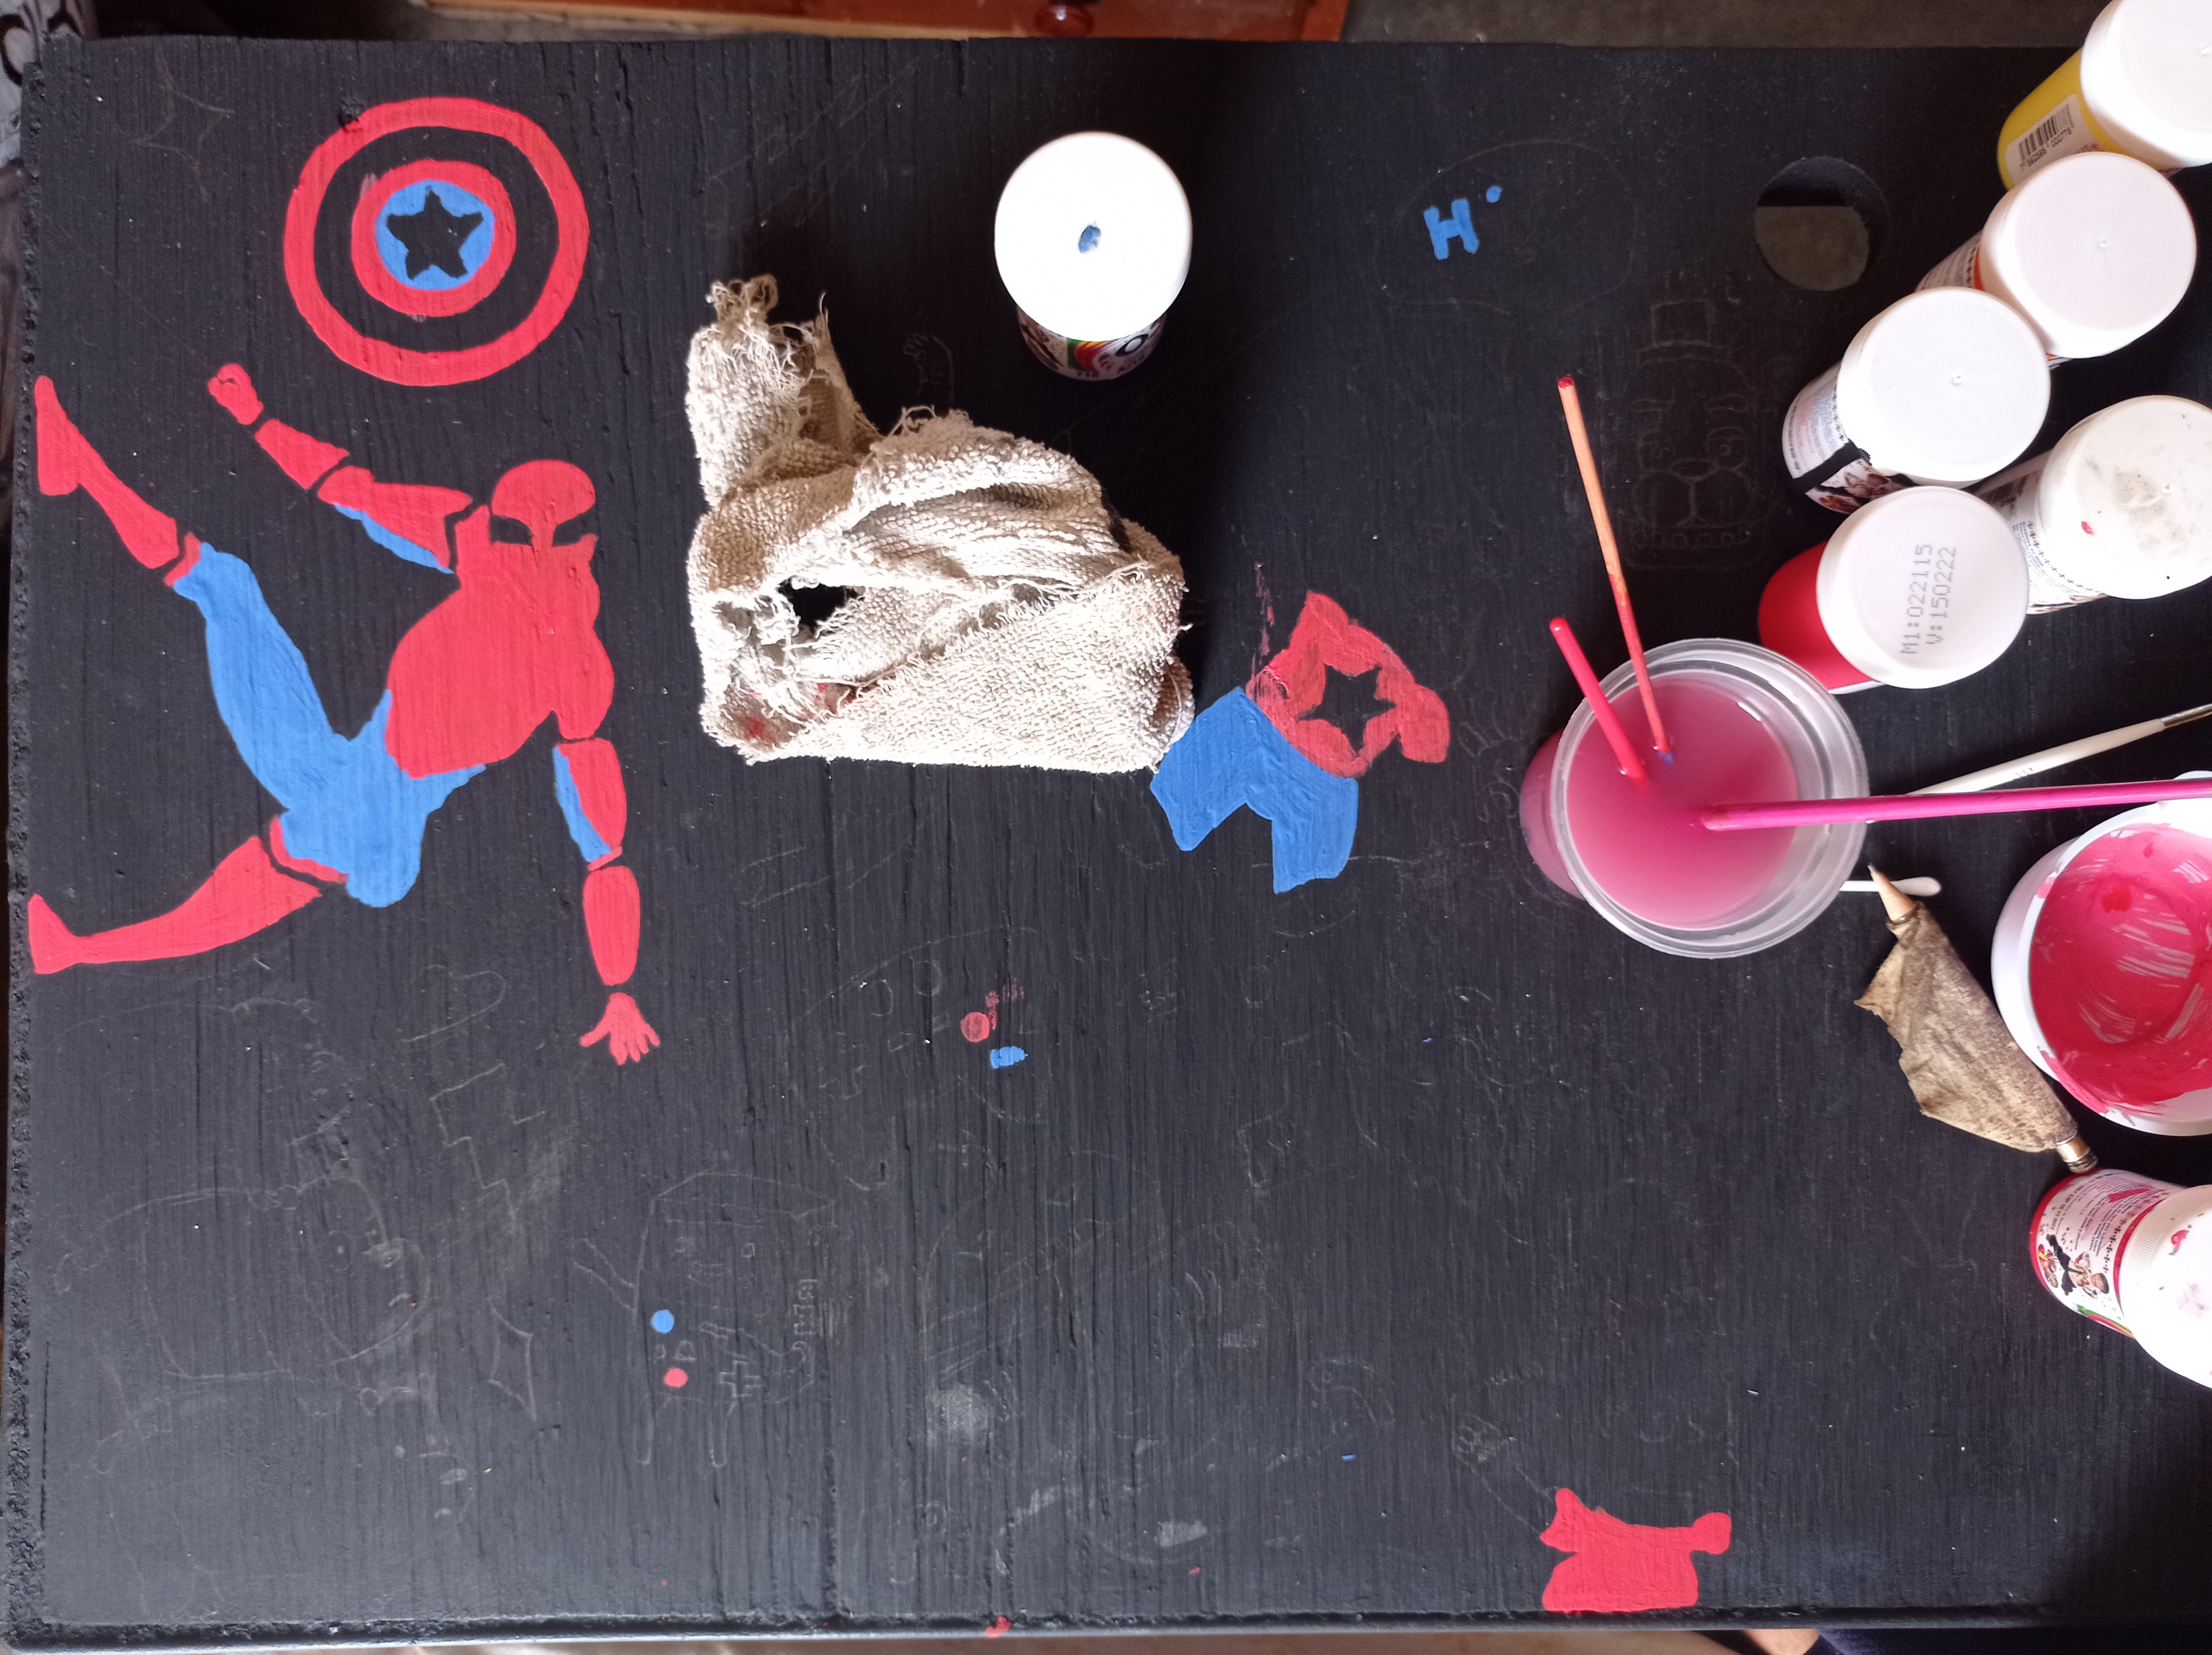
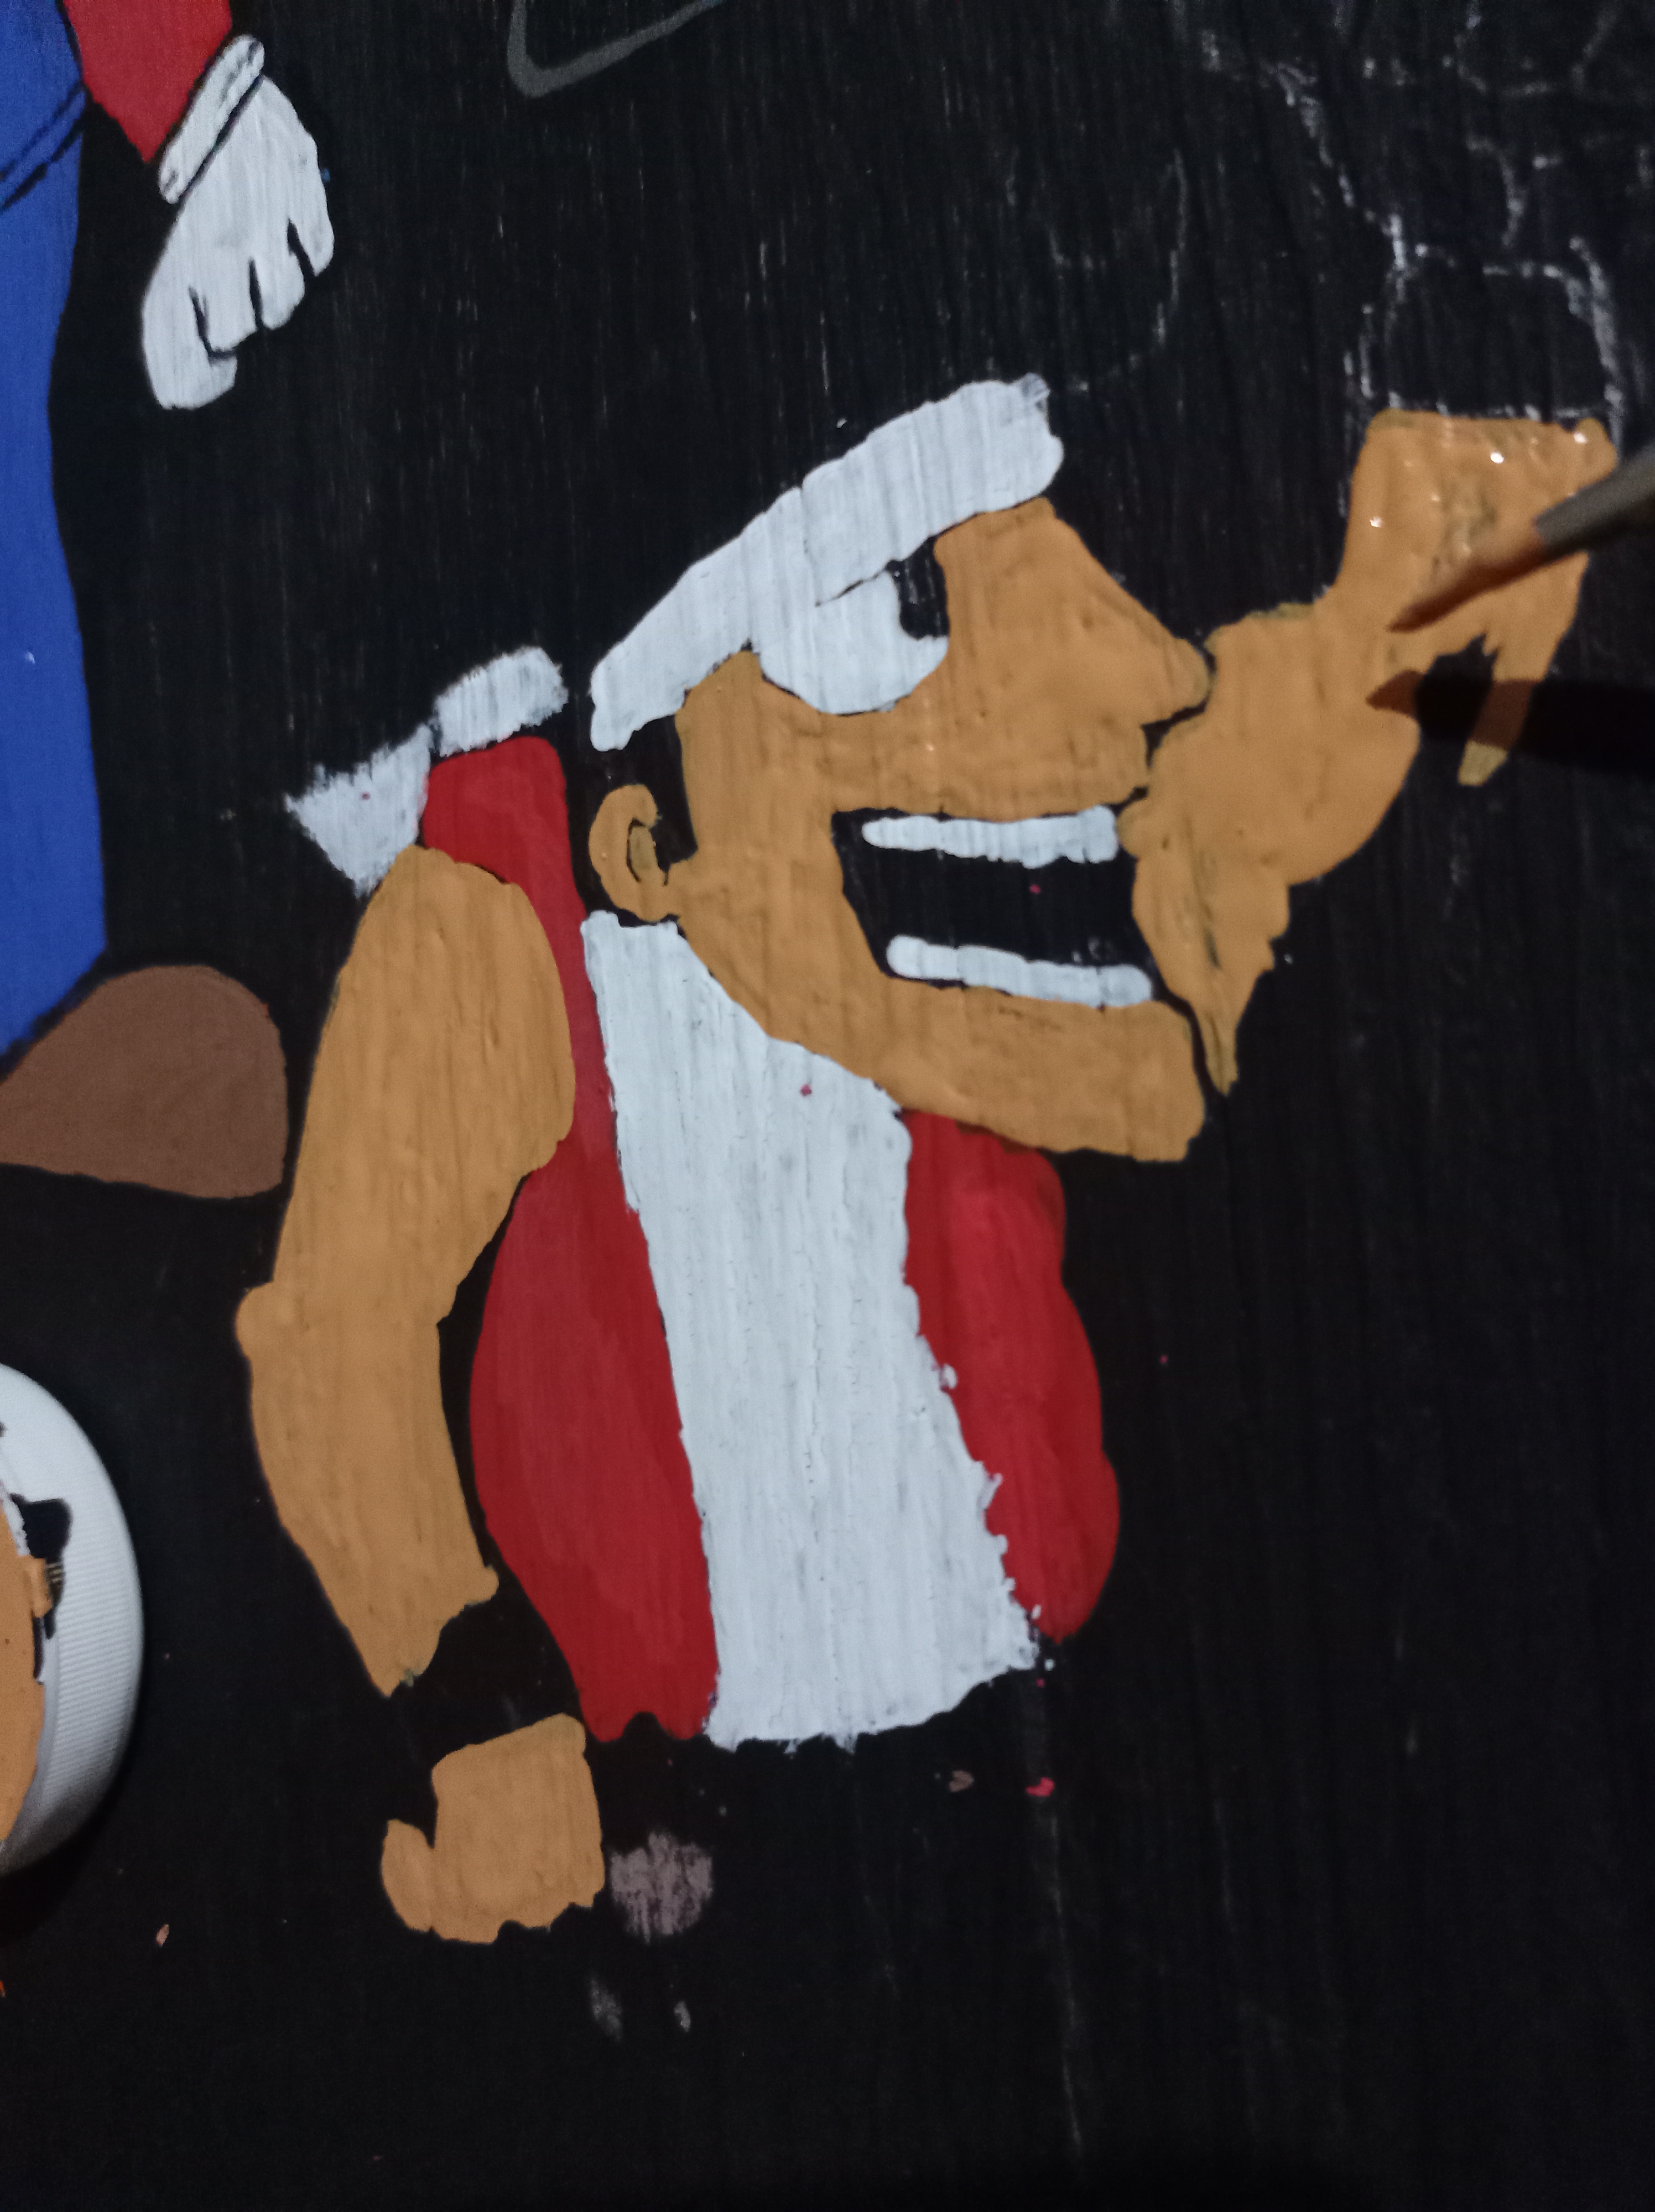
With graphite pencil I began to make the sketch of each character.
Con lápiz de grafito comencé a realizar el bosquejo de cada personaje.
Once the sketches were completed, I proceeded to color each character with their respective colors.
Ya con los bosquejos culminados procedo a colorear cada personaje con sus respectivos colores.
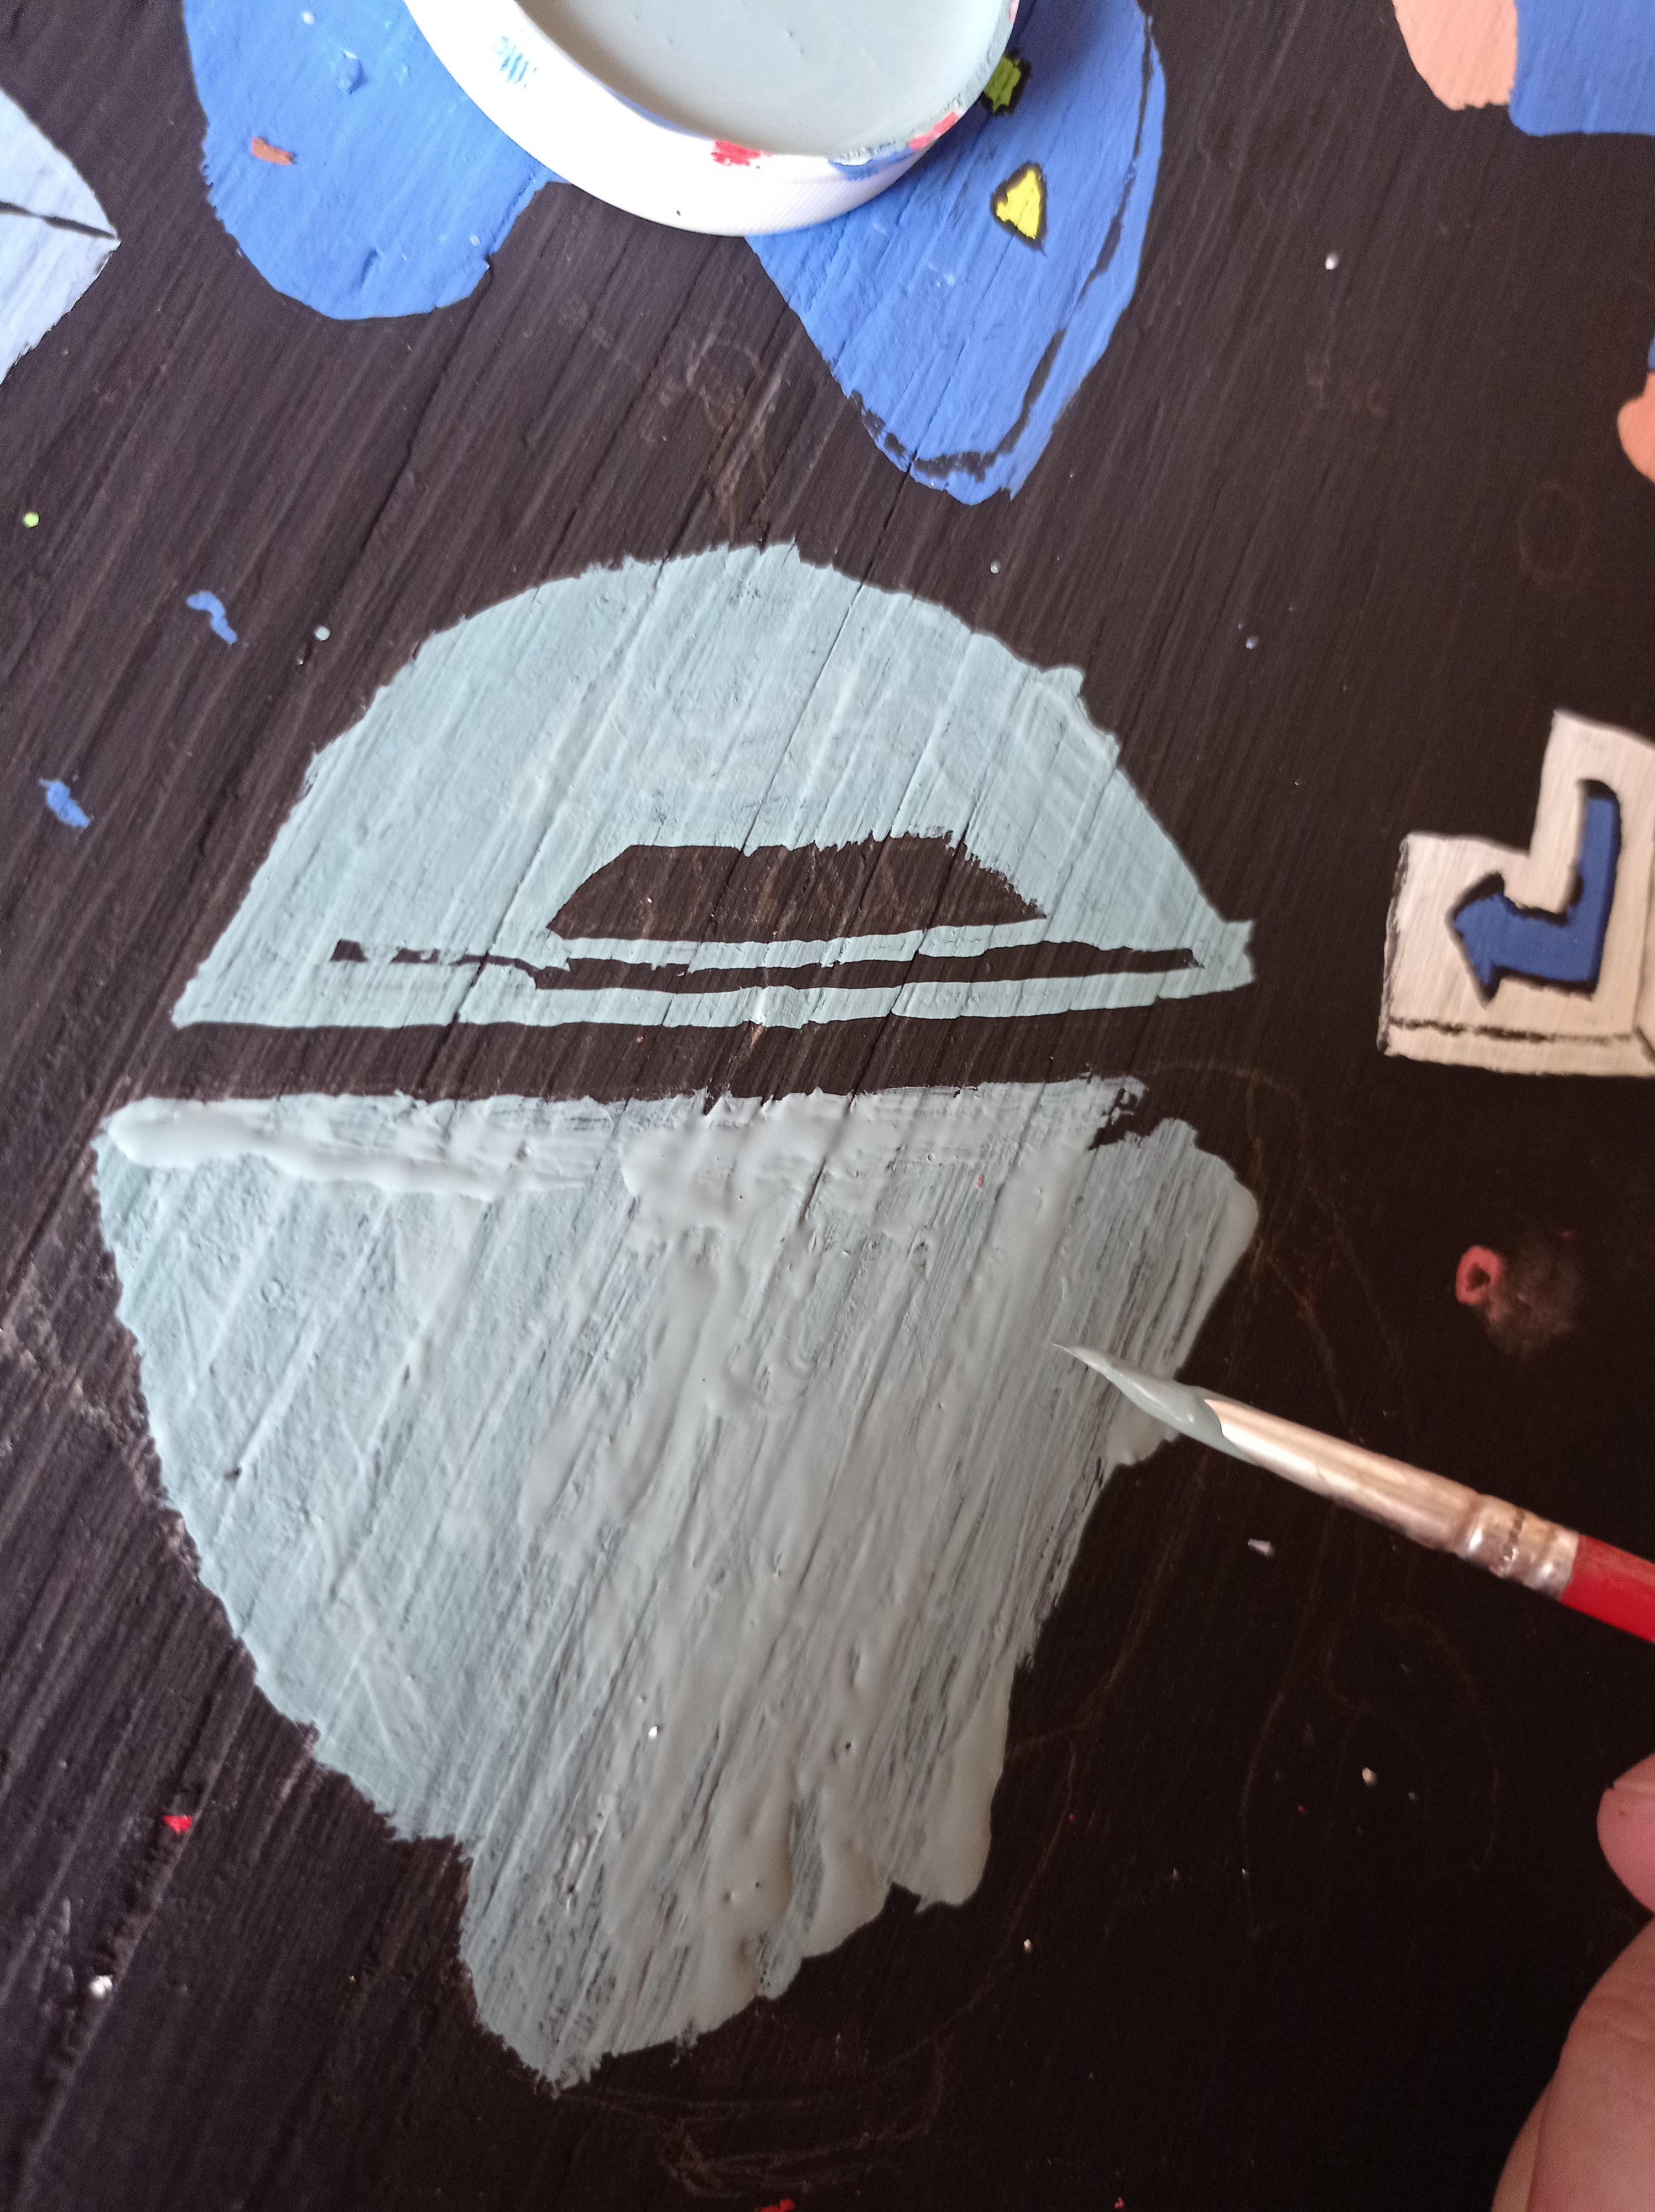

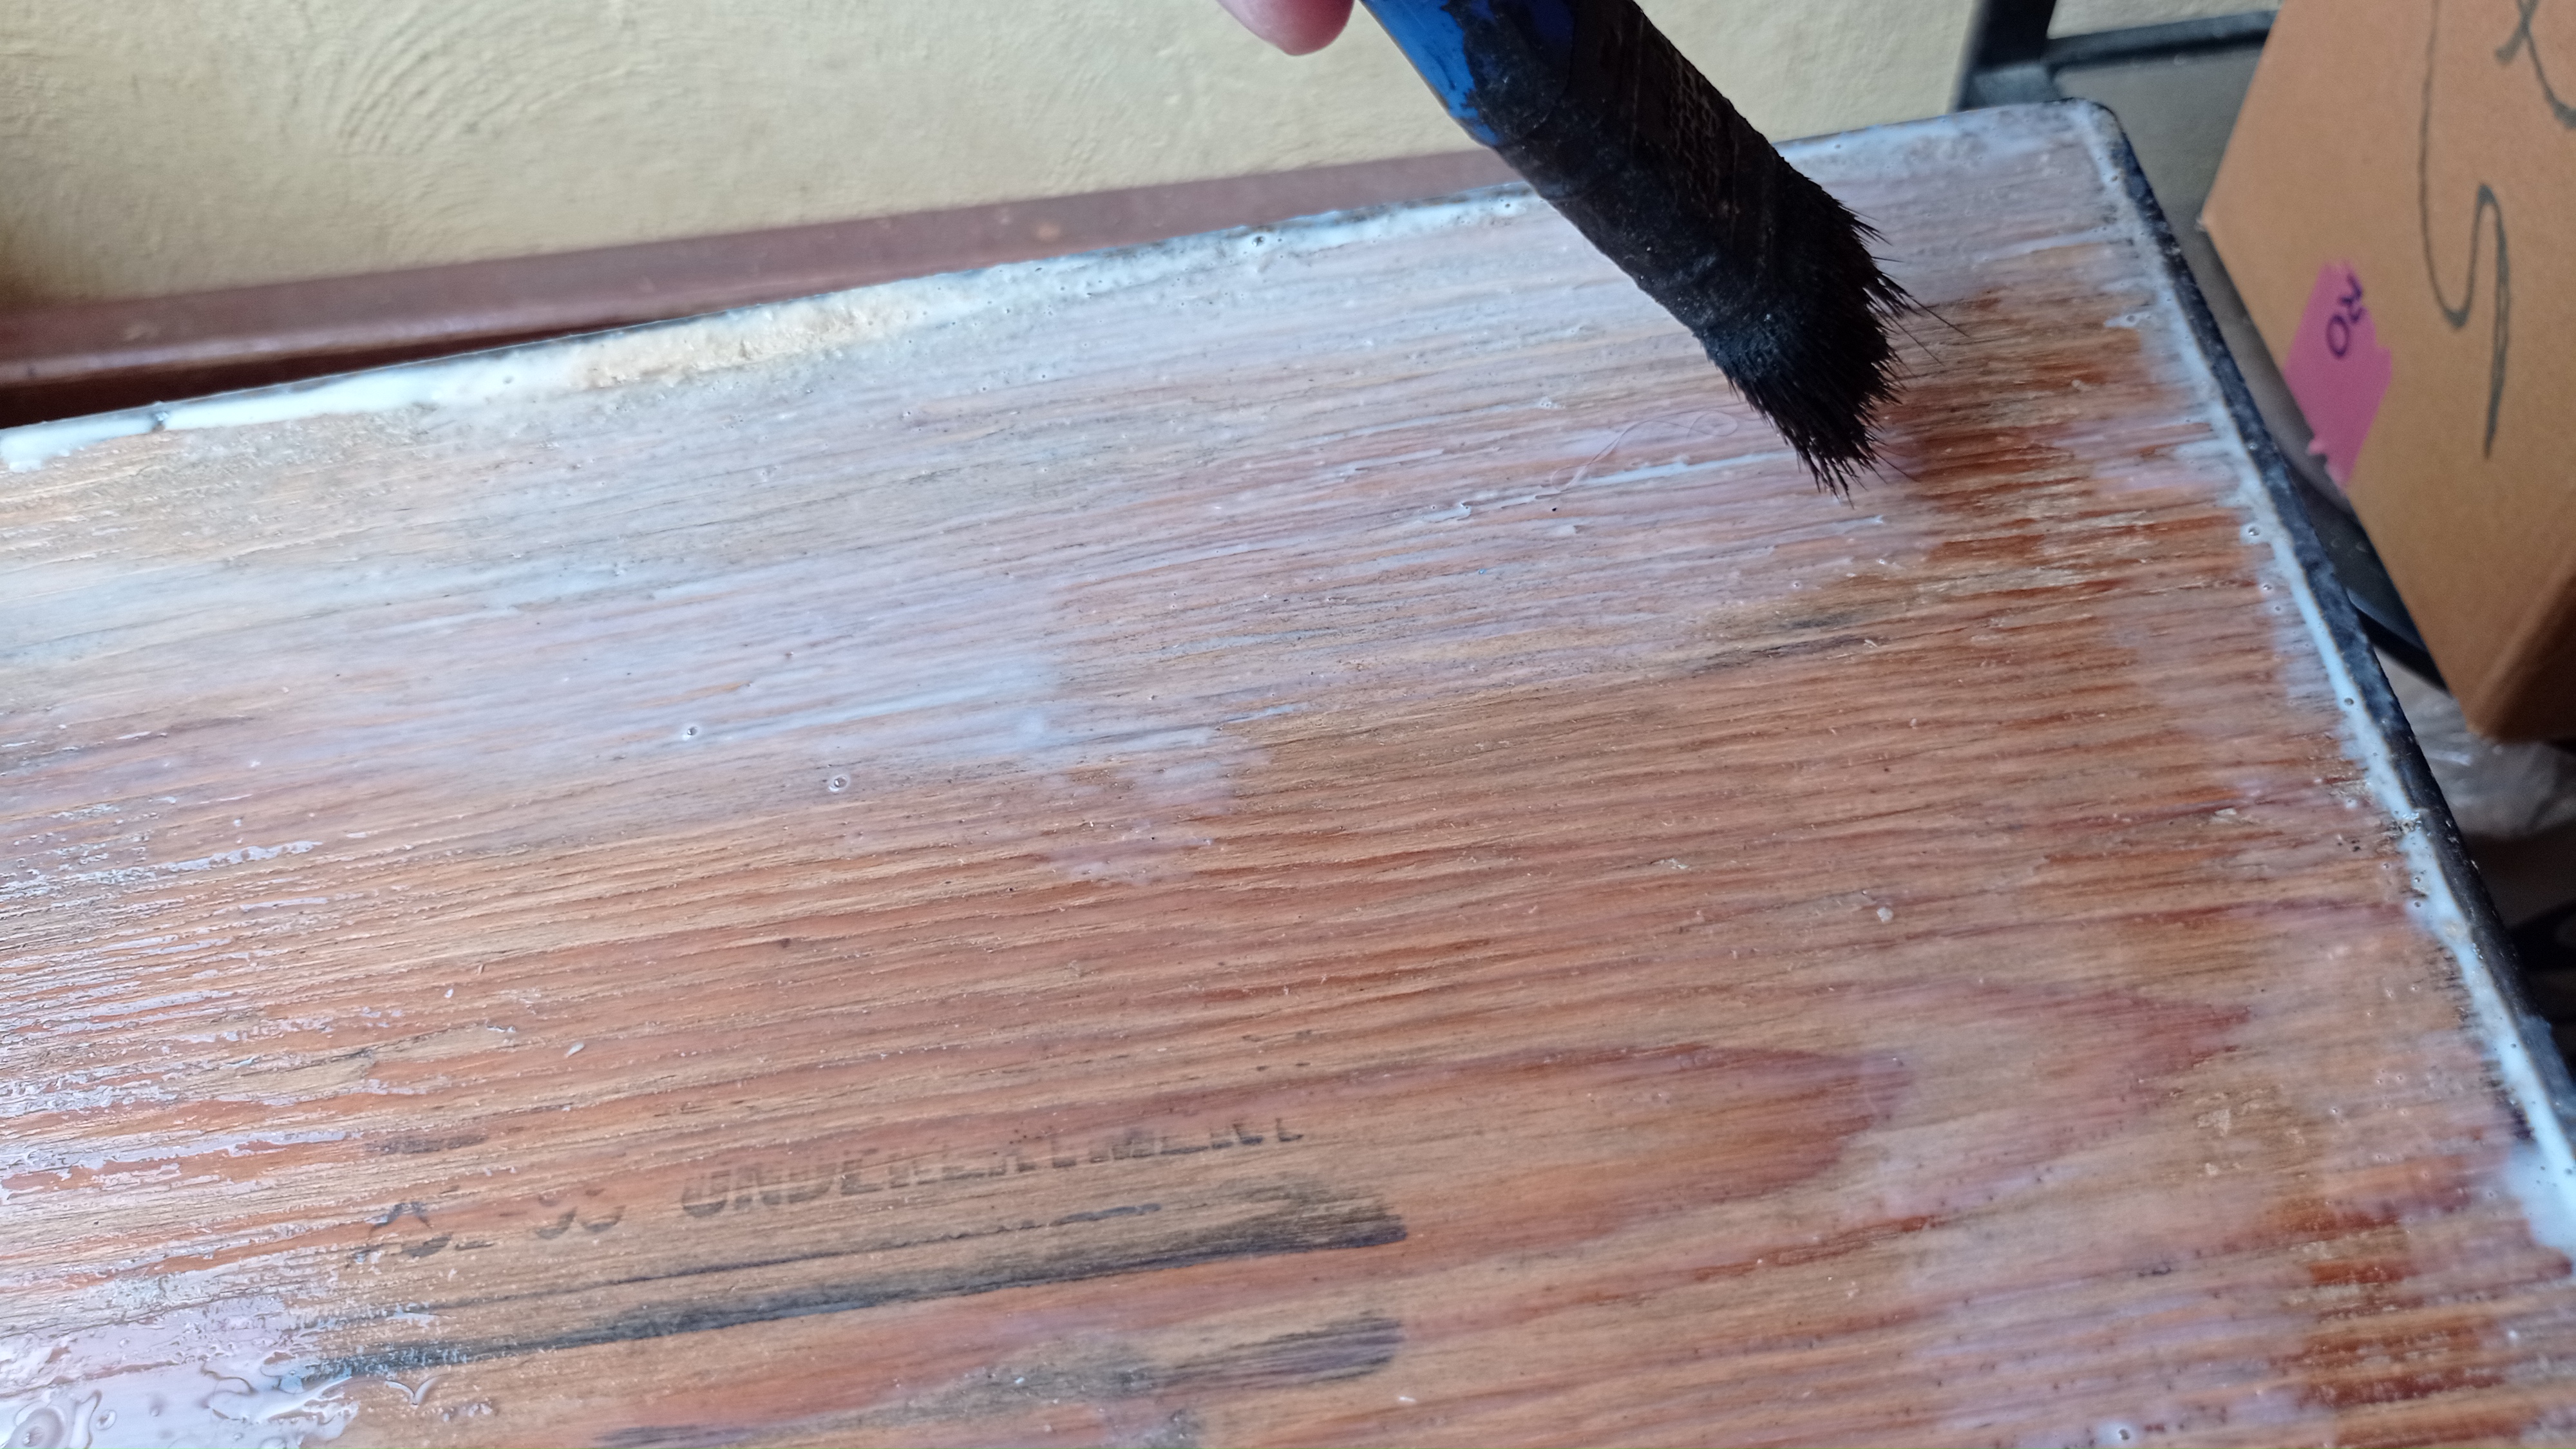
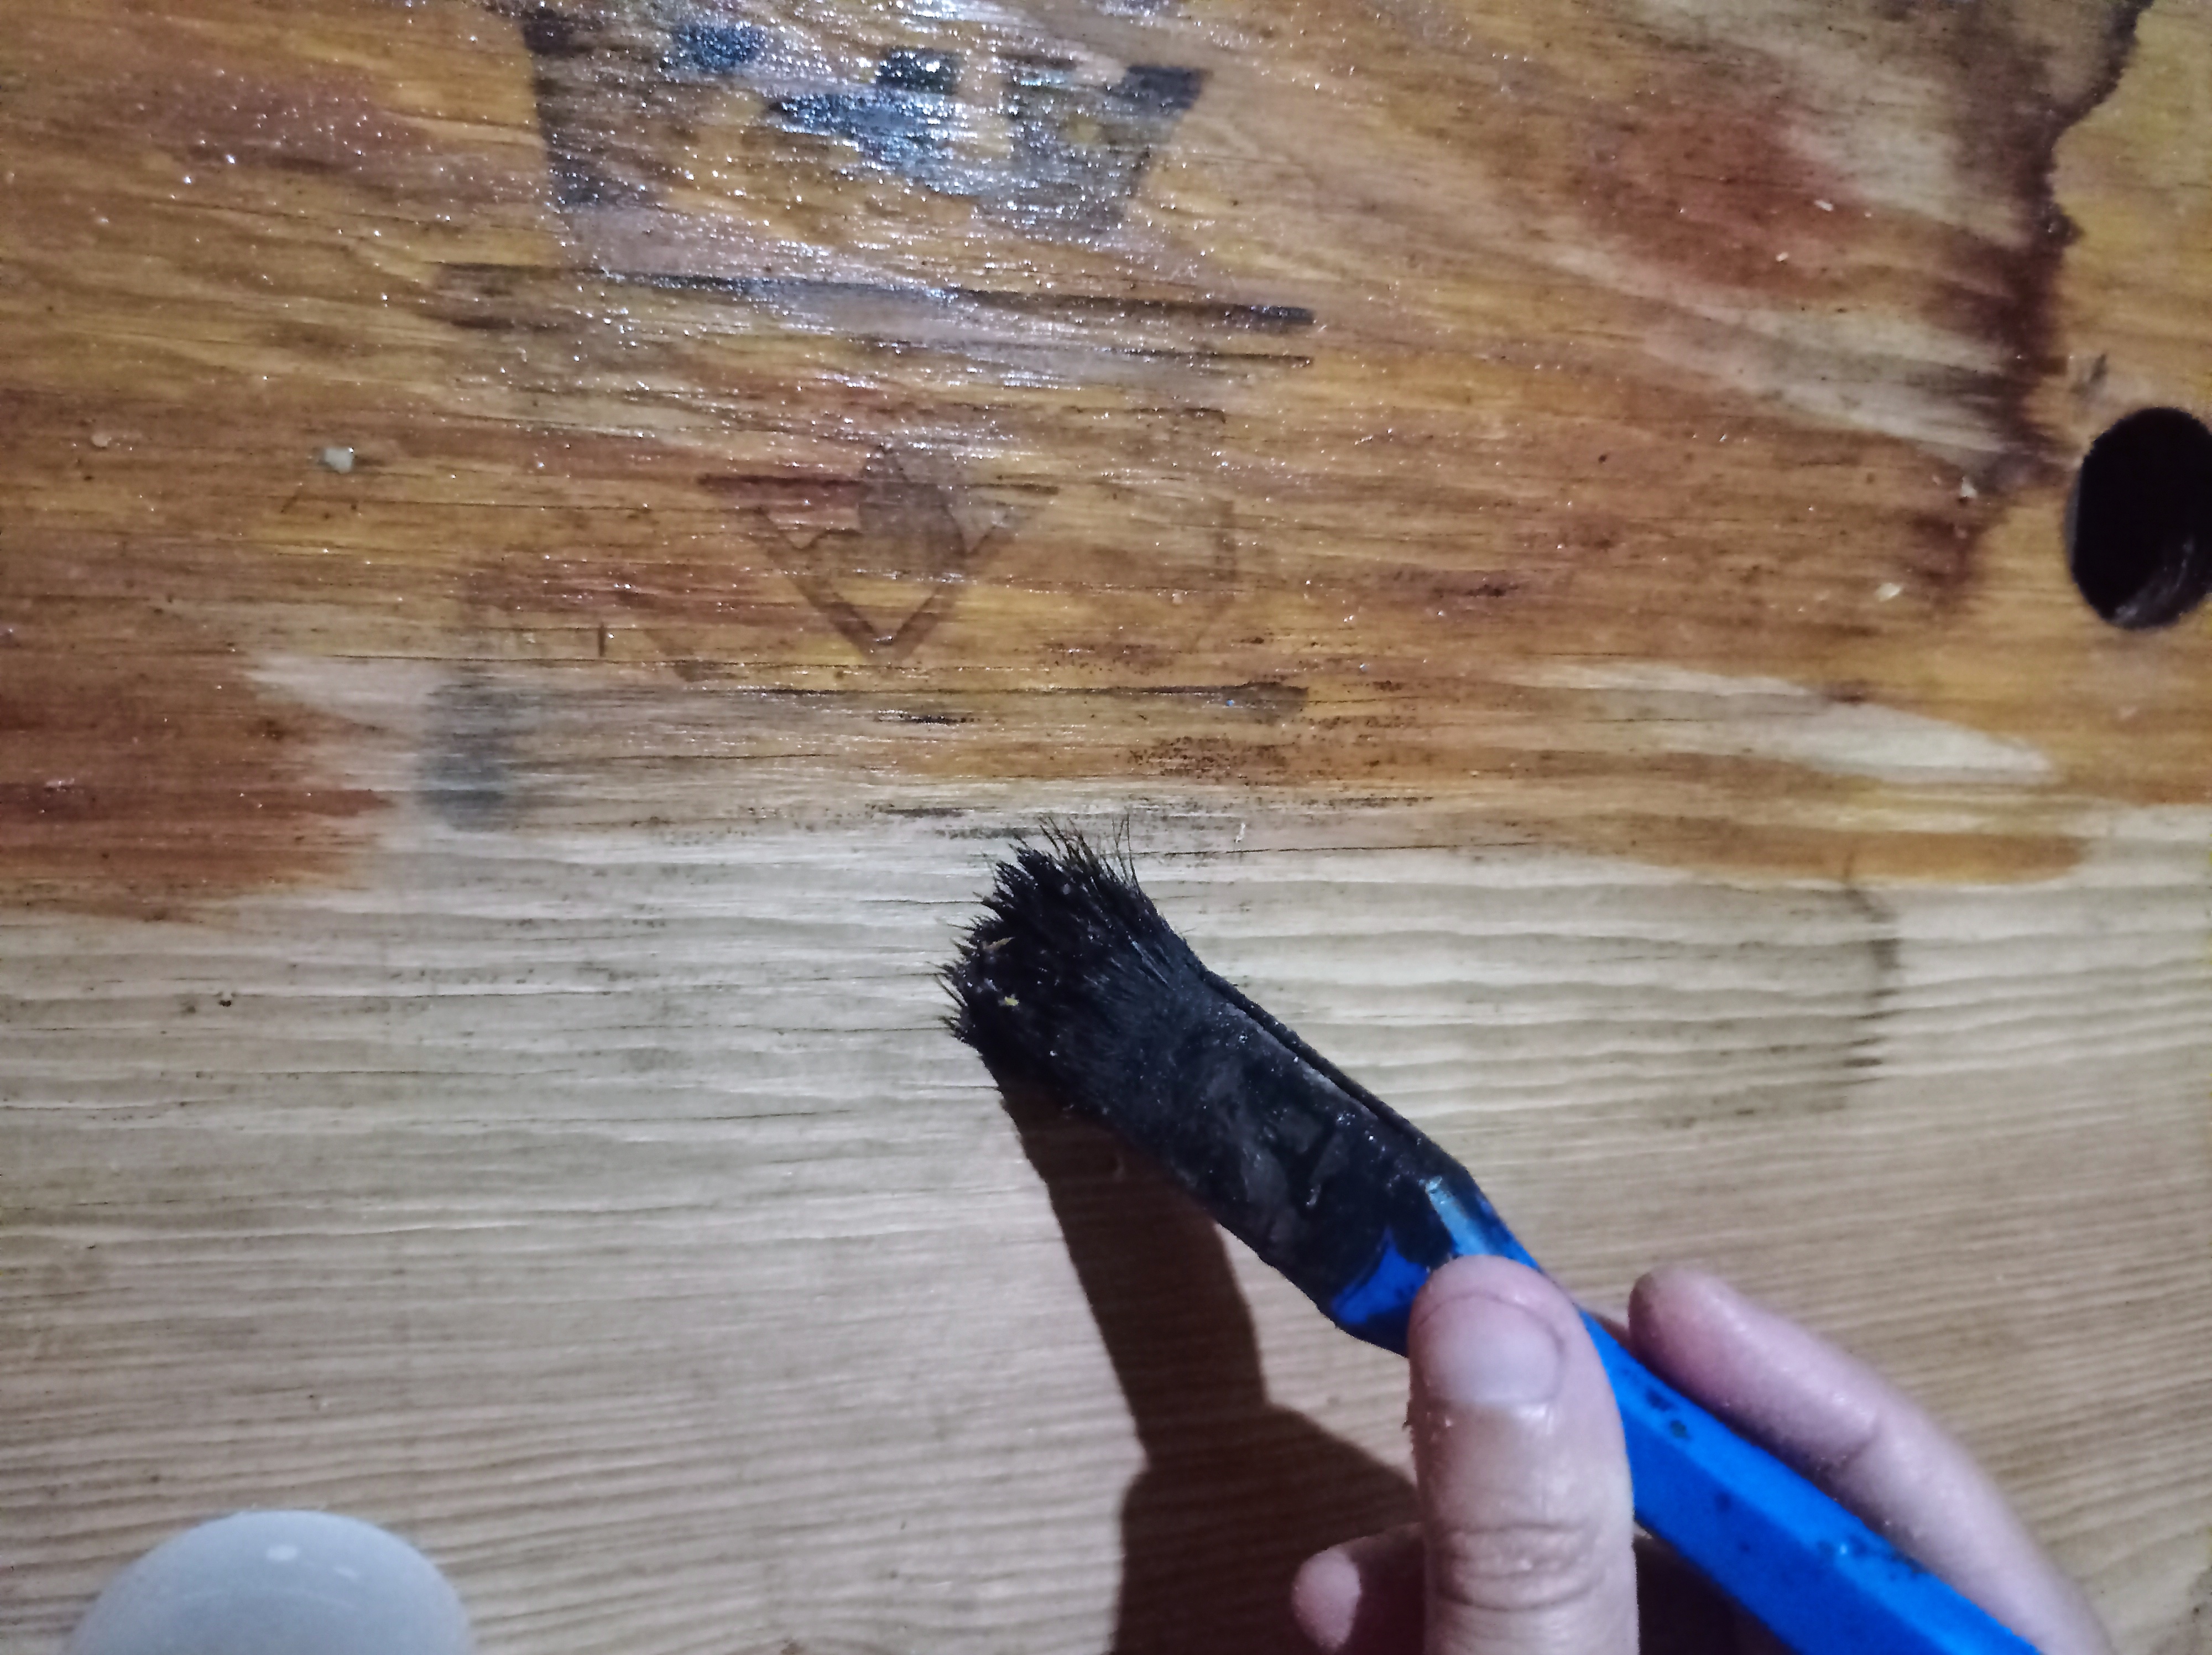
Once the drawings are finished I apply a layer of white glue on top, this to give brightness to the colors and to provide durability to the paint.
Una vez terminados los dibujos aplico una capa de pegamento blanco encima, esto para darle brillo a os colores y para brindarle durabilidad a la pintura.

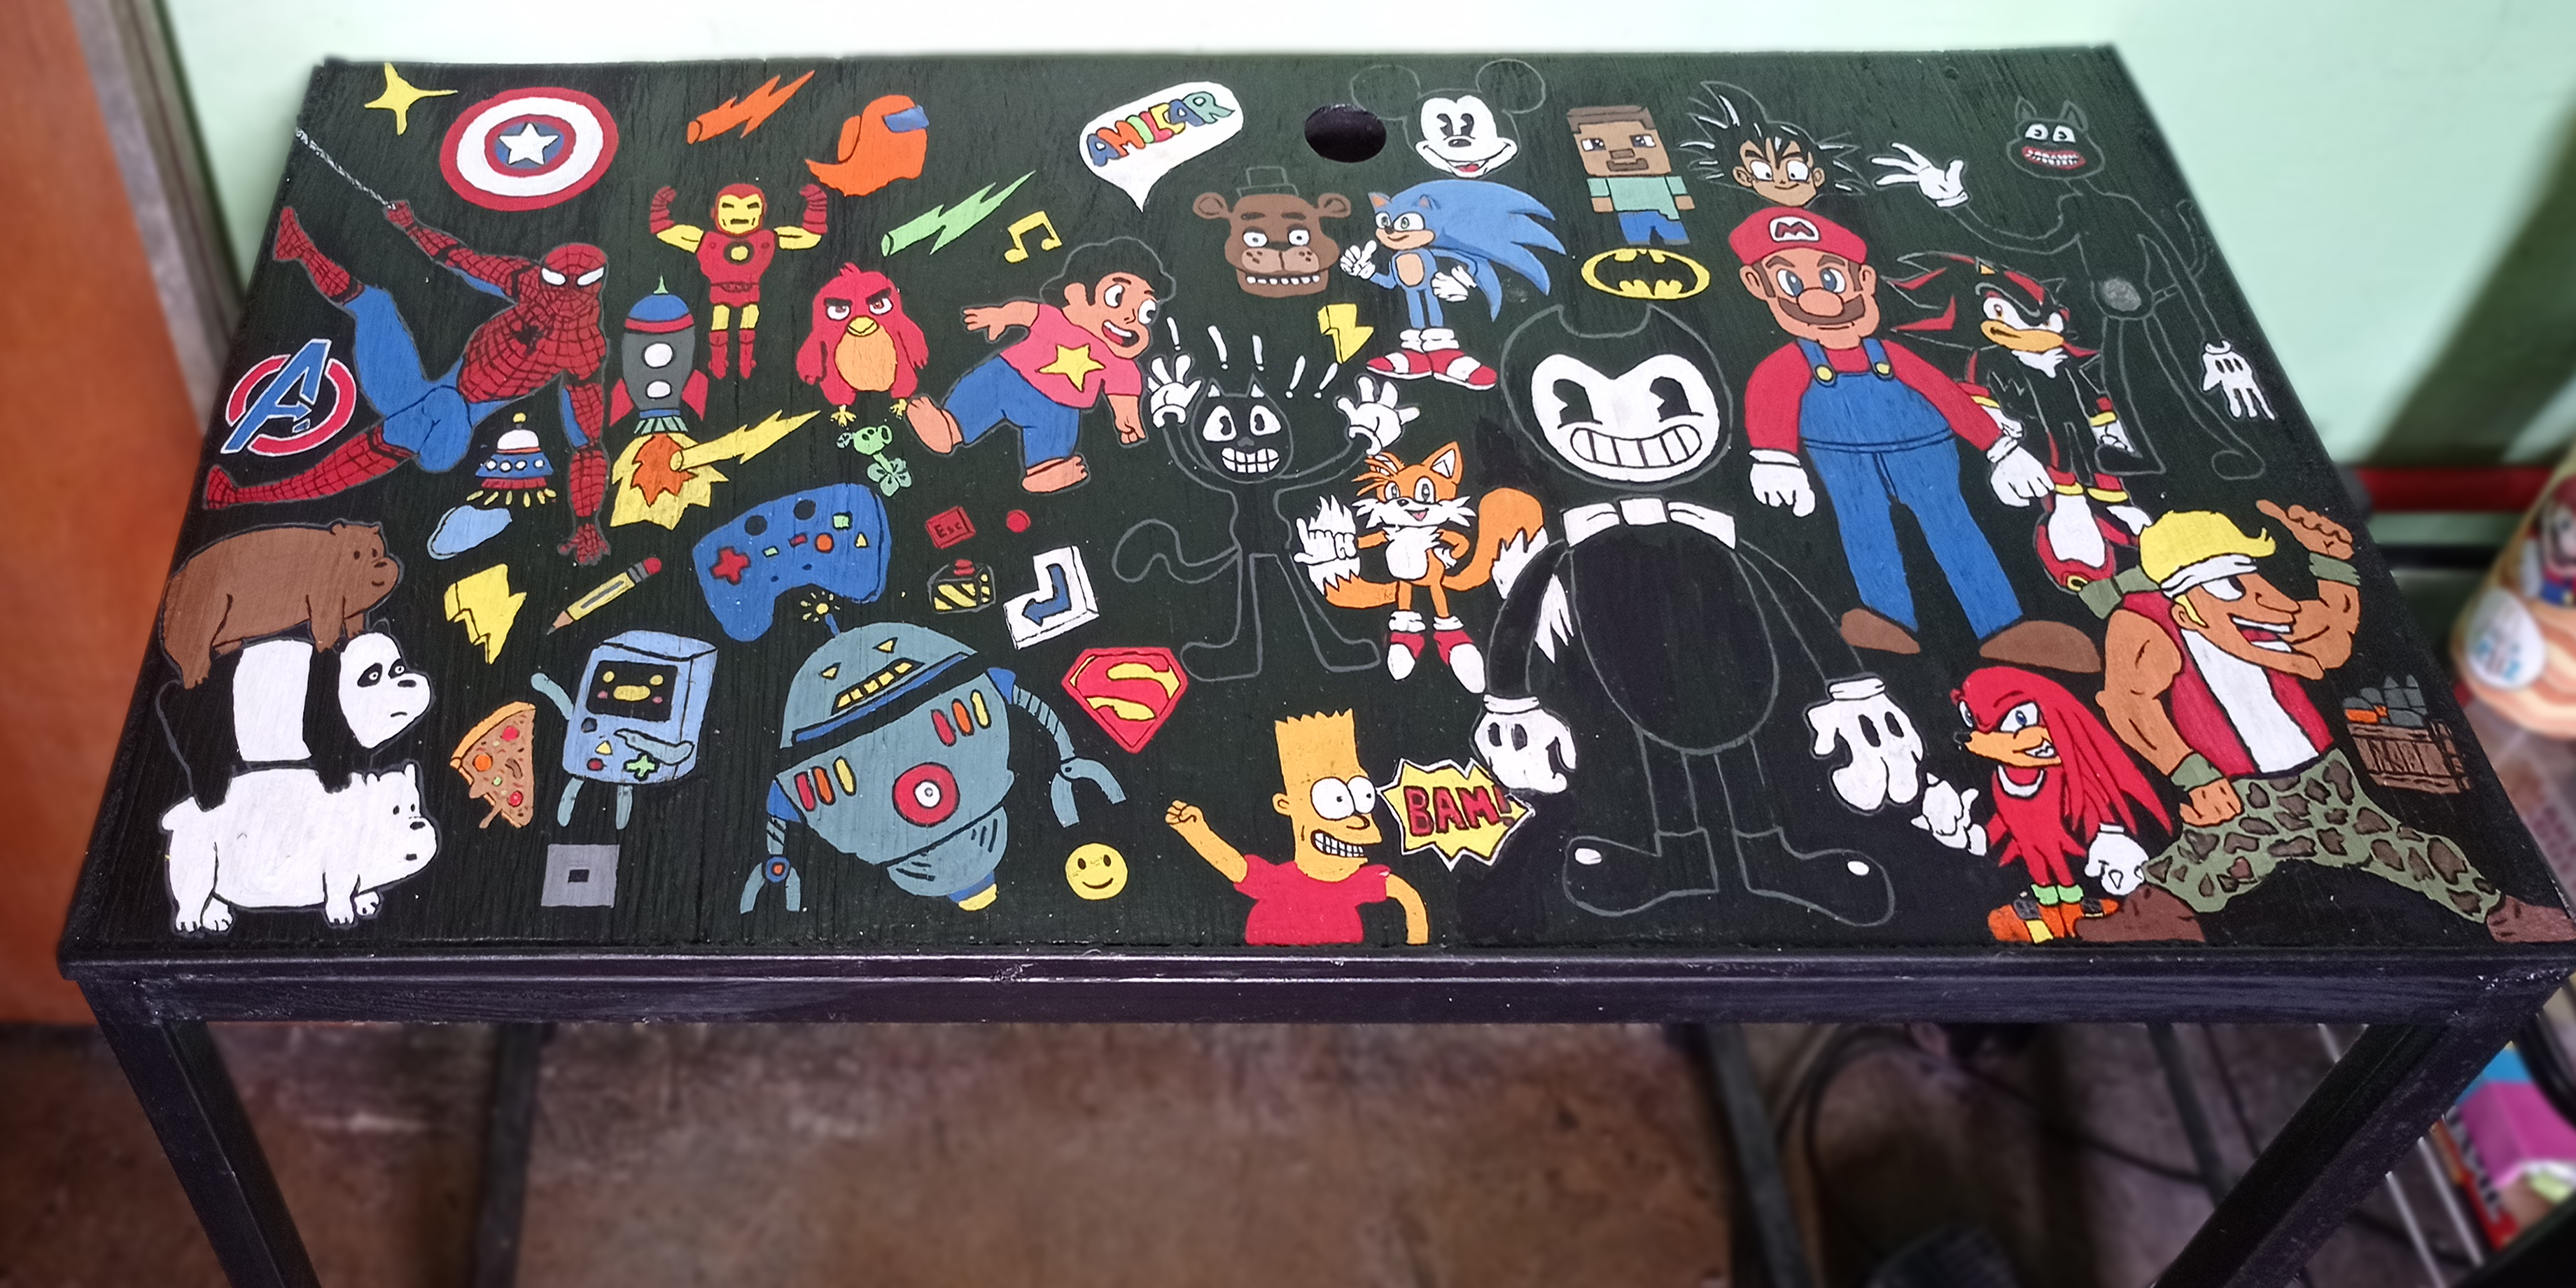
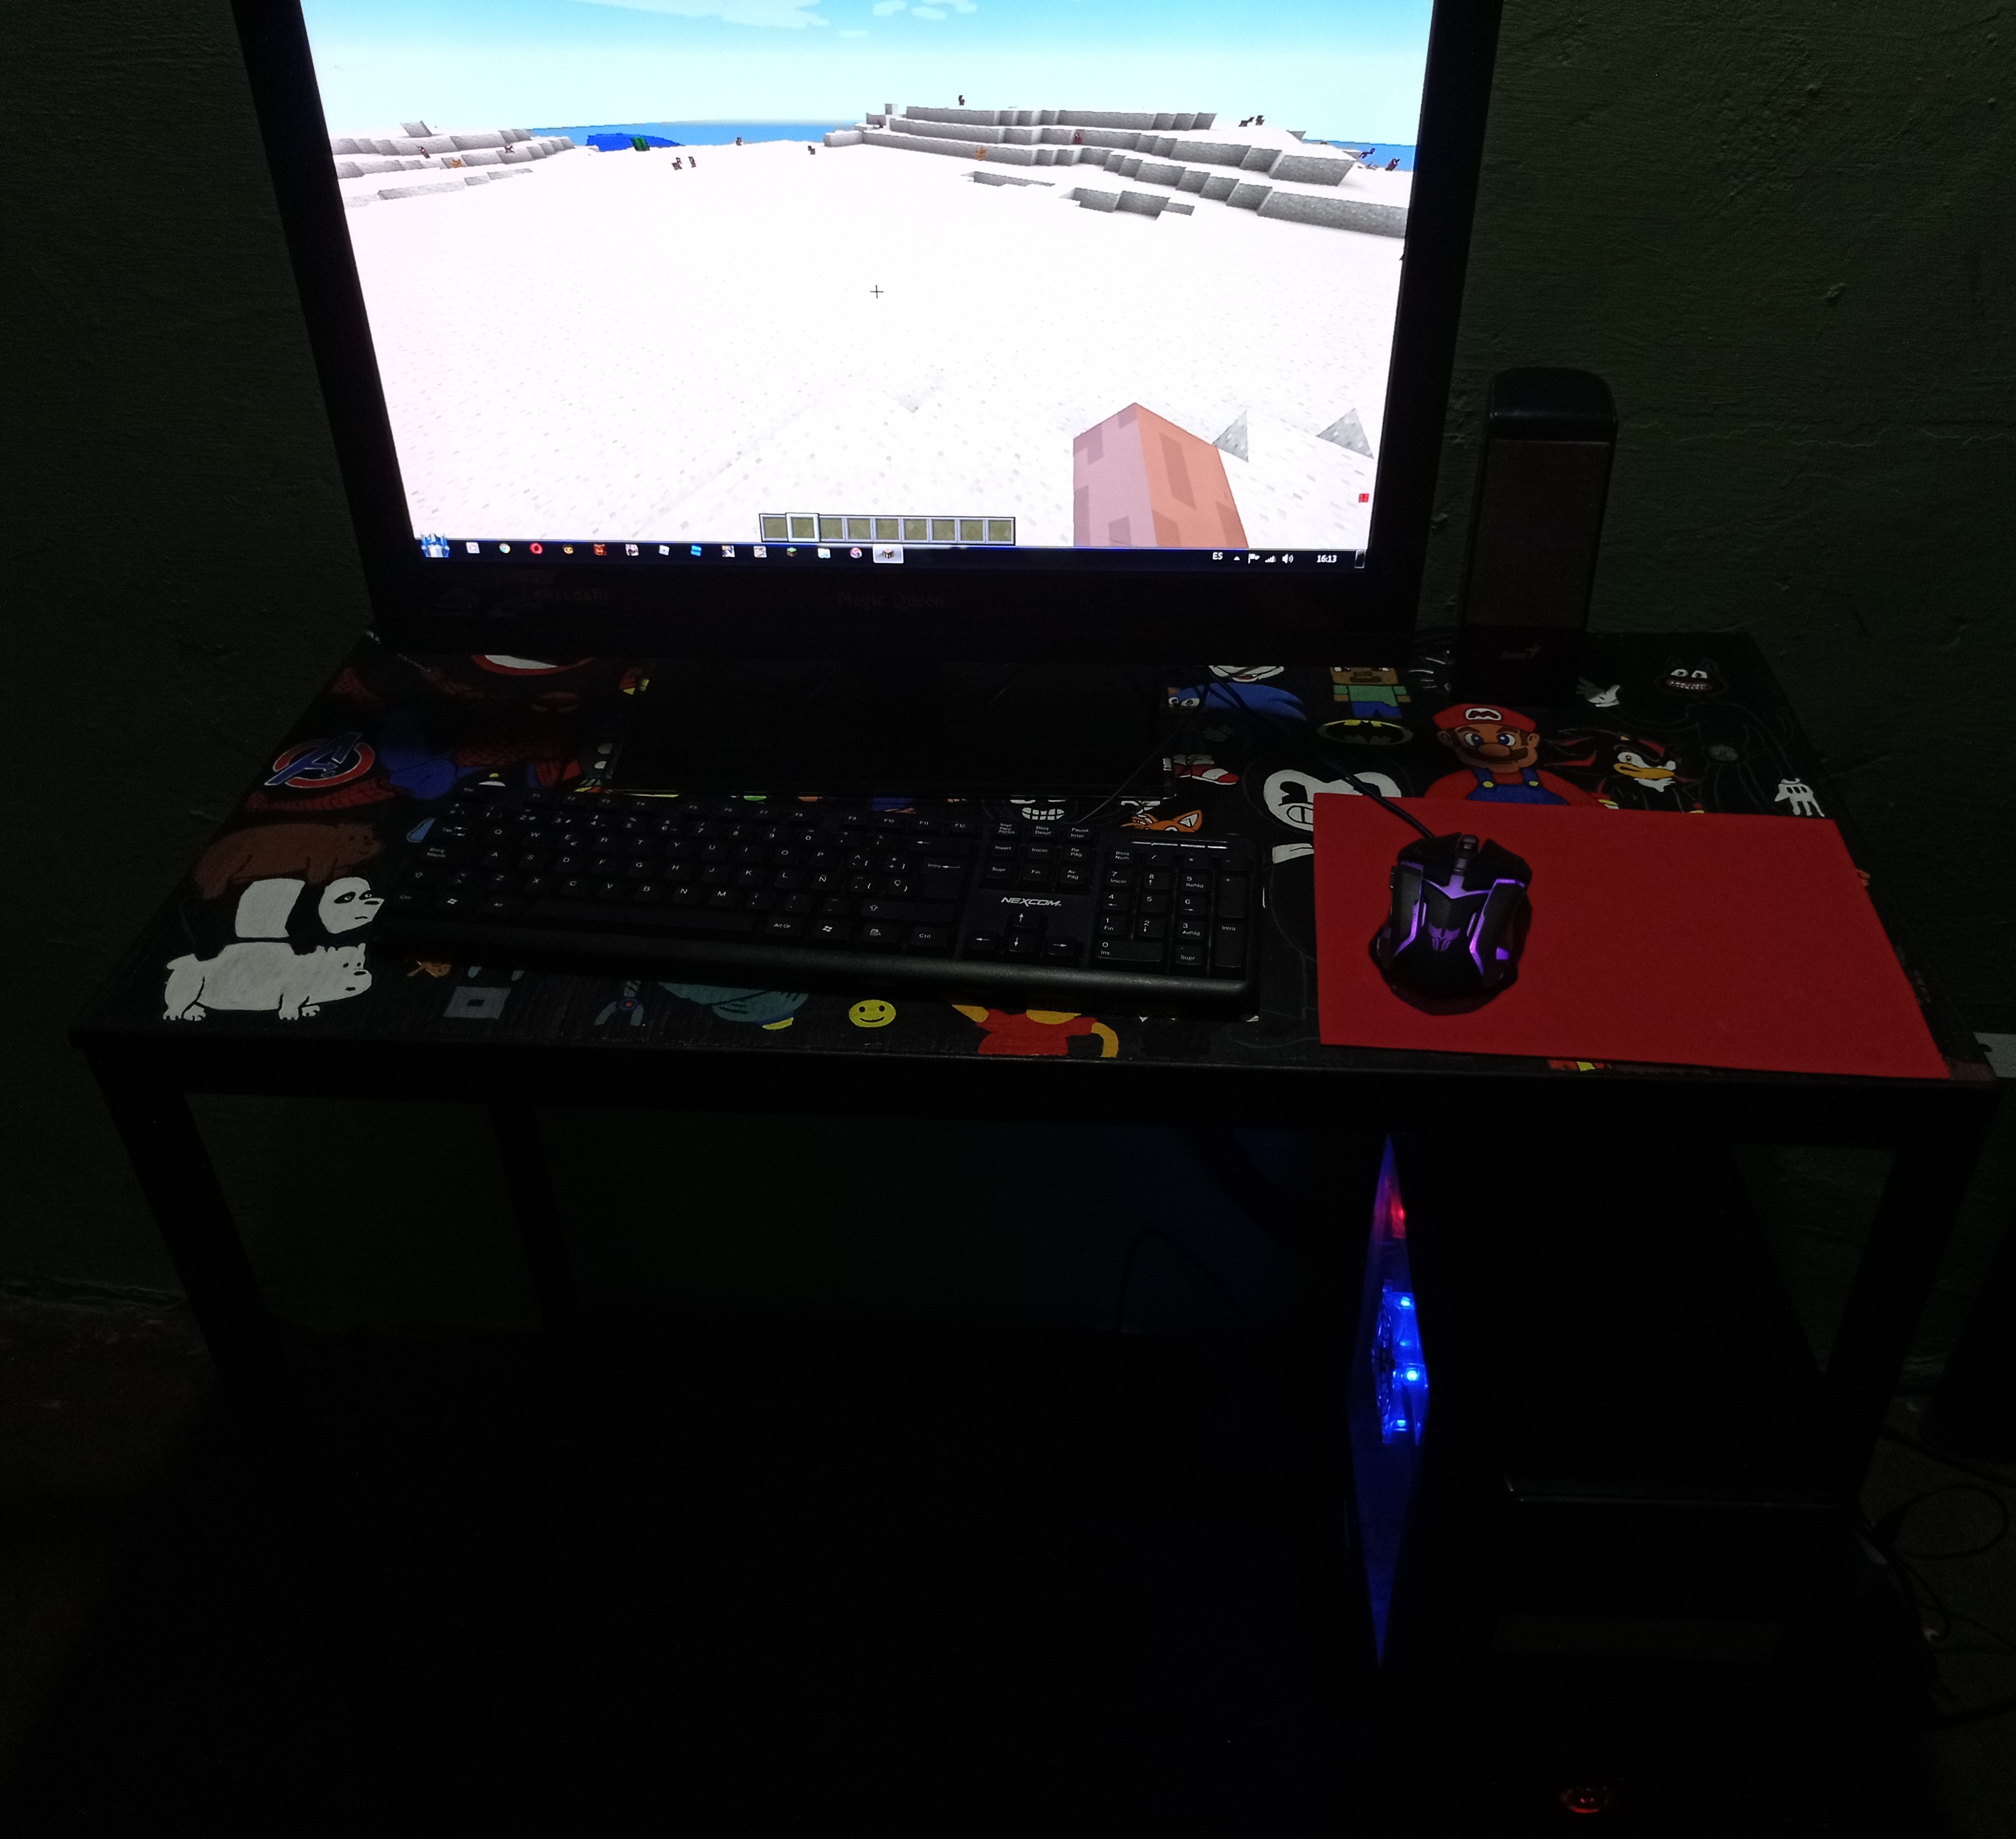
Listo como se puede observar los dibujos resaltan hasta con la luz apagada. Pude notar que necesito agregarle un nivel mas para que sirva de soporte para el teclado y el mouse y otro para el monitor y así los dibujos se pueden apreciar mejor.

Your content has been voted as a part of Encouragement program. Keep up the good work!
Use Ecency daily to boost your growth on platform!
Support Ecency
Vote for Proposal
Delegate HP and earn more
Thanks!