Hola amigos en esta oportunidad comparto como el proceso para crear dos lamparas con las luces que extraje de un escaner obsoleto que tenia en casa. Los primeros días del año decidí deshacerme de cosas que ya no tenían uso en casa, una de ellas fue una vieja impresora multifuncional de la cual recicle la lampara de tubos tipo neon y una lampara de leds de colores entre otras cosas como tornillos y motores.

TO USE THE NEON LIGHTS AS A LAMP PERFORM THE FOLLOWING PROCEDURE
//
PARA UTILIZAR LAS LUCES DE NEON COMO LAMPARA REALICE EL SIGUIENTE PROCEDIMIENTO
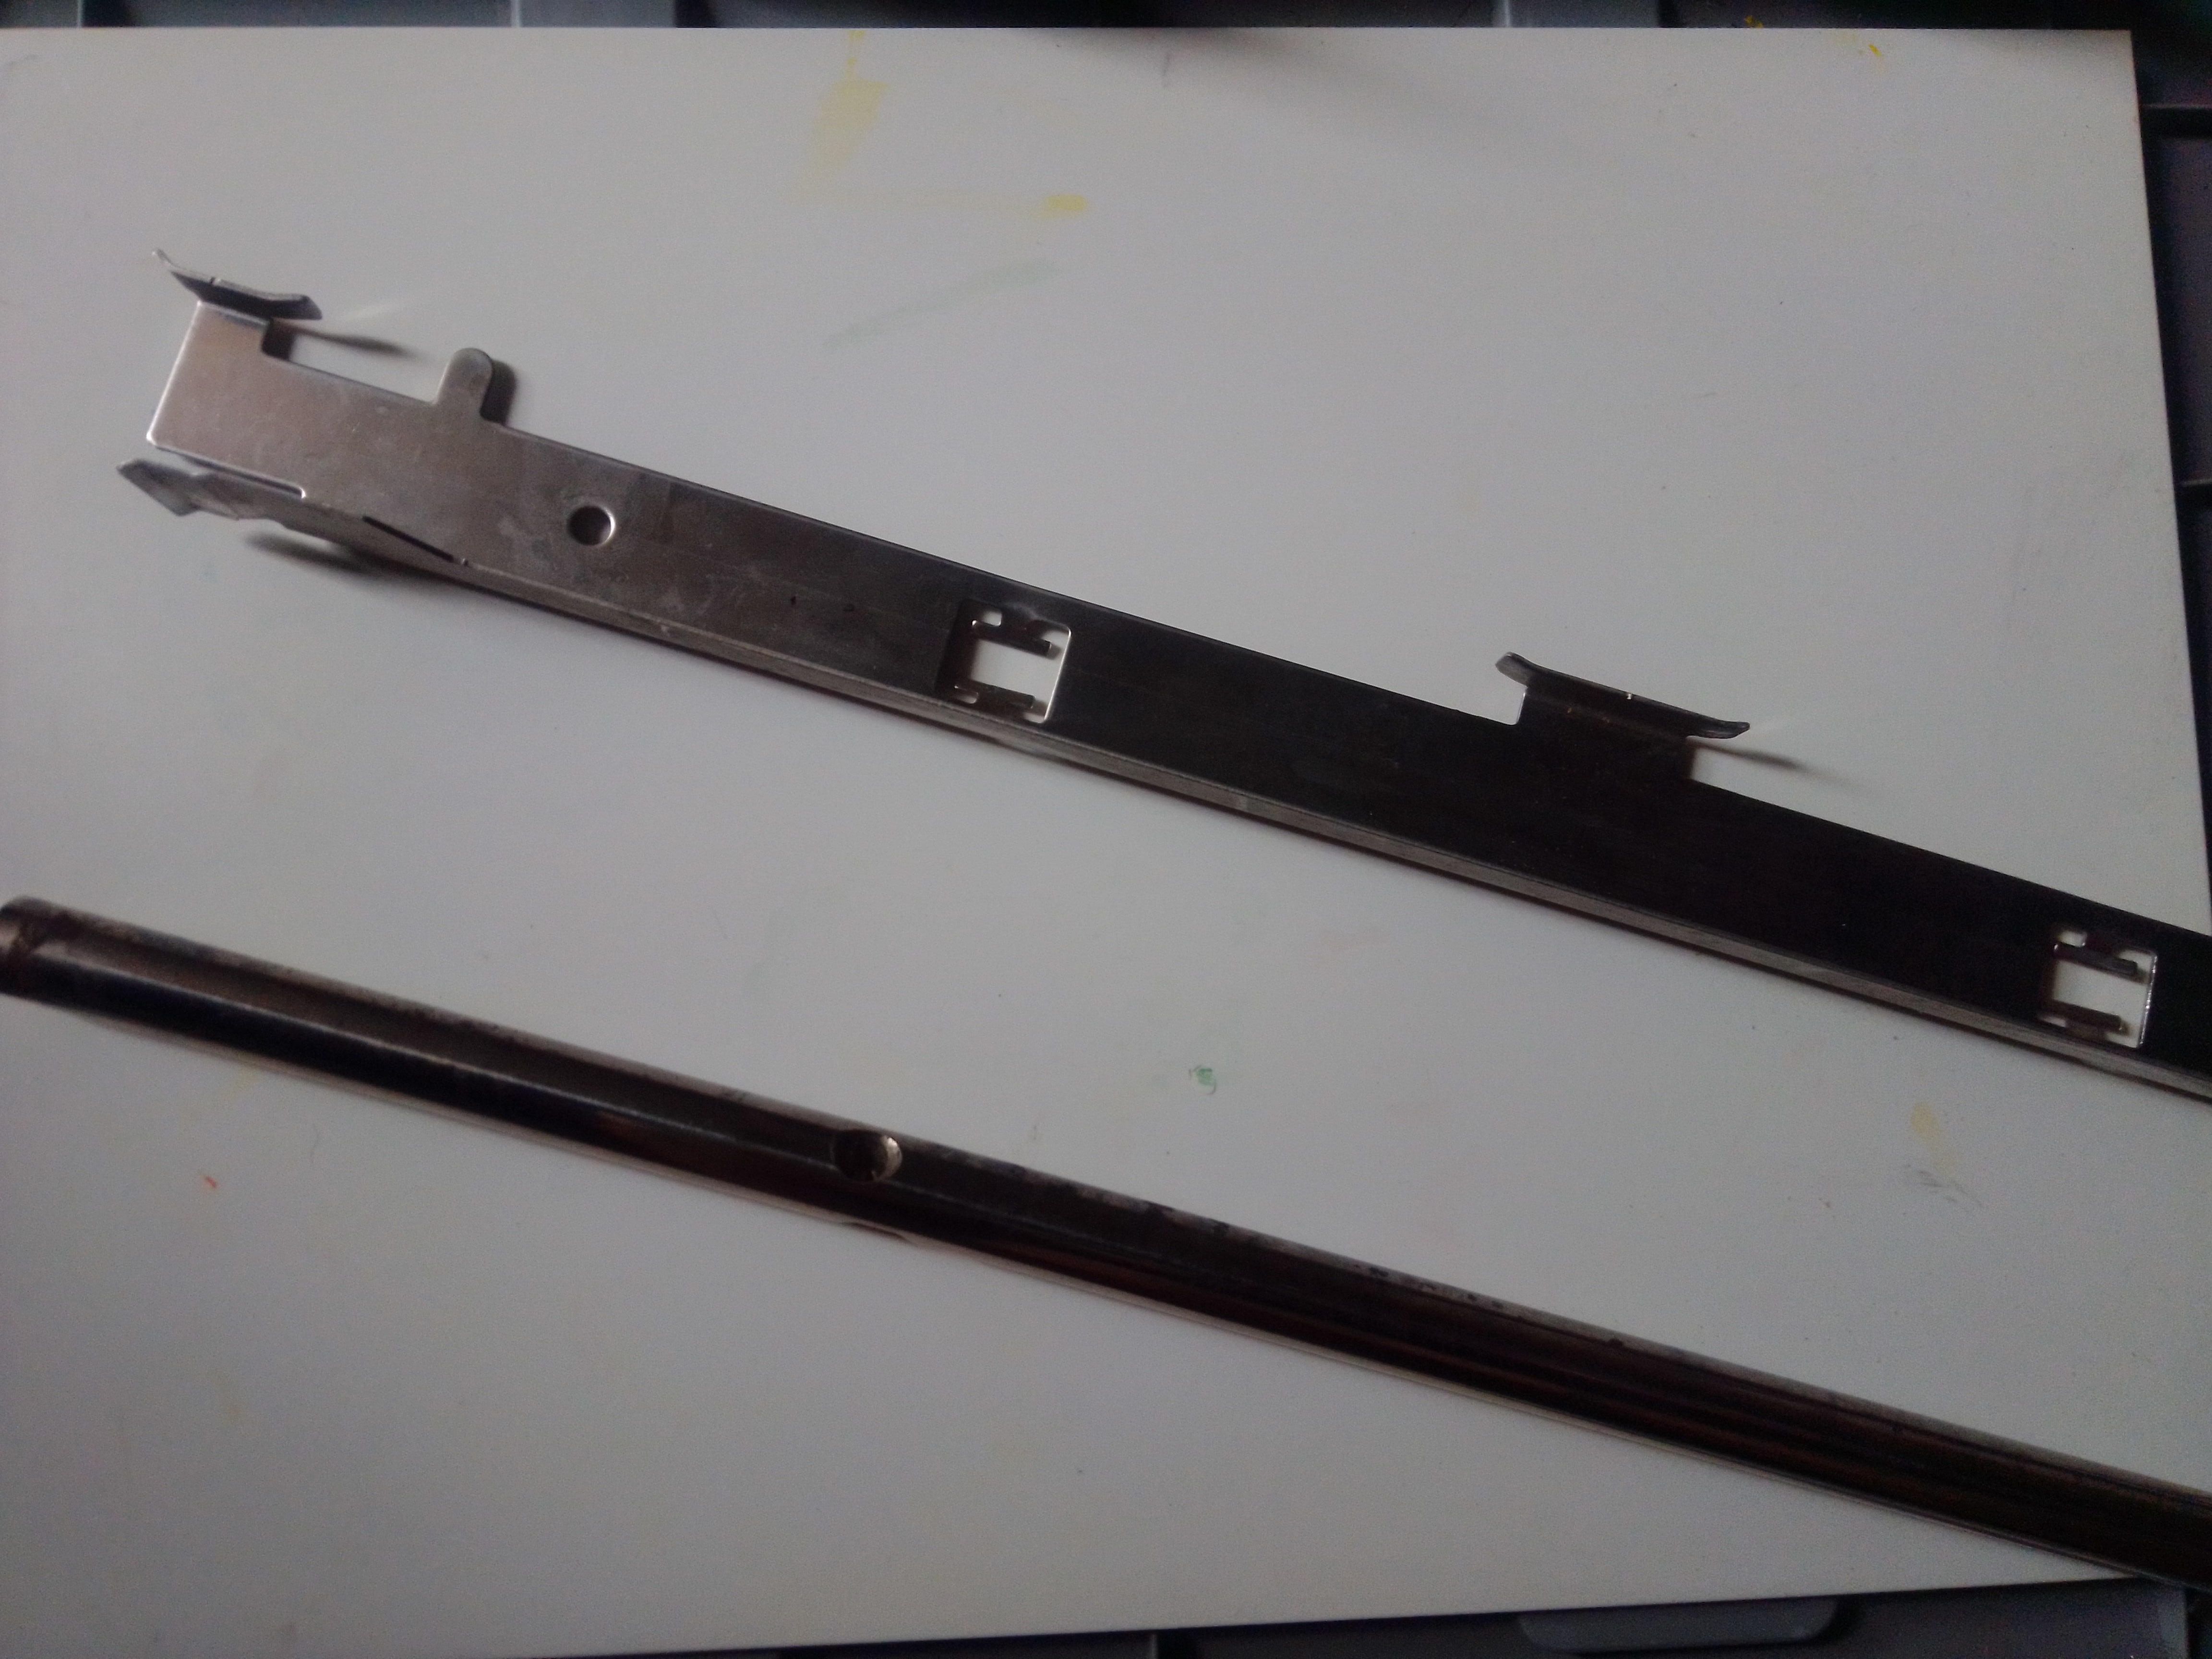
This is the neon type scanner lamp. // Esta es la lampara tipo neon del escaner.
On one side are the tubes of the lights:
Por un lado se encuentran los tubos de las luces:
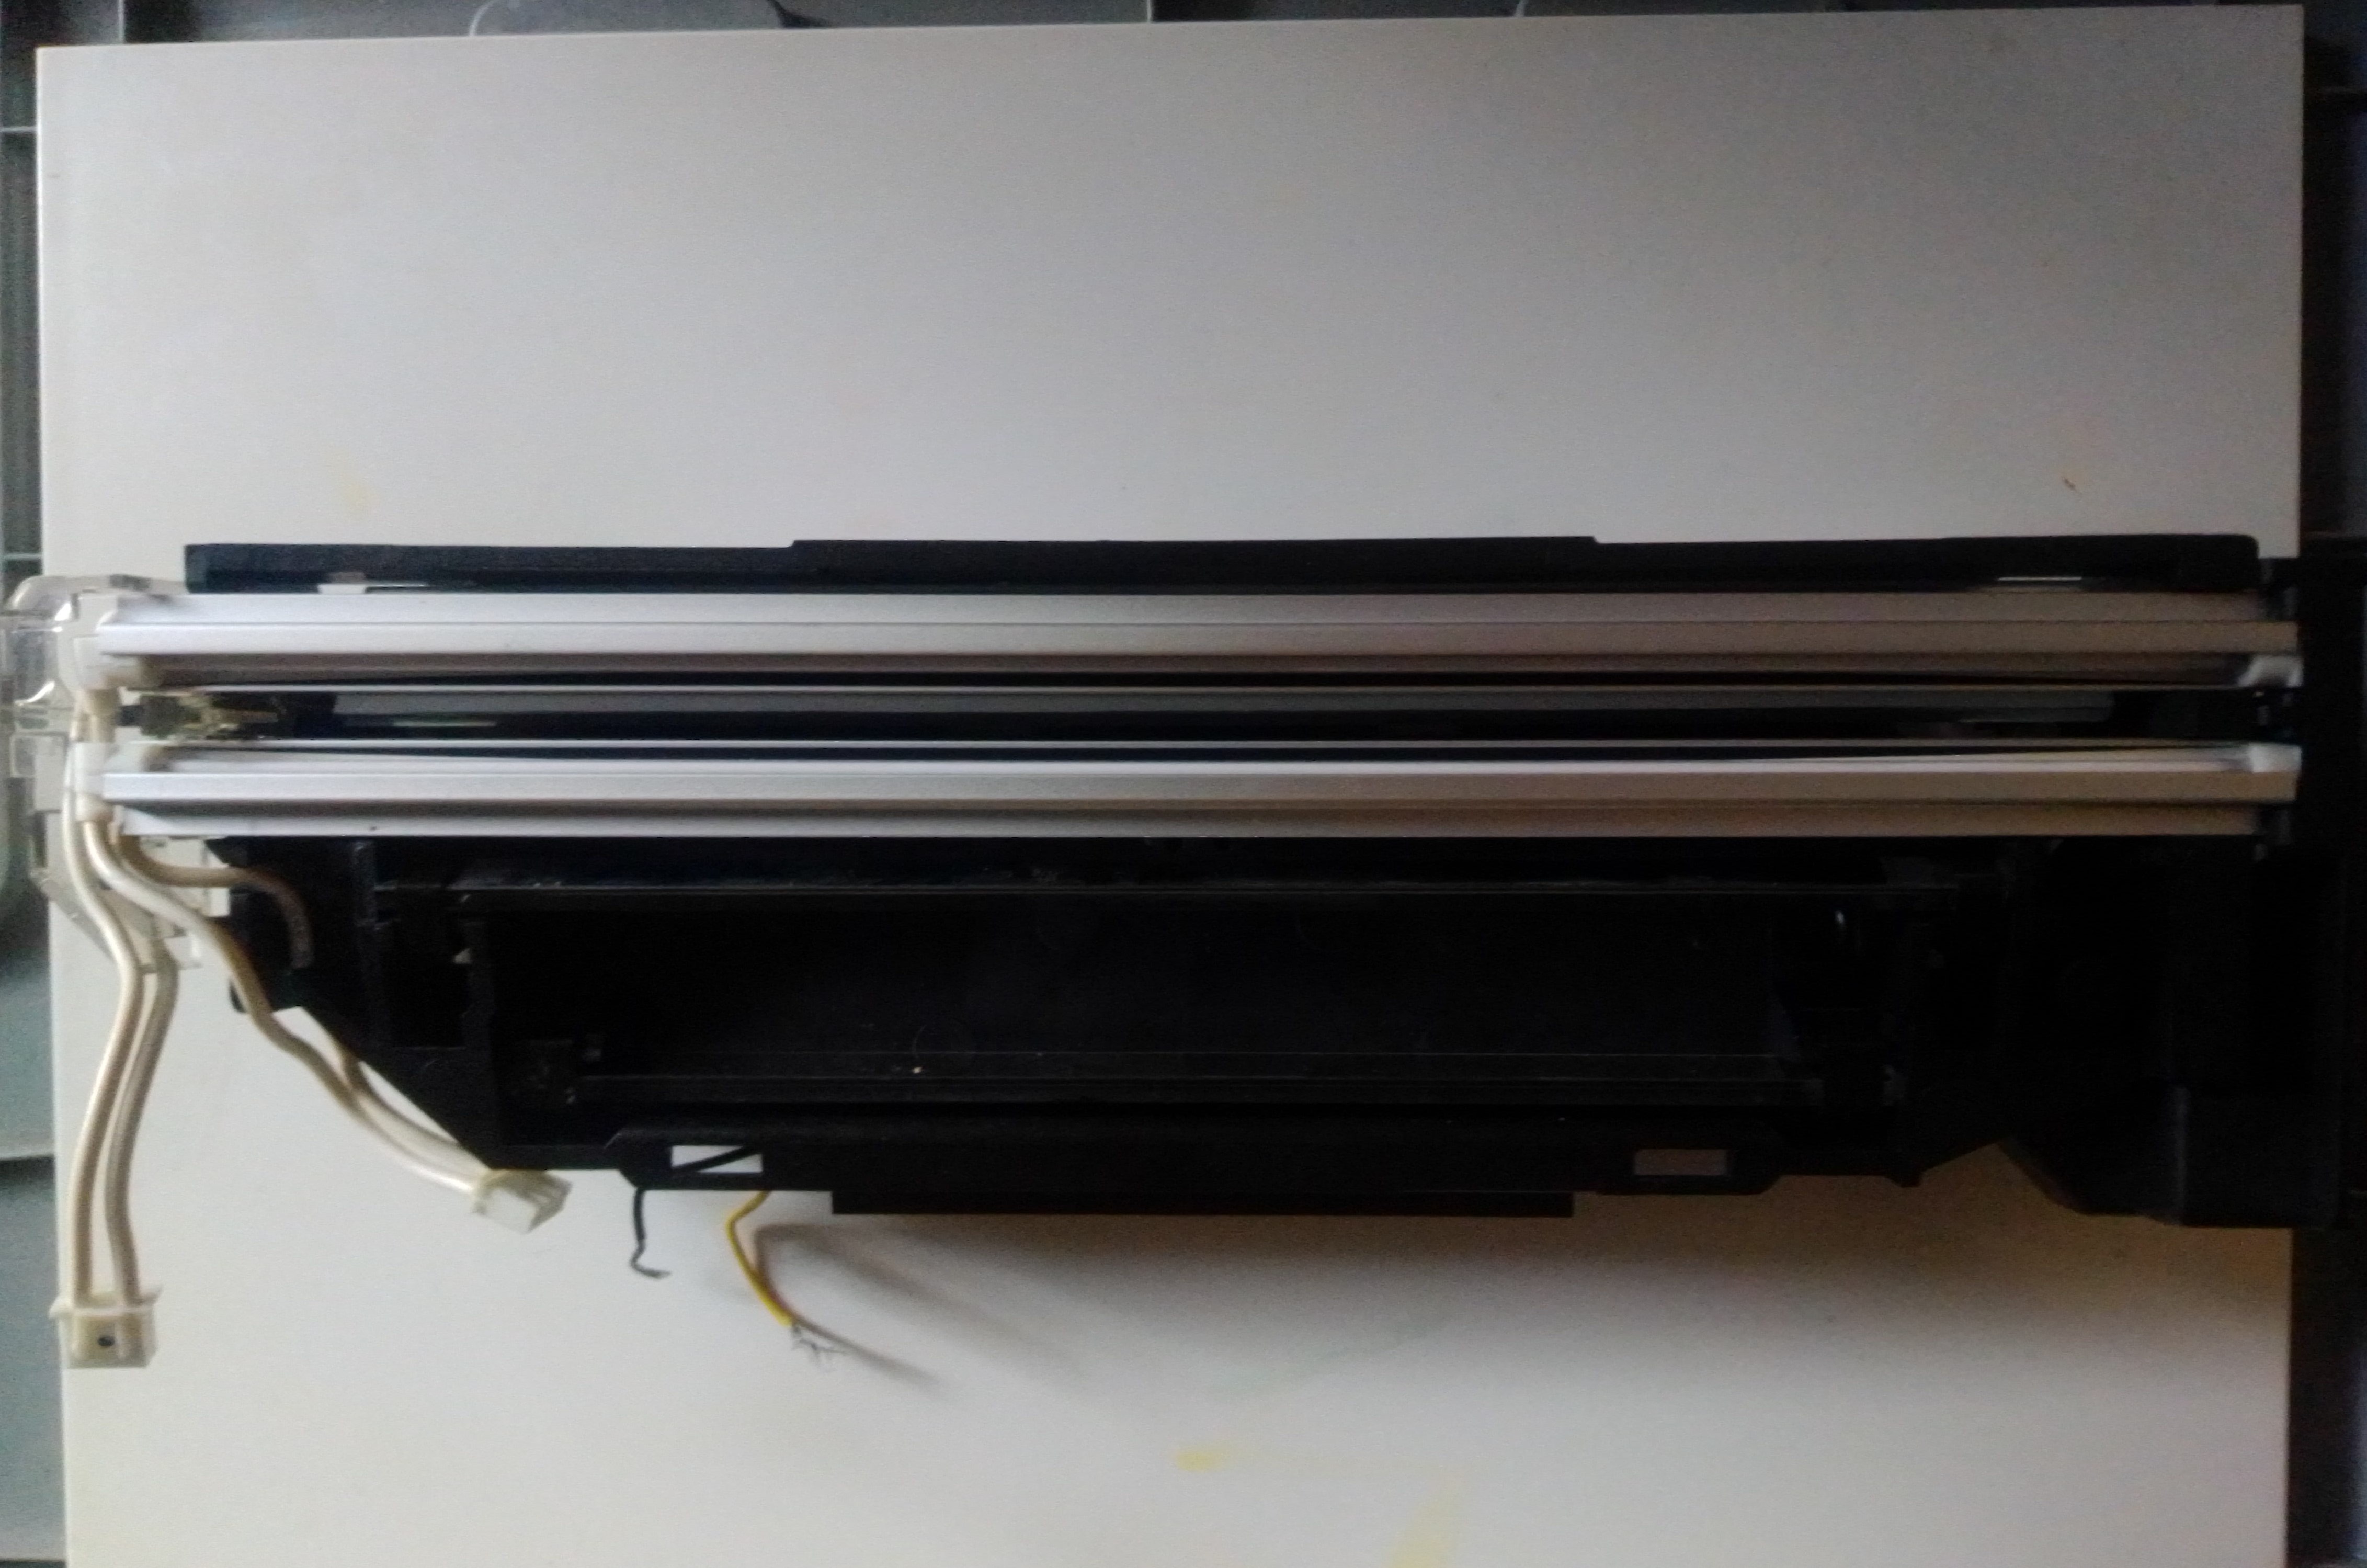
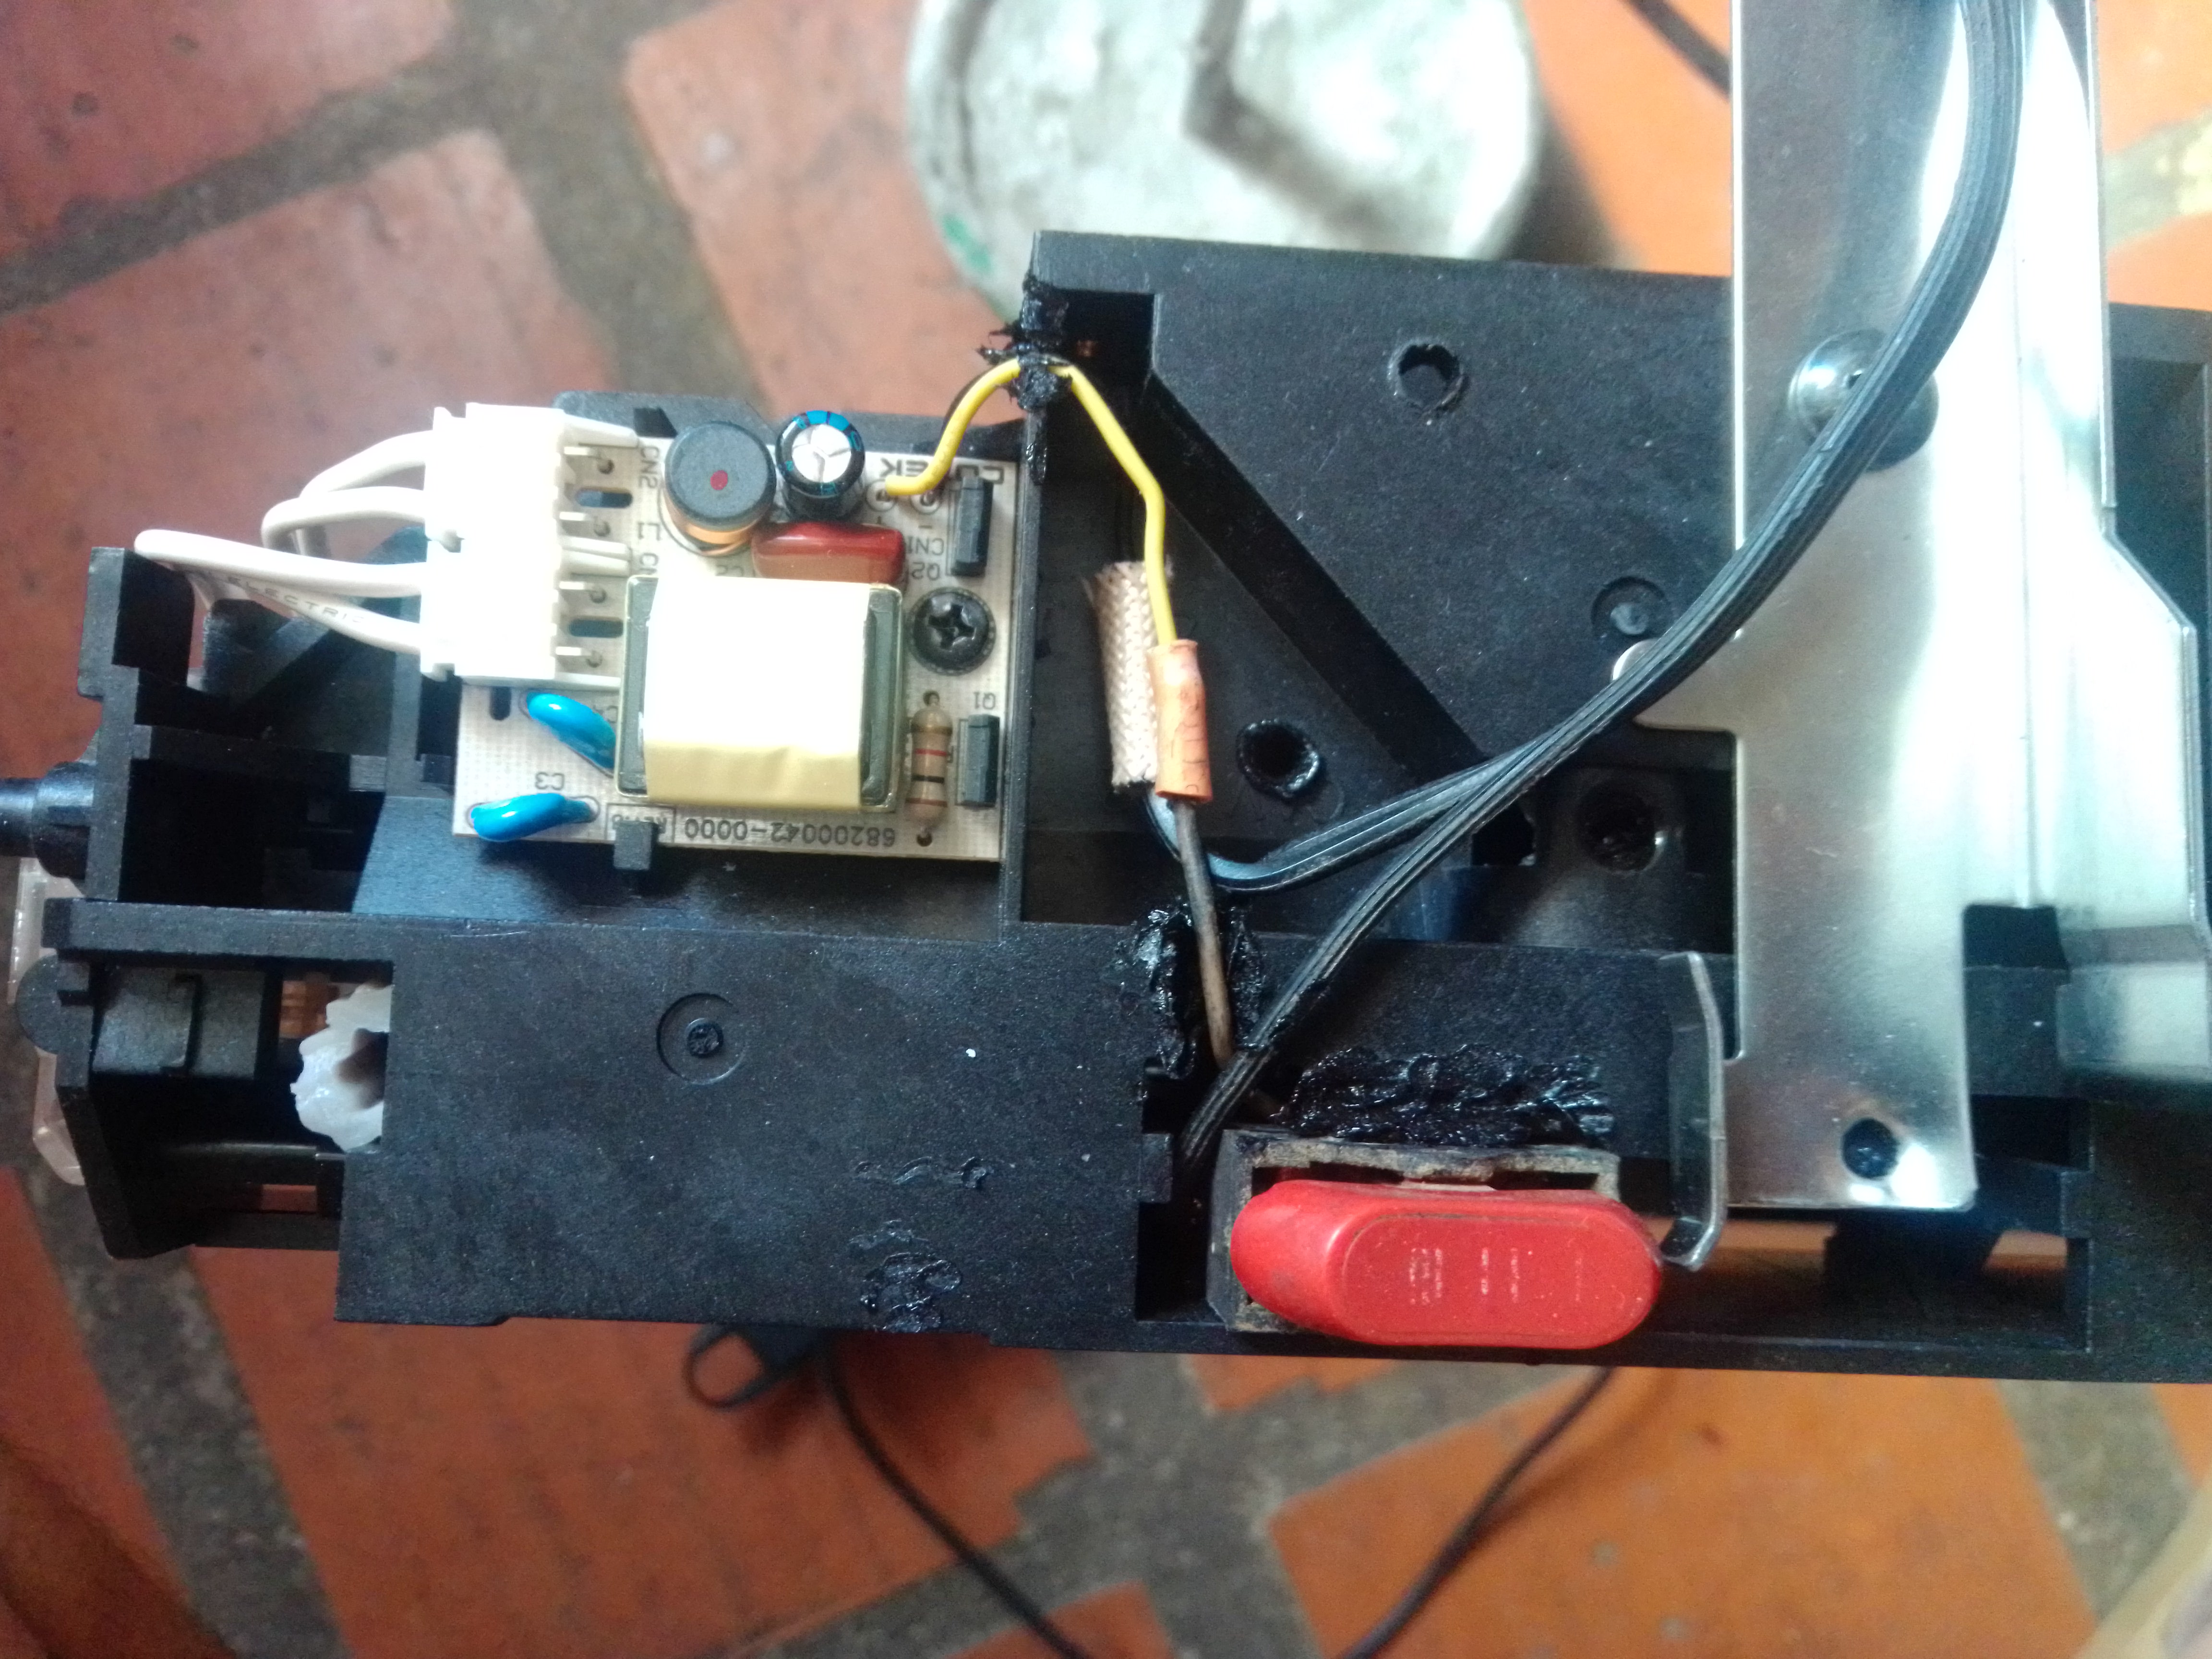
On the other side you can see the small plate with electronic components that is the inverter. Which we will leave in the lamp since it is a fundamental piece to energize the light tubes.
Por el otro lado se puede observar la pequeña placa con componentes electrónicos que es el inverter. El cual dejaremos en la lampara ya que es una pieza fundamental para energizar los tubos de luz.

First strip the yellow and black wires that I indicate in the previous photo, which are in charge of receiving the electricity.
Primero pele los cables amarillo y negro que indico en la foto anterior, que son los encargados de recibir la corriente eléctrica.
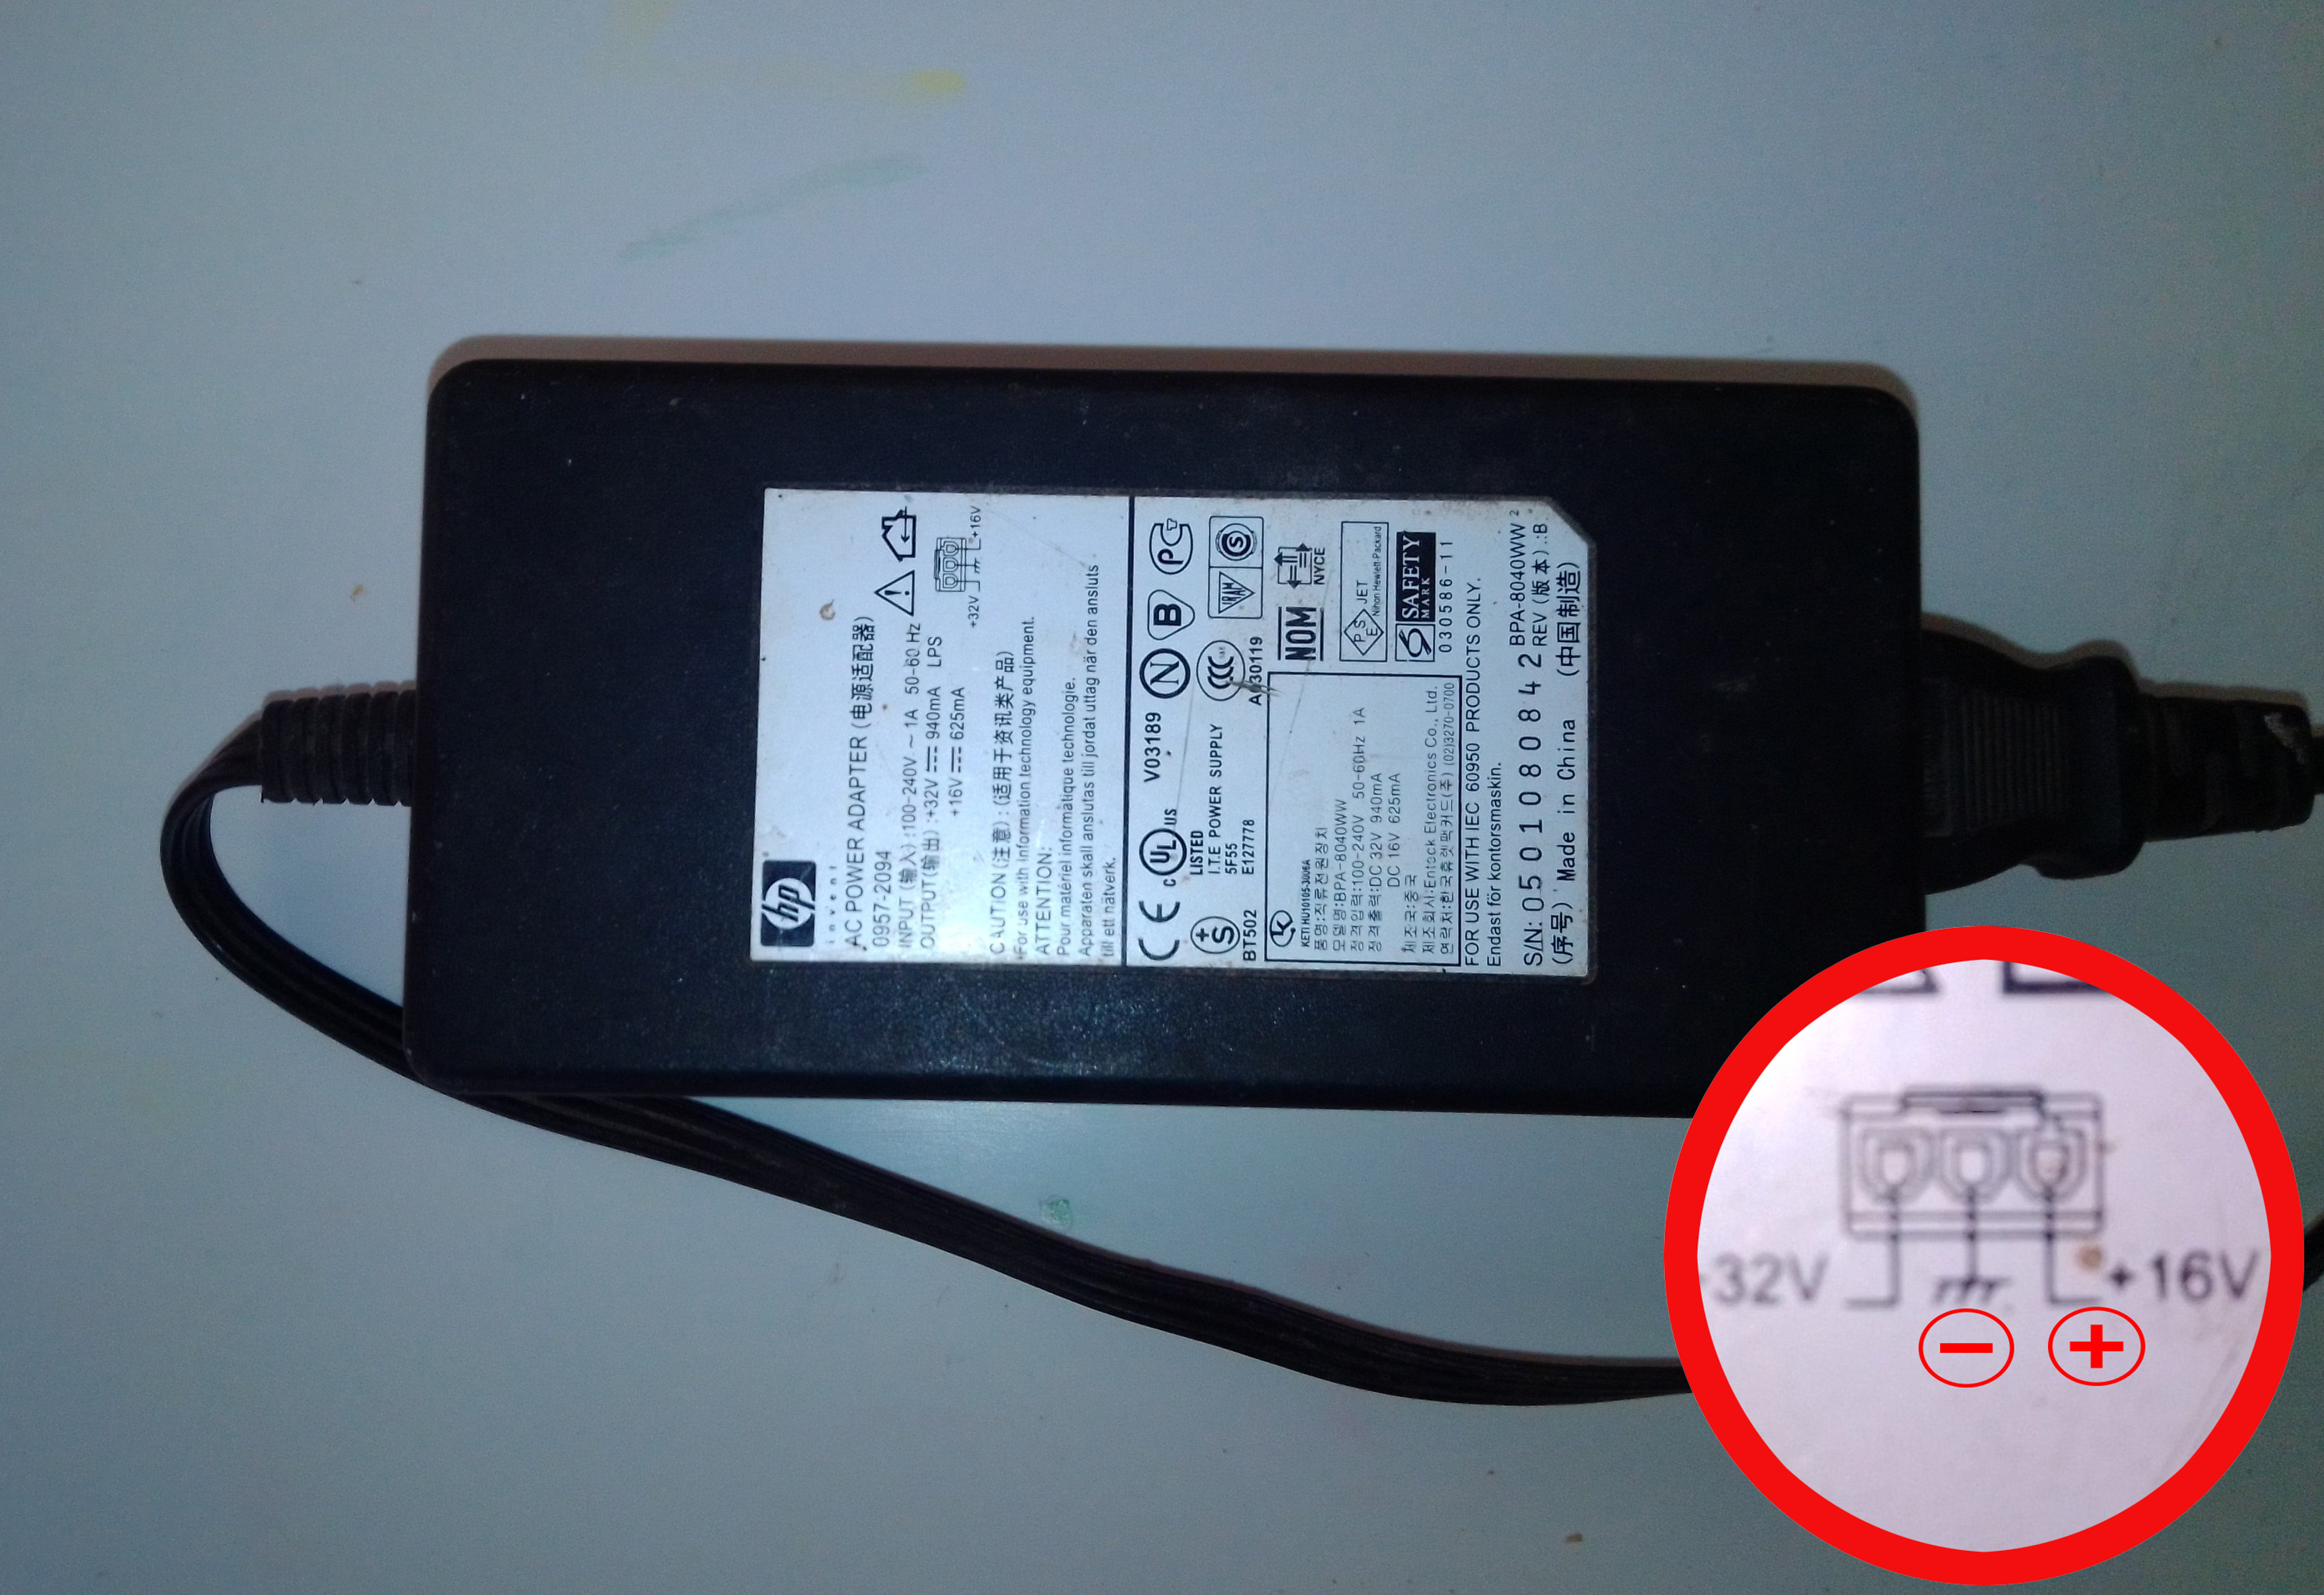
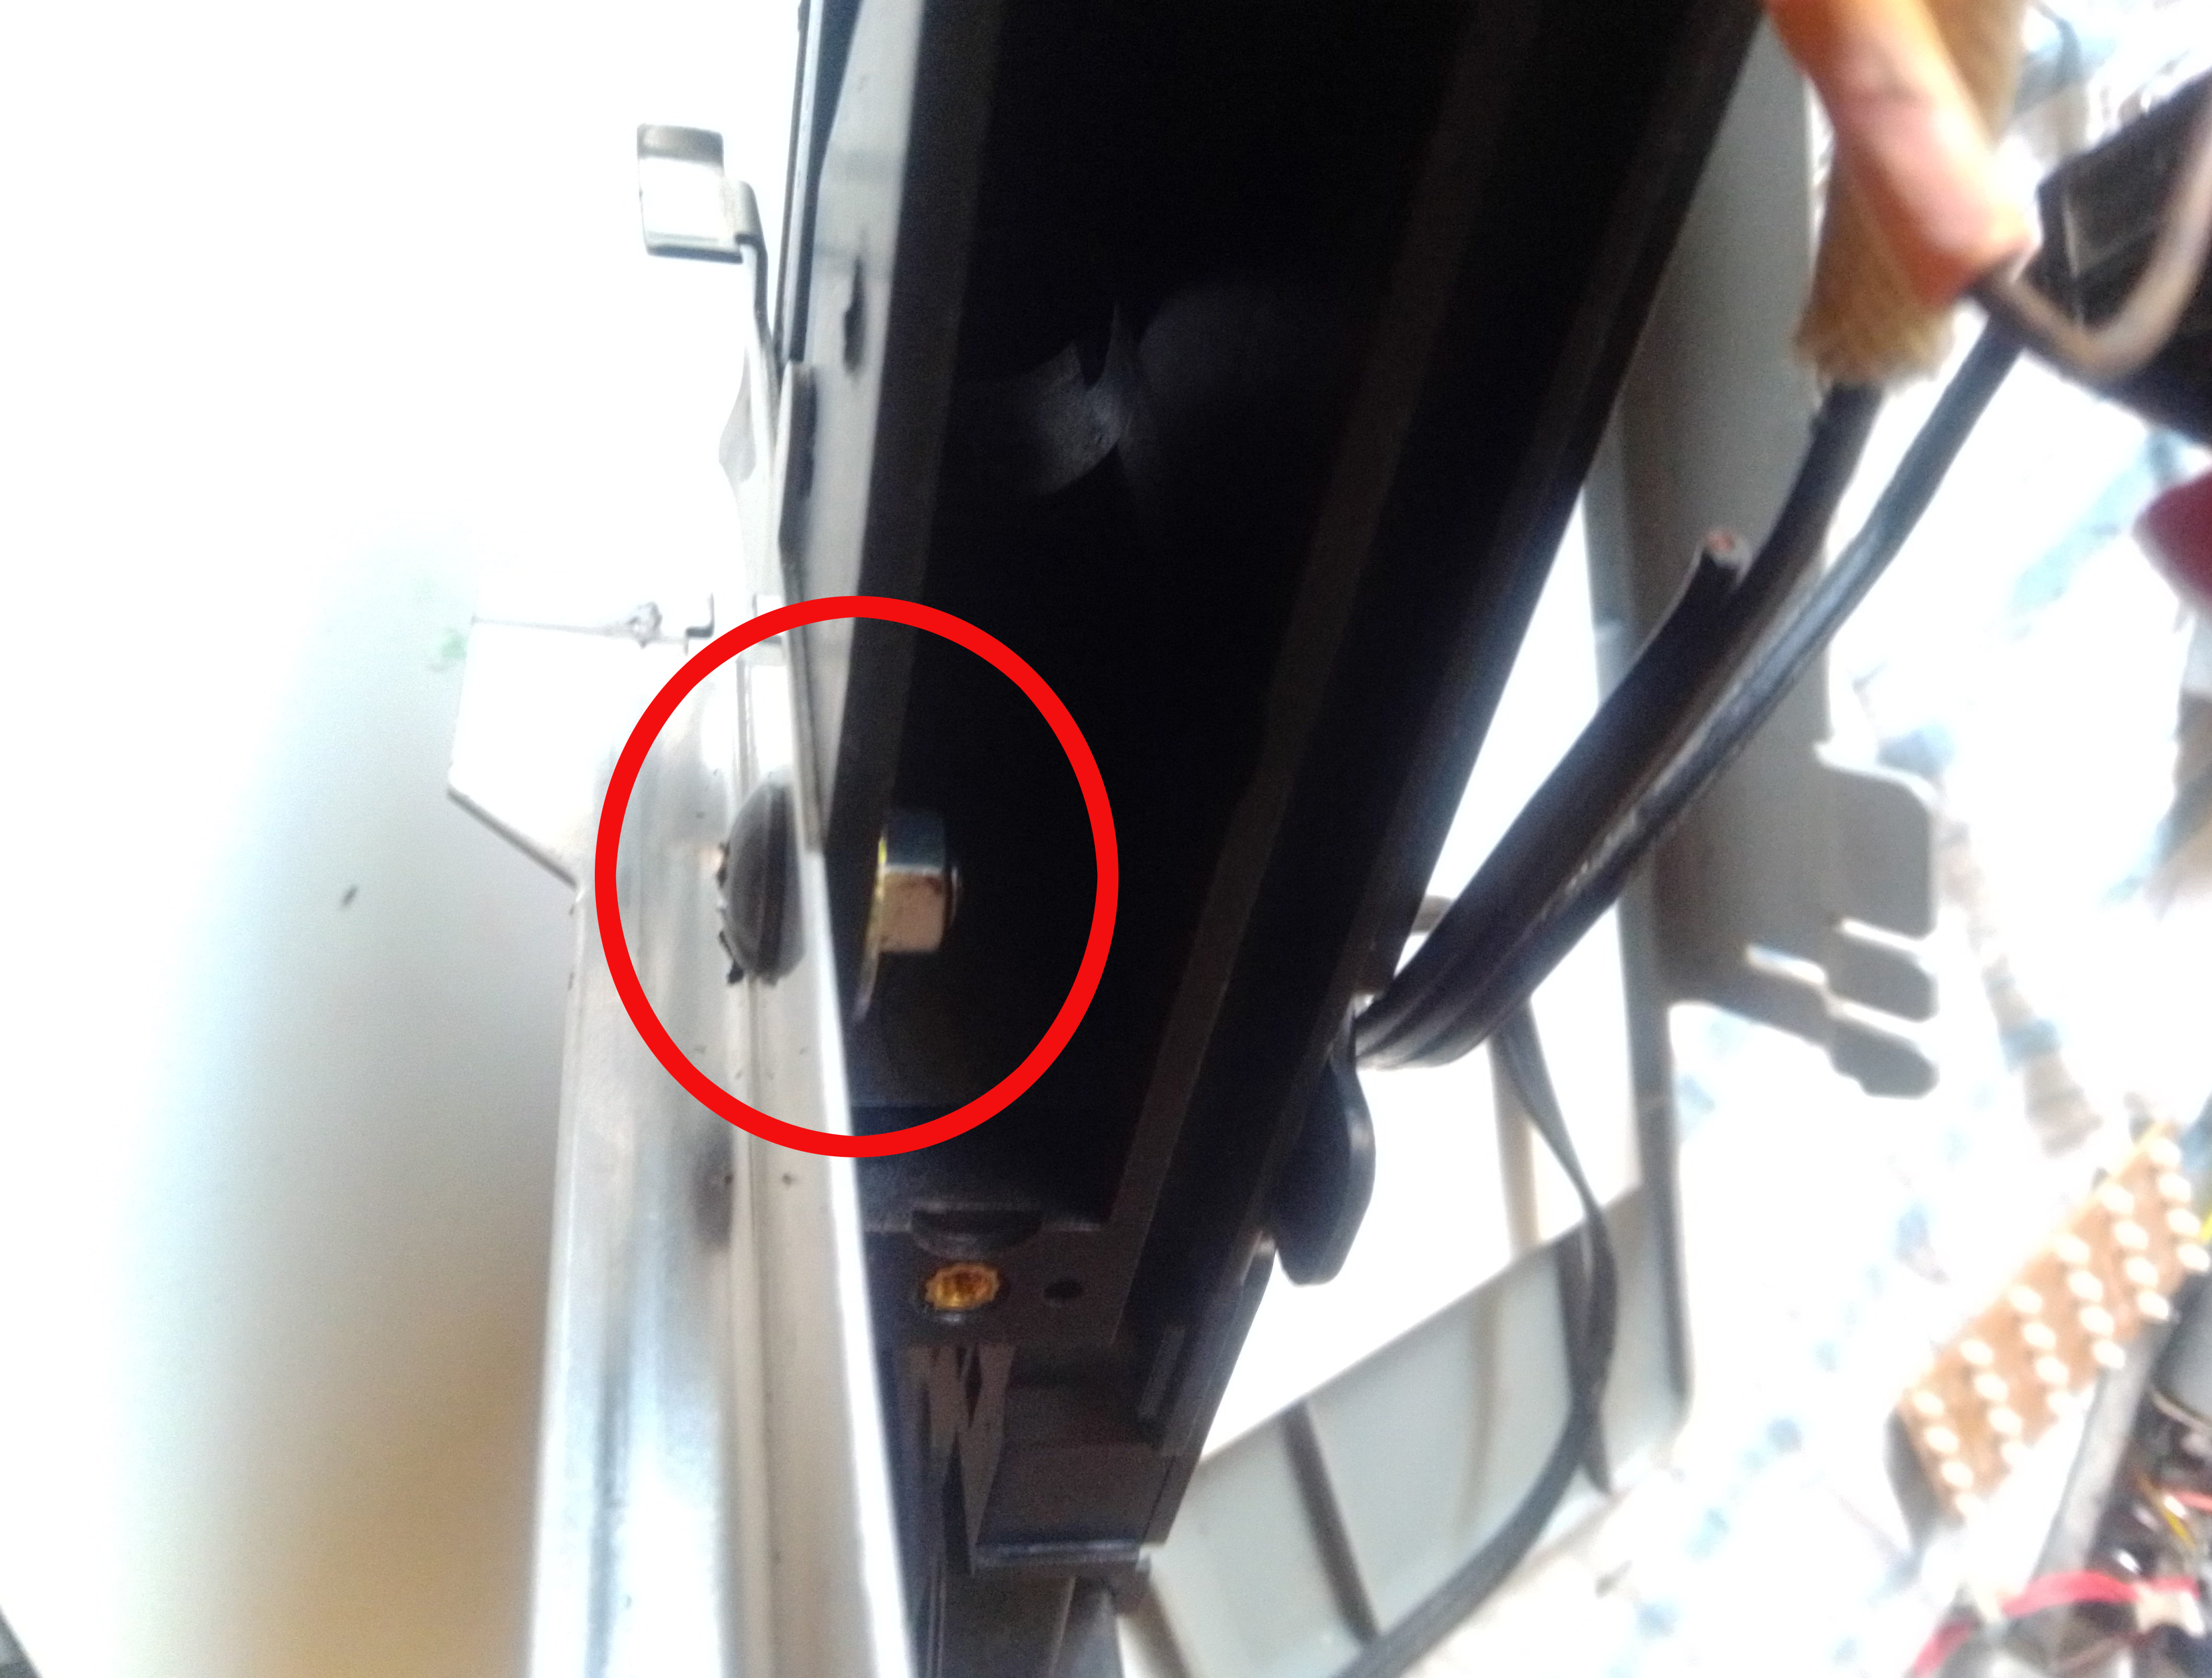
To supply the power to the lamp use the printer power supply, this power supply consists of three cables which are one for 32 volts, the negative and one for 16 volts.
Remove the connector from the power supply and select the negative cable and the 16-volt cable according to the legend in the image below.Para suministrar la energía a la lampara utilice la fuente de poder de la impresora, esta fuente consta de tres cables que son uno para 32volts, el negativo y otro para 16volts.
Retire el conector de la fuente y seleccione el cable negativo y el cable para 16volts guiandome por la leyenda que indico el la siguiente imagen.
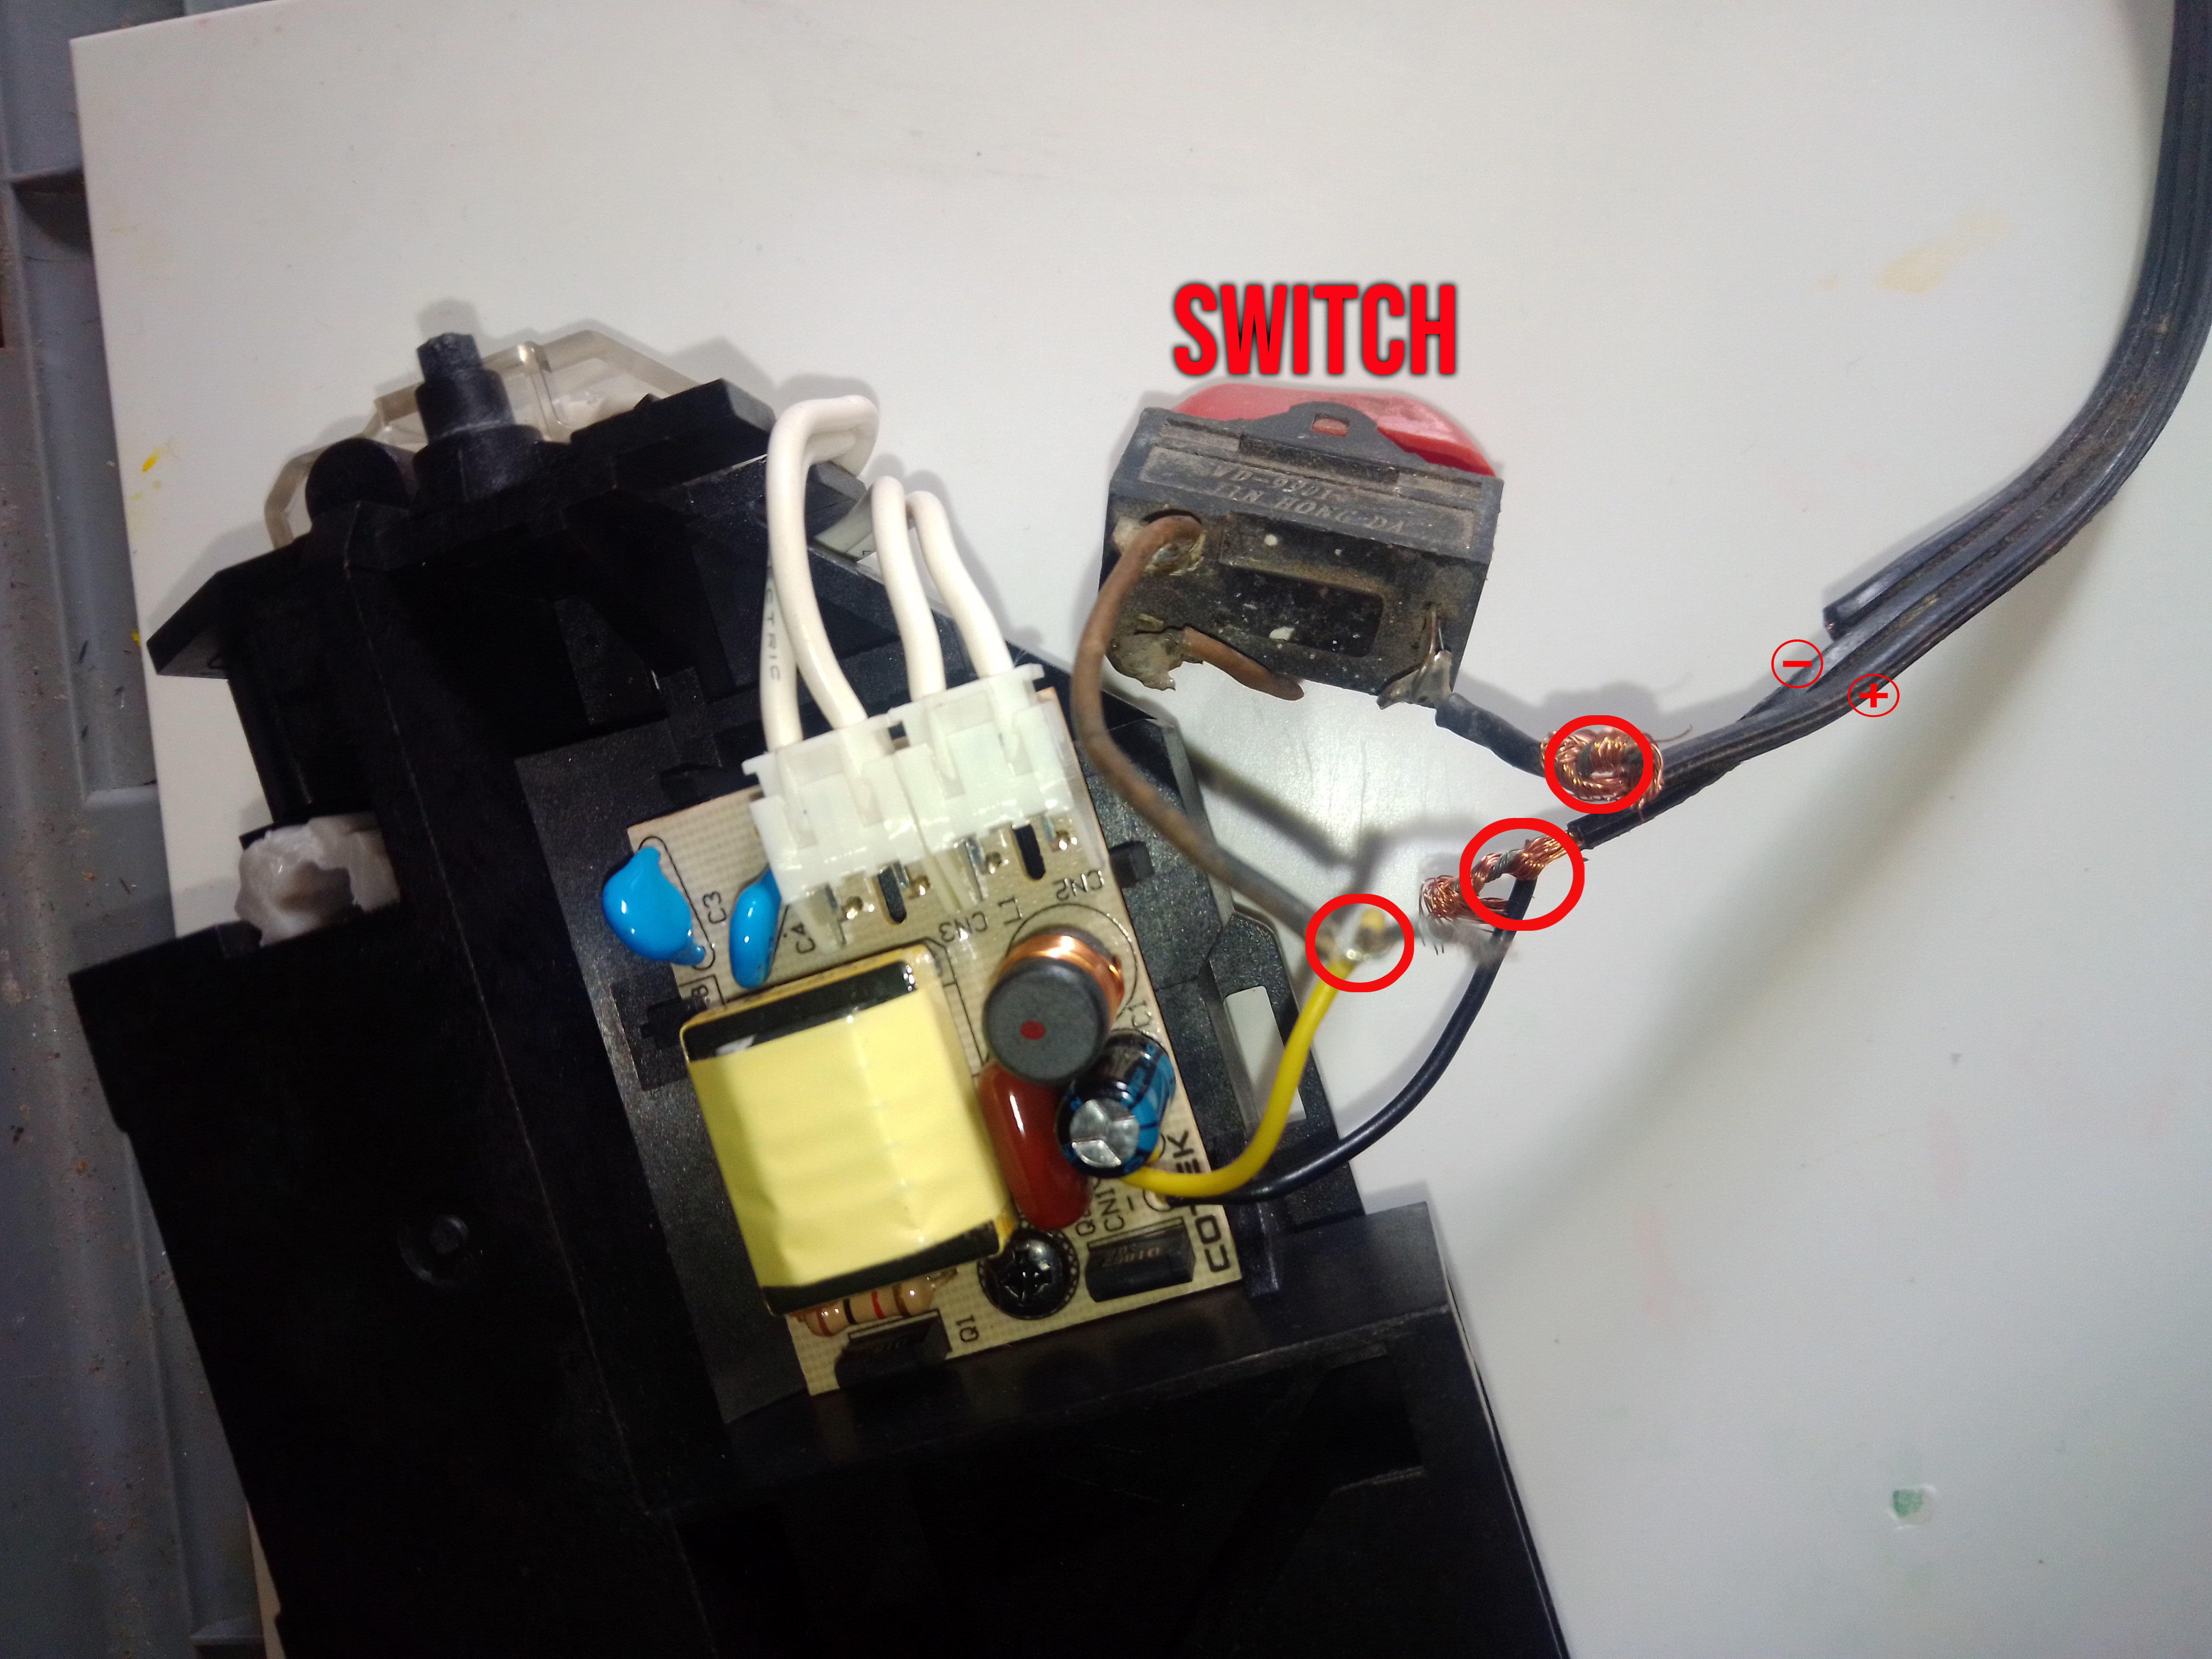
In this step take a switch that you remove from a damaged dryer to connect it to the lamp.
With the positive and negative cables of the power supply and inverter already selected I proceed to splice the cables; I connect the positive wire of the power supply to the switch and the positive wire of the inverter to the other end of the switch.
Then I connect the negative cable from the power supply to the negative wire of the inverter.En este paso tome un interruptor que retire de un secador dañado para conectarlo a la lampara.
Con los cables positivos y negativos de la fuente de poder y del inverter ya seleccionados procedo a empalmar los cables; Conecto el cable positivo de la fuente de poder al interruptor y el cable positivo del inverter al otro extremo del interruptor.
Luego el cable negativo de la fuente de poder al cable negativo del inverter.
For the lamp base, use two metal pieces that I removed from the printer and assembled with a screw forming an "L" and screwing them to the plastic cover of the lamp.
Para la base de la lampara utilice dos piezas metálicas que extraje de la impresora y las ensamble con un tornillo formando una "L" y atornillando a la cubierta plástica de la lampara.
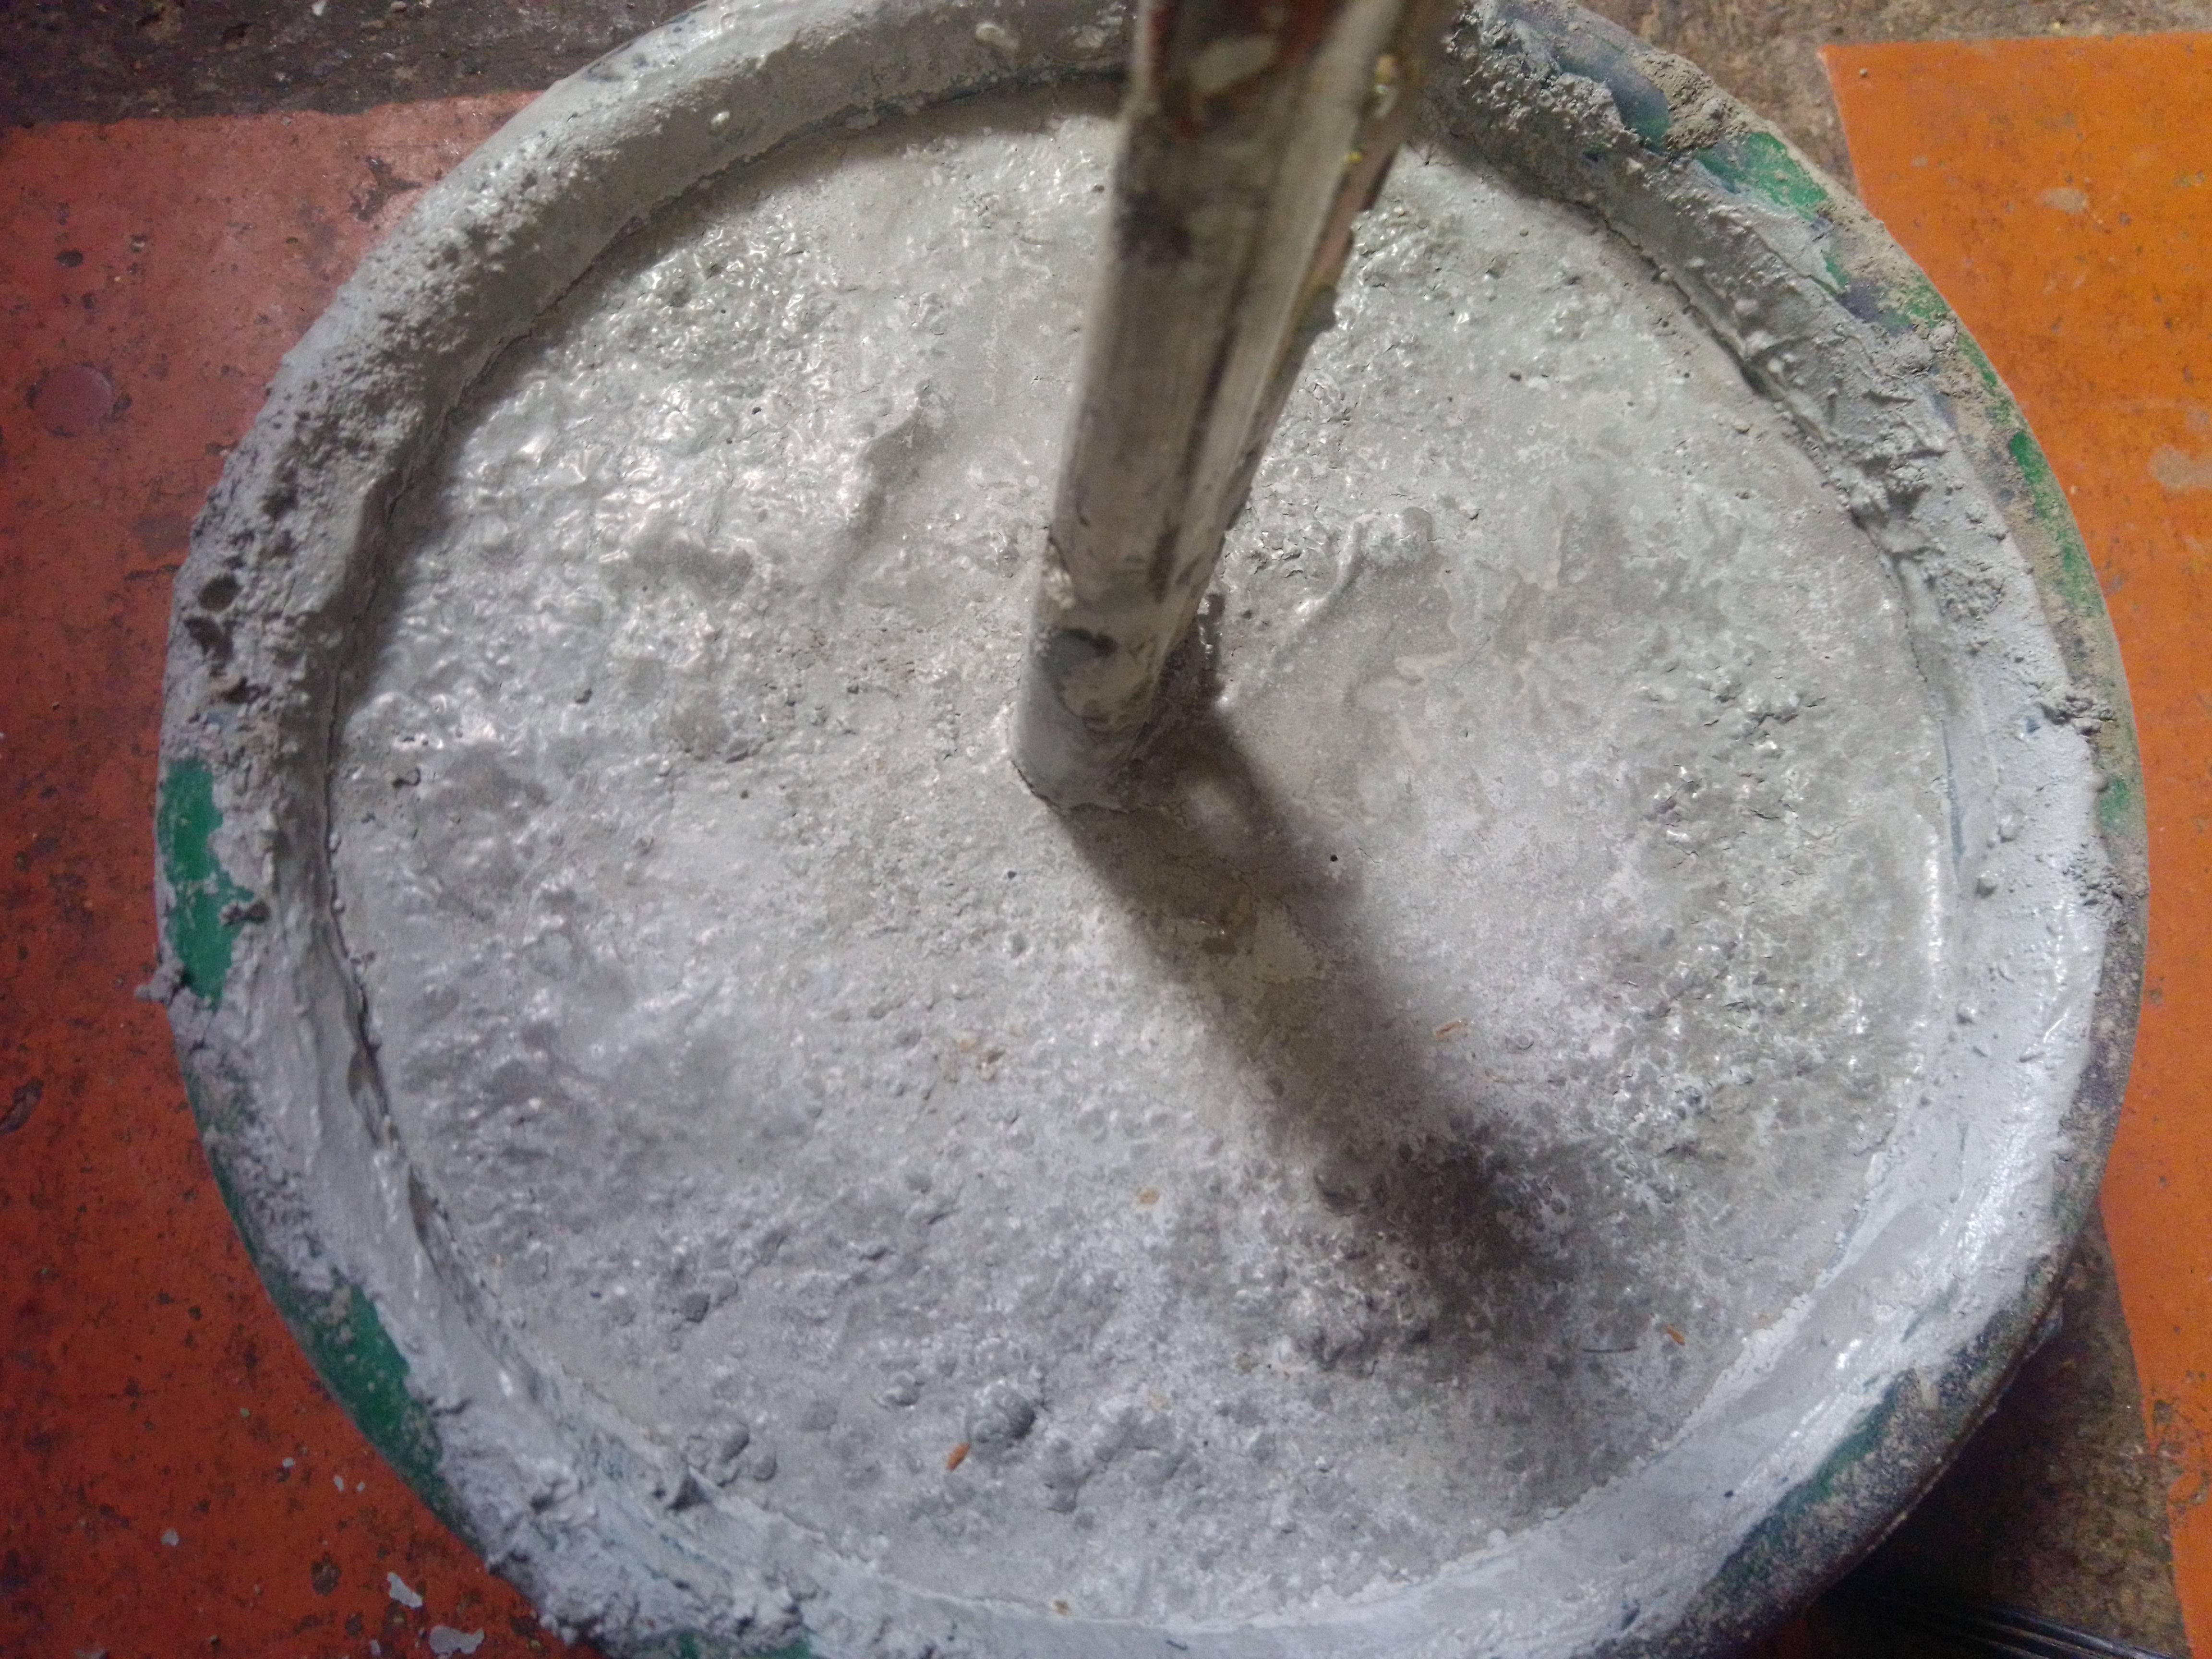
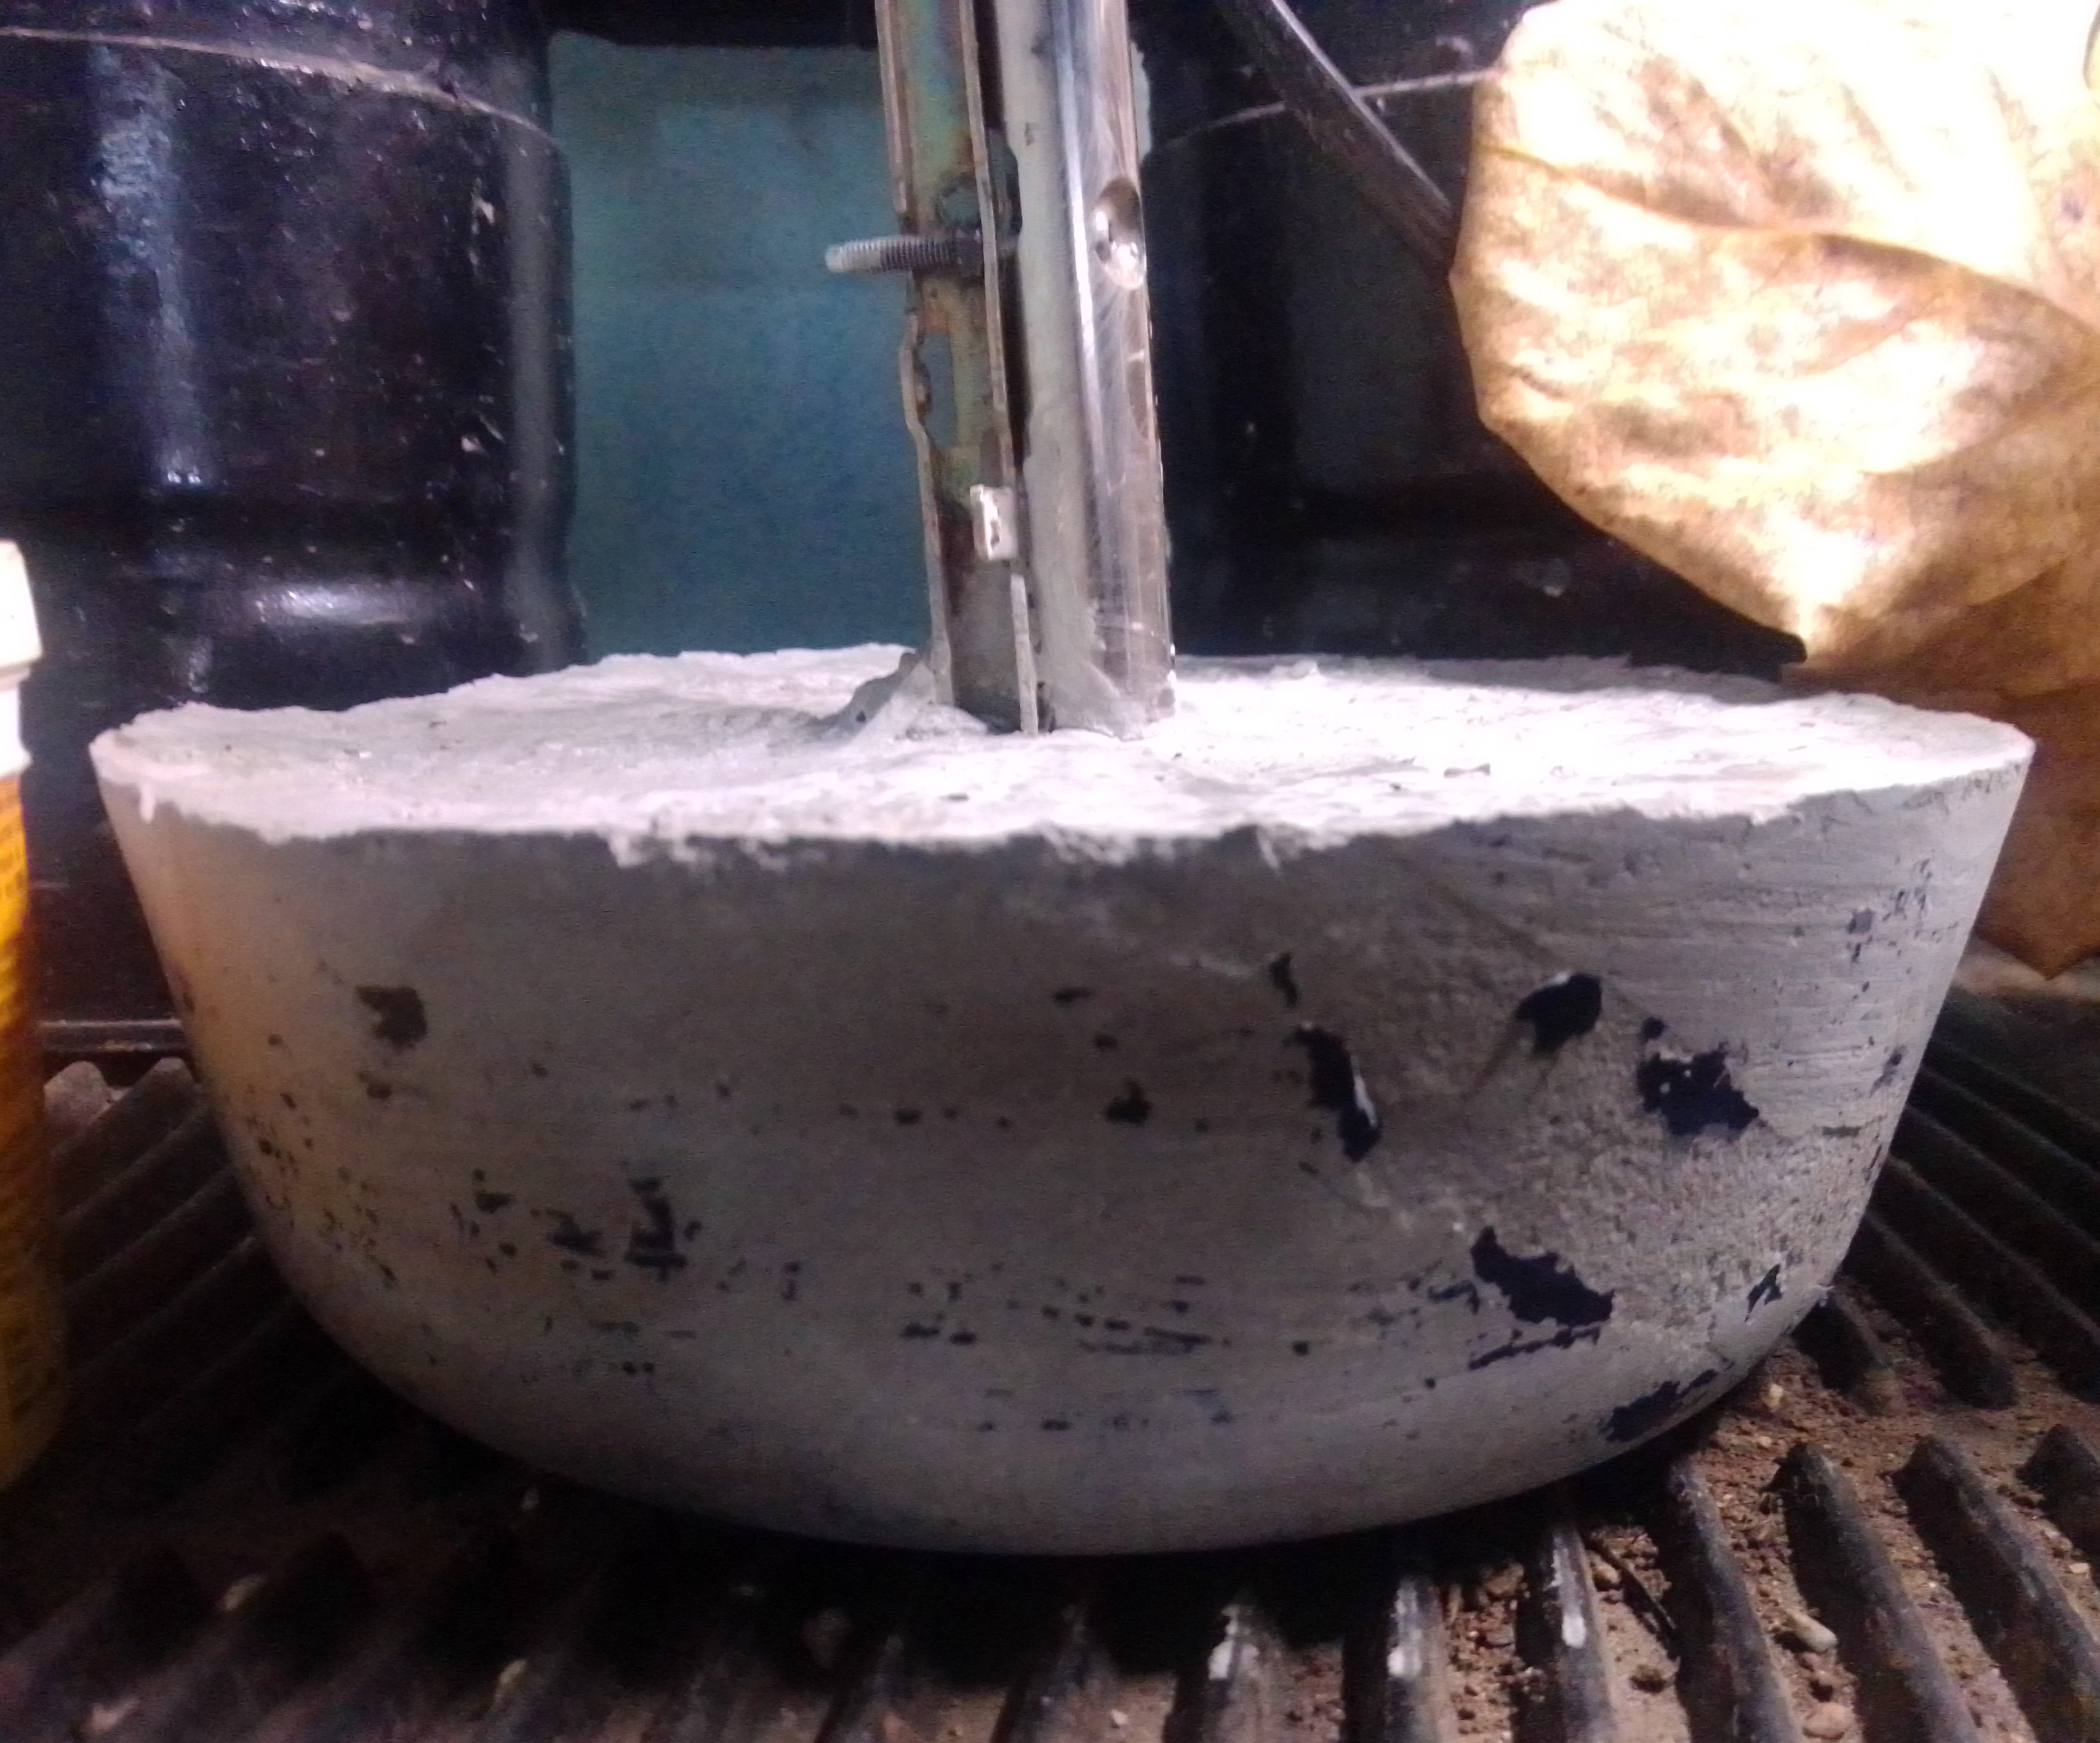
-For the foot of the lamp I used concrete, I screwed a piece of wire mesh to the base of the lamp I placed it in a mold and poured the concrete and waited one day until it was completely dry.
Para el pie de la lampara utilice concreto, atornille un trozo de malla metálica a la base de la lampara la coloque en un molde y vertí el concreto y espere un día hasta que estuviera completamente seco.
With the help of a tin soldering iron, make grooves in the plastic cover of the lamp to embed the switch.
Con la ayuda de un cautin realice surcos en la cubierta plástica de la lampara para incrustar el interruptor.
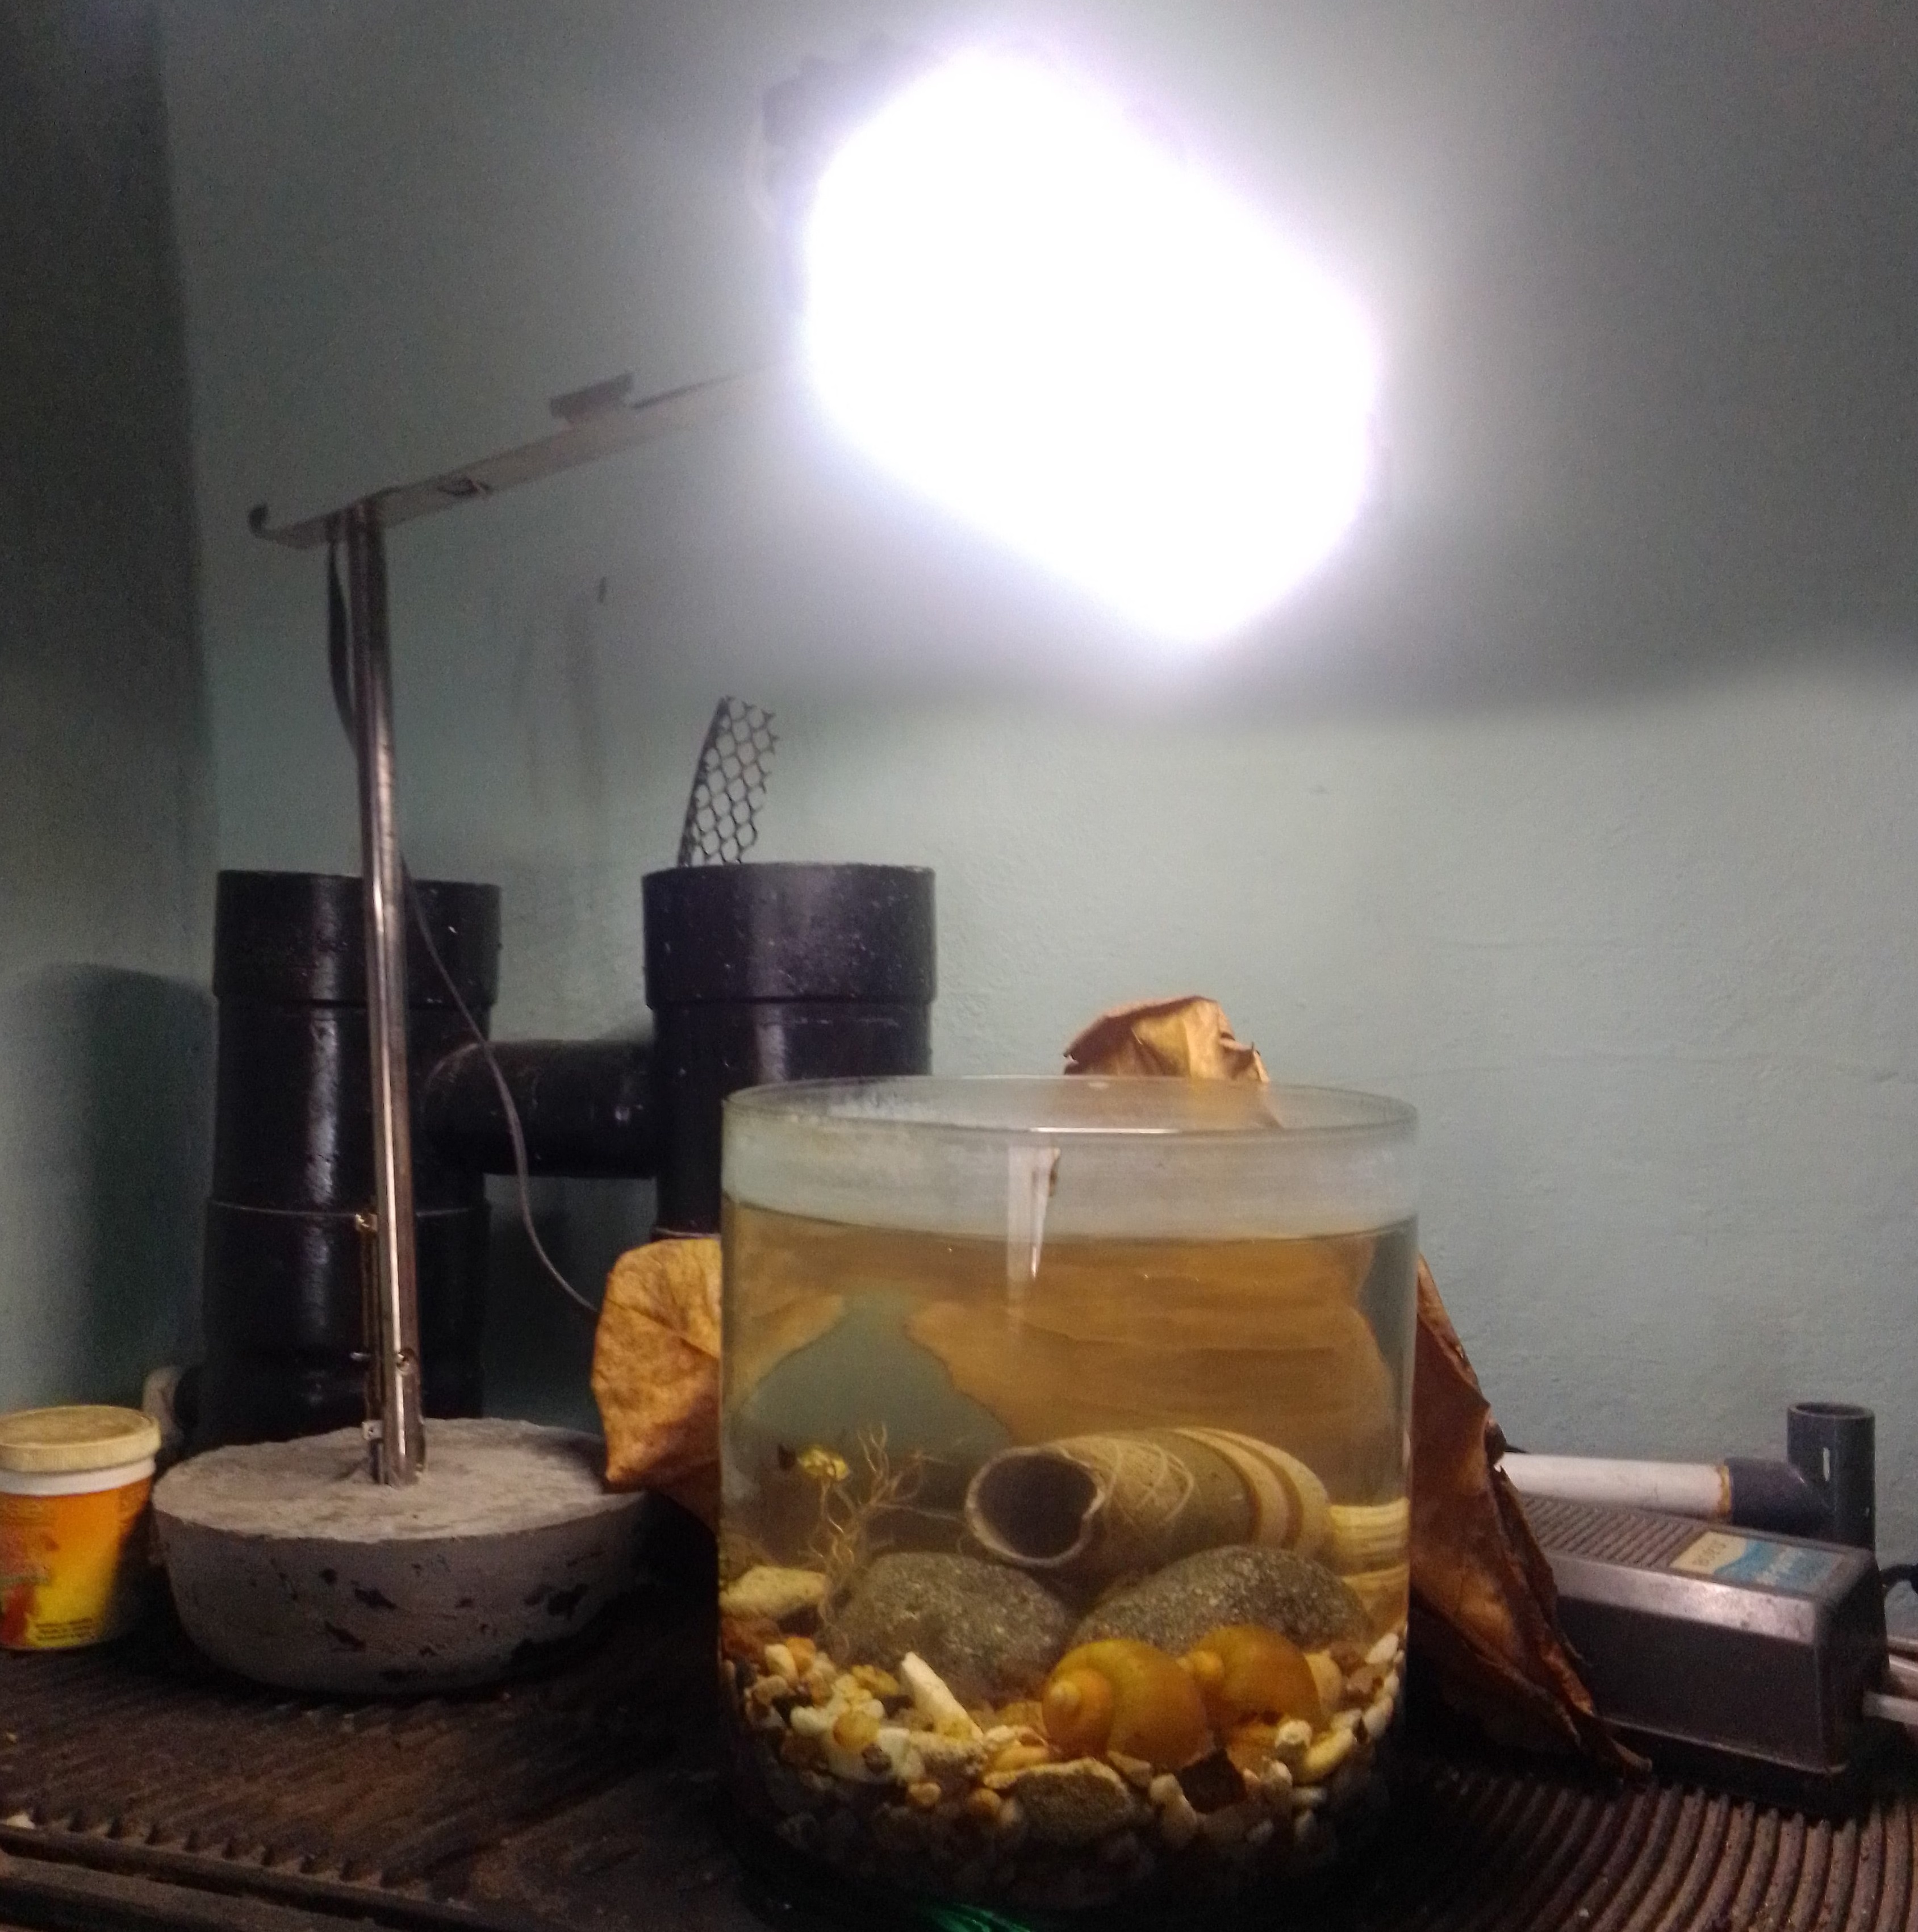
The final result is a fully functional lamp that I needed to light a small fish tank for a betta fish.
He aquí el resultado final una lampara totalmente funcional que me hacia falta para iluminar una pequeña pecera para un pez betta.

In the near future I will replace the base with a more decorative base to see what I can figure out.
En un futuro cercano reemplazare la base por una base un poco mas estética o decorativa a ver que se me ocurre.
//
LA SEGUNDA LAMPARA LA REALICE CON EL SENSOR DE IMAGEN QUE CONSTA DE LEDS DE COLORES UTIL PARA FINES DECORATIVOS
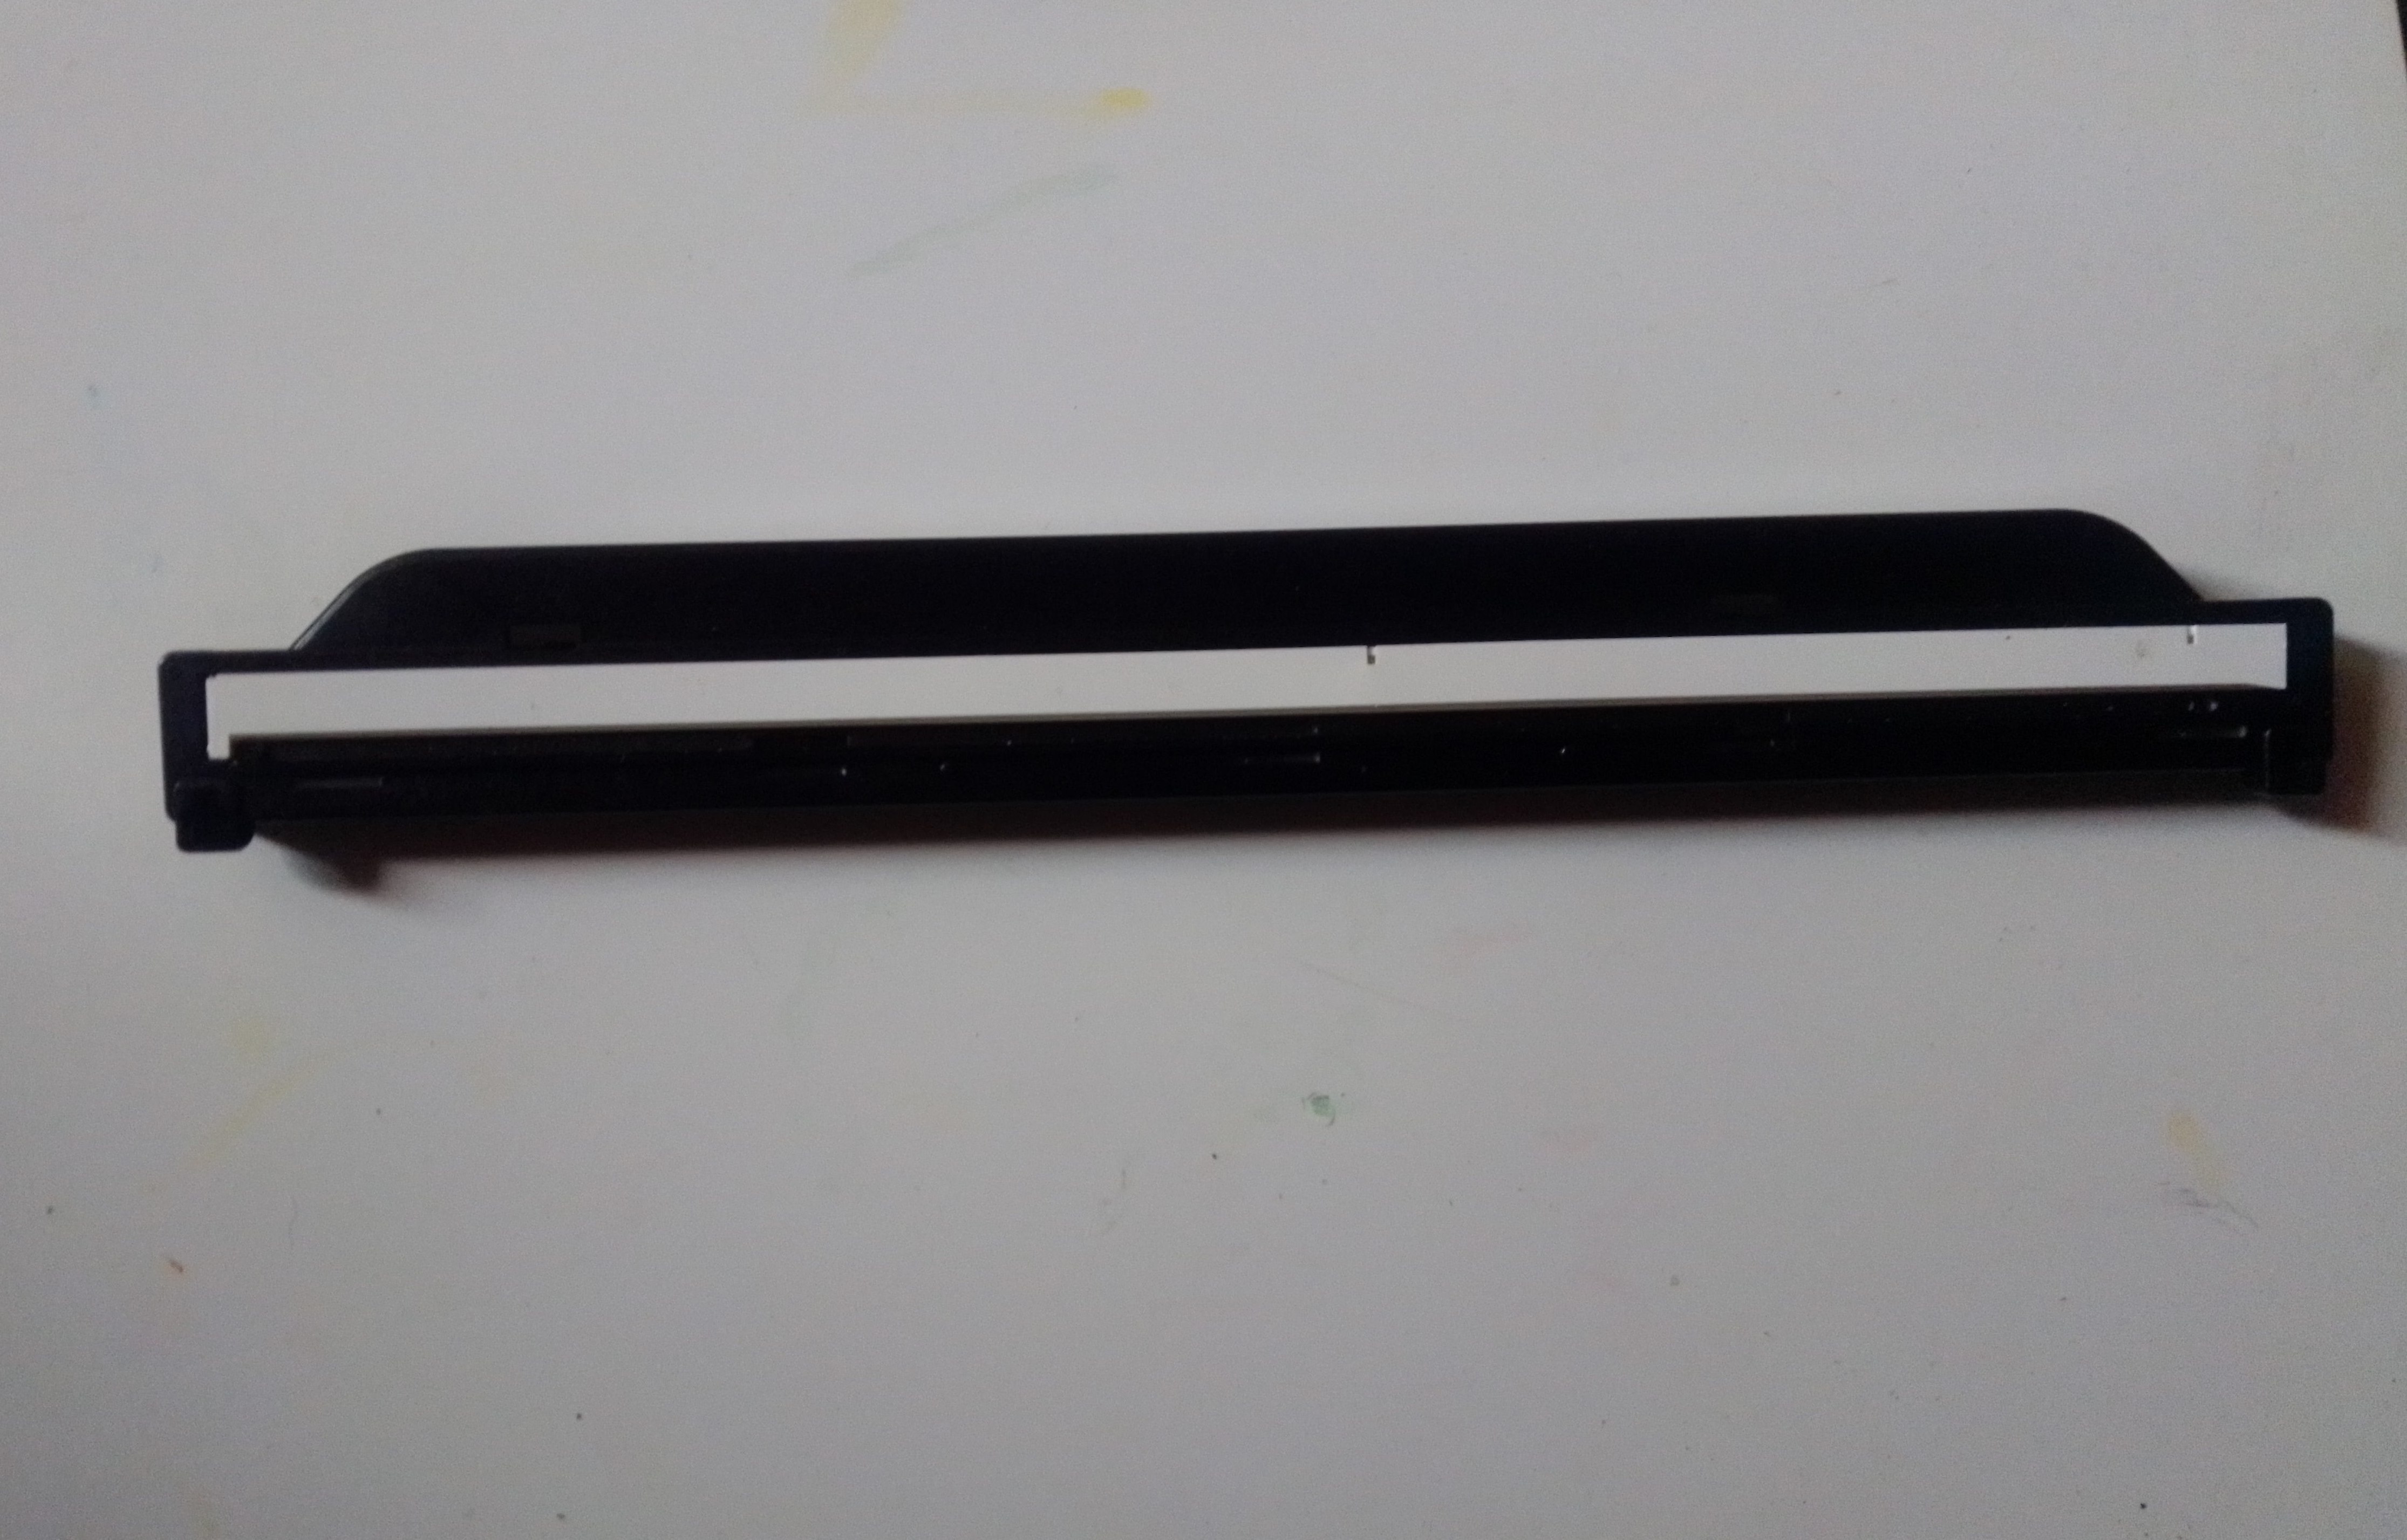
- These are the two sides of the image sensor:
On this side are the LEDs and the reflector bar.
- Estos son los dos lados del sensor de imagen:
De este lado se encuentran los leds y la barra reflectora.
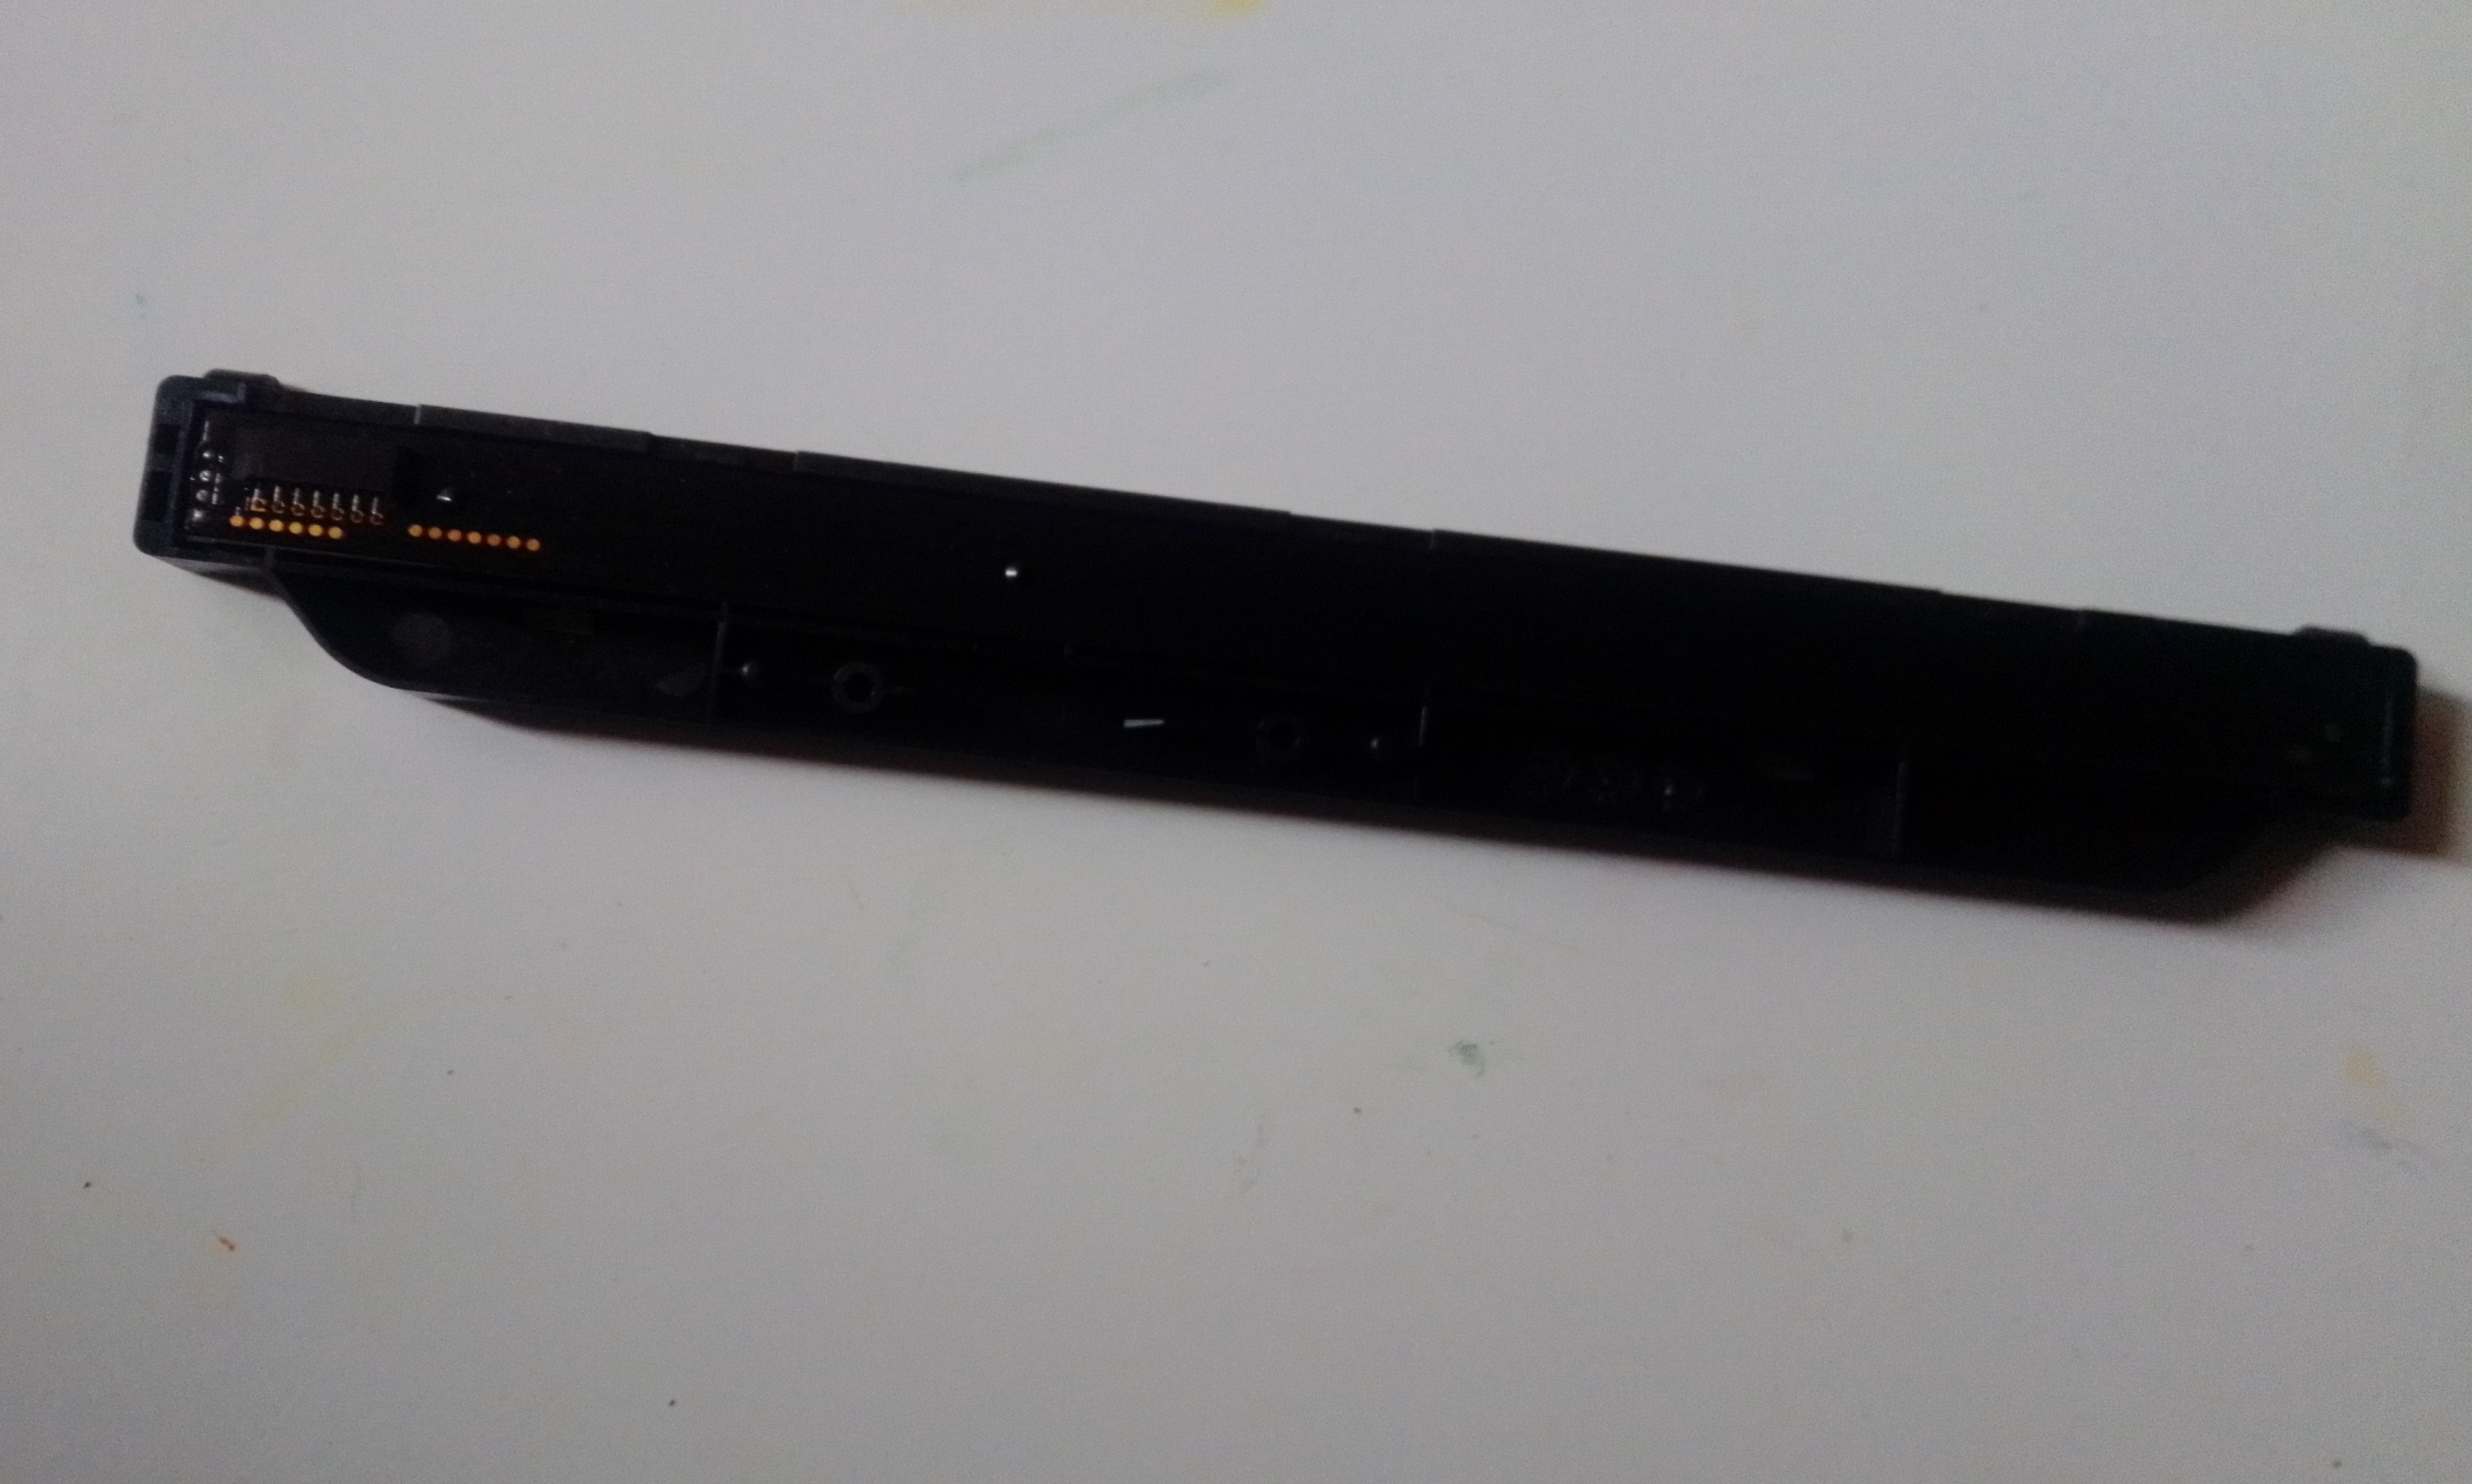
On this side where the flex connection and the points where we will connect the power supply.
De este lado donde van la conexión del flex y los puntos donde conectaremos la fuente de alimentación de energía.
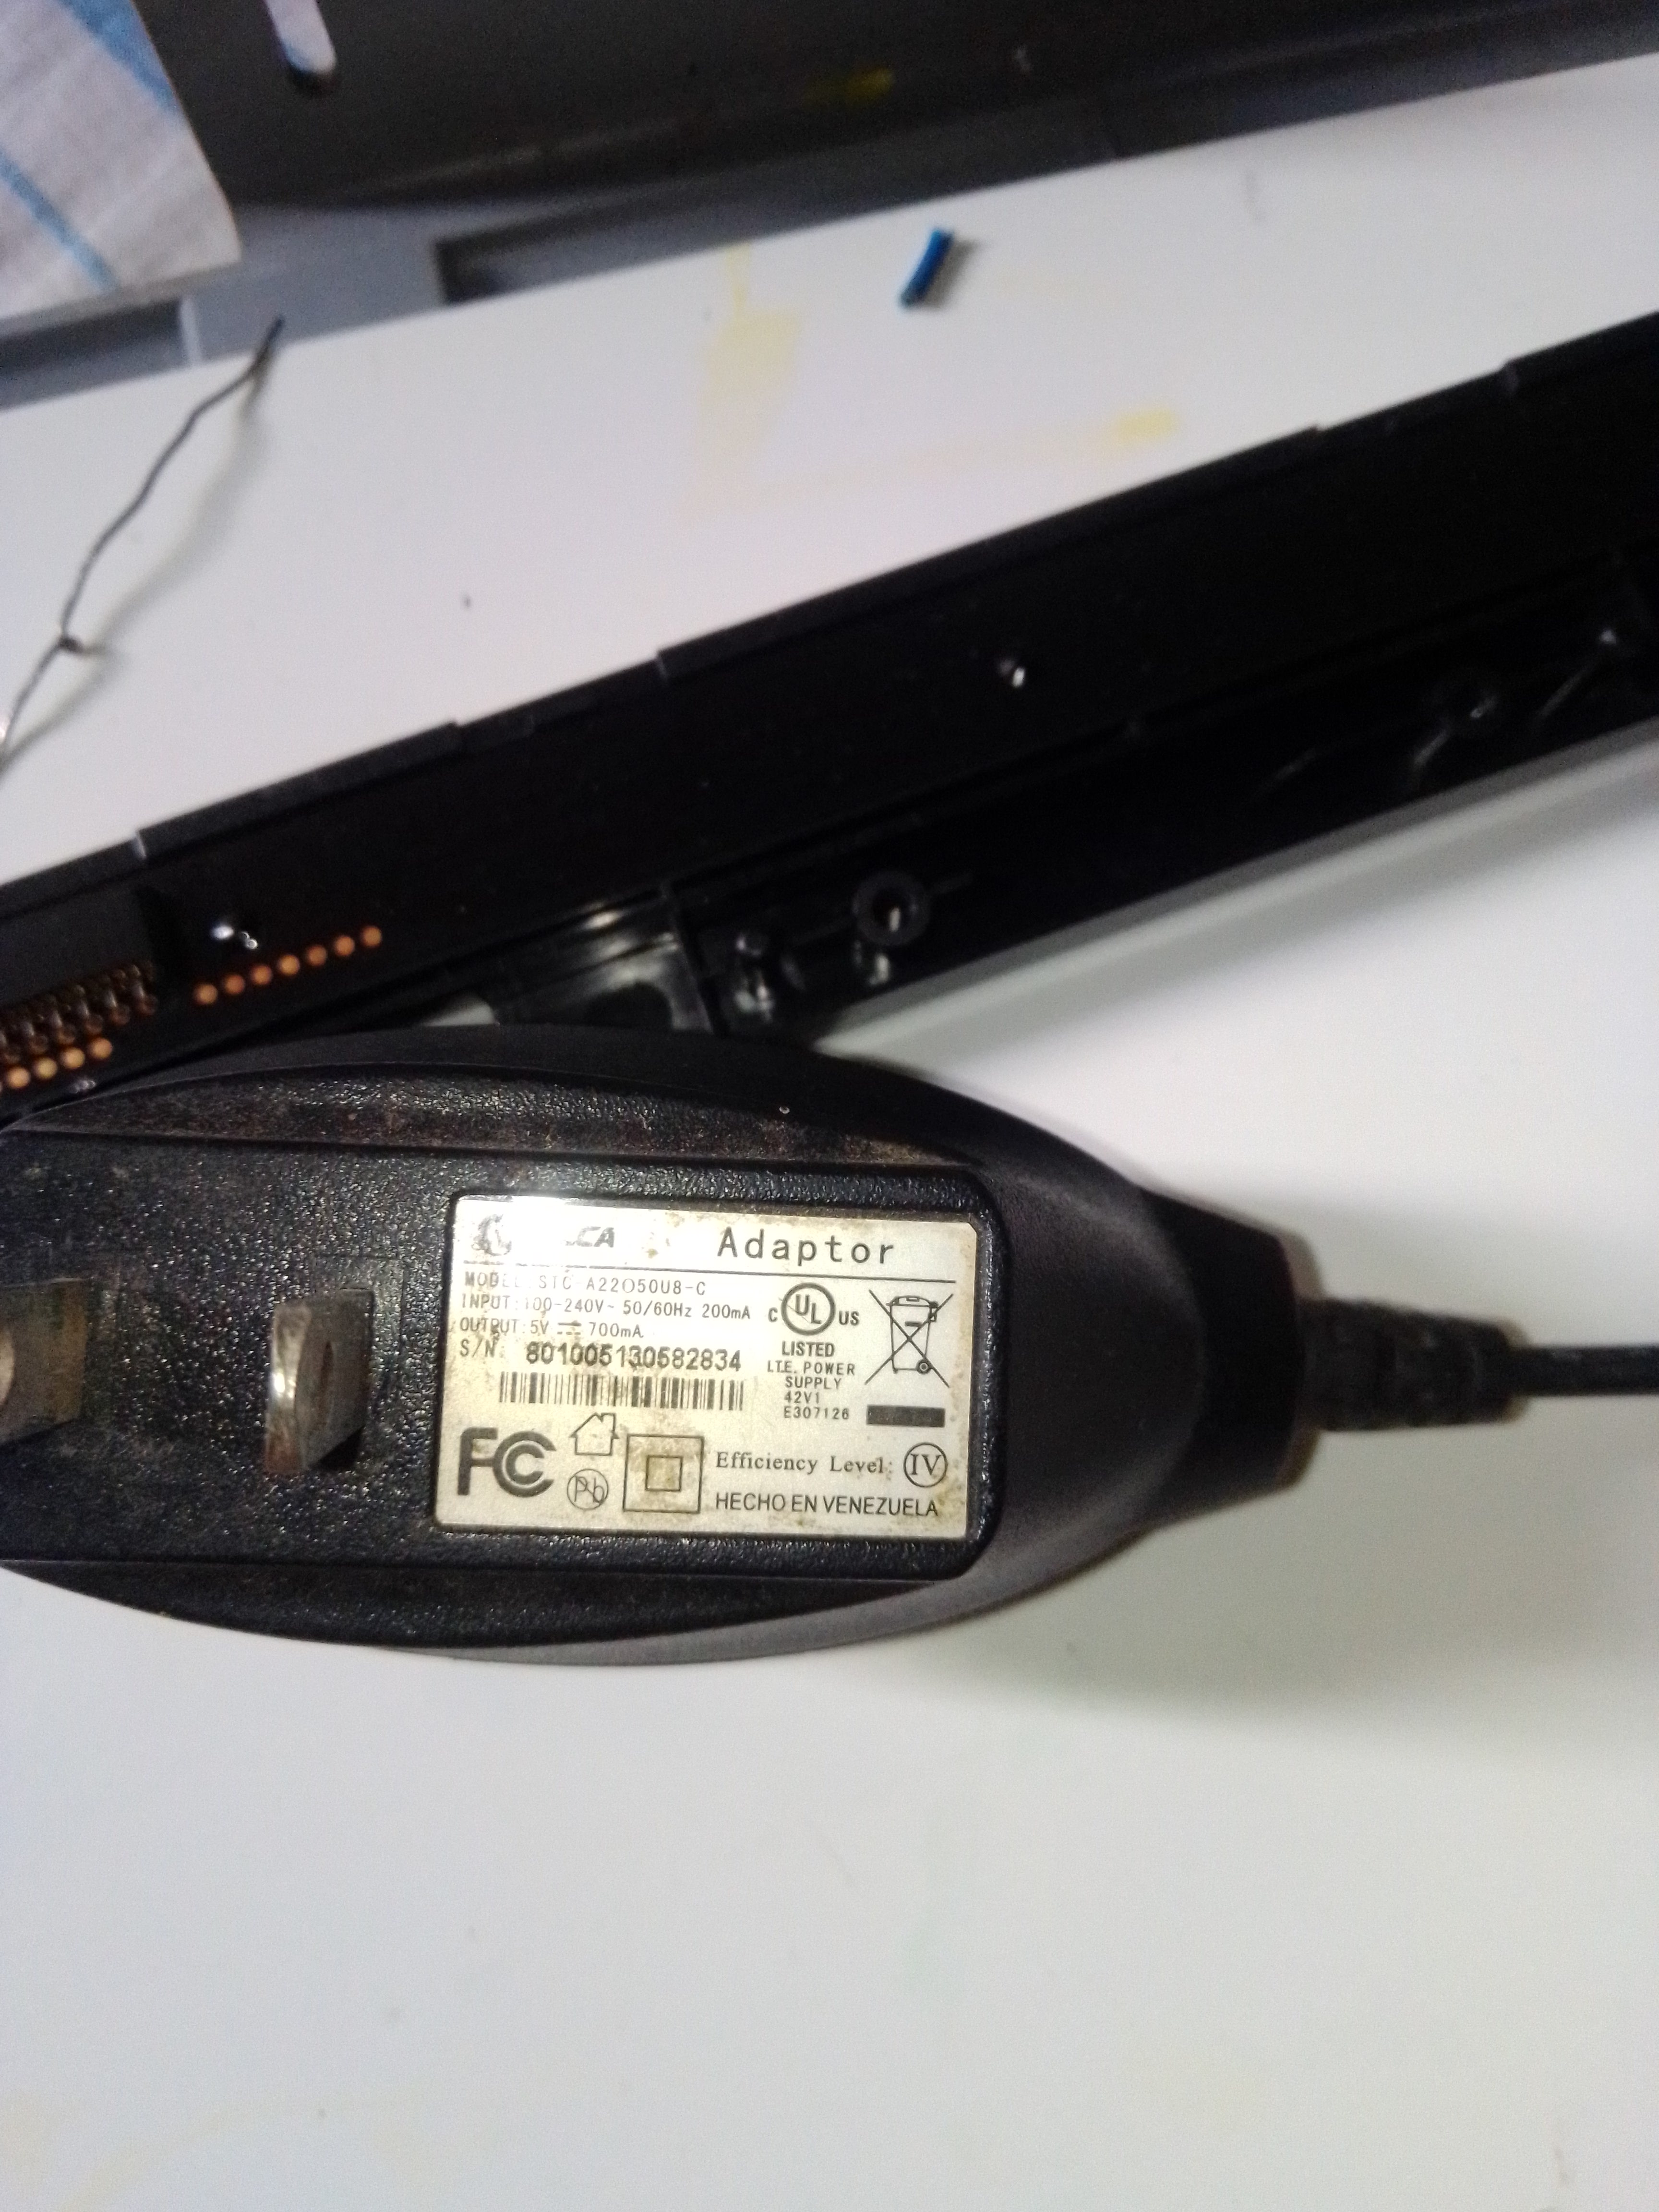
- As a power source I used a 5volt cell phone charger. Cut the connector and identify the positive and negative cable, in this case the positive cable is red and the negative cable is black.
- Como fuente de alimentación de energía utilice un cargador de celular de 5volts. Corte el conector e identifique el cable positivo y el negativo, en este caso el cable positivo es el de color rojo y el negativo el de color negro.
- This type of image sensor consists of green, red and blue leds.
In the image I indicate the points where you can turn on the leds of each color depending on the point where you connect the positive cable the lamp illuminates the chosen color.
- Este tipo de sensor de imagen consta de leds de colores verde, rojo y azul.
En la imagen indico los puntos donde se pueden encender los leds de cada color dependiendo del punto donde se conecte el cable positivo la lampara alumbra del color escogido.
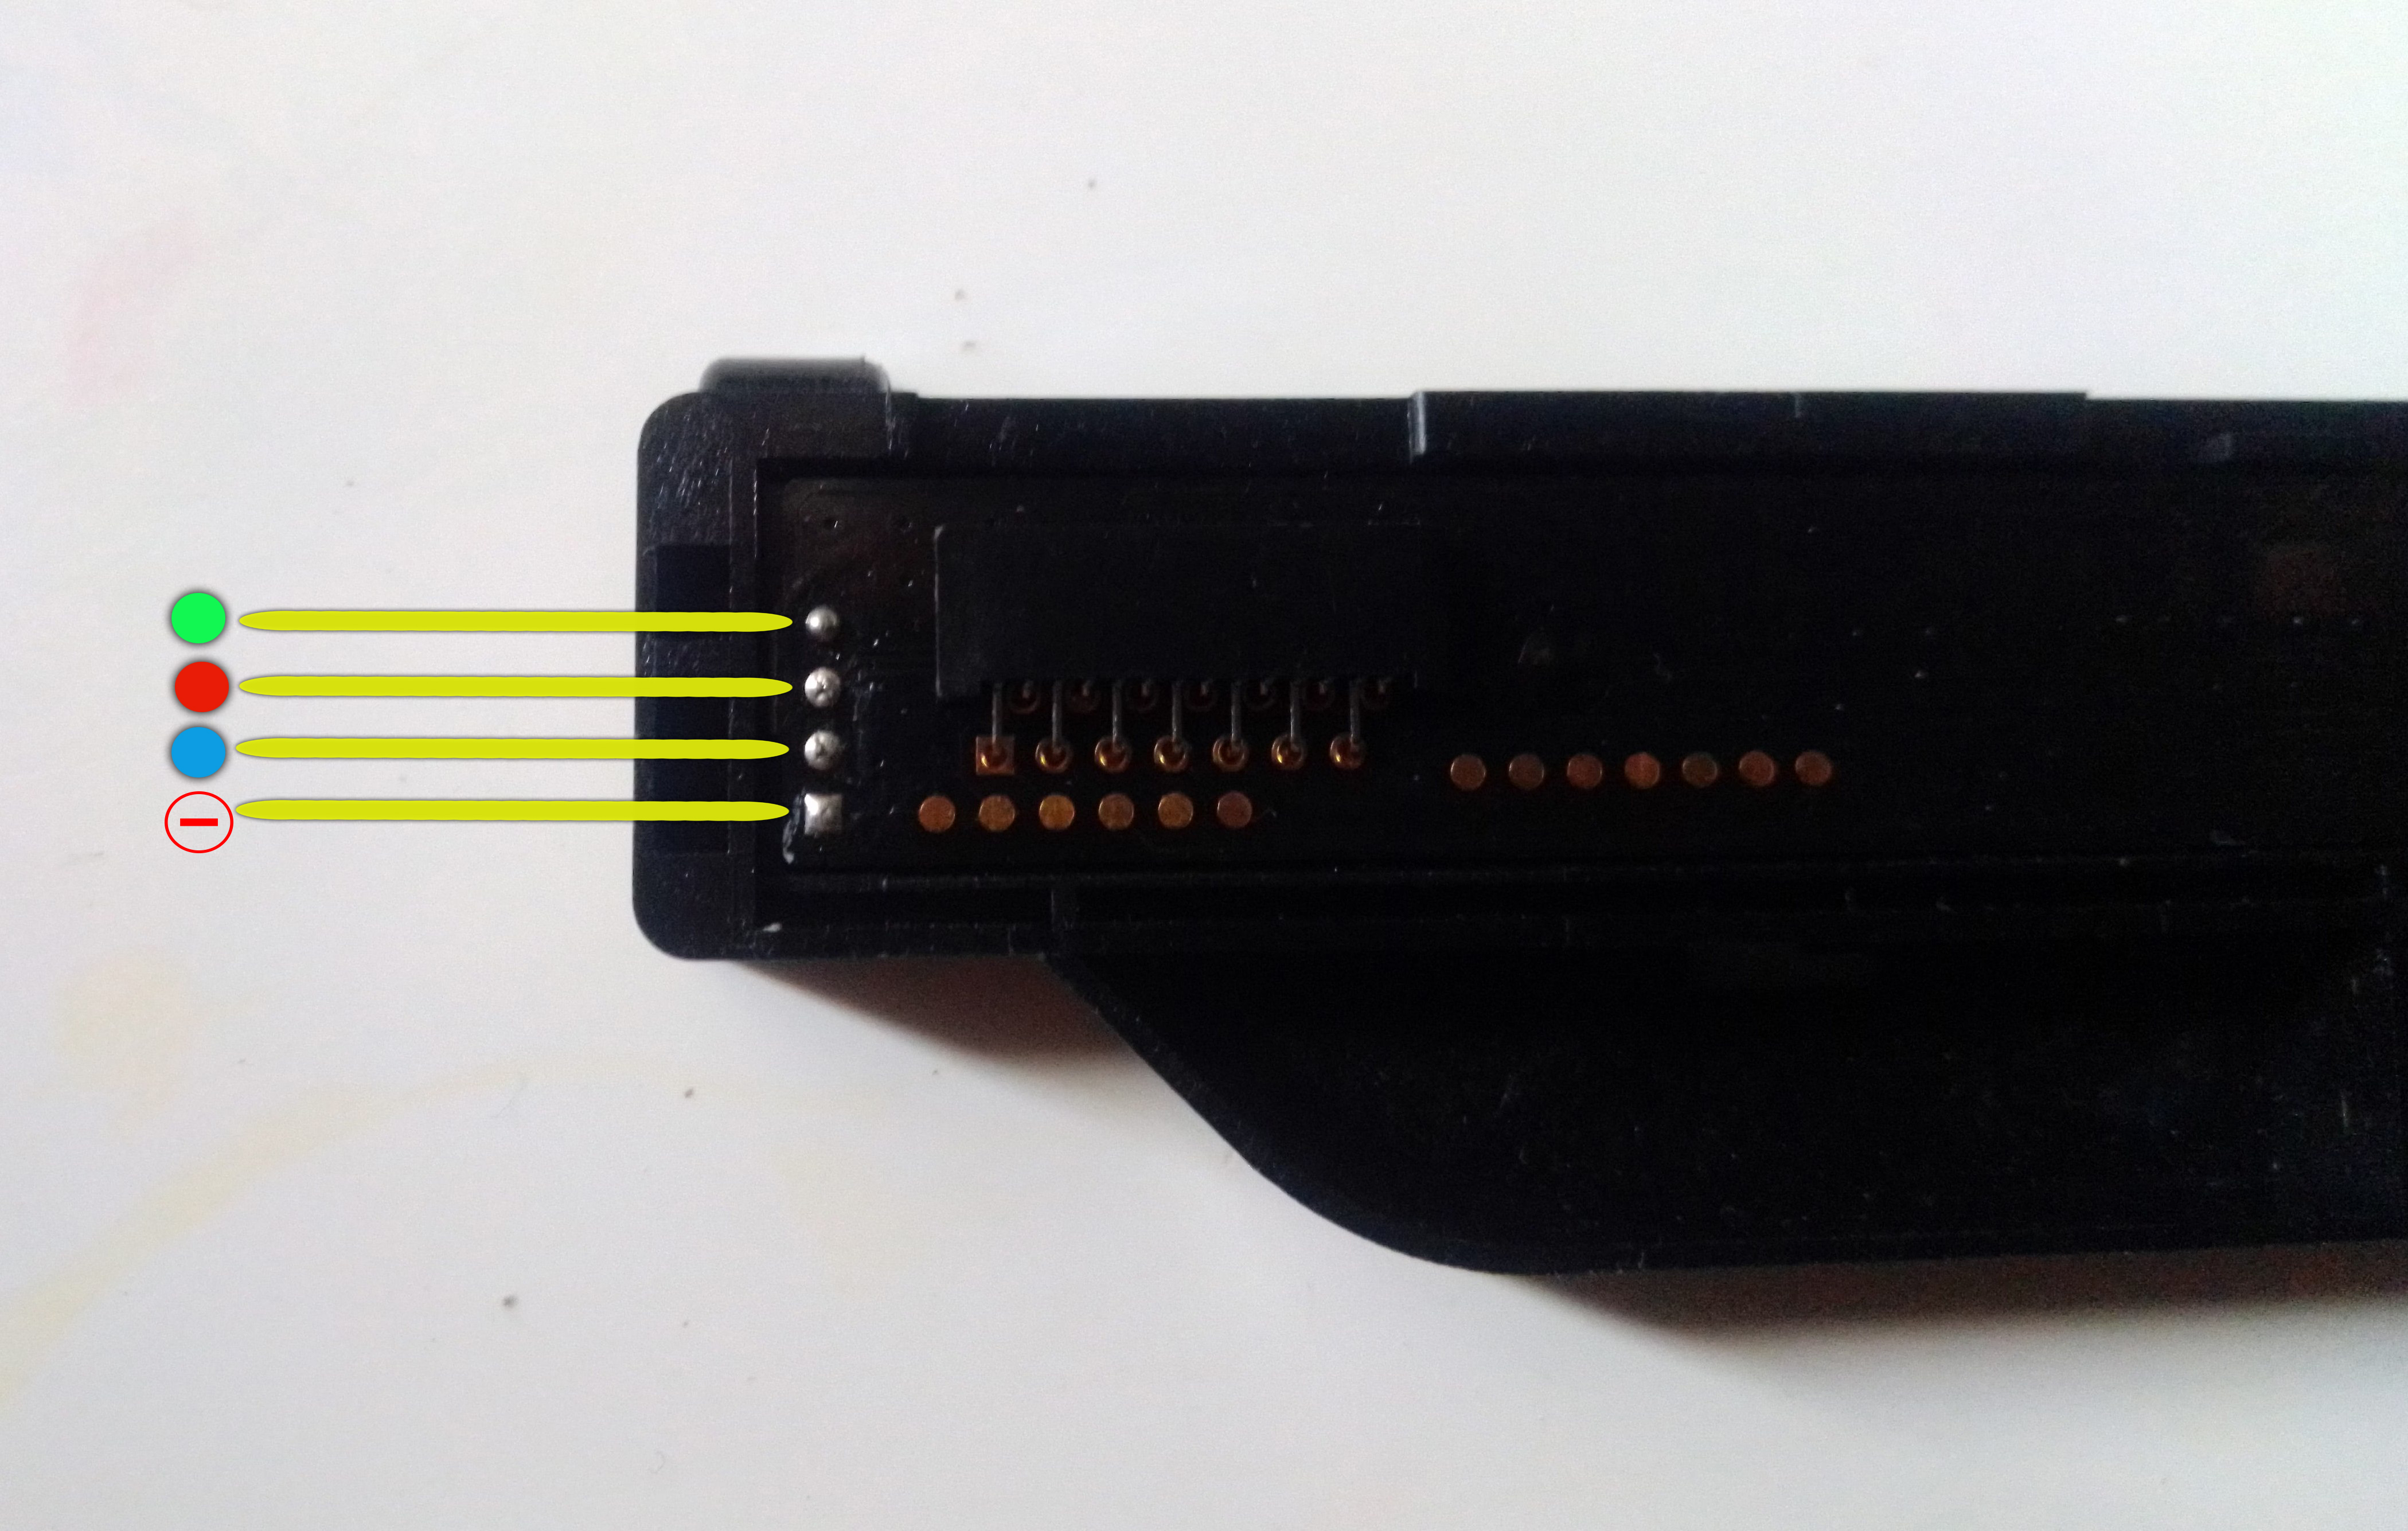
- In the case of this image sensor I chose only the green color because it has a failure in the red and blue leds.
With the help of a tin and lead wire, connect the wires at the corresponding points for the negative and the positive for the green color as indicated in the image.
- En el caso de este sensor de imagen escogí solamente el color verde debido a que presenta falla en los leds rojo y azul.
Con la ayuda de un cautin y estaño conecte los cables en los puntos correspondientes para el negativo y el positivo para el color verde como indico en la imagen.
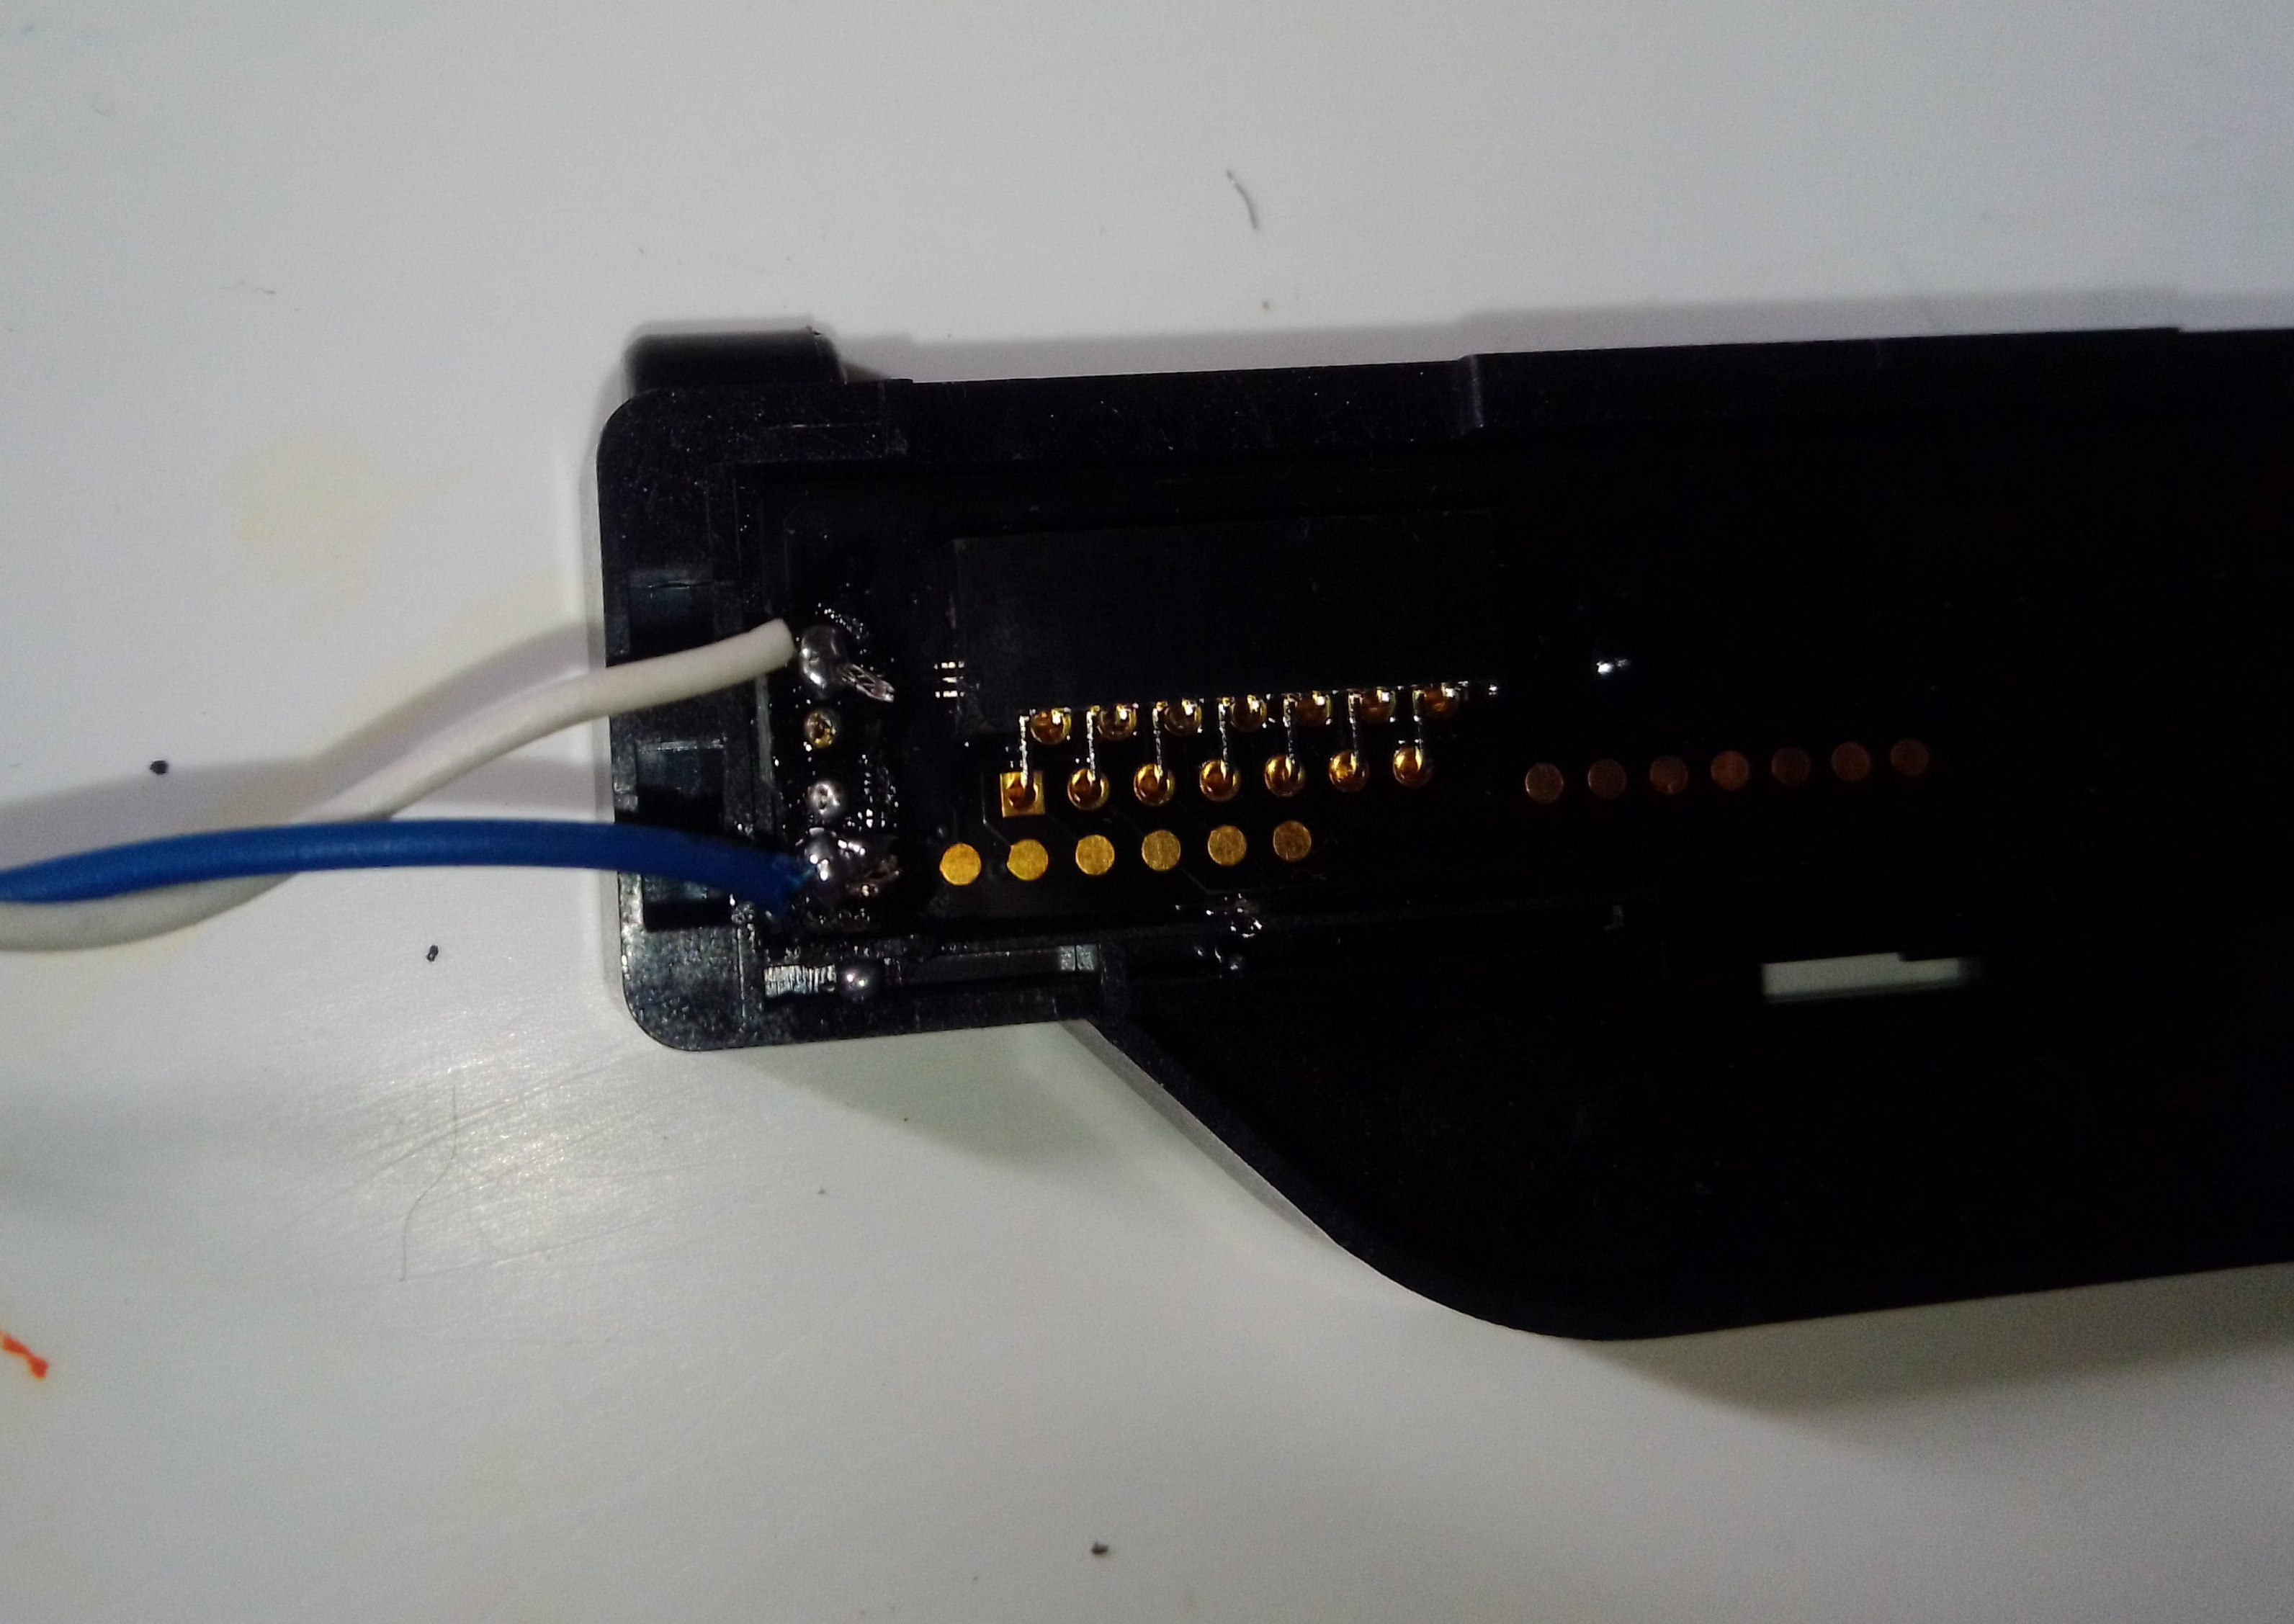
- Here I proceed to splice the charger cables with the cables I had previously connected to the image sensor.
- Aquí procedo a empalmar los cables del cargador con los cables que previamente habia conectado al sensor de imagen.
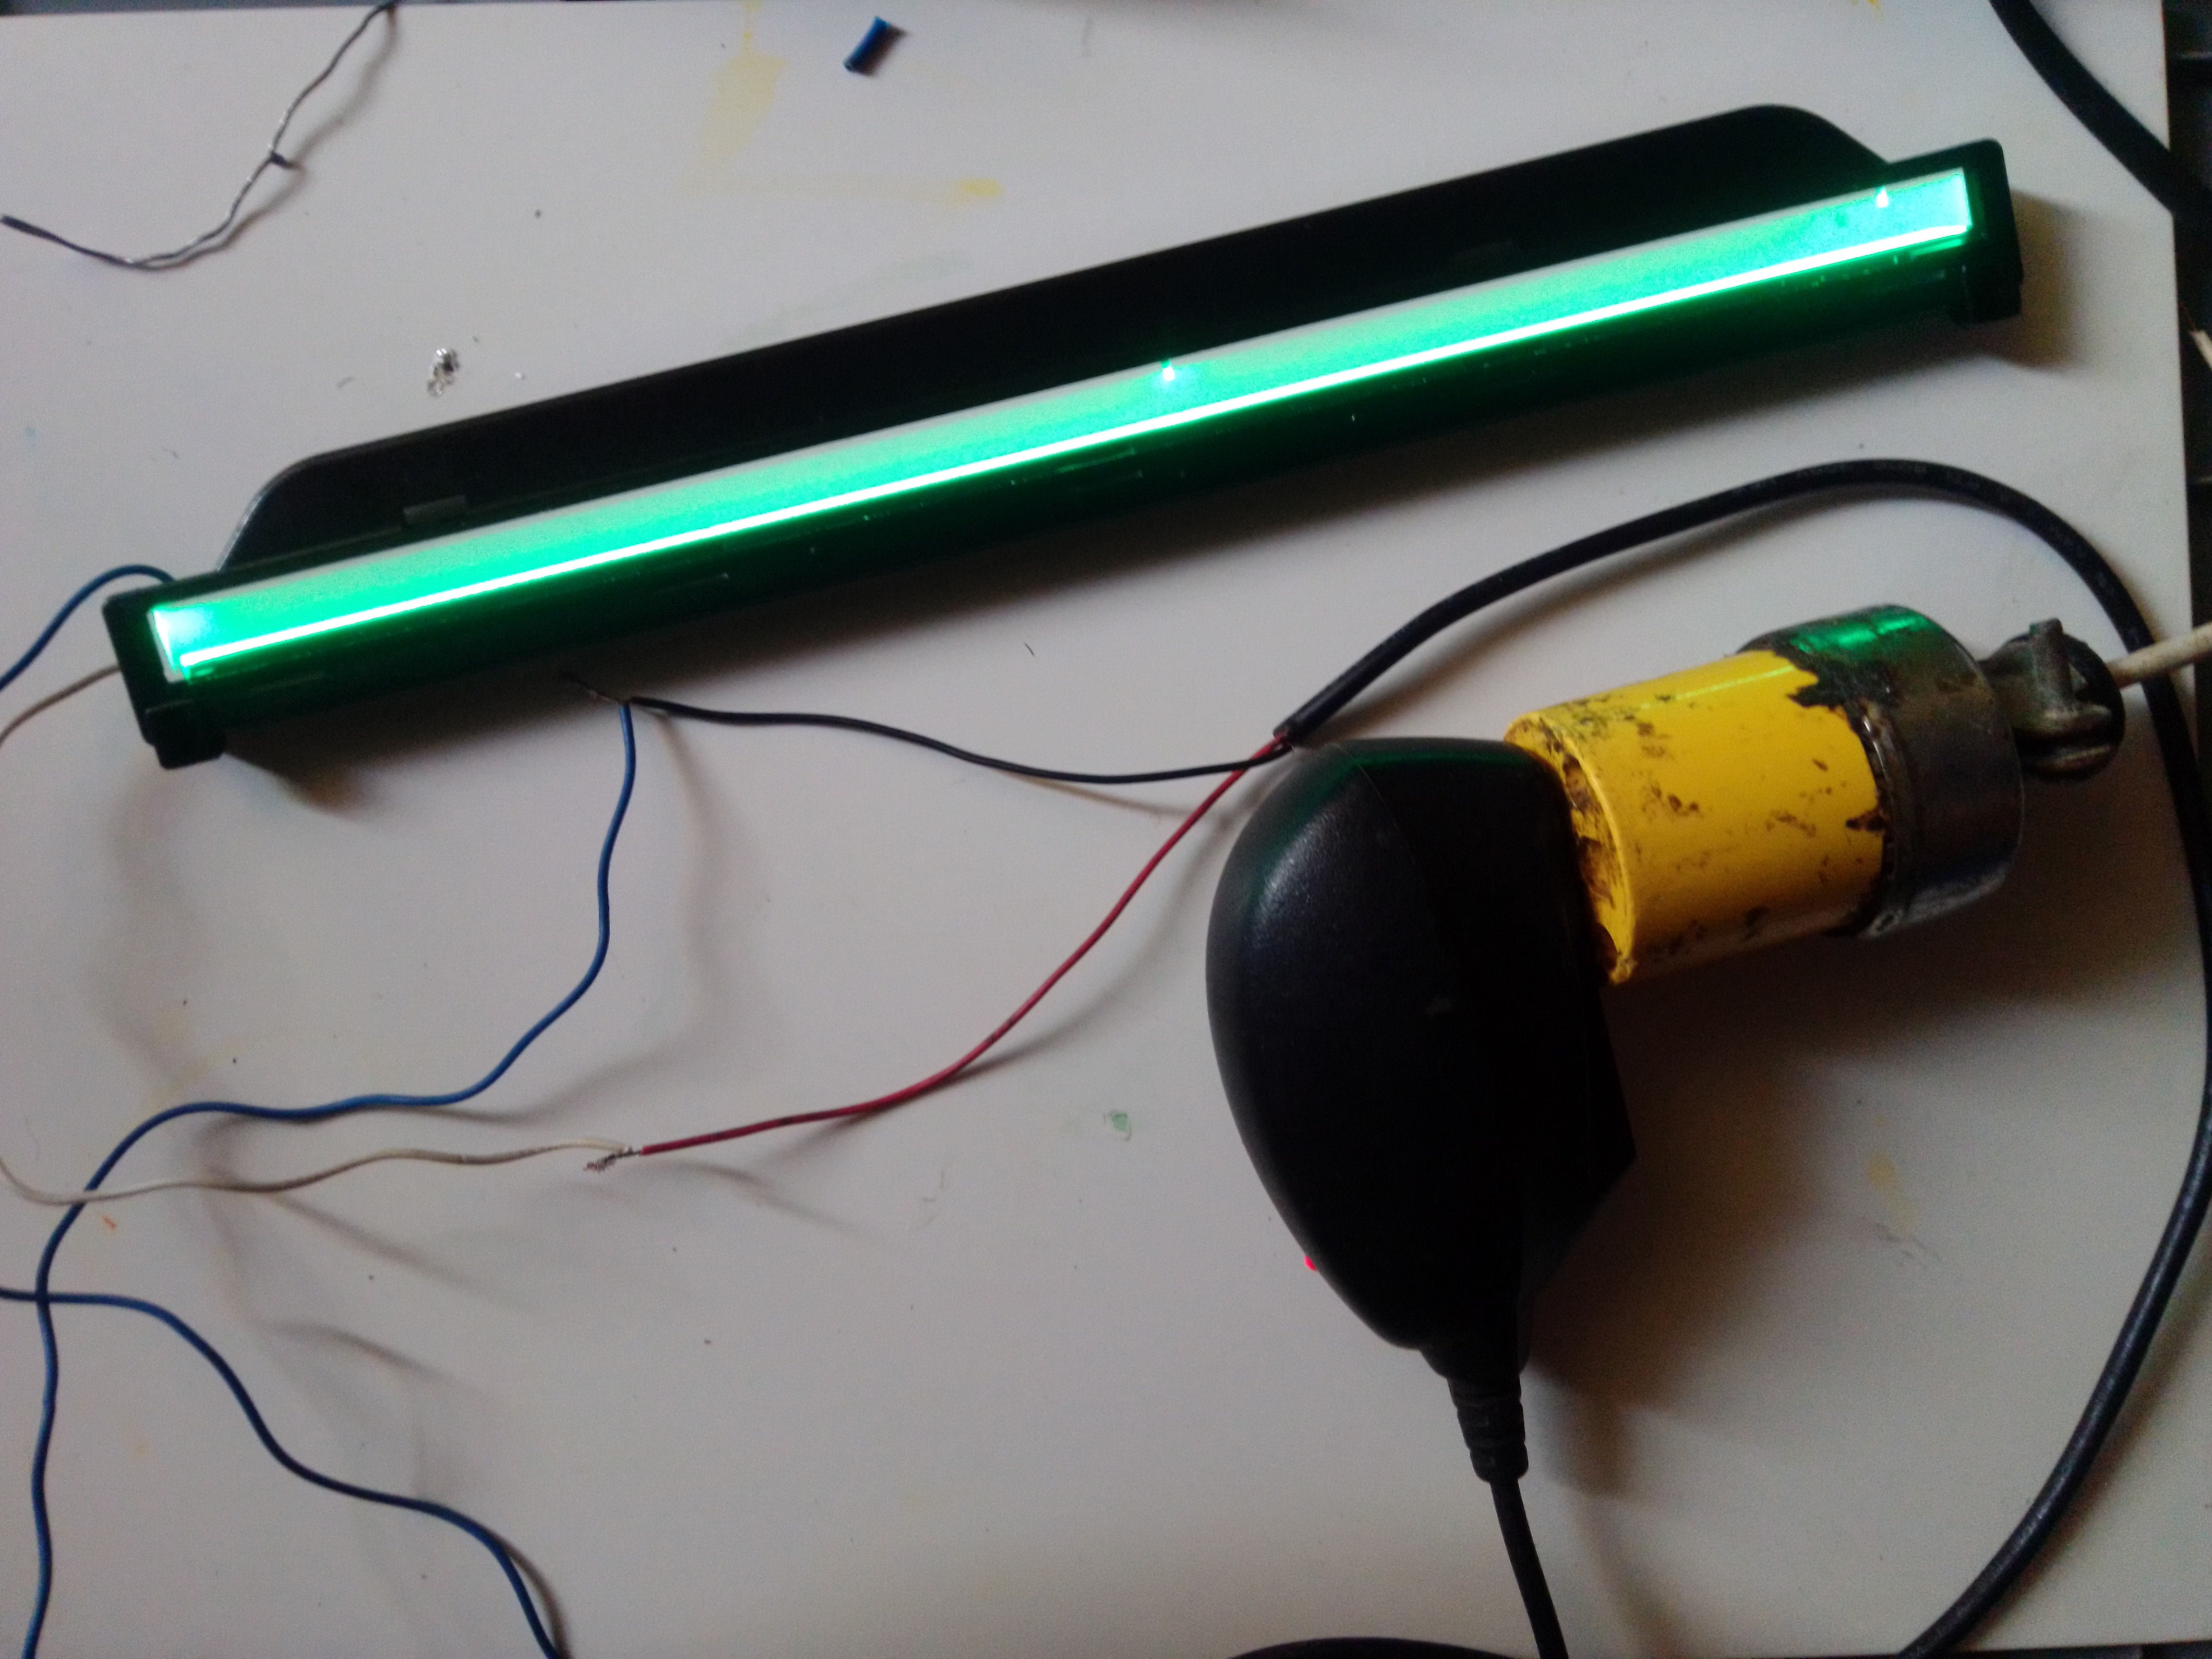
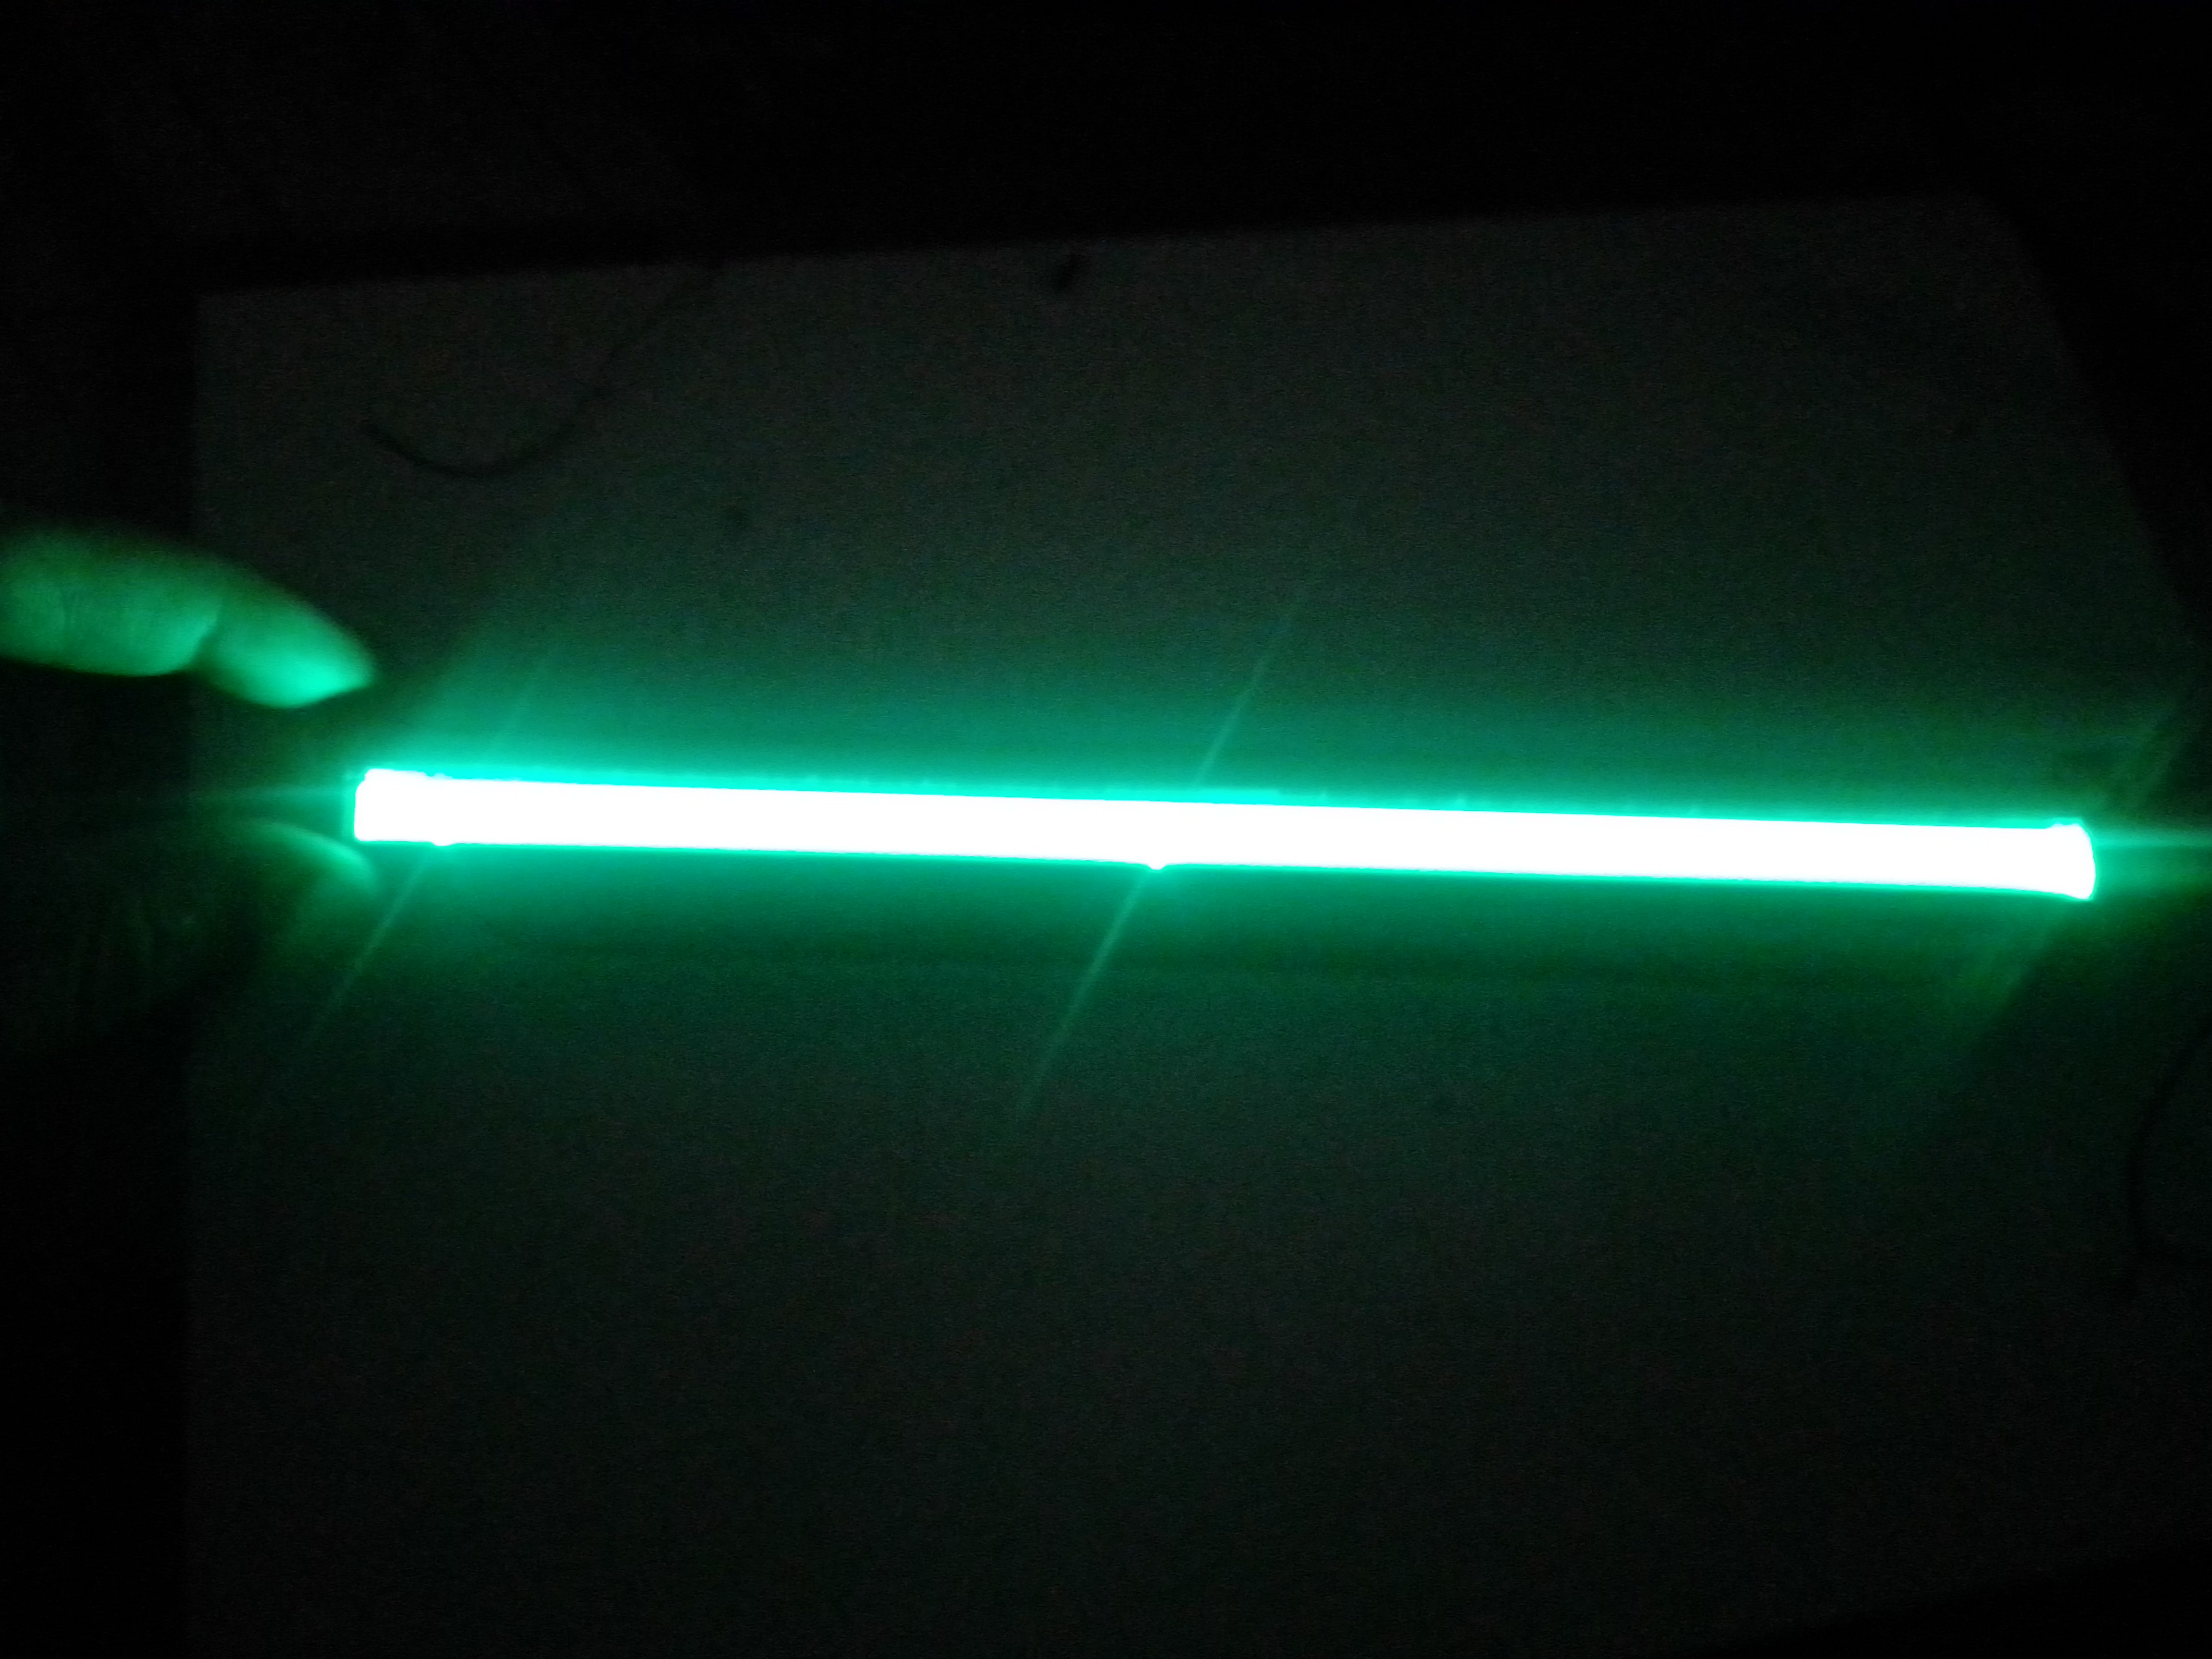
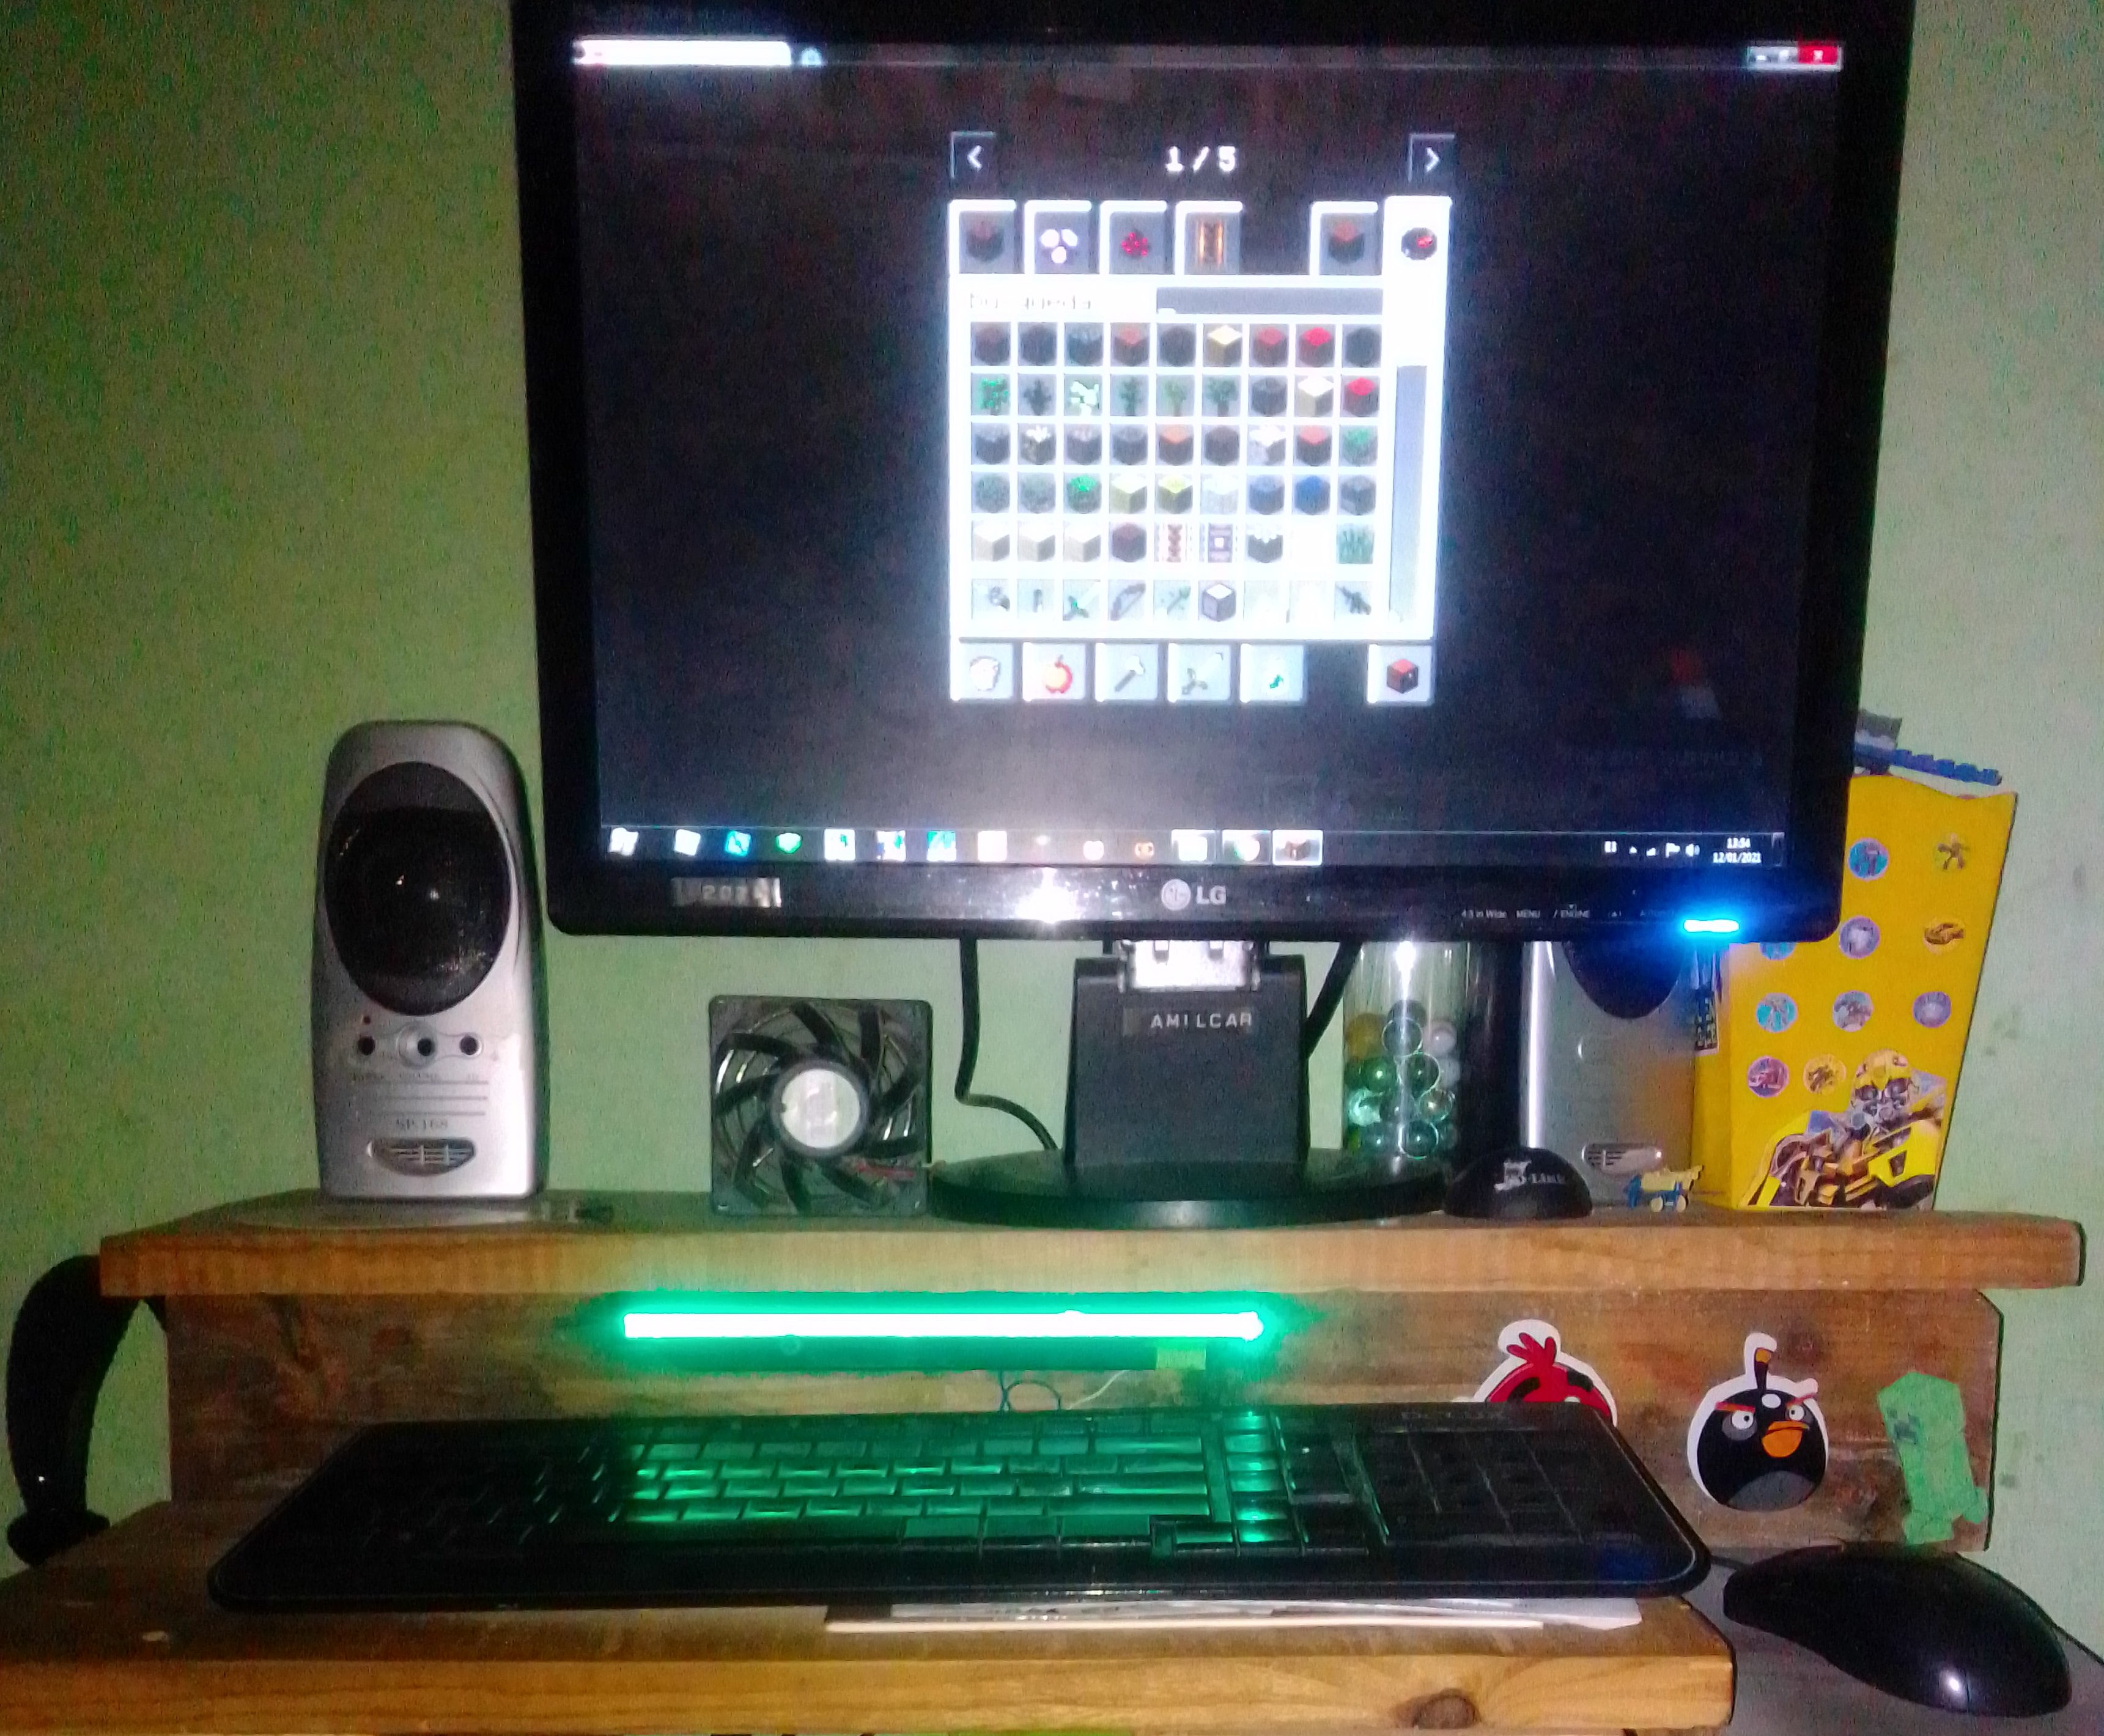
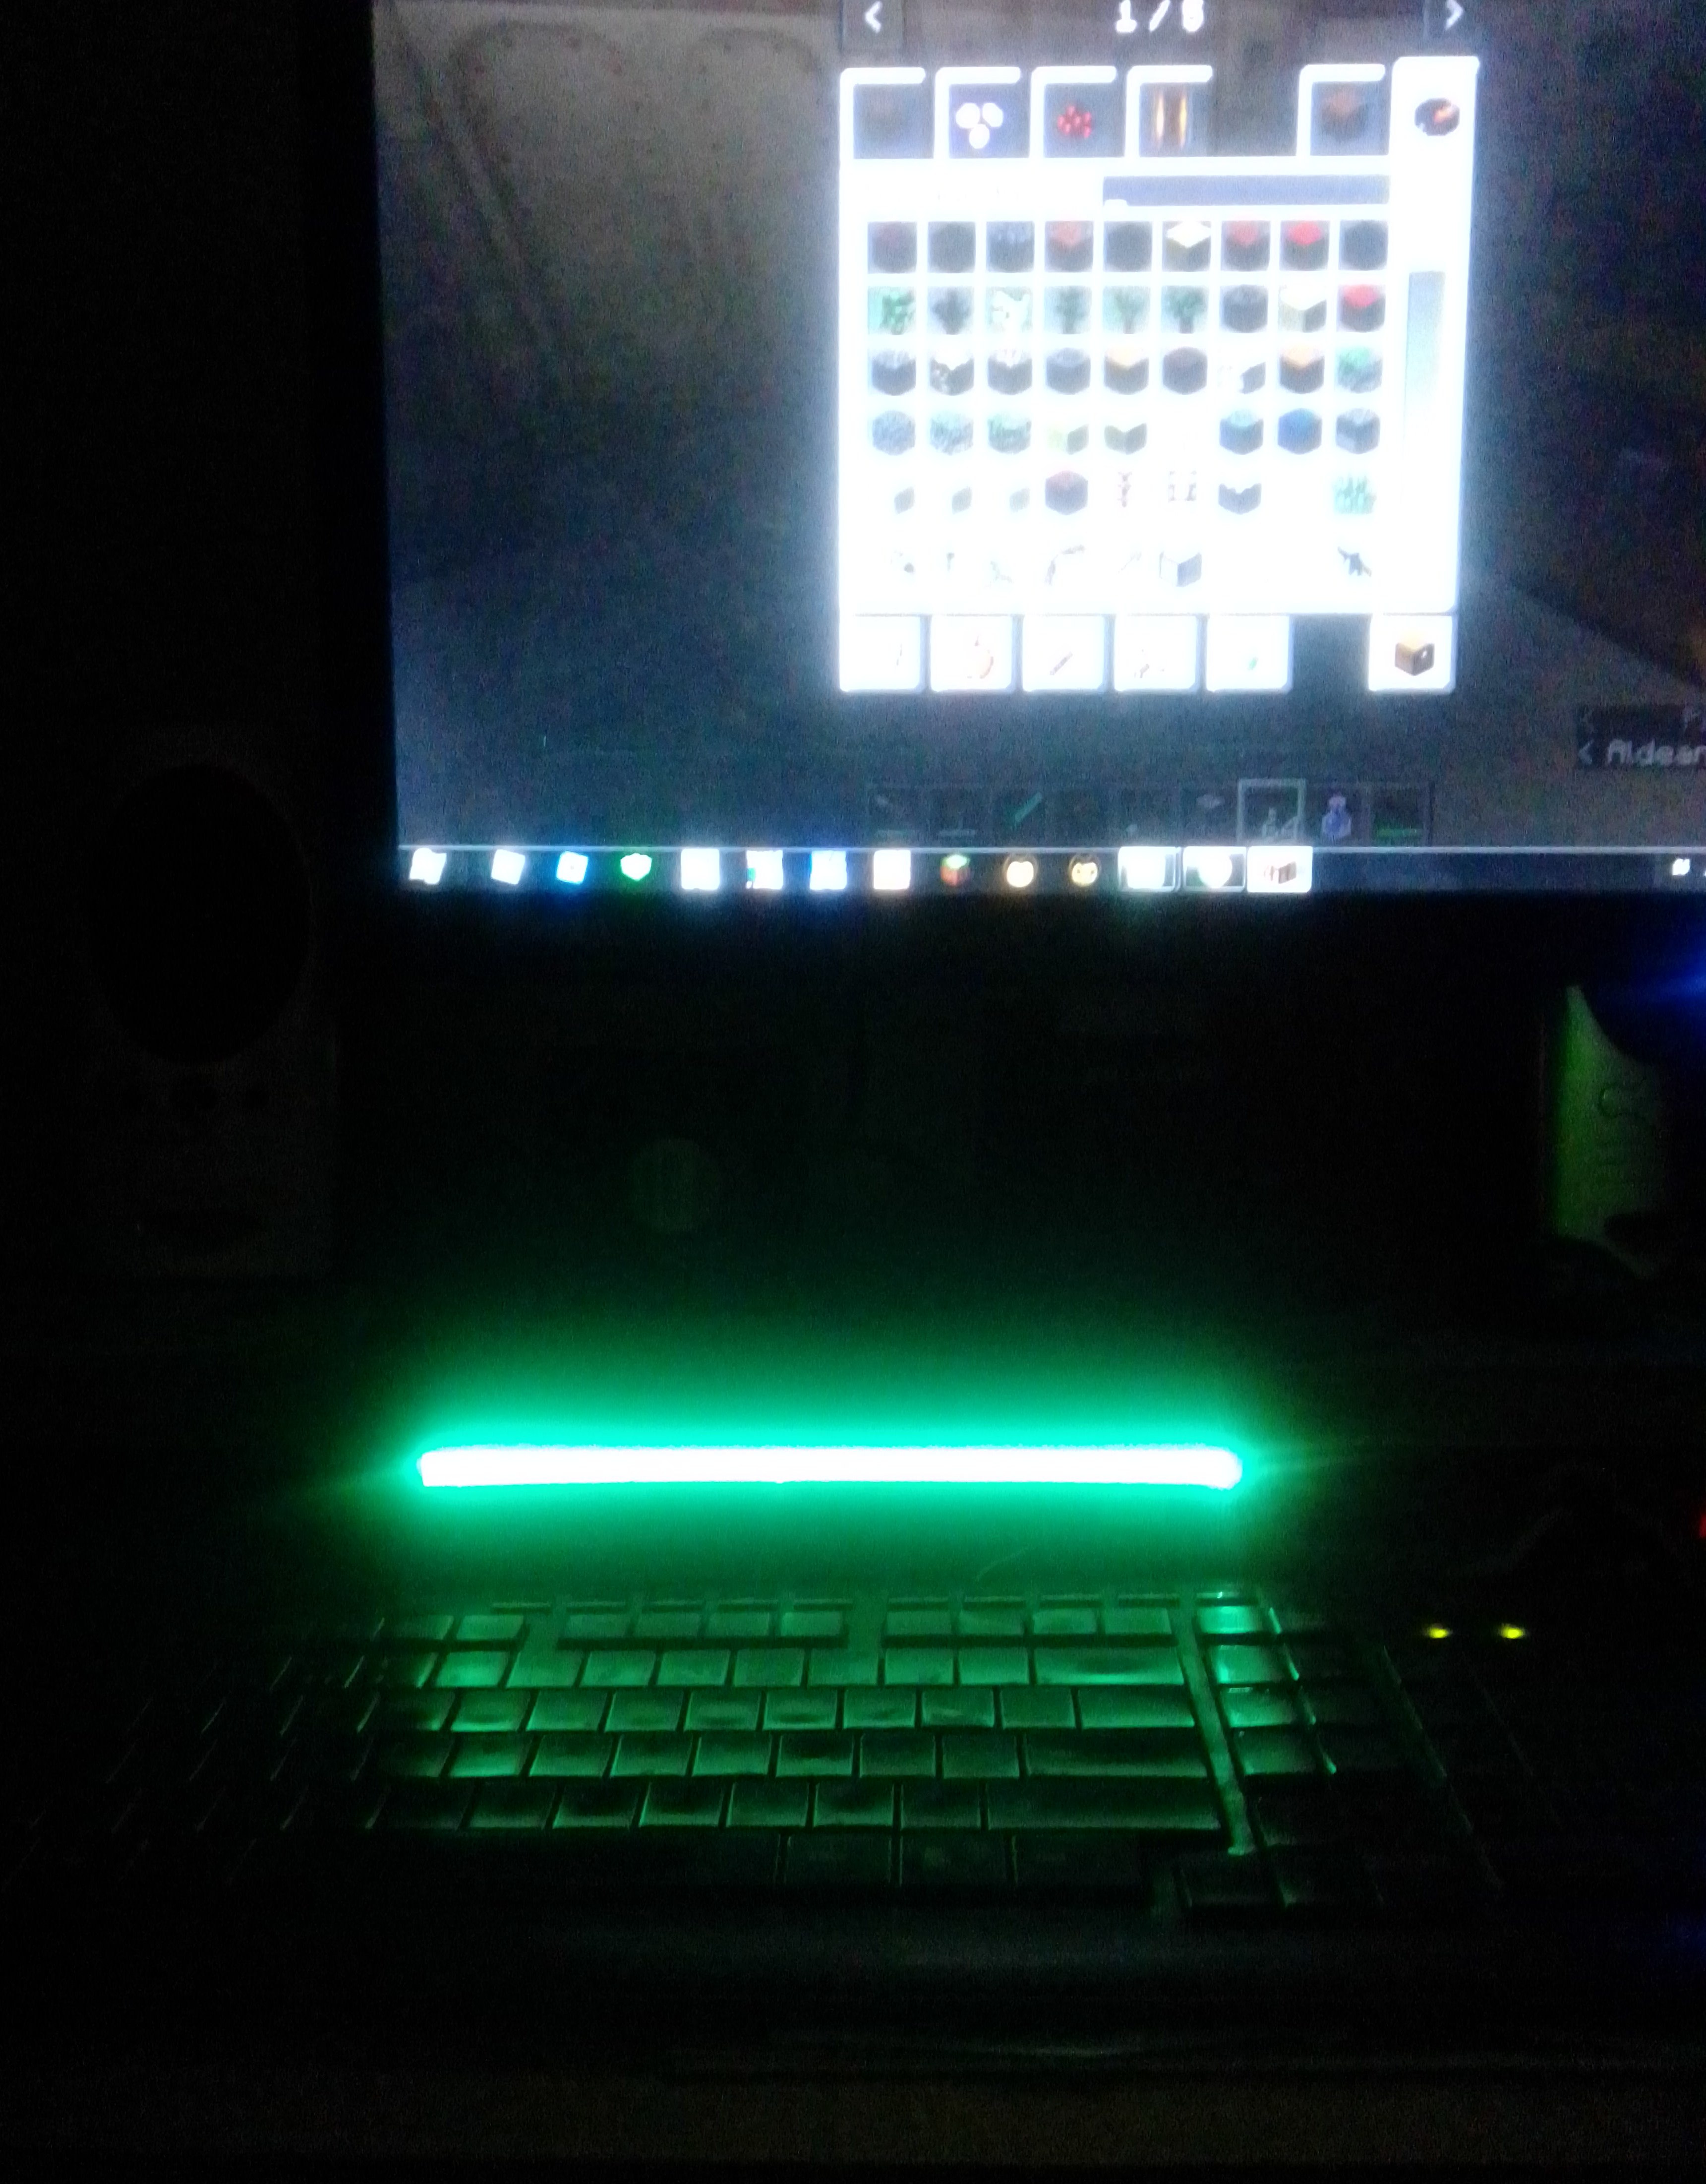
Here is the final result. I used this lamp to illuminate my child's computer keyboard.
Aqui el resultado final. Utilice esta lampara para iluminar el teclado de la computadora de mi hijo.

Hi @Hannibal-aa! Thank you for posting through our Hive Community Page This article will be passed to other curation projects for more votes support. Keep up the good works!
Greetings. thank you for support...