Español:
¡Saludos! Queridos lectores y miembros de la comunidad Build-it. Desde hace un tiempo he querido participar en esta comunidad y hoy por fin puedo hacerlo.
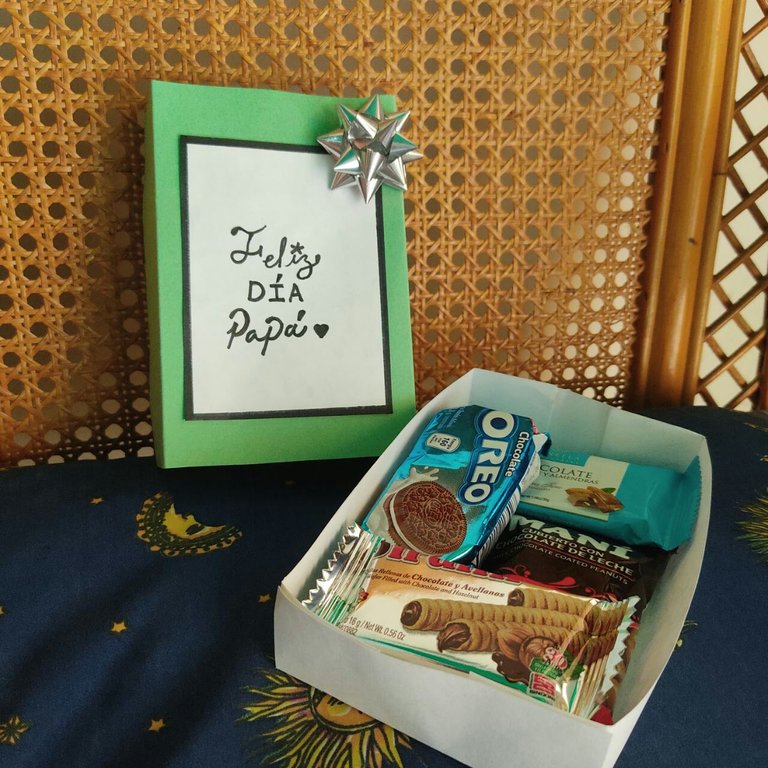
El día de hoy les traigo un tutorial para hacer una sencilla pero adorable cajita para dulces. Hoy es el día del padre en mi país así que se lo regalaré a mi padre, para al menos darle un pequeño detalle. Podrán ver que es muy fácil de realizar y es ideal para quienes olvidan comprar el regalo en ocasiones especiales.
¡Empecemos!
English:
Greetings! Dear readers and members of the Build-it community. For a while now I have wanted to participate in this community and today I can finally do it.
Today I bring you a tutorial to make a simple but adorable little box for candy. Today is father's day in my country so I will give it to my father, to at least give him a little detail. You will be able to see that it is very easy to make and it is ideal for those who forget to buy the gift on special occasions.
Let's get started!
~Los Materiales~
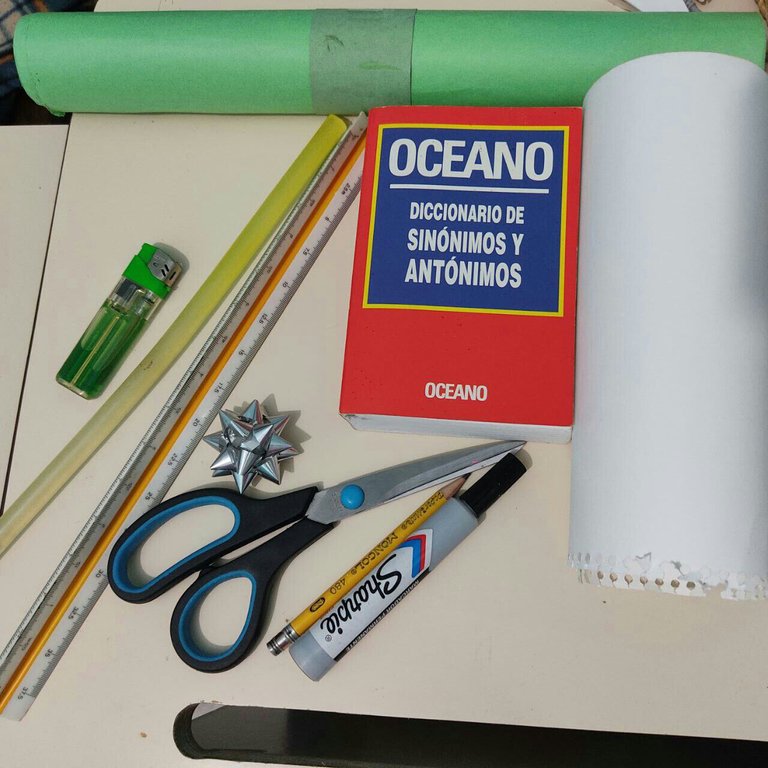
Para realizar esta adorable cajita necesitarás:
- Cartulina: Puede ser de un sólo color o de dos colores, yo usaré cartulina blanca y verde. La cantidad de cartulina dependerá del tamaño qué quieras hacer la cajita.
- Regla: en mi caso no conseguí mi regla así que usé un escalímetro. Puedes usarla para ayudarte a medir, para remarcar o para doblar la cartulina.
- Silicón en barra: también puedes usar pegamento. Yo no tengo pistola de silicón así que usaré un encendedor para derretir el silicón.
- Tijeras
- Lápiz y Marcador: Para marcar las lineas y decorar la caja.
- Moño de regalo: Para decorar la cajita al final.
~The Materials~
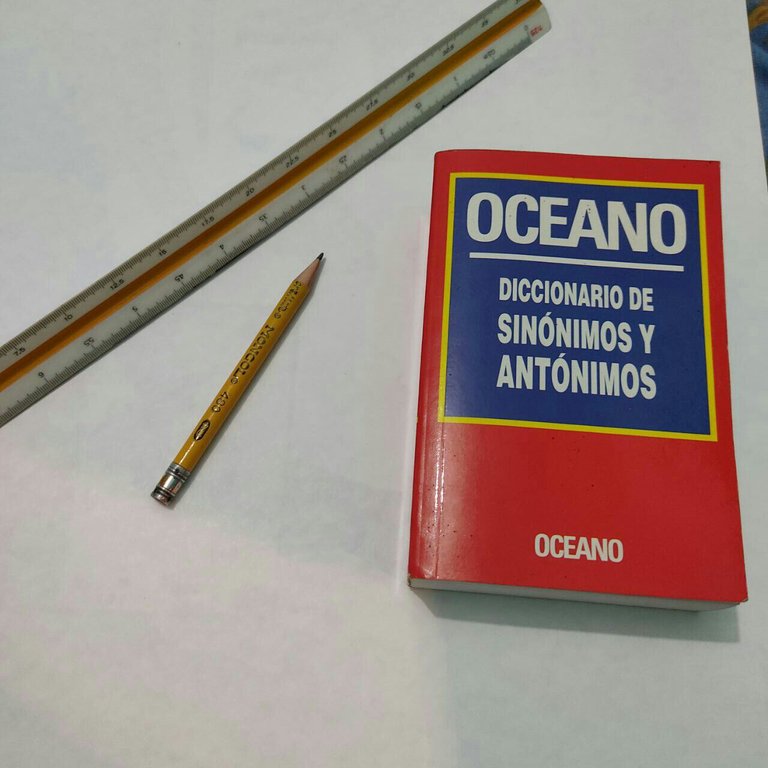
To make this adorable little box you will need:
- Cardboard: It can be one color or two colors, I will use white and green cardboard. The amount of cardboard will depend on the size you want to make the box.
- Ruler: in my case I didn't get my ruler so I used a scalimeter. You can use it to help you measure, to highlight or to fold the cardboard.
- Silicone stick: you can also use glue. I don't have a silicone gun so I'll use a lighter to melt the silicone.
- Scissors.
- Pencil and Marker: To mark the lines and decorate the box.
- Gift bow: To decorate the box at the end.
~Paso 1~
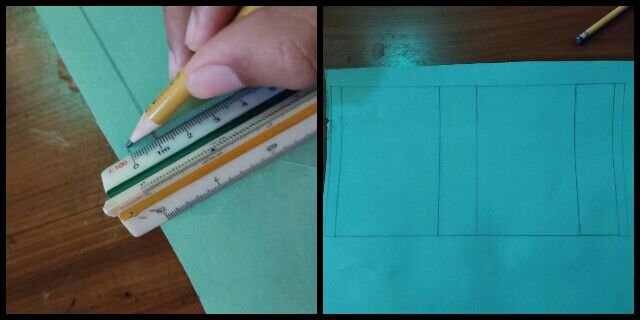
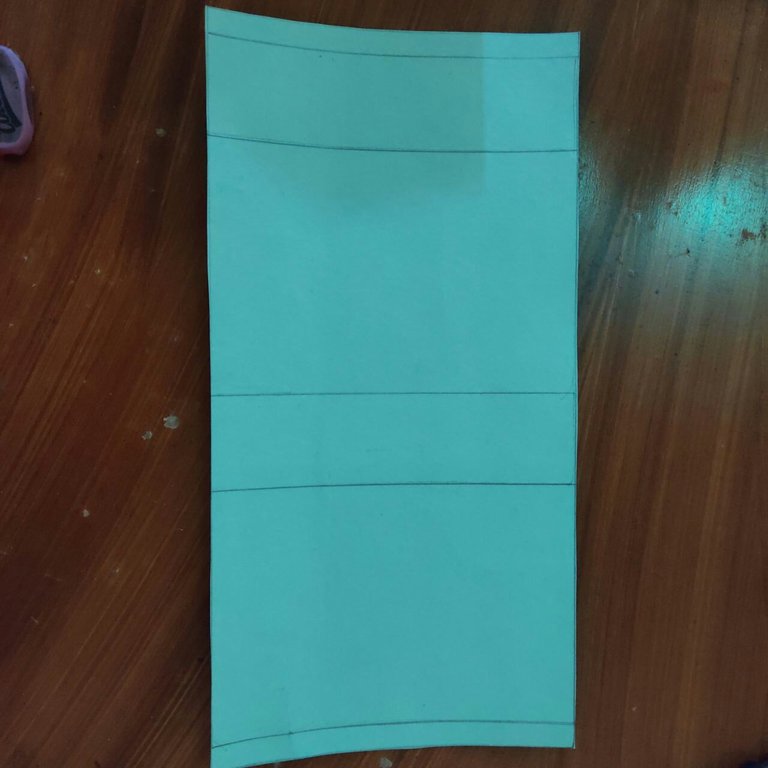
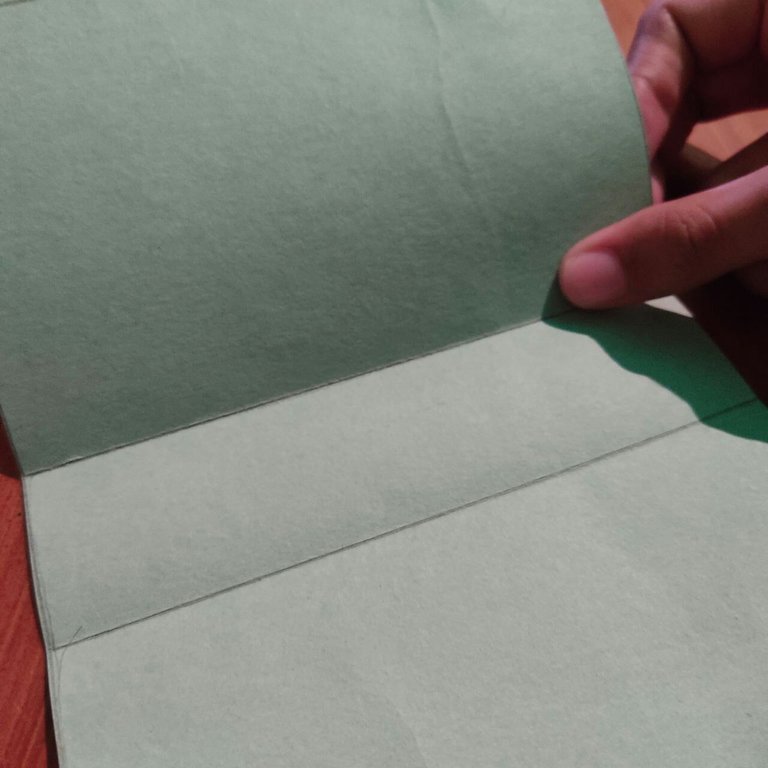
Empezaremos haciendo la cubierta de la caja, yo usaré la cartulina verde para esto.
~Step 1~
We will start by making the cover of the box, I will use the green cardstock for this.

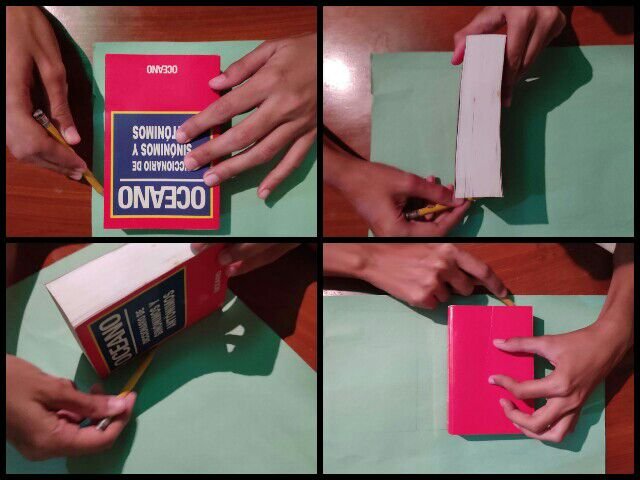
This is a sample of what it would look like
~Paso 2~
Ahora, procedemos a cortar la cartulina por toda la orilla~Step 2~
Now, we proceed to cut the cardboard all around the edge.

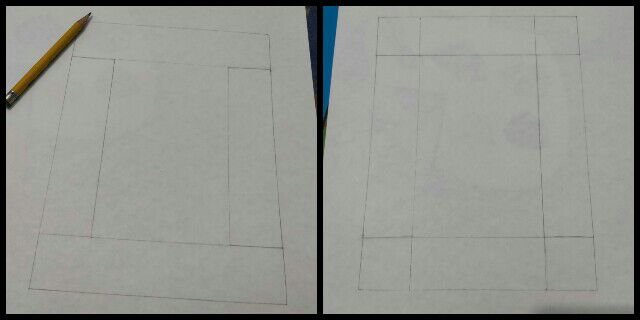
~Paso 3~
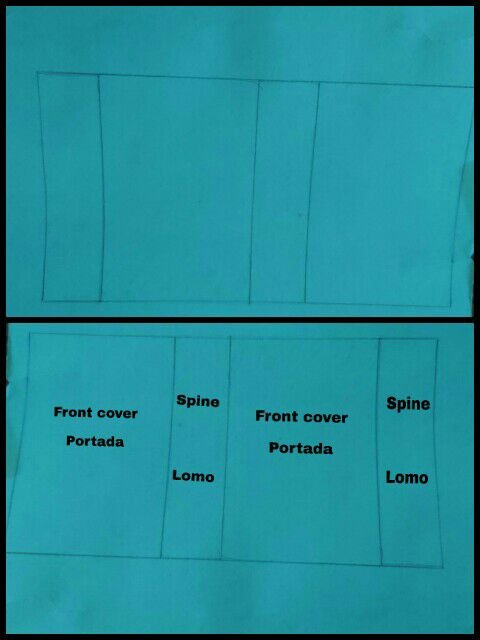
Ahora comenzaremos con la parte interior de la cajita, la cuál la haré con cartulina blanca.
~Step 3~
Now we will start with the inside part of the box, which I will make with white cardboard.
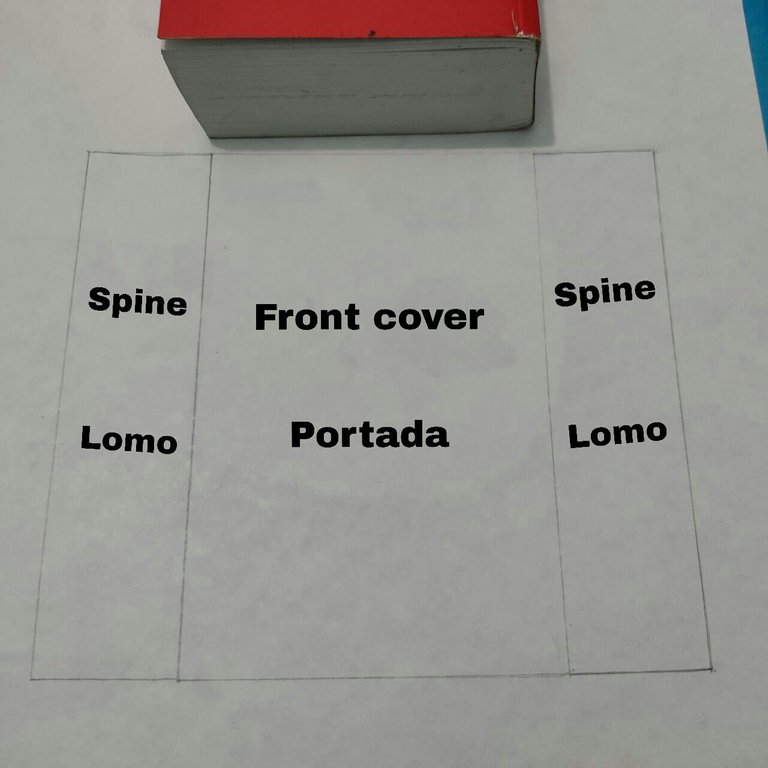
Ahora, dibujaremos unos margenes en la parte de arriba y de abajo, el largo de estos debe medir lo mismo que el grosor de la parte del lomo. Luego de eso, remarcaremos las lineas verticales de los lomos, tal cómo se muestra en la foto.
~Paso 3~
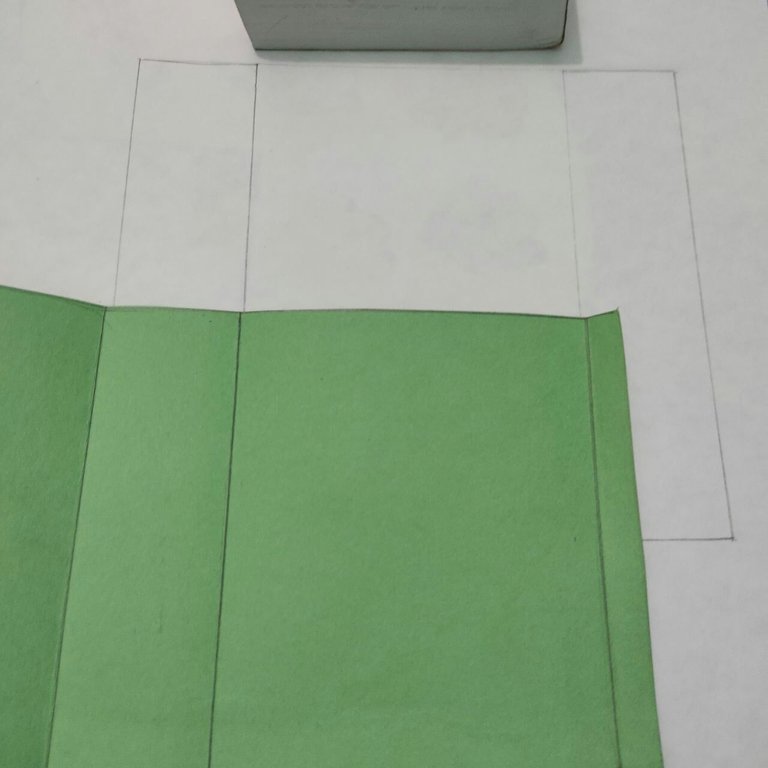
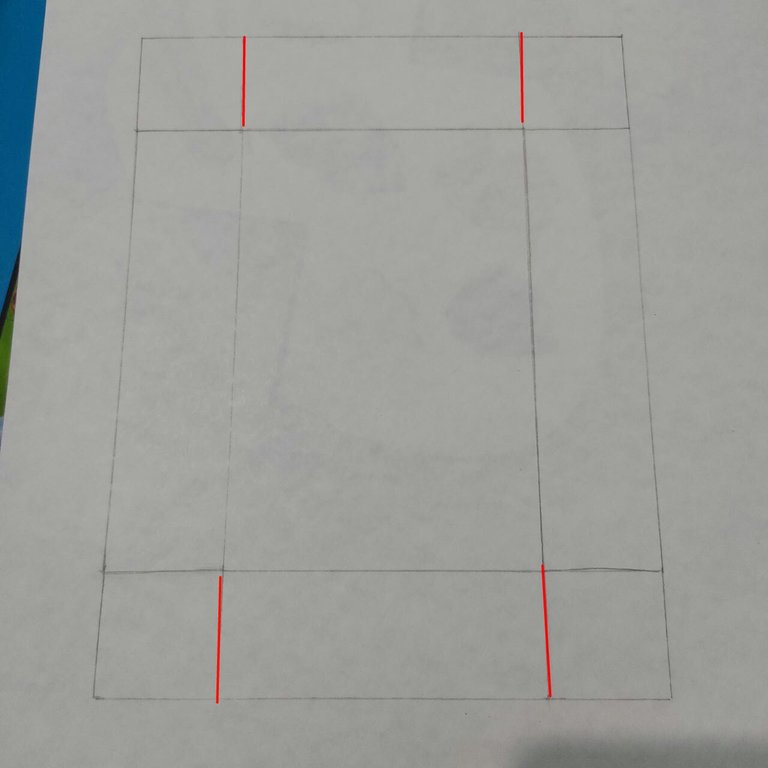
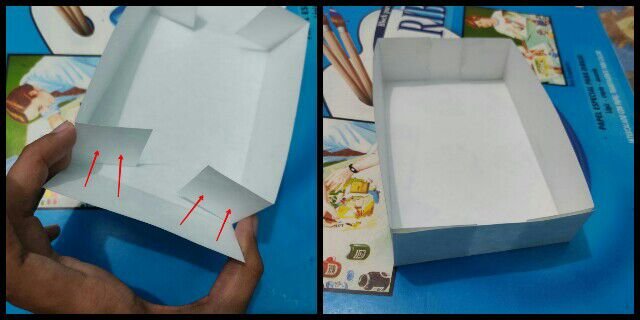
Para el siguiente paso, toca recortar la cartulina blanca, lo cuál se hará por todo el borde y por las lineas que me marcado en rojo en esta foto.
~Step 3~
For the next step, it's time to cut out the white cardboard, which will be done all around the edge and along the lines that I marked in red in this photo.

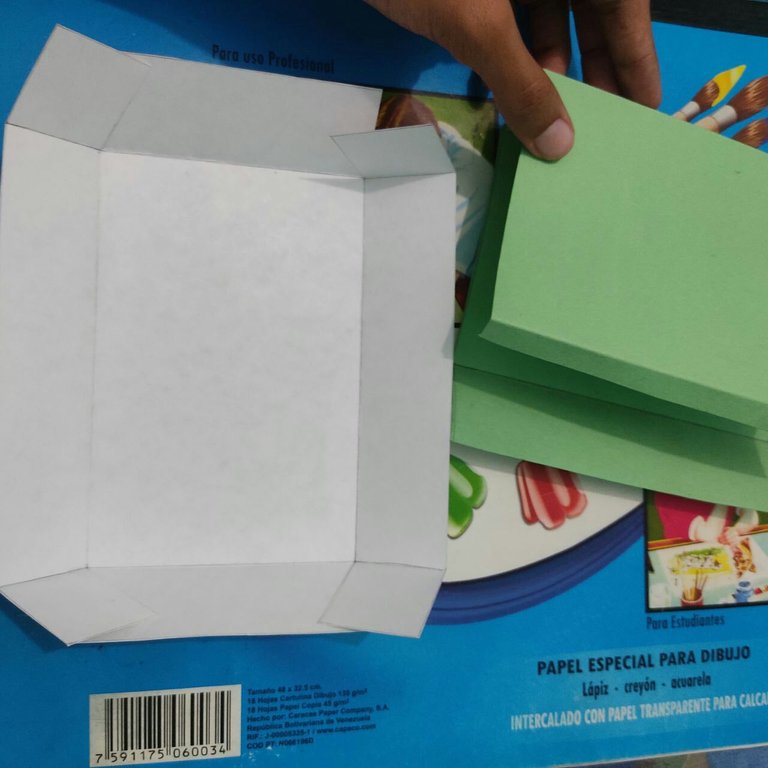
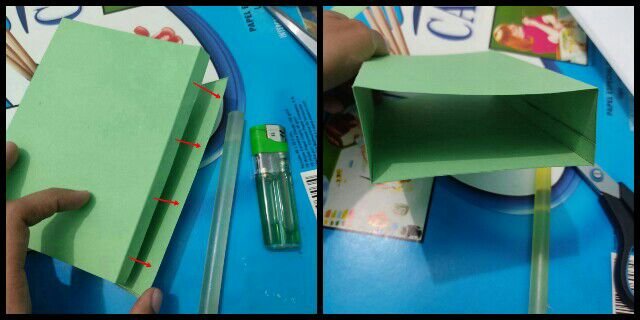
~Paso 4~
Ahora que tenemos las dos piezas cortadas, debemos pegarlas para darles la forma. Yo cómo no tengo pistola de silicón o pegamento, usaré un encendedor para derretir el silicon y poder pegar las piezas.
~Step 4~
Now that we have the two pieces cut, we must glue them together to give them the shape. I don't have a silicone or glue gun, so I will use a lighter to melt the silicone and glue the pieces together.
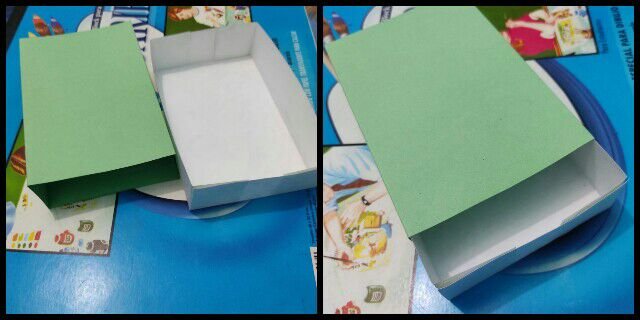
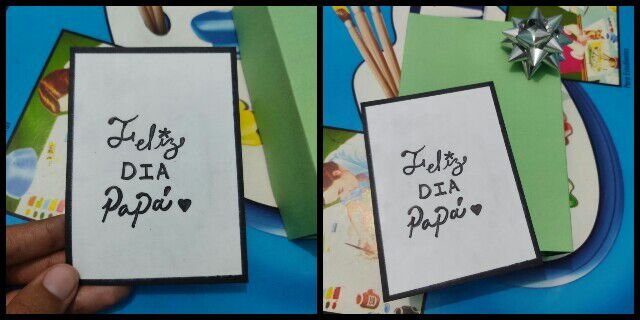
~Paso 5~
Ahora que están listas las piezas de la caja, sólo nos queda decorarla. Para esto le pedí a mi pareja que escribiera en un pedazo de cartulina blanca "Feliz día papá", ya que él tiene la letra más bonita que yo jajajaja. Además, usé un moñito de regalo para darle el toque final a esta sencilla pero bonita caja dulces.
~Step 5~
Now that the pieces of the box are ready, all that's left is to decorate it. For this I asked my partner to write on a piece of white cardboard "Happy daddy day", since he has prettier handwriting than me hahahaha. Also, I used a little gift bow to give the final touch to this simple but pretty candy box.
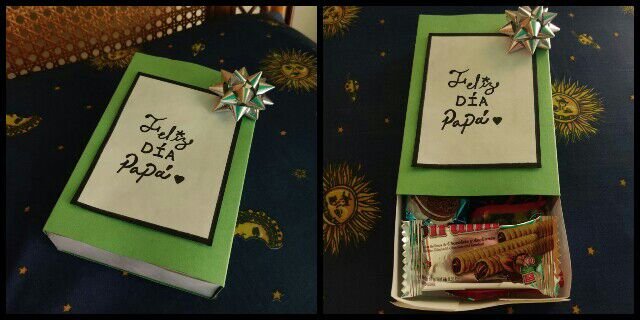
¡Terminada!
Ahora sólo queda ponerle los dulces, intenta escoger sólo los dulces favoritos de la persona a quien se lo vayas a regalar.
Esta idea la puedes hacer también para cumpleaños, un intercambio de regalos, etc. Es percecto para quienes aman los dulces ♥
Finished!
Now all that's left is to put the sweets on it, try to choose only the favorite sweets of the person you are going to give it to.
This idea can also be used for birthdays, gift exchanges, etc. It's perfect for those who love sweets.
Muchísimas gracias por leer ♥ espero te haya gustado
Todas las imagenes me pertenecen. Las fotografias fueron tomadas por mi y la imagen de la tijera fue una edición que hizo mi pareja especialmente para este post.
El texto fue del español al inglés usando el traductor de DeepL.
Thank you very much for reading ♥ I hope you liked it
All the images belong to me. The pictures were taken by me and the image of the scissors was an edition made by my partner especially for this post.
The text was from Spanish to English using the translator of DeepL.