Saludos y bendiciones a todo mi querida comunidad de Hive.
Greetings and blessings to all my dear Hive community
Les deseo un día lleno de mucha creatividad y amor por lo que hacen....
I wish you a day full of creativity and love for what you do ....
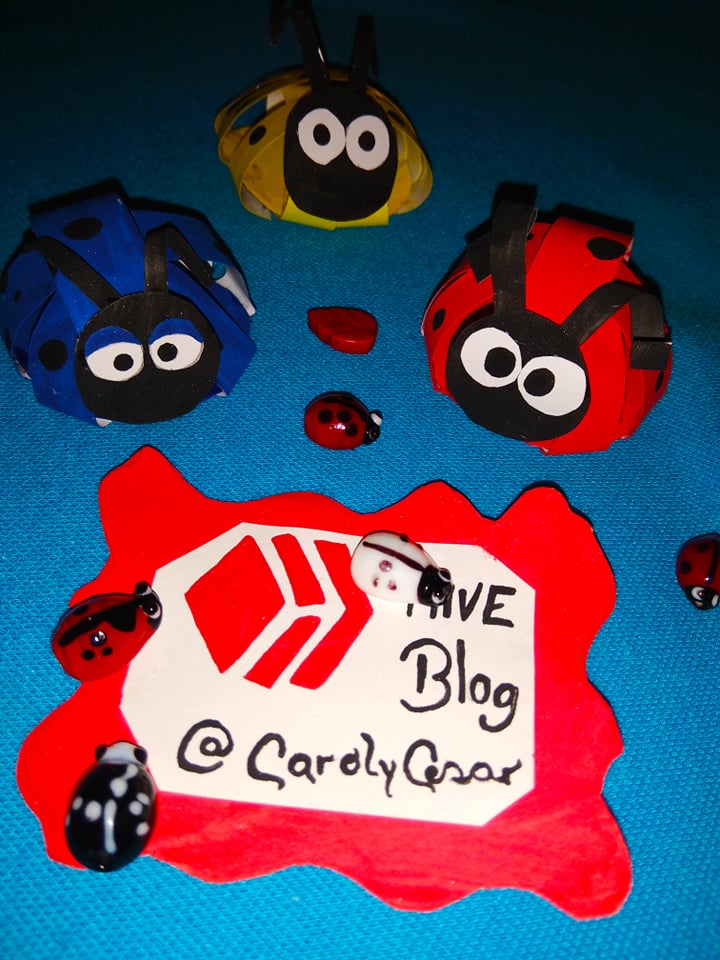
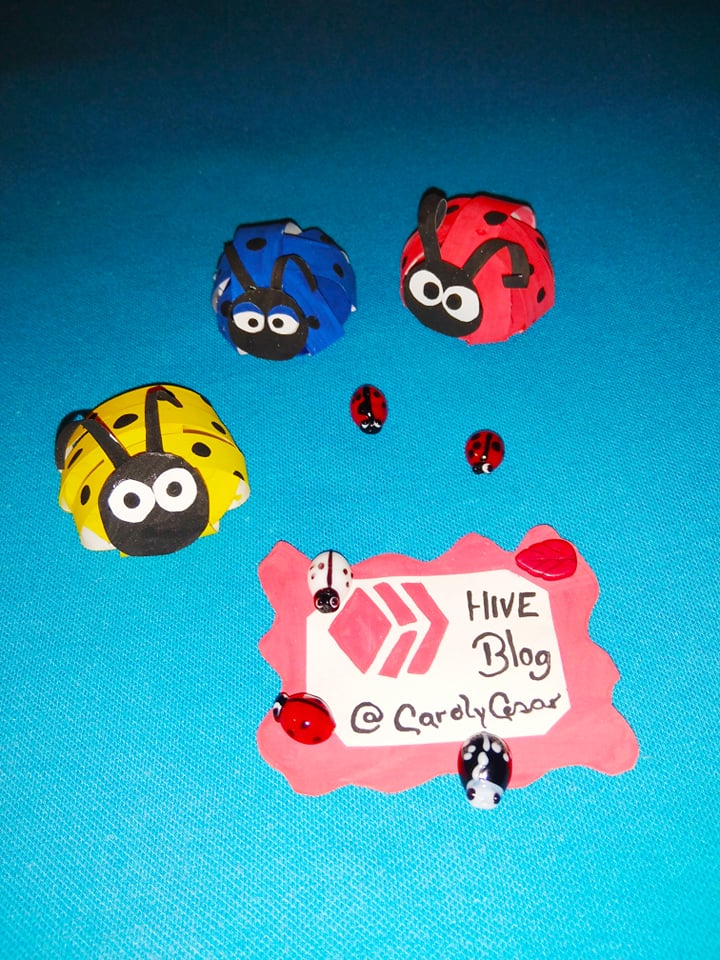
Me gustaría compartirles estas lindas y coloridas mariquitas bebes. Muy fáciles de hacer y con poco material.
I would like to share with you these cute and colorful baby ladybugs. Very easy to do and with little material.
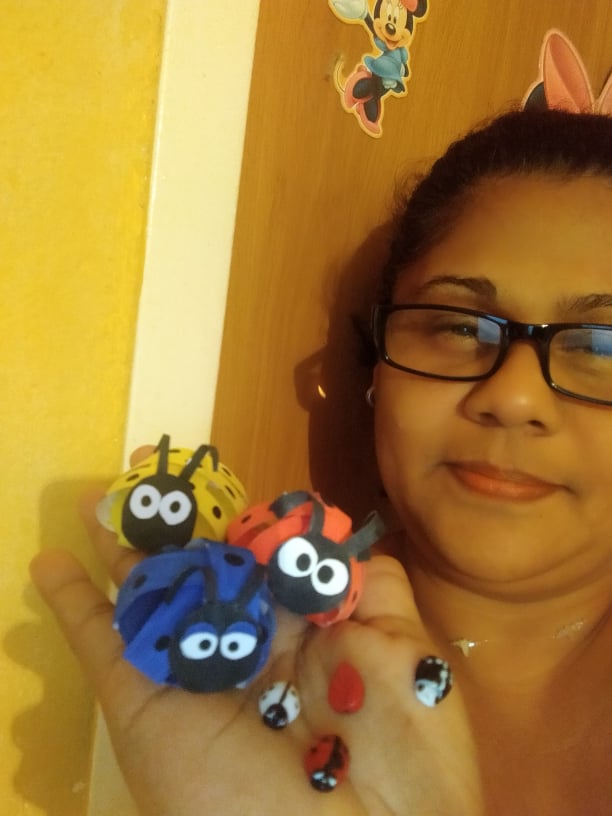
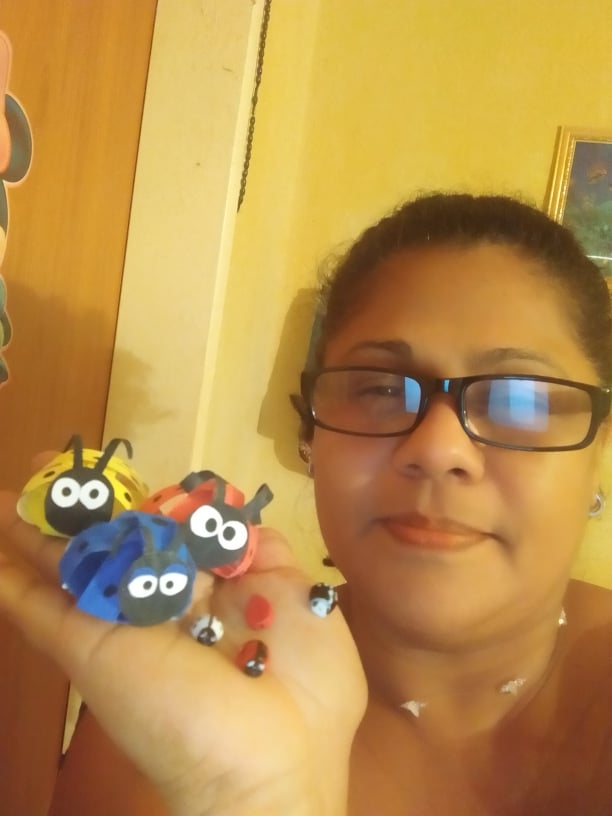
A mi me encantan estos animalitos, y se ven hermosos en pulseras y collares que les hago a mis nietas y para mi también.
I love these little animals, and they look beautiful in bracelets and necklaces that I make for my granddaughters and for me too.
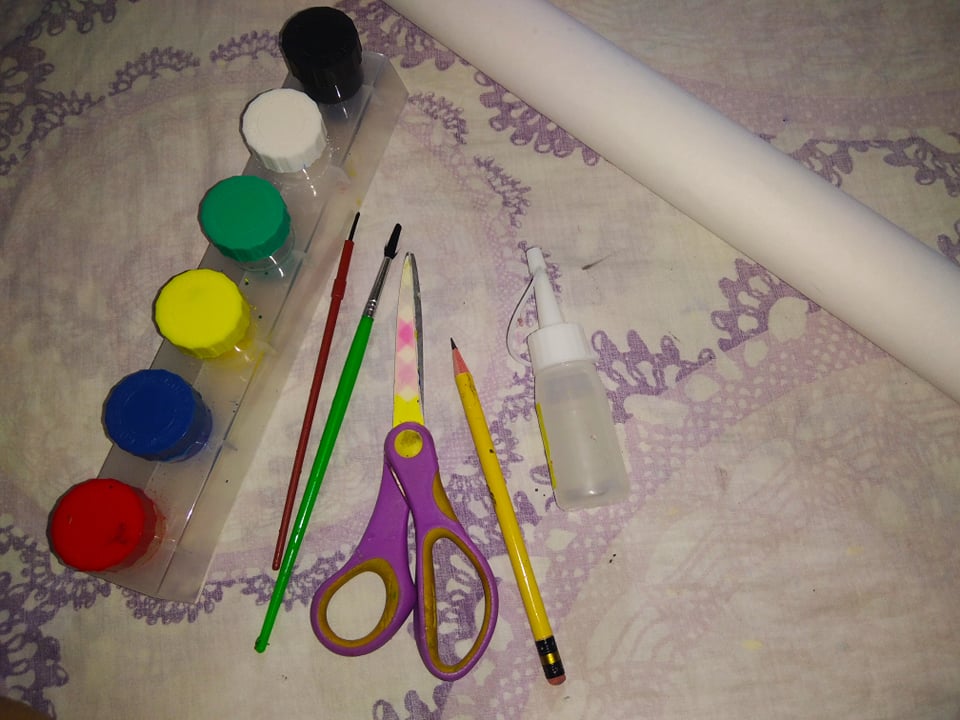
Materiales
Cartulina, pinturas, silicon y tijeras.
Materials
Cardboard, paints, silicone and scissors.
Comenzamos:
We begin:
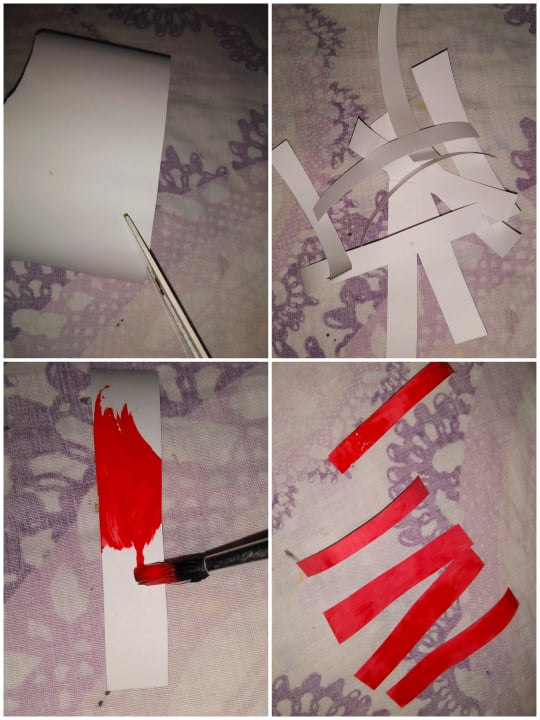
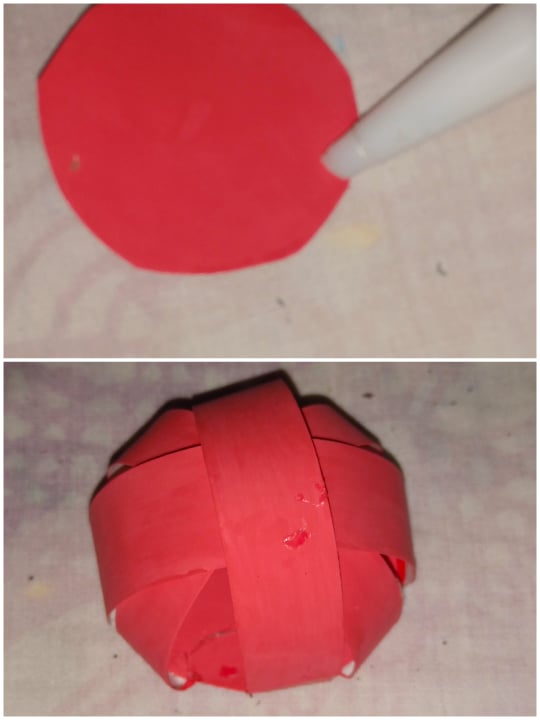
- Marque, recorte y pinte un circulo y varias tiras.
- Mark, cut out and paint a circle and several strips.

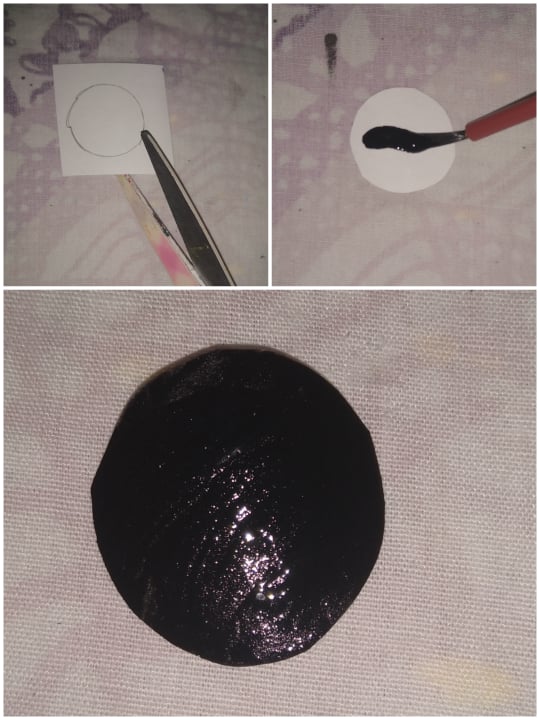
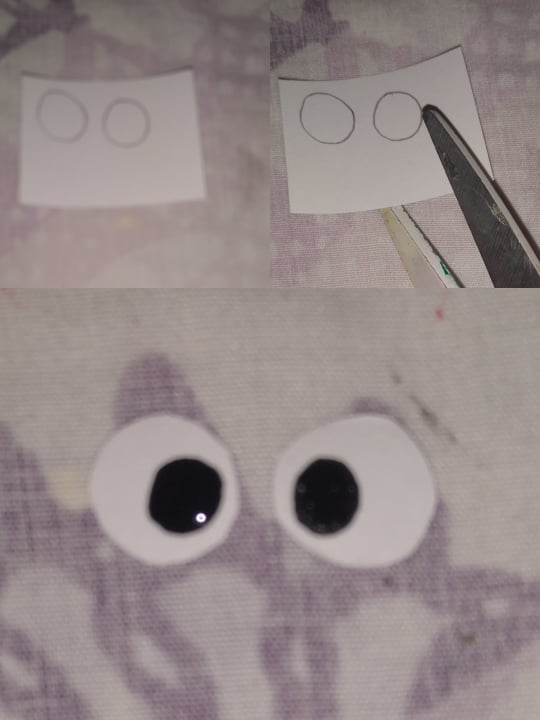
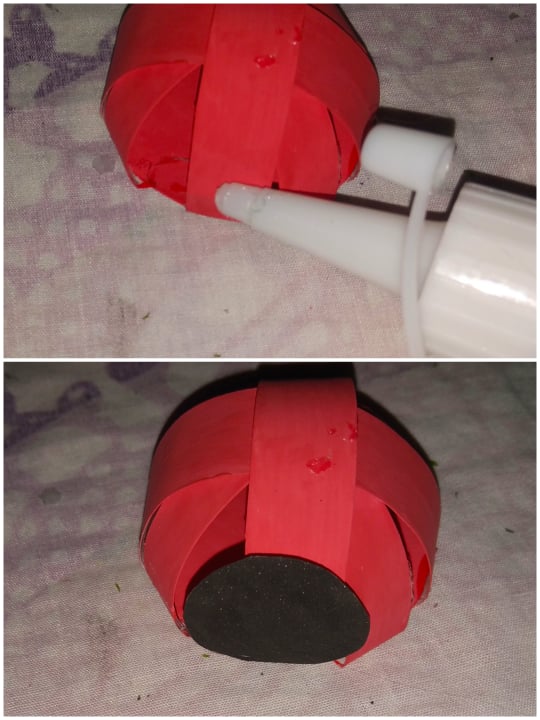
- En otro trozo de cartulina, dibuje, recorte y pinte, un circulo y los ojos de la mariquita.
- On another piece of cardboard, draw, cut out and paint a circle and the ladybug's eyes.
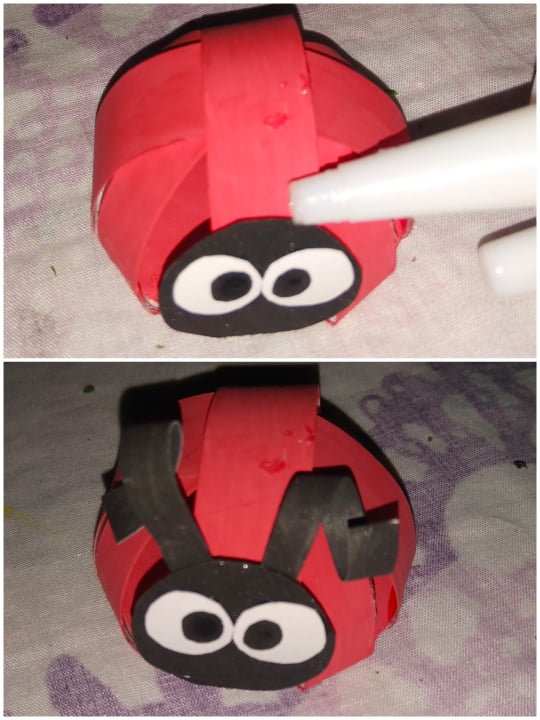
- Con una tira de cartulina sobrante hice las antenas.
- With a strip of excess cardboard I made the antennas.
- Al tener las piezas arme la mariquita.
- When having the pieces assemble the ladybug.
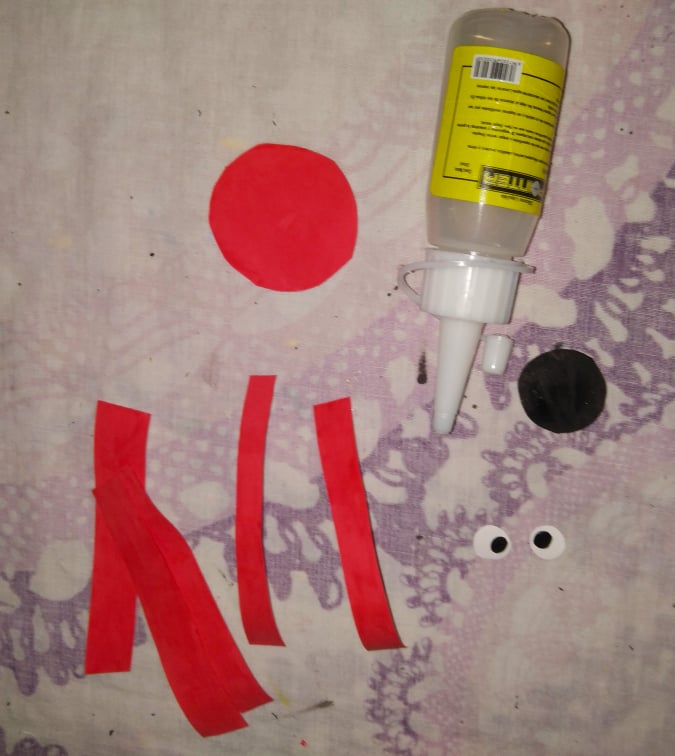
- Pegue las tiras por todo el alrededor del circulo, como india la foto.
- Glue the strips all around the circle, as shown in the photo.
- En un extremo pegue el circulo.
- At one end glue the circle.
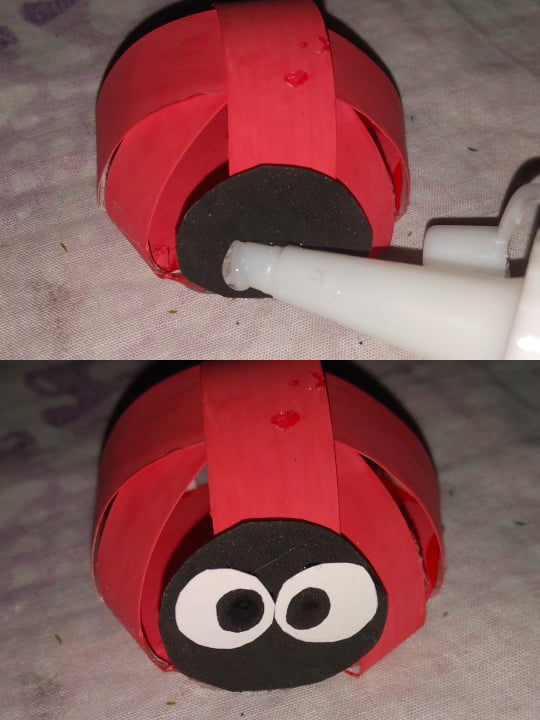
- Pegue los ojos y las antenas de la mariquitas.
- Glue on the eyes and antennae of the ladybugs.
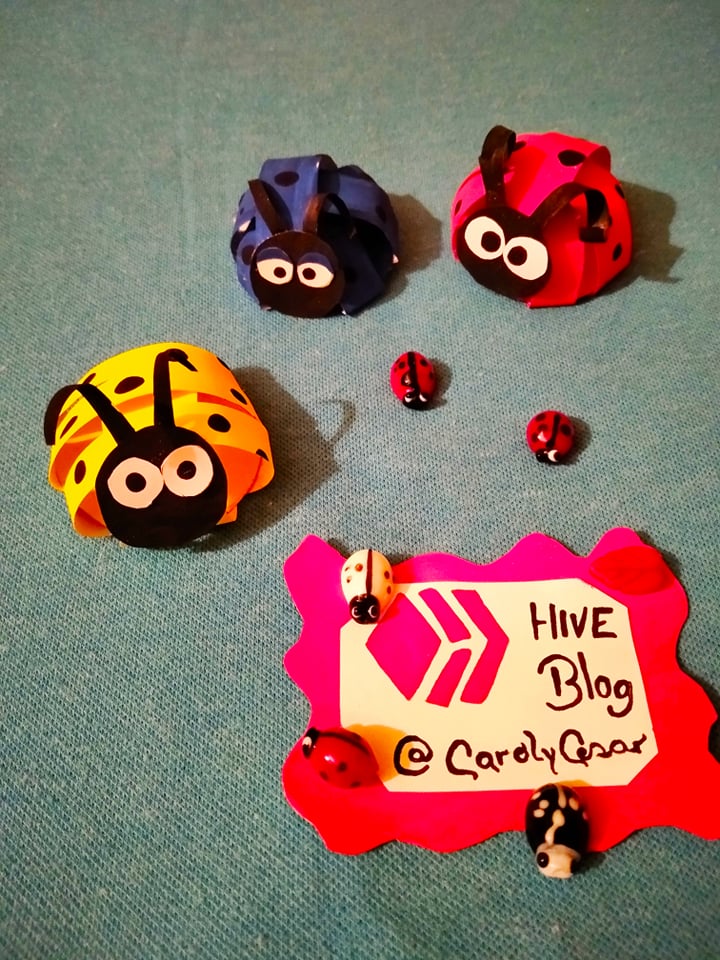
Son muy fáciles de hacer y quedan muy bellas.. Se verán muy bien en tu jardín o cualquier lugar de tu hogar..
They are very easy to make and are very beautiful .. They will look great in your garden or anywhere in your home ..
Hasta una nueva oportunidad
Until a new opportunity
Dios los bendiga..
God bless you..
Congratulations @carolycesar15! You have completed the following achievement on the Hive blockchain and have been rewarded with new badge(s) :
Your next target is to reach 1750 upvotes.
Your next target is to reach 100 replies.
Your next payout target is 1000 HP.
The unit is Hive Power equivalent because your rewards can be split into HP and HBD
You can view your badges on your board and compare yourself to others in the Ranking
If you no longer want to receive notifications, reply to this comment with the word
STOPTo support your work, I also upvoted your post!
Check out the last post from @hivebuzz:
Support the HiveBuzz project. Vote for our proposal!