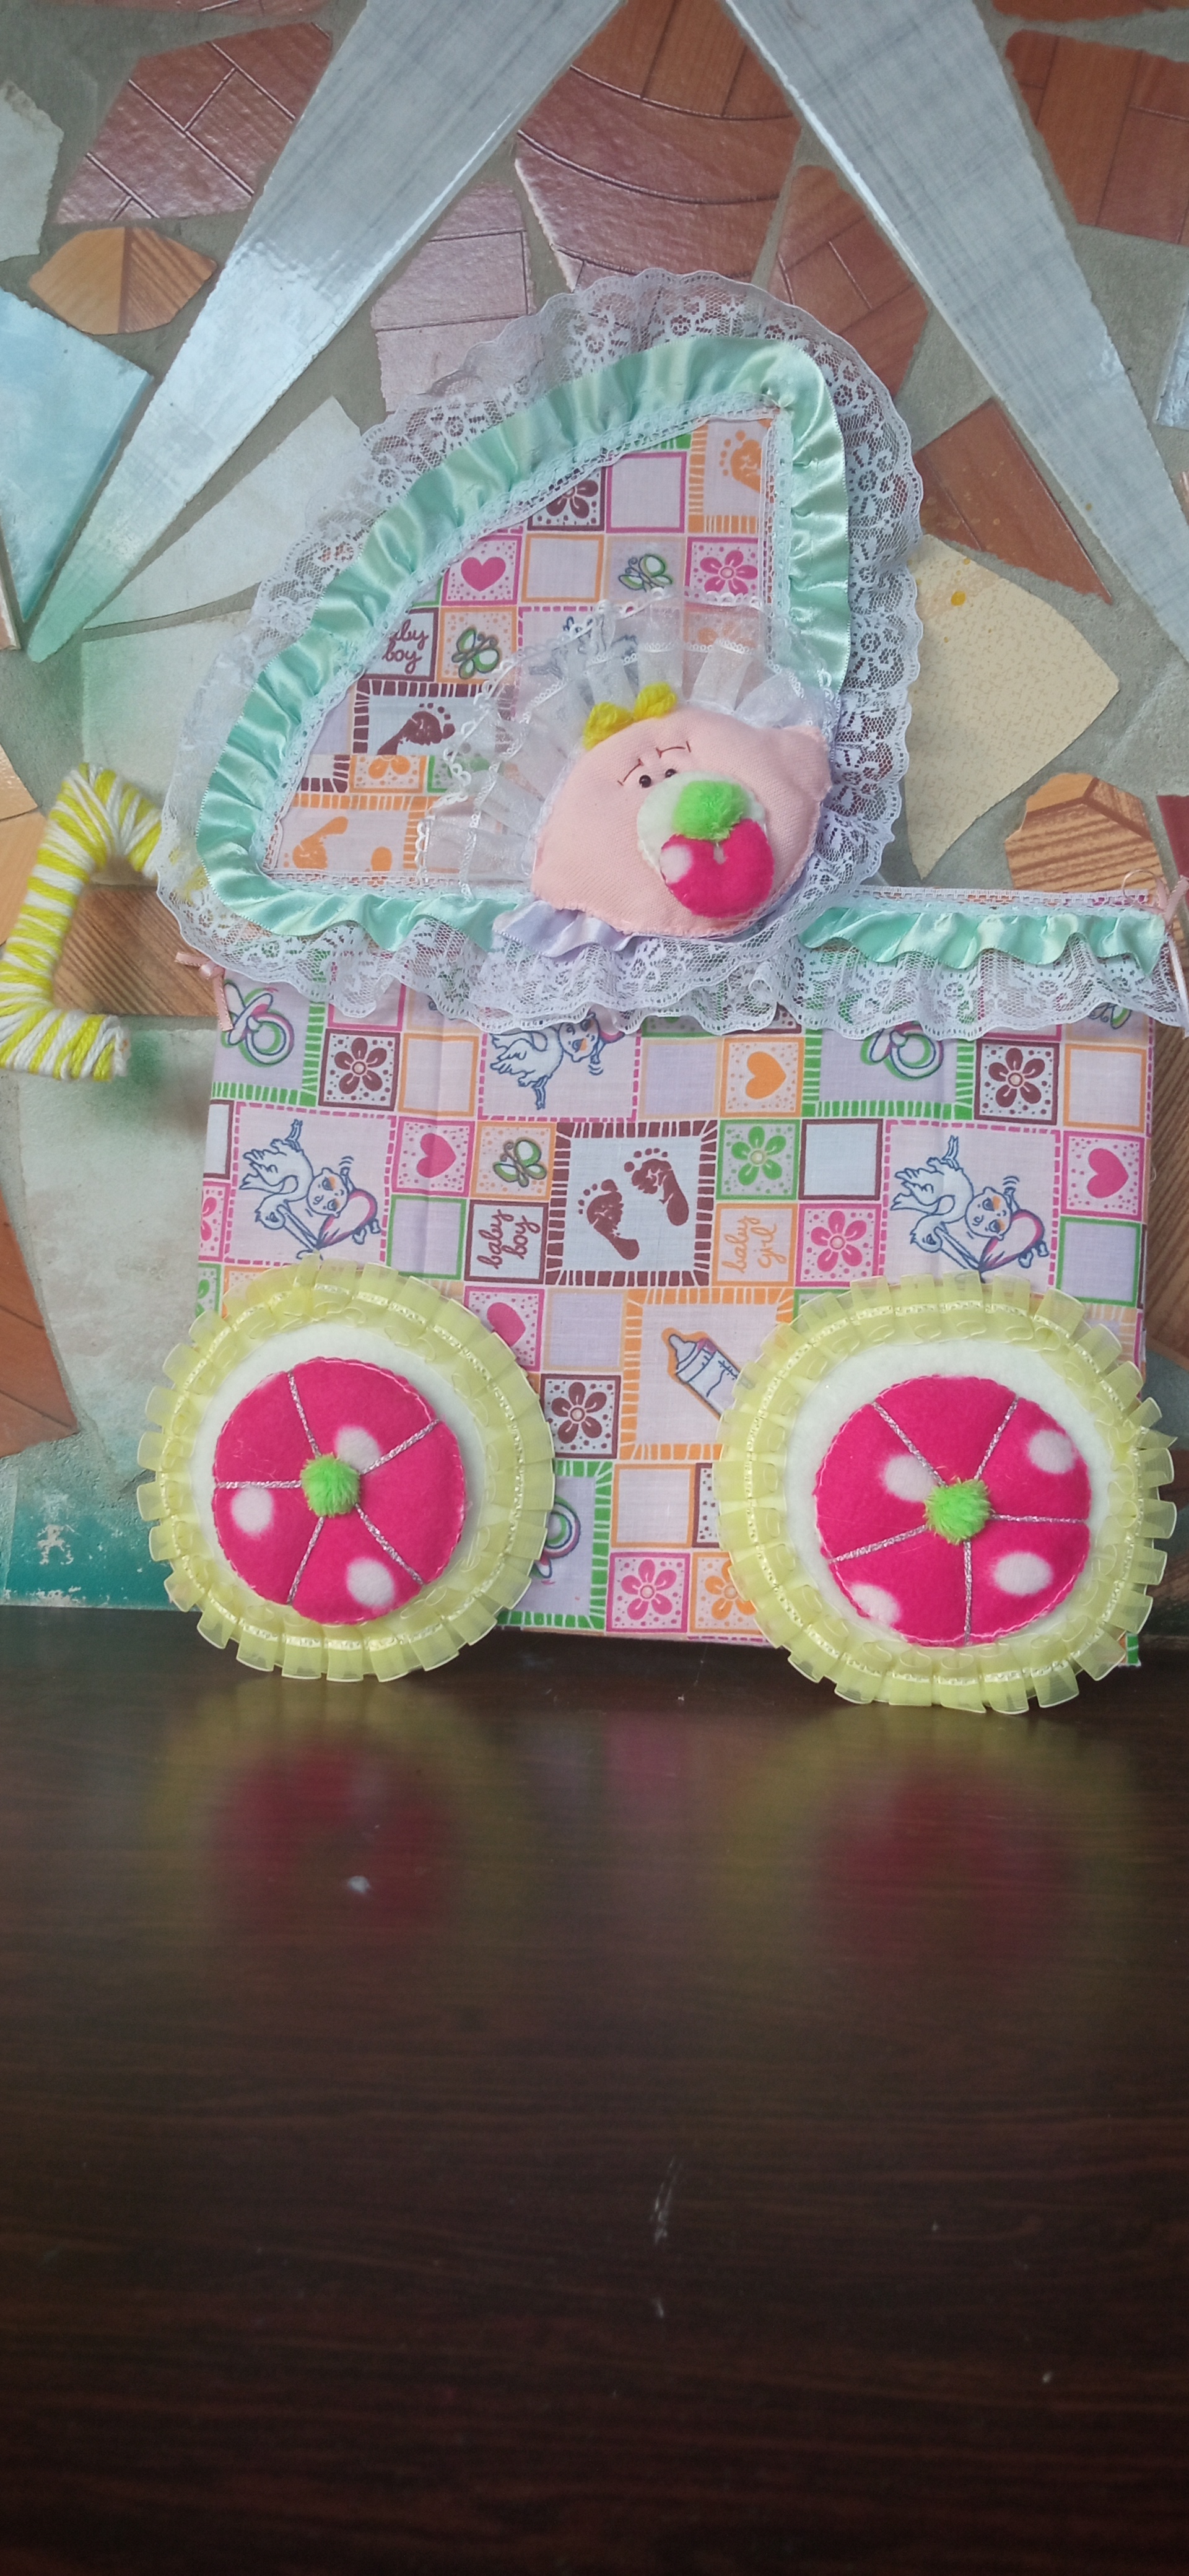
Good evening dear friends of Hive. In this opportunity I present you how to make a beautiful decorative folder ideal for storing the personal documentation of our children, their vaccination card. In short, it is ideal for their medical control or simply what you want to keep or file.
I made it for my grandson or granddaughter who is on the way. We still don't know the sex of the baby because my daughter-in-law is only 2 months pregnant but we are super happy it's my first grandchild.
Los materiales que utilize para esta carpeta decorada fueron:
- Un 1/4 de Metro de tela estampada con motivos de bebé.
- Un 1/4 de metro de Cintas y encajes (de su preferencia).
- Una barra de silicón.
- Pistola de silicón.
- Carpeta marrón tamaño carta.
- Cartón.
- Guata.
- 2 canustillos negros (para los ojos).
- Retazos de Manta Polar color crema.verde y fucsia estampada.
- Retazo de tela gris y piel.
- Estambre amarillo y blanco.
- Hilos y agujas para coser.
- Hilo lame plateado.
The materials I used for this decorated binder were :
- 1/4 yard of printed fabric with baby motifs.
- A 1/4 meter of ribbons and lace (of your choice).
- A silicone stick.
- Silicone gun.
- Brown letter size folder.
- Cardboard.
- Wadding.
- 2 black canustillos (for the eyes).
- Cream, green and fuchsia printed Polar Blanket scraps.
- Piece of gray fabric and fur.
- Yellow and white yarn.
- Thread and needles for sewing.
- Silver lame thread.

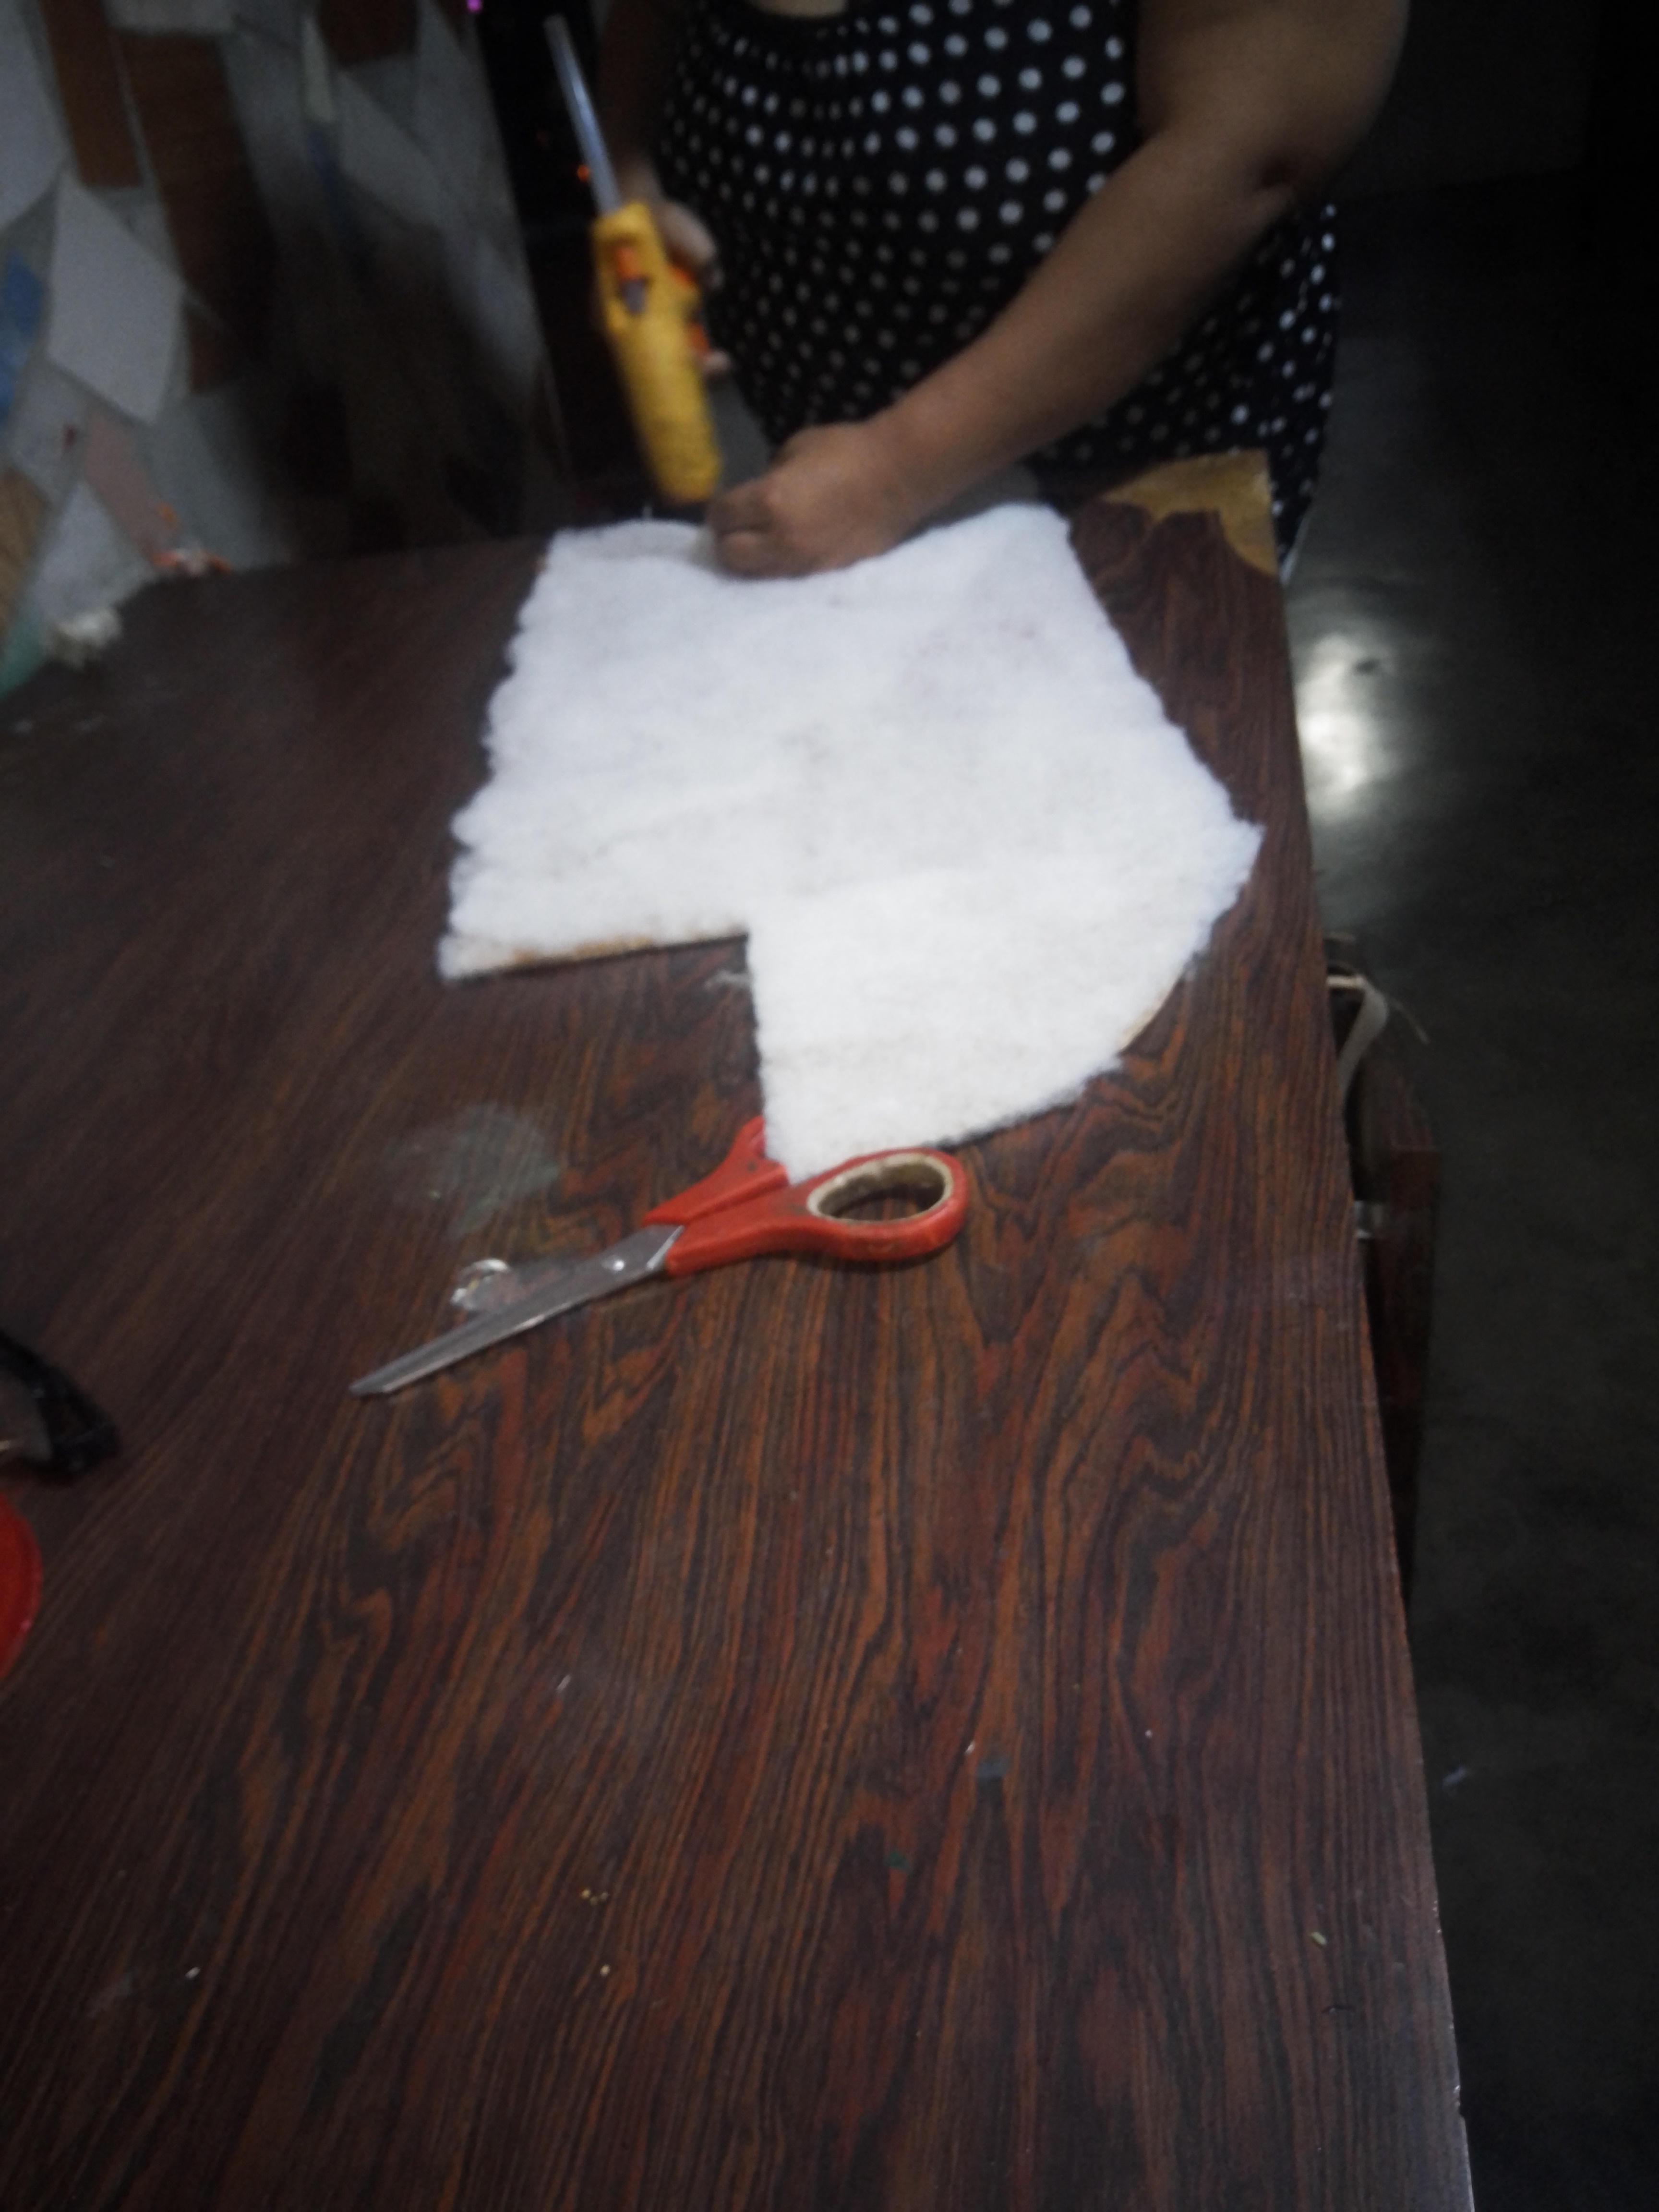
Paso 1:
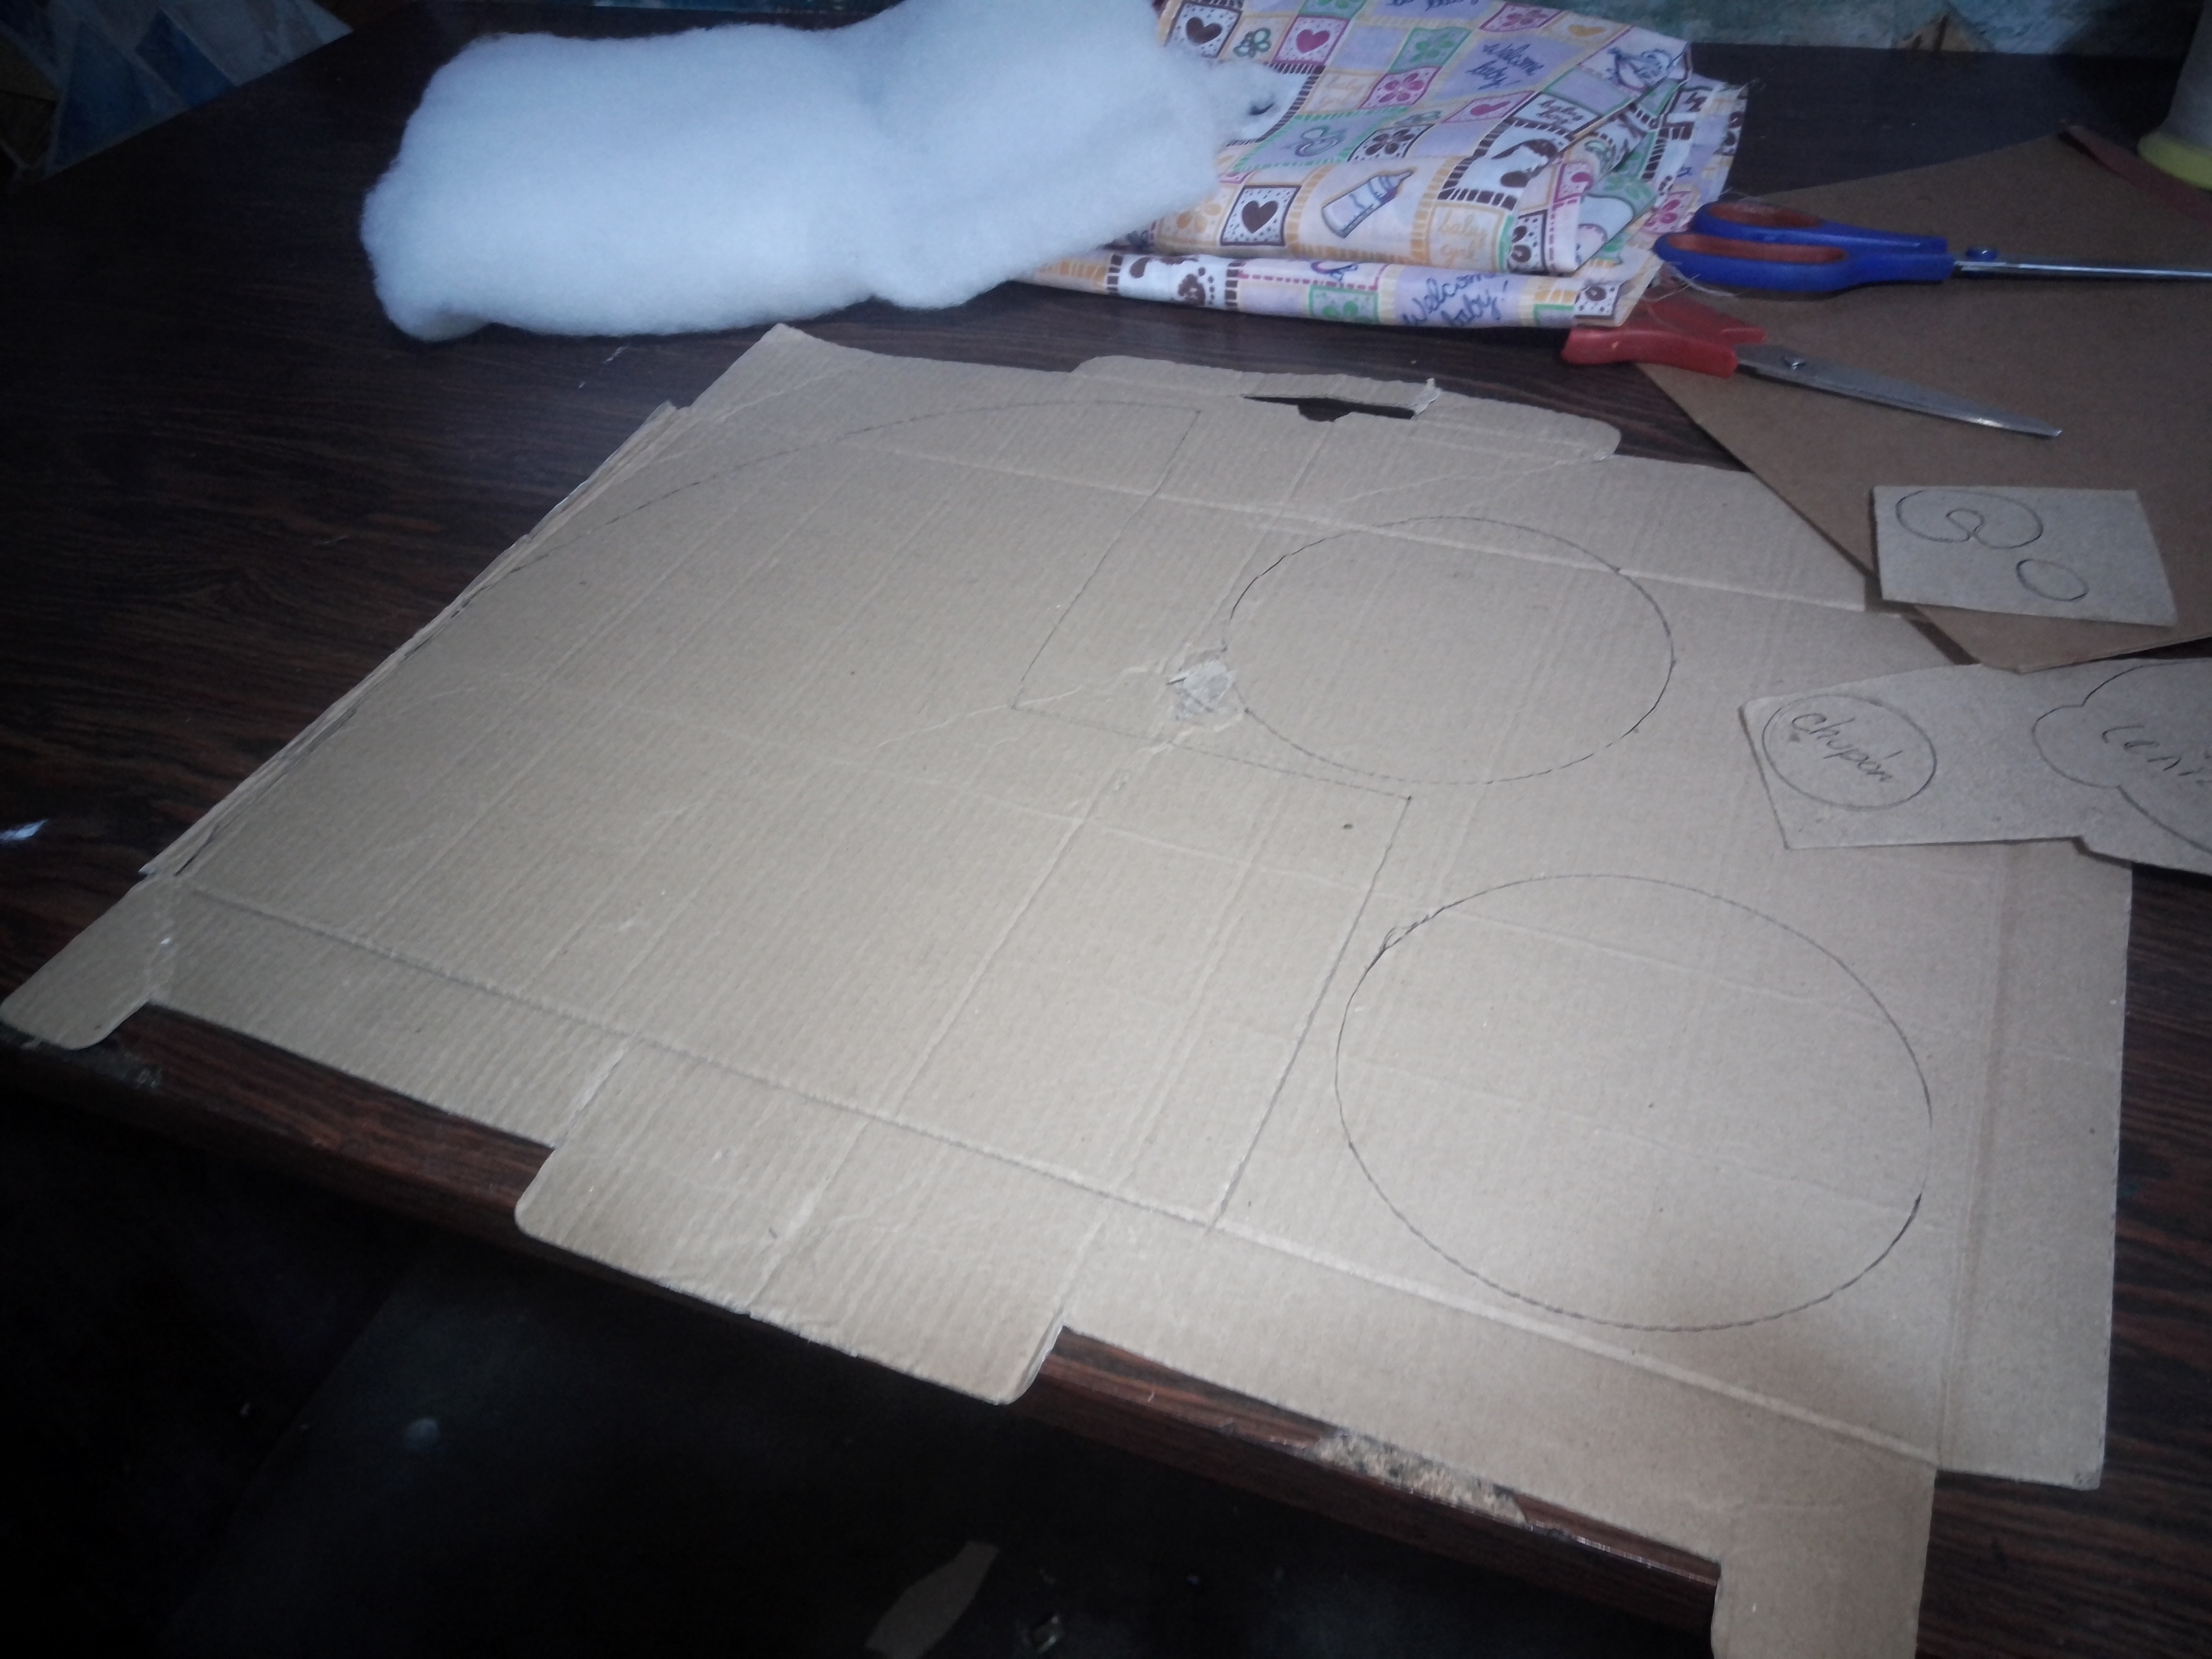
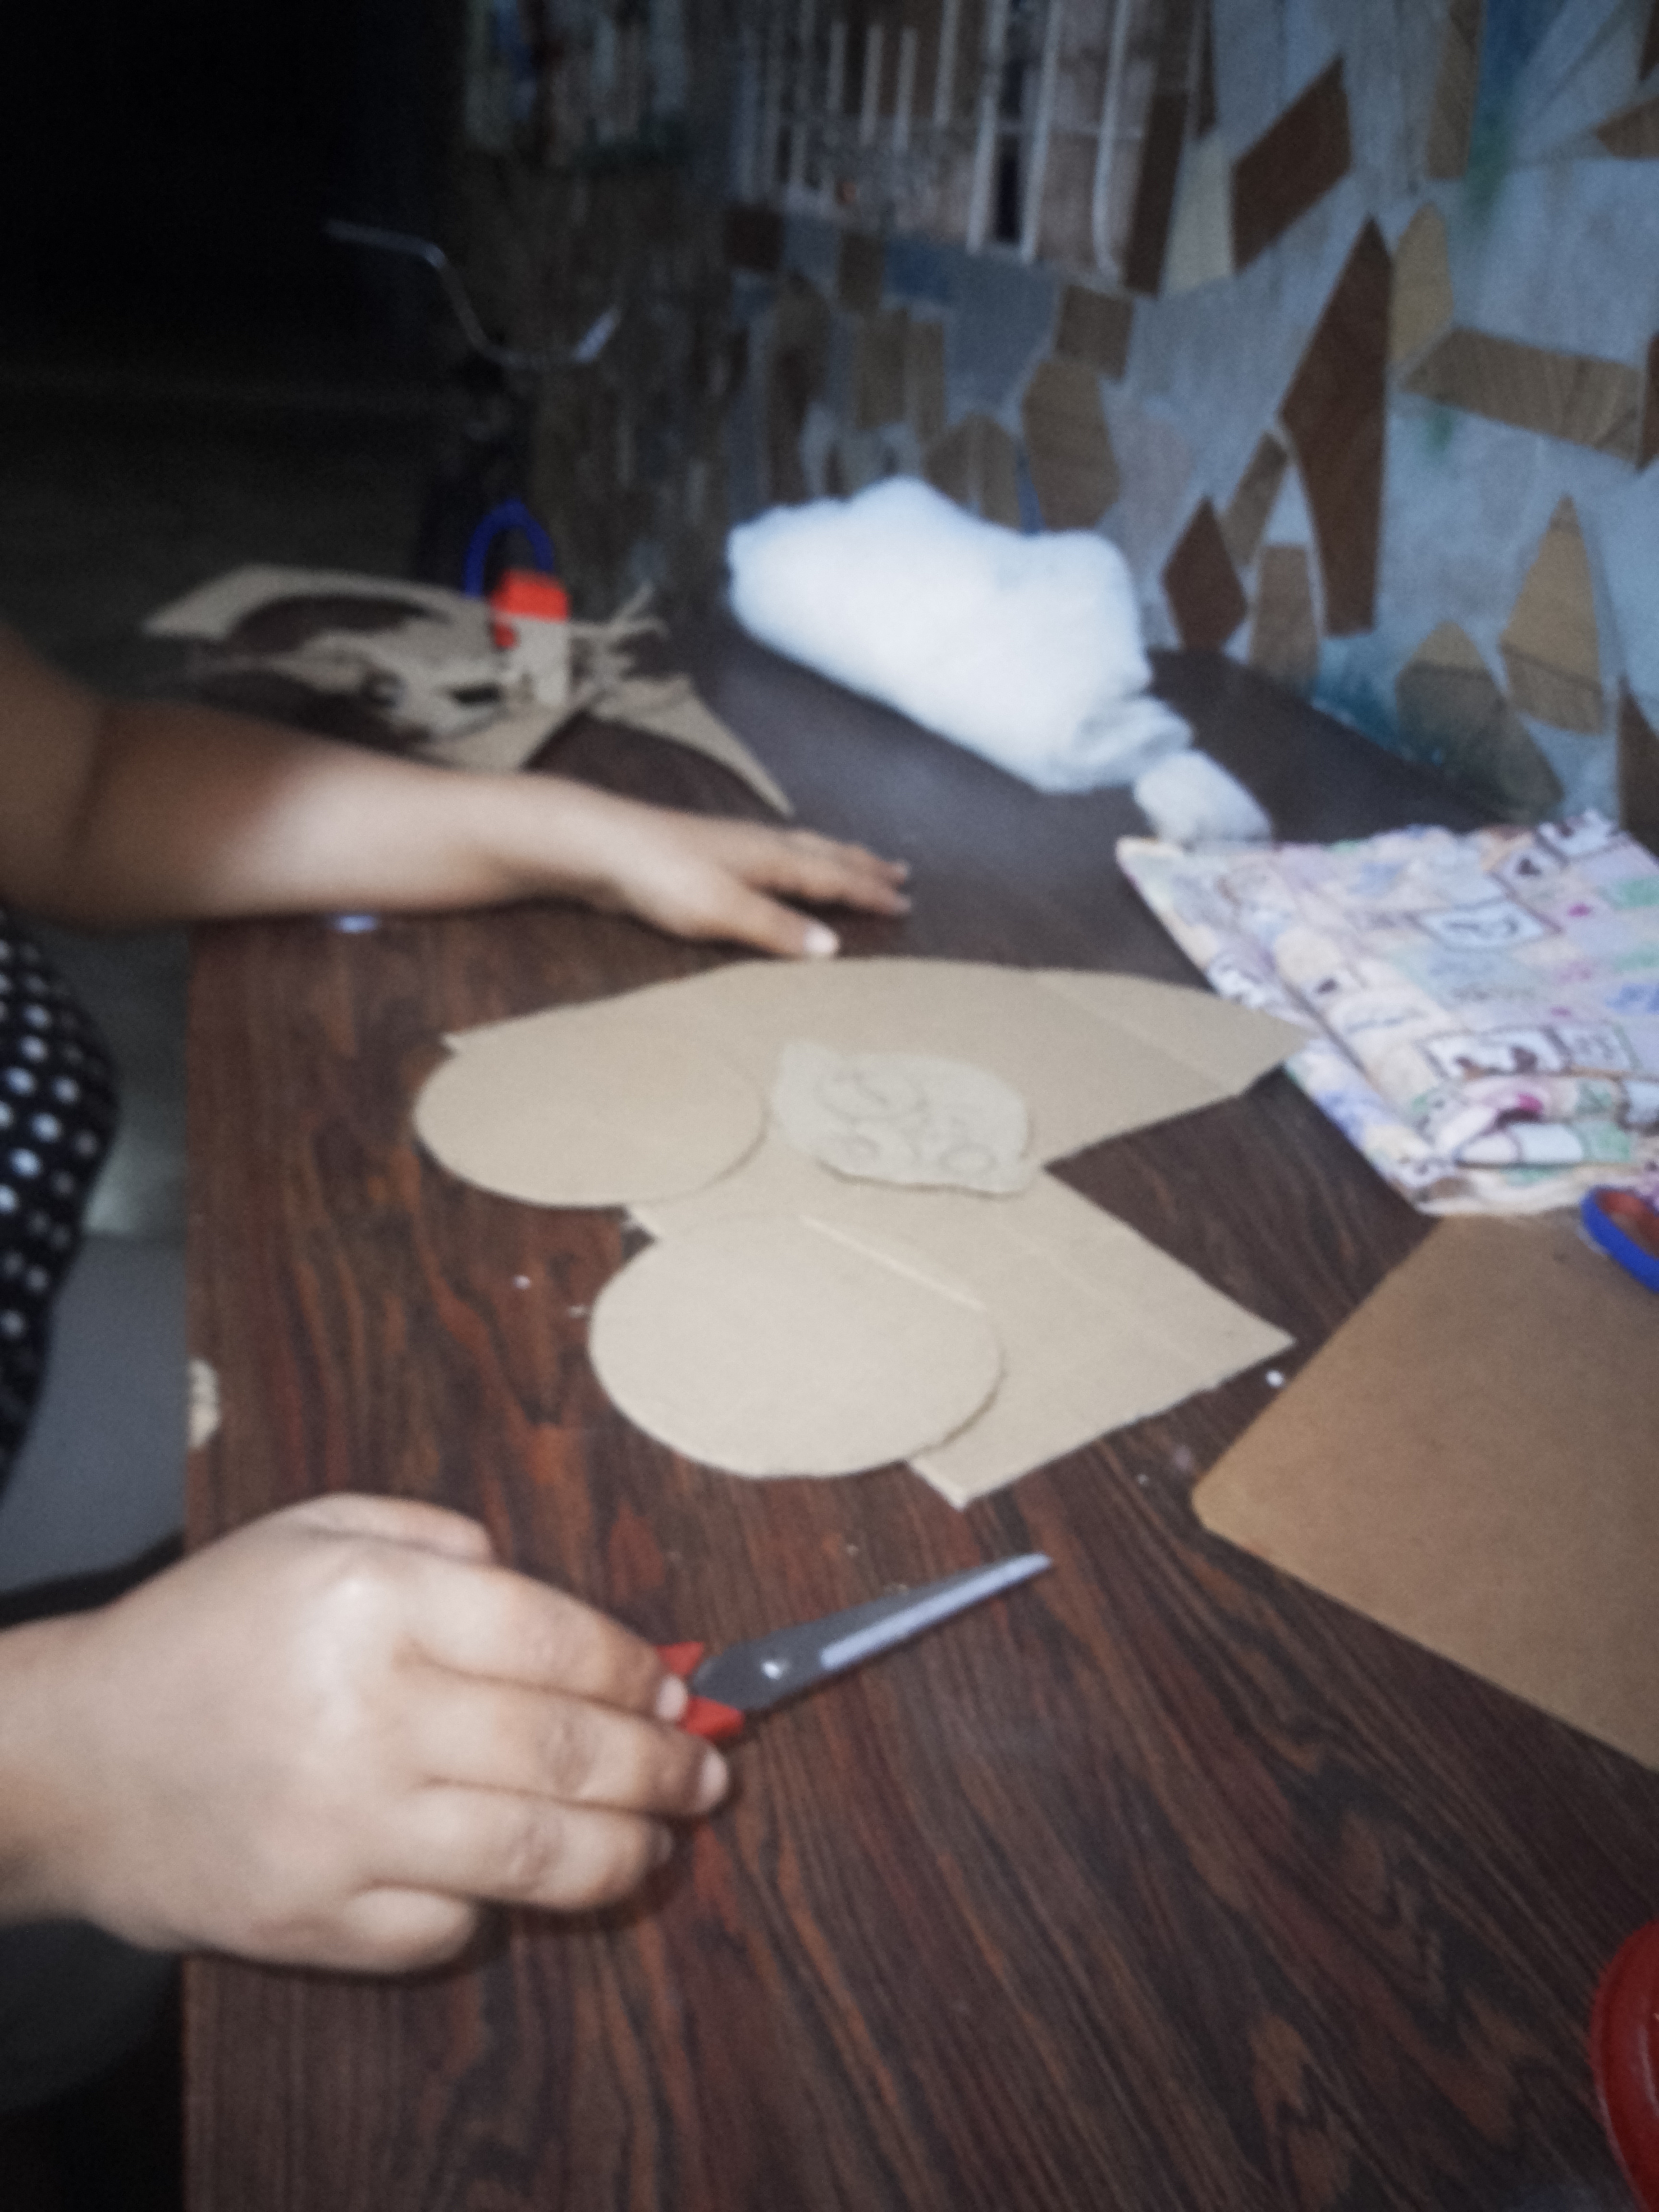
Dibuje el diseño del coche,el bebé y las partes del chupón en el cartón, luego los recorte.
Step 1
Draw the design of the car,baby and pacifier parts on the cardboard, then cut them out.
Paso 2:
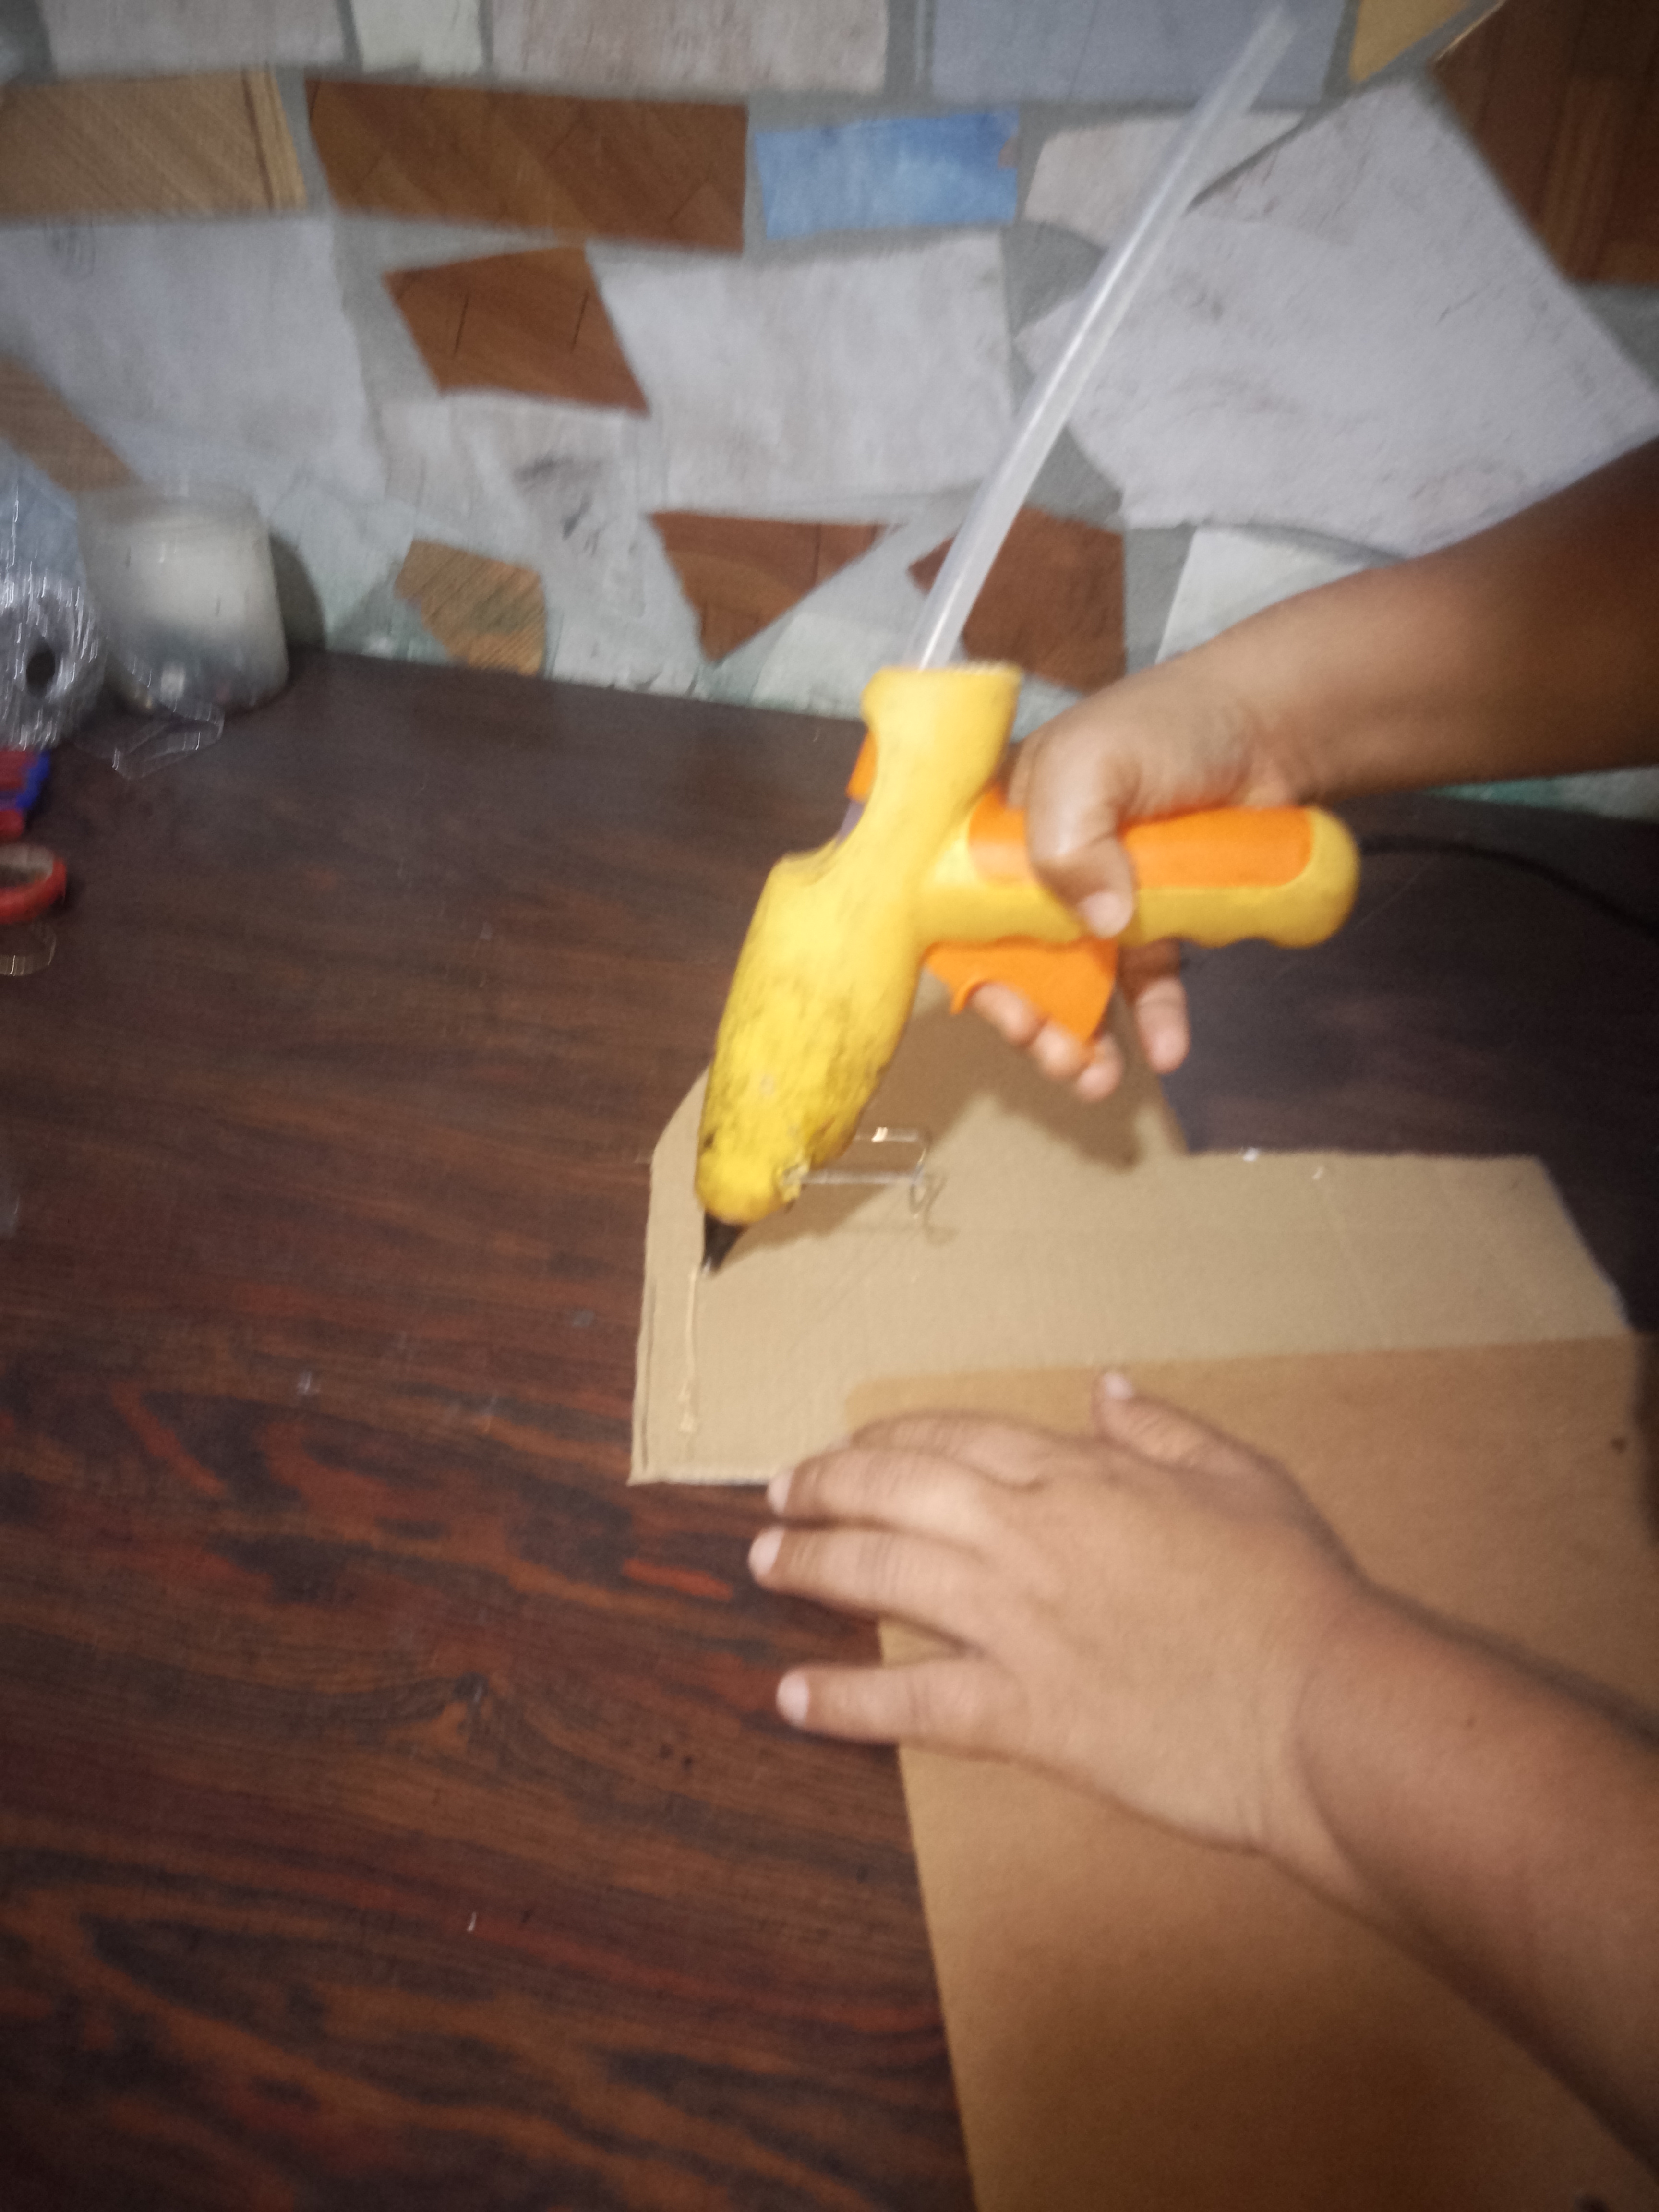
Con la pistola de silicón pegue el diseño del coche a la carpeta marrón y la forre con guata.
Step 2:
With the silicone gun, glue the car design to the brown folder and line it with wadding.
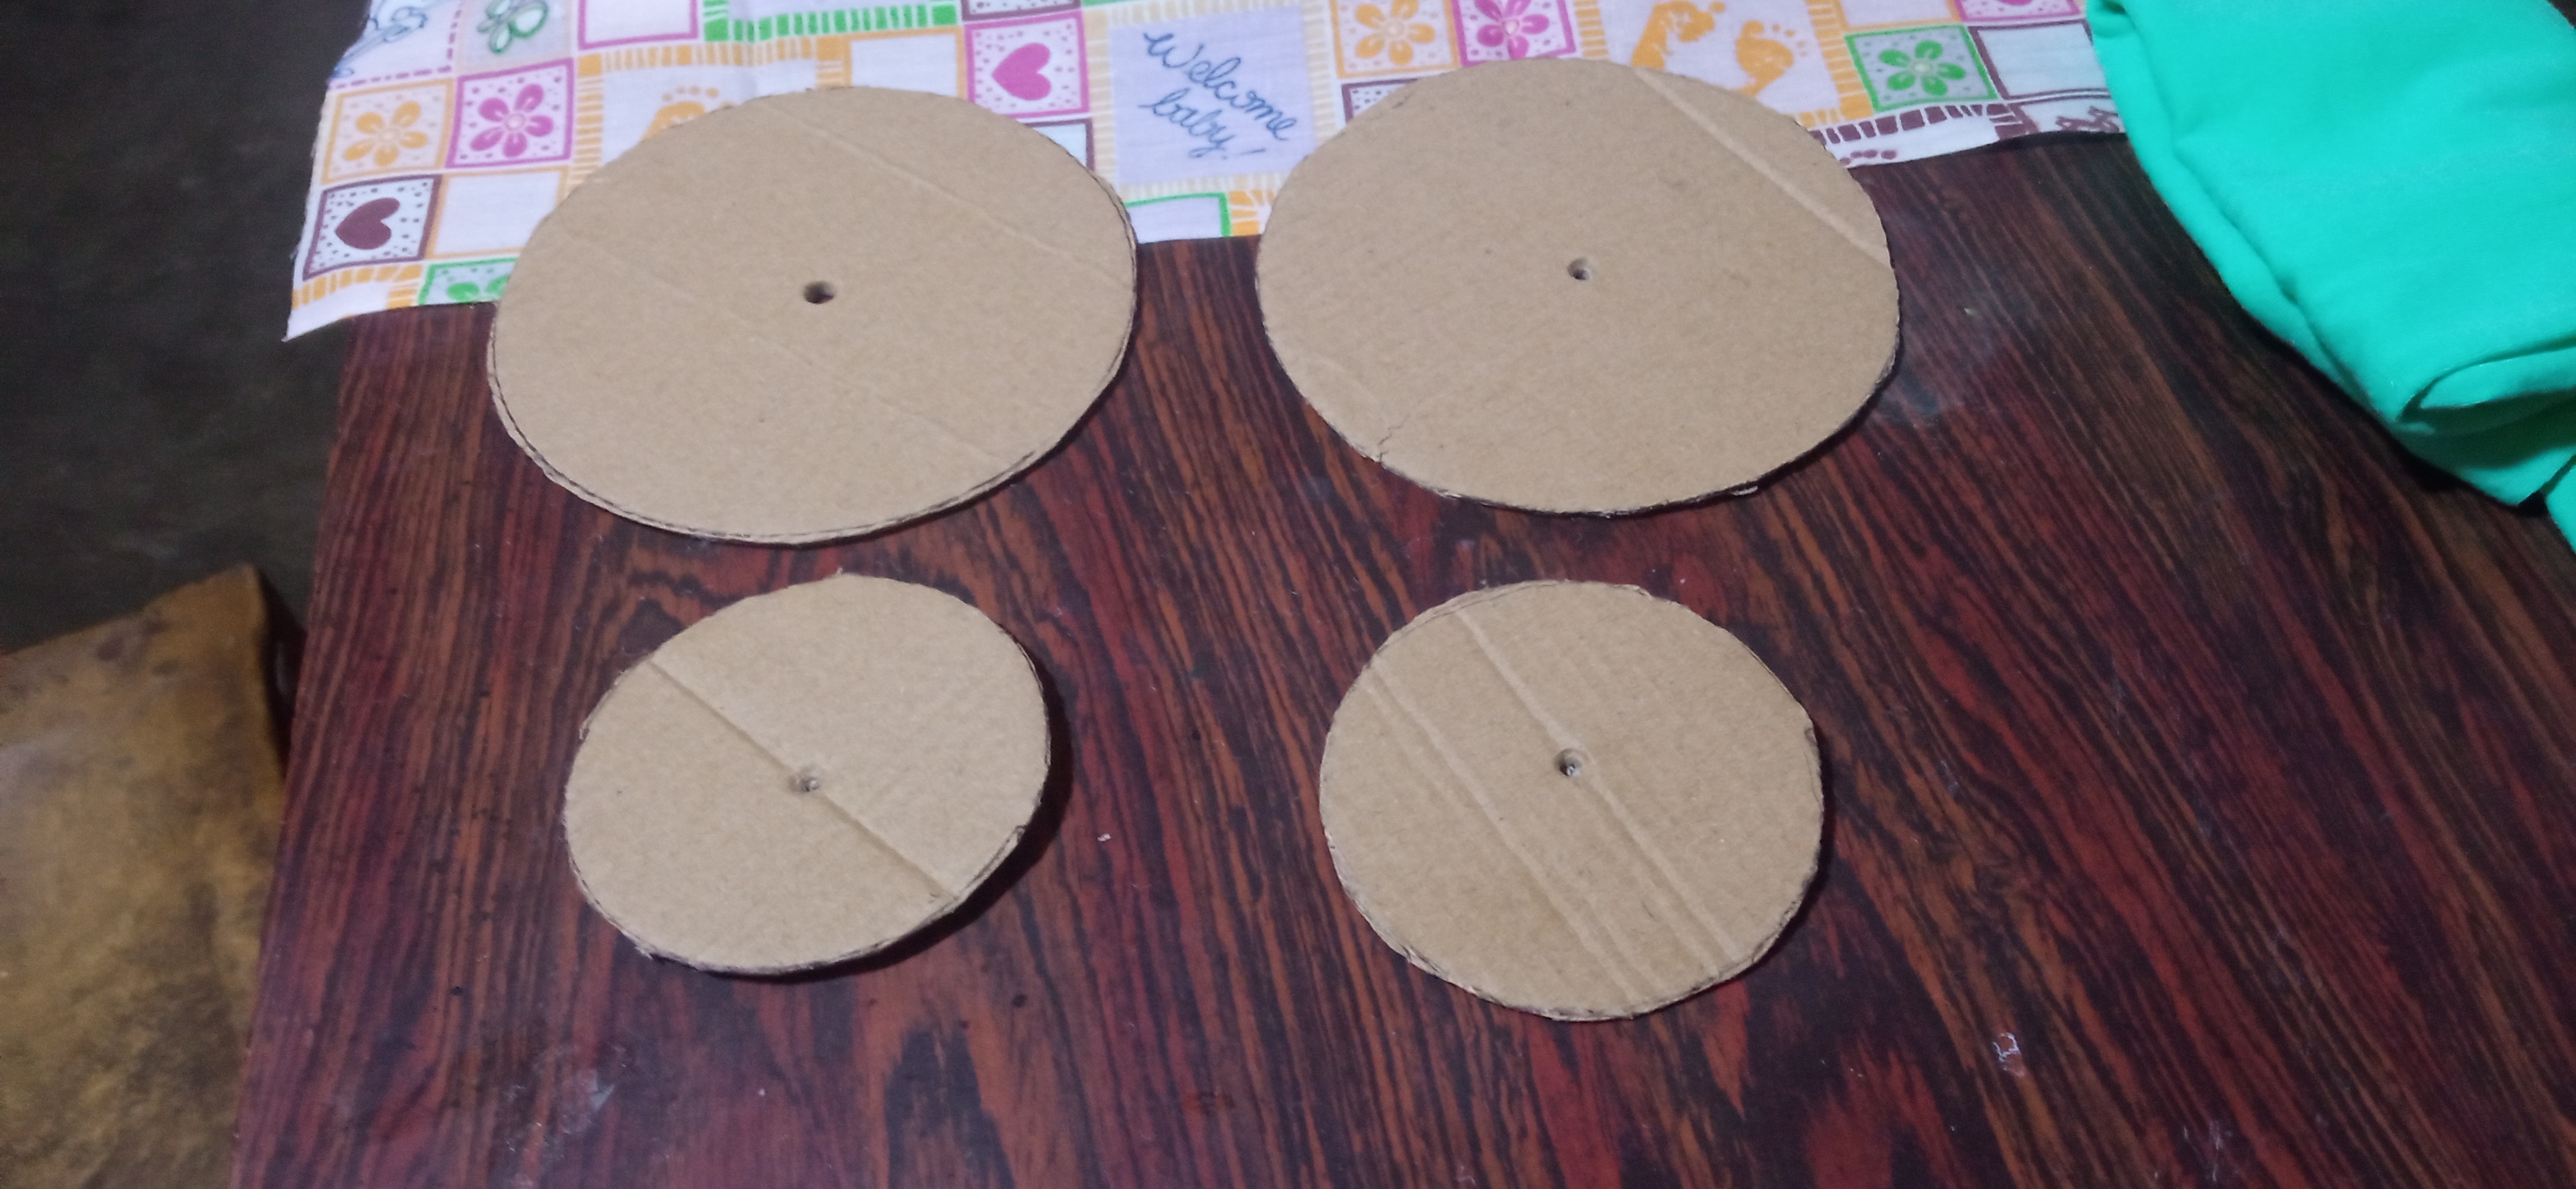
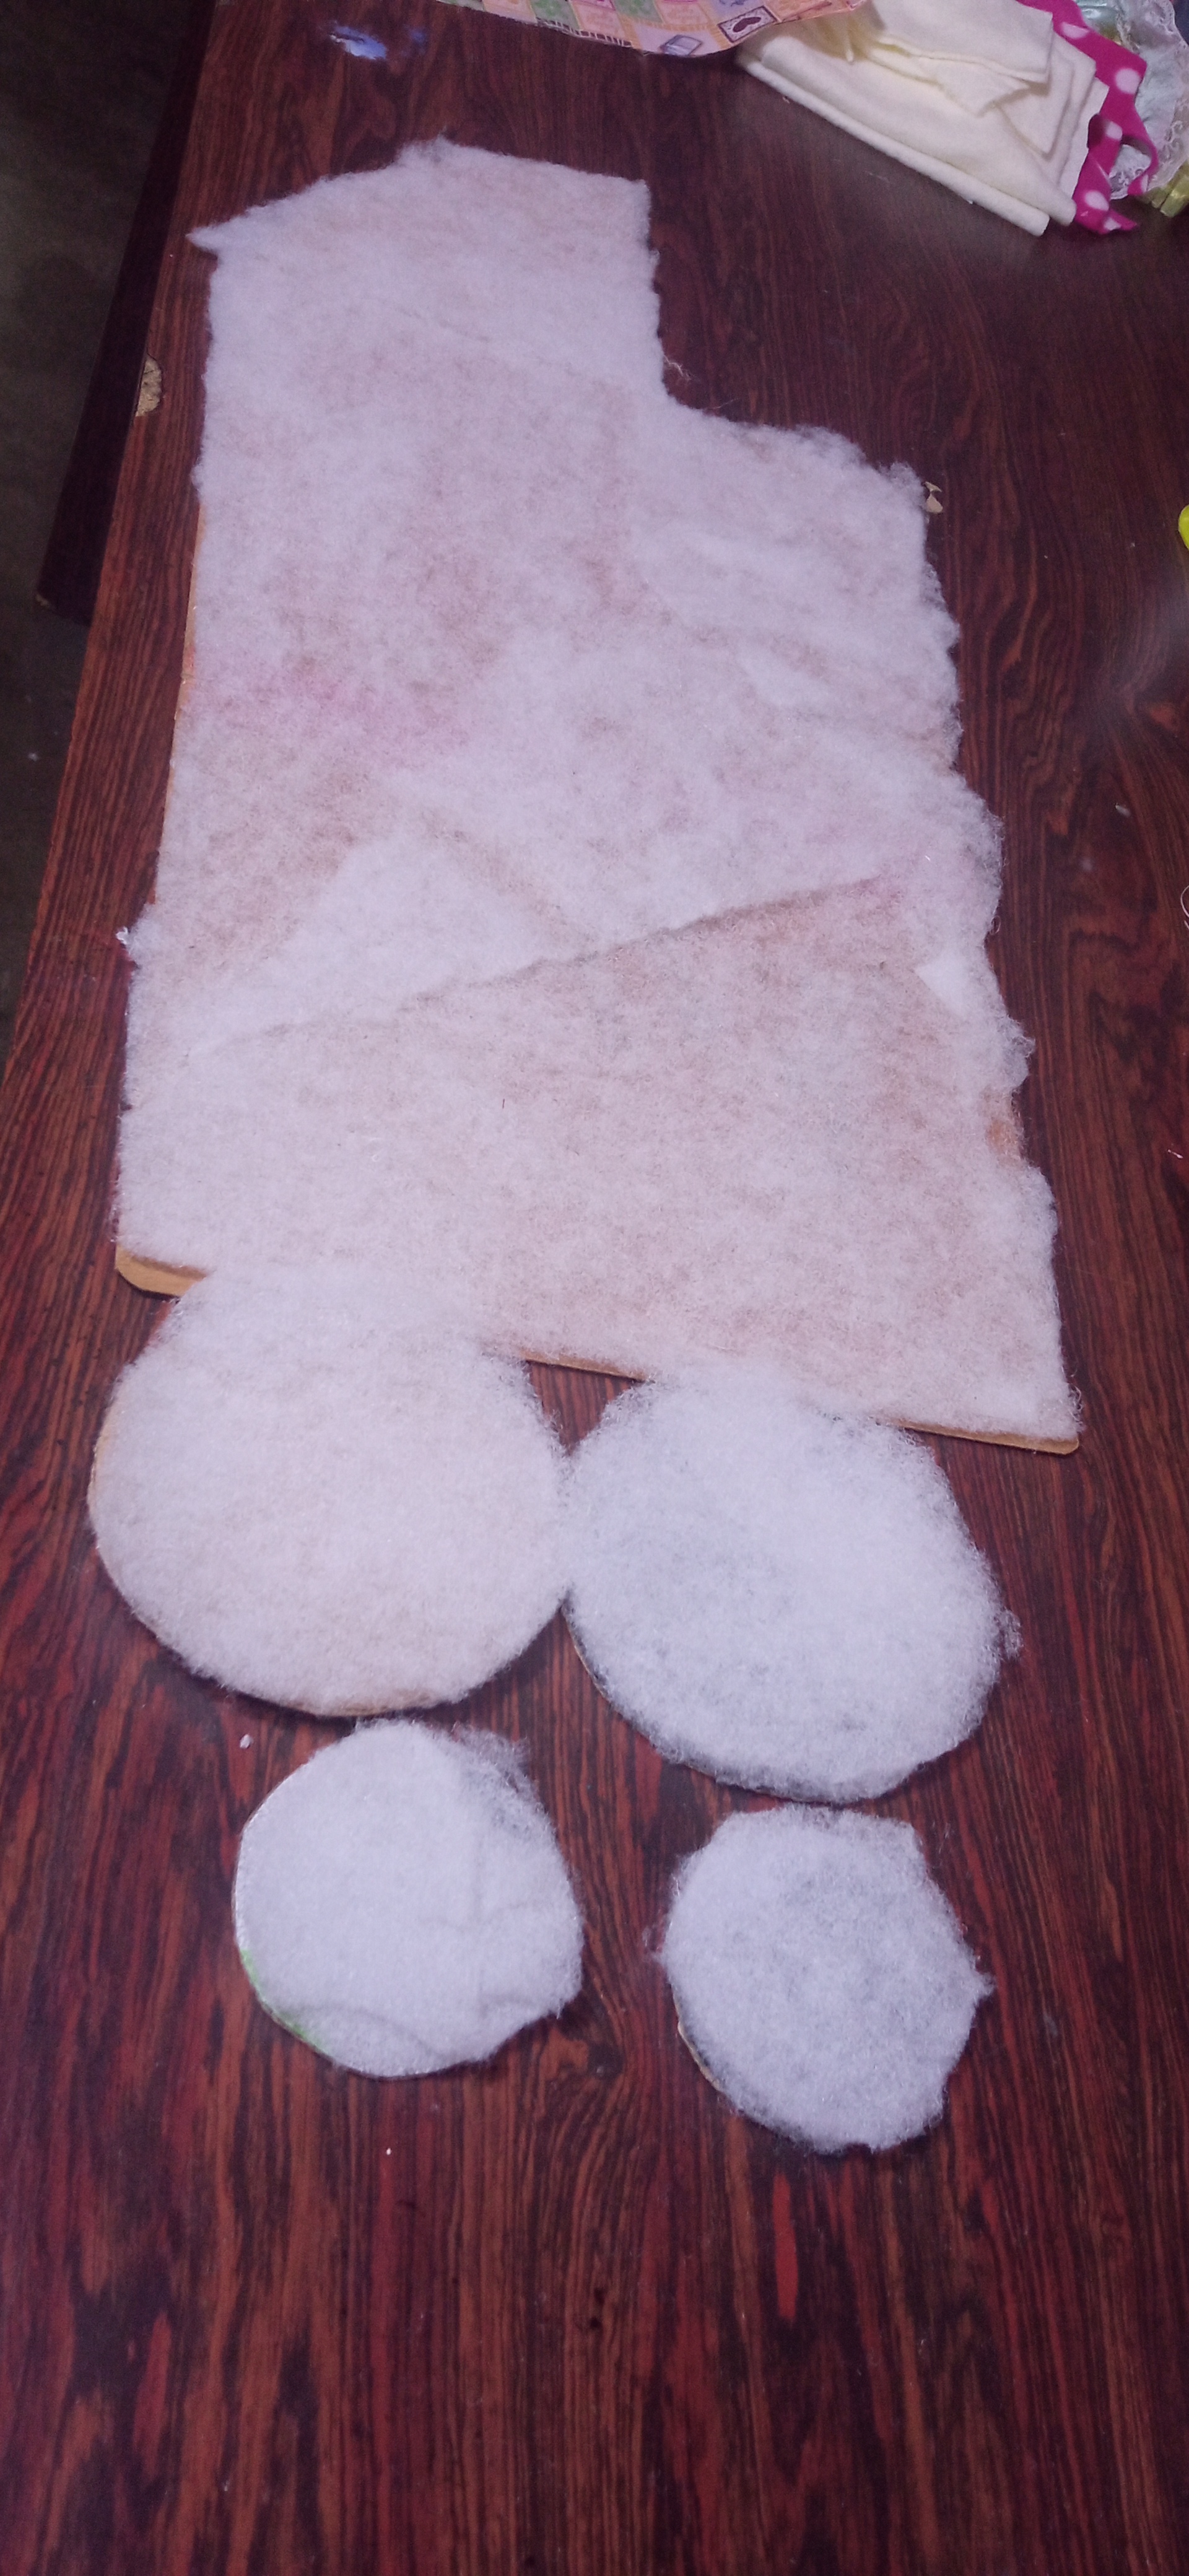
Paso 3:
Con la ayuda de un lapicero agujere los cuatro circulos para hacer las ruedas del coche al igual que la carpeta las forre con guata para darle mas volumen a las ruedas del coche.
Step 3:
With the help of a pencil I pierced the four circles to make the wheels of the car as well as the folder I lined them with wadding to give more volume to the wheels of the car.
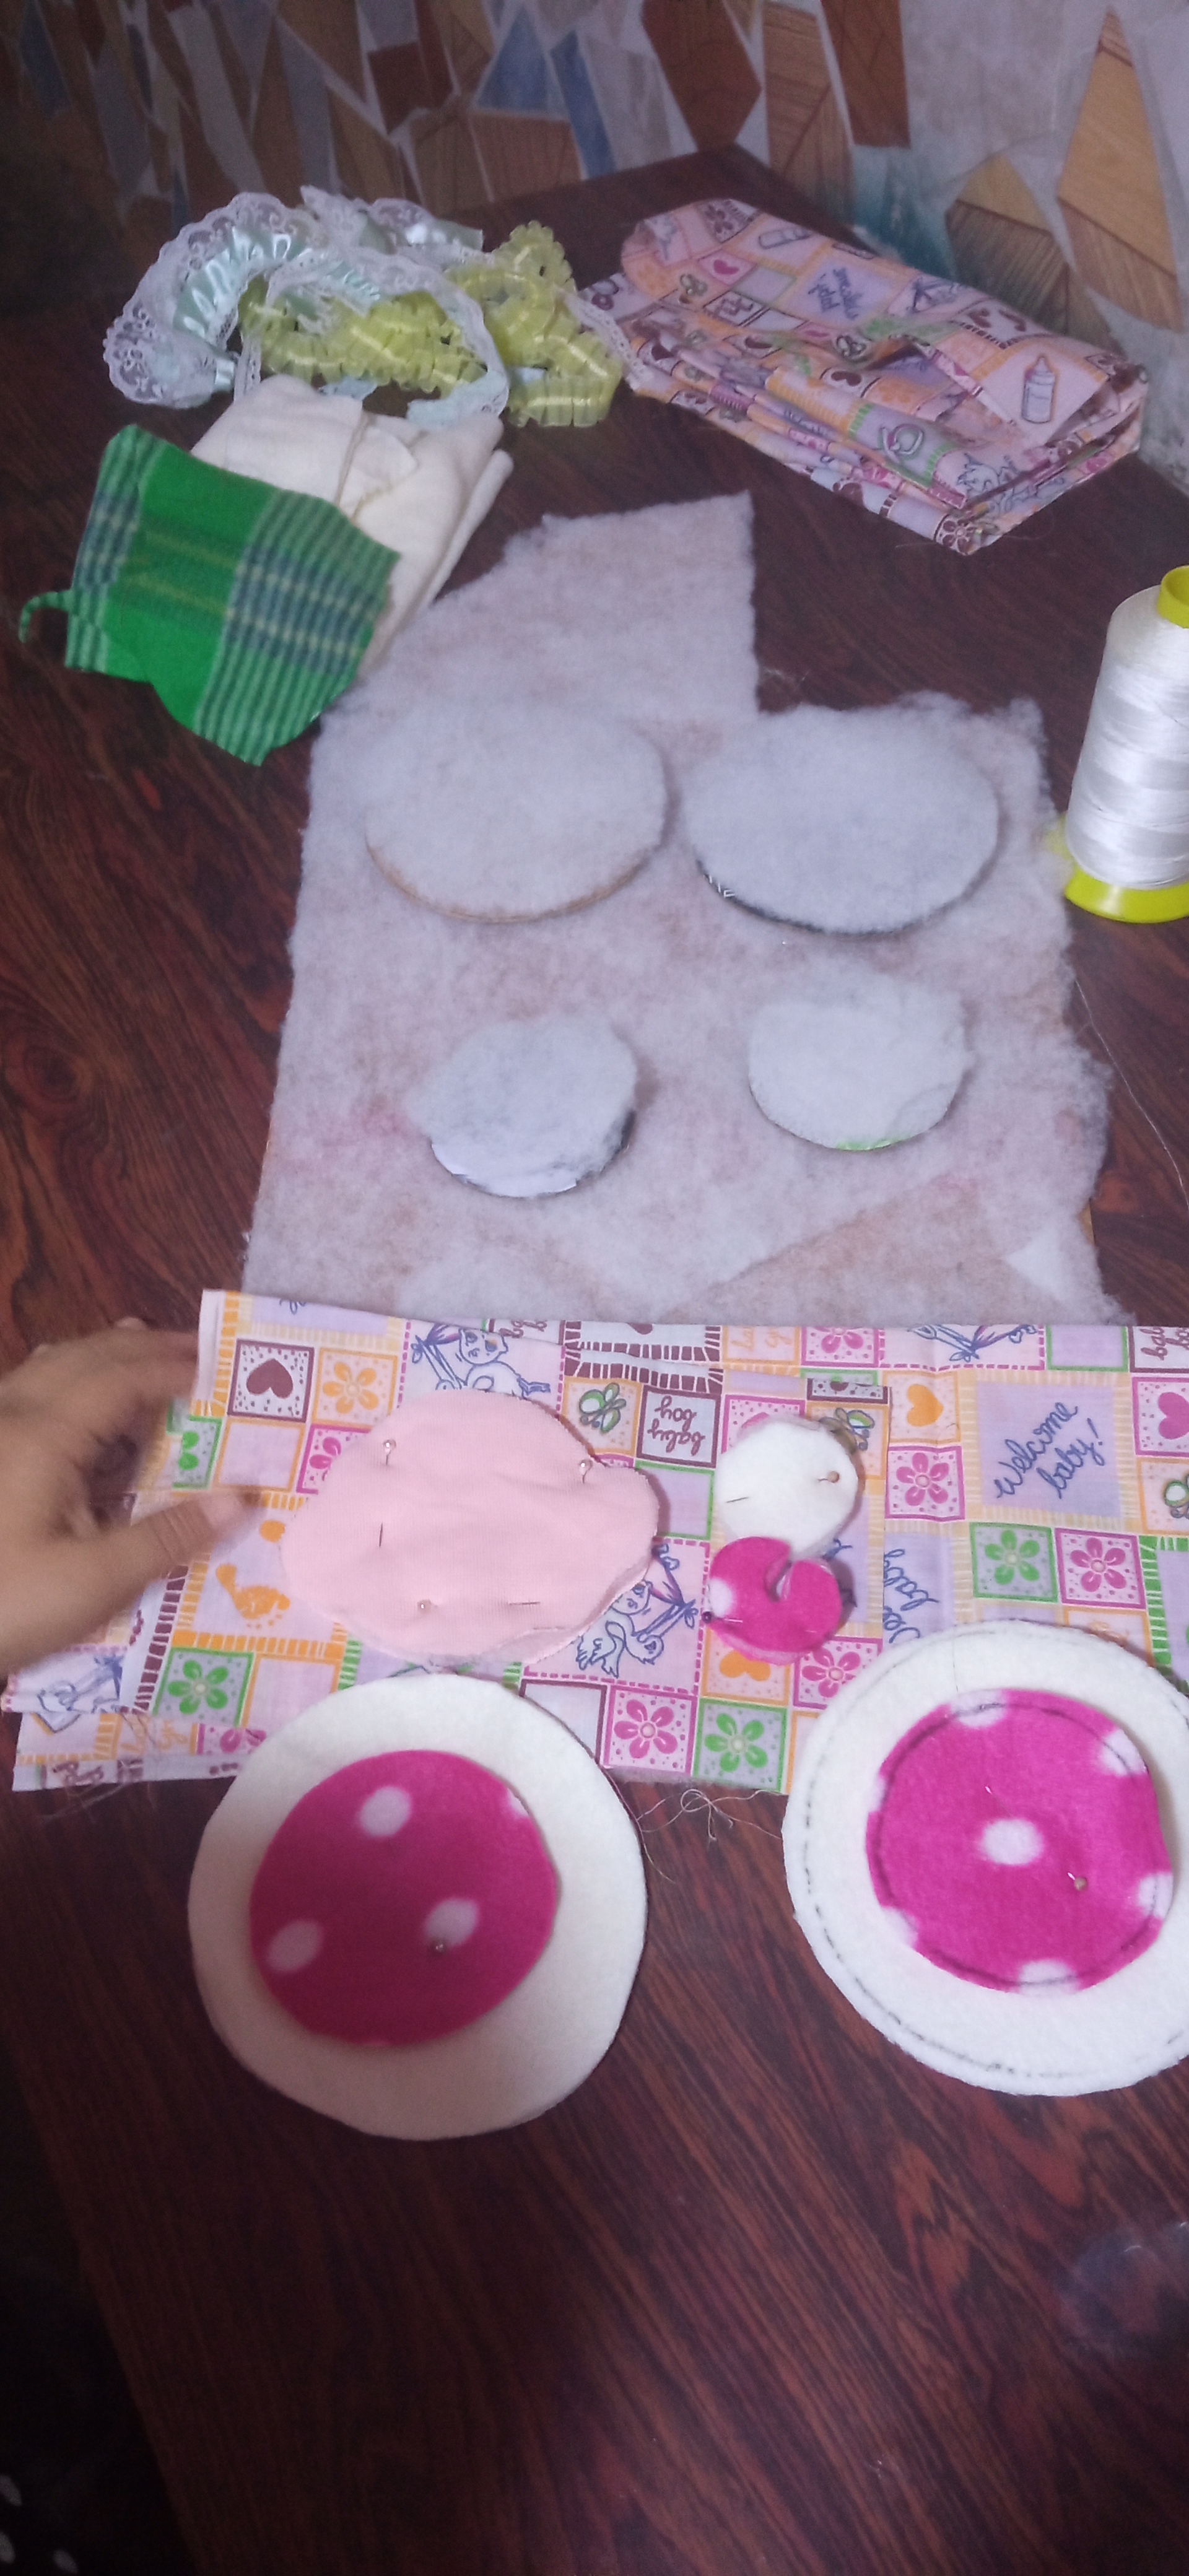
Paso 4:
Corté un rectángulo de 73 Centimetros de largo por 37 Centimeros de ancho la tela estampada con motivo de bebe (para forrar la carpeta), cuatro (4) circulos de 13 centimetros de diámetro aproximadamente de manta polar crema, cuatro (4) circulos de 8 centímetros de manta polar fucsia estampada, la cara del bebe con tela de color piel, y las partes del chupón.
Step 4:
I cut a 73 centimeter long by 37 centimeter wide rectangle of baby patterned fabric (to line the folder), four (4) circles of approximately 13 centimeters in diameter of cream fleece, four (4) 8 centimeter circles of fuchsia patterned fleece, the baby's face with skin colored fabric, and the pacifier parts.
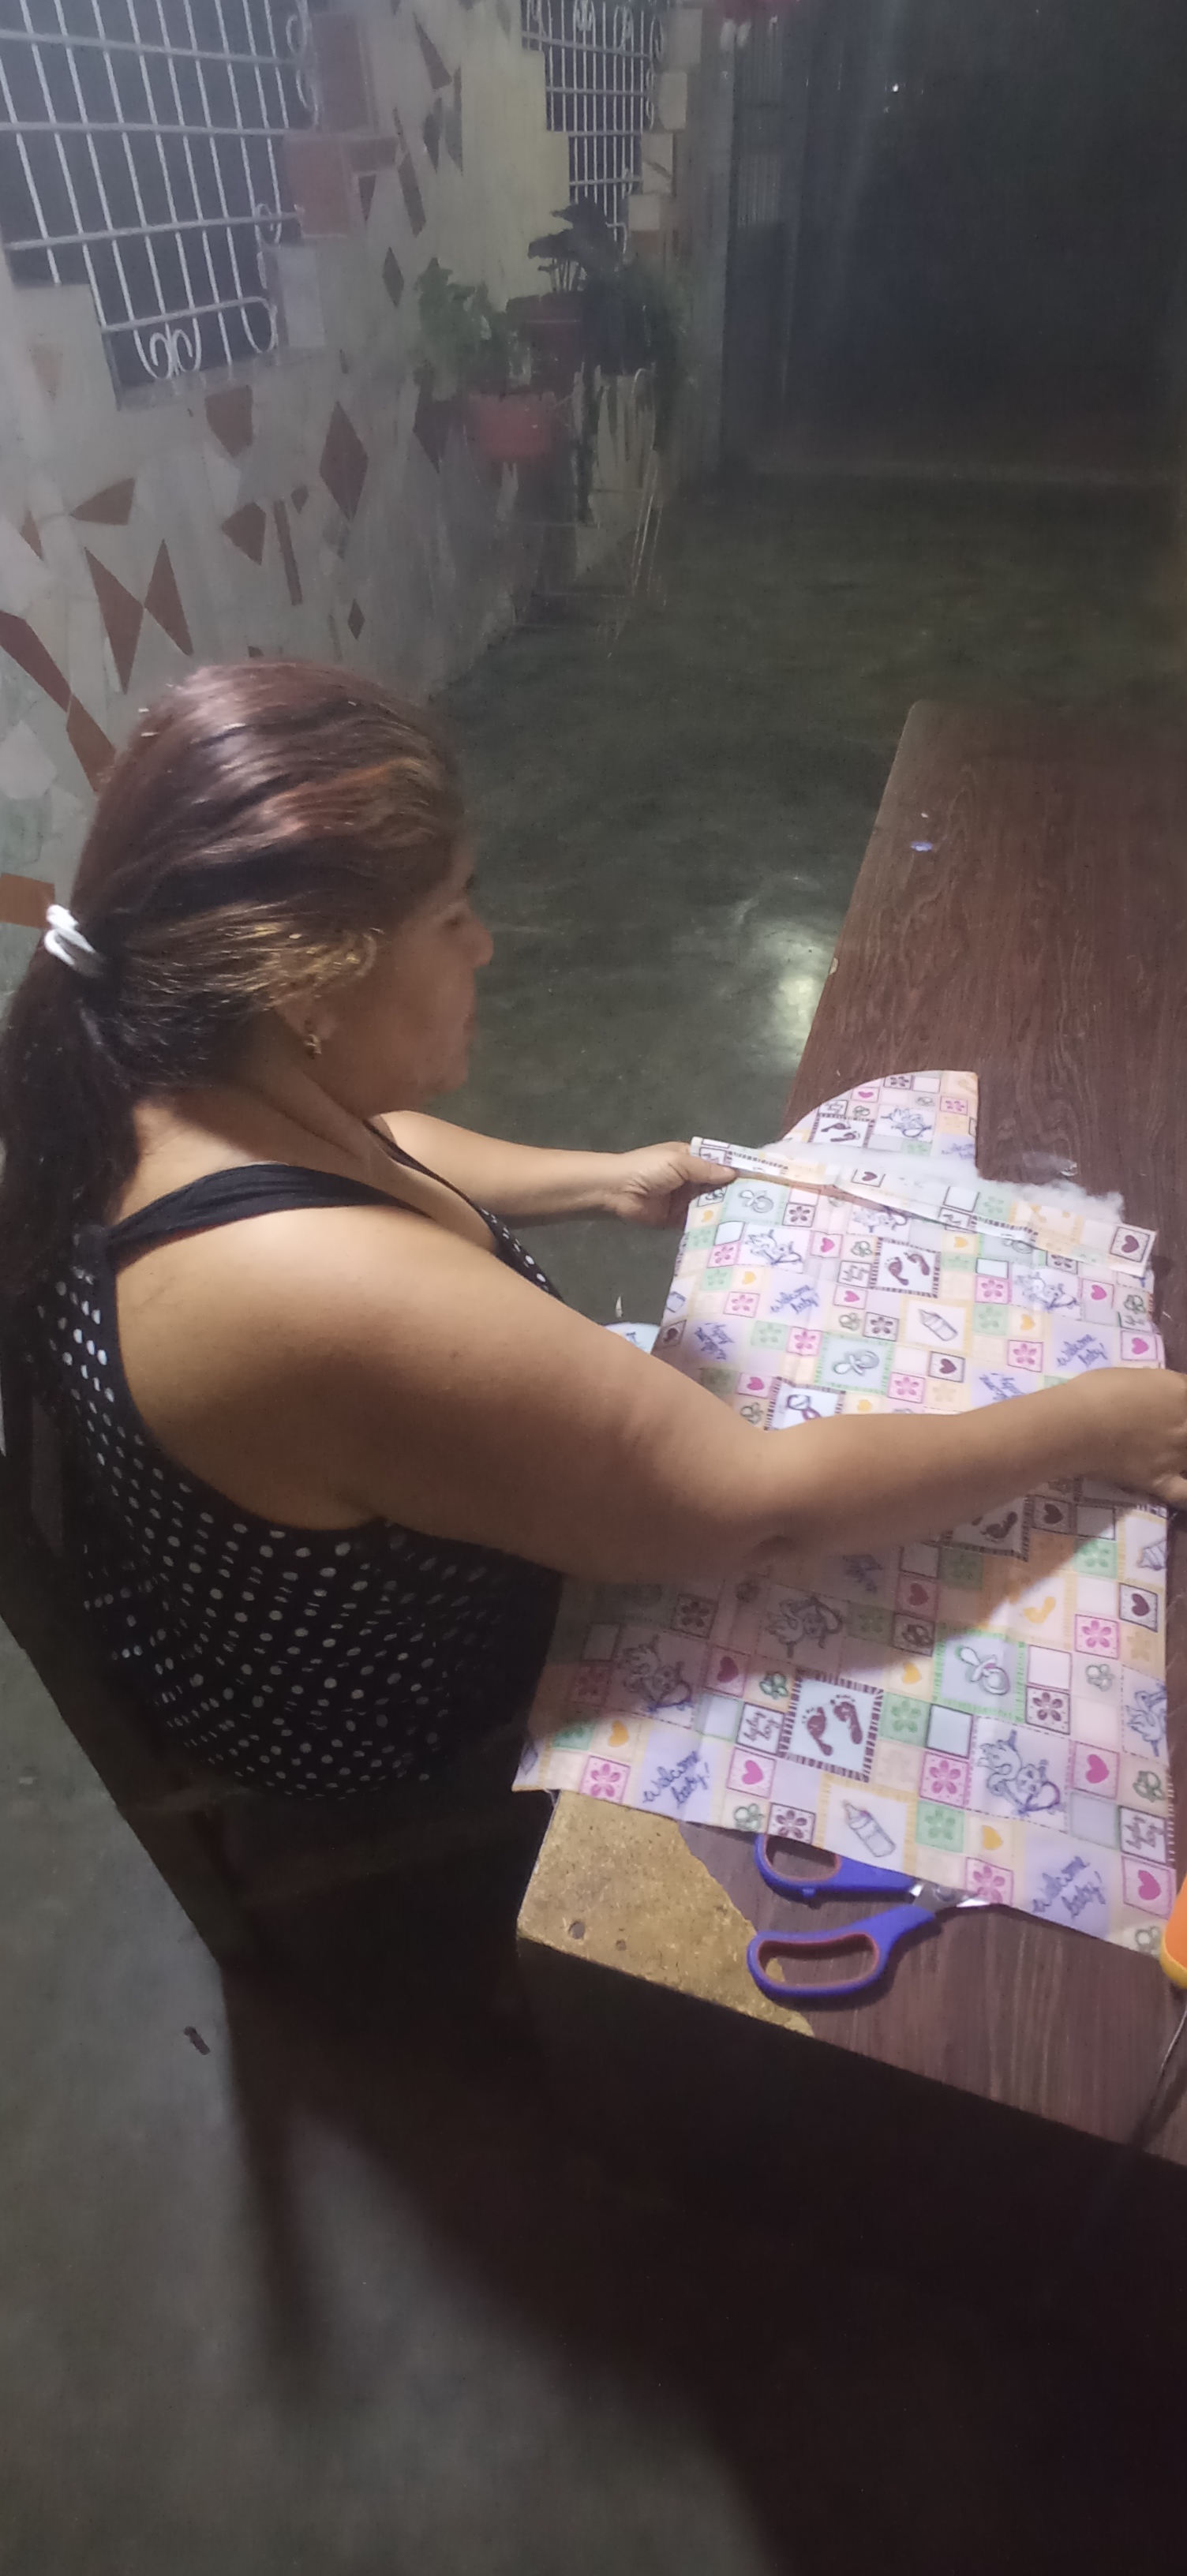
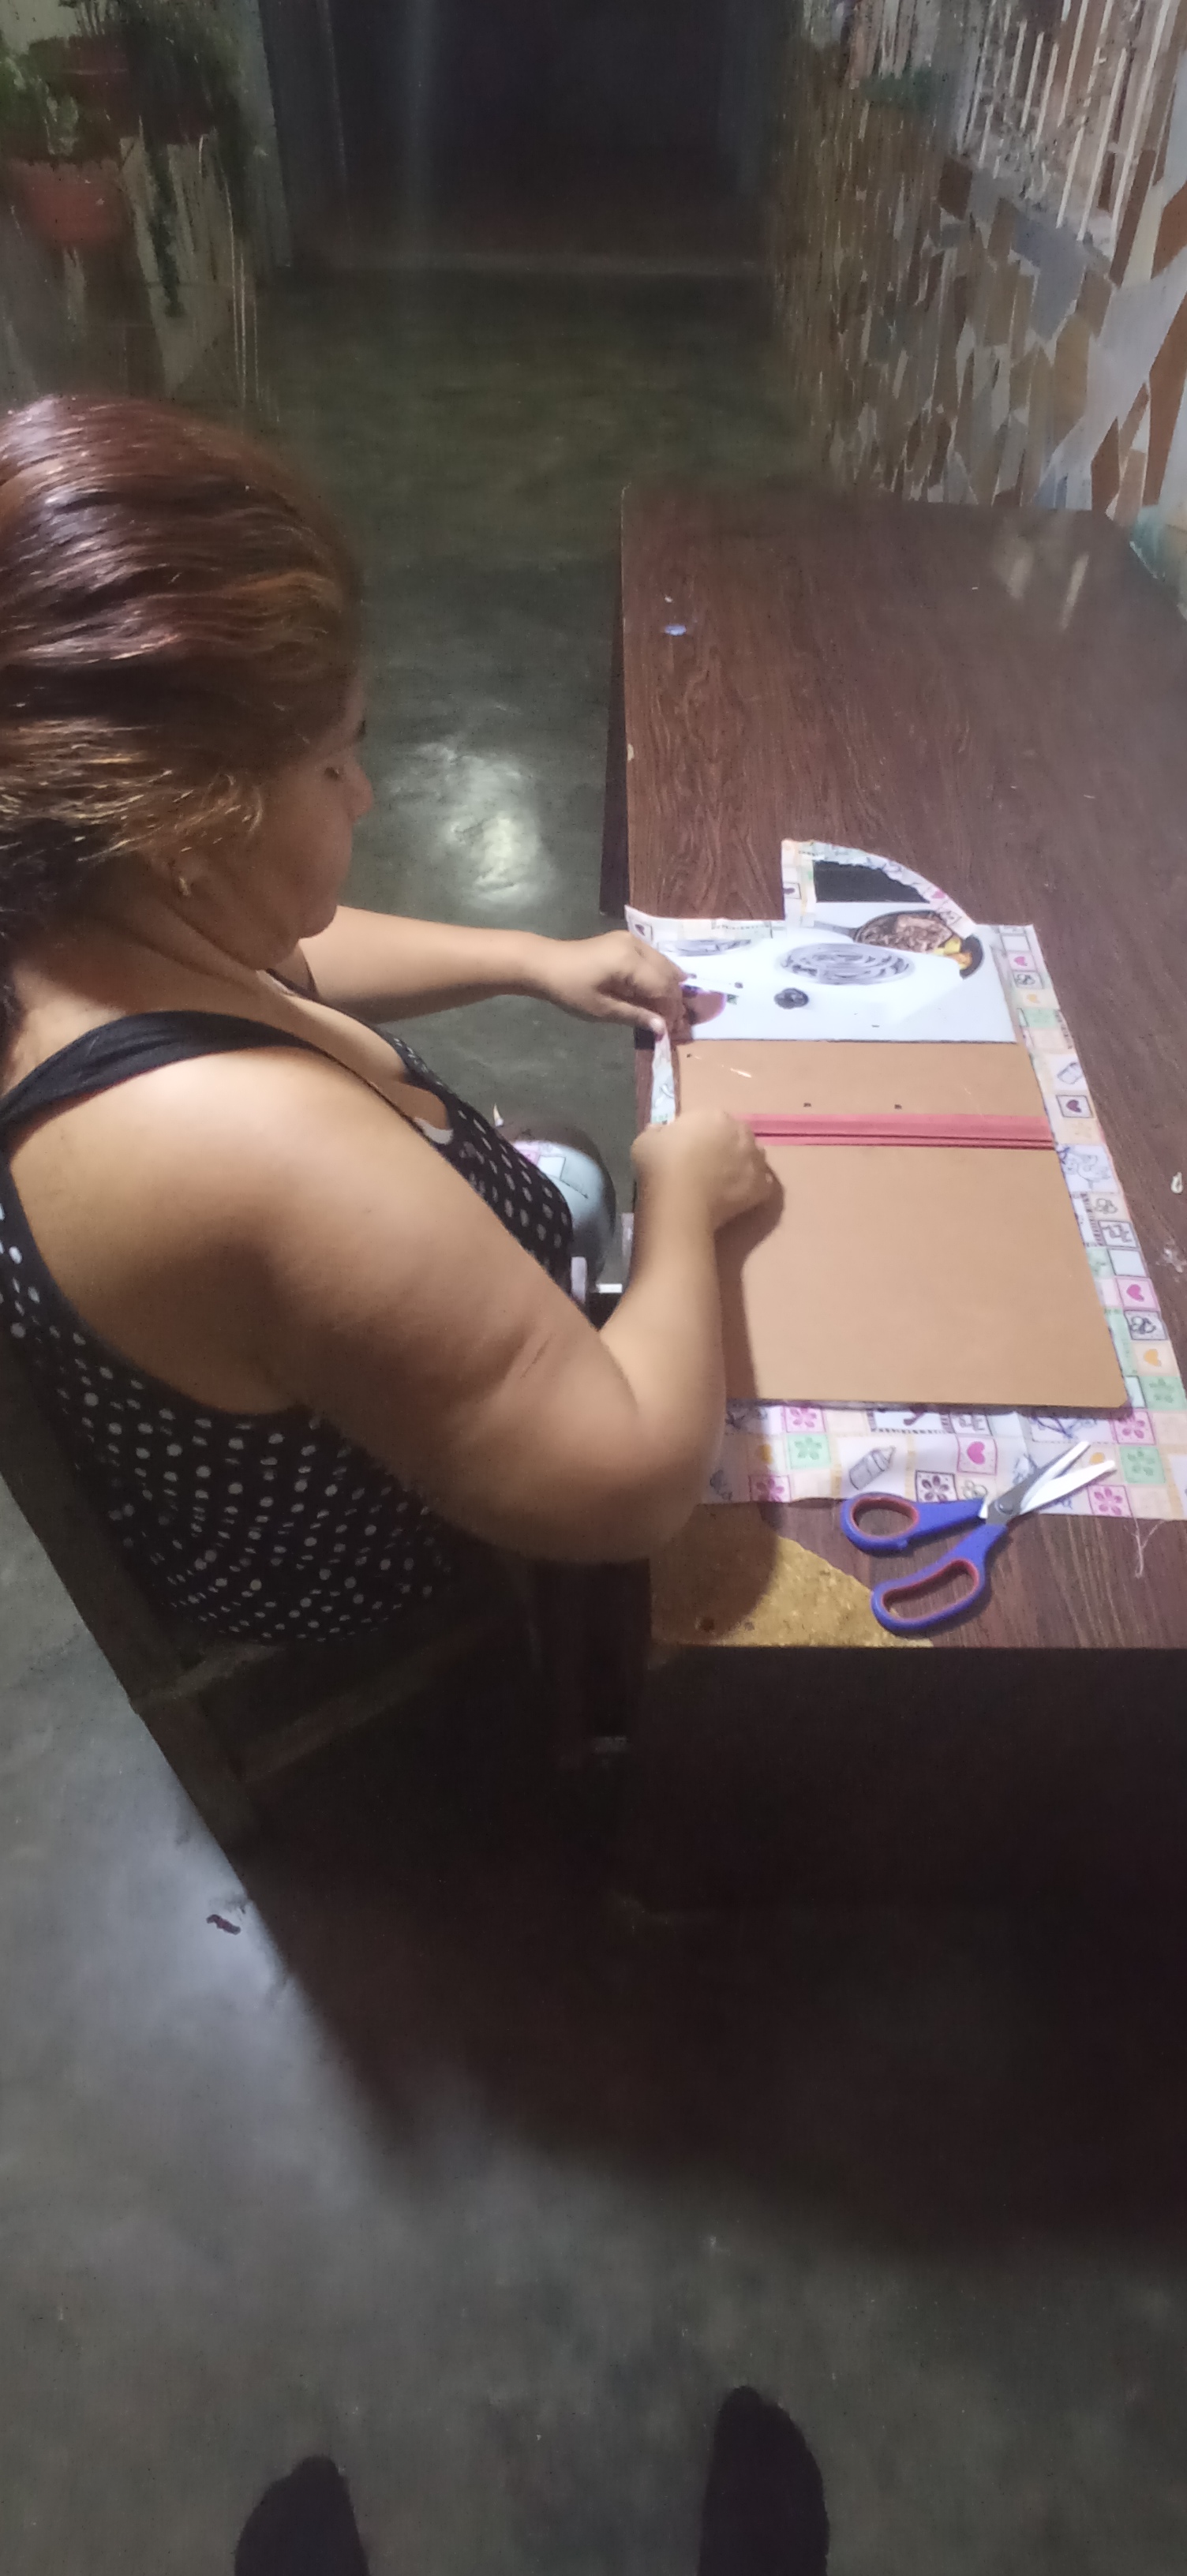
Paso 5:
Con la pistola de silicón forre la carpeta con la tela estampada.
Step 5:
With the silicone gun, line the folder with the printed fabric.
Paso 6:
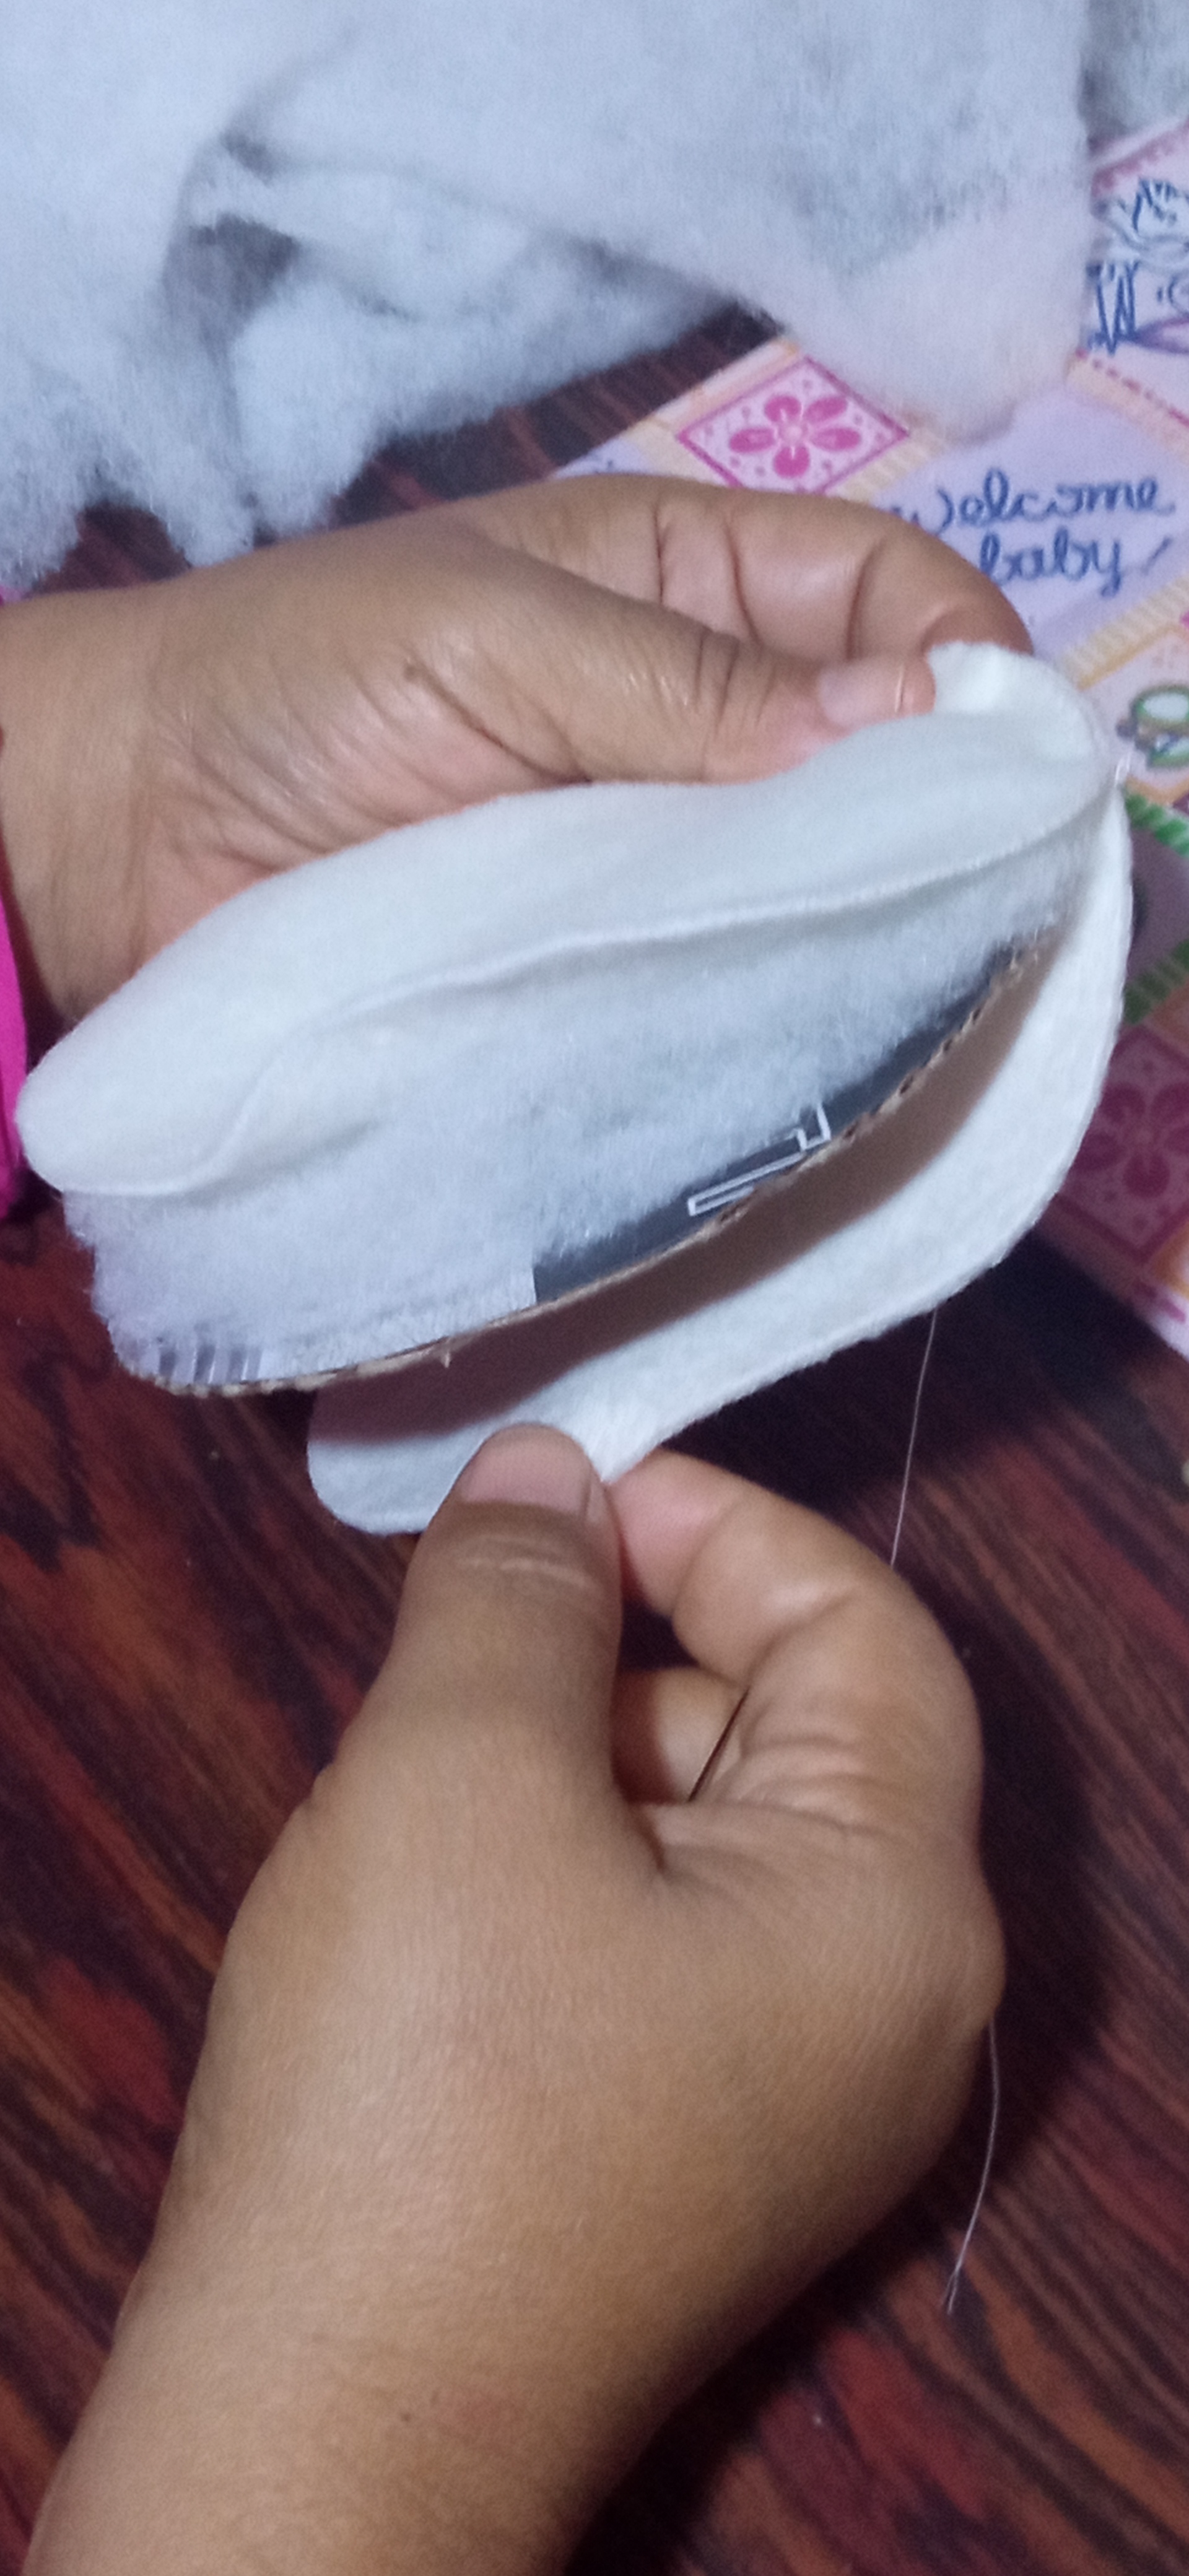
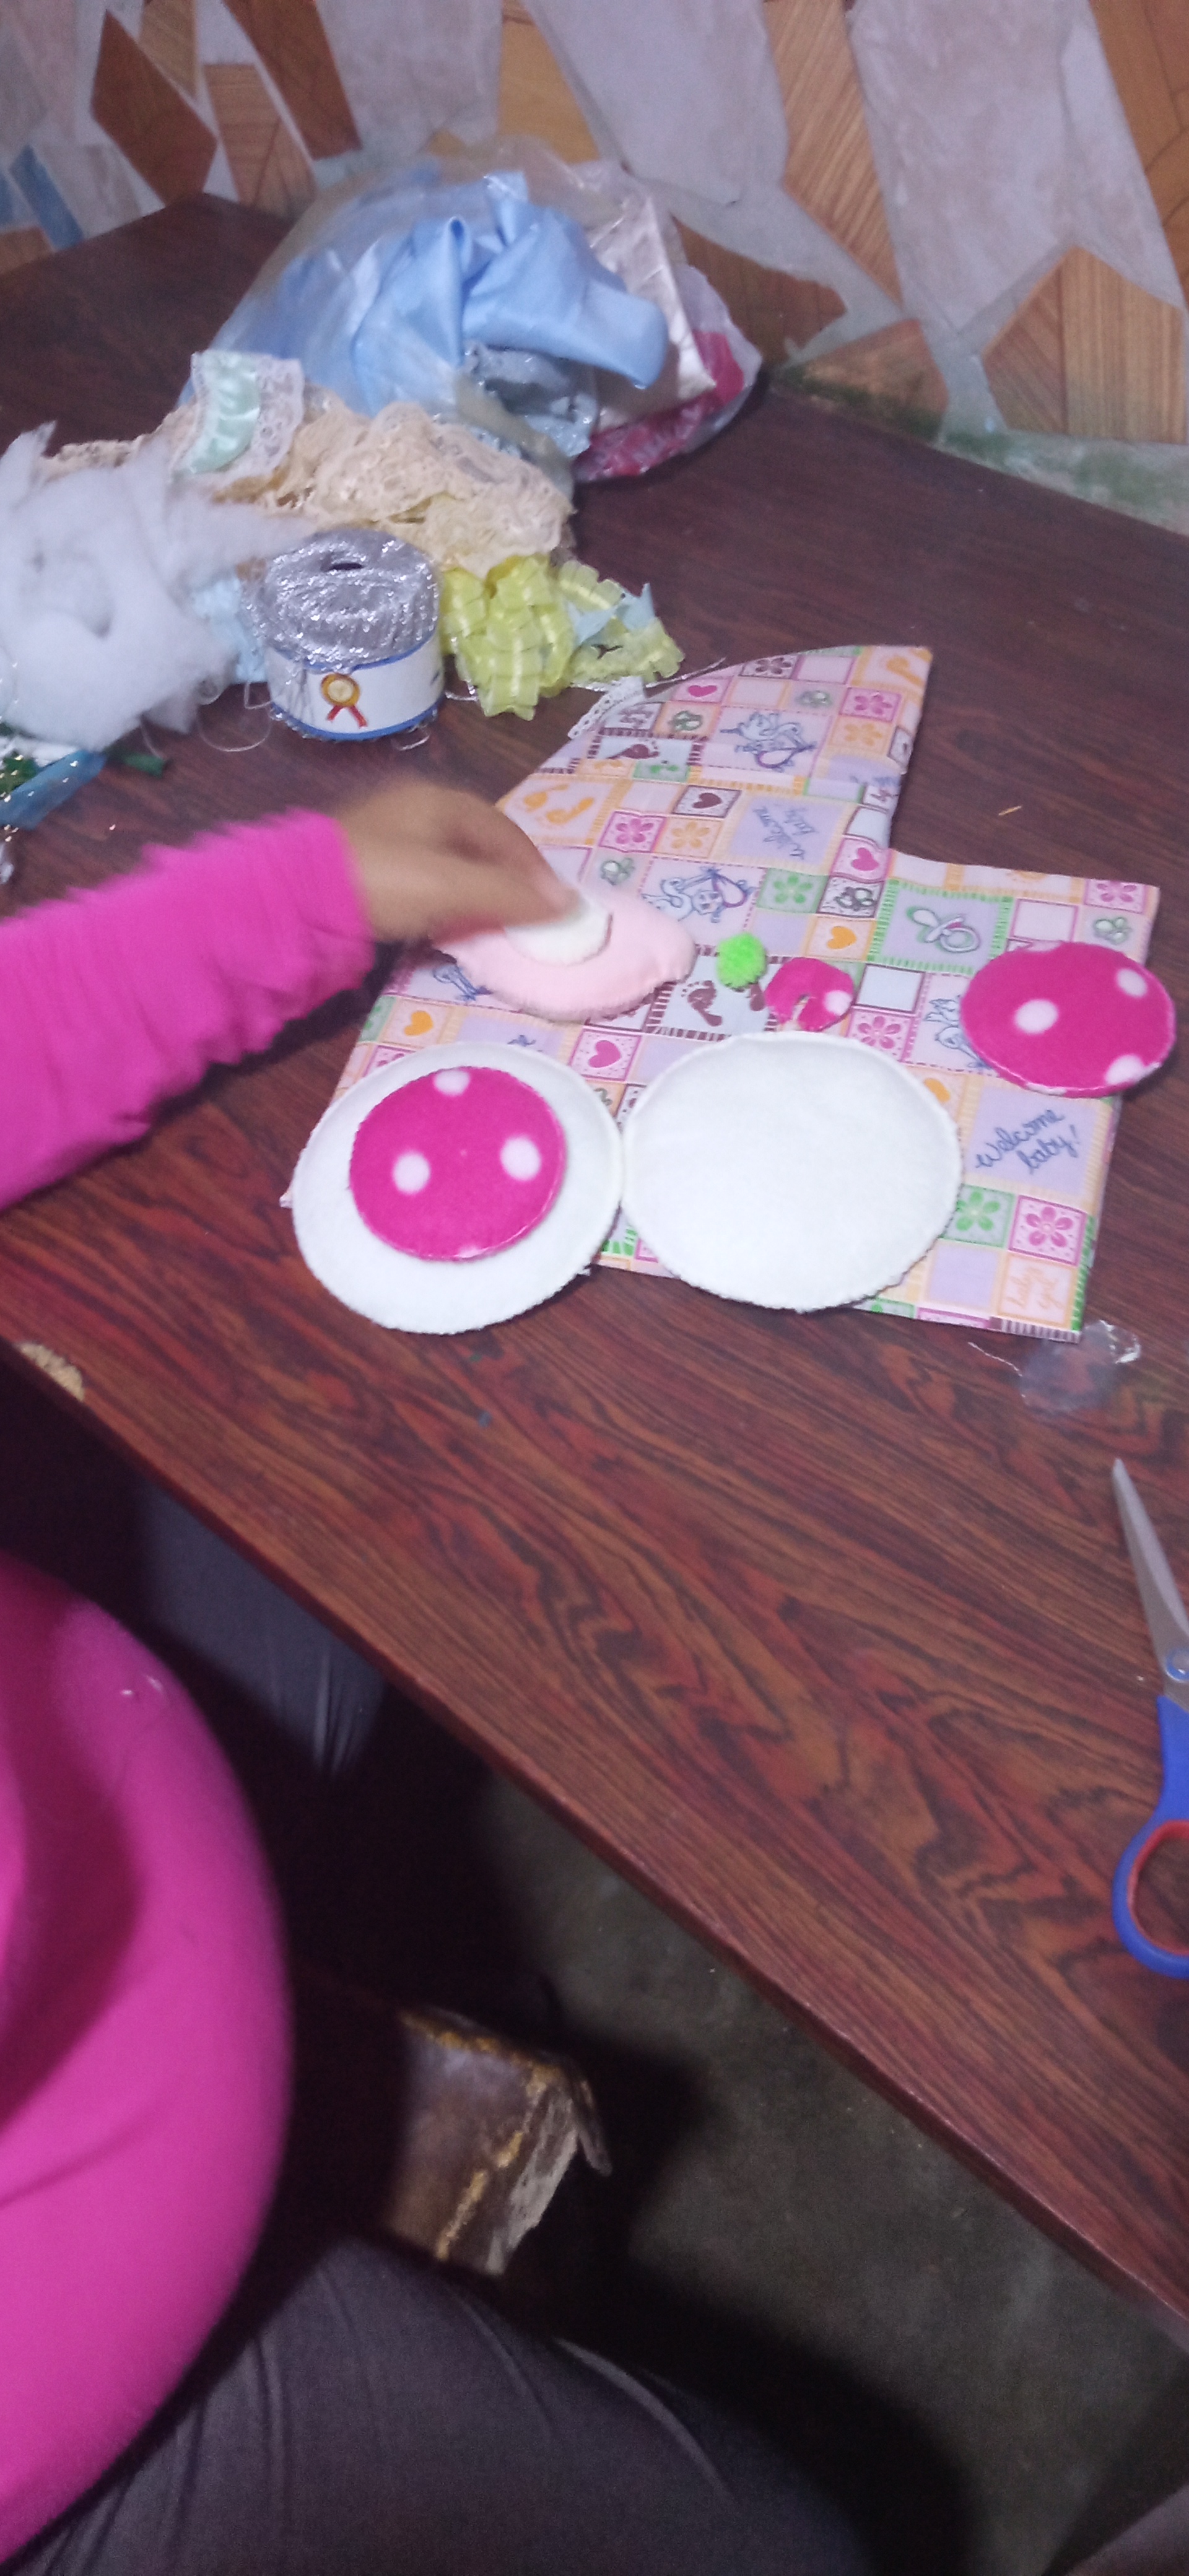
A mano cosí los circulos grandes y pequeños con el cartón forrado de guata en el medio, la cabeza del bebe, las 2 bolitas verde y las partes del chupón .
Step 6:
I sewed by hand the big and small circles with the cardboard lined with wadding in the middle, the baby's head, the 2 green balls and the parts of the pacifier.

Paso 7:
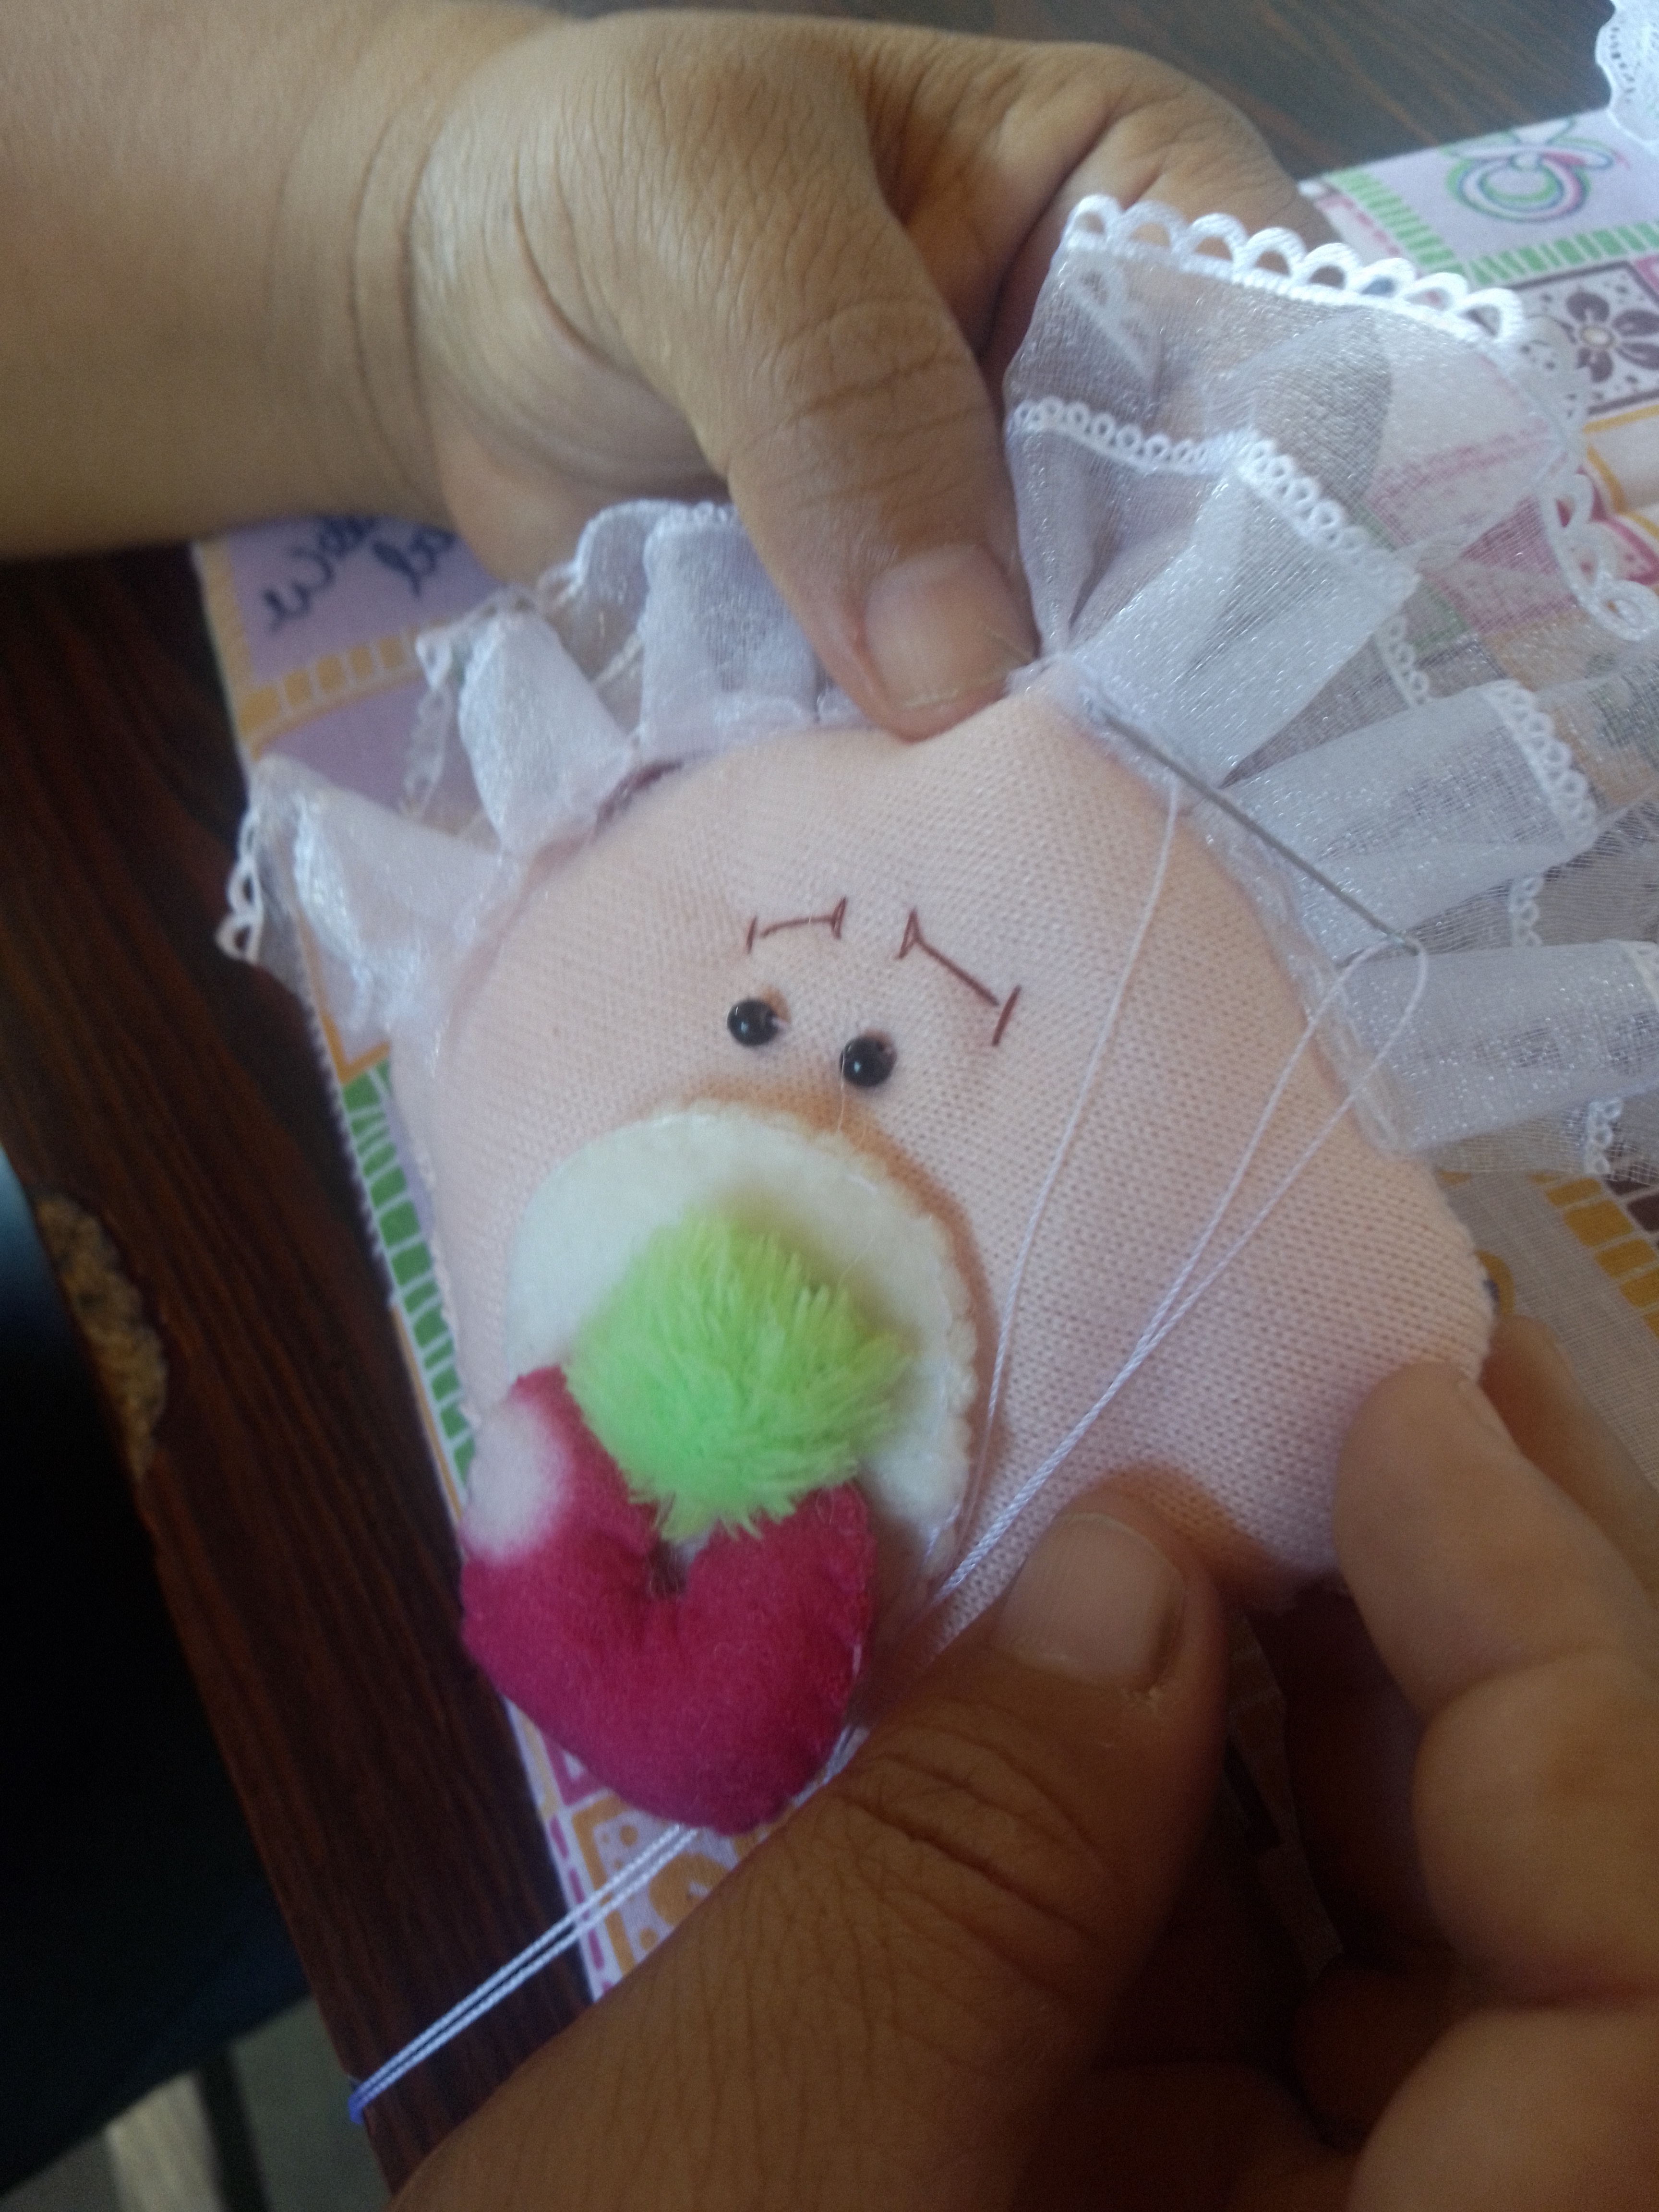
Una vez cosida la cabeza del bebe,le pegue dos canustillos negros para los ojos,borde sus cejas con hilo de coser marrón,cosí el chupón para pegarlo al rostro del bebe.Con pequeñas costura fije el retazo de encaje blanco a la cabeza del bebe.
Step 7:
Once the baby's head was sewn,I glued two black bobbins for the eyes,edged his eyebrows with brown sewing thread,sewed the pacifier to attach it to the baby's face.With small stitching I attached the white lace patchwork to the baby's head.
Paso 8:
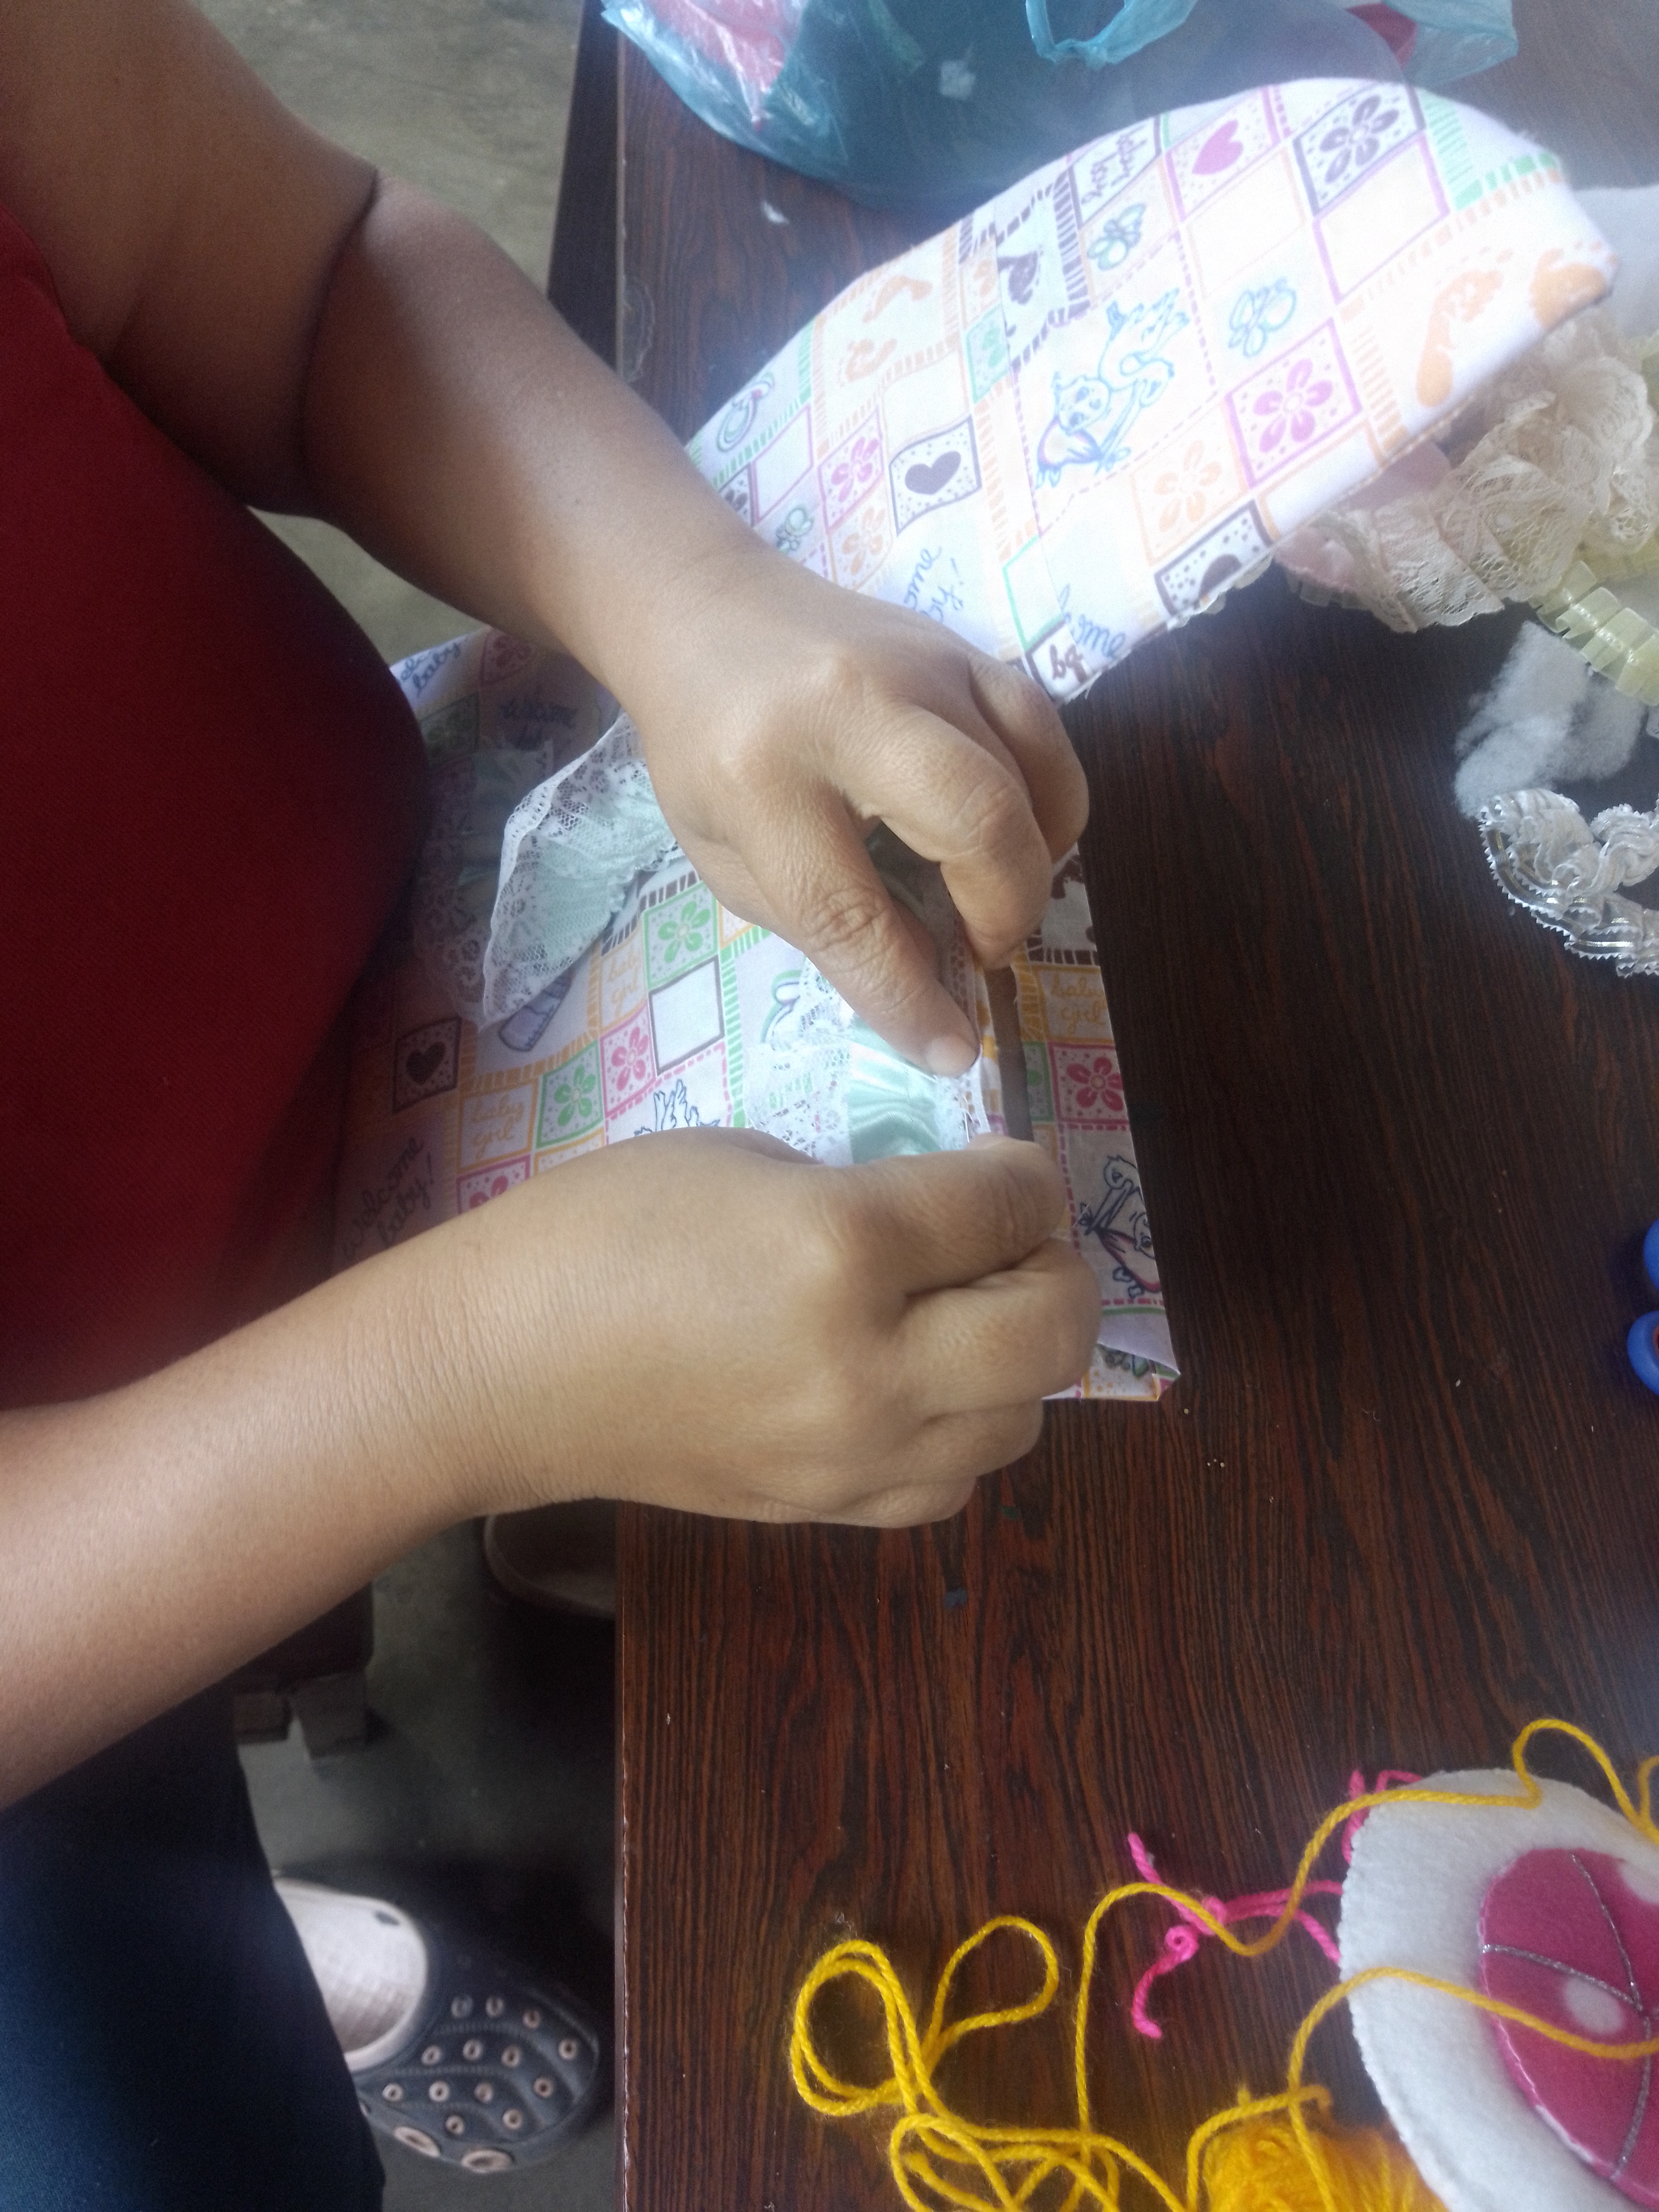
Cosí la cinta con encaje blanco en la parte superior del coche.
Step 8:
I sewed the ribbon with white lace to the top of the car.

Paso 9:
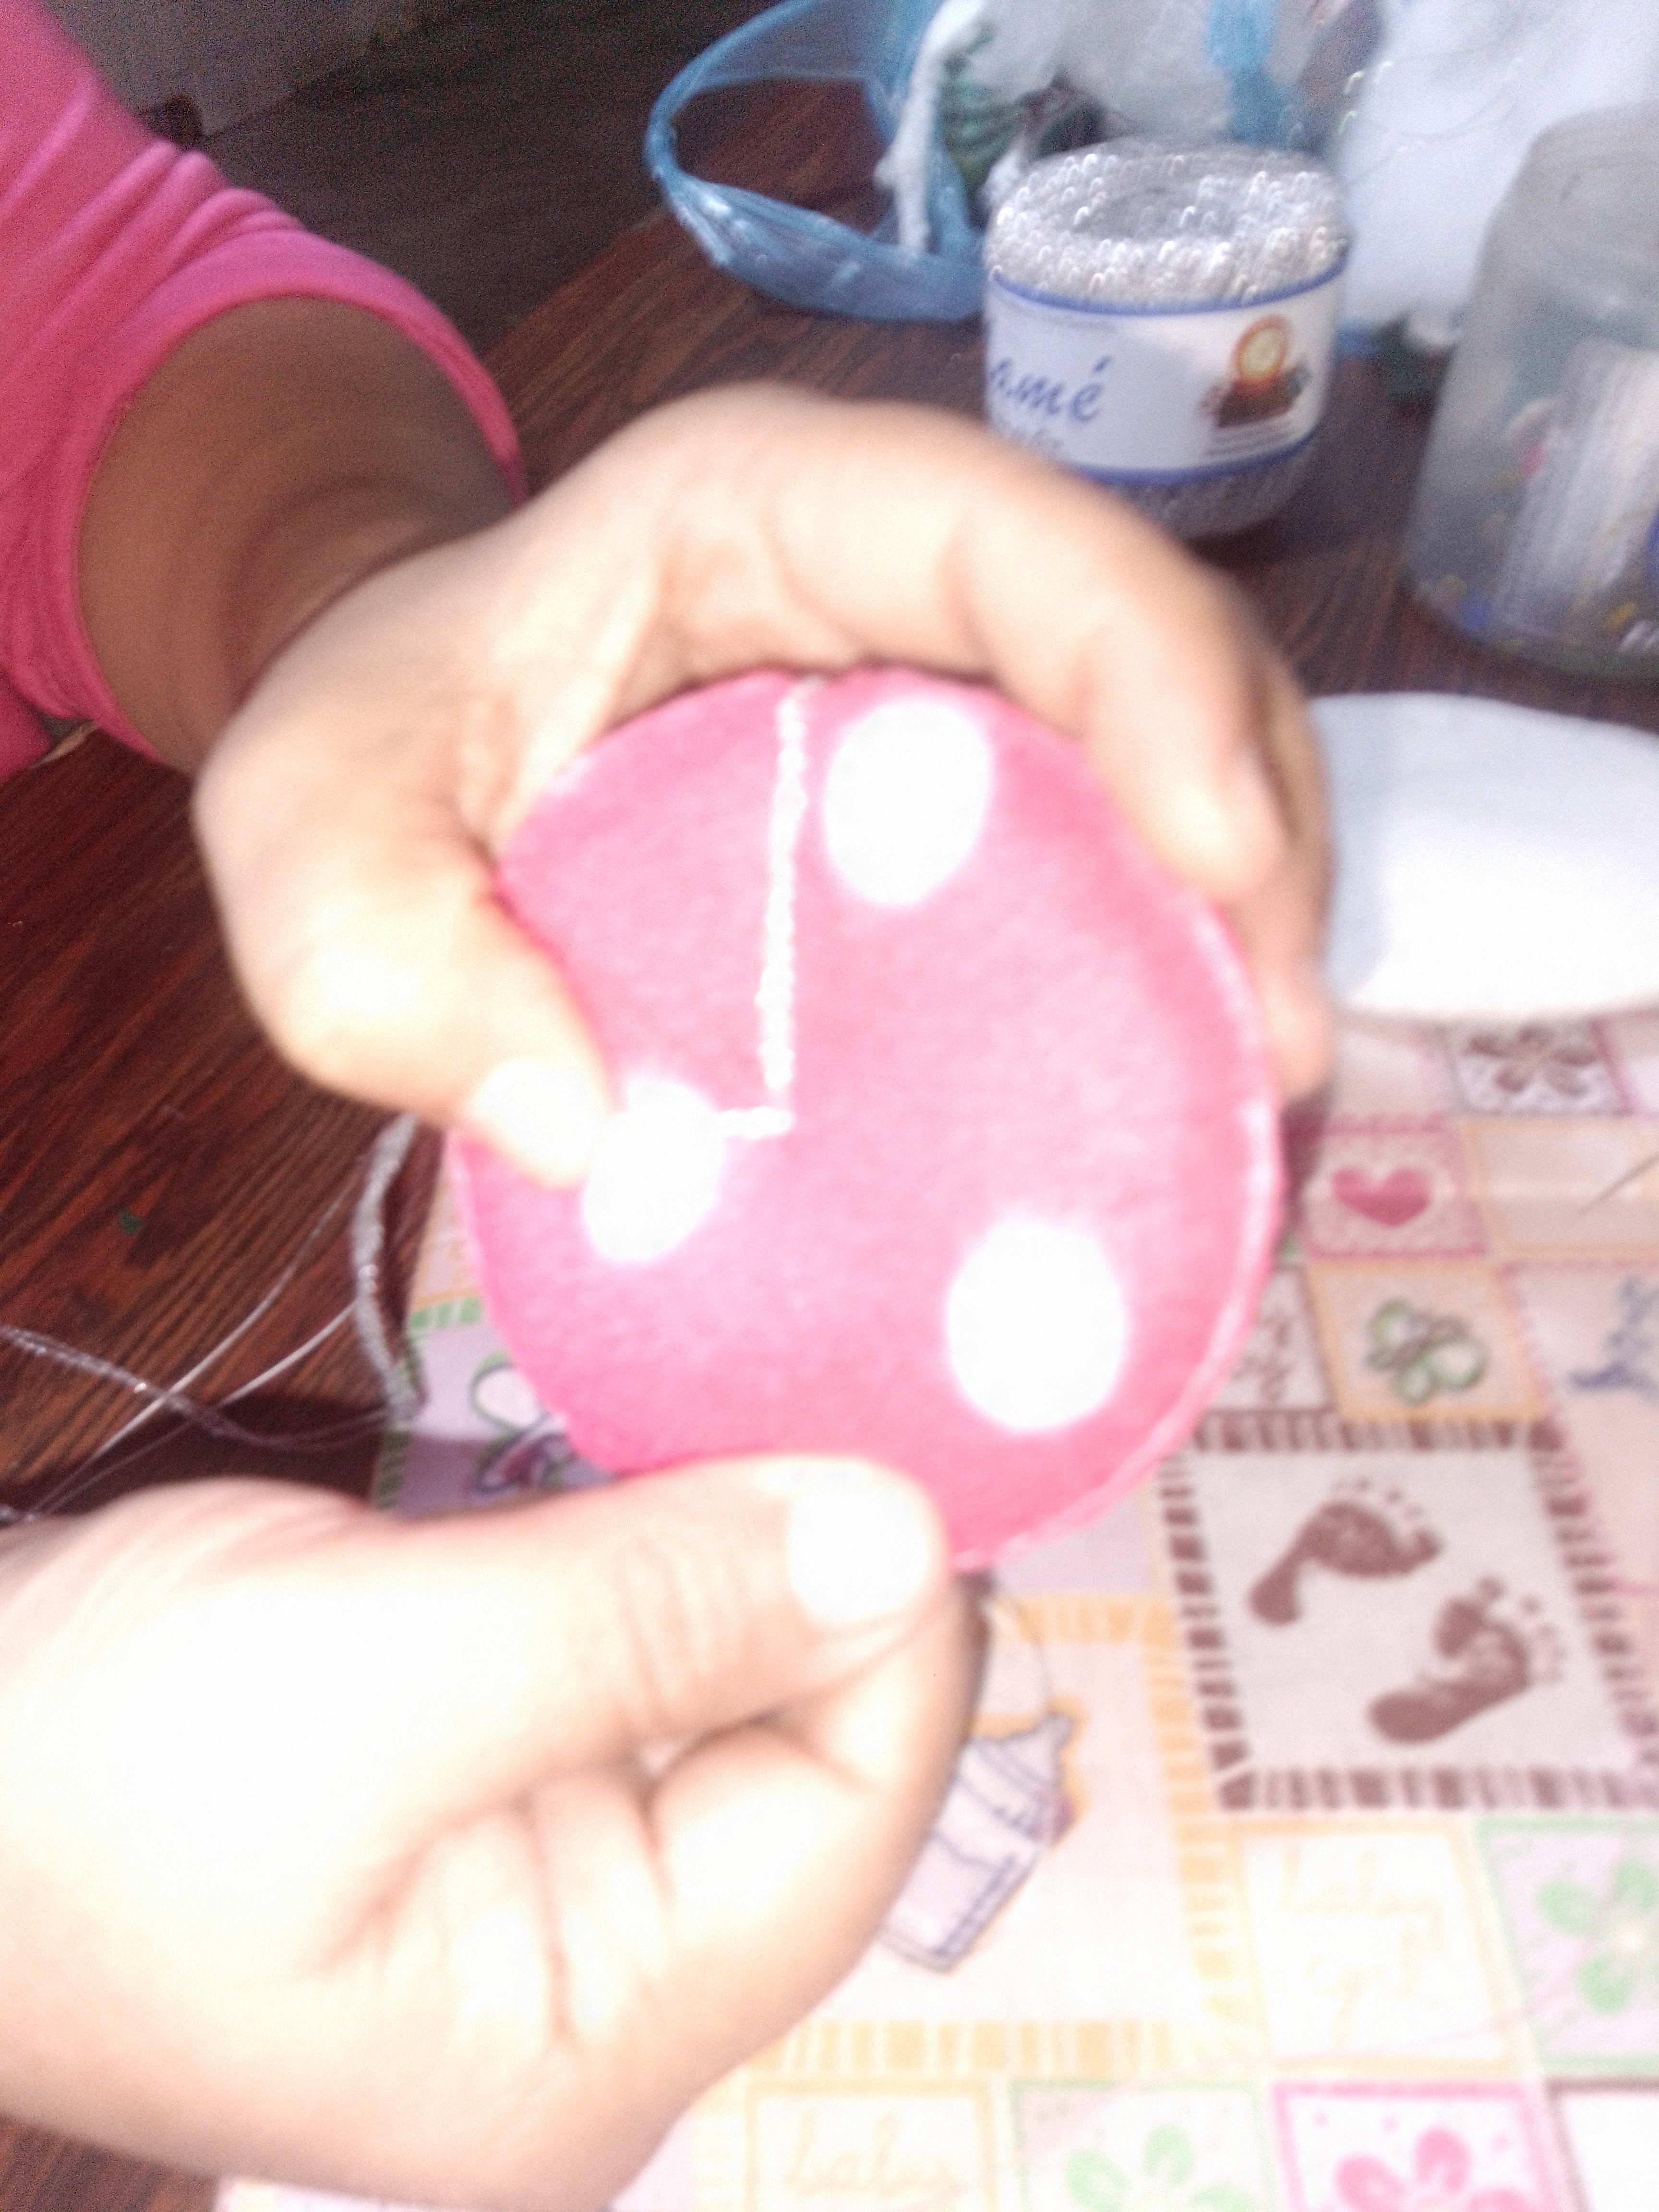
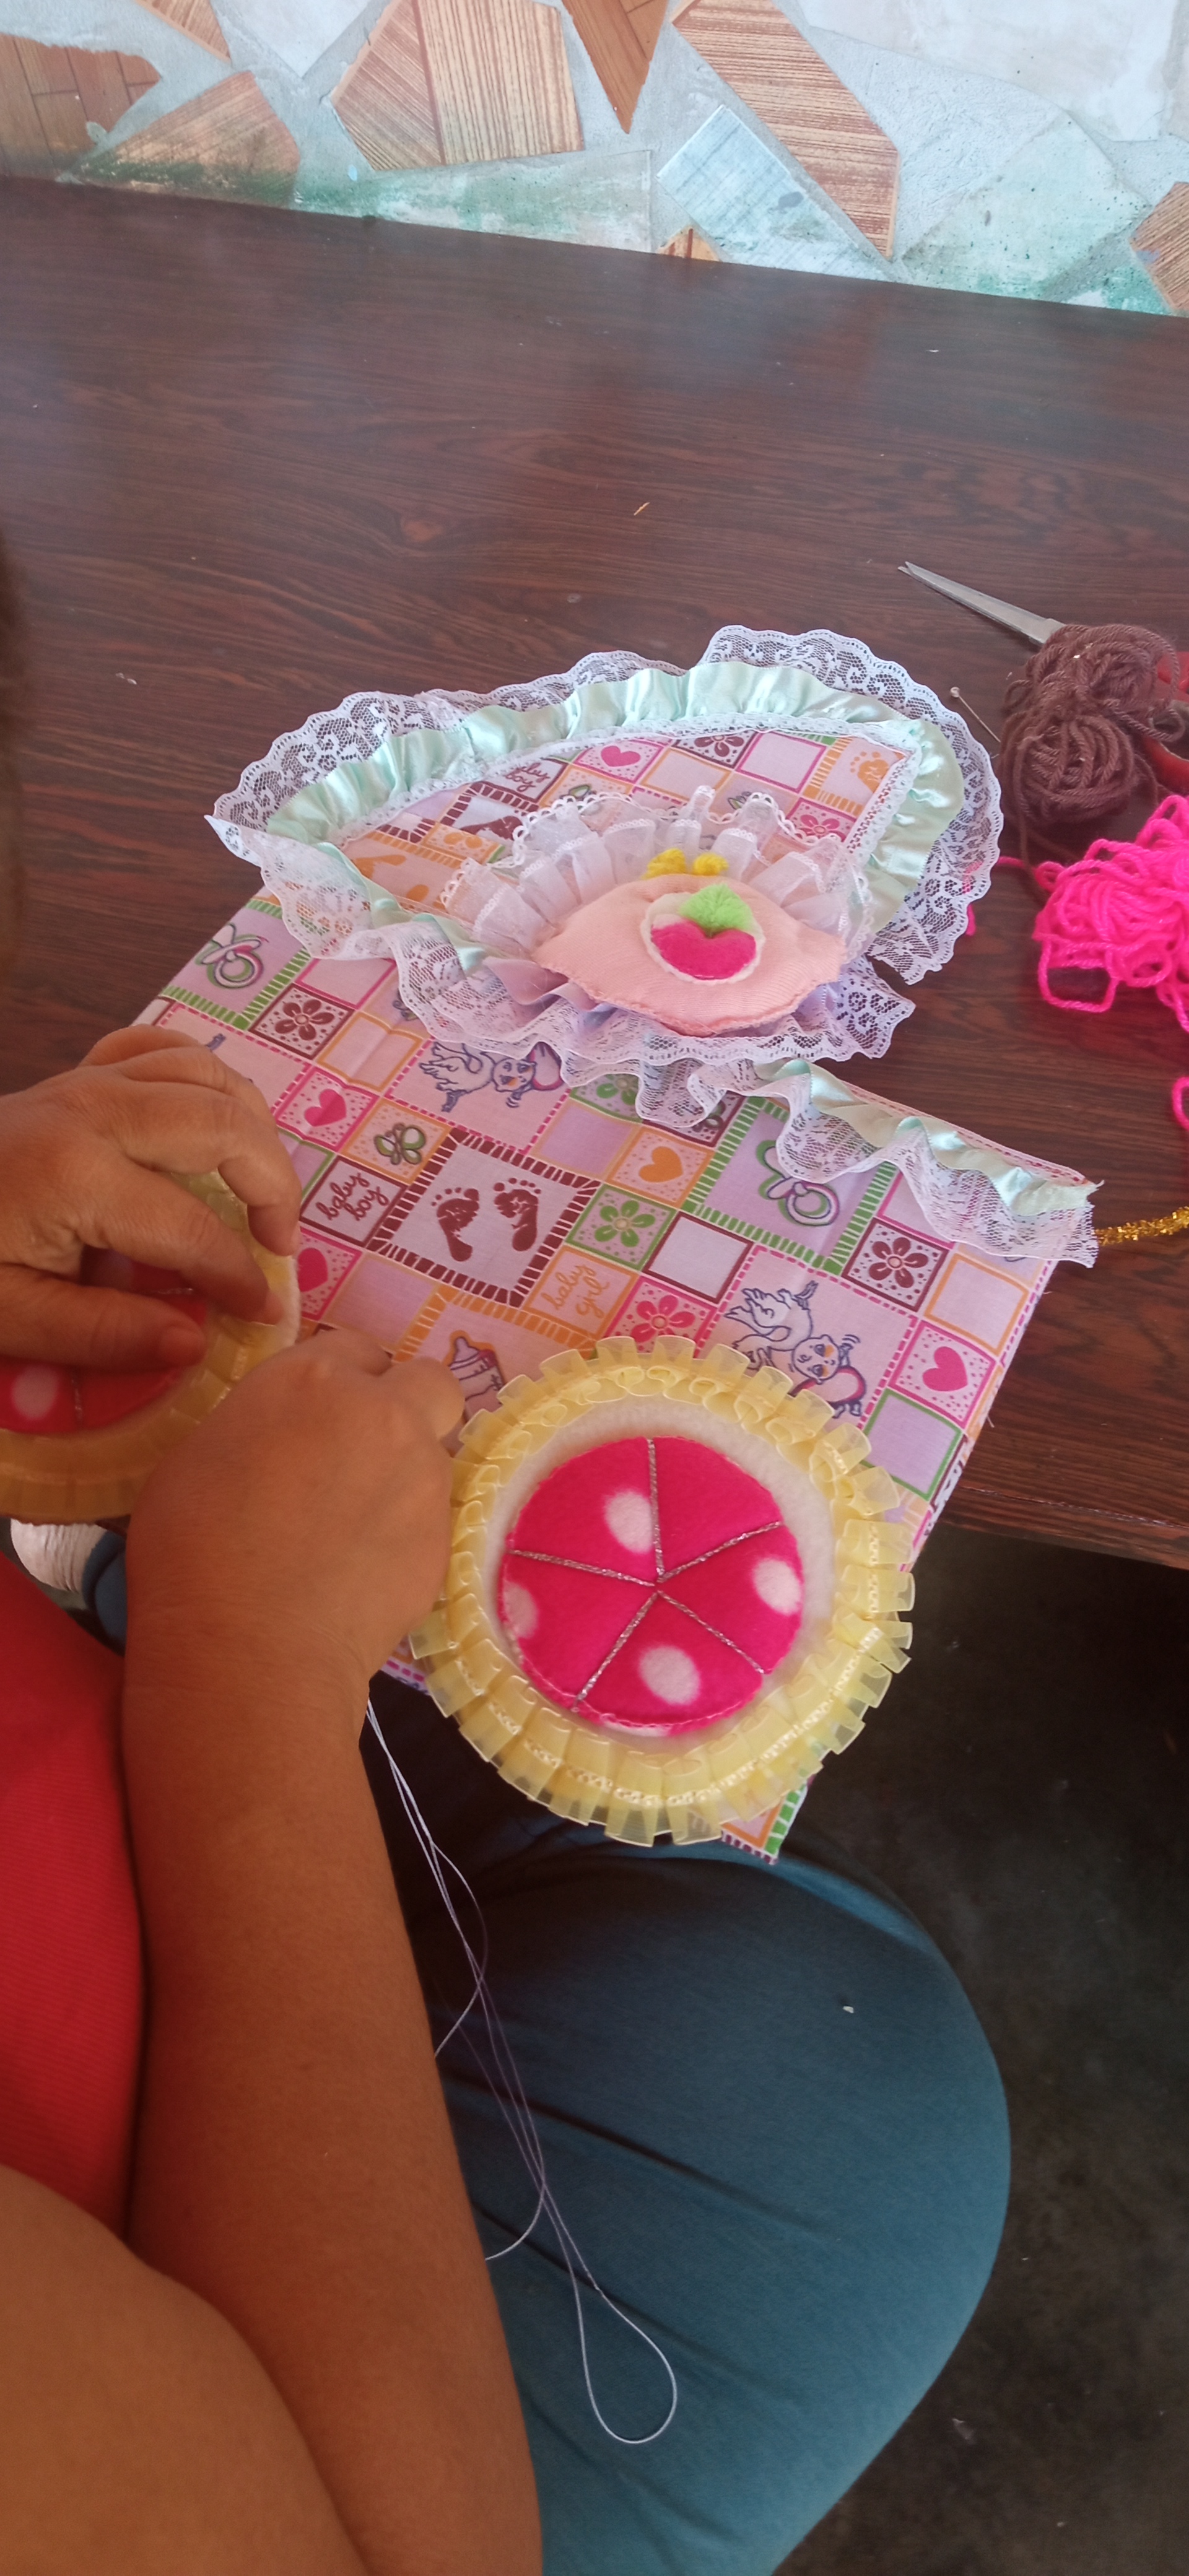
Para formar las ruedas: Primeramente borde las 2 ruedas pequeñas de color fucsia estampada con hilo lame plateado. Luego, atravese la aguja por el medio del circulo grande color crema buscando el agujero que a ambos circulos les habia hecho previamente para unirlos. Così a mano el encaje amarillo alrededor de la rueda grande.
Step 9:
To form the wheels: First border the 2 small fuchsia colored wheels stamped with silver lame thread. Then, thread the needle through the middle of the large cream colored circle looking for the hole you previously made in the two circles to join them together. I sewed the yellow lace around the large wheel by hand.
Paso 10:
Cosi la cabeza del bebe ya lista y las ruedas para fijarlas a la carpeta.
Step 10:
Sew the baby's head ready and the wheels to attach them to the binder.
Paso 11:
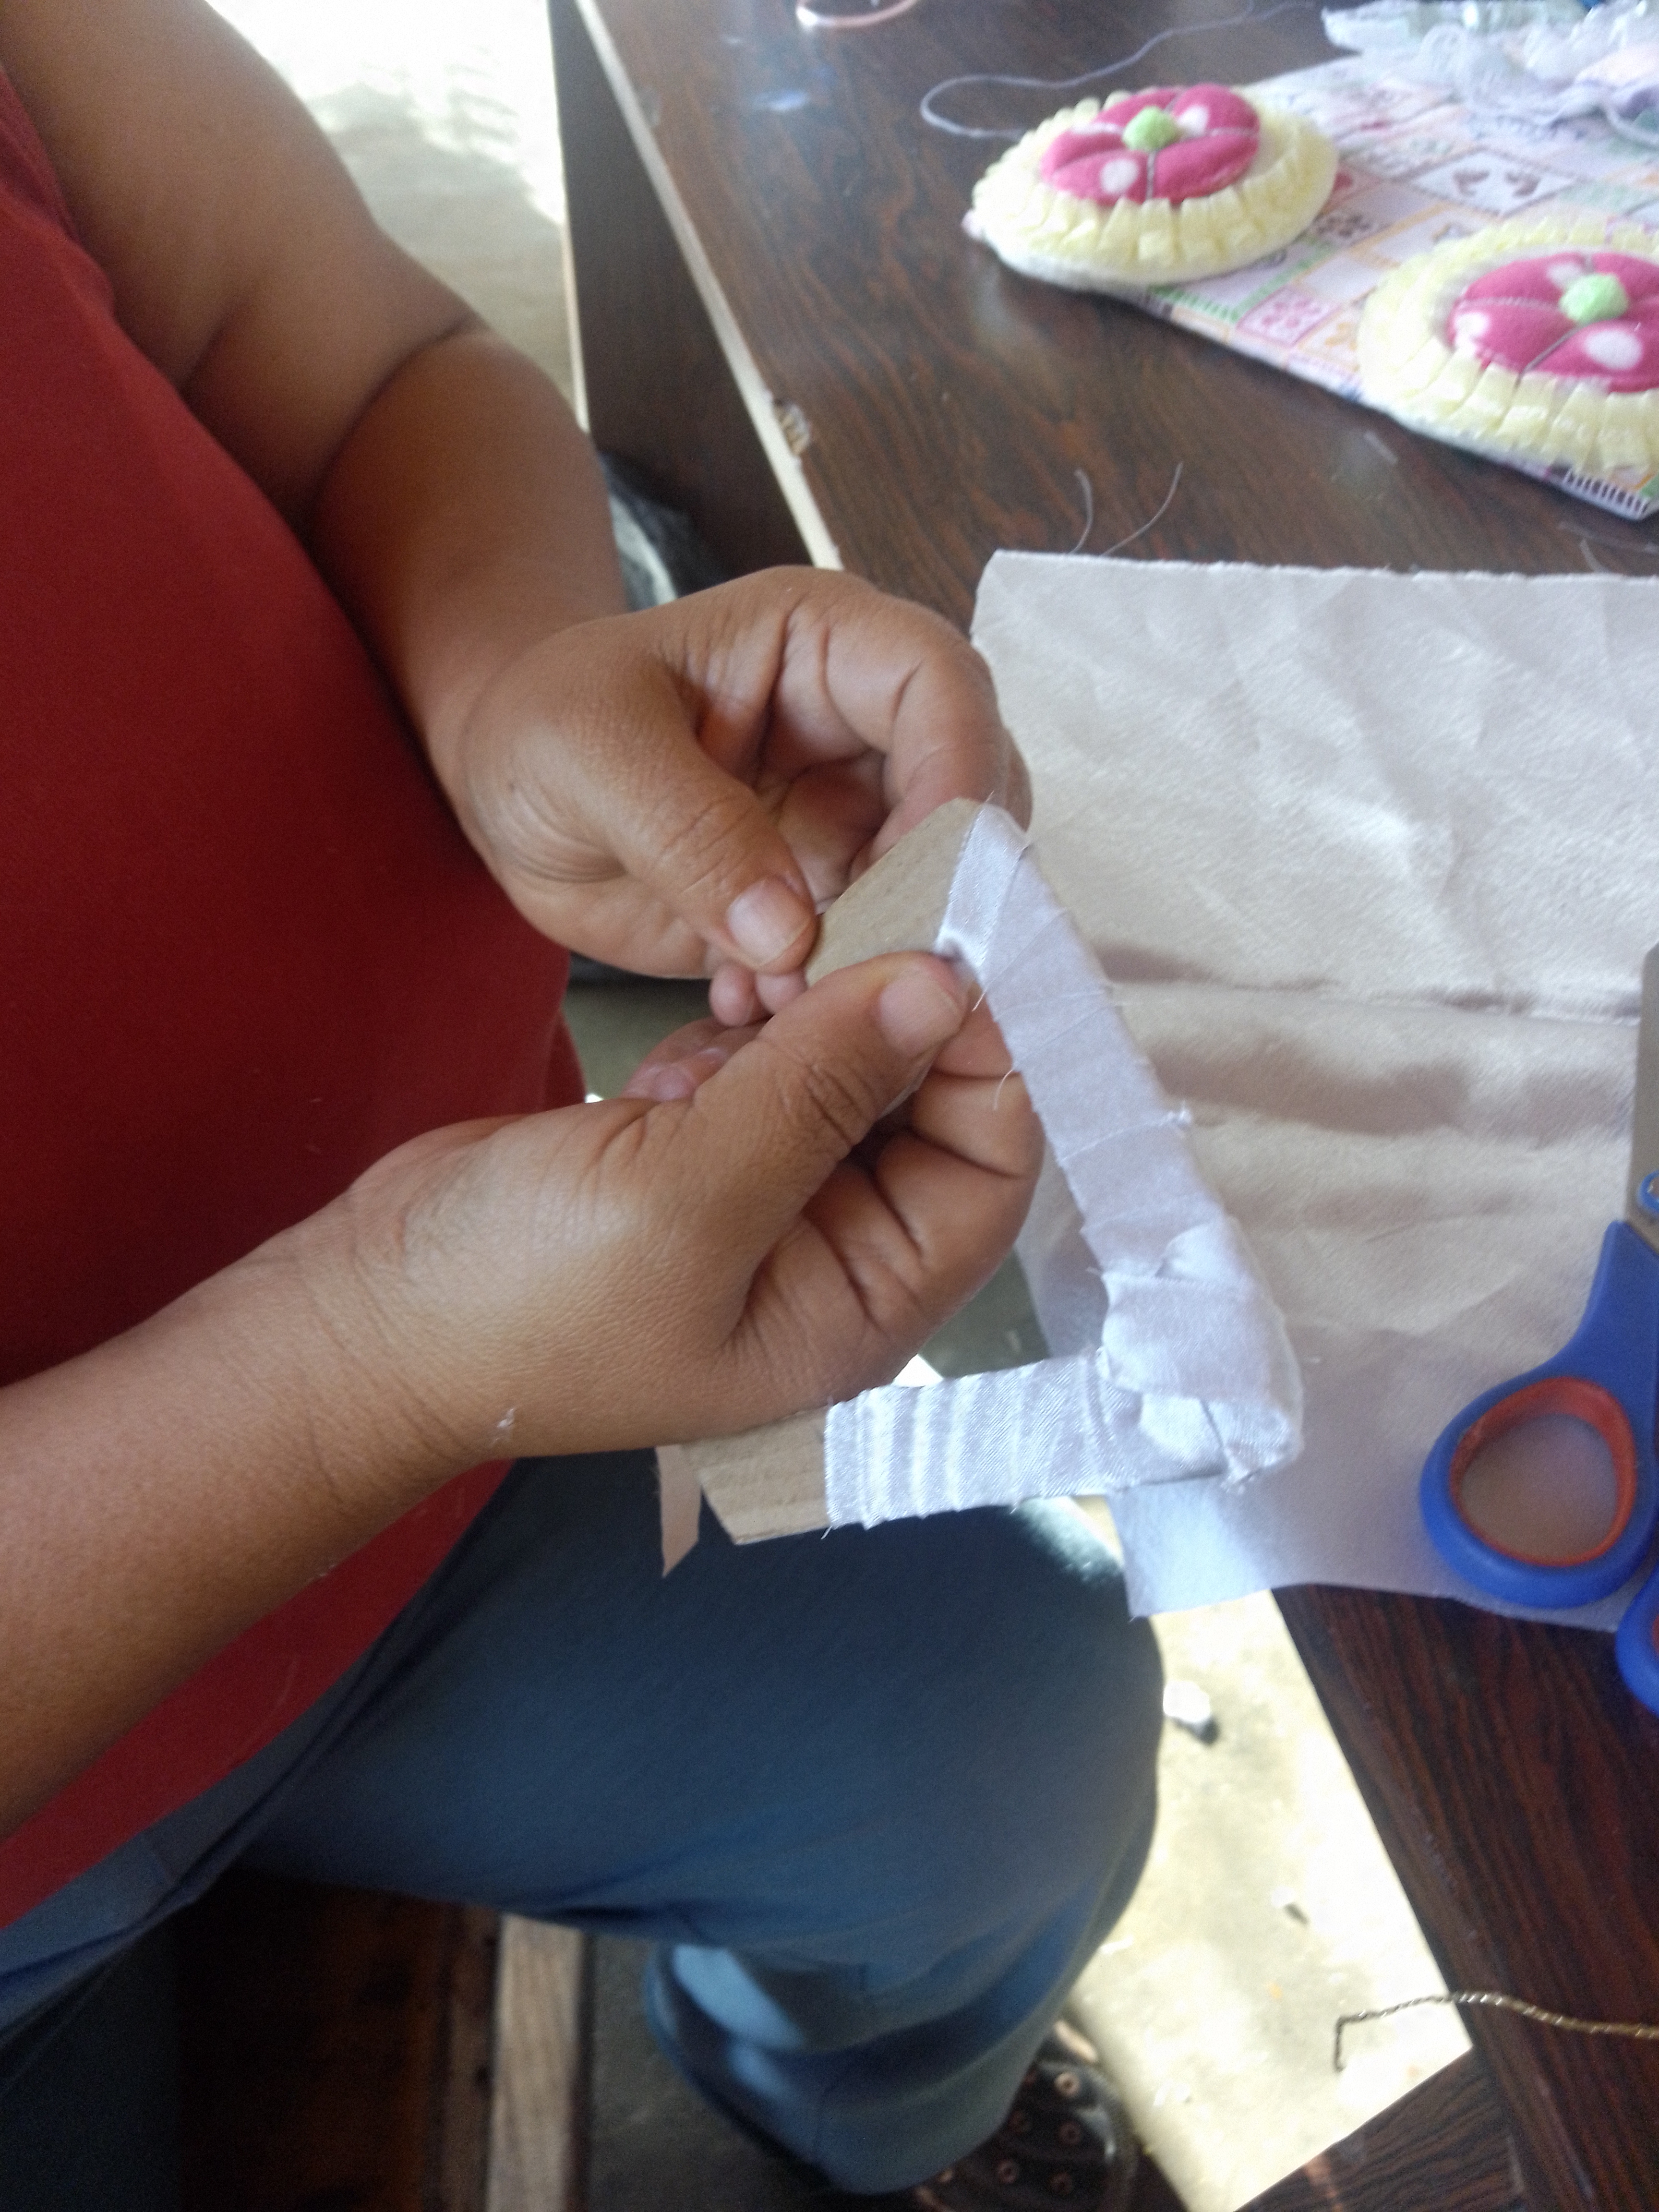
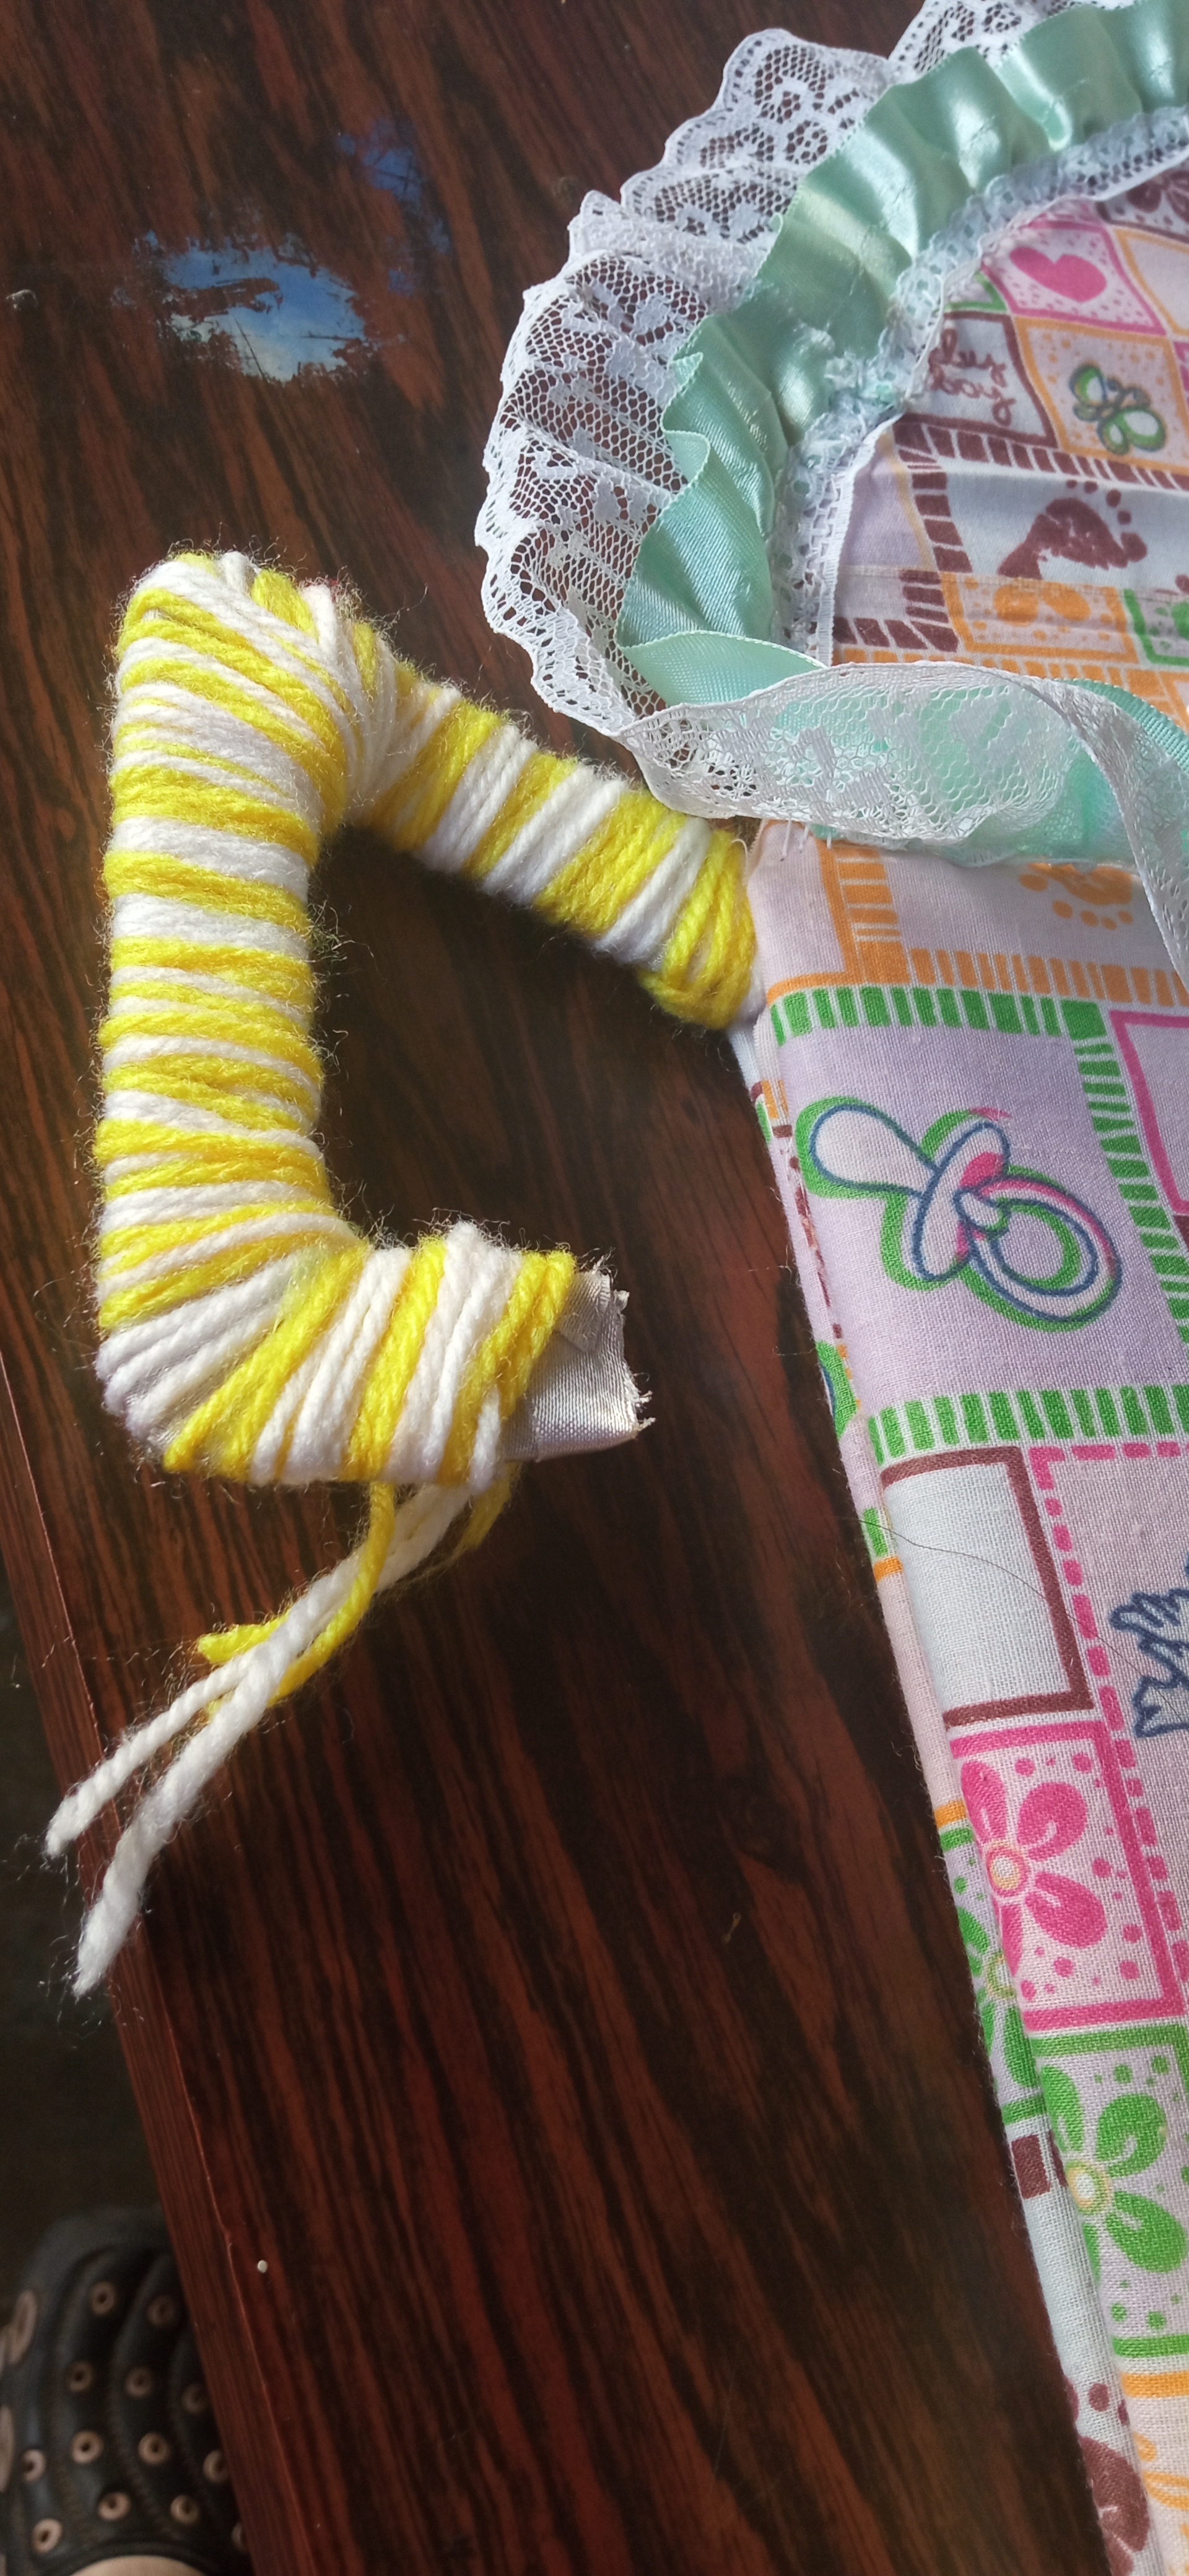
Por último, corte un trozo de cartón para hacer la manilla del coche el cual forre con un trozo de tela en forma envolvente, esto lo hice para darle más volumen y durabilidad.Luego corte 4 hilos de estambre 2 blancos y 2 amarillos que aproximdamente median un metro de largo cada uno y forre nuevamente el cartón también de forma envolvente y coloque 2 lacitos uno de cada lado y pegue con silicón las 2 bolitas verdes en el centro de las ruedas.
Step 11:
Finally, cut a piece of cardboard to make the handle of the car which I lined with a piece of fabric in a wraparound shape, this I did to give it more volume and durability.Then cut 4 strands of yarn 2 white and 2 yellow that approximately measure a meter long each and lined again the cardboard also in a wraparound shape and place 2 bows one on each side and glue with silicone the 2 green balls in the center of the wheels.
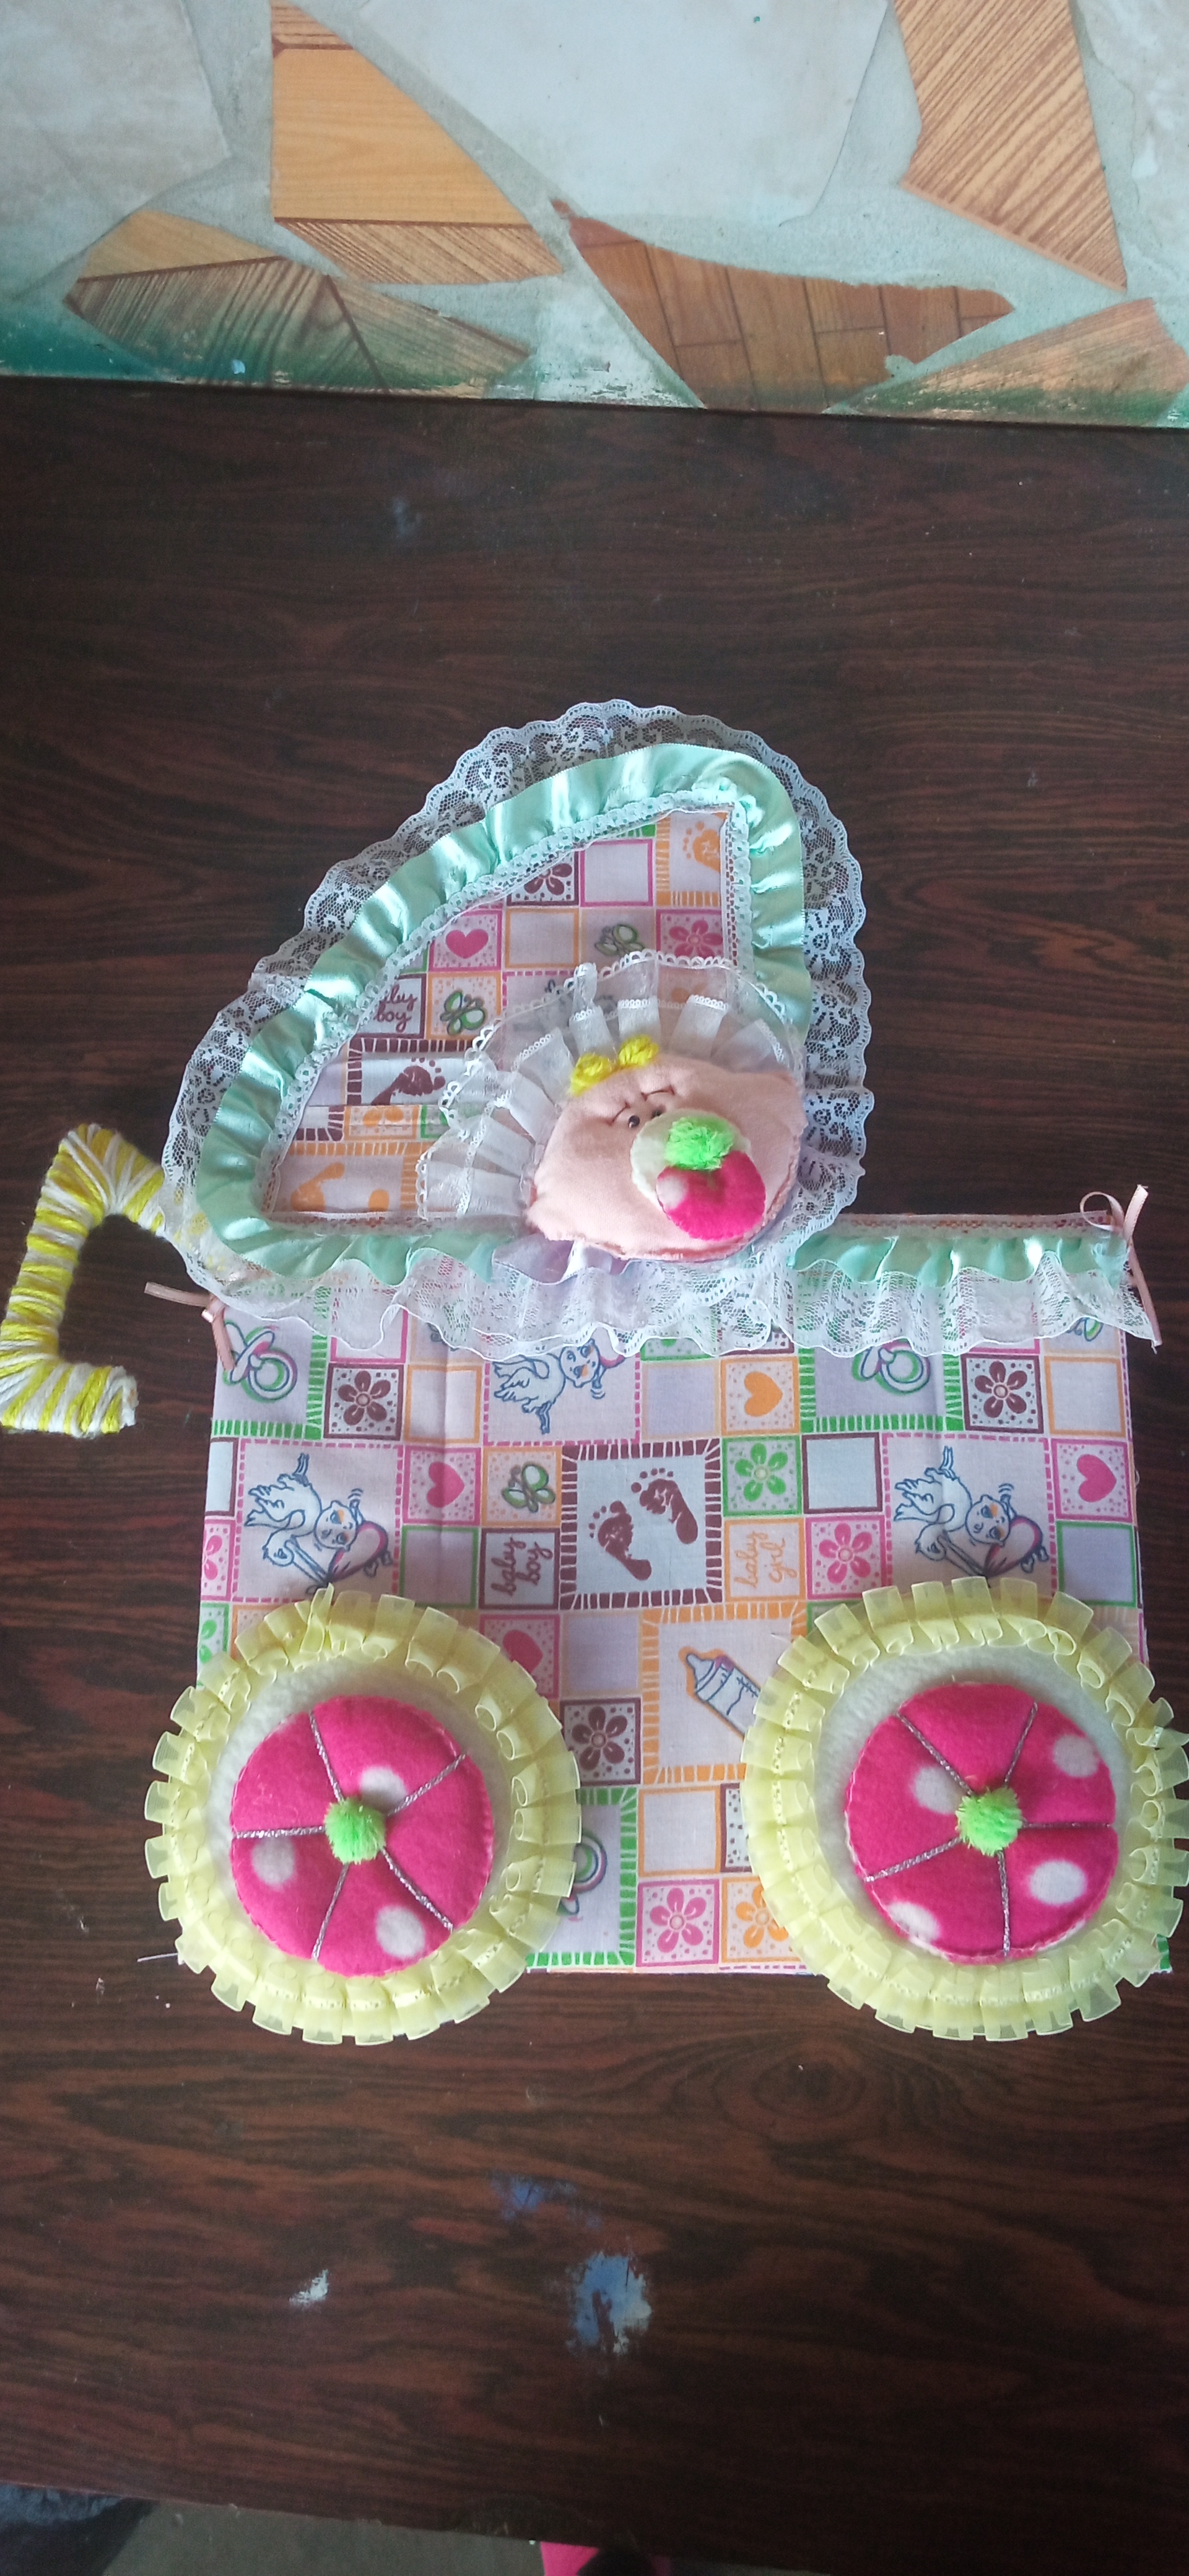
Y así quedó amigos mi carpeta coche para mi nieto o nieta. Espero que les haya gustado. Gracias por leer mi publicación. Dios los bendiga!!!.
And that's how my friends left my car folder for my grandson or granddaughter. I hope you liked it. Thank you for reading my publication. God bless you!
Que bello amiga. Excelente trabajo.
gracias amiga por su apoyo
Hola amiga esta muy lindo.
gracias por el apoyarme
Thank you for sharing this amazing post on HIVE!
Your content got selected by our fellow curator @rezoanulvibes & you just received a little thank you via an upvote from our non-profit curation initiative!
You will be featured in one of our recurring curation compilations and on our pinterest boards! Both are aiming to offer you a stage to widen your audience within and outside of the DIY scene of hive.
Join the official DIYHub community on HIVE and show us more of your amazing work and feel free to connect with us and other DIYers via our discord server: https://discord.gg/mY5uCfQ !
If you want to support our goal to motivate other DIY/art/music/homesteading/... creators just delegate to us and earn 100% of your curation rewards!
Stay creative & hive on!
Very nice work 👍🏾
I wanted to say thank you for subscribing to the star's community and I can't wait to see you start posting there you will be supported
I hope that you have a wonderful day and a great weekend ahead ✌🏾
Muy hermoso. DIOS te bendiga tienes una creatividad magnífica.🙏 🤗❤
My pleasure 🤝🏾