¡Hola! Yo soy Lelys. Espero que estén muy bien. Una vez más paso a compartir con ustedes un nuevo proyecto. Realizado con cartón reciclado. Siempre buscando la mejor manera de reutilizar los materiales desechables. Me hace falta un portapinceles, es por ello que decidí elaborar este lindo organizador. El cual usaré también para colocar las barras de Silicon. Puedes hacer el tuyo siguiendo los siguientes pasos:
Hello! I am Lelys. I hope you all are okay. Once again I am going to share a new project with you. Made with recycled cardboard. Always looking for the best way to reuse disposable materials. I need a brush holder, which is why I decided to make this cute organizer. Which I will also use to place the Silicon bars. You can make yours by following the steps below:

Para realizar este lindo organizador sólo necesitas pocos materiales, puedes ir guardando los rollos de papel sanitario o de cualquier otro utensilio que uses en casa que venga envuelto en cartón. Los organizadores se realizan de manera muy sencilla y rápido. Basta poner en marcha la creatividad y las habilidades para dibujar el diseño.
To make this beautiful organizer, you only need a few materials, you can keep the rolls of toilet paper or any other utensil that you use at home that comes wrapped in cardboard. The organizers are done very easily and quickly. It is enough to put into action creativity and skills to draw the design.
I PARTE.
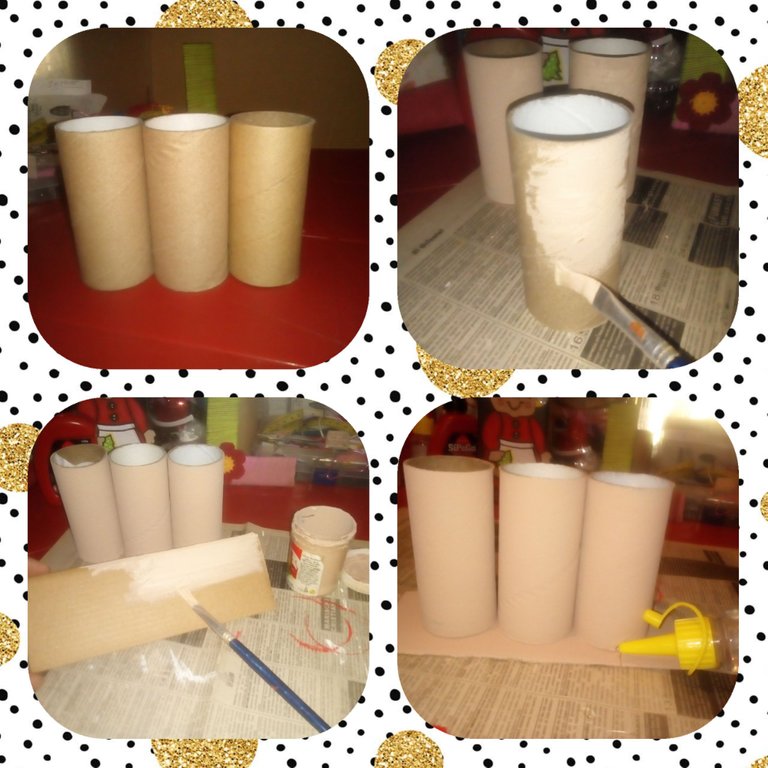
- Pinta tres rollos de cartón.
- Pinta una base para colocar los rollos.
- Pega los rollos sobre la base. Dejando un espacio disponible en la parte de atrás.
I PART.
- Paint three cardboard rolls. 2. Paint a base to place the rolls. 3. Glue the rolls on the base. Leaving an available space in the back.
II PARTE
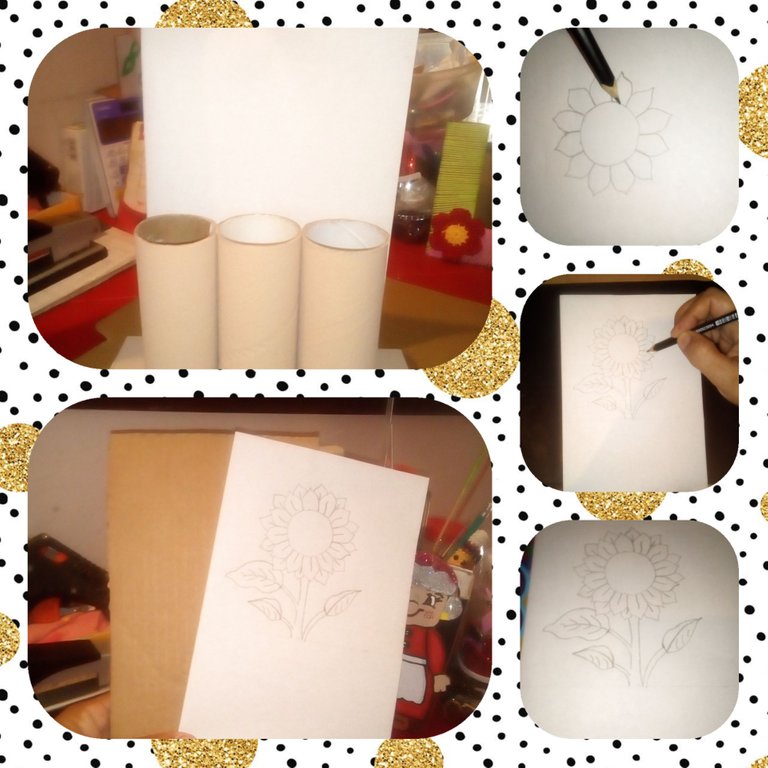
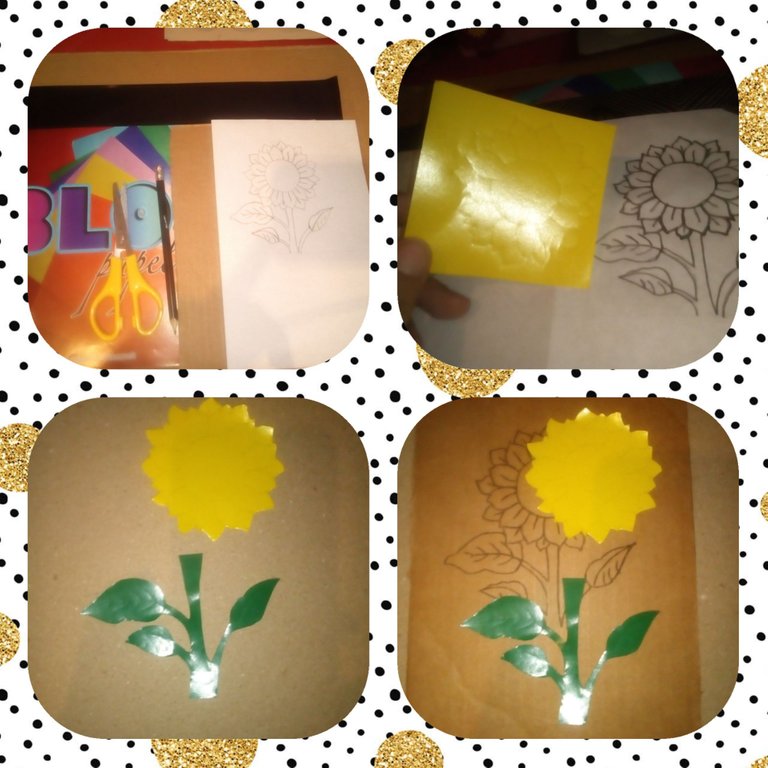
- Decide el tamaño del cartón donde dibujaras el girasol.
- Dibuja el modelo de Girasol que mas te guste.
PART II
- Decide the size of the cardboard where you will draw the sunflower. 2. Draw the Sunflower model that you like the most.
III PARTE.
- Usando una hoja de papel carbón traspasa el dibujo del girasol al cartón recortado.
- Traspasa el girasol (dos partes) en la hoja de papel lustrillo.
- Recorta las partes del girasol dibujadas sobre el papel lustrillo. Tallo y hojas en color verde. Pétalos o flor en color amarillo.
PART III.
- Using a sheet of carbon paper, transfer the picture of the sunflower onto the cut-out cardboard. 2. Transfer the sunflower (two parts) onto the sheet of glossy paper. 3. Cut out the parts of the sunflower drawn on the glossy paper. Stem and leaves in green color. Petals or flower in yellow color.
IV PARTE.
- Dibuja el fondo del cartón donde va el girasol. Puedes usar lápices de colores.
- Resalta los detalles de la flor, las hojas y el tronco usando color negro.
- Para el corazón del girasol usa pintura al frío y realiza unas pinceladas suavemente en color marrón.
- Si estás conforme con tu diseño, solo falta pegar el cartón en la parte posterior de los rollos, sobre el espacio que dejaste desocupado en la base.
PART IV.
- Draw the bottom of the cardboard where the sunflower goes. You can use colored pencils. 2. Highlight the details of the flower, leaves and trunk using black. 3. For the heart of the sunflower, use cold paint and gently brush in brown. 4. If you are satisfied with your design, you only need to stick the cardboard on the back of the rolls, over the space that you left unoccupied at the base.

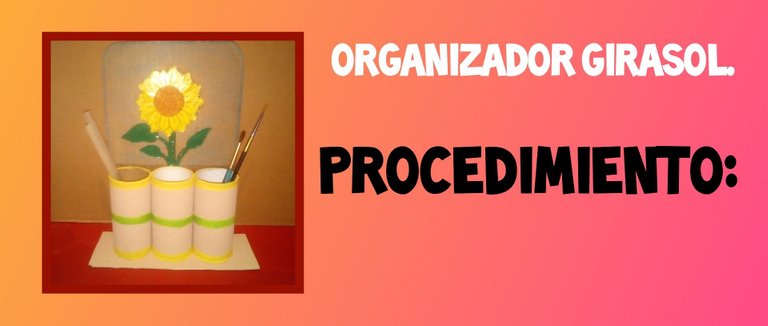
De este modo queda terminado nuestro Organizador Girasol. Ideal para colocar los pinceles y las barras de Silicon. A mí me encanta como quedó. Anímate y haz los tuyos.
Fotos de mi autoría. Edité con Polish. Uso traductor de Google. Hasta pronto.
This is how our Sunflower Organizer is finished. Ideal for placing brushes and Silicon bars. I love how it turned out. Go ahead and do yours. Photos of my authorship. I edited with Polish. I use google translate. See you soon.