Hello dear friends of hive, I am very happy to be able to share a new creative work with you. This time we will see how to make, in a very easy and fun way, a super backhoe on wheels. And the best thing is that we will make it with materials that we all have in our homes.
Hola queridos amigos de hive, estoy muy feliz de poder compartir un nuevo trabajo creativo con ustedes. En esta ocasión veremos cómo hacer, de una manera muy fácil y divertida, una súper retroexcavadora sobre ruedas. Y lo mejor, es que la haremos con materiales que todos tenemos en nuestros hogares.

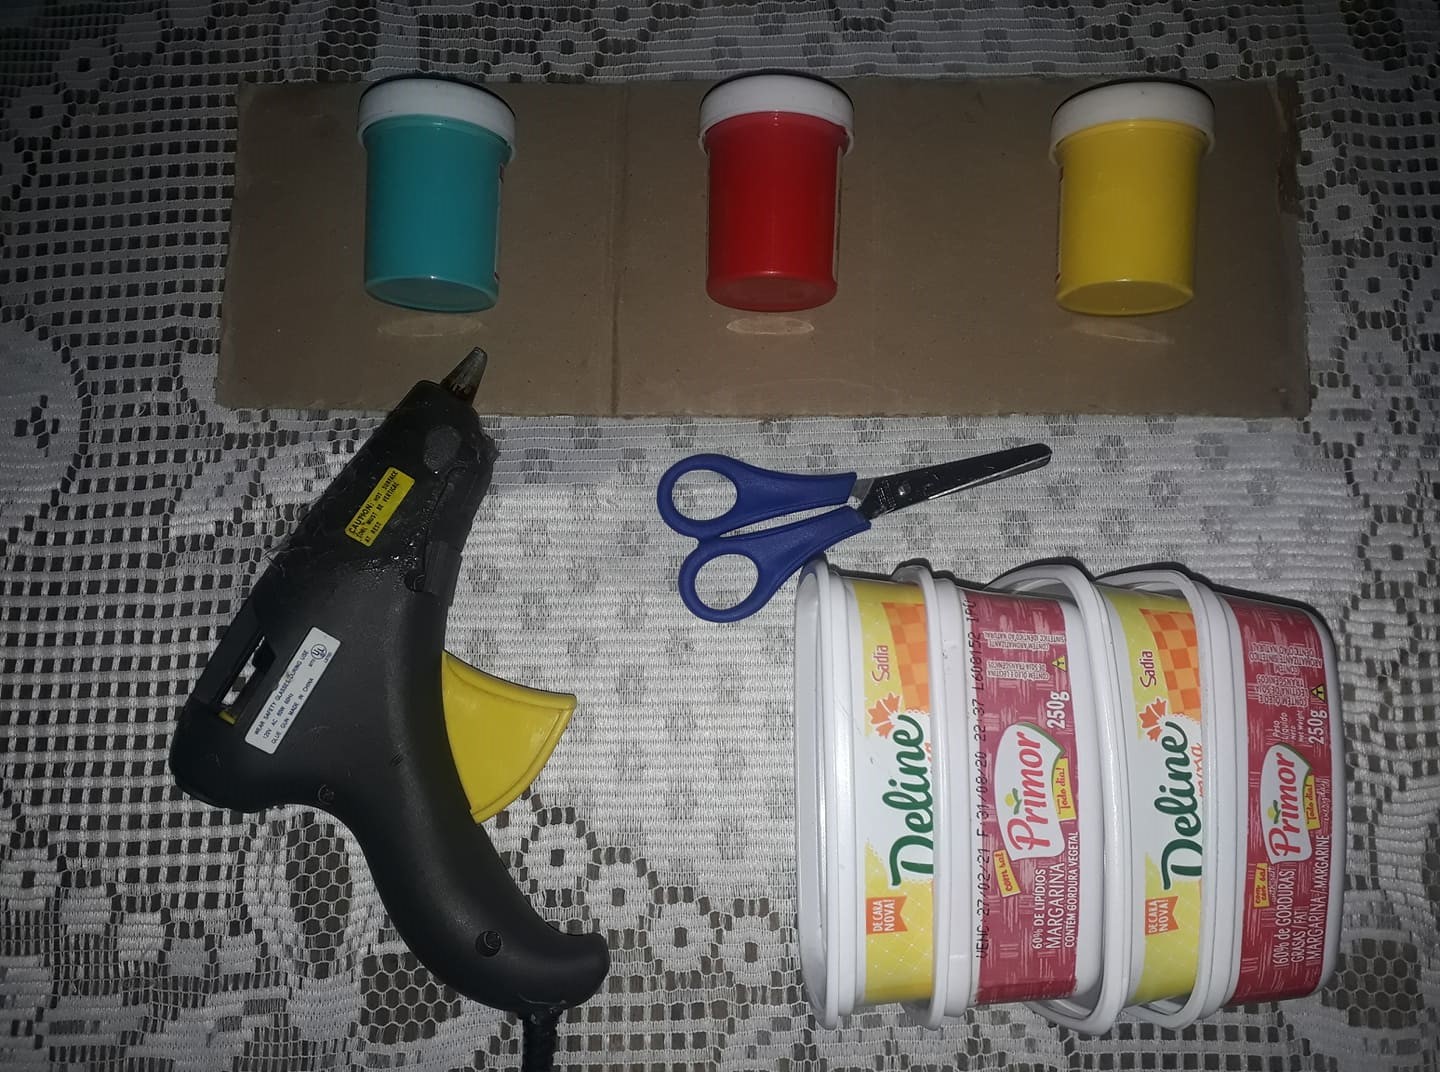
We will need the following materials:
Butter containers
Cardboard
Tempera
Scissors
Silicone
Necesitaremos los siguientes materiales:
Envases de mantequilla
Cartón
Tempera
Tijera
Silicón
Join me in this didactic step by step. I assure you that you will have a lot of fun and you will love the result.
Acompáñenme en este didáctico paso a paso. Les aseguró se divertirán mucho y les encantara el resultado.
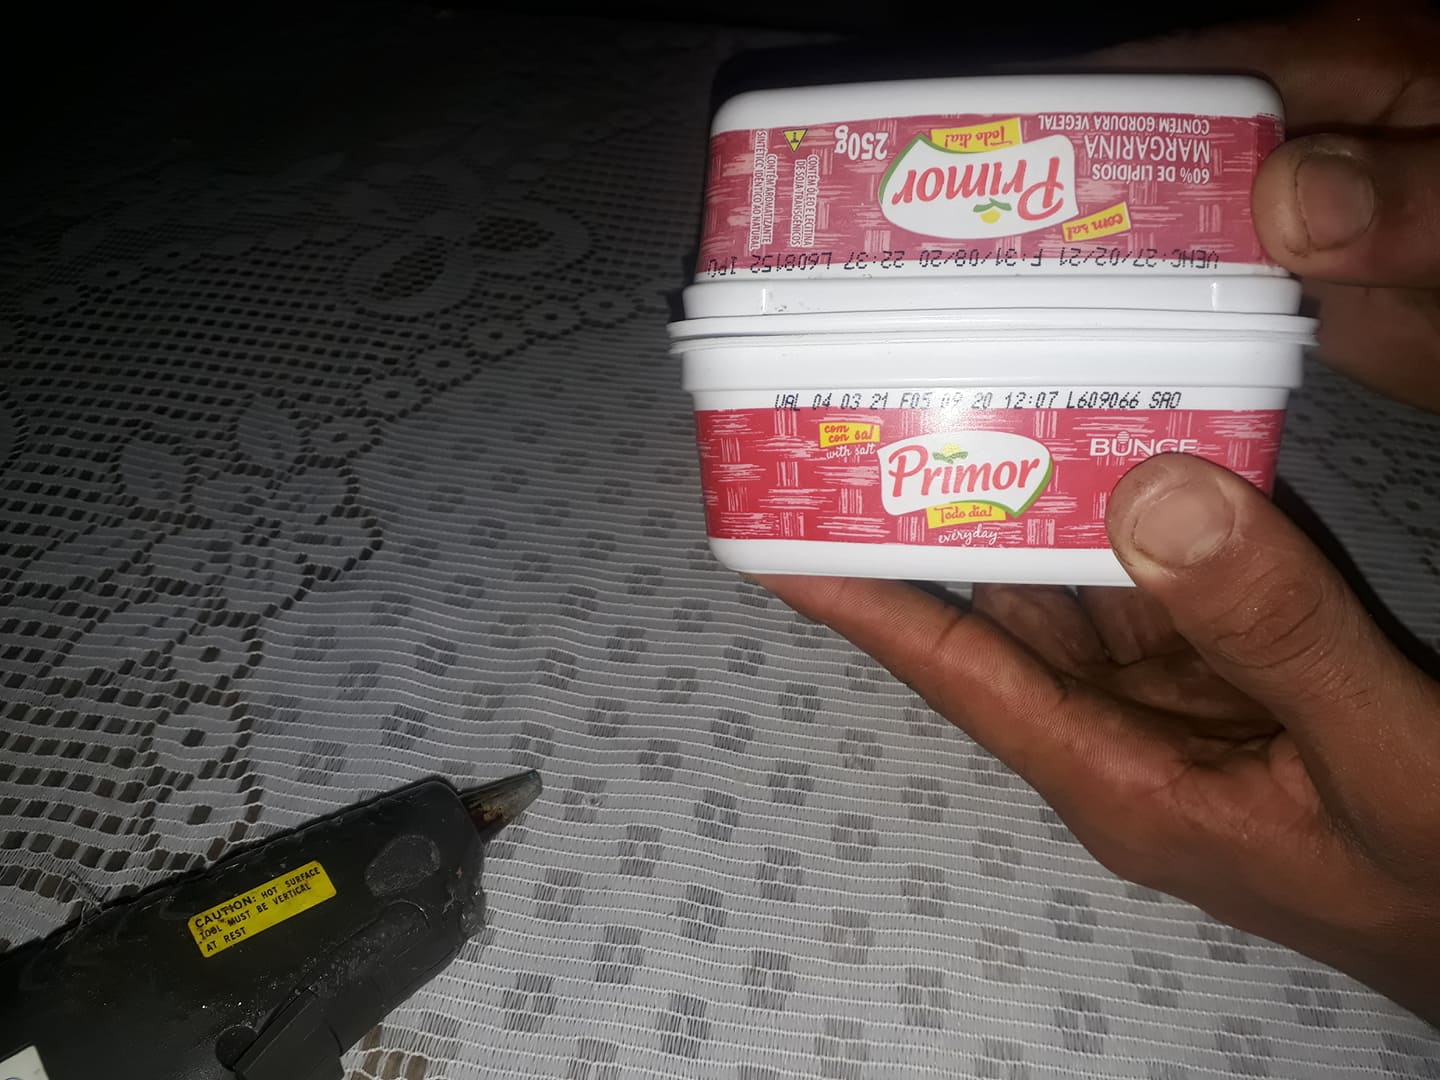
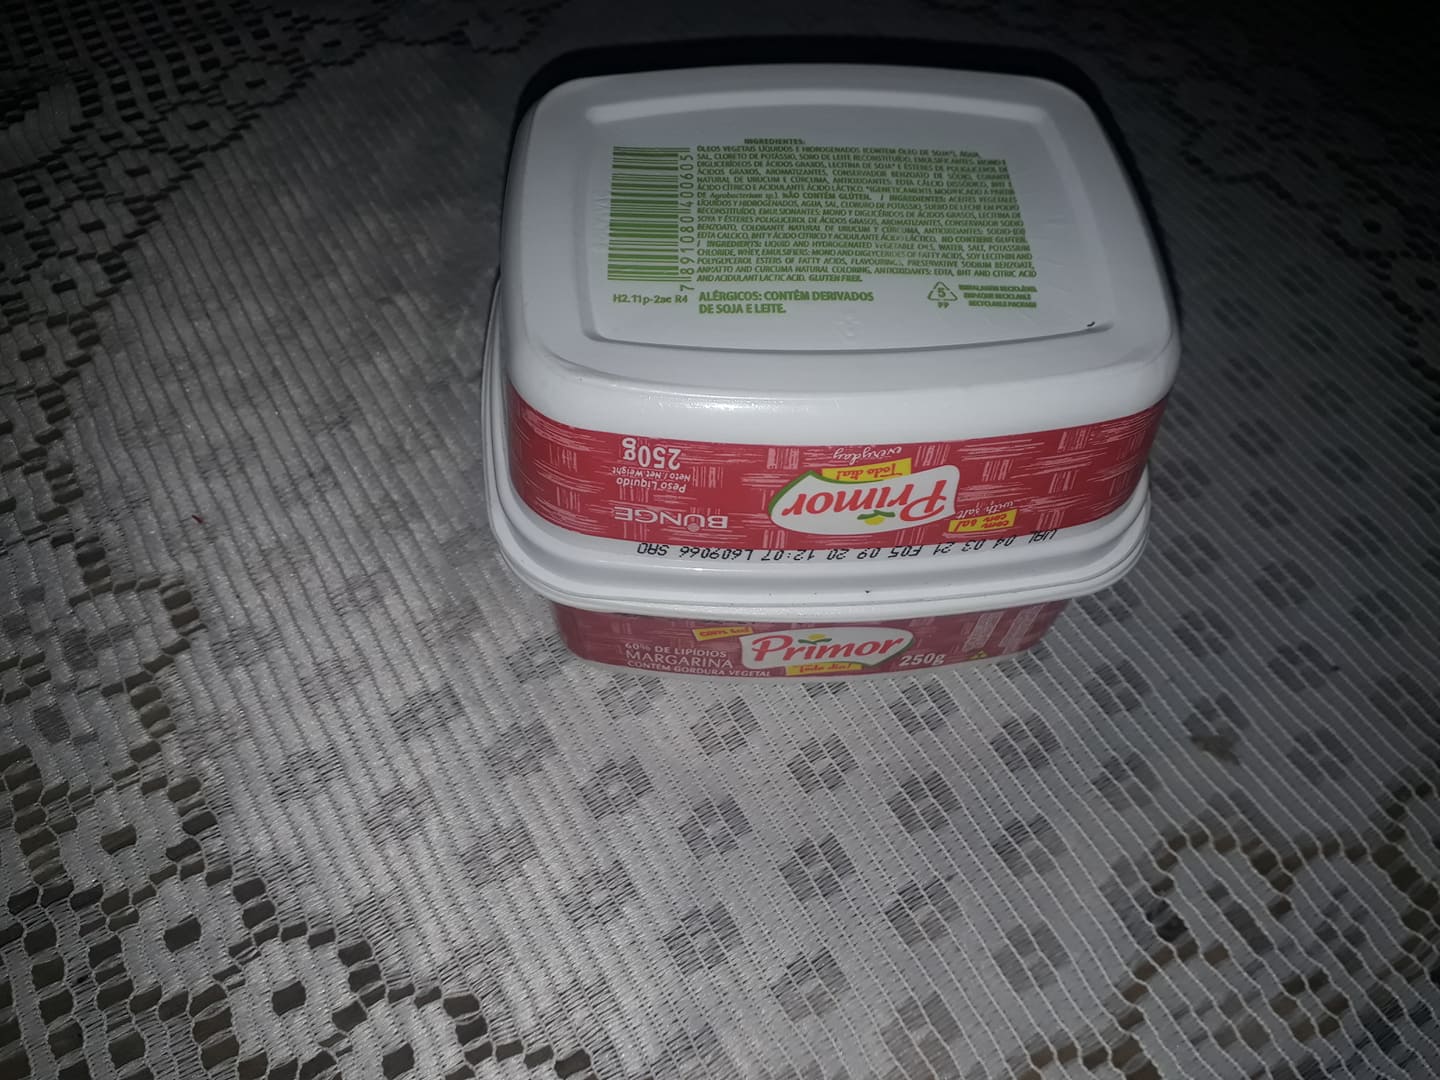
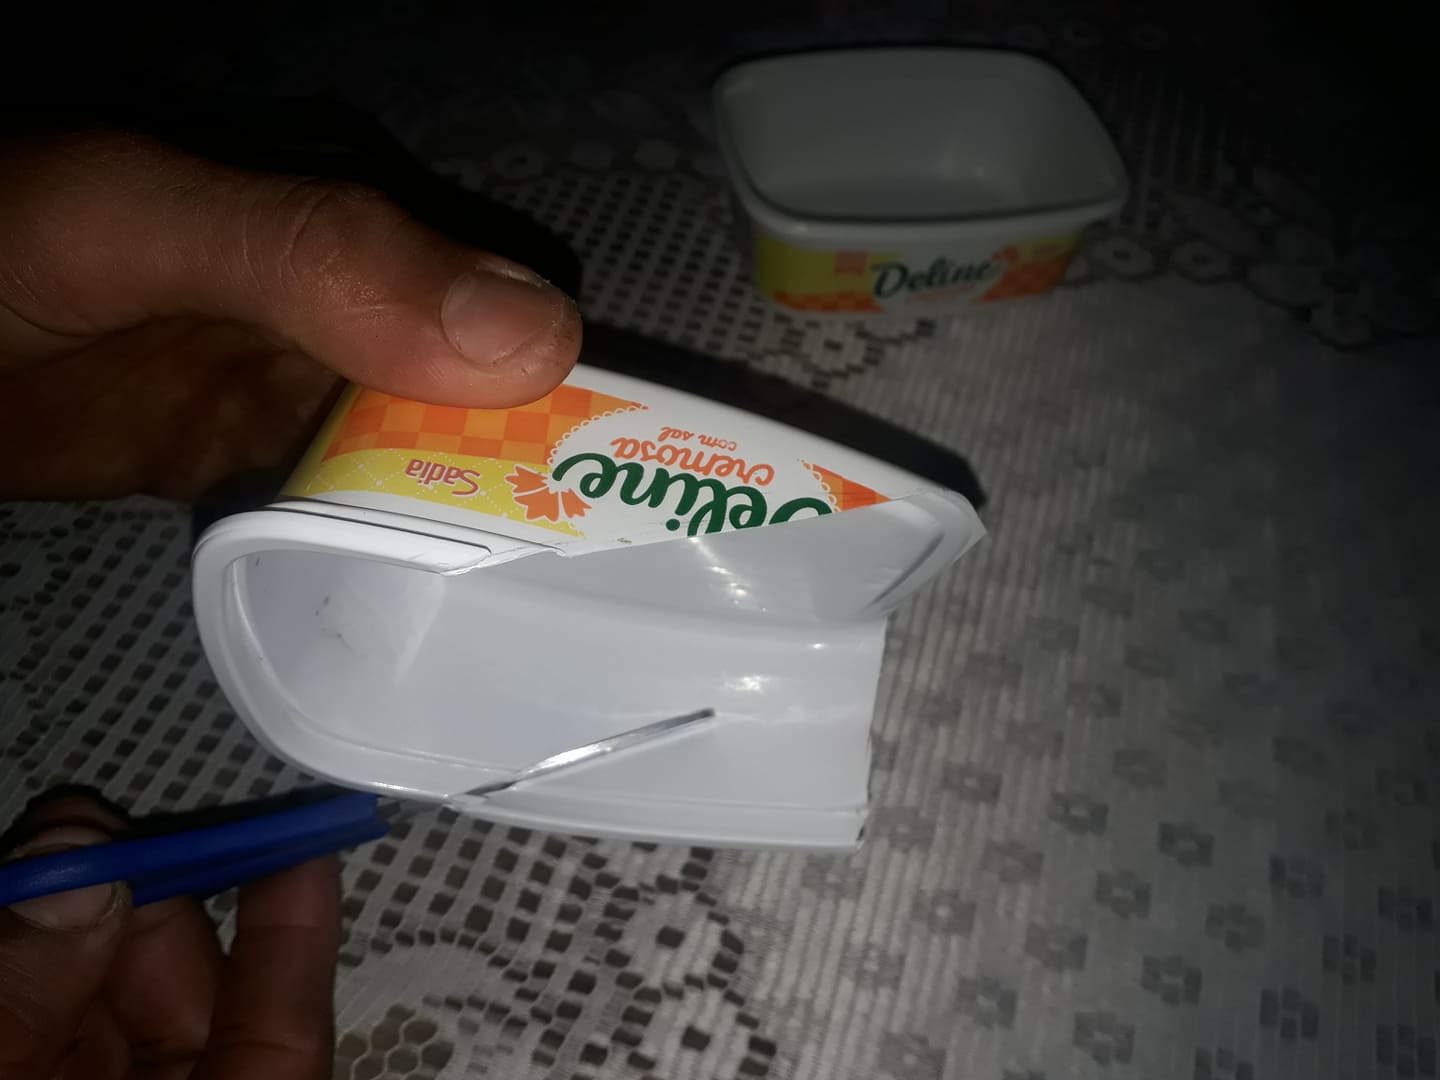
Step 1
Join two containers to form the cabin.
Paso 1
Unimos dos envases para formar la cabina.
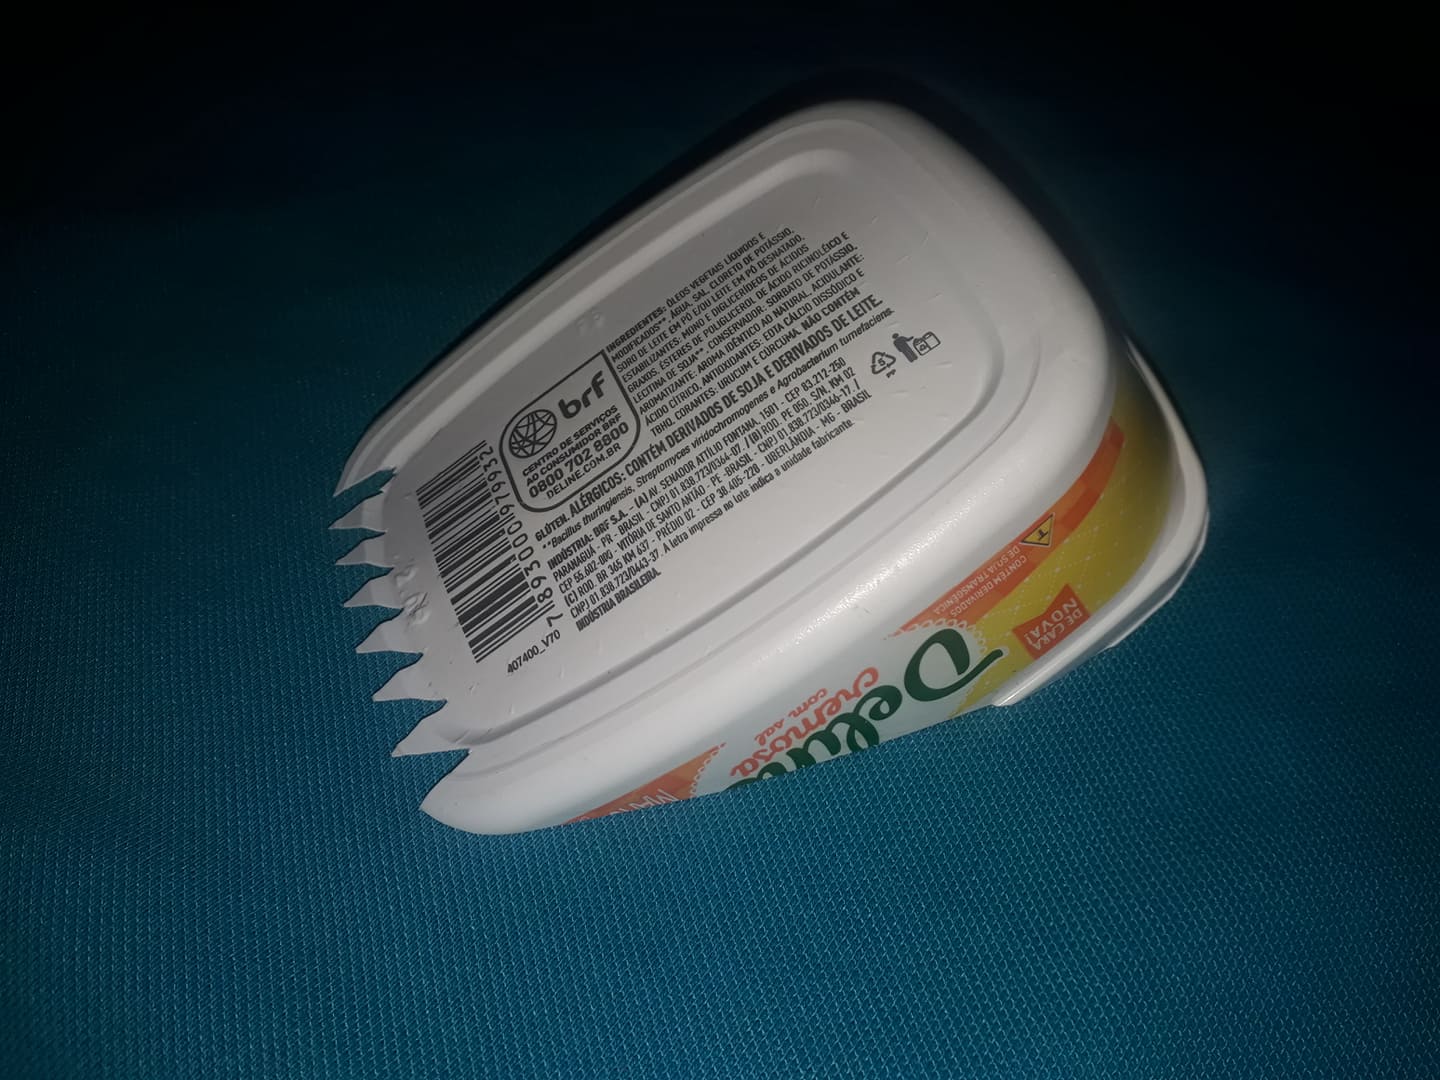
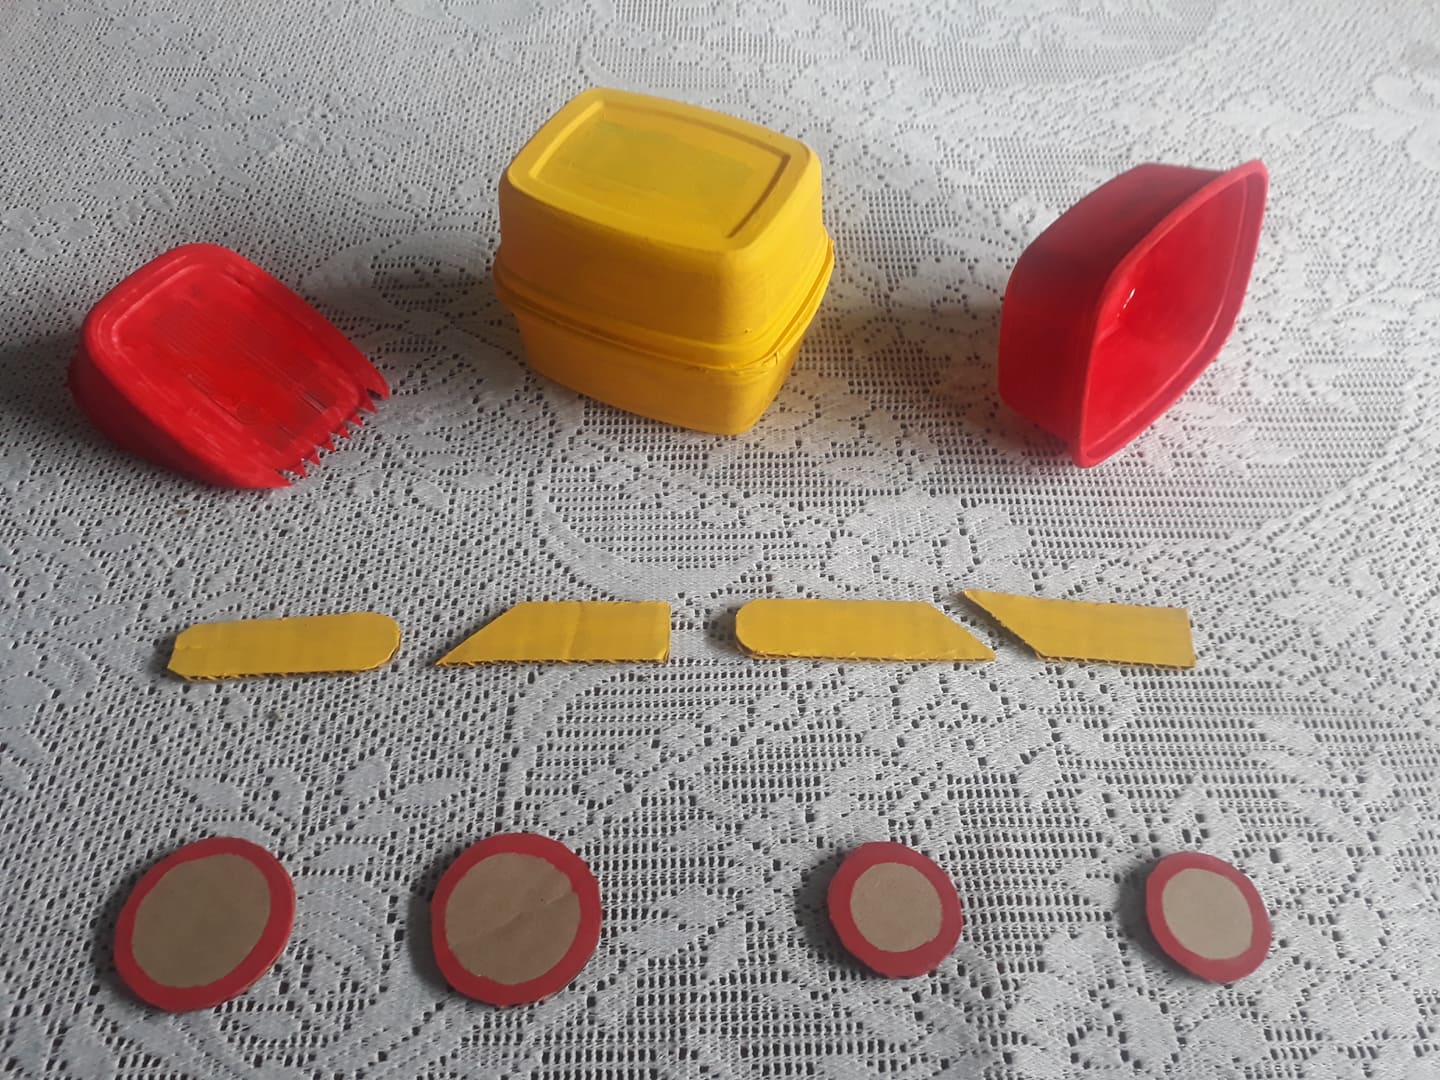
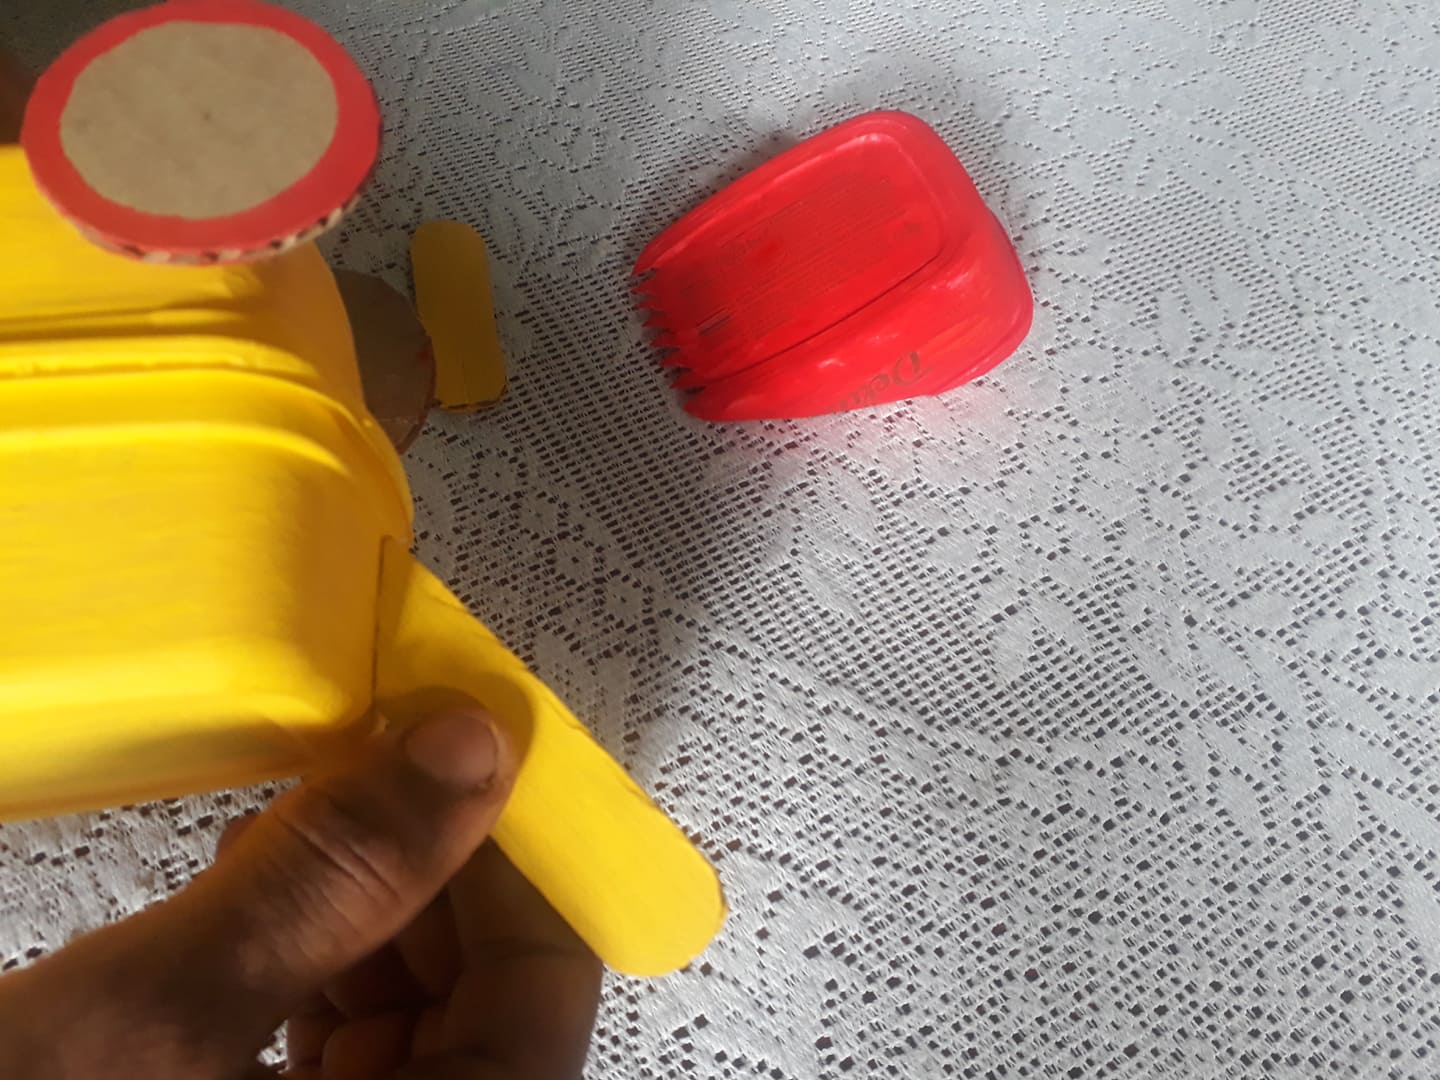
Step 2
Of the two remaining containers we leave one intact, which will be the loading shovel, and the other one we cut and make some teeth to make the spoon.
Paso 2
De los dos envases restantes dejamos uno intacto, que será la pala cargadora, y el otro lo recortamos y le hacemos unos dientes para hacer el cucharon.
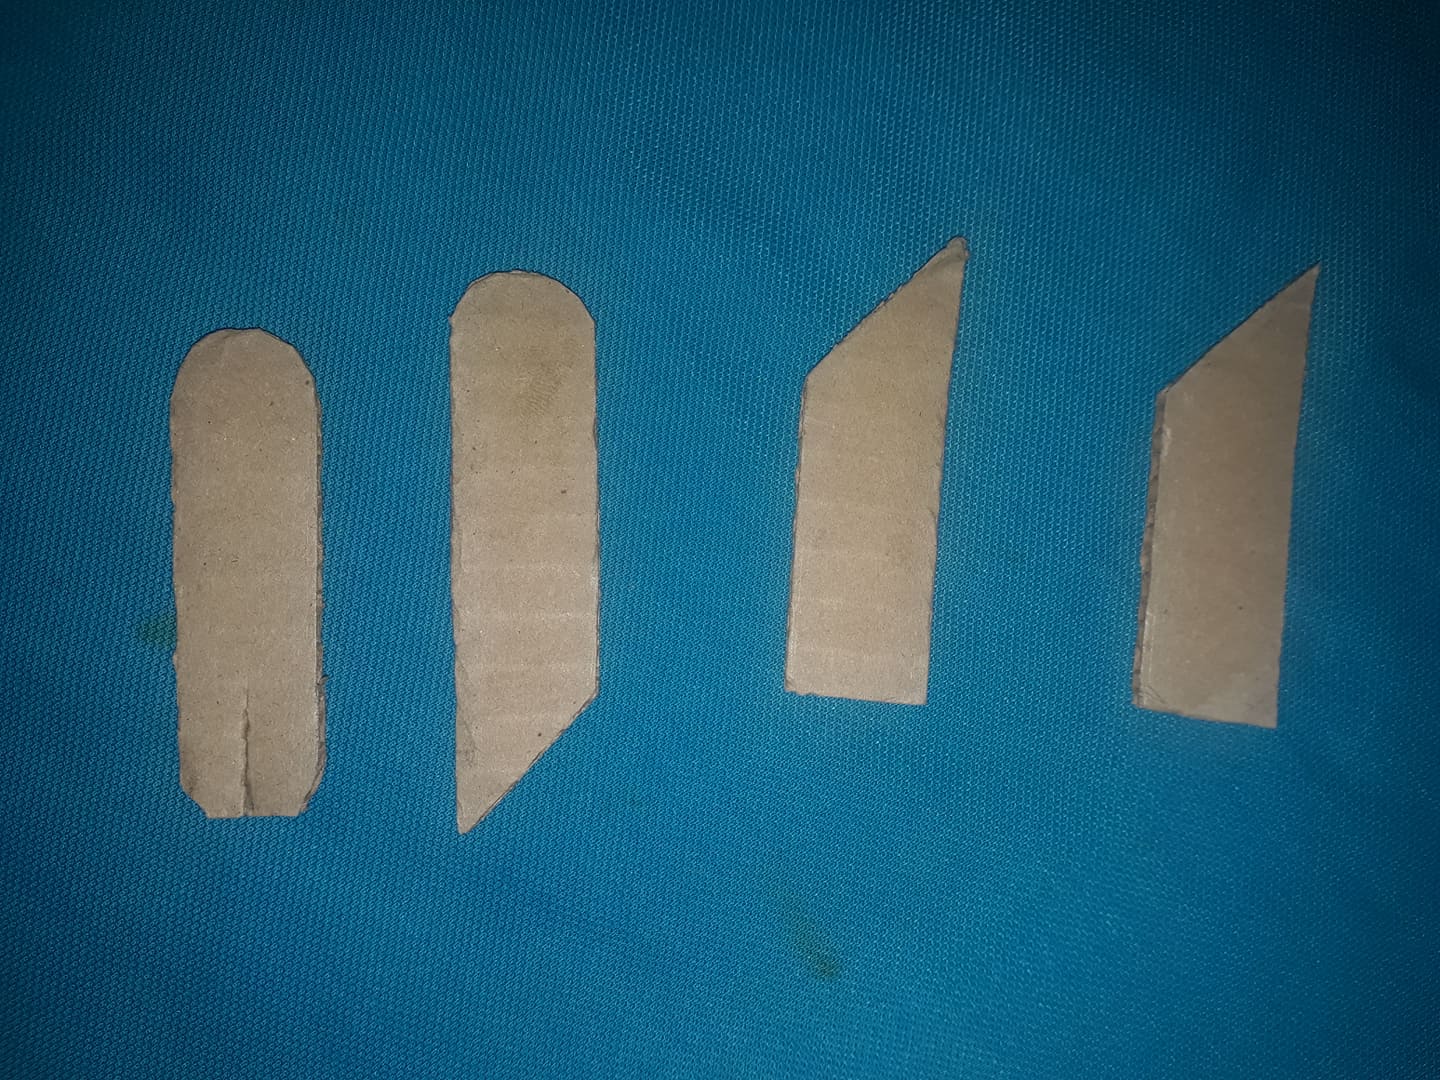
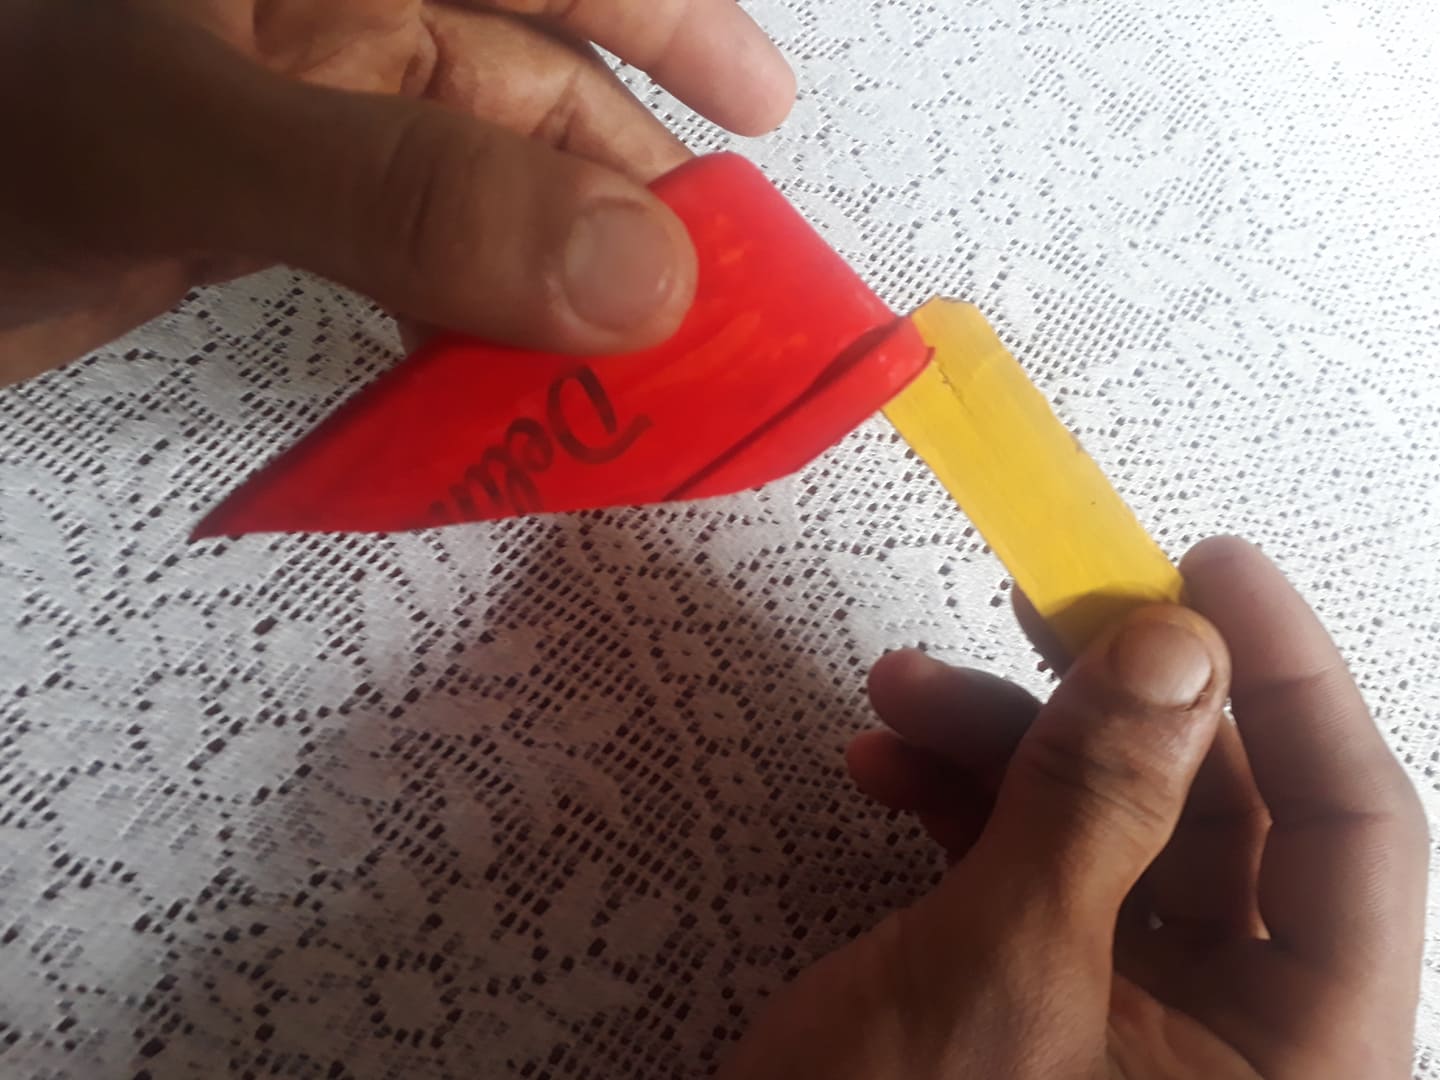
Step 3
We cut four strips of cardboard, two of these we will use to connect the loader to the cabin and the others to connect the bucket.
Paso 3
Picamos cuatro tiras de cartón, dos de estas la usaremos para conectar la pala cargadora a la cabina y las otras para conectar el cucharon.
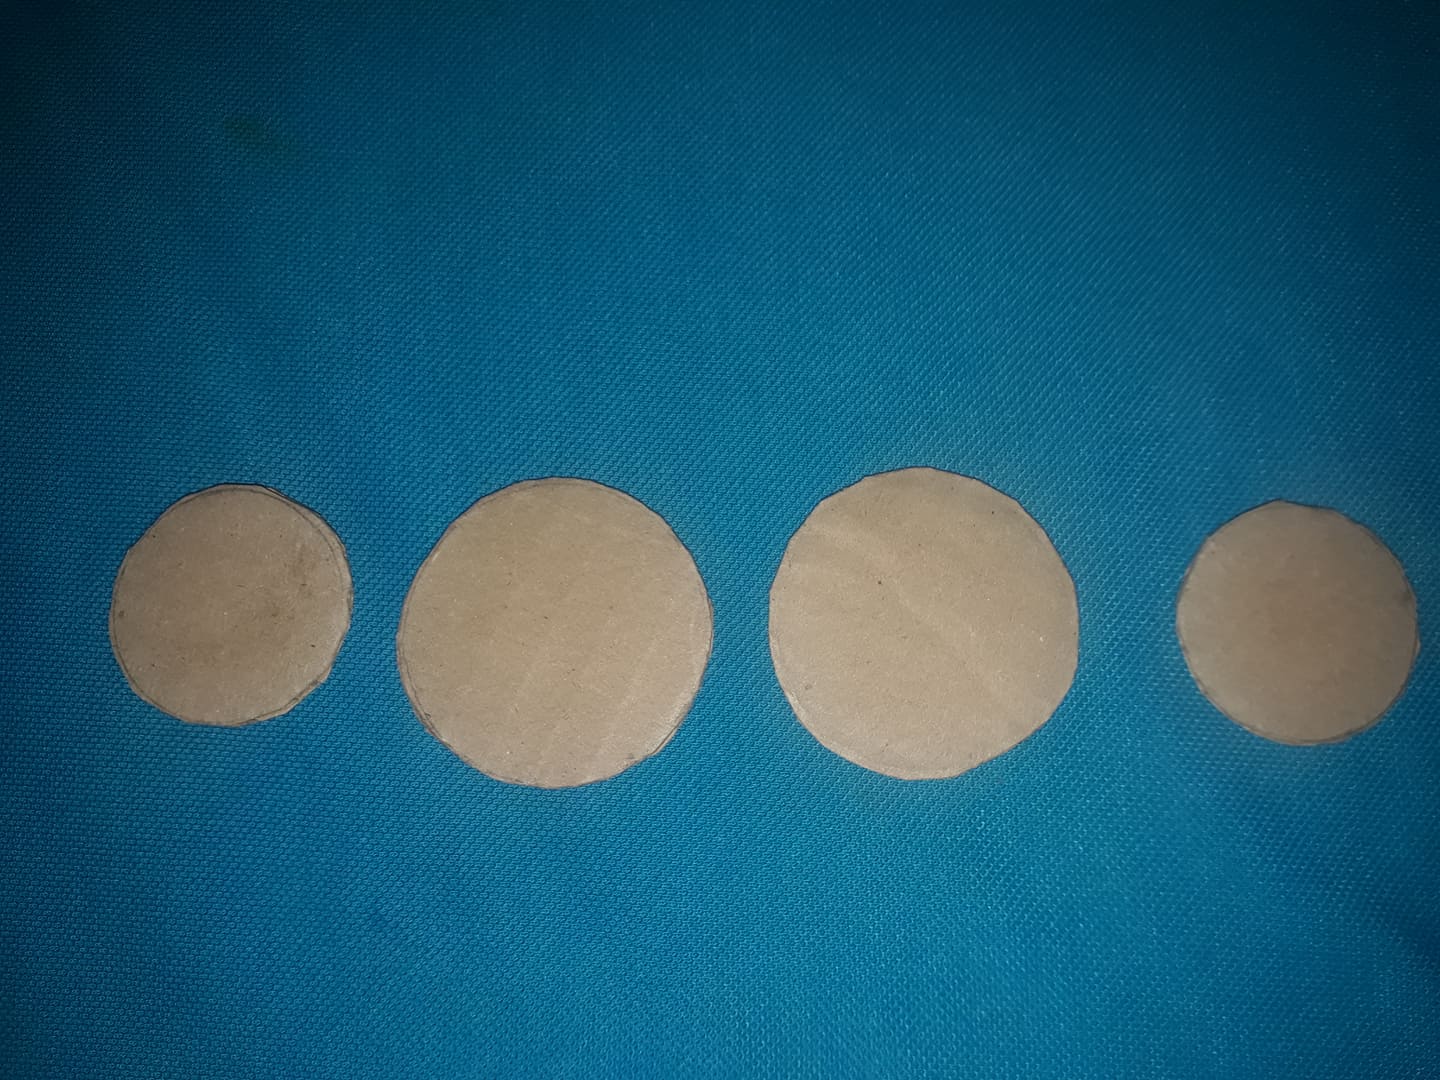
Step 4
Cut out 4 round pieces of cardboard for the wheels.
Paso 4
Recortamos 4 pedazos redondos de cartón para las ruedas.
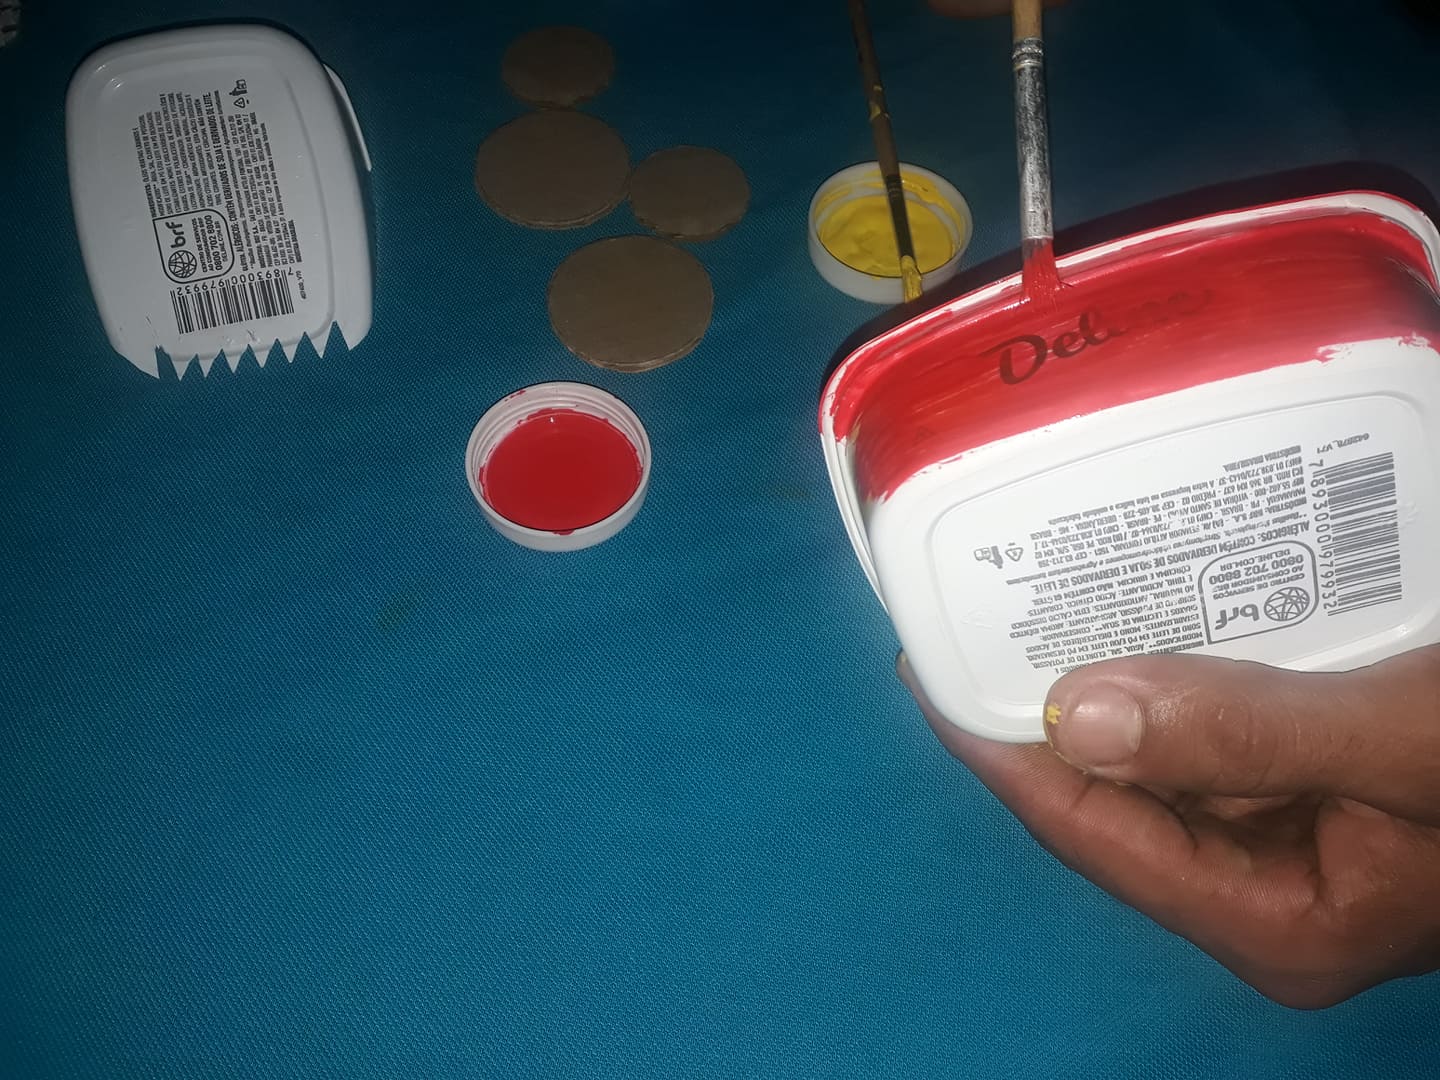
Step 5
Paint all the parts.
Paso 5
Pintamos todas las partes.
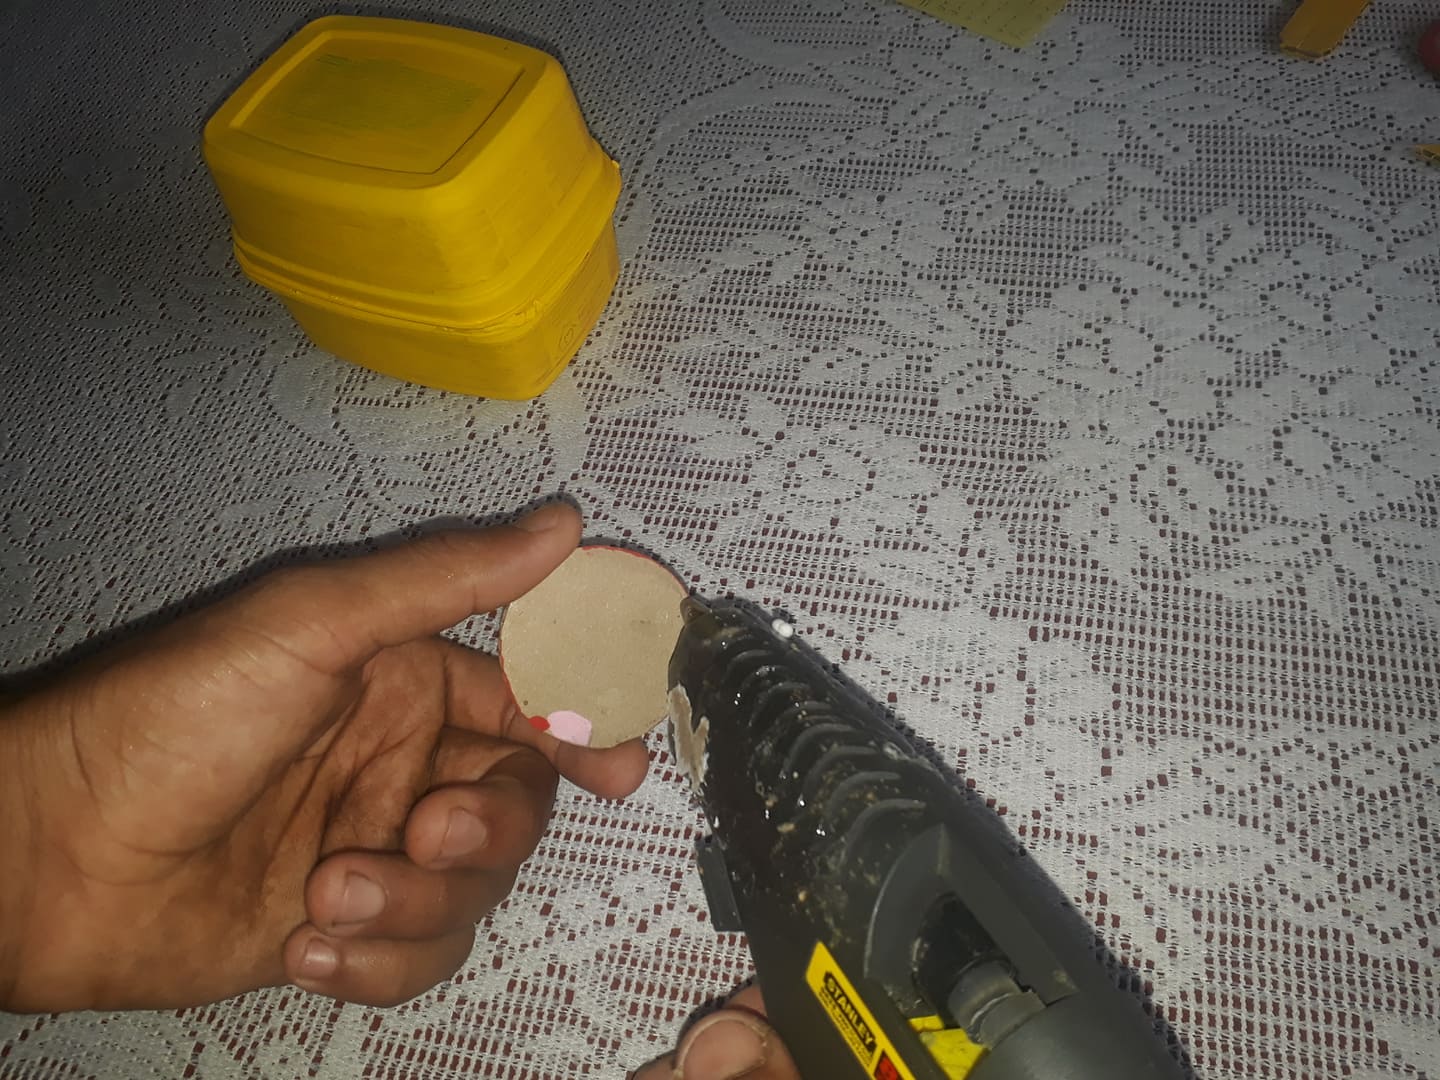
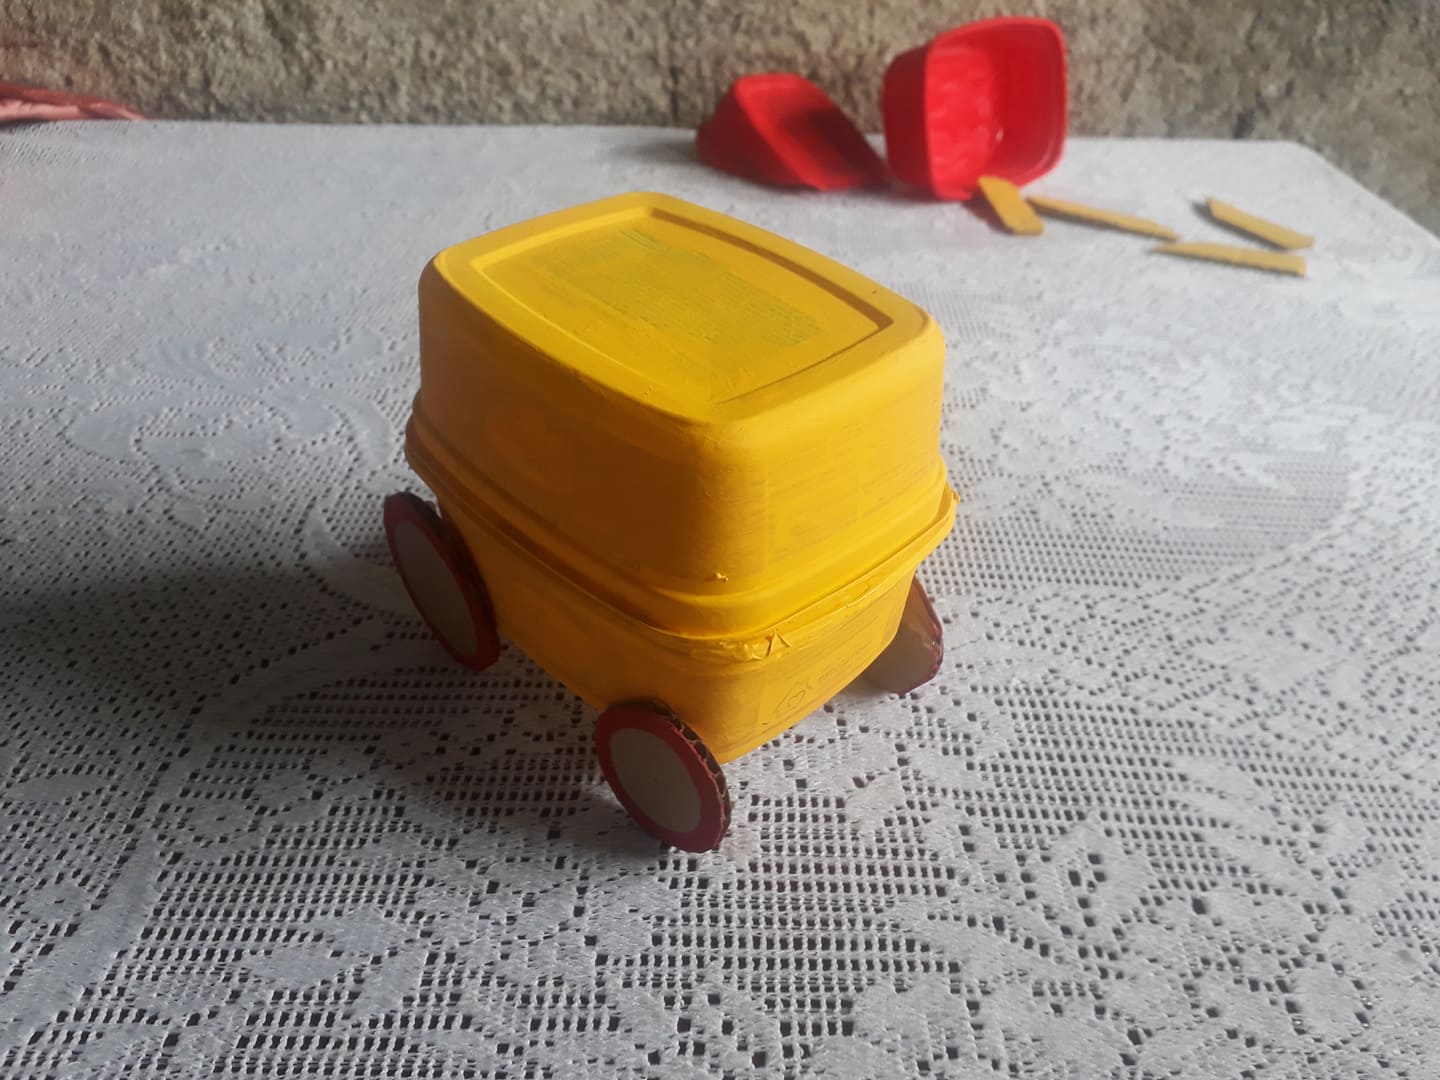
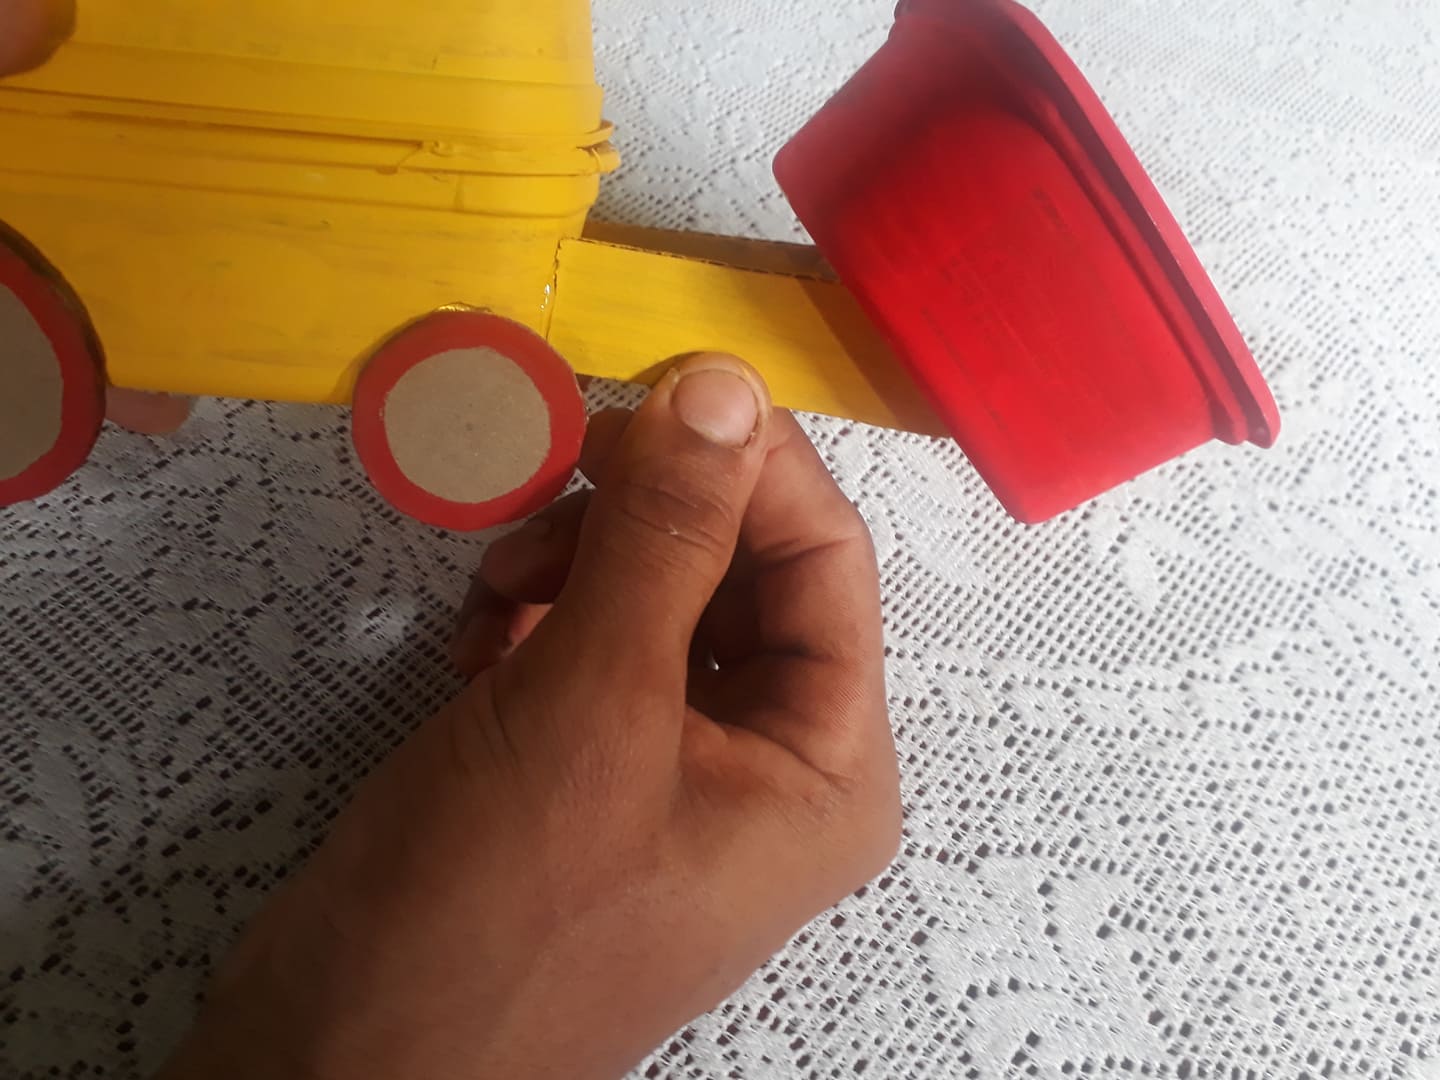
Step 6
Join all the pieces to the cabin.
Paso 6
Unimos todas las piezas a la cabina.
Wheels
Ruedas
Loaders
Pala cargadora


Cucharon
Cucharon
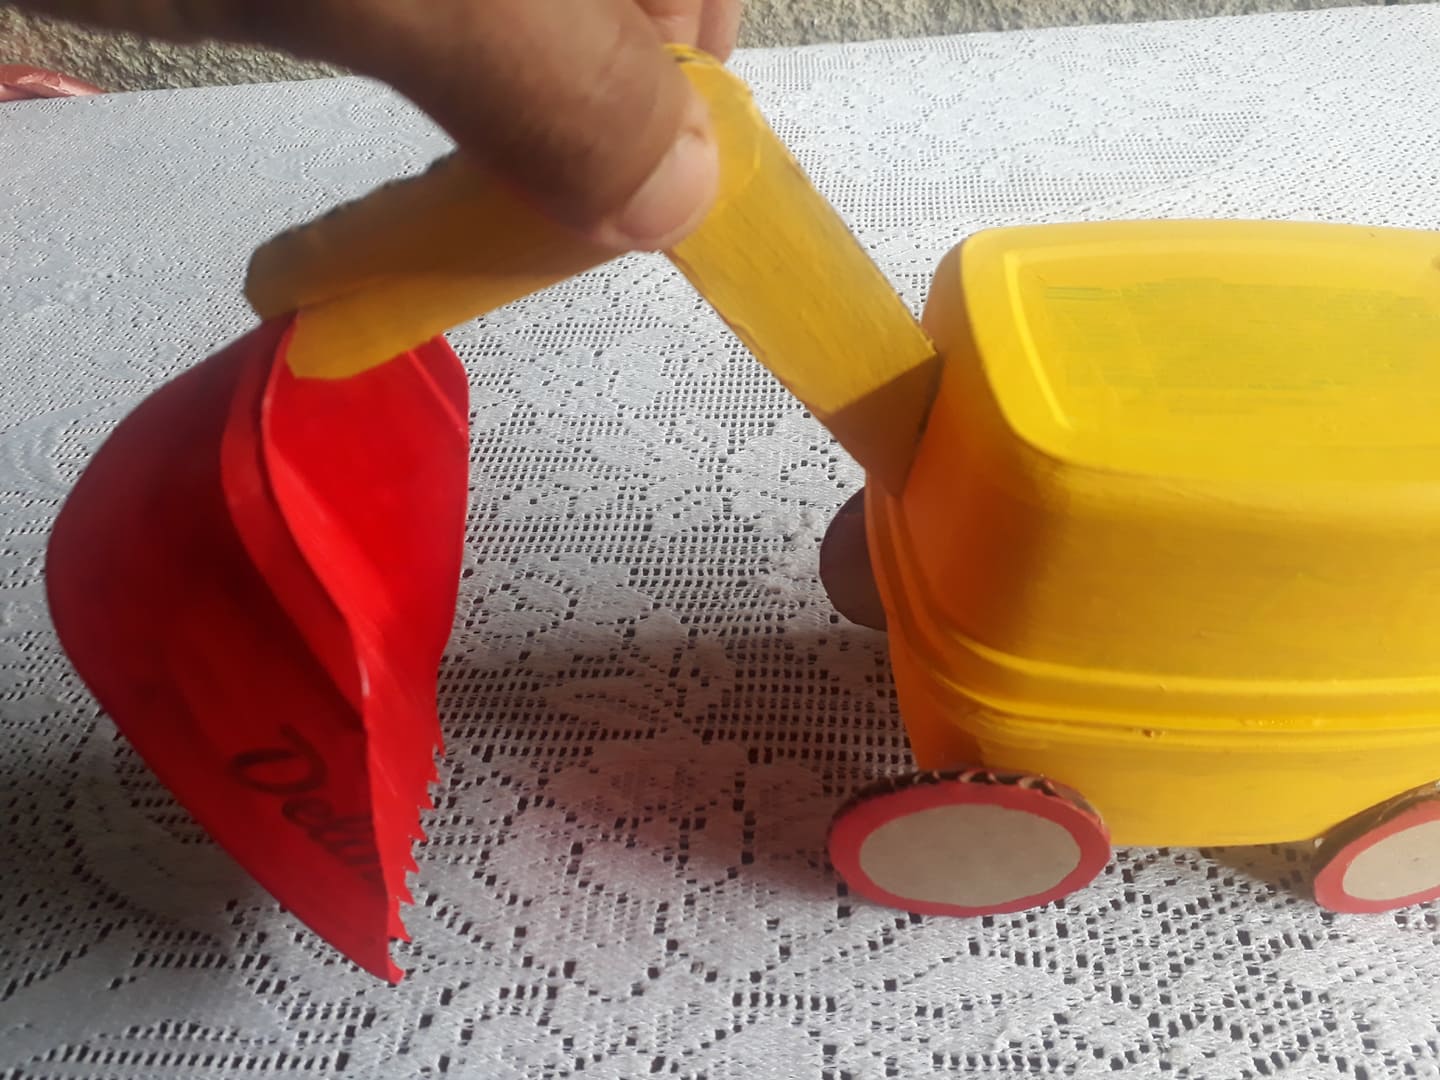
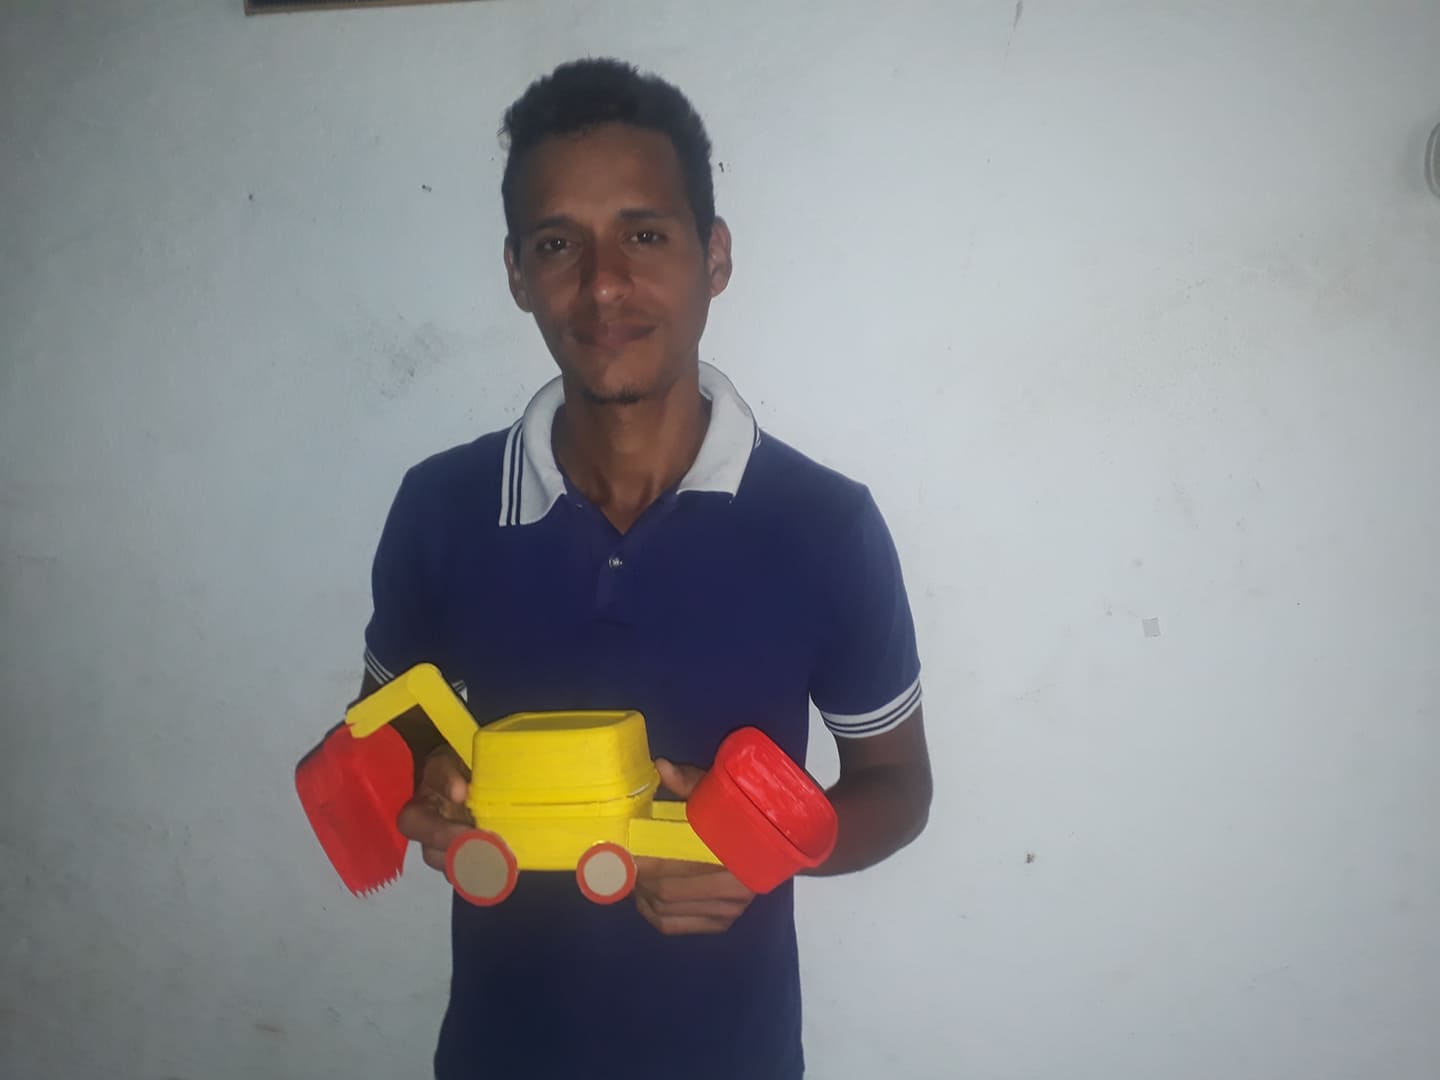
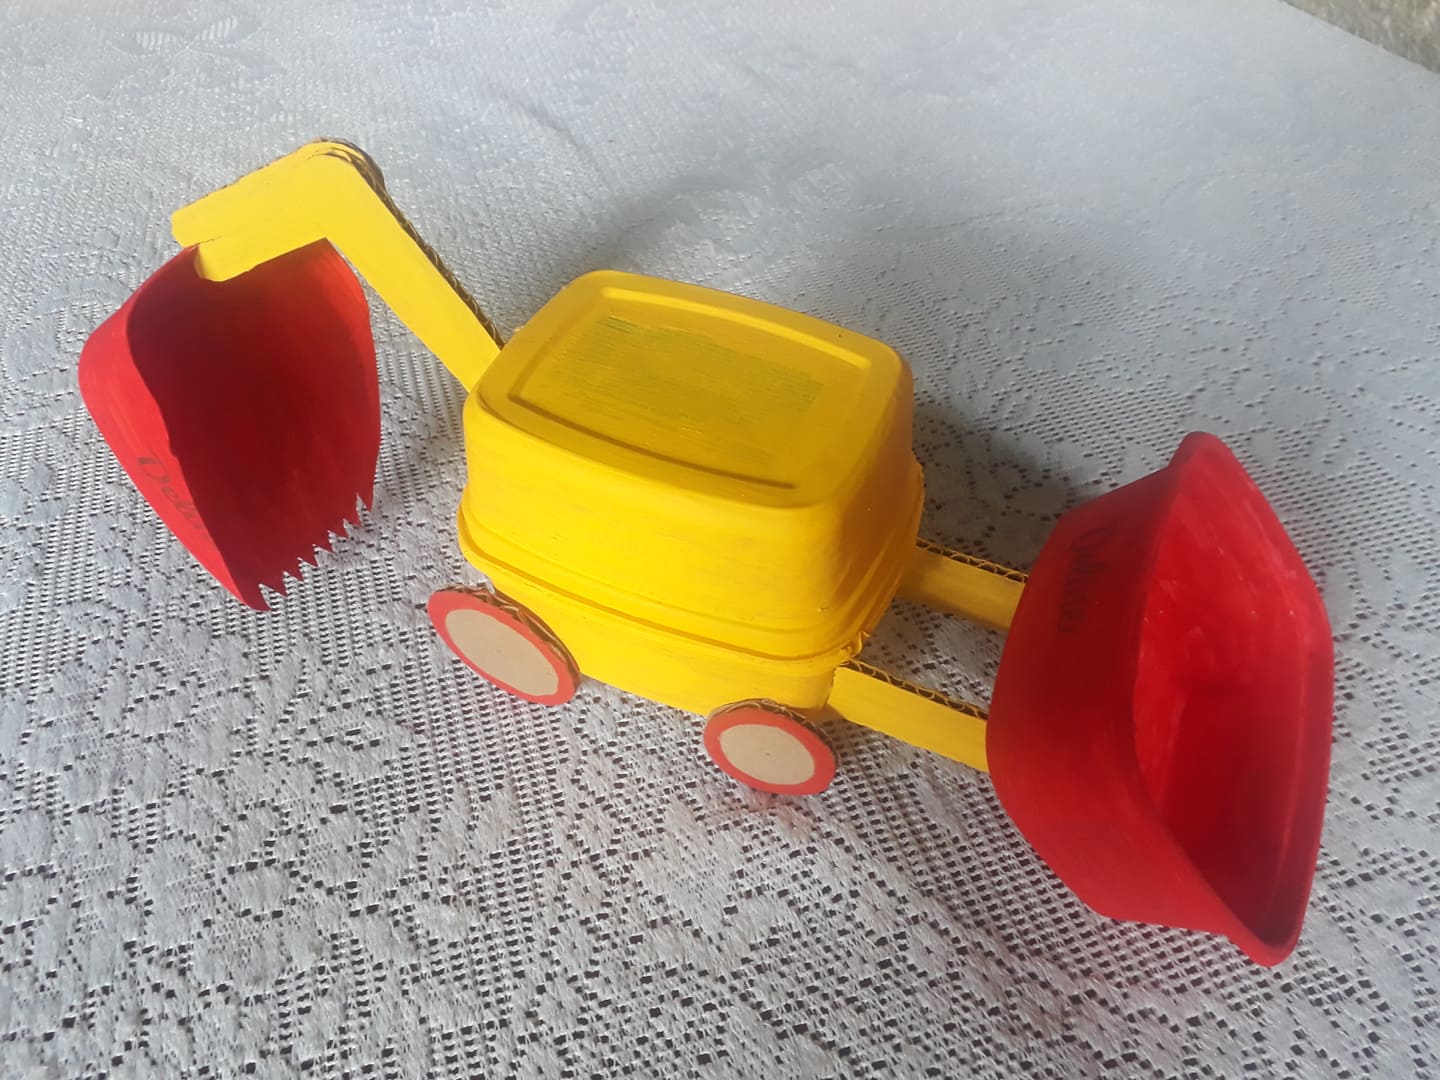
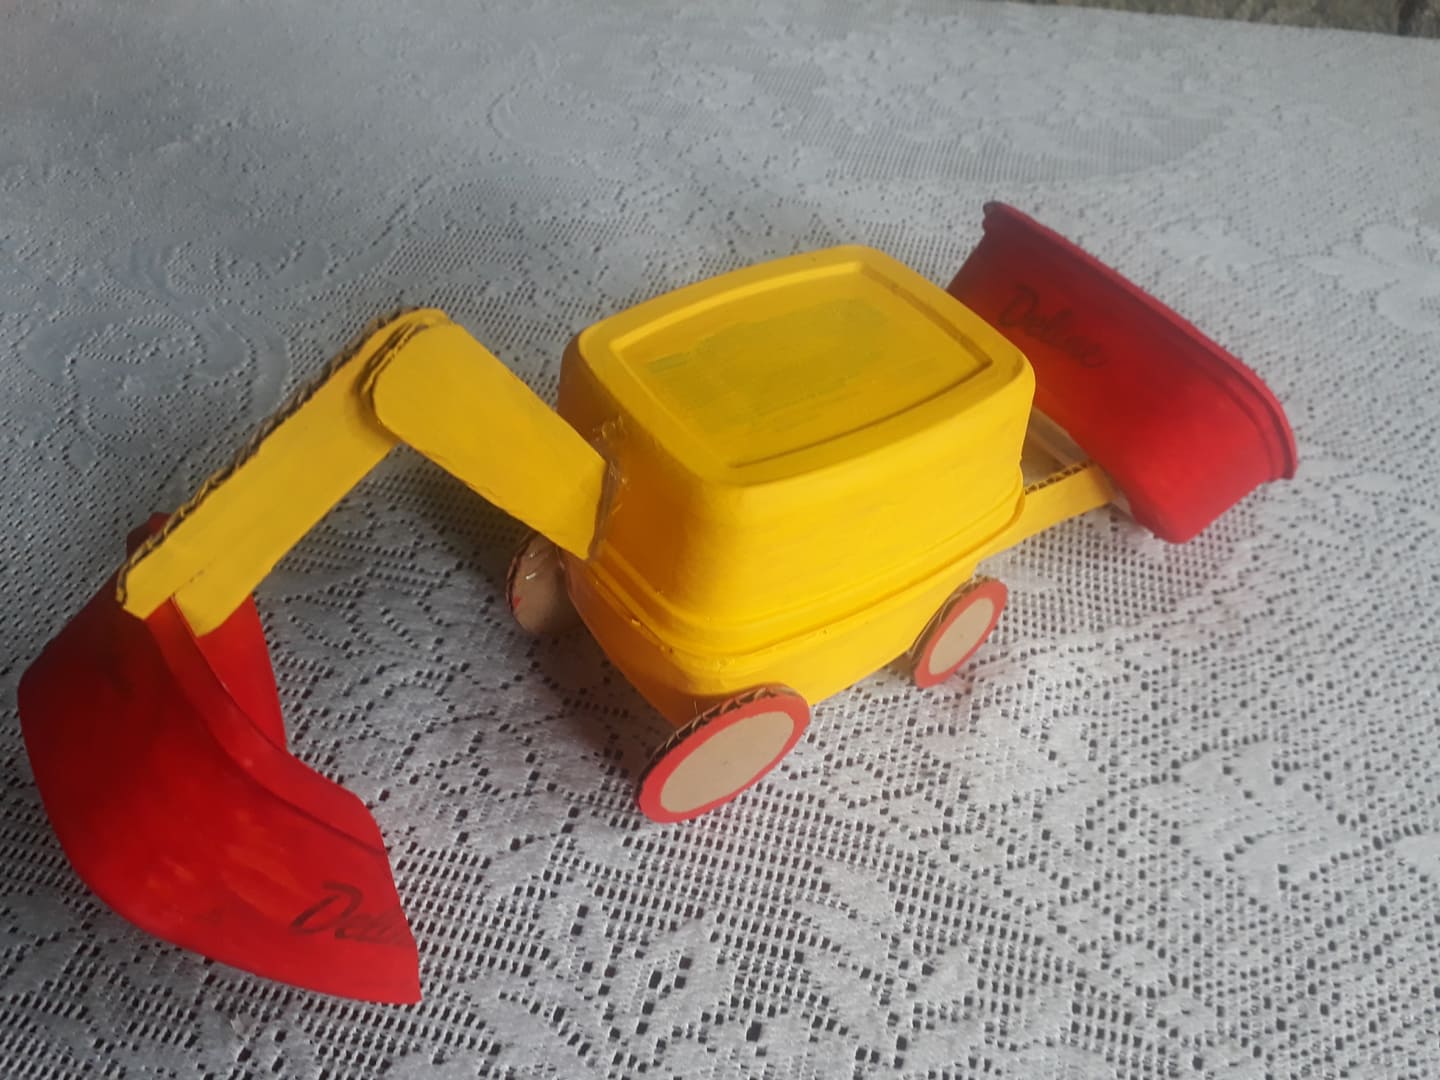
And, that's how beautiful our backhoe was.
Y, así de bonita quedó nuestra retroexcavadora.
This content was created with a lot of love for you, I hope you enjoyed it. See you next time.
Este contenido fue creado con mucho cariño para ustedes, espero lo hayan disfrutado. Hasta la próxima.

Text translated with www.deepl.com
All images are my property, they were taken with a samsumg J7 Prime phone.
Texto traducido con www.deepl.com
Todas las imágenes son de mi propiedad, fueron tomadas con un teléfono samsumg J7 Prime.
Me gustó mucho tu trabajo y creatividad, ya me imagino a los niños a tu alrededor felices con este trabajo.
Muchas gracias @emiliocabrera Si, jajaja estaban unos niños encantados con la retroexcavadora, tanto así, que querían jugar con ella cuando aún no la había terminado jajaja. Después de terminarla y de tomarles sus respectivas fotos se las obsequie para que se divirtieran.
👍👍😃😃
Nice toy. @tipu curate
Upvoted 👌 (Mana: 52/78) Liquid rewards.