Hola #Hivers feliz lunes para todos, me alegra compartir este nuevo post con ustedes esperó se encuentren bien y pasen un excelente día.
Hoy quiero mostrarles la elaboración de una divertida retroexcabadora hecha con material reciclado ideal para que nuestros pequeñas se diviertan de una manera diferente y a la vez ayudemos al ambiente reciclando.
Hello #Hivers happy Monday to everyone, I am happy to share this new post with you, I hope you are well and have a great day.
Today I want to show you the elaboration of a fun retroexcabadora made with recycled material ideal for our little ones to have fun in a different way and at the same time help the environment by recycling.

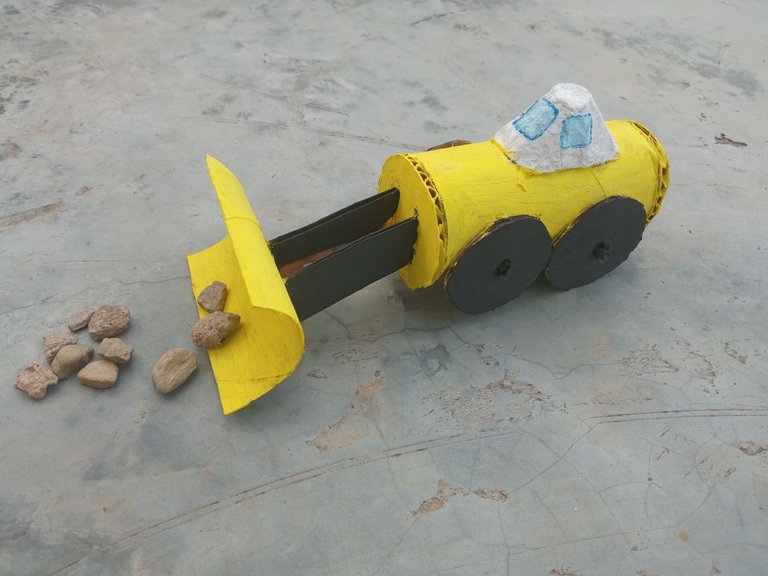
Divertida retroexcavadora DIY
Fun DIY retroexcavator
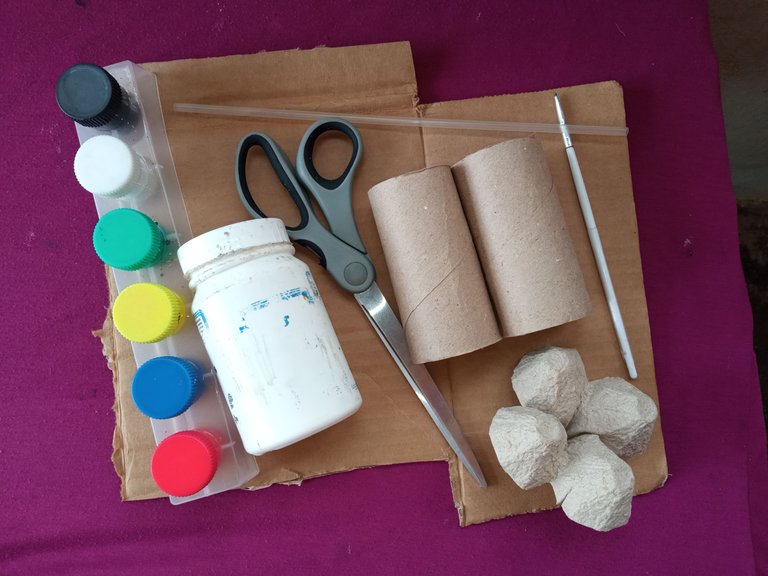
Materiales utilizados en el proceso:
Cartón
Cilindro de papel higiénico
Cartón de huevo
Pegamento
Tijera
Pinturas
Pincel
Pitillo
Materials used in the process:
Cardboard
Toilet paper cylinder
Egg carton
Glue
Scissors
Paints
Brush
Straw
Pasos a seguir | Steps to follow
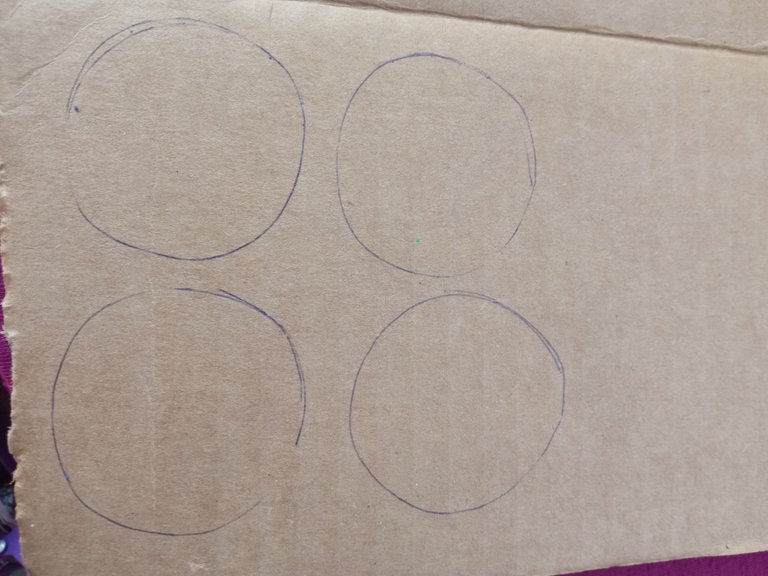
Comenzaremos marcando cuatro círculos en el cartón que serán las ruedas.
We will start by marking four circles on the cardboard, which will be the wheels.
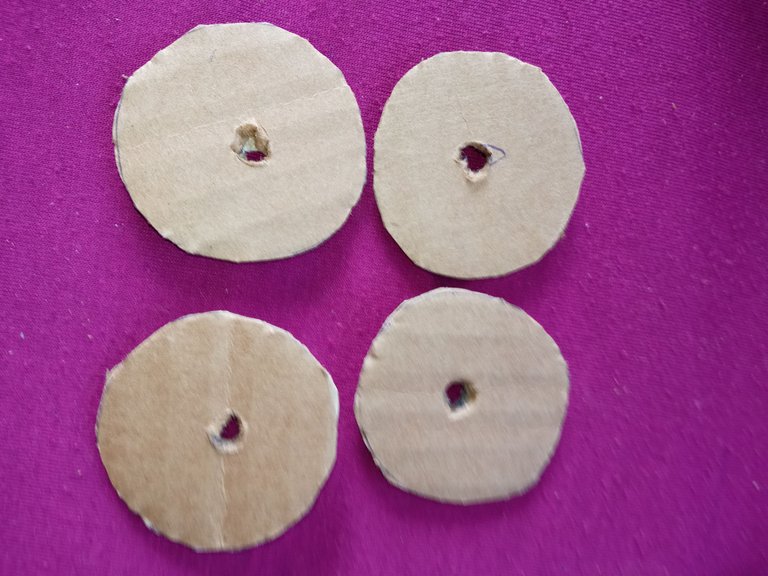
Recortamos los círculos y hacemos un orificio en cada rueda o circulo.
Cut out the circles and make a hole in each wheel or circle.
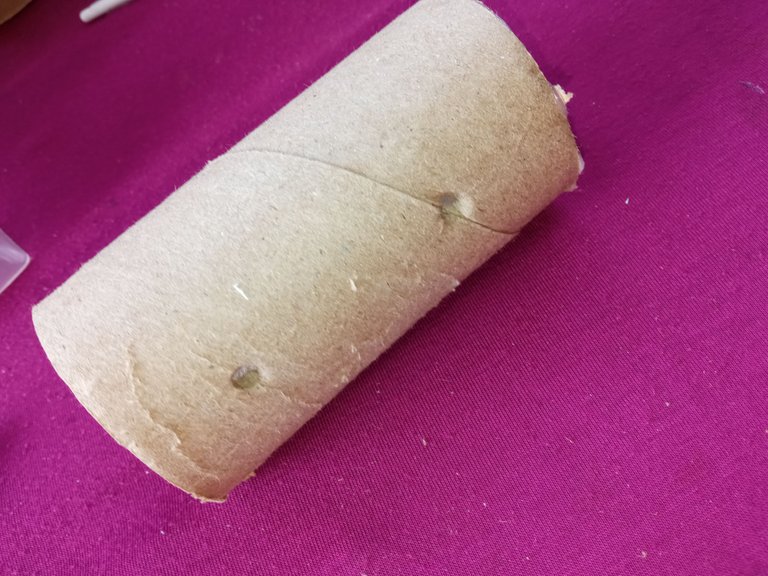
En el cilindro de papel higiénico hacemos cuatro orificios dos de cada lado.
We make four holes in the toilet paper cylinder, two on each side.
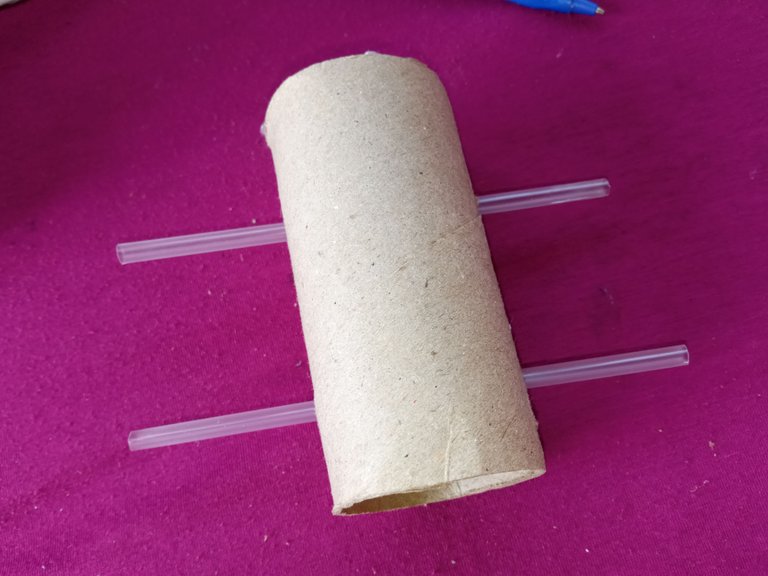
Recortamos el pitillo por la mitad e introducimos cada uno por los agujeros del cilindro de papel higiénico.
Cut the straw in half and insert each one through the holes in the toilet paper cylinder.
Seguidamente introducimos y pegamos en cada punta del pitillo las ruedas.
Then we insert and glue the wheels on each end of the straw.

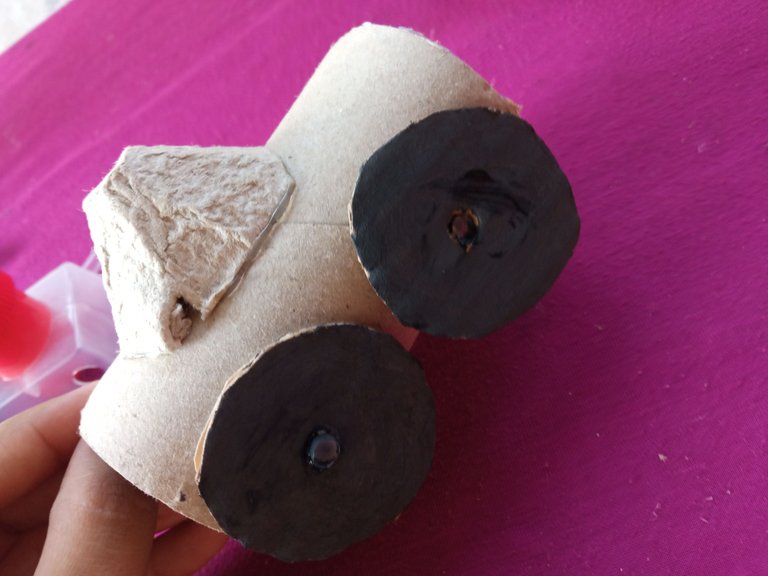
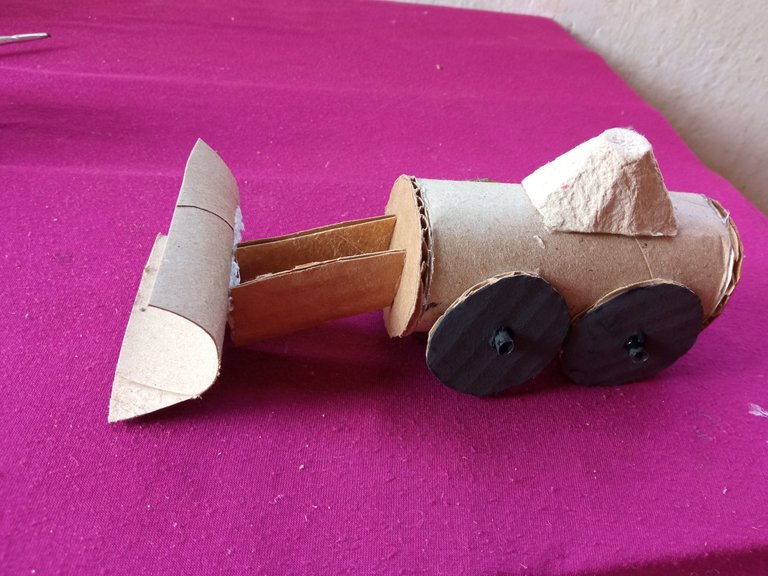
Recortamos el cartón de huevo y pegamos en la parte de arriba.
Cut out the egg carton and glue on the top.

Pintamos de negro las ruedas.
We paint the wheels black.
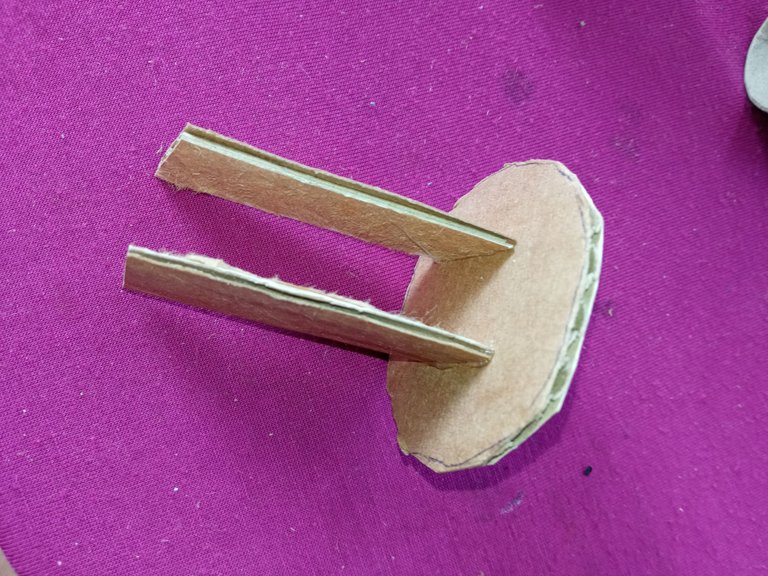
Luego en el cartón marcamos y recortamos dos círculos y dos tiras.
Then on the cardboard we mark and cut out two circles and two strips.
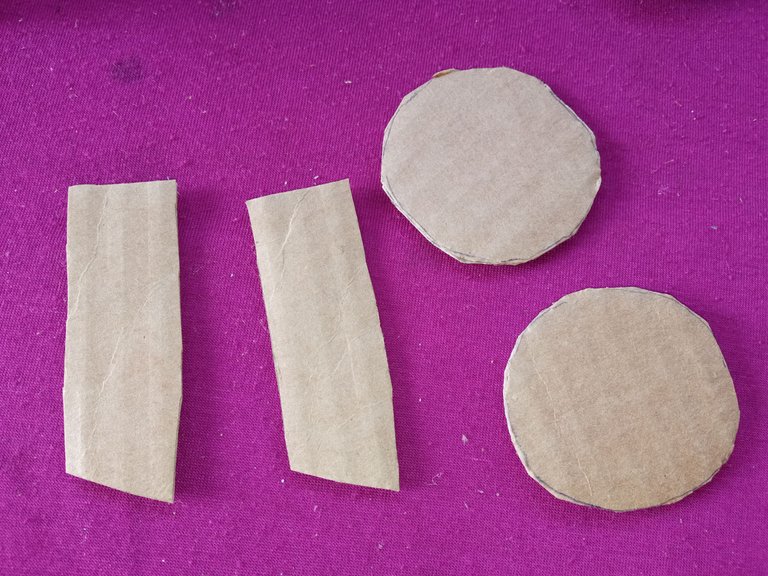
Pegamos las tiras recortadas en uno de los círculos.
Glue the cut strips to one of the circles.
Recortamos por la mitad el siguiente cilindro de papel higiénico.
Cut the next toilet paper cylinder in half.
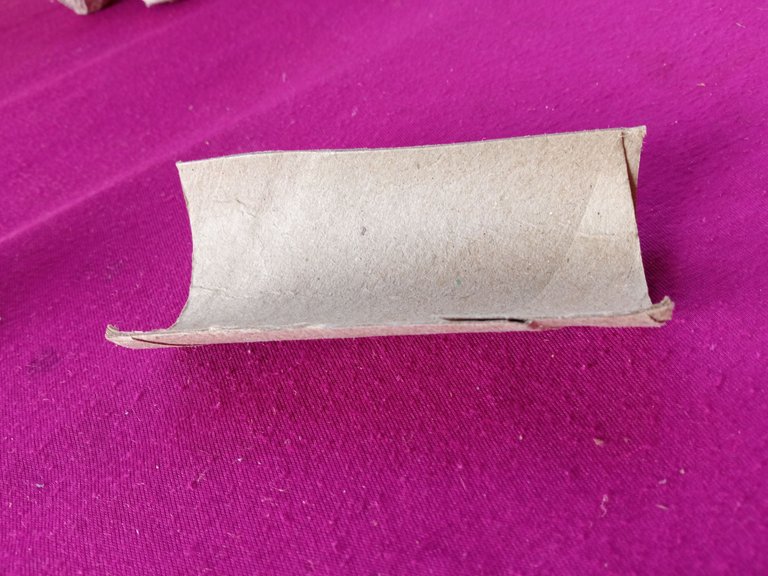
Pegamos la mitad del cilindro de papel higiénico en las tiras de cartón y pegamos los círculos en el cilindro.
Glue half of the toilet paper cylinder on the cardboard strips and glue the circles on the cylinder.
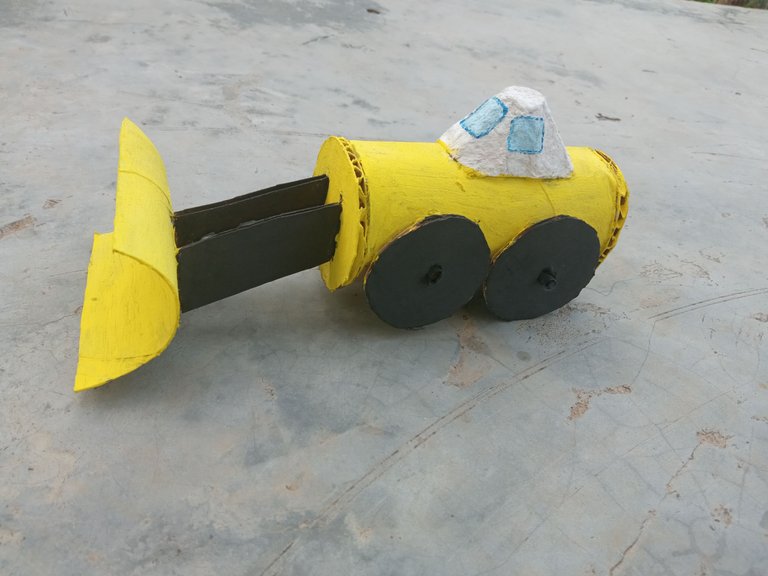
Finalmente pintamos nuestra retroexcavadora.
Finally, we paint our retroexcavator.
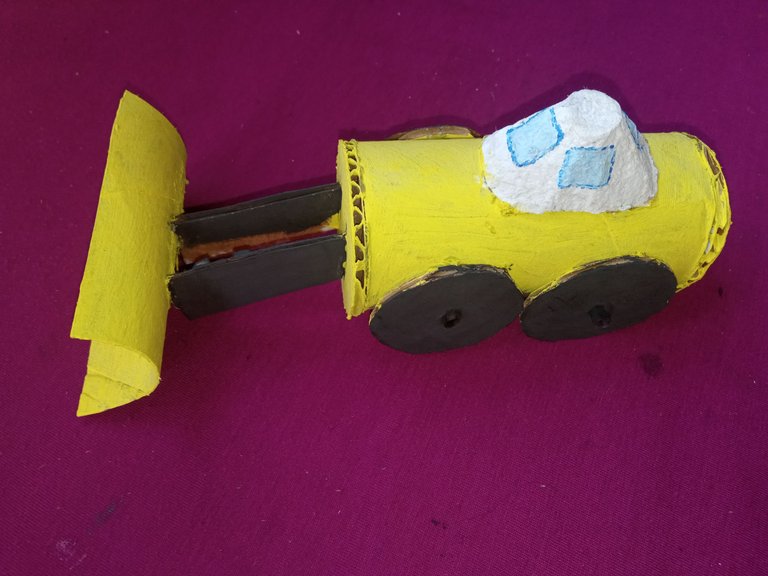
Así quedará el resultado final de nuestra retroexcavadora ya lista para que nuestros pequeños se puedan divertir de una gran forma.
This will be the final result of our retroexcavator ready for our little ones to have fun in a great way.
Espero les haya gustado, me despido hasta un próximo post. Saludos!
I hope you liked it, I'll say goodbye until a future post. Greetings!
Que original retroexcavadora @efrenjose te felicito buen post
Gracias @rosilys20 me alegra que te gustó mi post!
Que creativa retroextcavadora @efrenjose gracias por compartir este hermoso post!
Gracias @diomara gracias a ti por visitar mi blog!
Congratulations @efrenjose! You have completed the following achievement on the Hive blockchain and have been rewarded with new badge(s) :
Your next target is to reach 400 upvotes.
You can view your badges on your board and compare yourself to others in the Ranking
If you no longer want to receive notifications, reply to this comment with the word
STOP