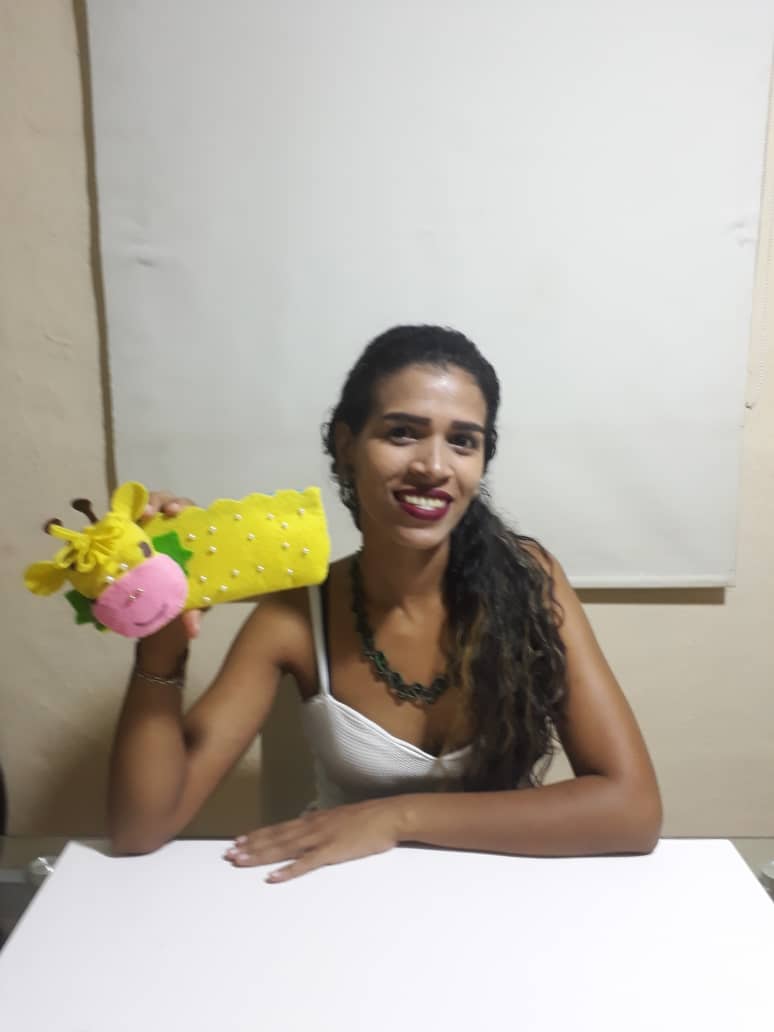
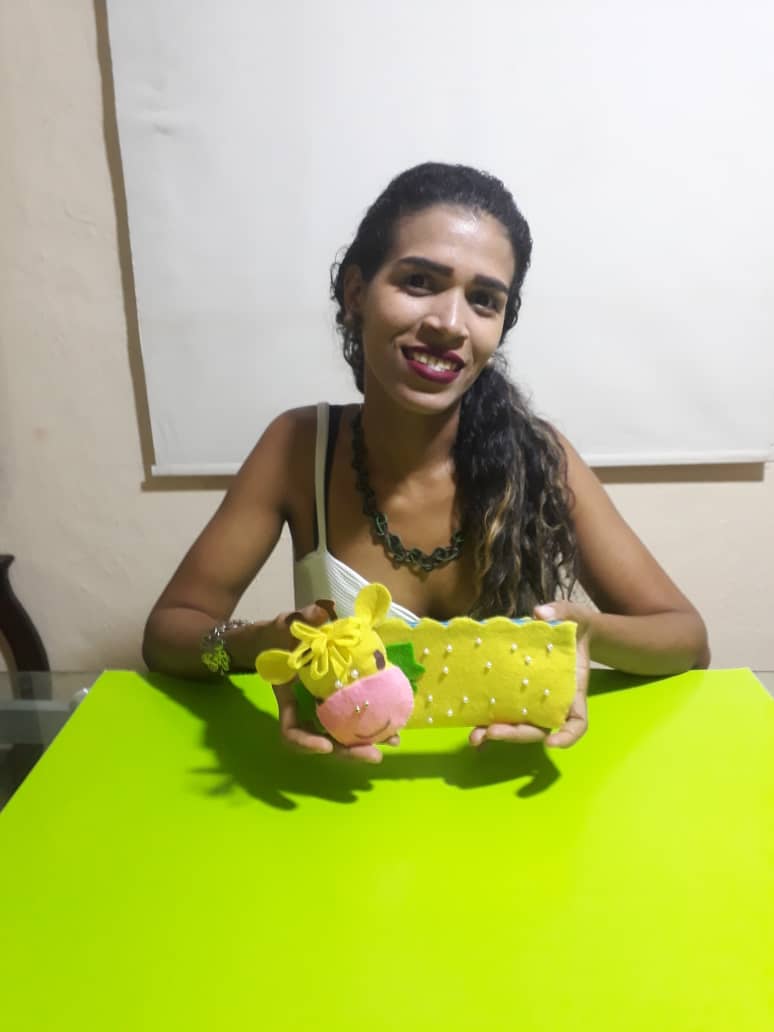
Saludos amigos Hivers, espero esten muy bien todos, como ya les he comentado las manualidades son mi pasión, hoy les traigo una hermosa cartuchera ideal para el regreso a clases de los chicos y chicas en casa, yo la hice con motivo de niña pues tengo una linda princesa pero podemos hacerla según nos convenga. Espero les guste.
Greetings Hivers friends, I hope you are all very well, as I have already told you, crafts are my passion, today I bring you a beautiful holster ideal for the boys and girls back to school at home, I made it on the occasion of a girl because I have a pretty princess but we can make it as it suits us. I hope you like it
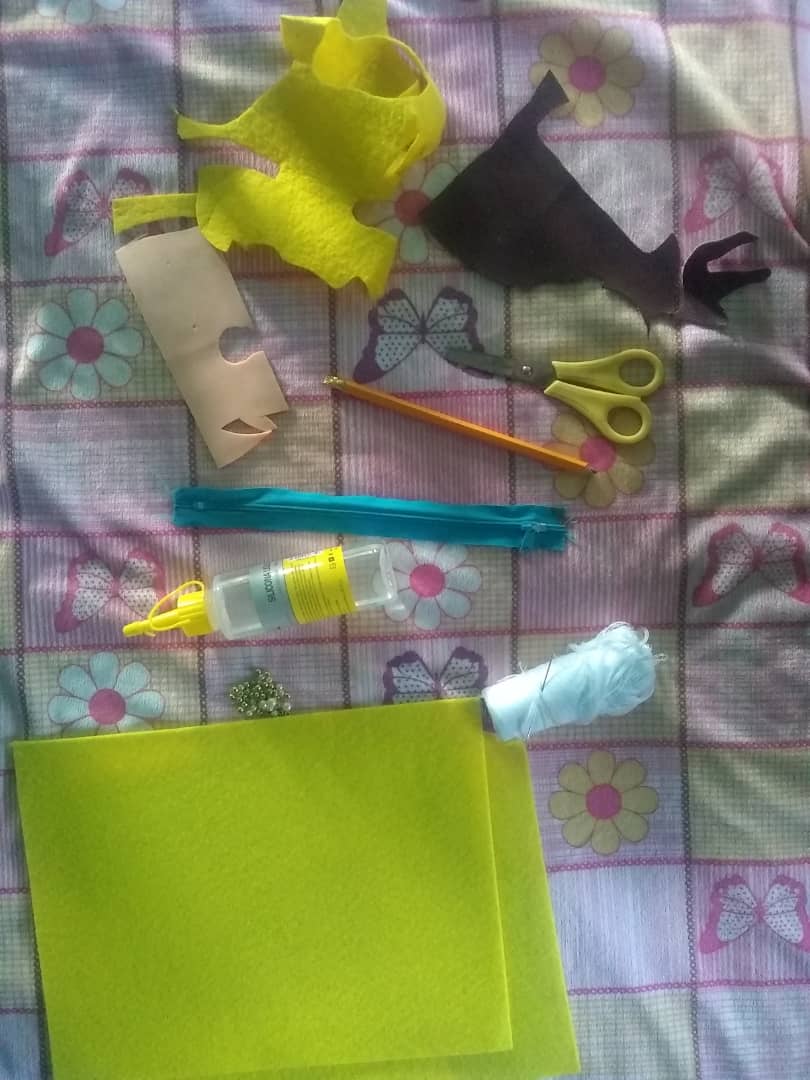
Materiales
.Fieltro
.Silicon liquido
.Tijera lápiz
.Perlitas
.Cierre
.Cuero marrón
.Hilo
.Aguja
Materials
.Felt
.Liquid silicone
Pencil scissors
.Beads
.Closing
.Brown leather
.Thread
.Needle
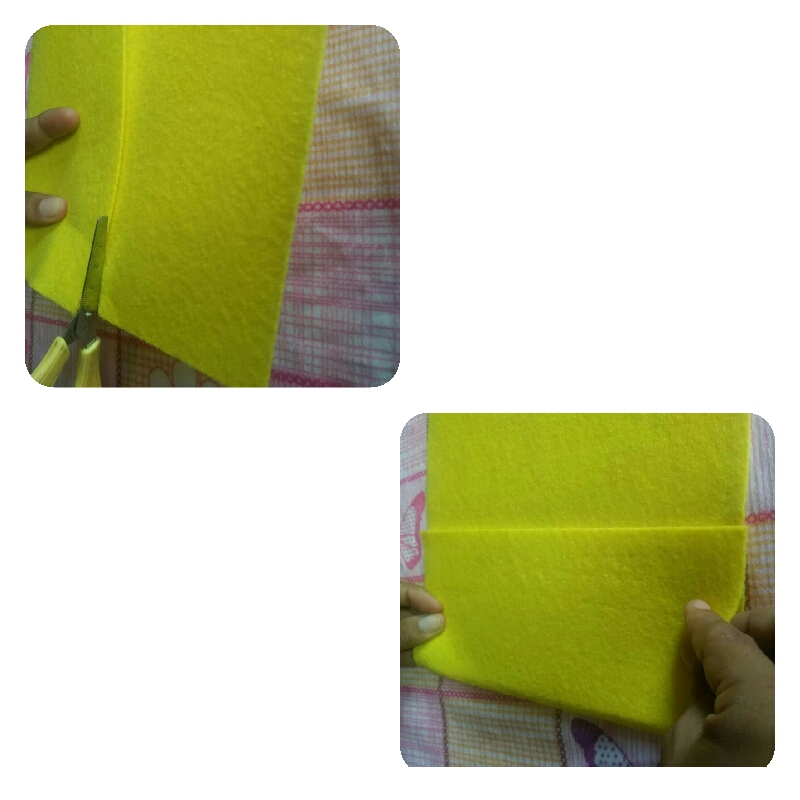
Paso a Paso
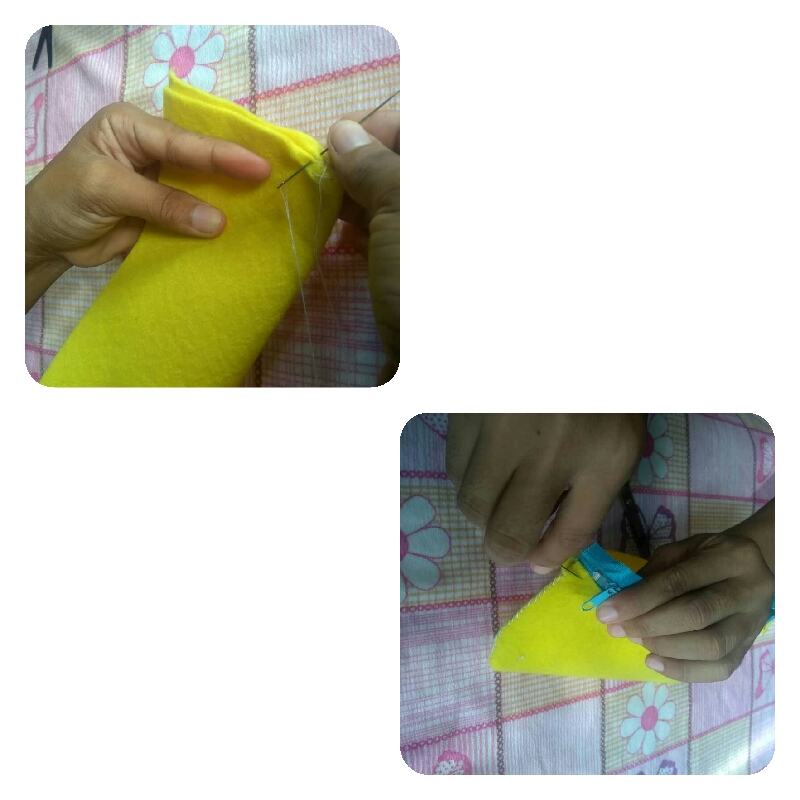
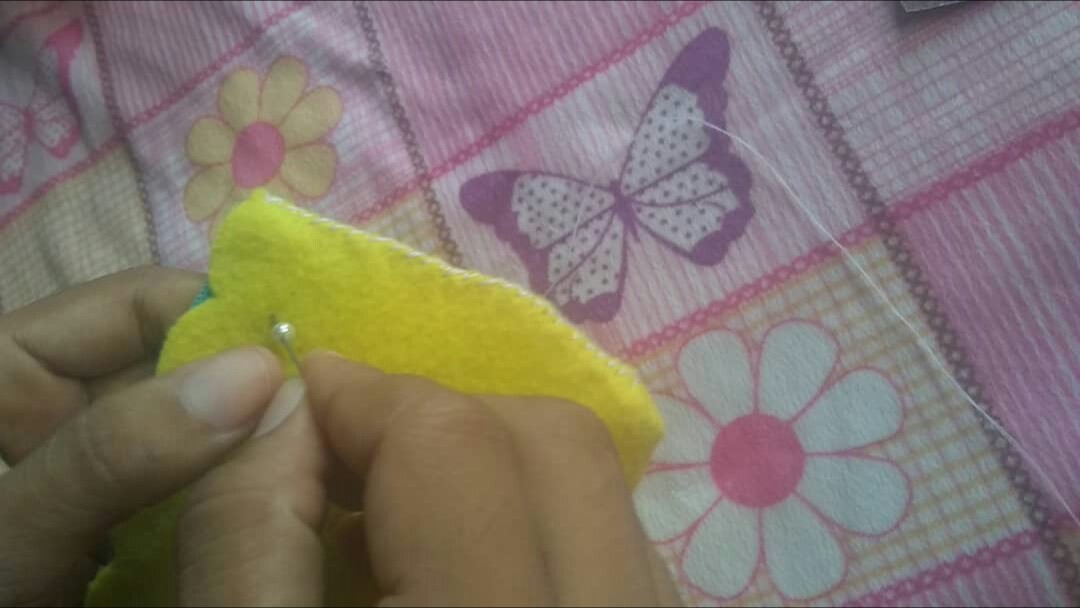
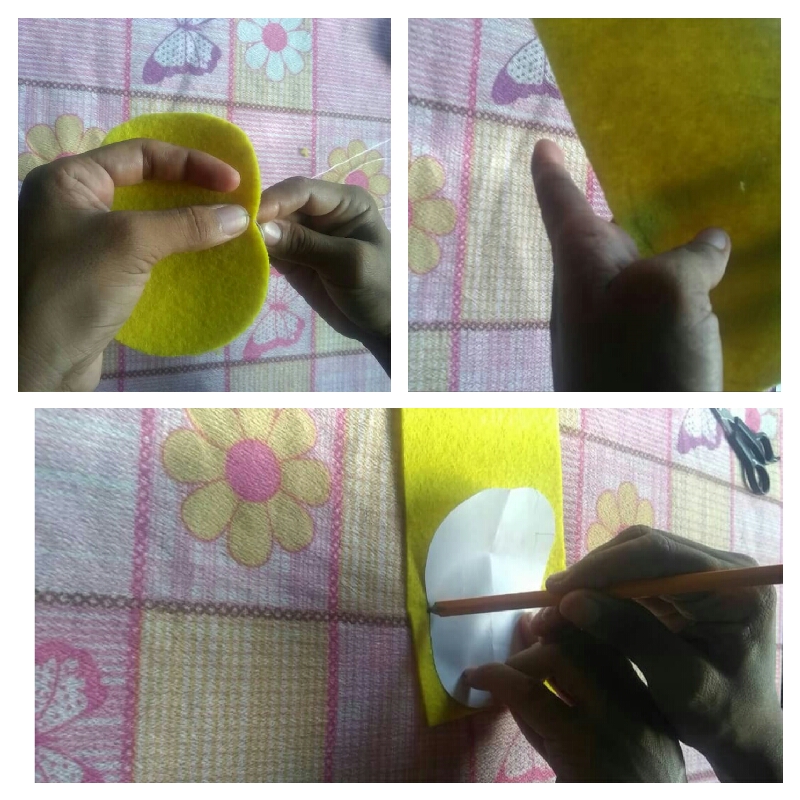
Mi primer paso fue dobla el fieltro amarillo y le recorta de acuerdo al tamaño de mi cartuchera, esto puede variar de acuerdo a como se quiera realizar ya sea mas pequeña o mas grande, una hecho esto la cosemosy por ultimo se le coloca el cierre.
Step by Step
My first step was to fold the yellow felt and cut it according to the size of my pencil case, this can vary according to how you want to make it, whether it is smaller or larger, once this is done we sew it and finally the closure is placed.
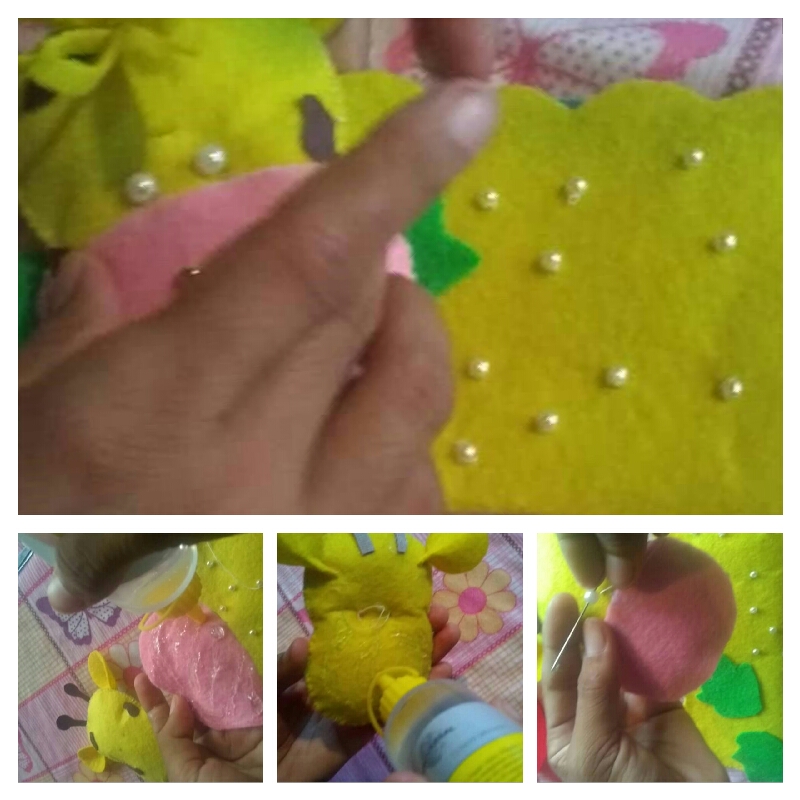
Luego vamos a pegarle a la cartuchera en la parte delantera las pelitas.
Then we are going to glue the pellets to the holster in the front.
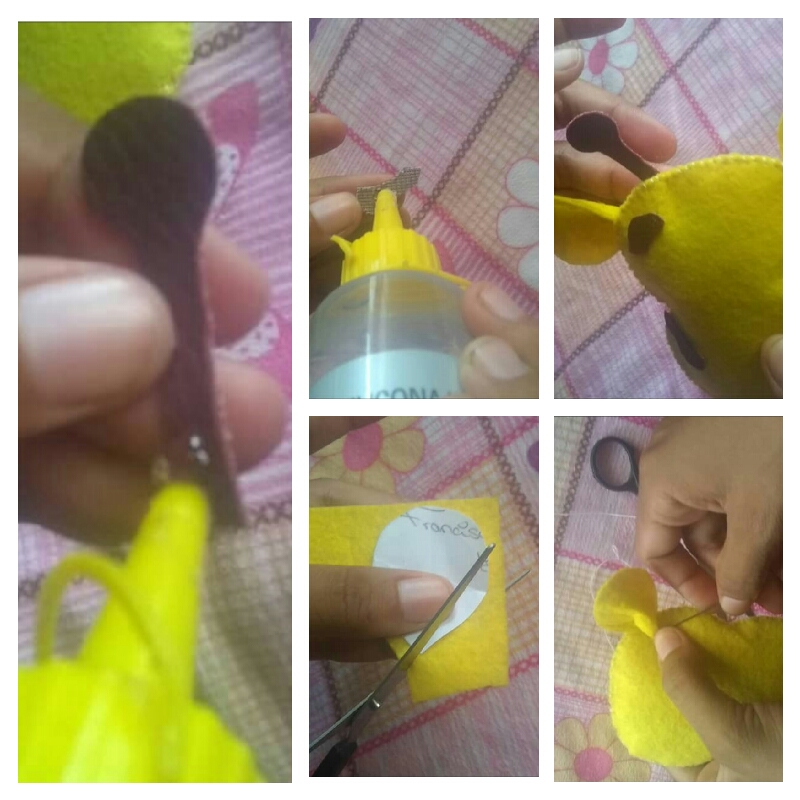
Una vez terminado eso tomamos el foami amarillo, y marcamos nuetro molde de jirafa, la recortamos, la rellenamos y la cosemos .
Once that is finished we take the yellow foami, and mark our giraffe mold, cut it, fill it and sew it.
Remarcamos unas orejitas , cortamos y cosenos la punta y pegamos por detrás de la jirafa, después recortamos del cuero marrón unas manchas y las antenitas de la jirafa..
We highlight some ears, cut and sew the tips and glue behind the giraffe, then we cut out some spots and the giraffe's antennae from the brown leather.
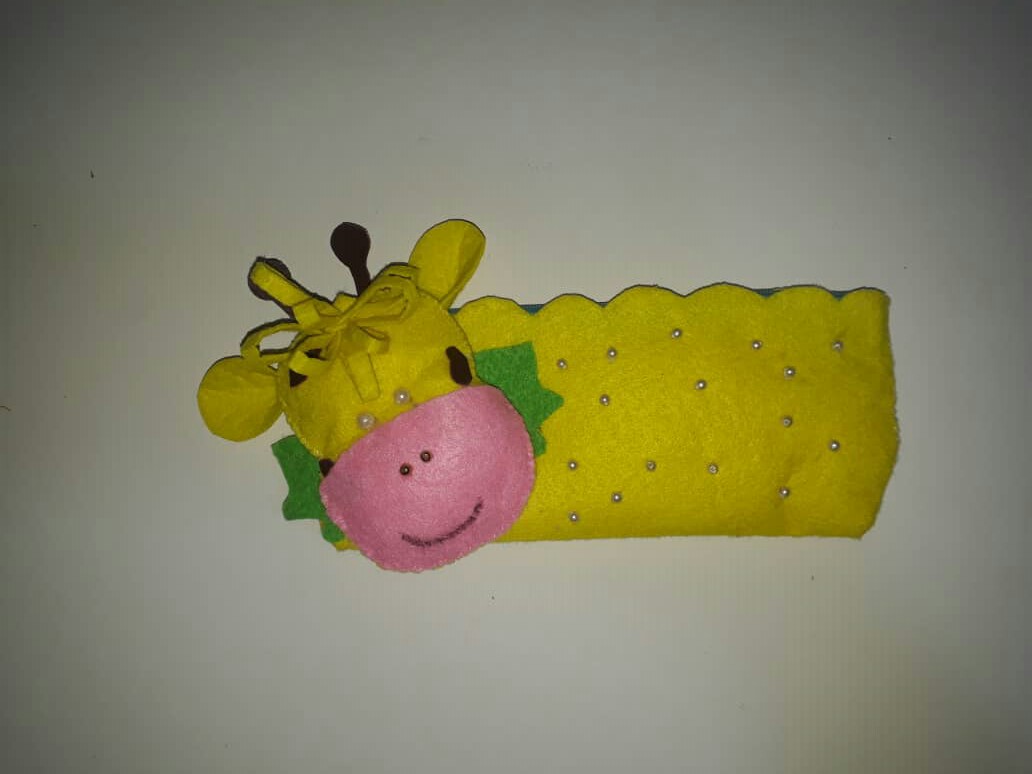
Para ya finalizar, pegamos unas perlas blancas grandes que seran los ojos y con el fieltro sacamos el alrededor de la boca y lo pegamos, le colocamos unas perlas doradas como nariz y le marcamos la boca con el lapiz.
Finally, we glue some large white pearls that will be the eyes and with the felt we remove the around the mouth and glue it, we put some golden pearls as a nose and we mark the mouth with the pencil.
Congratulations @egarysv! You have completed the following achievement on the Hive blockchain and have been rewarded with new badge(s) :
You can view your badges on your board and compare yourself to others in the Ranking
If you no longer want to receive notifications, reply to this comment with the word
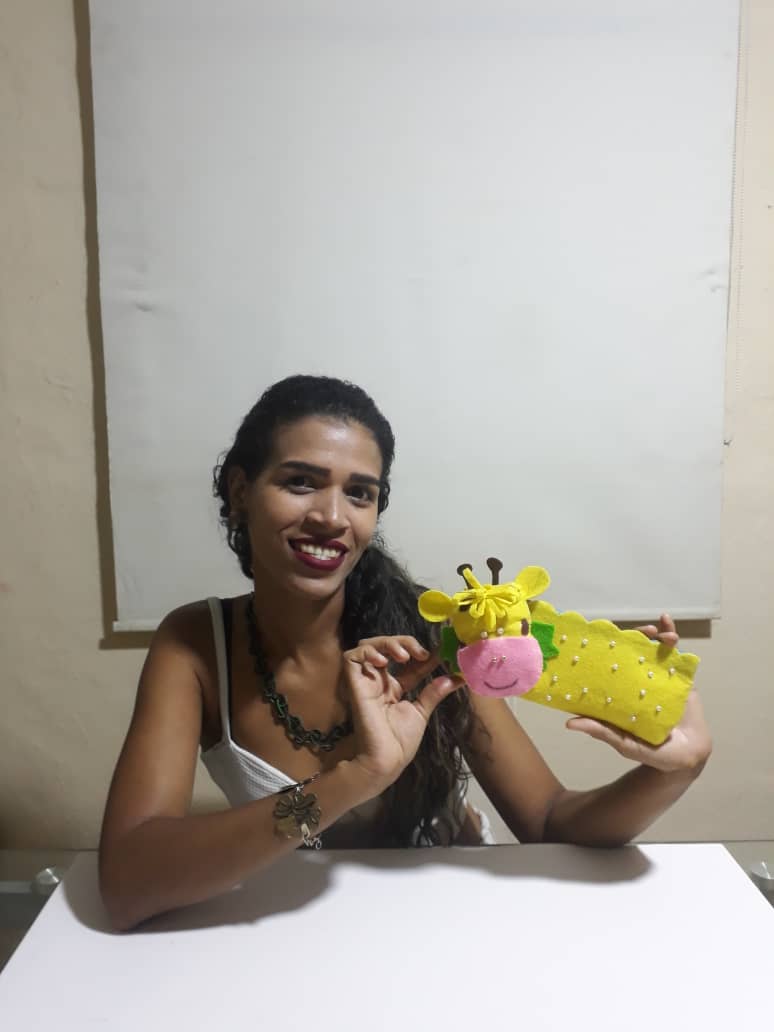
STOPHermoso tu proyecto de hoy , gracias por compartirlo.
Te quedo fantastica. Felicidades...