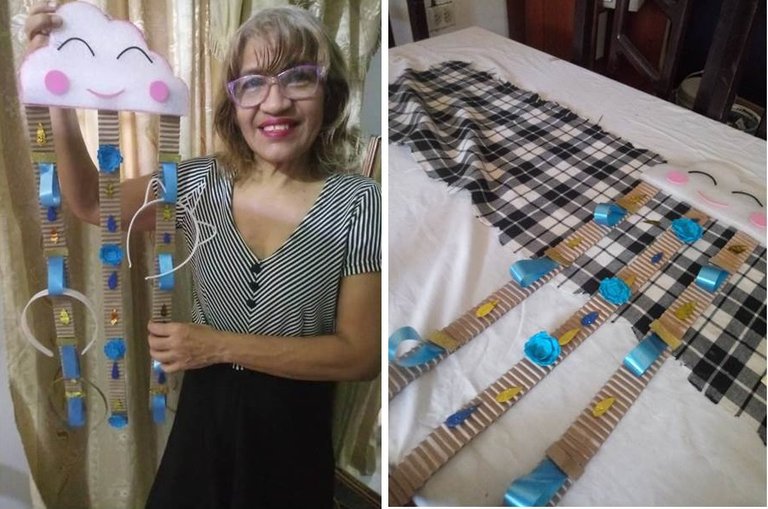
Muchas veces las madres no encontramos los accesorios para el cabello de nuestras pequeñas gracias a que a veces se nos pierden por colocarlo en sitios donde no van. Aquí les traigo la solución, un lindo organizador de cintillos y ganchos para niña que puedes hacer en pocos minutos.
Many times mothers can't find their little girls' hair accessories because sometimes they get lost because they are placed in places where they don't belong. Here I bring you the solution, a cute hair band and hook organizer for girls that you can make in just a few minutes.
Materiales:
• Cintas de colores
• Esponga blanca
• Carton corrugado
• Pistola de silicon y silicon en barra
Materials:
- Colored ribbons
- White sponge
- Corrugated cardboard
- Silicone gun and silicone stick
Paso a paso | Step by Step
Paso 1
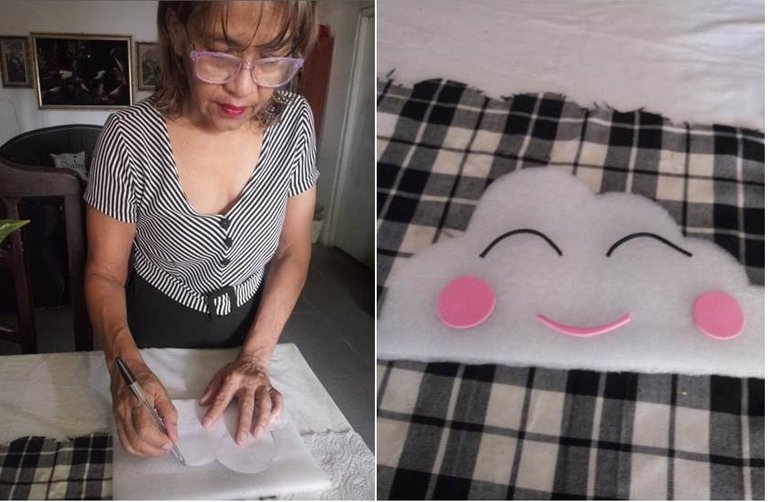
Dibuja una nube en la esponja y recortalo (puedes hacerlo también en cartón u otro material), realiza la carita: los ojos con hilo y su boca y mejillas con foami.
Step 1
Draw a cloud on the sponge and cut it out (you can also do it on cardboard or other material), make the face: the eyes with thread and the mouth and cheeks with foami.
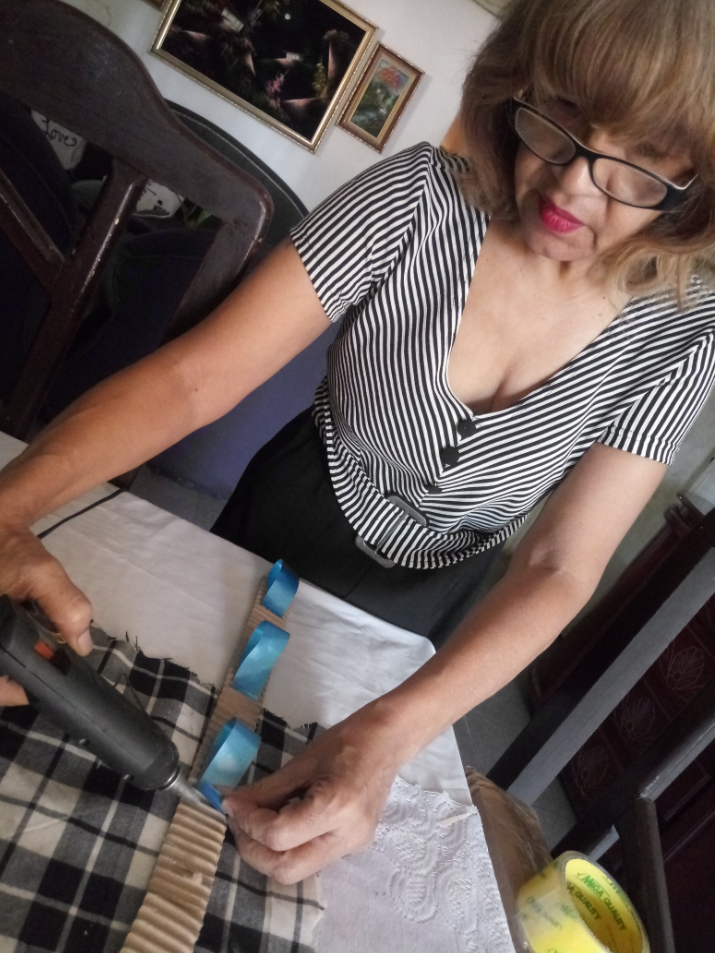
Paso 2
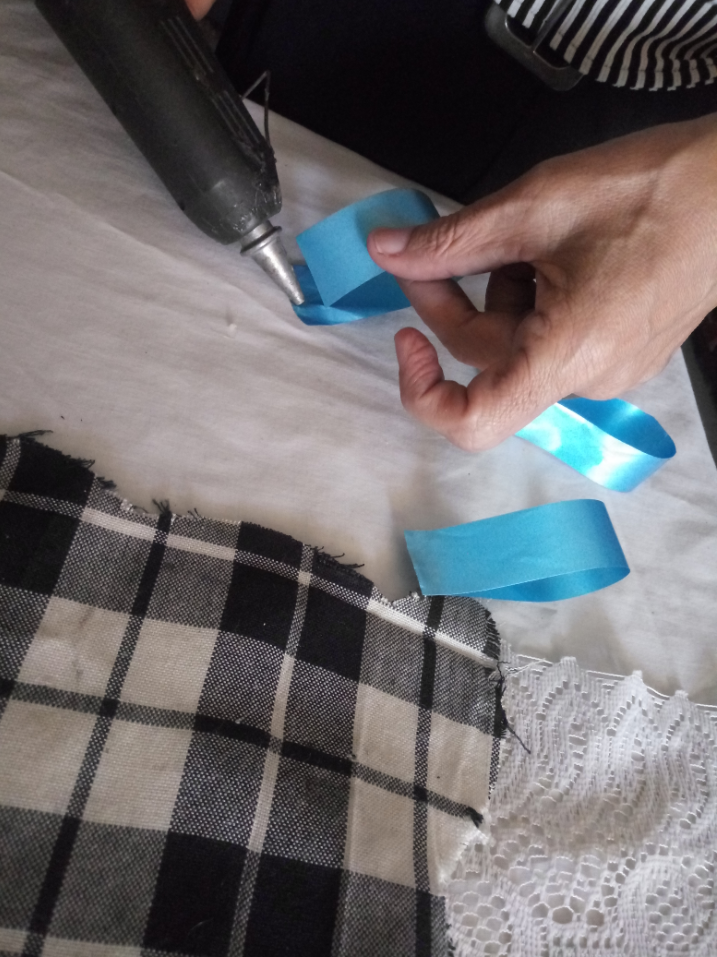
Recorta varias tira de cinta y une sus dos puntas con puntos de silicon, formando unos circulos como unas pequeñas asas tal y como se muestra en la siguiente imagen.
Step 2
Cut several strips of ribbon and join their two ends with silicone dots, forming handles as shown in the following image.
Paso 3
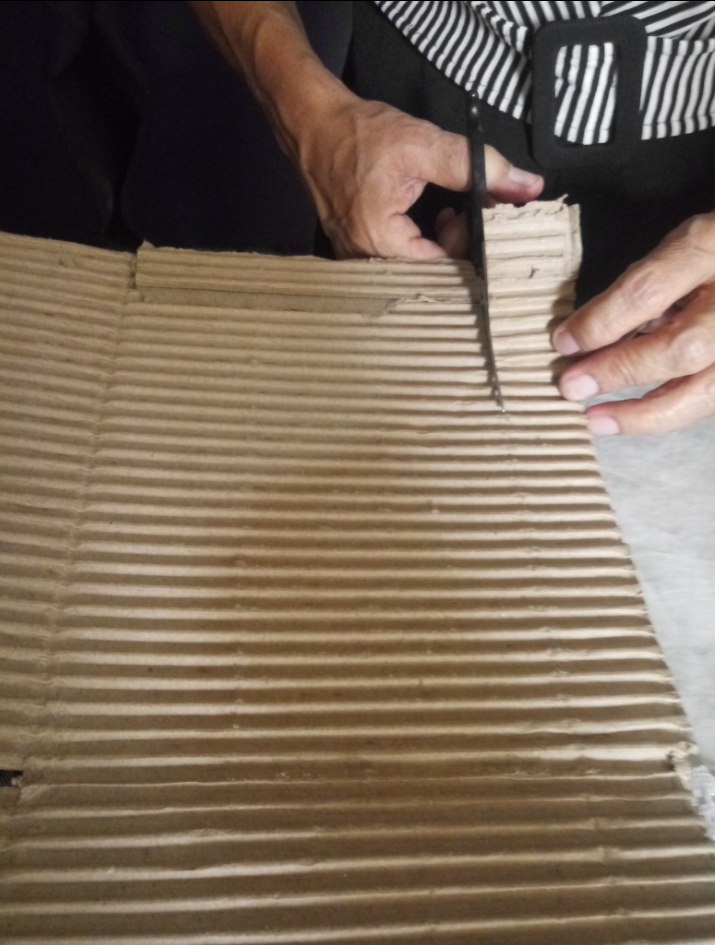
Recorta 3 tiras de cartón corrugado del tamaño de tu preferencia.
Step 3
Cut 3 strips of corrugated cardboard in the size of your choice.
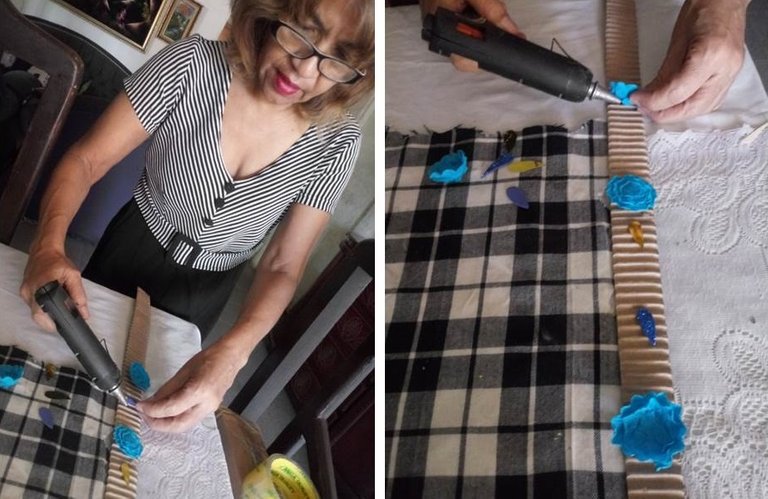
Paso 4
Pega en dos tiras de cartón los circulos en forma de pequeñas asas que hicimos con las cintas dejando un espacio entre cada una para que cuelguen los cintillos de una manera organizada, y además decora.
Step 4
Glue on two strips of cardboard the circles in the shape of small handles that we made with the ribbons, leaving a space between each one so that the ribbons can hang in an organized way, and also decorate.
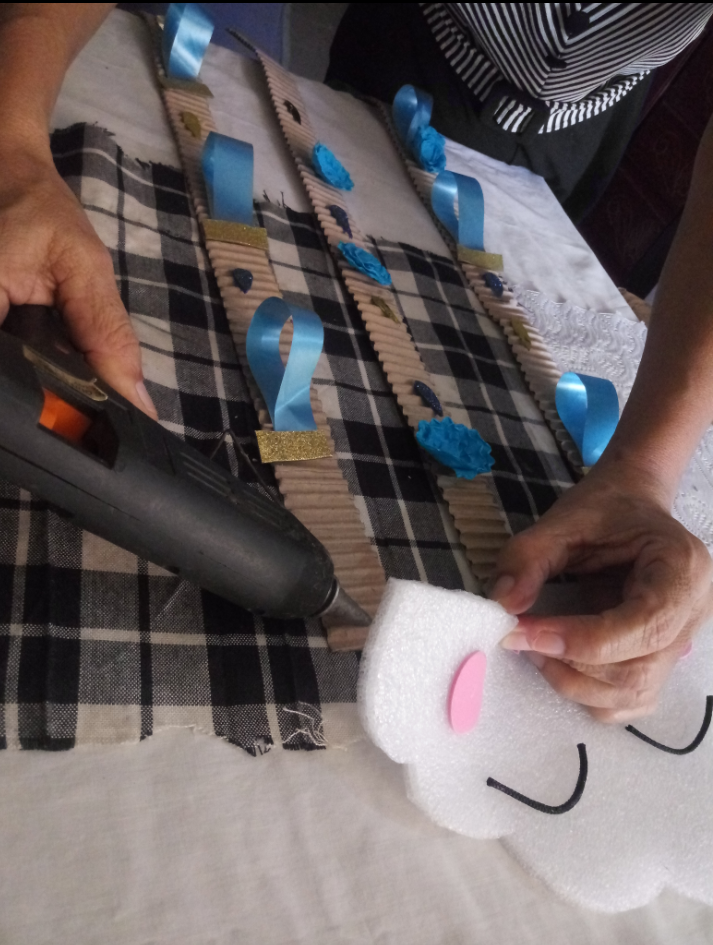
Paso 5
Decora la tercera tira según prefieras, (en mi caso lo hice con flores y gotitas para que parezca que la salen de la nube) está servirá para colocar los ganchos de las niñas y la colocas en el medio.
Step 5
Decorate the third strip as you prefer, (in my case I did it with flowers and droplets to make it look like they are coming out of the cloud) this will serve to place the hooks of the girls and place it in the middle.
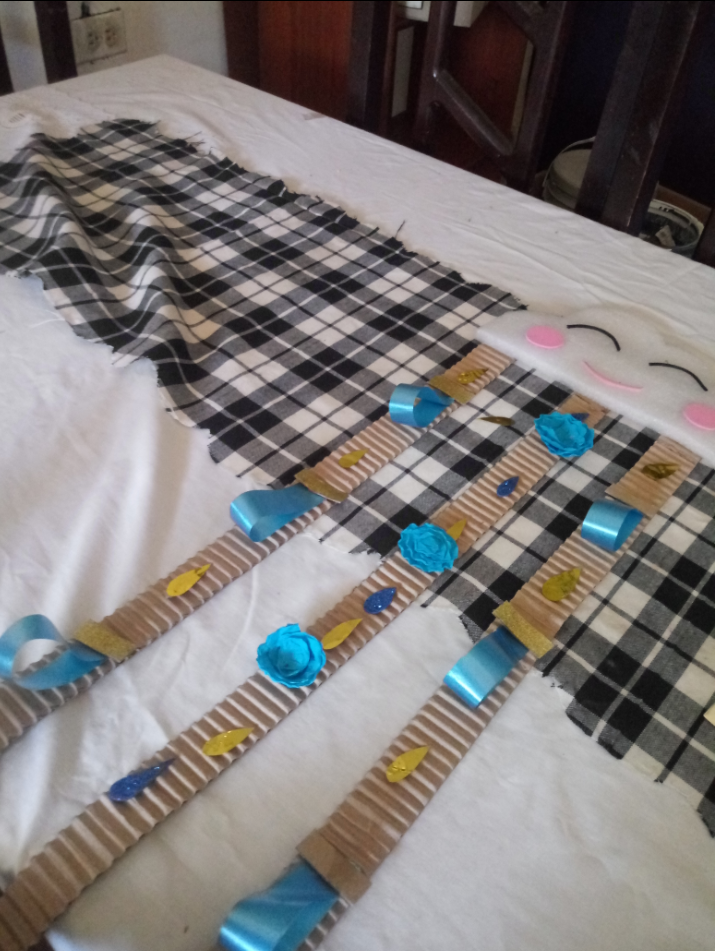
Paso 6
Pegas las tres tiras por detrás de la nube, coloca un gancho por la parte de atrás de la nube para sujetar en la pared, listo tienes un bonito organizador.
Step 6
Glue the three strips to the back of the cloud, place a hook on the back of the cloud to attach it to the wall, and you have a beautiful organizer.
¡Listo!, ya tienes un muy creativo y ecológico florero.
Done! you now have a very creative and eco-friendly vase.
.jpeg)
Congratulations @elsismmillano! You have completed the following achievement on the Hive blockchain and have been rewarded with new badge(s) :
Your next target is to reach 1250 upvotes.
You can view your badges on your board and compare yourself to others in the Ranking
If you no longer want to receive notifications, reply to this comment with the word
STOPCheck out the last post from @hivebuzz: