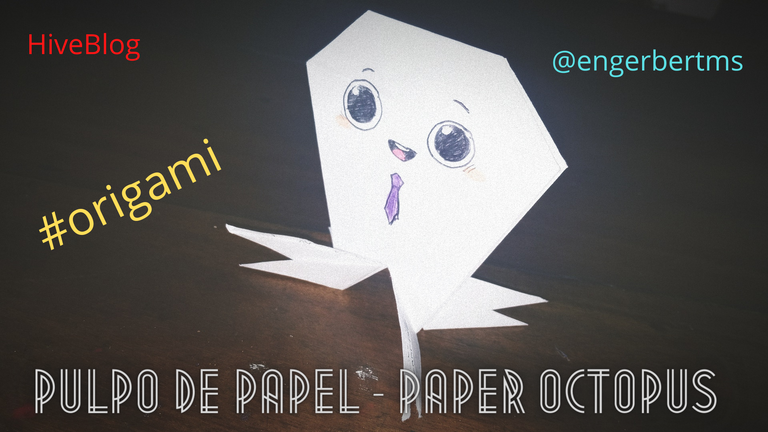
Que tal queridos amigos, bienvenidos de nuevo a mi blog. Esta vez les traigo otra creación de origami; les enseño hacer un Pulpo de Papel para que disfruten realizándolo con los más pequeños de la casa, espero que les guste así que vamos a ello.
[Eng] Howdy dear friends, welcome back to my blog. This time I bring you another origami creation; I show you how to make a Paper Octopus for you to enjoy making it with the little ones at home, I hope you like it so let's get to it.
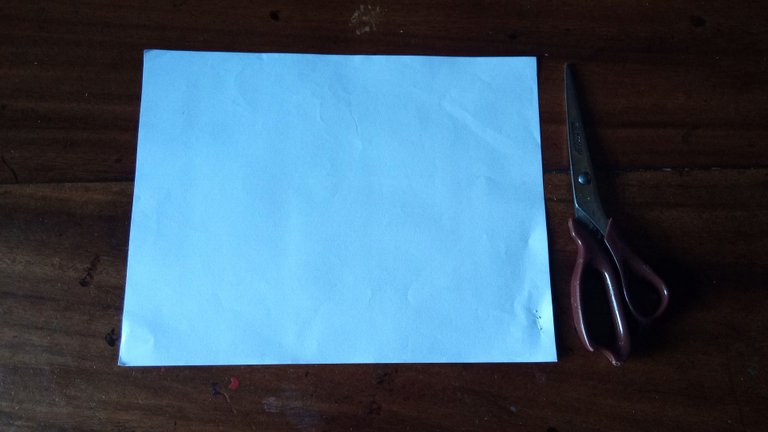
Pulpo de Papel - Materiales
[Eng] Paper Octopus - Materials
• 1 hoja de papel
• 1 Tijera
[Eng] • 1 sheet of paper
• 1 scissors
Pulpo de Papel - Procedimiento
[Eng] Paper Octopus - Procedure
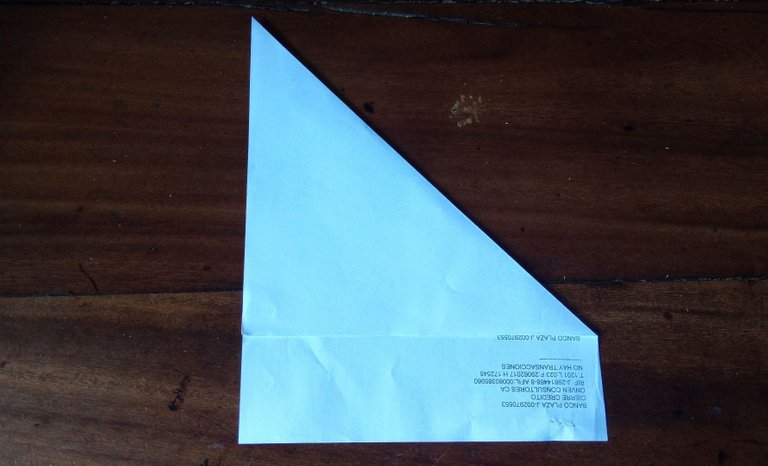
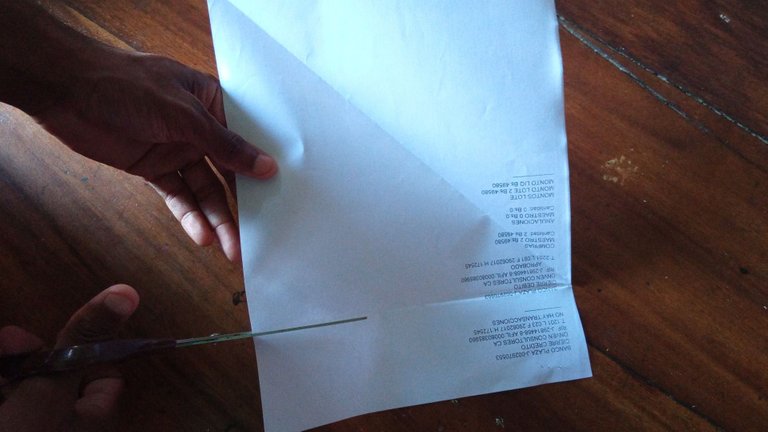
1
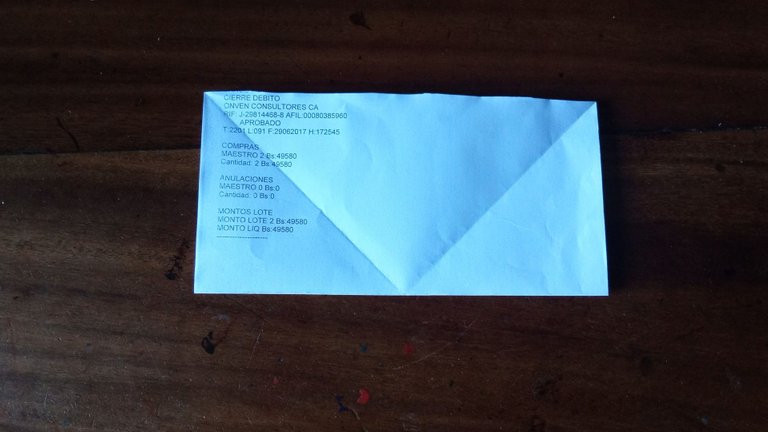
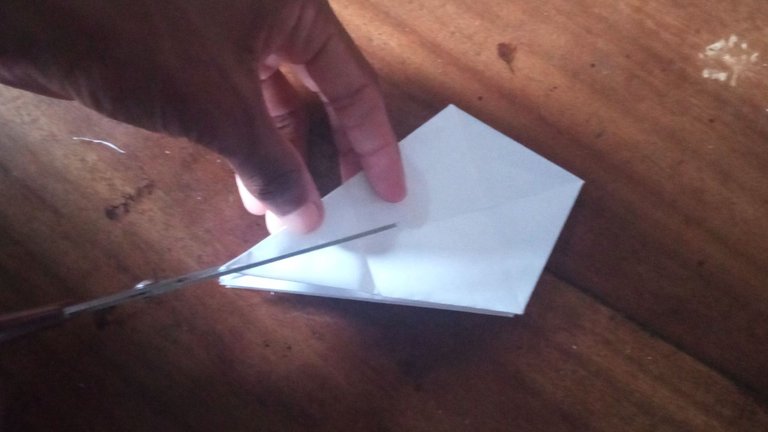
Ok amigos, lo primero que debemos hacer es buscar tener un cuadrado perfecto con es por ello que la agarraremos y la doblaremos diagonalmente para poder marcar la parte que vamos a cortar. Cuando ya la tengamos definida, cortamos y desechamos de sobrante.
[Eng] Ok friends, the first thing we must do is to try to have a perfect square with our fabric, that's why we will take it and fold it diagonally to mark the part we are going to cut. When we have it defined, we cut and discard the excess.
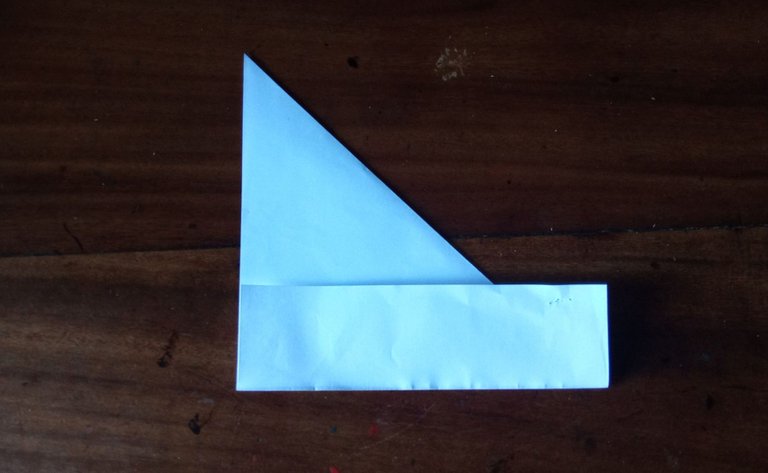
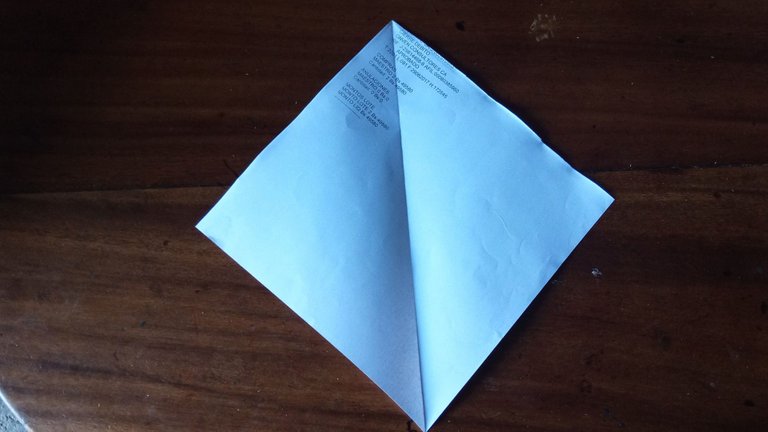
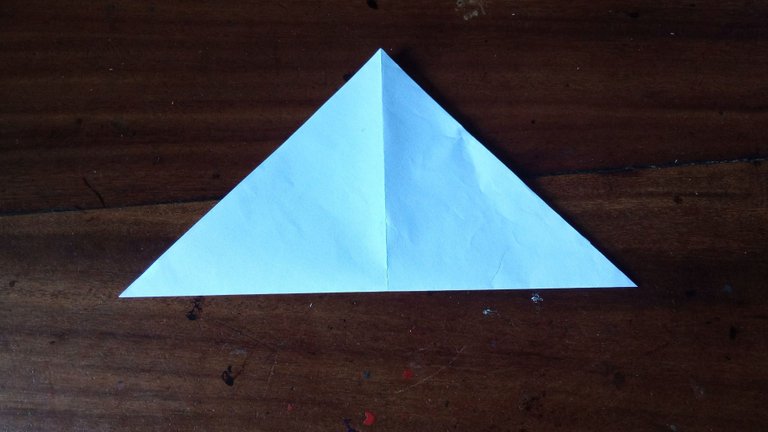
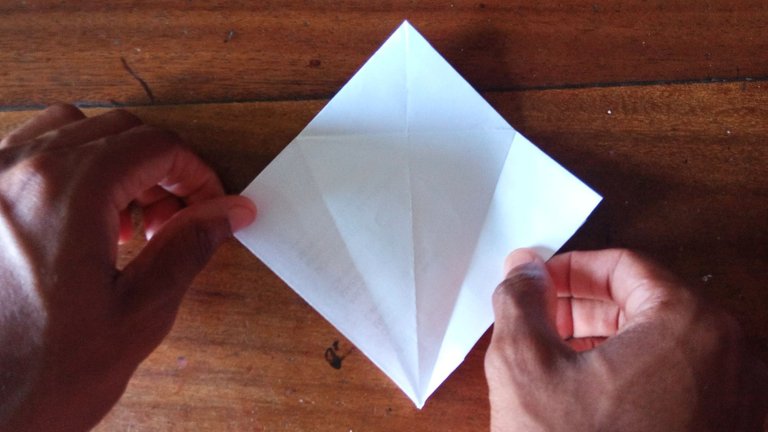
2
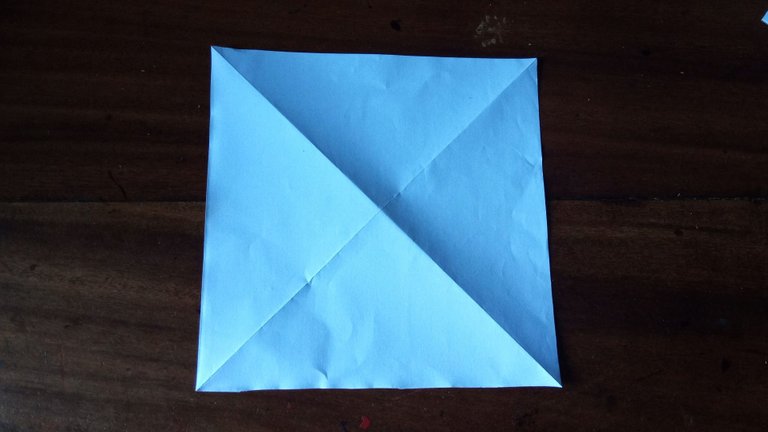
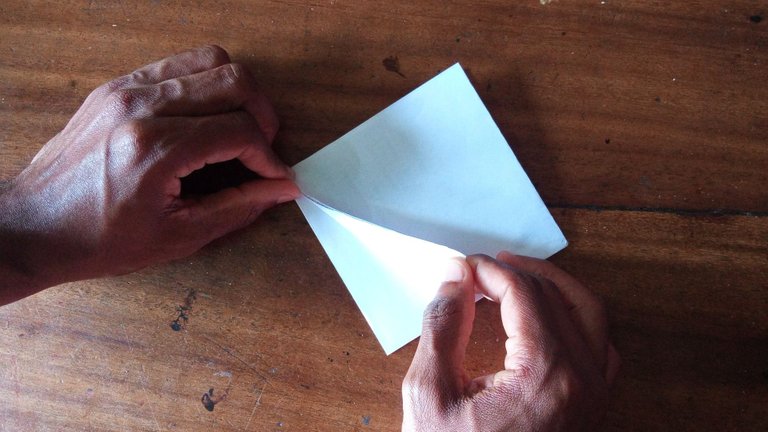
Hecho esto ya tenemos nuestro cuadrado, ahora vamos a doblar por la otra parte diagonal y luego a ambas mitades para poder marcar las líneas que necesitaremos como patrones en los siguientes pasos.
[Eng] Now we are going to fold the other part diagonally and then to both halves in order to mark the lines that we will need as patterns in the following steps.
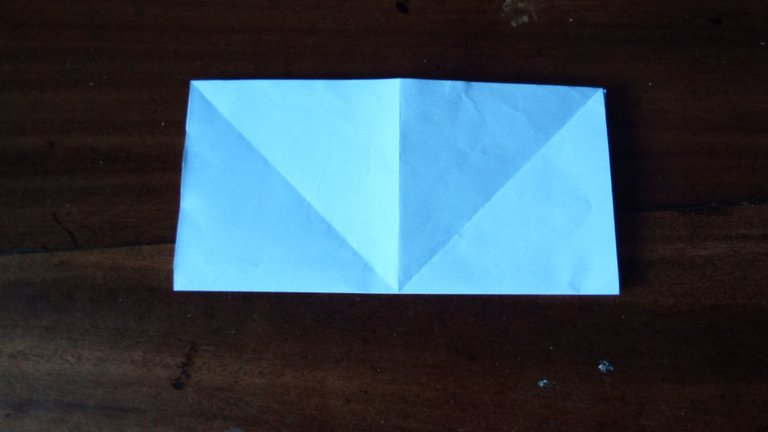
3
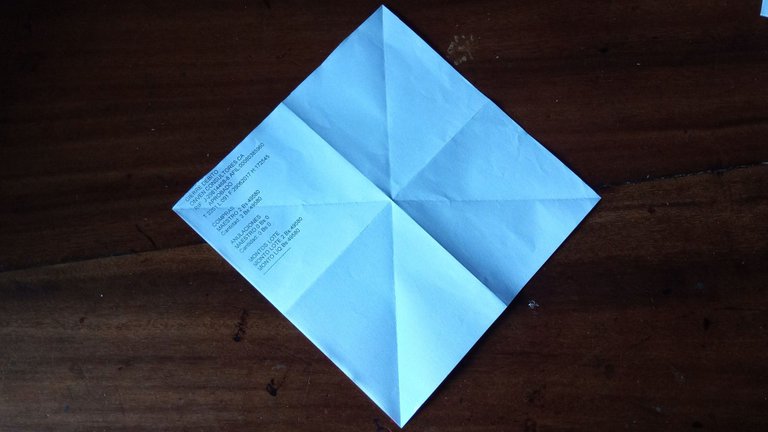
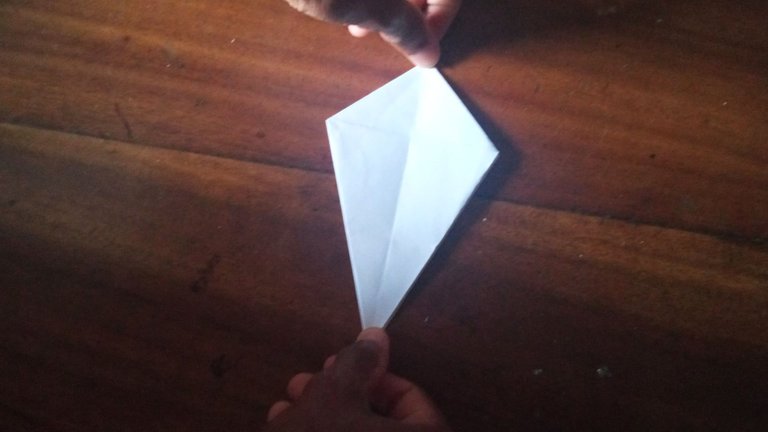
Estando en este punto vamos a colocar la hoja en forma de rombo y las dos puntas laterales las llevaremos hacia adentro para posteriormente obtener la forma de rombo pero está vez más pequeña.
[Eng] At this point we are going to place the leaf in the shape of a rhombus and the two lateral points will be brought inwards to later obtain the shape of a rhombus but this time smaller.
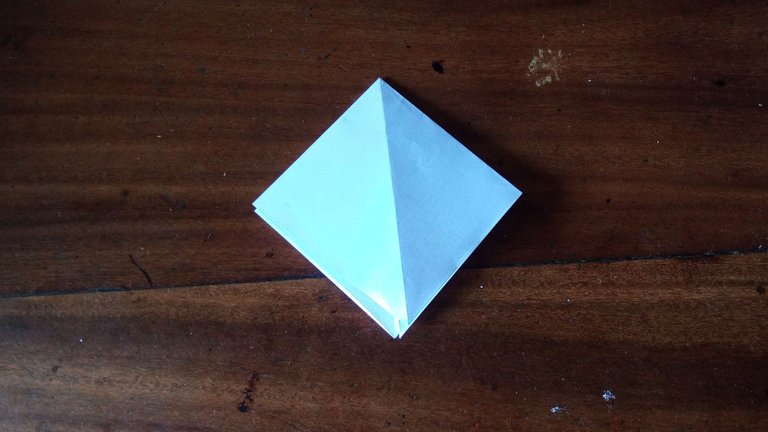
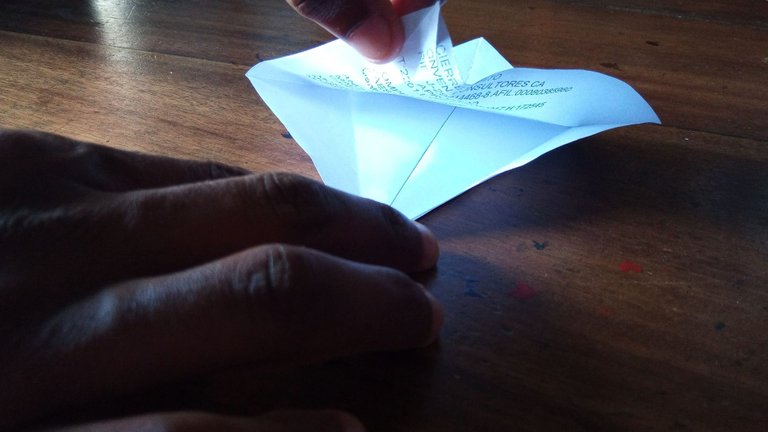
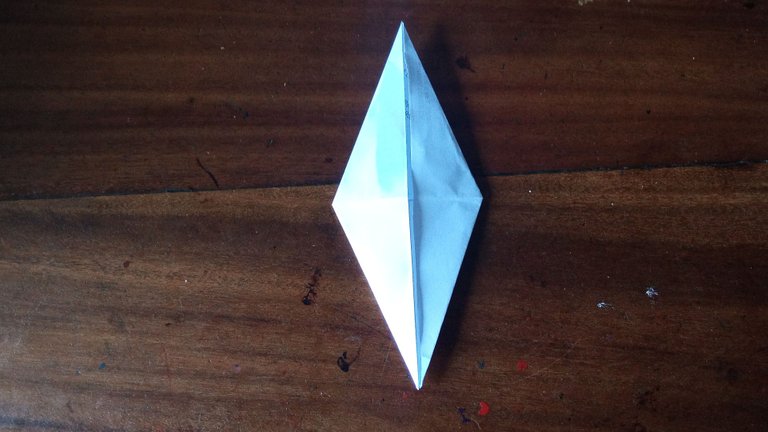
4
Vamos a doblar hacia adentro las cuatro alas laterales que tenemos y nos quedará un tipo de diamante.
[Eng] We are going to fold inward the four lateral wings that we have and we will have a type of diamond.

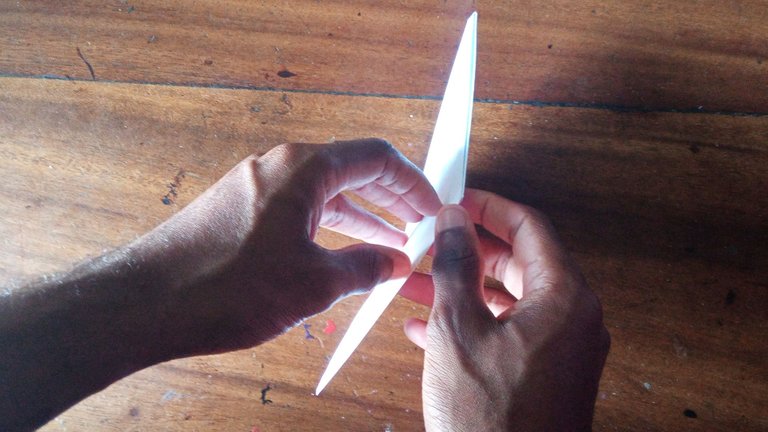
5
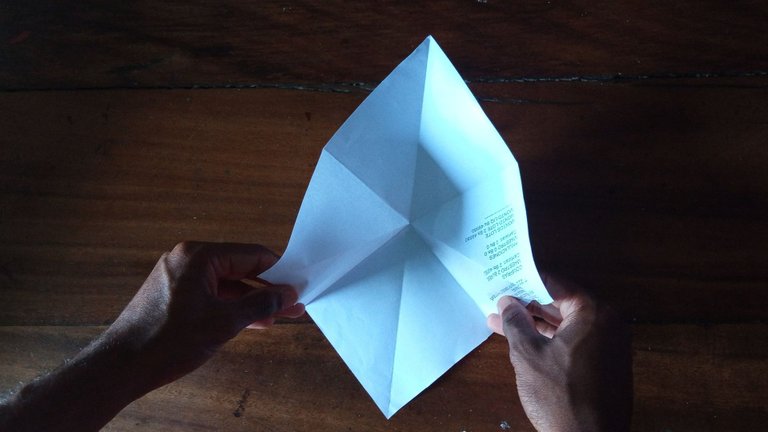
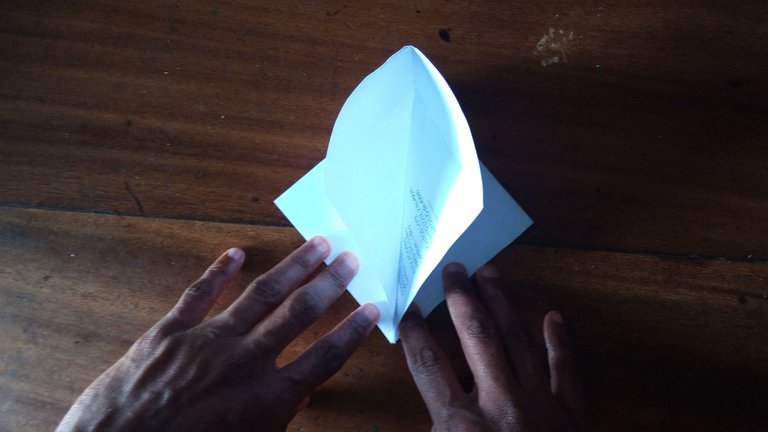
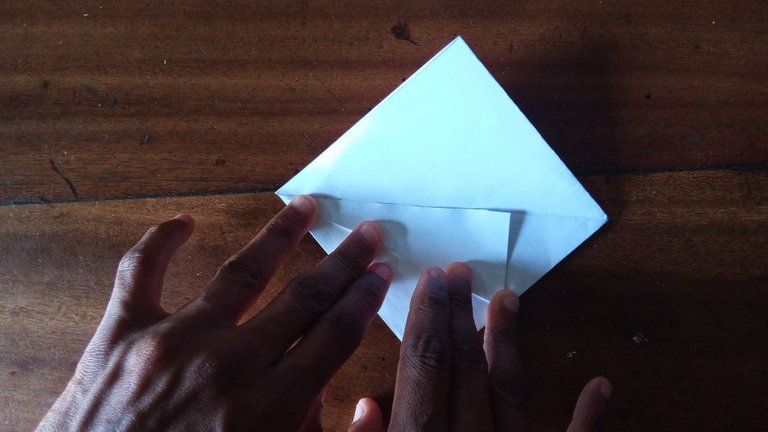
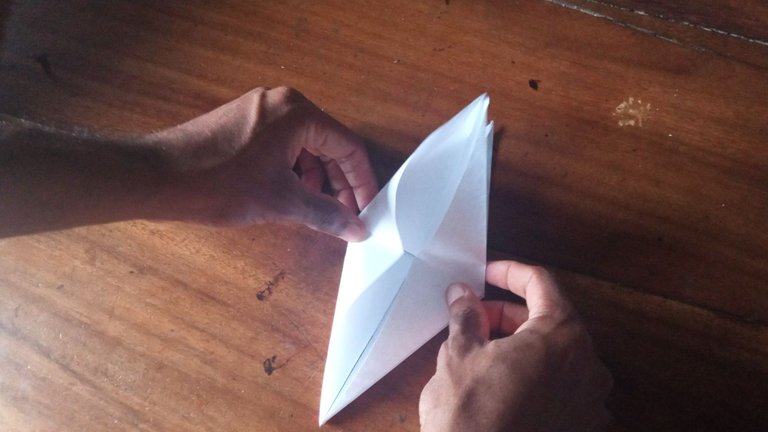
Desplegaremos una de las caras del diamante y con cuidado la vamos abrir por una apertura que tendrá en la parte inferior, la vamos a desplegar y meteremos los dados para tener un día mente más grande.
[Eng] We will unfold one of the faces of the diamond and carefully open it through an opening that will have at the bottom, we will unfold it and put the dice to have a bigger day.
6
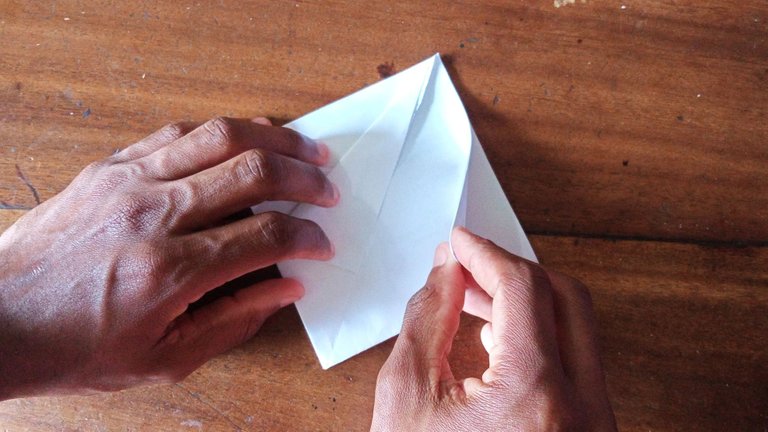
Volteamos nuestra figura u repetimos el proceso pero por el otro lado ahora.
[Eng] We flip our figure and repeat the process but now on the other side.
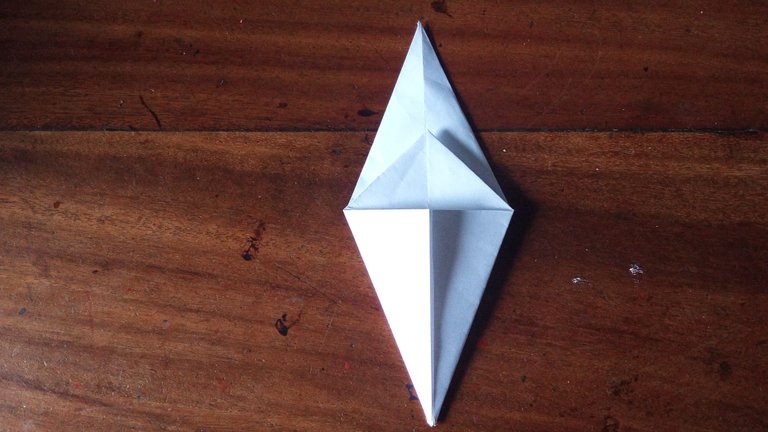
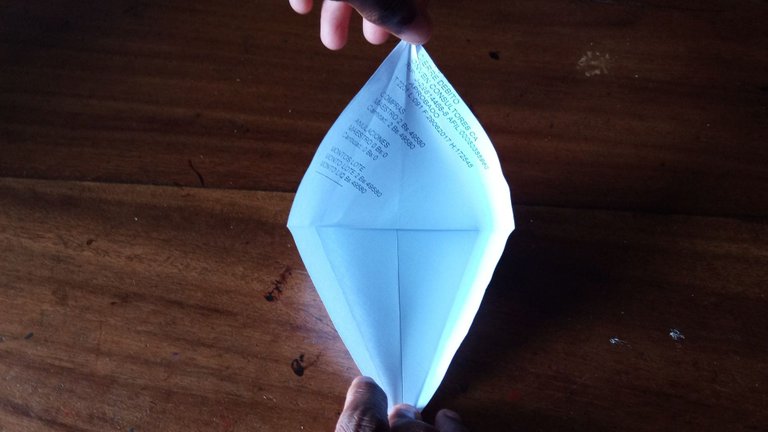
7
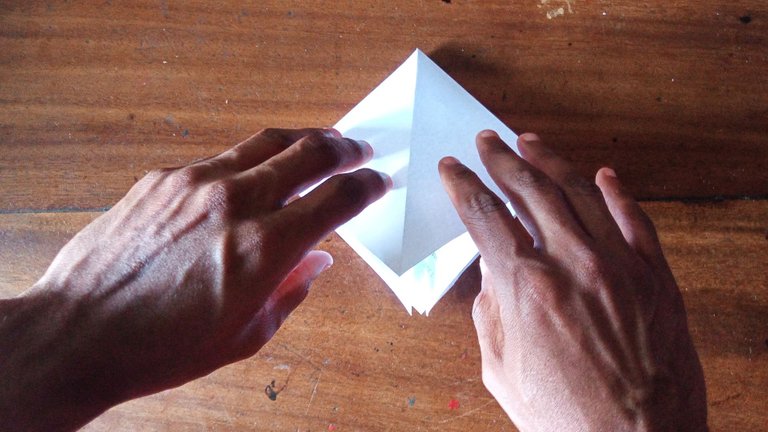
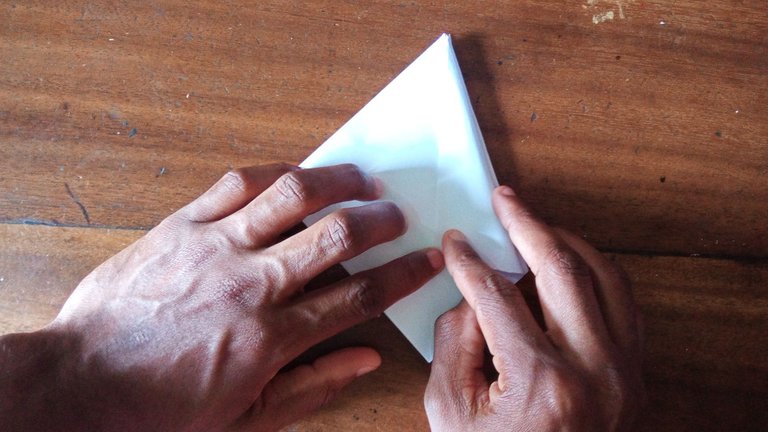
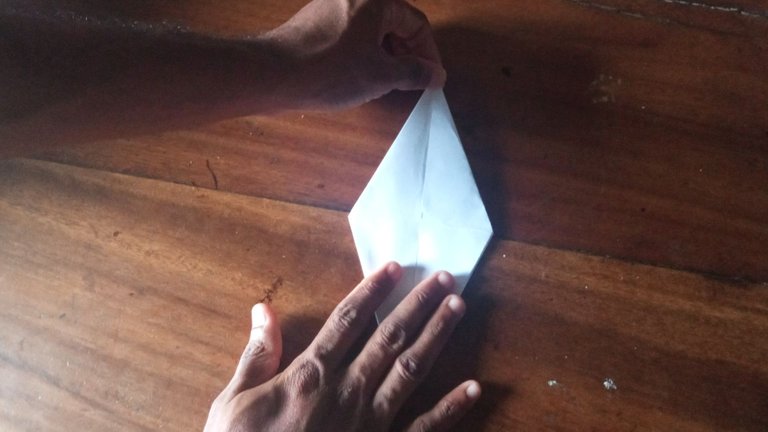
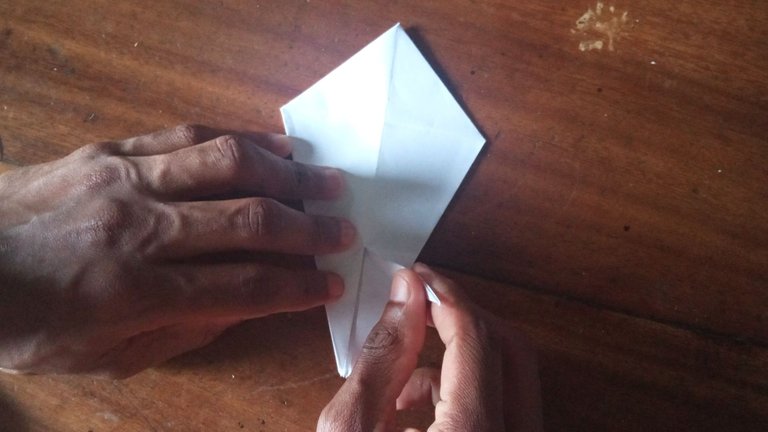
Doblaremos hacia el punto medio marcado en la línea superior del diamante todas las puntas. Luego estiramos de nuevo la figura.
[Eng] We will bend to the midpoint marked on the top line of the diamond all the tips. Then we stretch the figure again.

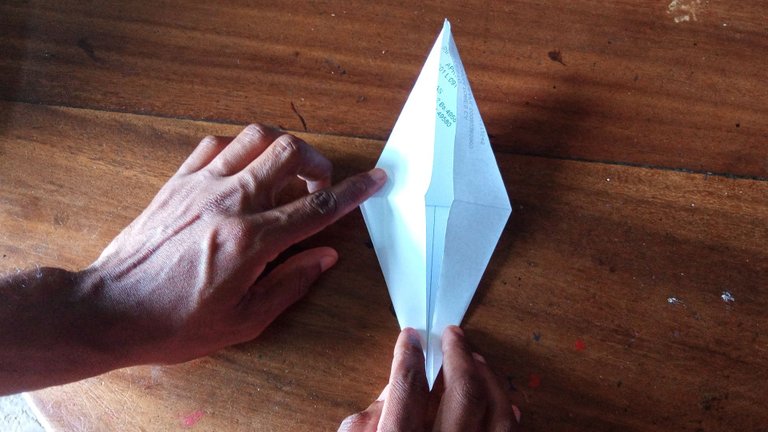
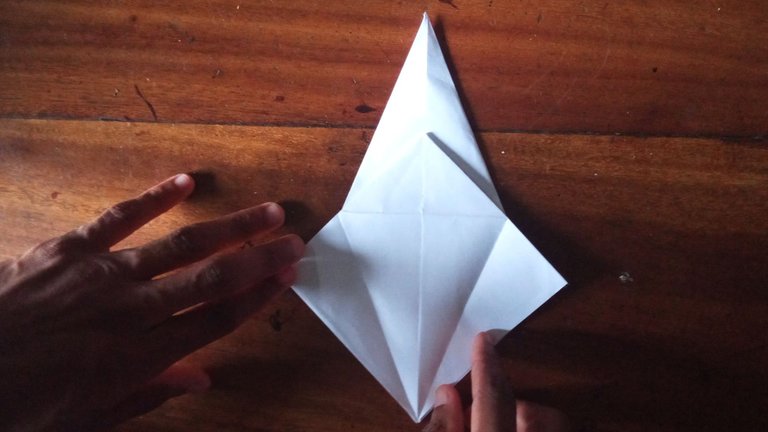
8
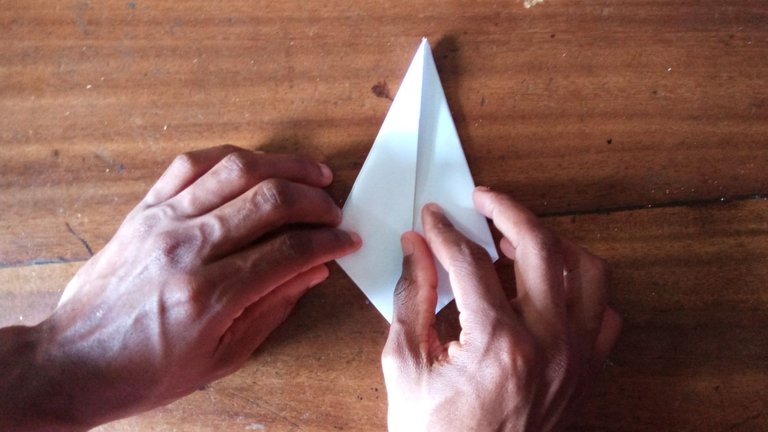
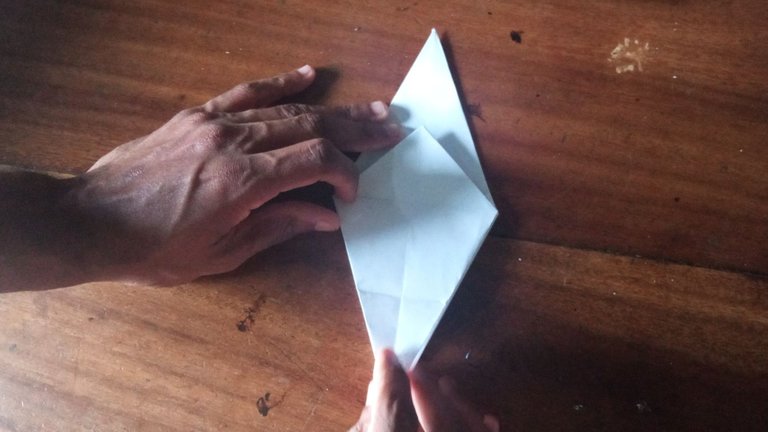
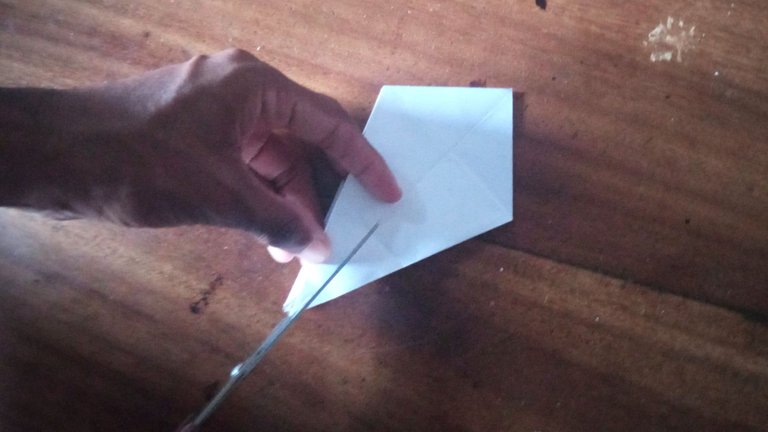
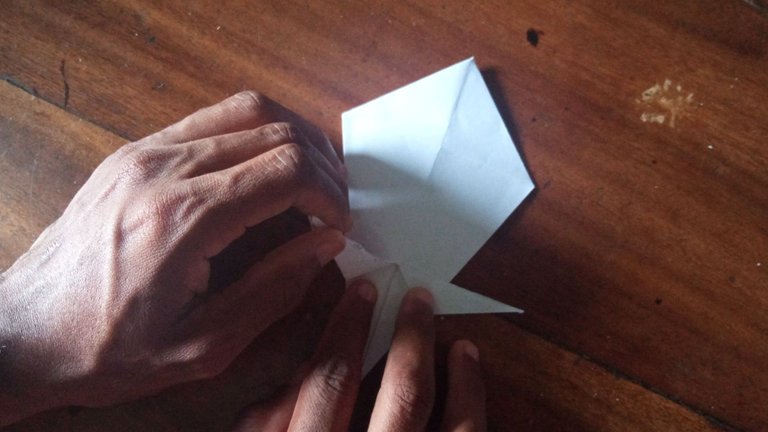
El siguiente paso es cortar con la tijera por la mitad de cada punta, teniendo como límite el primer punto marcado con las líneas que hemos hecho.
[Eng] The next step is to cut with the scissors in the middle of each point, having as limit the first point marked with the lines we have made.
9
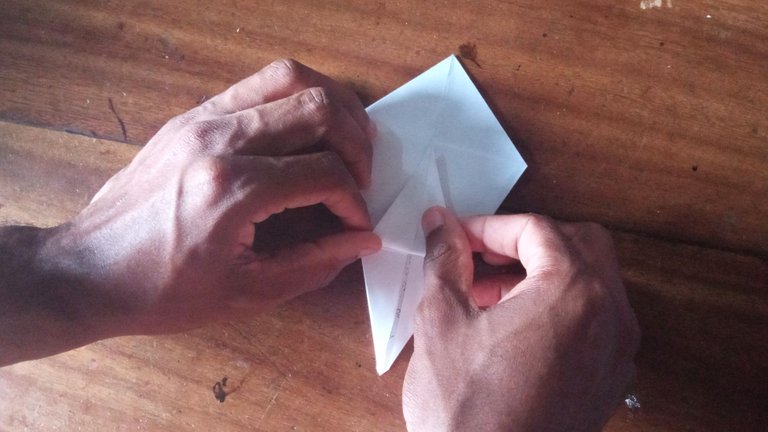
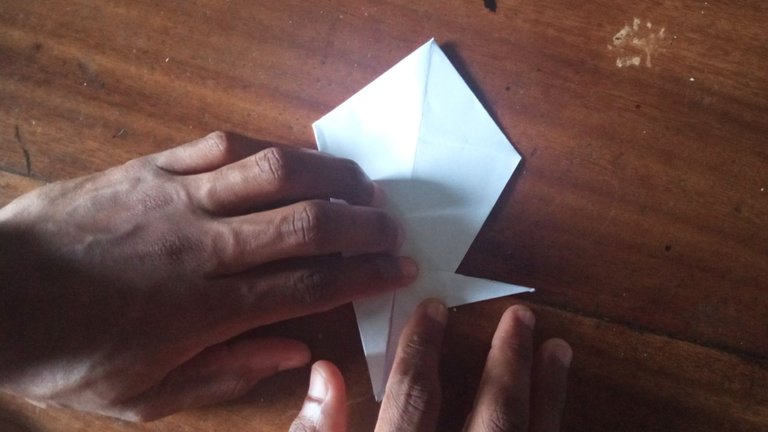
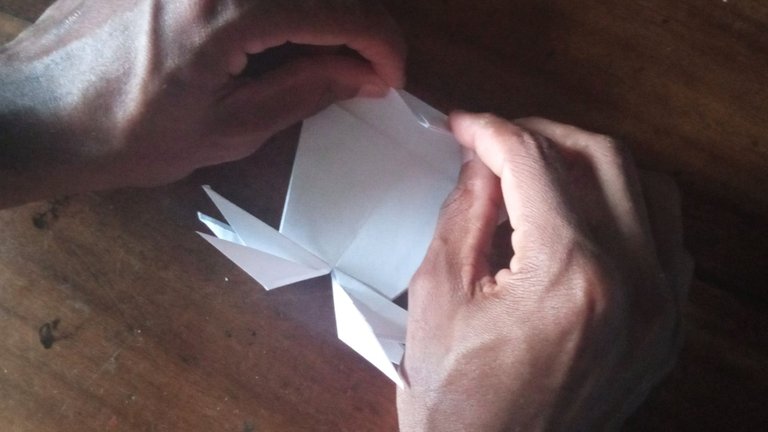
El siguiente paso es comenzar a darle forma a los tentaculos del pulpo, por lo que vamos agarrar primera punta y la primera ala; la vamos a llevar al límite de corte doblando hacia un costado, repetimos esto con el ala de al lado.
[Eng] The next step is to cut with the scissors in the middle of each point, having as limit the first point marked with the lines we have made.
10
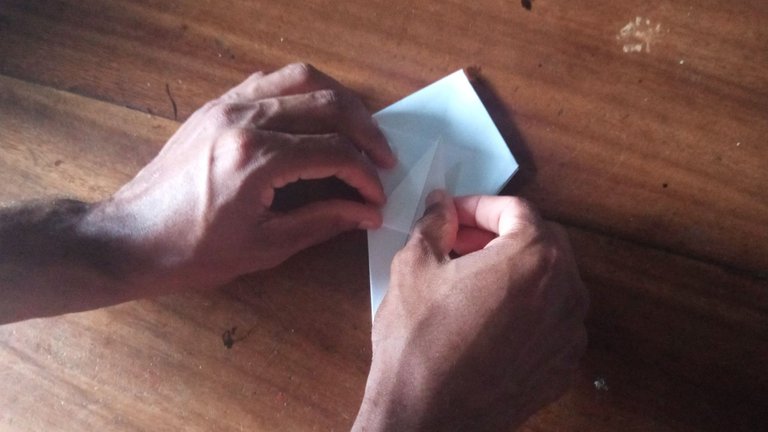
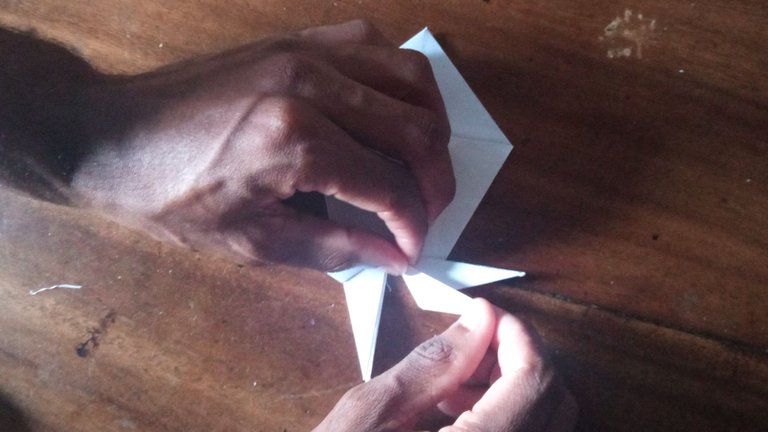
Ahora haremos lo mismo con la punta que nos queda del ala pero la llevaremos un poco más abajo de la primera. Repetimos el proceso con la de al lado.
[Eng] Now we will do the same with the remaining tip of the wing but we will take it a little lower than the first one. Repeat the process with the one next to it.
11
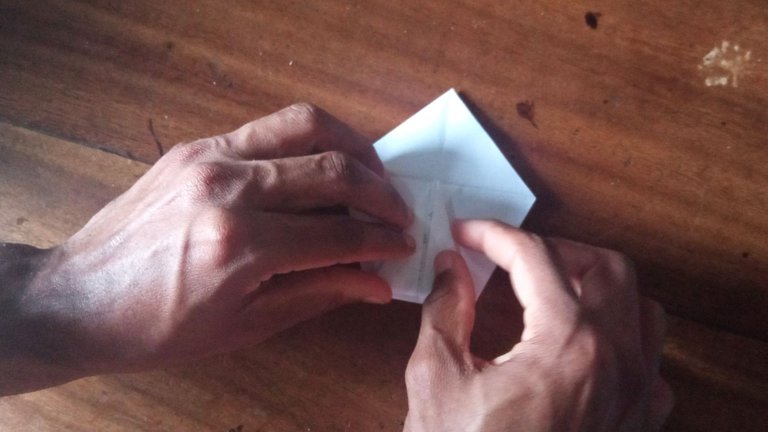
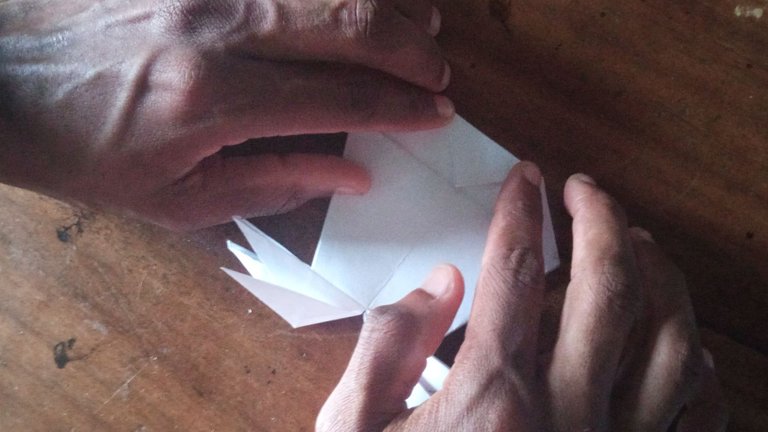
Teniendo listos los primeros cuatro tentáculos, haremos lo mismo con los cuatro restantes.
[Eng] Once the first four tentacles are ready, we will do the same with the remaining four.

12
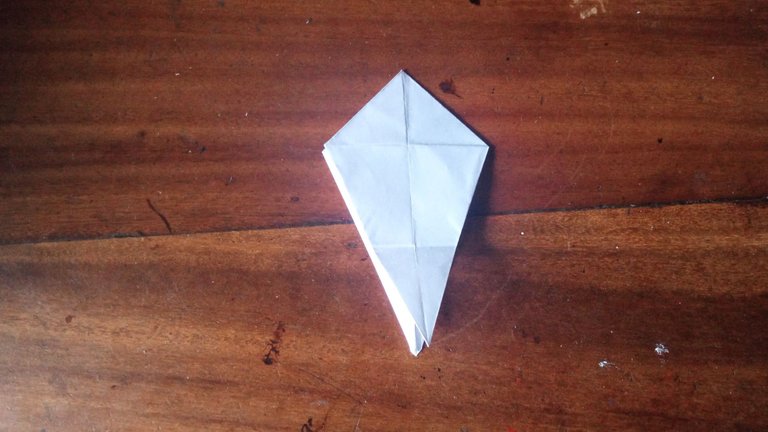
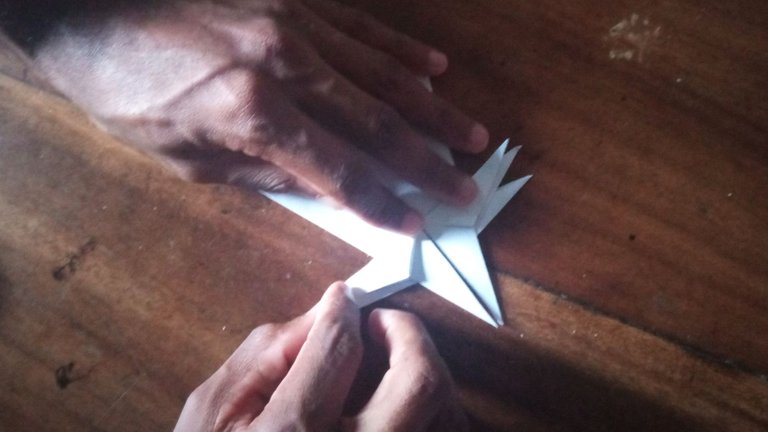
Para culminar vamos a doblar la punta que tenemos arriba hacia el punto marcado acabo y apretamos bien.
[Eng] To finish we are going to fold the tip that we have above towards the point just marked and tighten it well.
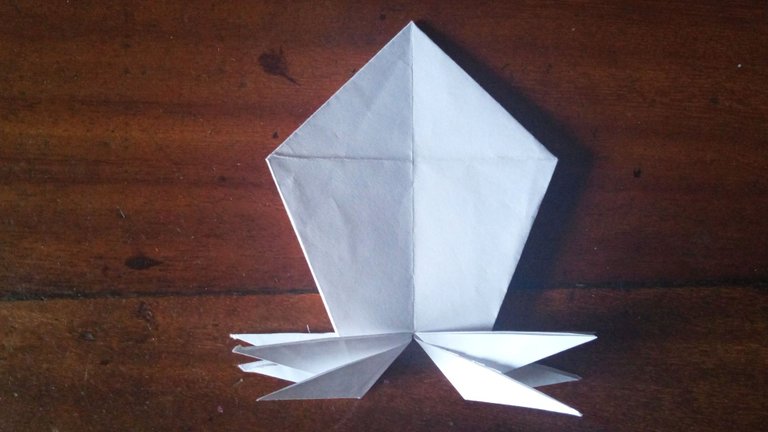
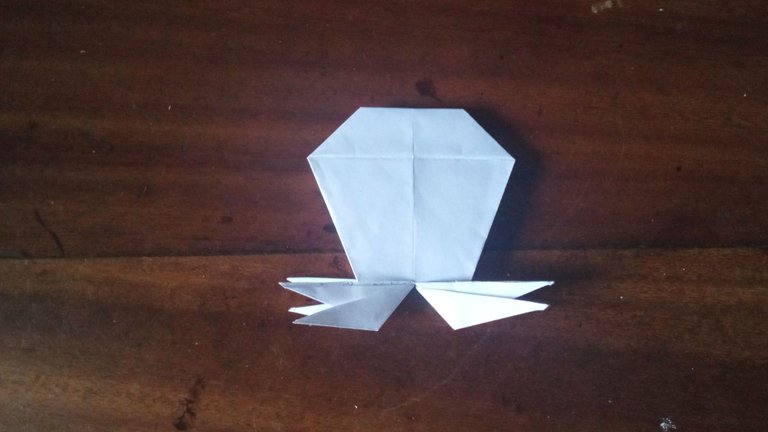
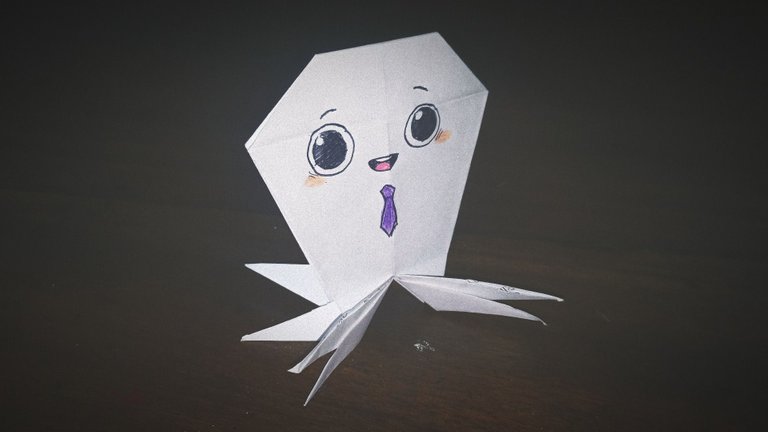
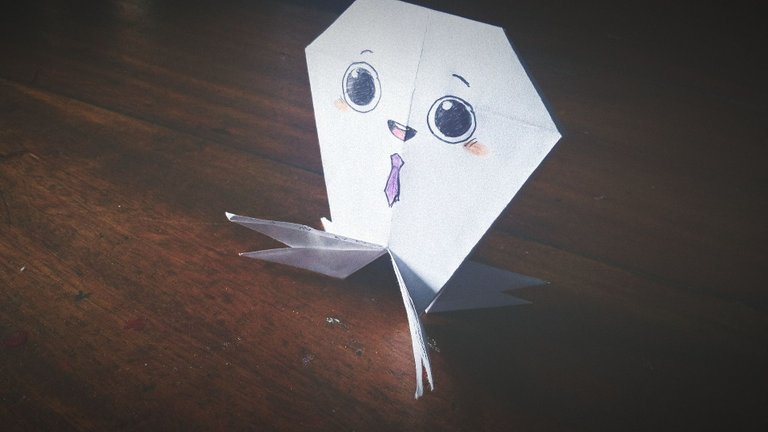
13
Listo, ya tenemos el resultado.
[Eng] There, we have the result.
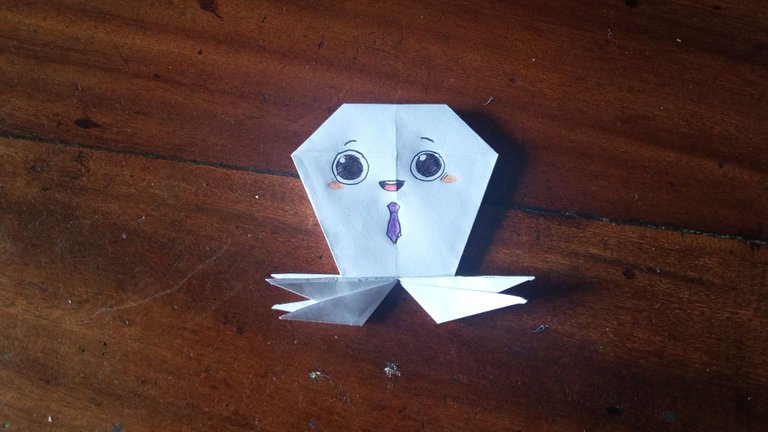
Cómo está algo sencillo le pedí a mi sobrina que le diera con algunas facciones y algo de color; Y así quedó.
[Eng] As it is somewhat simple, I asked my niece to give it some factions and some color; and that's how it turned out.
Ahora unas fotos guapetonas
[Eng] Now some beautiful pictures.
Super rápido y sencillo para pasar un momento recreativo con los niños del hogar ¿no te parece?.
[Eng] Super quick and easy to spend a recreational moment with the children at home, don't you think?
Si te gusto esta públicación déjamelo saber en los comentarios. Sigue aportando tu granito de arena para que sigamos creciendo como comunidad y haciendo cosas muy interesantes. Que Dios me los bendiga siempre Hivers, hasta un próximo post.
[Eng] If you liked this publication let me know in the comments. Keep contributing with your grain of sand so we can keep growing as a community and doing very interesting things. God bless you always Hivers, see you in the next post.

Congratulations @engerbertms! You have completed the following achievement on the Hive blockchain and have been rewarded with new badge(s) :
Your next target is to reach 80 posts.
Your next target is to reach 400 upvotes.
Your next target is to reach 3750 upvotes.
You can view your badges on your board and compare yourself to others in the Ranking
If you no longer want to receive notifications, reply to this comment with the word
STOPSupport the HiveBuzz project. Vote for our proposal!
Congratulations, your post has been upvoted by @dsc-r2cornell, which is the curating account for @R2cornell's Discord Community. Enhorabuena, su "post" ha sido "up-voted" por @dsc-r2cornell, que es la "cuenta curating" de la Comunidad de la Discordia de @R2cornell.