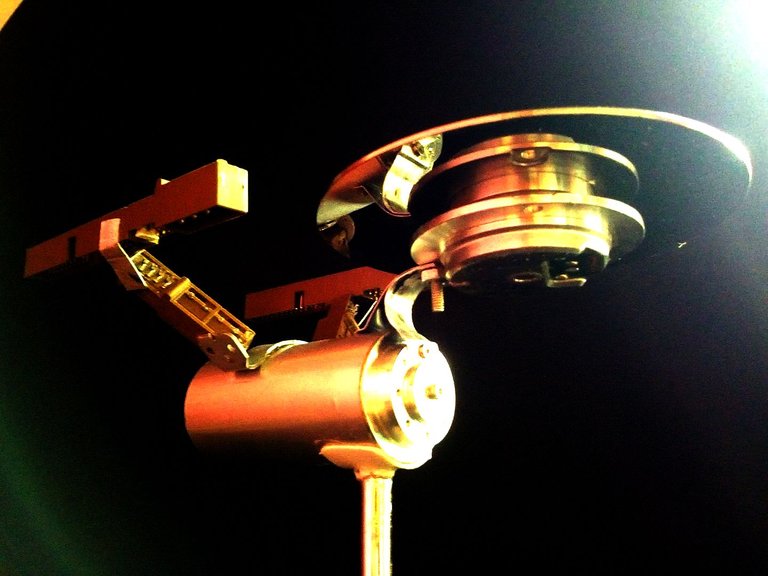
Hello Hive friends. I send a big greeting to all the user friends of this platform who do great works with their hands. Today I want to make a new contribution by presenting my new recycling job. It is the flagship spacecraft of the TV series Star Treck: The USS Enterprise. Like Star Wars in this series there are many spaceships, the most recognized being the mentioned model. It is made entirely with recycled PC parts. I hope you like it.
Hola amigos de Hive. Envio un gran saludo a todos los amigos usuarios de esta plataforma que hacen grandes obras con sus manos. Hoy quiero hacer un nuevo aporte presentando mi nuevo trabajo de reciclaje. Es la nave espacial insignia de la sere de TV Star Treck: La USS Enterprise. Al igual que Star Wars en esta erie existen muchas naves espaciales siendo la mas reconocida el modelo mencionado. Esta hecha enteramente con piezas recicladas de PC. Espero les guste.

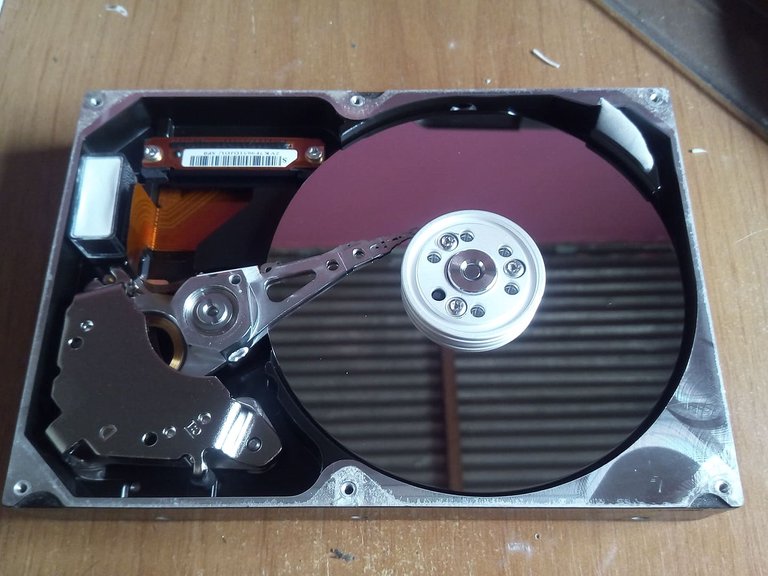
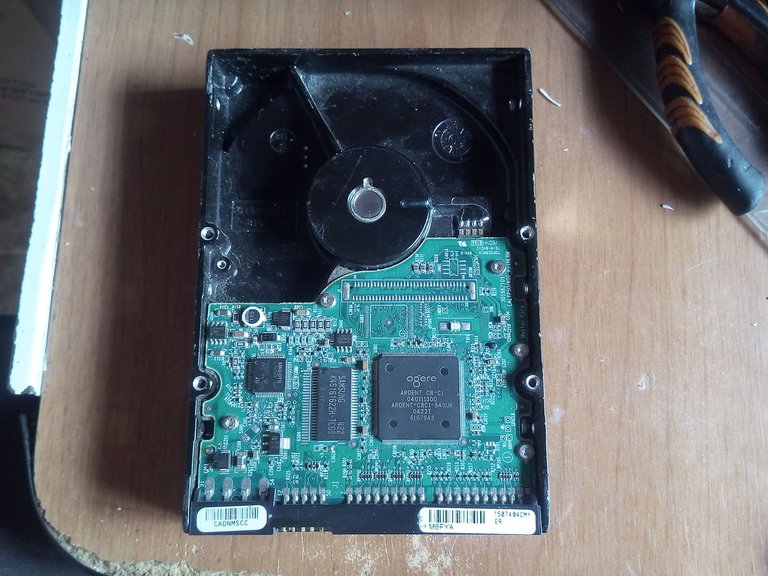
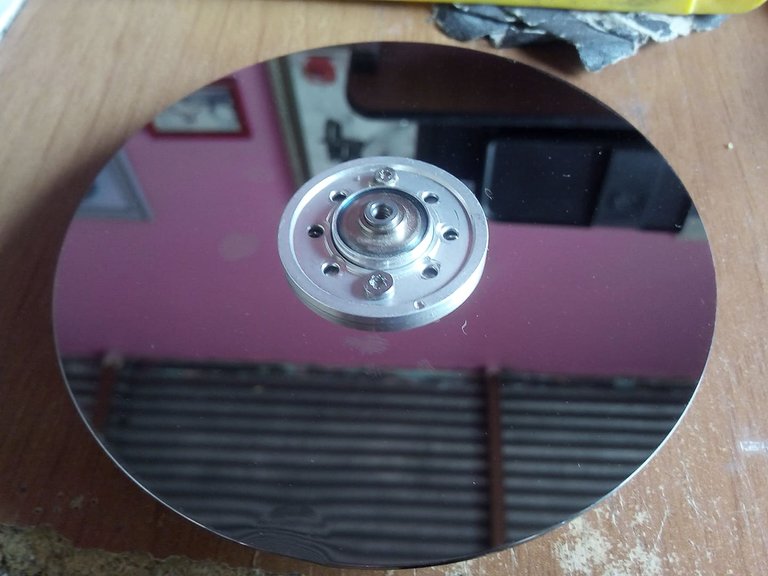
The raw material for this work will be a hard disk. We disassemble the hard drive with a screwdriver and remove all the parts. We will use all the parts that we can.
La materia prima para este trabajo será un dico duro. Desarmamos el disco duro con un destornillador y sacamos todas las partes. Utilizaremos todas las partes que podamos.
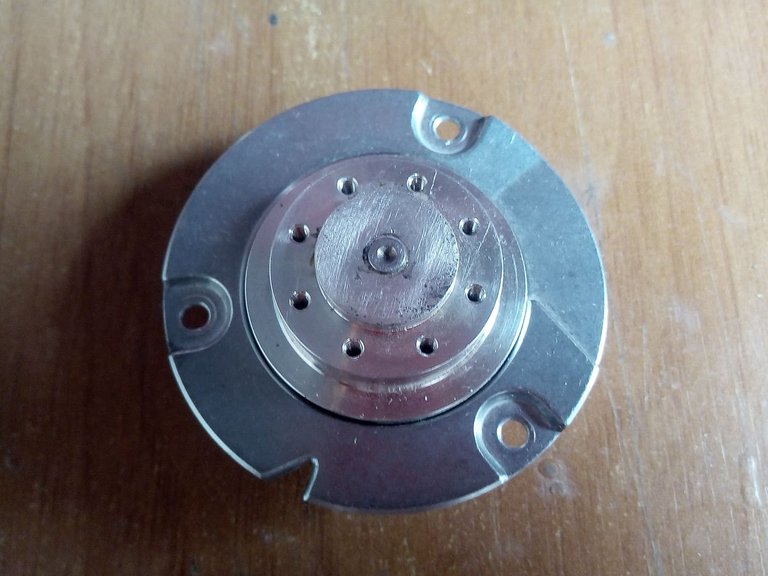
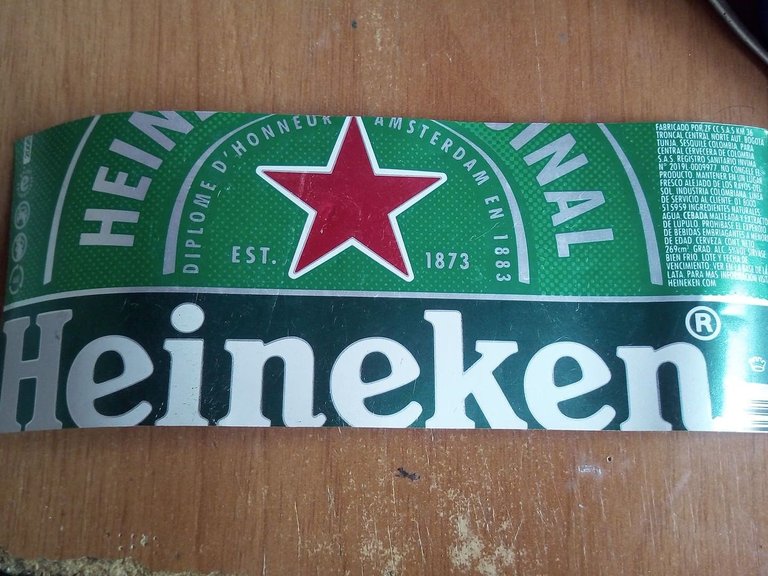
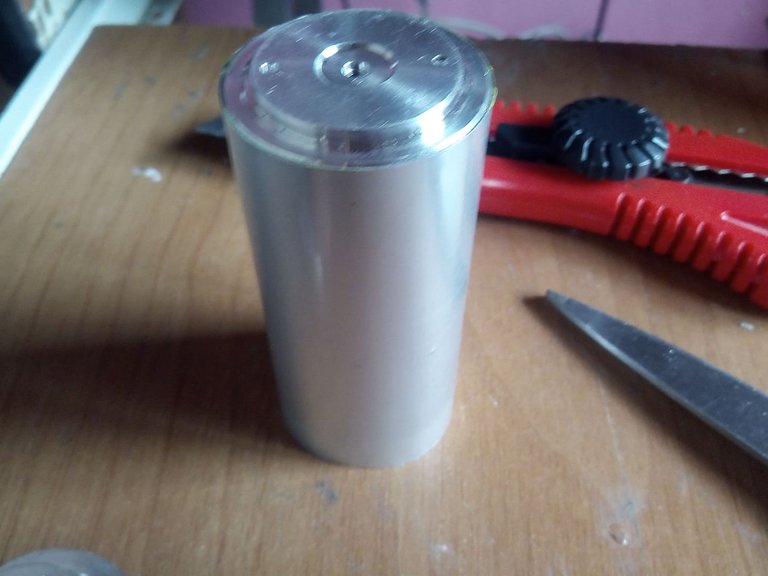
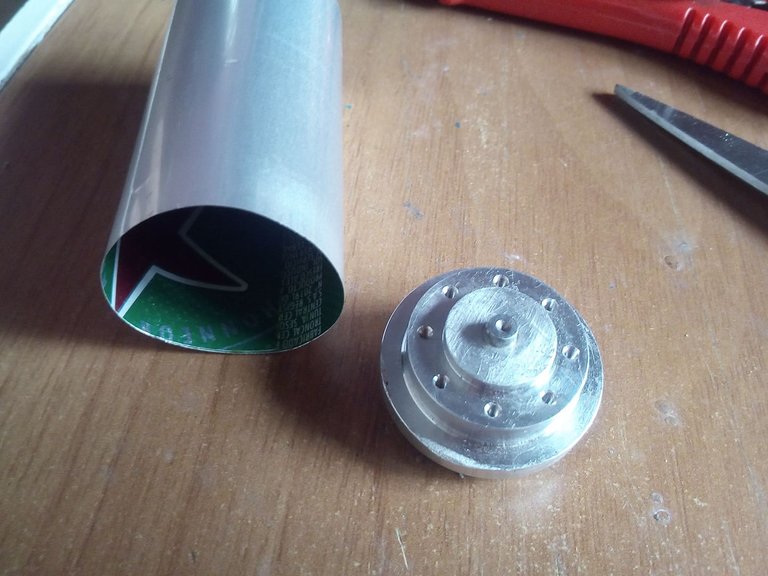
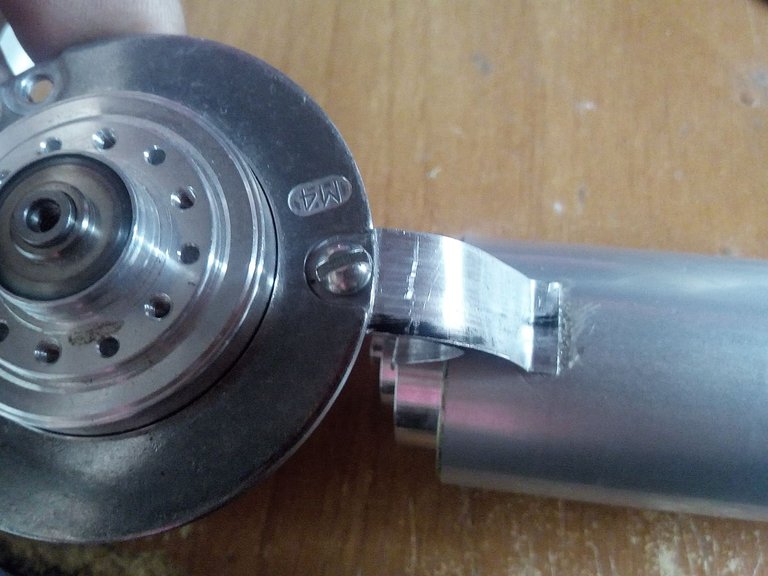
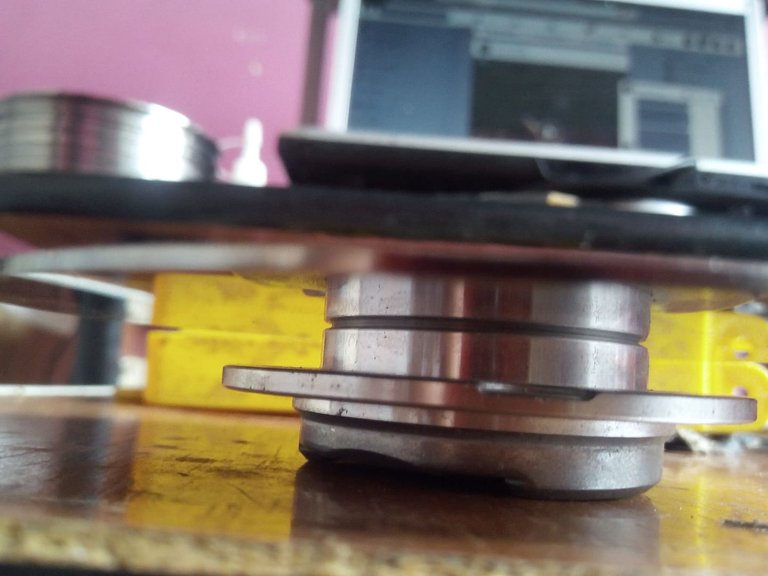
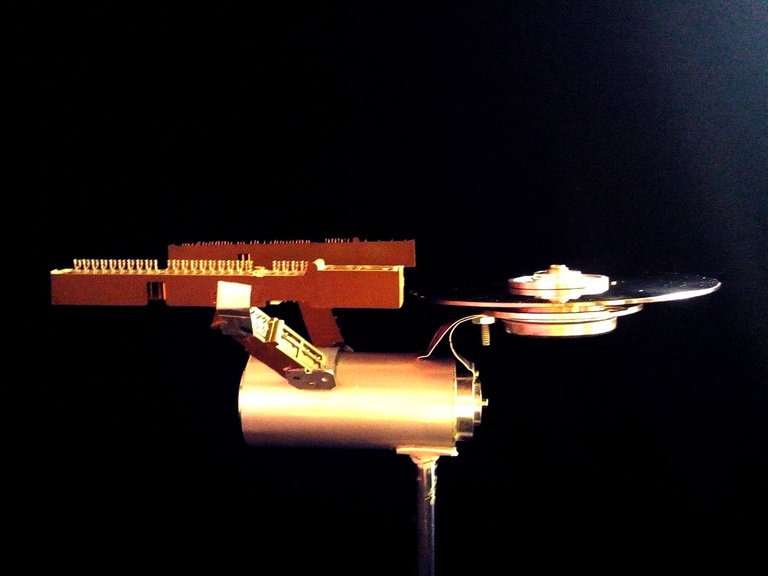
Then we start to make the lower part of the ship. We take the motor that makes the disk spin and we take it apart. With an aluminum can we make a strip and with it we will wrap the motor so that it remains like a tube, finally at the other ends we close the hole with another hard disk motor.
Luego comenzamos a hacer la parte inferior de la nave. Tomamos el motor que hace girar al disco y lo desarmamos. Con una lata de aluminio hacemos una tira y con ella envolveremos al motor para que nos quede como un tubo, por ultimo en el otro extremos cerramos el agujero con otro motor de disco duro.
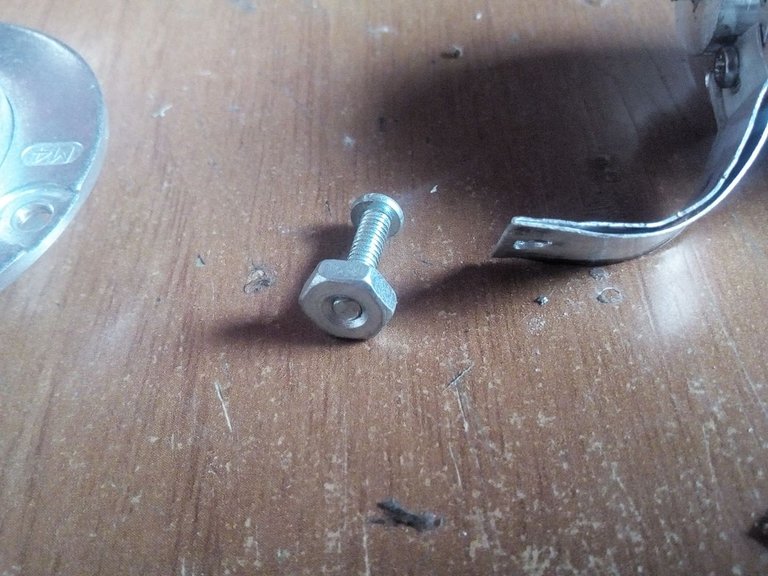
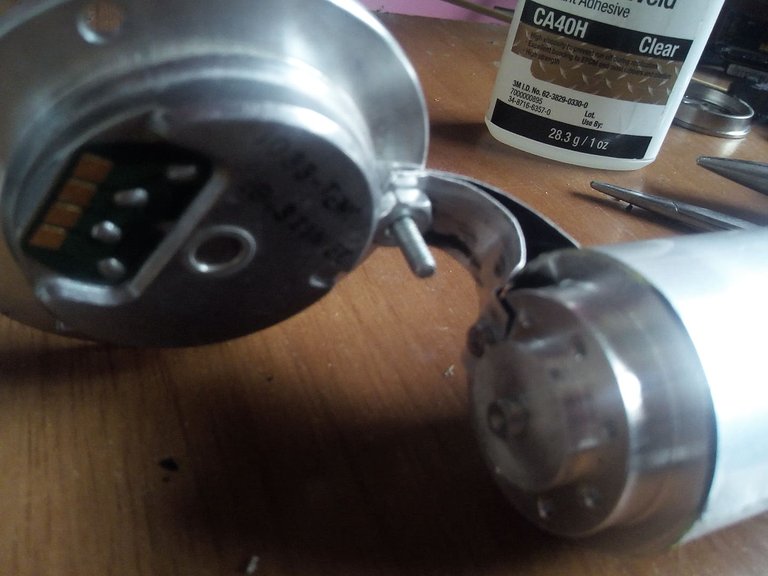
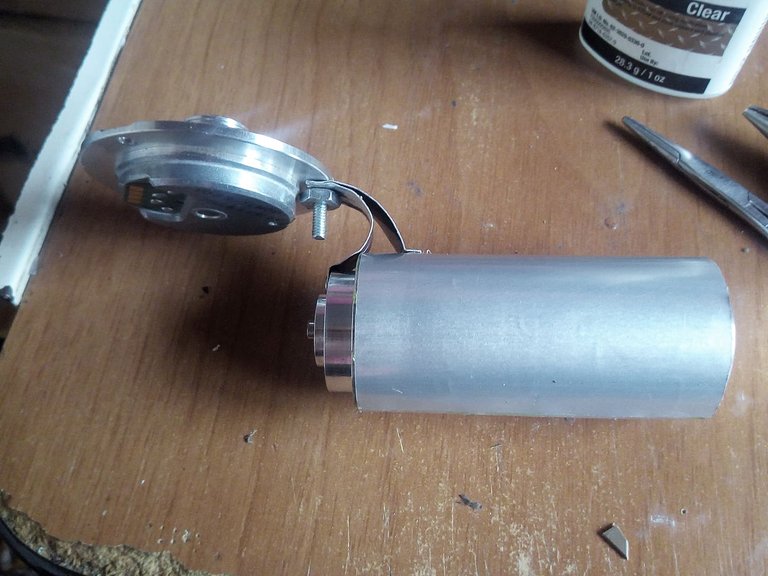
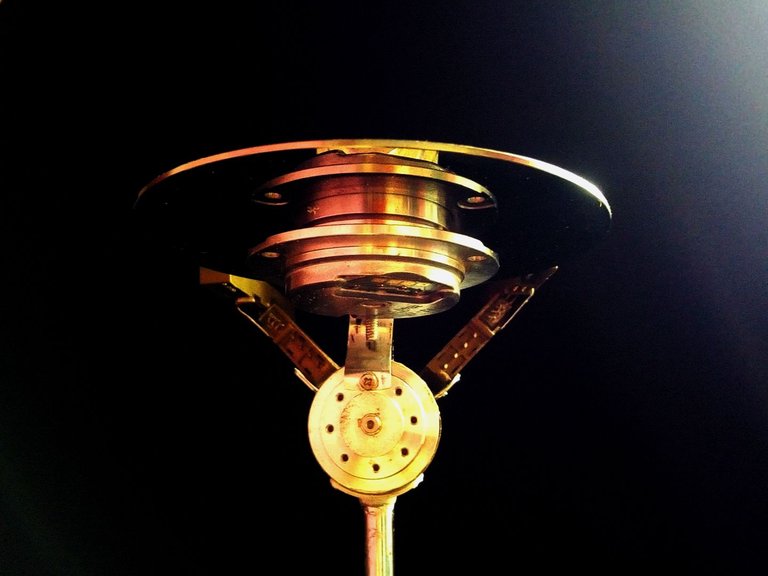
Now we will join the upper part of the ship that is circular to the part that we made previously. Using a small sheet, we cut it and fold it and open two holes to place it in each part. We use screws to fix them and make it fit better.
Ahora uniremos la parte superior de la nave que es circular a la part que hicimos anteriormente. Utilizando un pequeña lamina, la cortamos y la doblamos y abrimos dos hoyos para colocarla en cada parte. Utilizamos tornillos para fijarlos y que nos quede mejor.
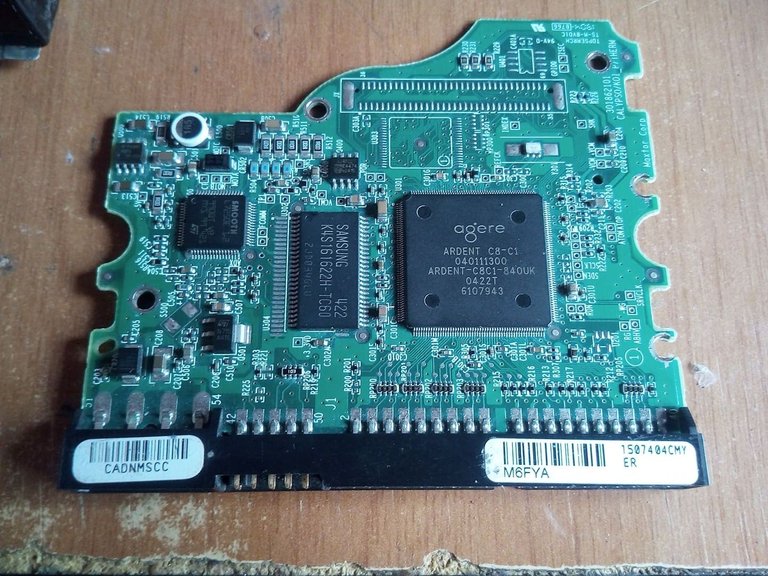
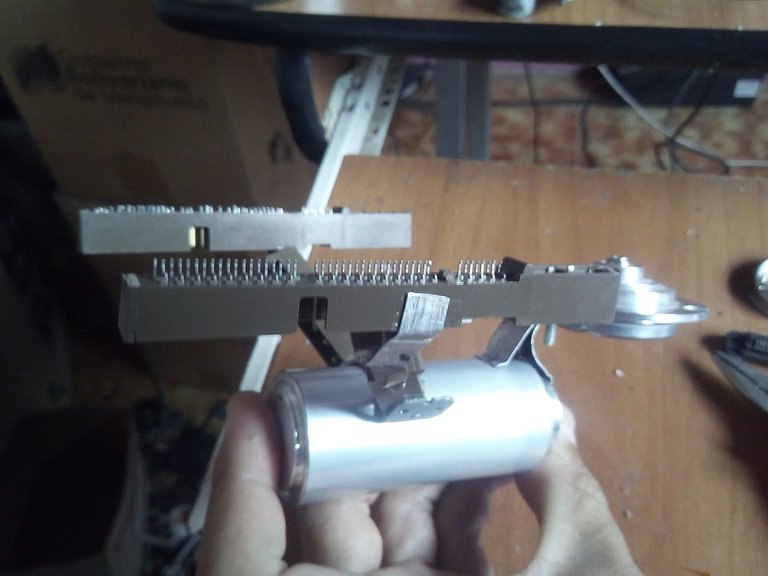
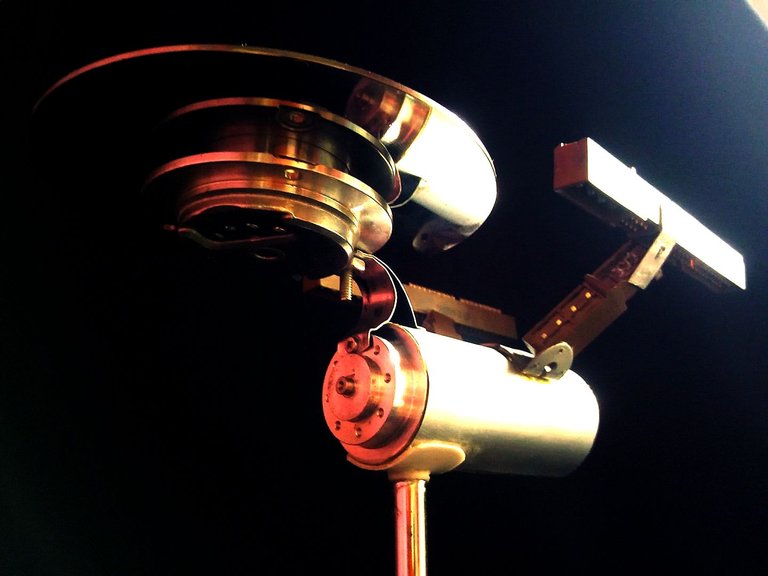
The next step is to make the base for the spacecraft's turbines. We take one of the connectors that the hard disk board brings and cut it in half. Then with a folded sheet at each end we glue the connectors. We must bend the sheet in a circular way so that it is adjusted to the part of the cabin.
El siguiente paso es hacer la base para las turbinas de la nave espacial. Tomamos uno de los conectores que trae la placa del disco duro y lo cortamos a la mitad. Luego con una lamina doblada en cada extremos pegamos los conectores. Debemos doblar la lamina de manera circular para que nos quede ajustada a la parte de la cabina.
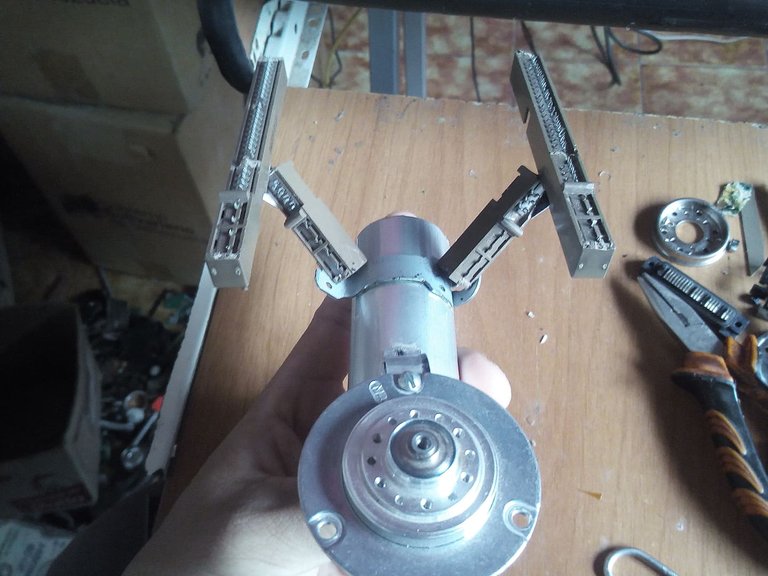
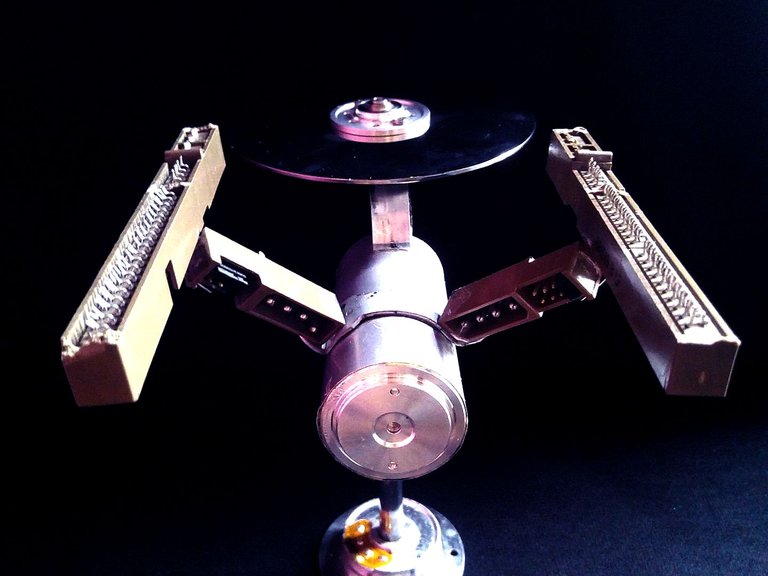
To finish the turbines, we put two hard drive connectors in the parts we made before. We fixed them with super glue and then we attached it to the booth. We can use screws with nuts or also glue. We would stay this way.
Para finaliza las turbinas, colocamos dos conectores de disco duro en las partes que hicimos antes. Las fijamos con super pegamento y luego lo unimos a la cabina. Podemos usar tornillos con tuercas o tambien pegamento. Nos quedaria de esta manera.
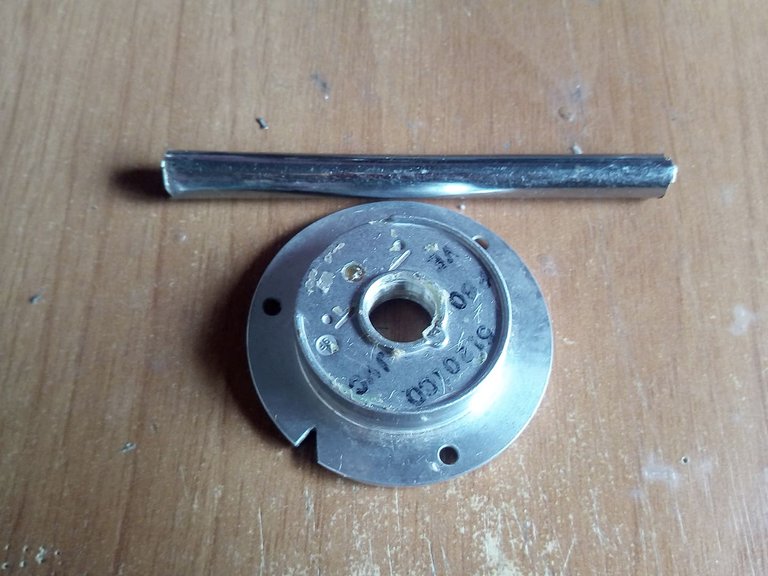
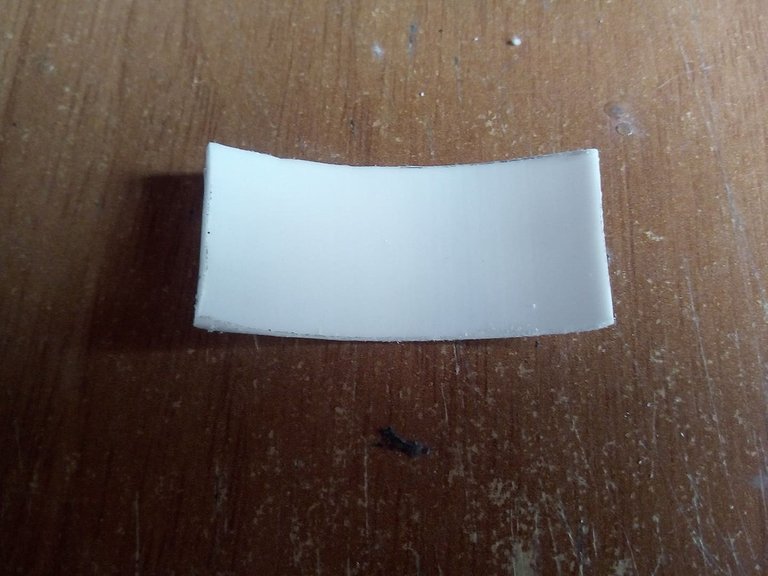
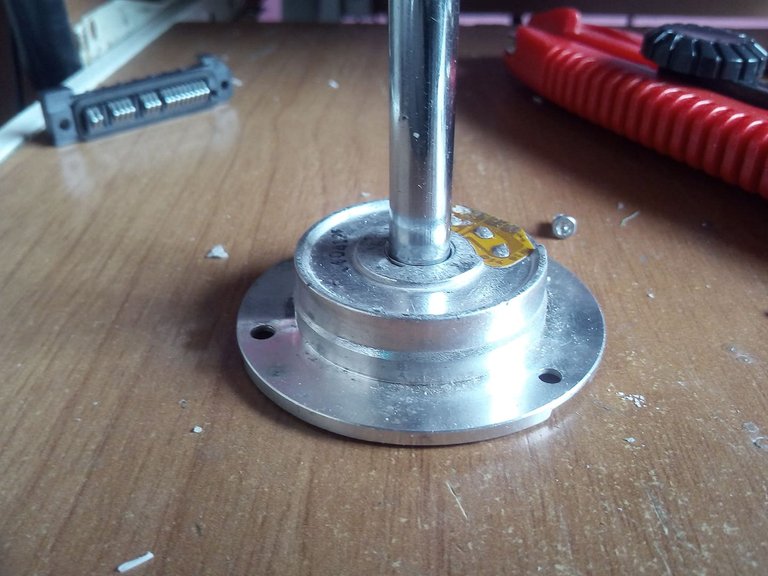
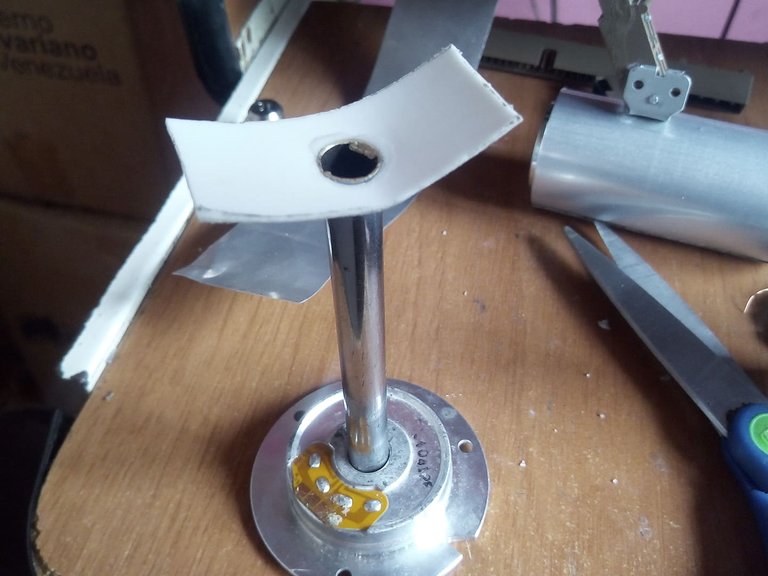
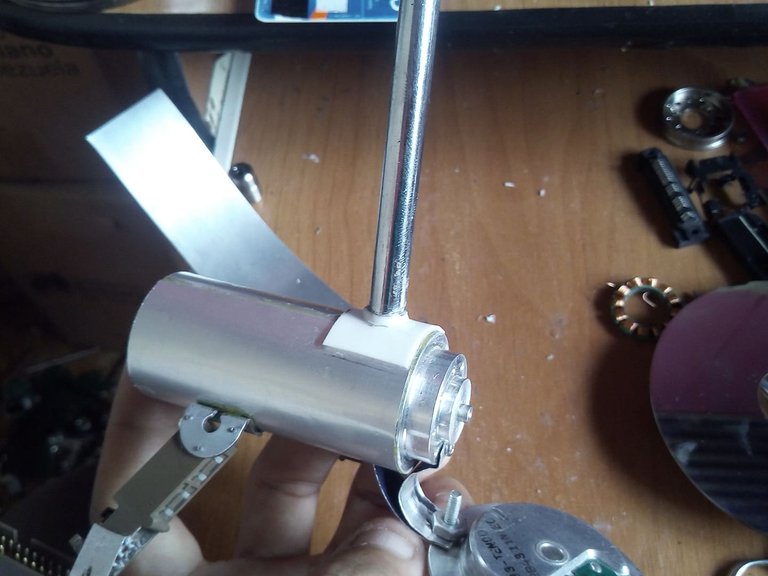
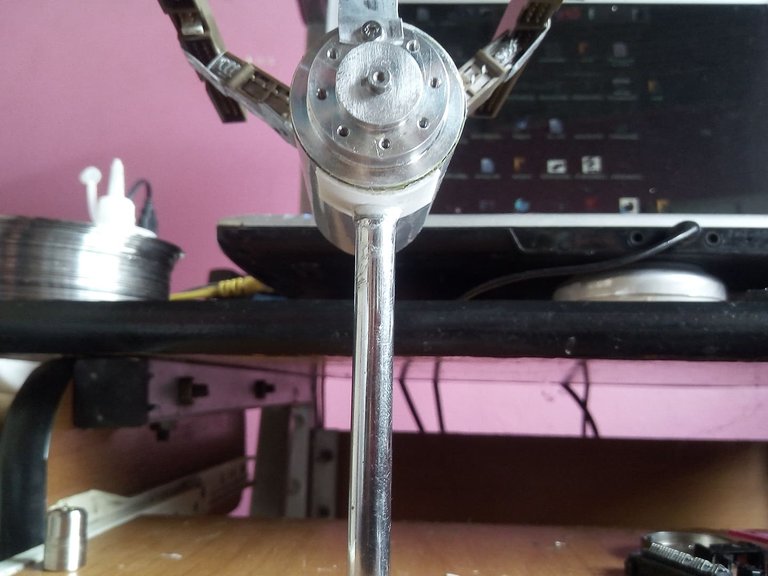
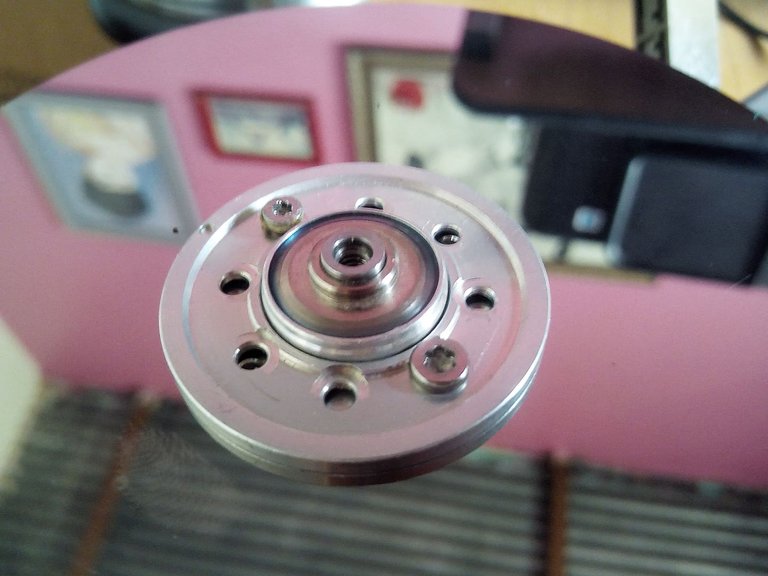
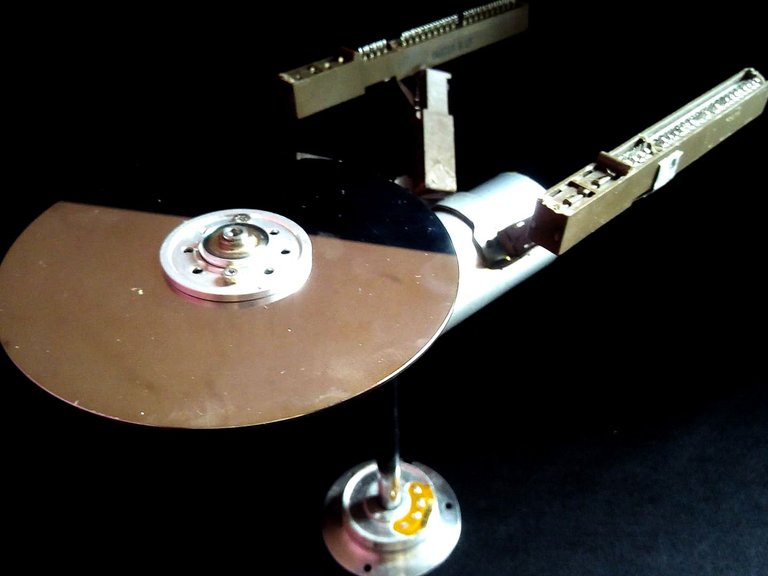
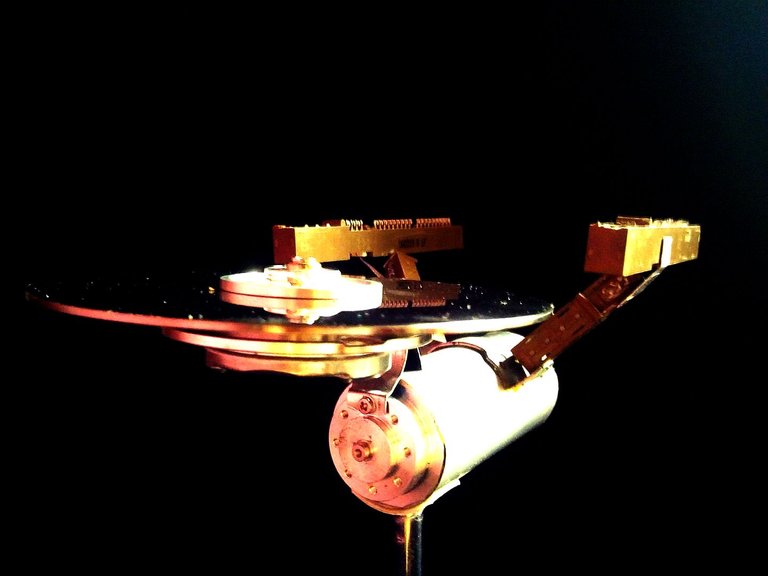
Then we make a stand for the spaceship. We take the base of a hard disk motor and remove the motor, through the hole we insert a tube, it can be an antenna from an old TV, then we cut a piece of plastic and fold it in a circular way and stick it on the end of the tube . Once we have done this, we take the column and stick it on the underside of the ship. It is important to first measure the balance point so that the ship does not fall, so we will know where the base will be better fixed.
Final Work
Luego hacemos un paral para la nave espacial. Tomamos la base de un motor de disco duro y retiramos el motor, por el agujero introducimos un tubo, puede ser de antena de un viejo TV, luego cortamos un retazo de plastico y lo doblamos de manera circular y lo pegamos en el extremo del tubo. Una vez hayamos hecho esto, tomamos el paral y lo pegamos por el lado inferior de la nave. Es importante medir primero el punto de equilibrio para que la nave no se caiga, así sabremos donde quedará mejor fijado la base.

Our last move will be to place the hard drive in the front of the ship that is so characteristic of this model. We remove the screws and then we adjust the disc in the retso of the ship, we tighten very well and we will have finished.
Nuestro ultimo movimiento será colocar el disco duro en la parte frontal de la nave que es tan característico de este modelo. Retiramos los tornillos y luego ajustamos el disco en el retso de la nave, apretamos muy bien y habremos finalizado.
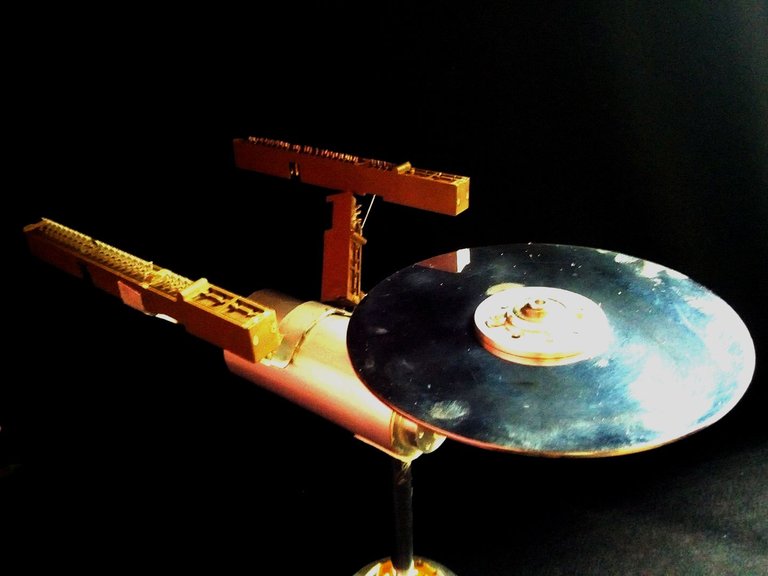
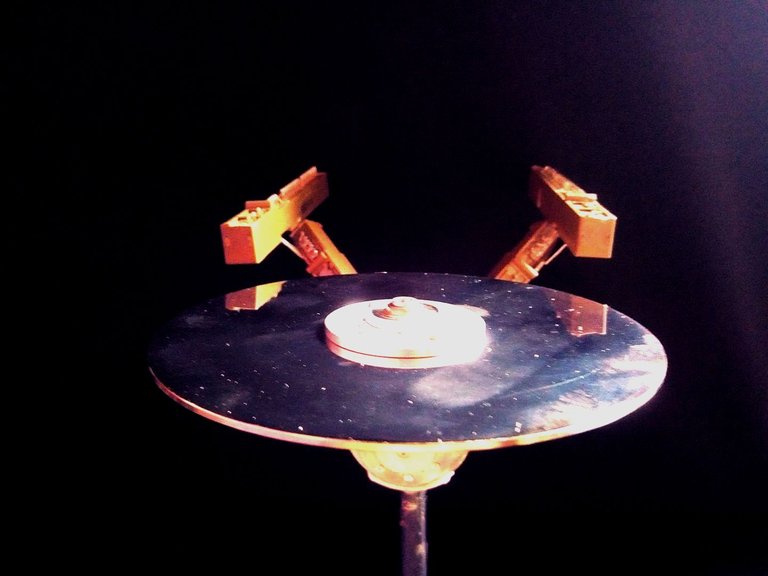
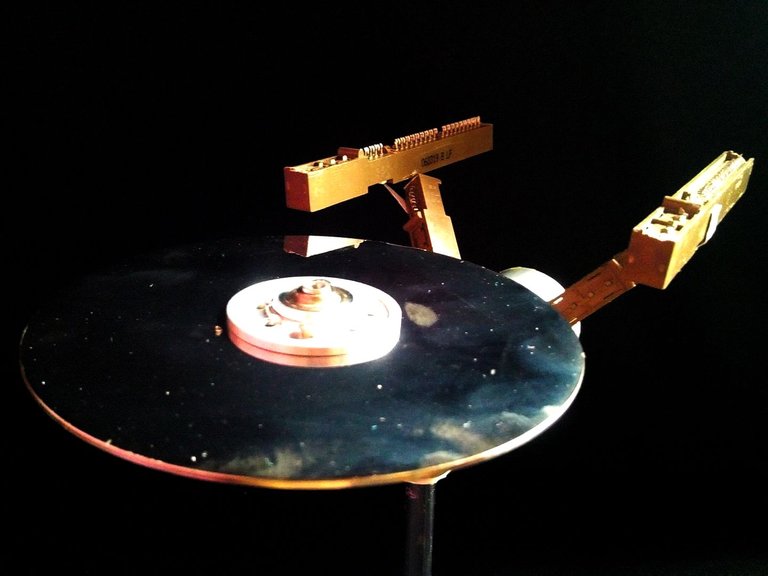

This is how the final work has been, personally I really like how it turned out, since thanks to the fact that I used the most metallic parts of the hard disk, the spaceship was shiny. I have always liked this model, and a long time ago I was able to buy a piece of Lego. Unfortunately I lost it in a move. I hope you liked the process of creating this ship, do not forget to comment and say how you like it, your opinion and support is very important to continue creating. I say goodbye to everyone see you soon.
Así ha quedado el trabajo final, personalmente me gusta mucho como quedó, ya que gracias a que utilicé las partes mas metalicas del disco duro, la nave espacial me quedo brillante. Este modeo siempre me ha gustado, y hace mucho tiempo pude comprarme una pieza de lego. Lamentablementla extravié en una mudanza. Espero que les haya gustado el proceso de creación de esta nave, no olviden comentar y opinar que tal le sha parecido, su opinión y apoyo es muy importante para continuar creando. Me despido de todos hasta pronto.
Ohhhh this is hella cool!! !LUV
I am very happy that you liked how my work turned out!
Hola amigo, una vez más ¡wuao!, te quedó excelente. Creo intentaré hacer algo inspirado en tu estilo. Voy a empezar a recolectar las piezas jejeje.
Excelente creación.
Saludos, bendiciones y éxitos
siempre agradecido por tu apreciación y apoyo. Si, intentalo! Estaré muy ansioso por ver que harás! Seguro algo super genial! no olvides etiquetarme!
Wow, this is extremely creative, I love it. You really breathed new life into those recycled parts, and I feel the 'Enterprise' vibes. I'm glad @cynshineonline tagged me, this is well done! 🙏
Wow, esto es extremadamente creativo, me encanta. Realmente has dado nueva vida a esas partes recicladas, y siento las vibraciones de 'Enterprise'. Me alegro de que @cynshineonline me haya etiquetado, ¡esto está bien hecho! 🙏
Gracis por tu comentario y por pasarte por mi blog. Es un gusto que te haya encantado como quedó hecha la nave con estos materiales de reciclaje!
My pleasure, and thank you as well, have a great day! 🙏
Un placer, y gracias a ti también, ¡que tengas un buen día! 🙏
@fixie, you were given LUV from @phoenixwren. About LUV: https://peakd.com/@luvshares http://ipfs.io/ipfs/QmUptF5k64xBvsQ9B6MjZo1dc2JwvXTWjWJAnyMCtWZxqM
Thank you for supporting me in my work. I'll look.
Demasiado bueno quedo, yo casualmente desarme unos discos para realizar algo en estos dias, espero quede espectacular como el tuyo, y con ese efecto de imagen te la comiste. Te felicito.
Genial que hayas hecho eso.. Espero que hagas algo pronto. Quiero ver que saldrá de tu imaginación!
¡Enorme!, excelente trabajo hermano, y las fotografías le dieron esa ambientación espacial que se buscaba, saludos.
La verdad es que el fondo negro hace ver como si estuviera volando en la galaxia. Que bueno que te haya gustado el diseño!
¡Esto está más que genial!
Mis más grandes felicitaciones para ti.
Gracias por el apoyo, e sun placer para mi que te haya gustado mi trabajo!
¡¡Whoa!! ¡Super bien hecho! Soy un gran fan de Star Trek y me encanta construir cosas con materiales reciclados. Hiciste un trabajo fenomenal construyendo esto y explicándolo y tomando grandes fotos. Gracias por compartir esto con nosotros.
Apuesto a que @ryzeonline también apreciaría esto, ya que también es un fan de Star Trek. ¡¡¡¡Me encanta!!!!
~Con amor, Cyn
Bienvenida a mi blog, me alegra mucho que te haya gustado el diseño de la nave con estos materiales. Yo también soy un gran fan de Star Treck y siempre es genial conocer a otros fanáticos de la serie. Gracias por comentar.