Adorno de muñeca, realizado con Cd/Wrist ornament, made with Cd

in Build-It3 years ago

pixiz-06-05-2021-21_01_09.jpg

Un gran saludo a mi apreciada gente hermosa de esta comunidad, espero se encuentren muy bien. El día de hoy quiero mostrarles como realizar este bello adorno de muñequita elaborado con un Cd reciclado y Foami.

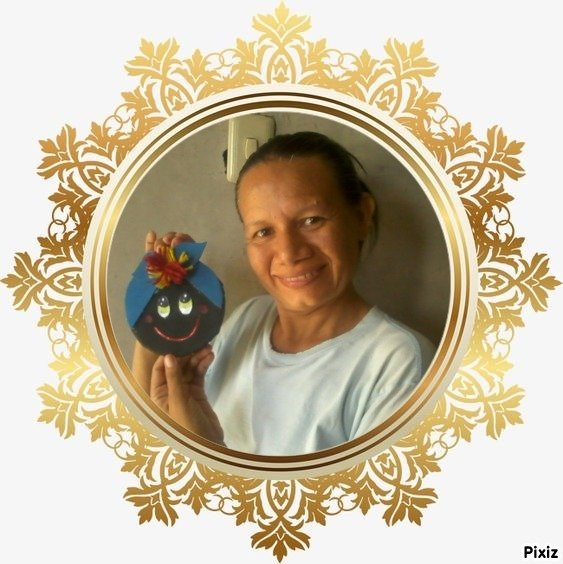
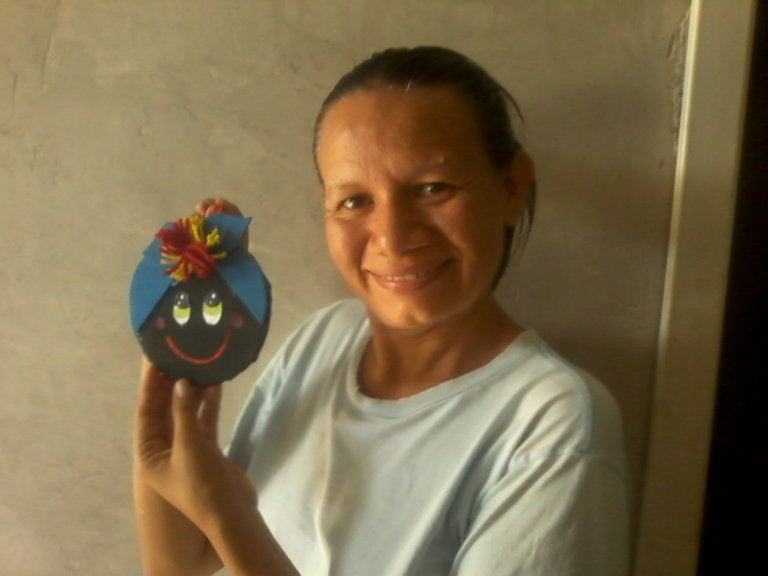
A big greeting to my appreciated beautiful people of this community, I hope you are very well. Today I want to show you how to make this beautiful doll ornament made with recycled CD and Foami.

Pueden decorarlas a su estilo, según su agrado y colocarlas en cualquier parte del hogar o lugar de trabajo.

They can decorate them in their style, according to their liking and place them in any part of the home or workplace.

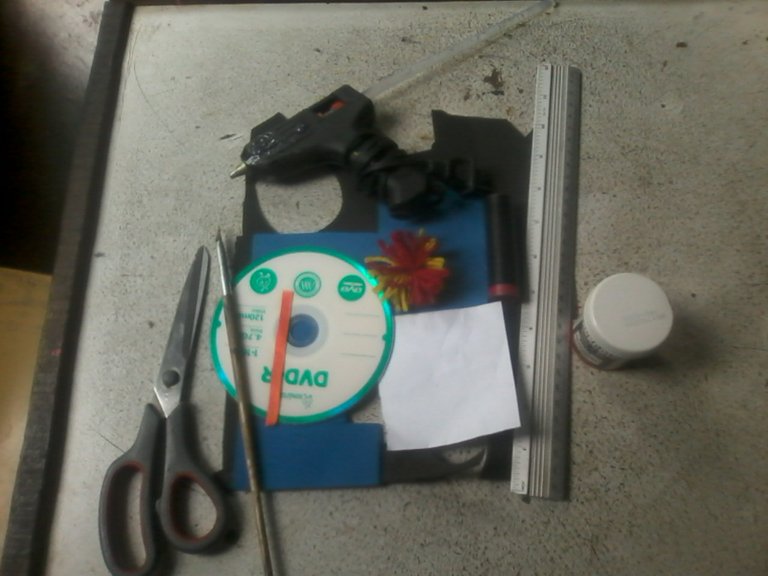
Materiales-Materials:

Cd reciclado.
Foami.
Silicón.
Pinturas al frío.
Retazo de papel.
Lápiz.
Tijera.
Regla.
Moño de estambre.
Colores de madera.
Labial.
Trozo de cinta.
Marcador.

Recycled cd.
Foami.
Silicone
Cold paints.
Scrap of paper.
Pencil.
Scissor.
Rule.
Yarn bow.
Wood colours.
Lip.
Piece of tape.
Marker.

IMG05101.jpg

Pasos-Steps:

Marcar en el Foami negro el cd, cortarlo dejando 1 cm del contorno y realizar unas pestañas.

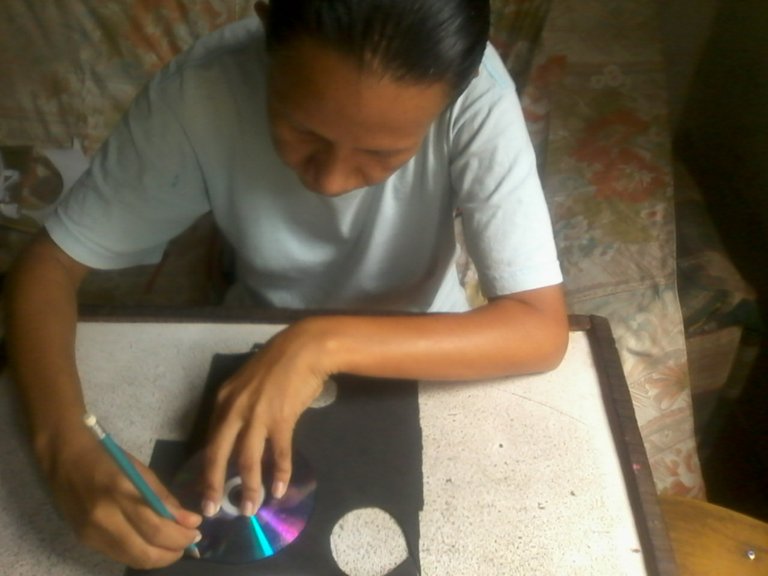
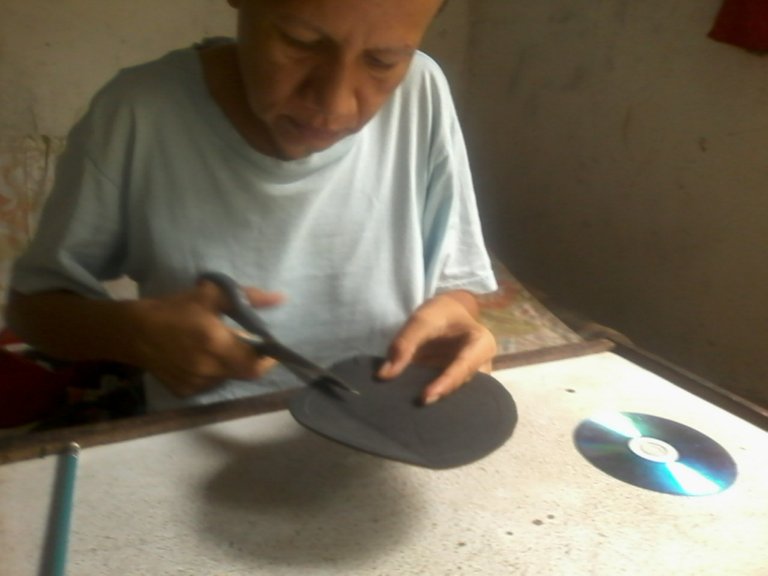
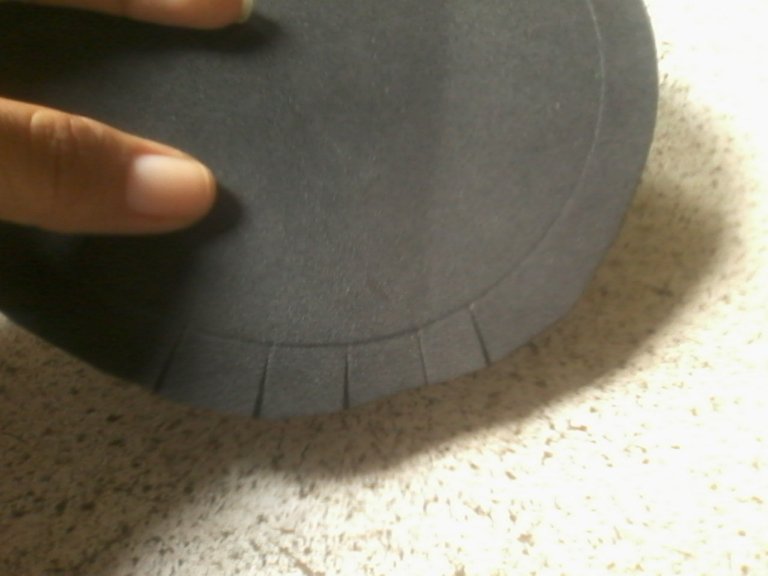
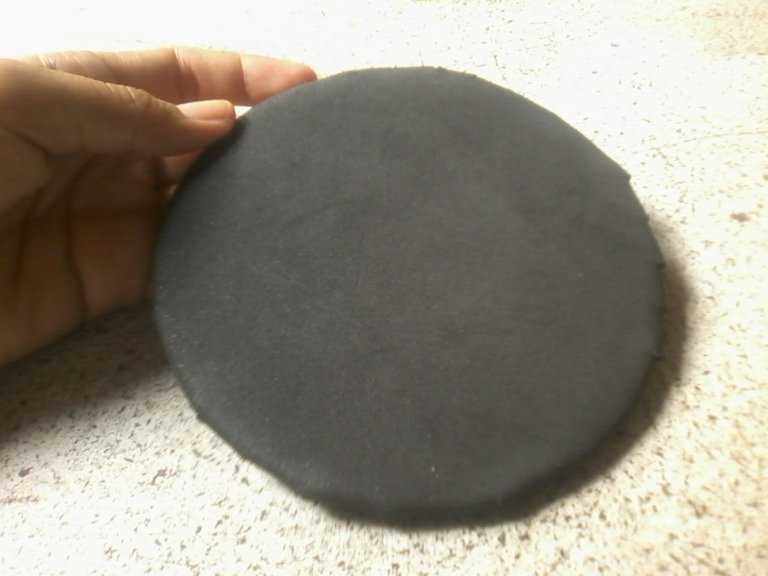
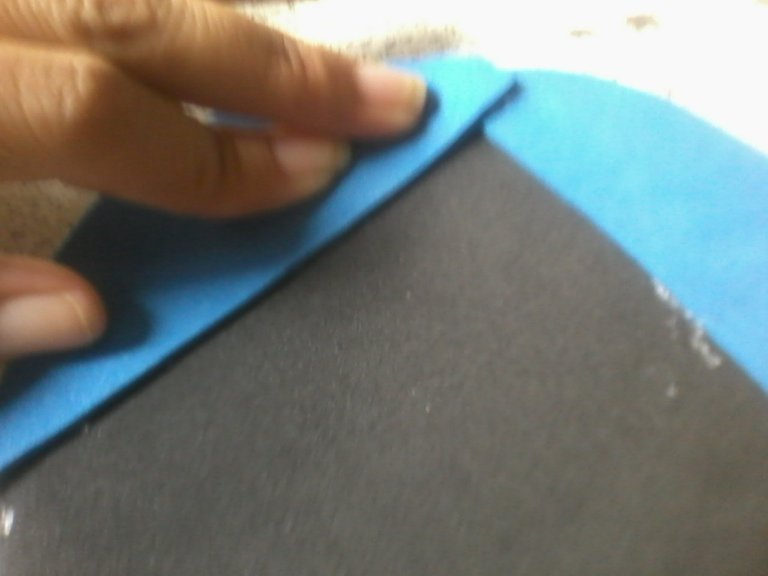
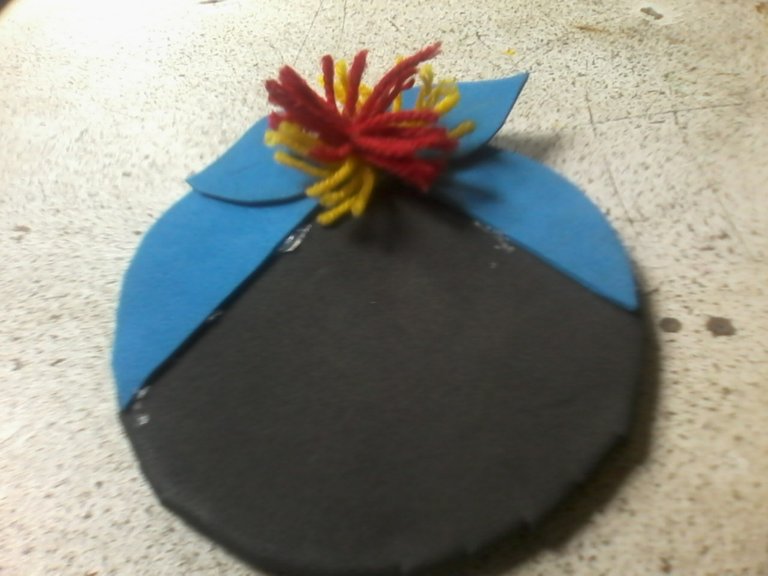
Mark the CD on the black Foami, cut it leaving 1 cm from the contour and make some tabs.

IMG05102.jpg
IMG05103.jpg
IMG05104.jpg
IMG05106.jpg

Pegar con silicón sobre el cd, con las pestañas por la parte trasera.

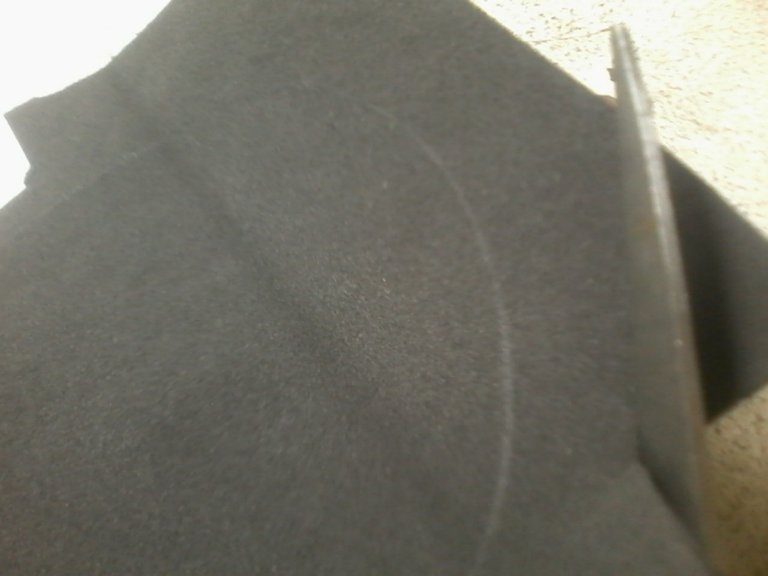
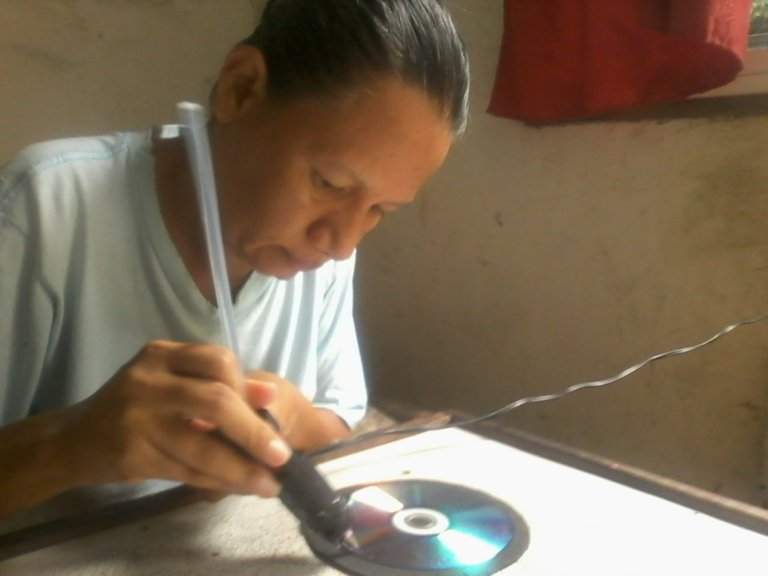
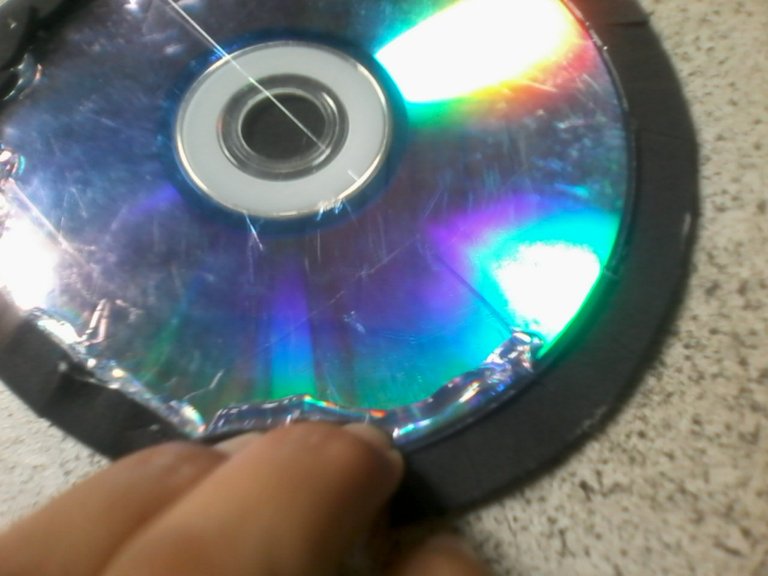
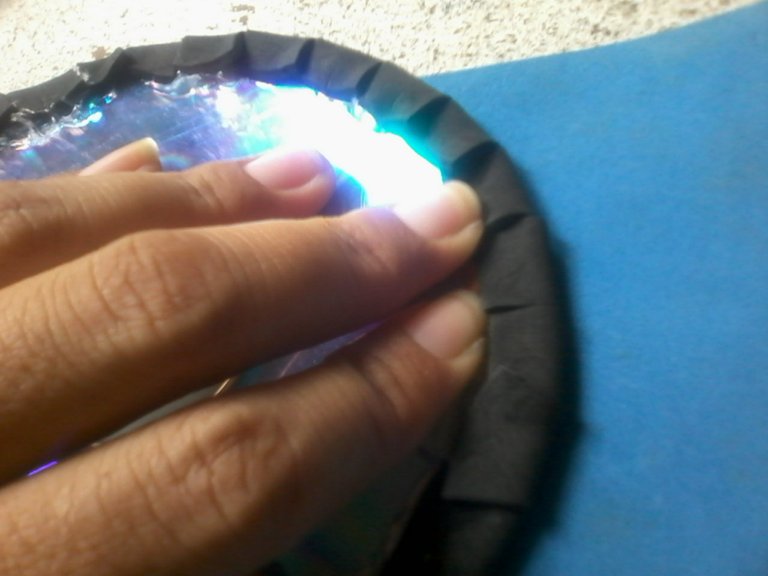
Stick with silicone on the CD, with the tabs on the back.

IMG05108.jpg
IMG05109.jpg
IMG05110.jpg

Sobre el Foami azul realizamos un pequeño pañuelo que llevará la muñeca sobre la cabeza, ayudándonos con la base del cd y la pegamos en la parte superior en cada uno de los extremos.

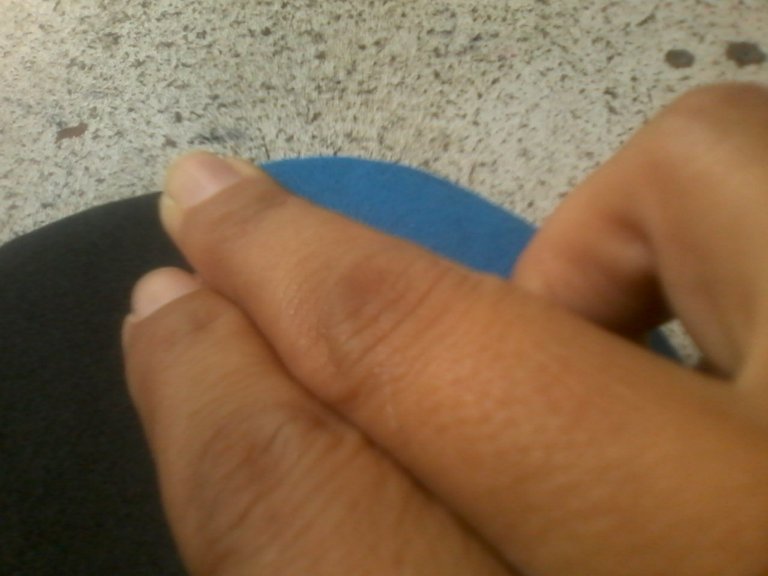
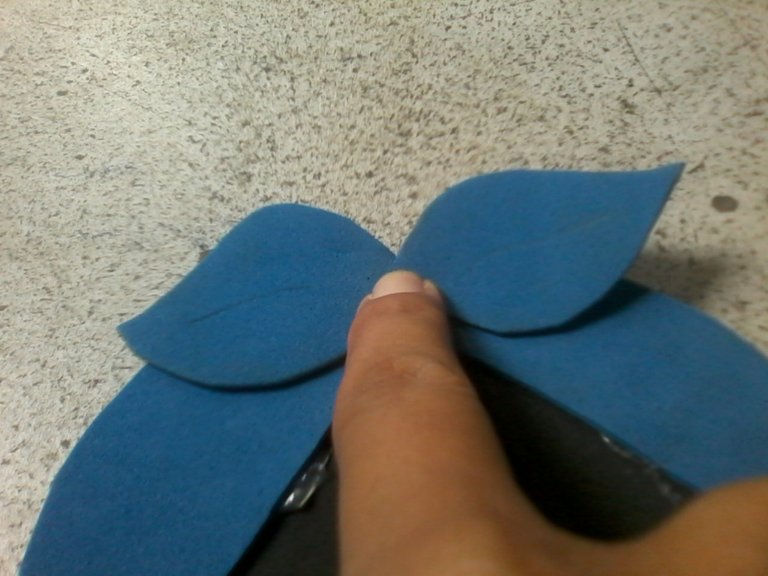
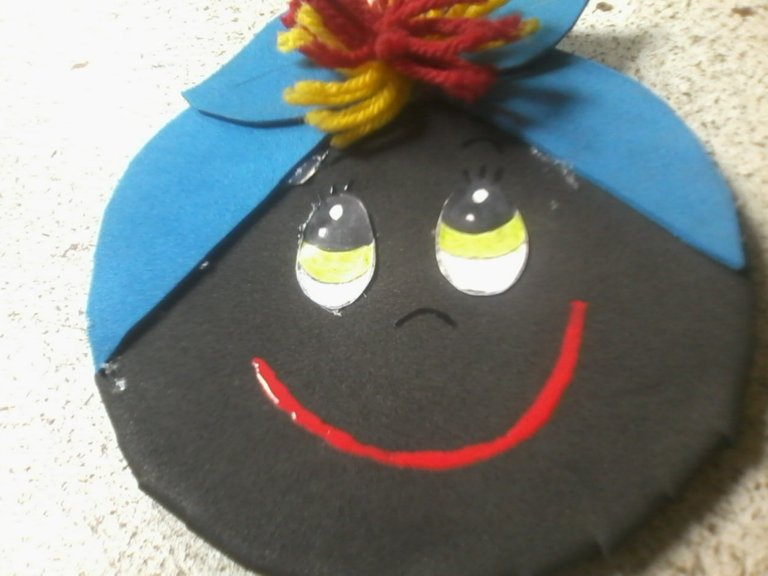
On the blue Foami we make a small scarf that will carry the doll on the head, helping us with the base of the CD and we glue it on the upper part at each of the ends.

IMG05118.jpg
IMG05121.jpg
IMG05122.jpg
IMG05123.jpg
IMG05124.jpg

En el Foami azul que nos sobra realizamos un lazo, recortamos y pegamos encima del pañuelo.

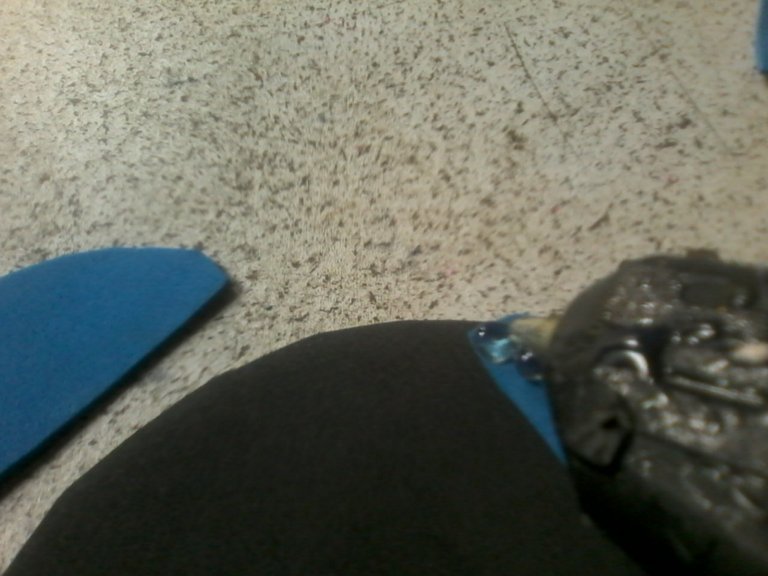
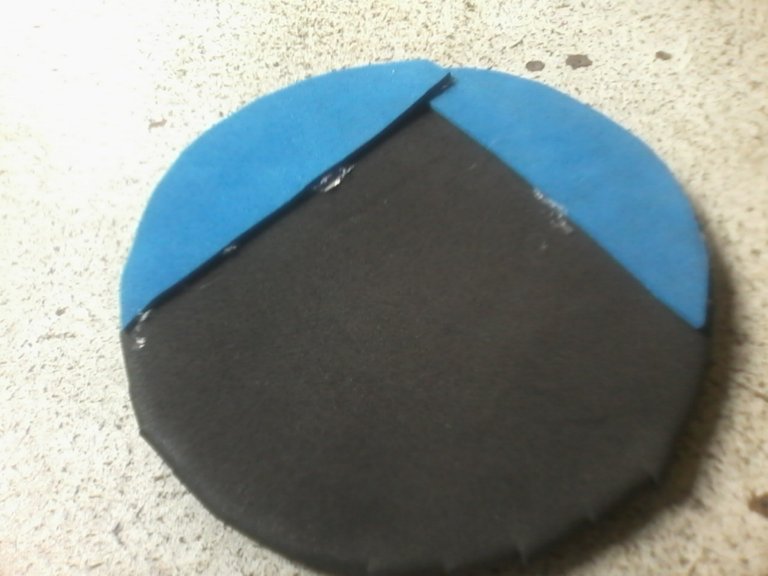
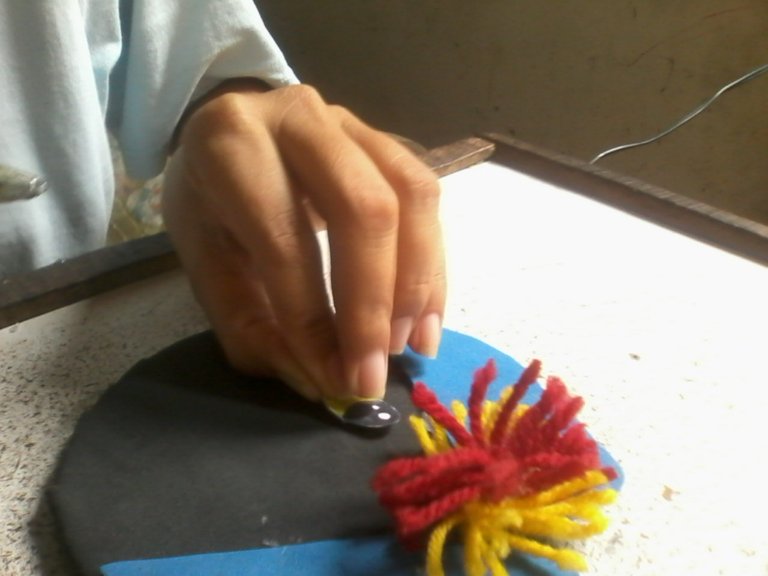
In the blue Foami that we have left over, we make a bow, cut and stick on top of the handkerchief.

IMG05130.jpg
IMG05131.jpg
IMG05132.jpg

Pegar el moño de estambre en el centro del lazo.

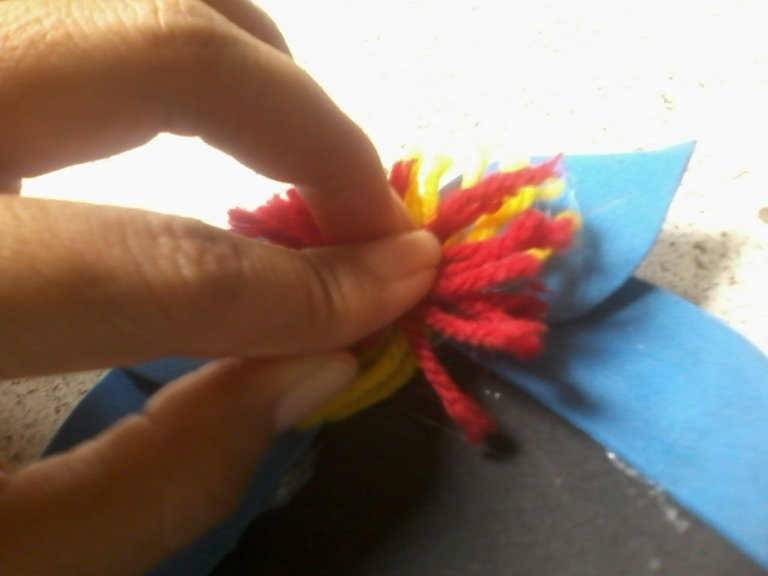
Glue the yarn bow in the center of the bow.

IMG05133.jpg
IMG05134.jpg

Realizar en el retazo de papel los ojos de nuestra muñeca.

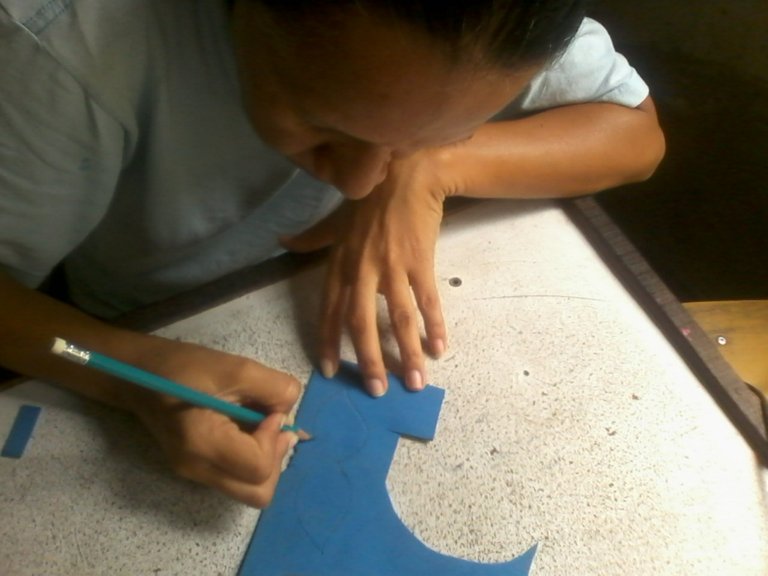
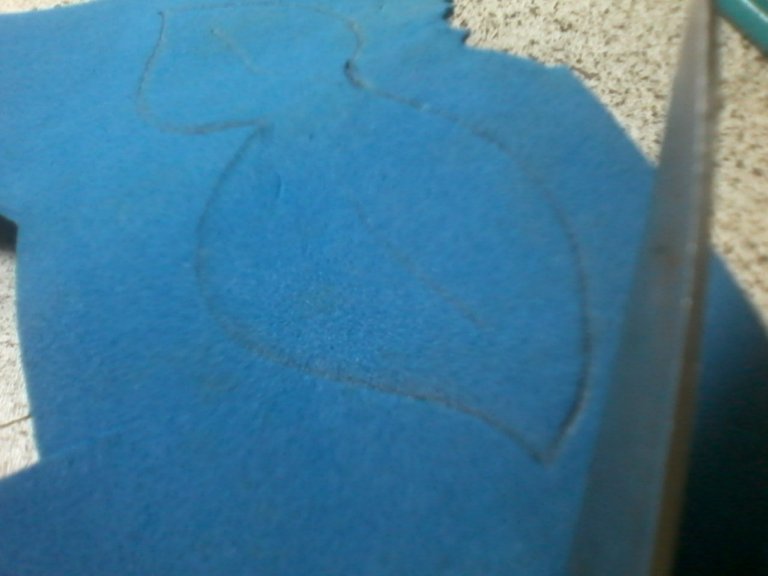
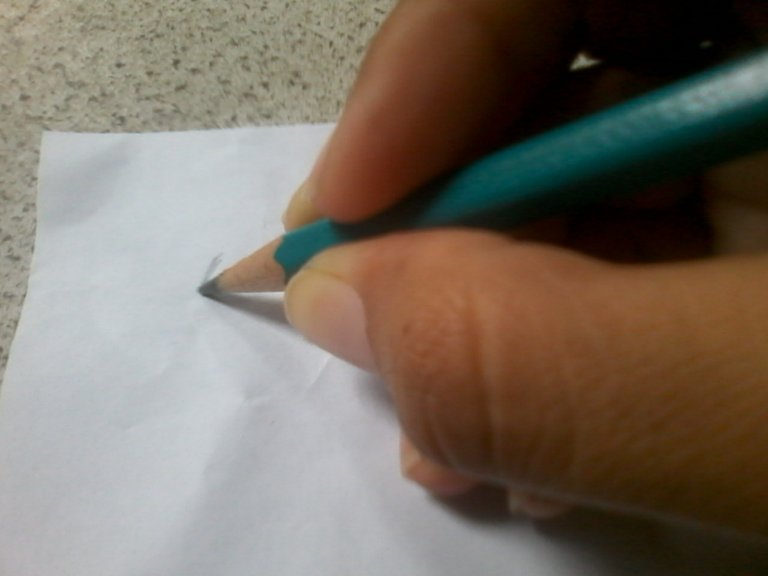
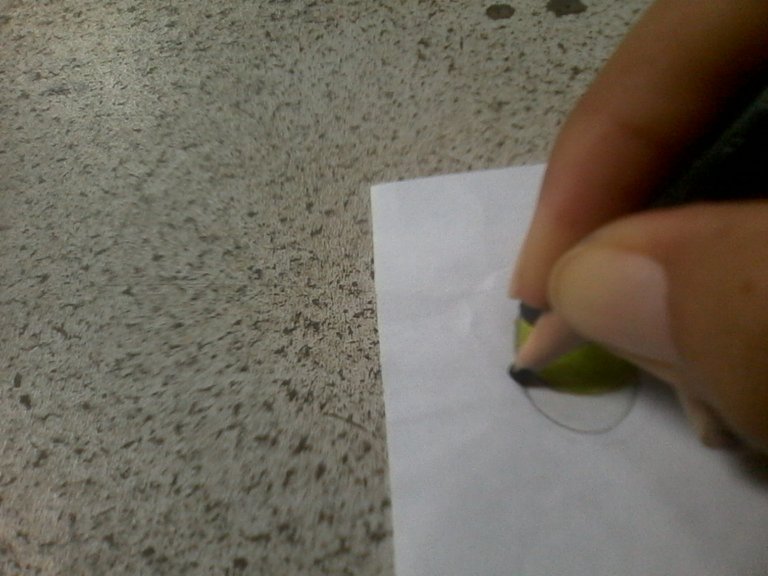
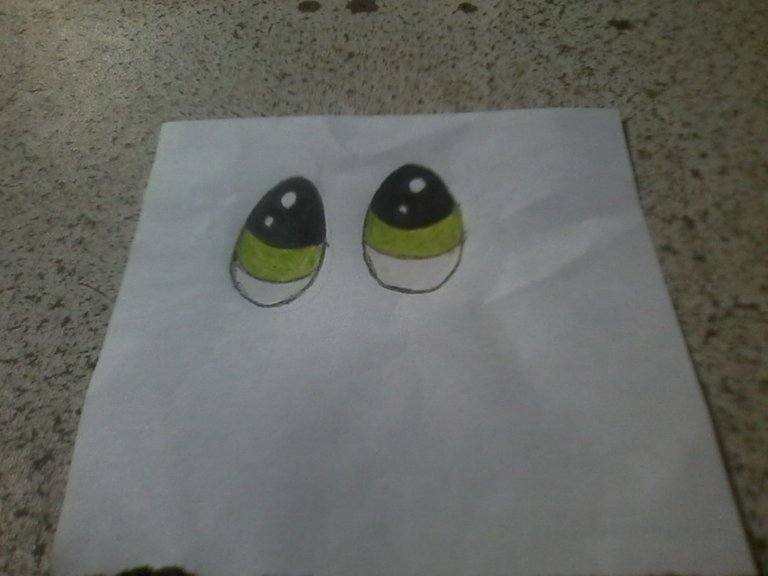
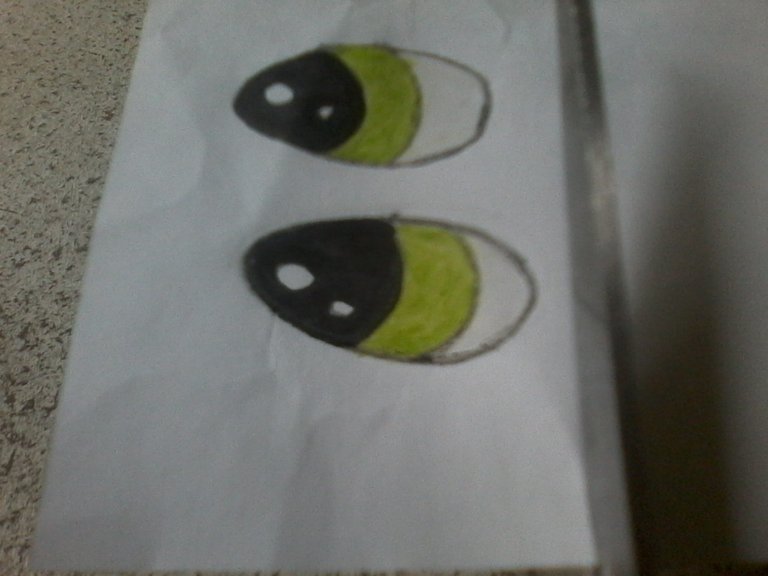
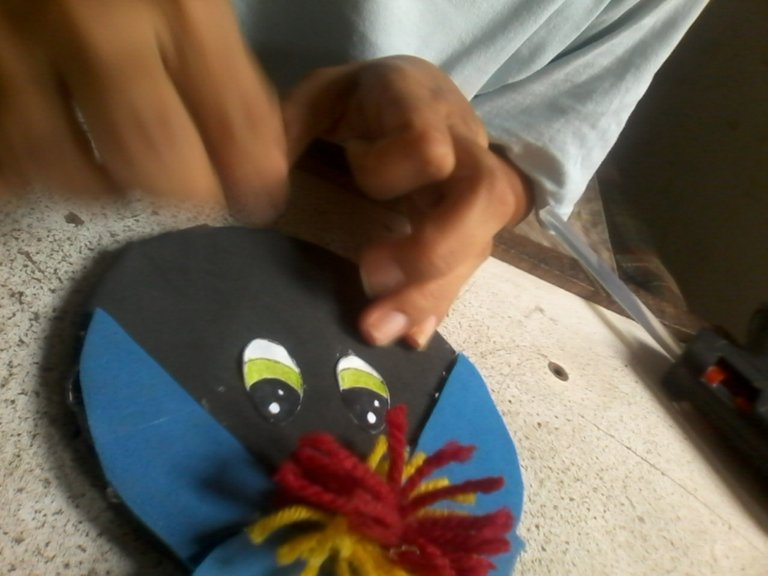
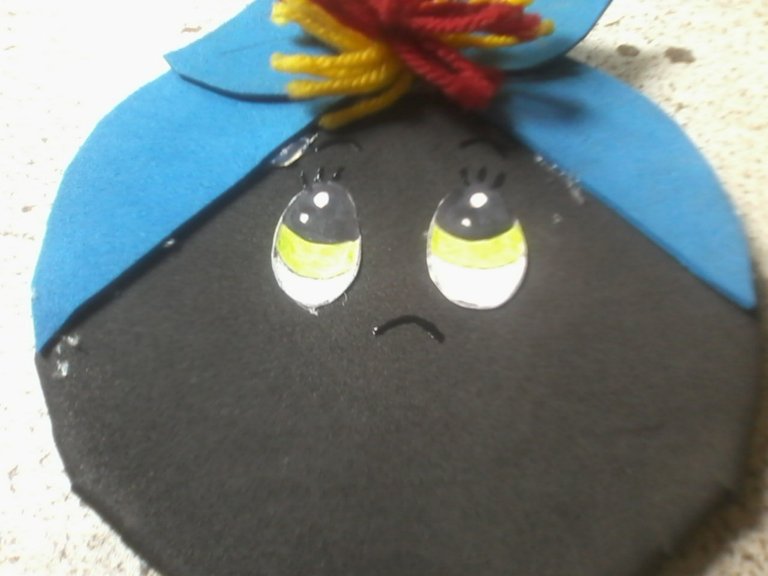
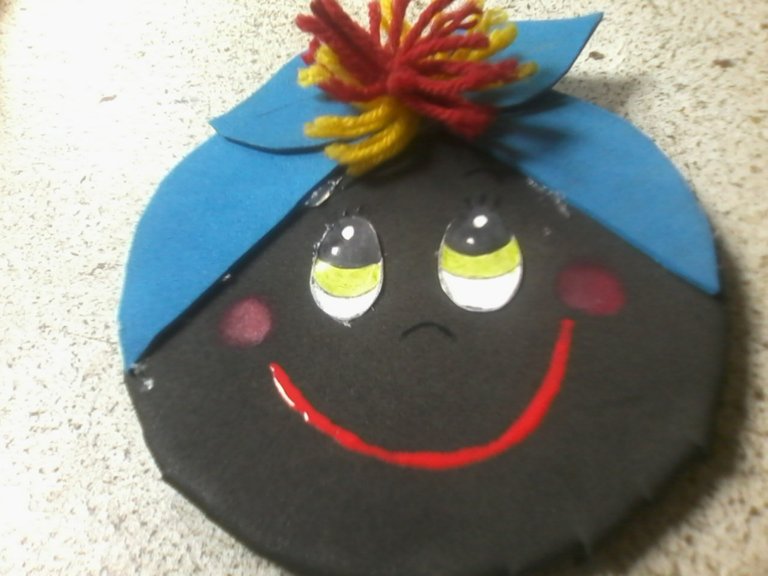
Make the eyes of our doll on the scrap of paper.

IMG05135.jpg
IMG05137.jpg

Con el marcador y los colores de madera sombreamos los ojos, recortamos y pegamos en la muñeca.

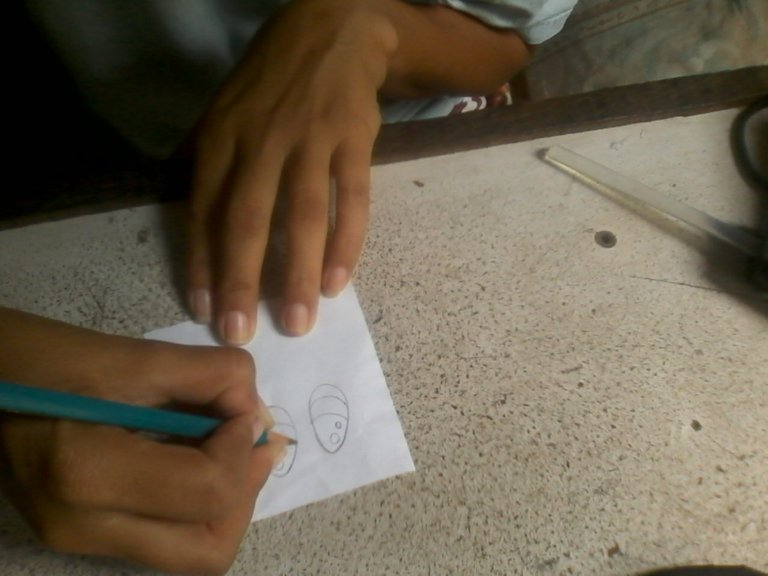
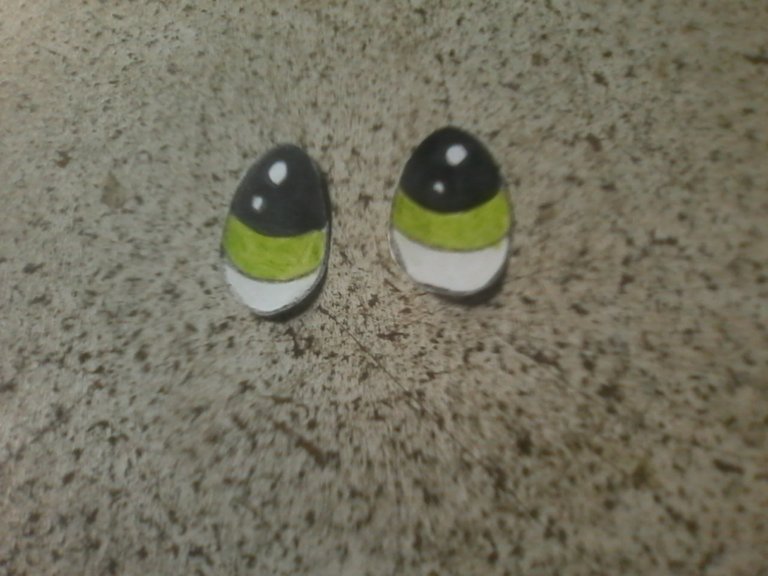
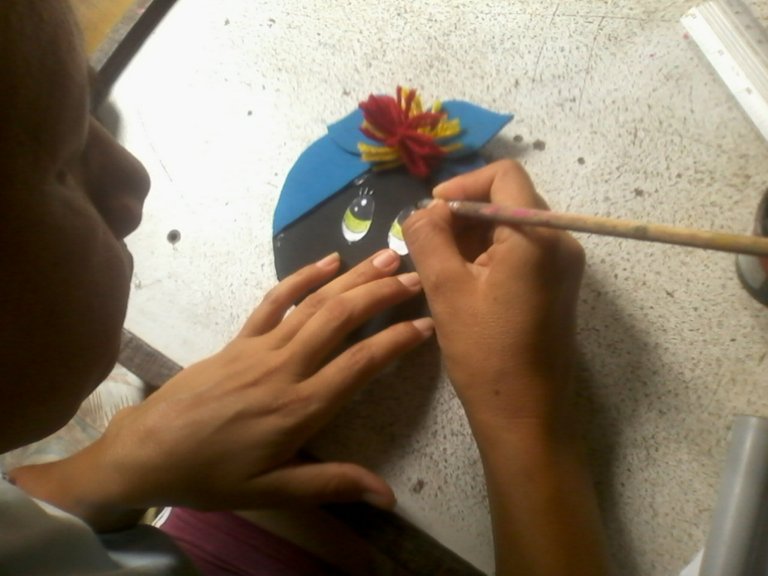
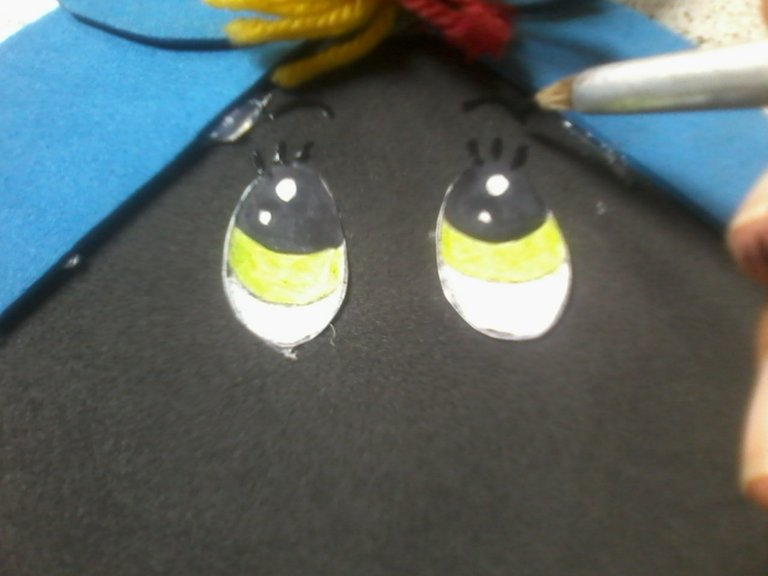
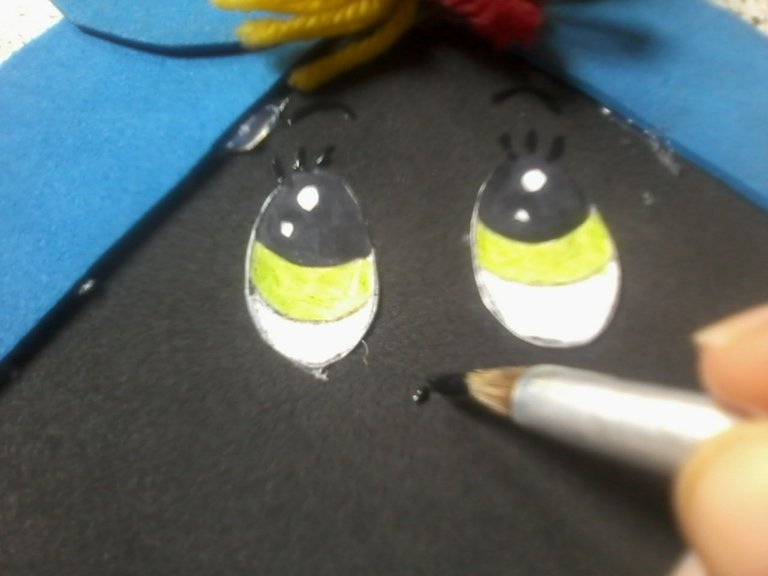
With the marker and the wooden colors we shade the eyes, cut out and glue on the doll.

IMG05139.jpg
IMG05140.jpg
IMG05142.jpg
IMG05144.jpg
IMG05145.jpg
IMG05146.jpg
IMG05147.jpg
IMG05148.jpg
IMG05149.jpg

Con pintura negra resaltamos las pestañas, cejas y nariz, mientras que la roja nos servirá para marcar la boca de la muñeca.

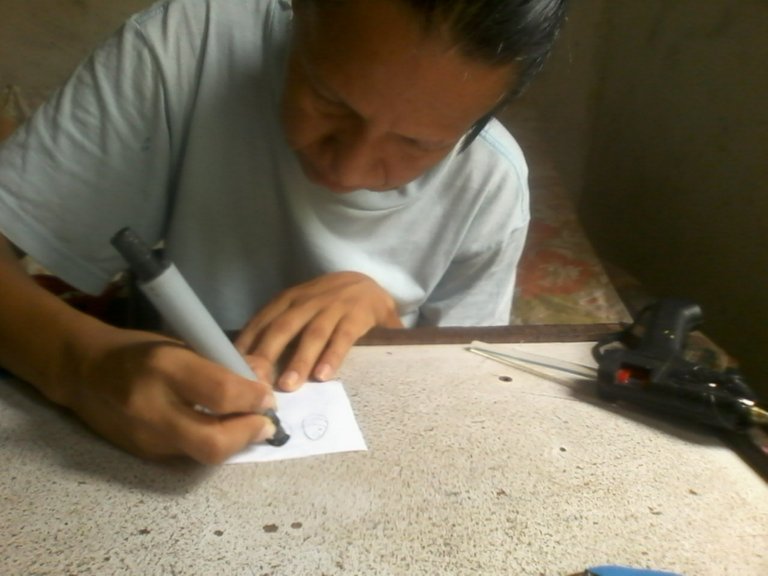
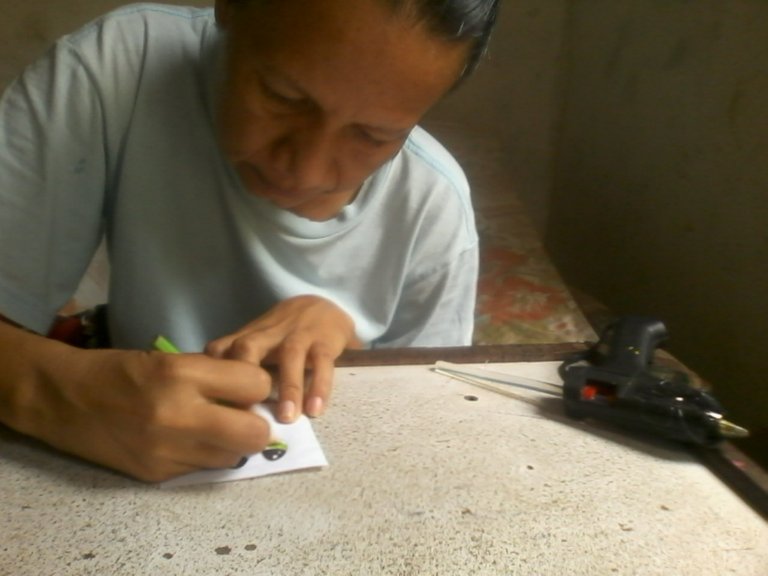
With black paint we highlight the eyelashes, eyebrows and nose, while the red one will serve to mark the doll's mouth.

IMG05151.jpg
IMG05152.jpg
IMG05153.jpg
IMG05154.jpg
IMG05155.jpg
IMG05156.jpg

Con el labial ruborizamos las mejillas de la muñeca.

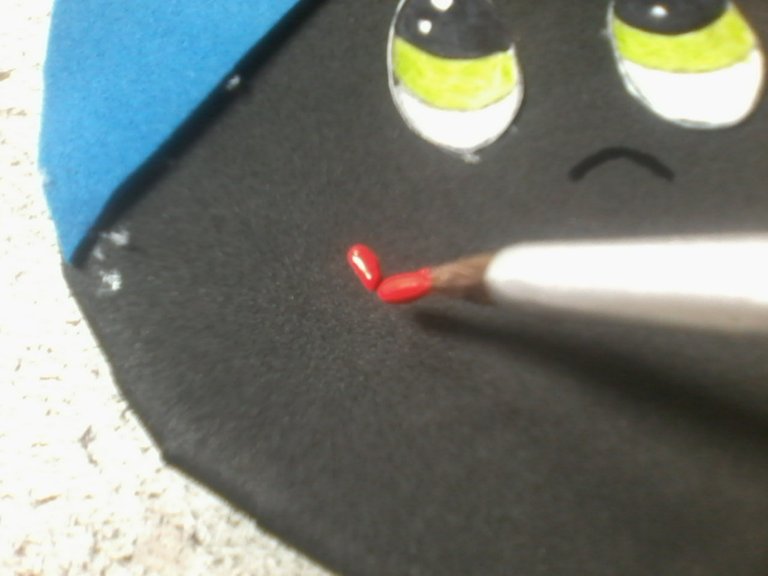
With the lipstick we blush the cheeks of the doll.

IMG05158.jpg
IMG05159.jpg

Pegar la cinta sobre un trozo de Foami y colocarla en la parte trasera del cd para poder guindarla donde deseen.

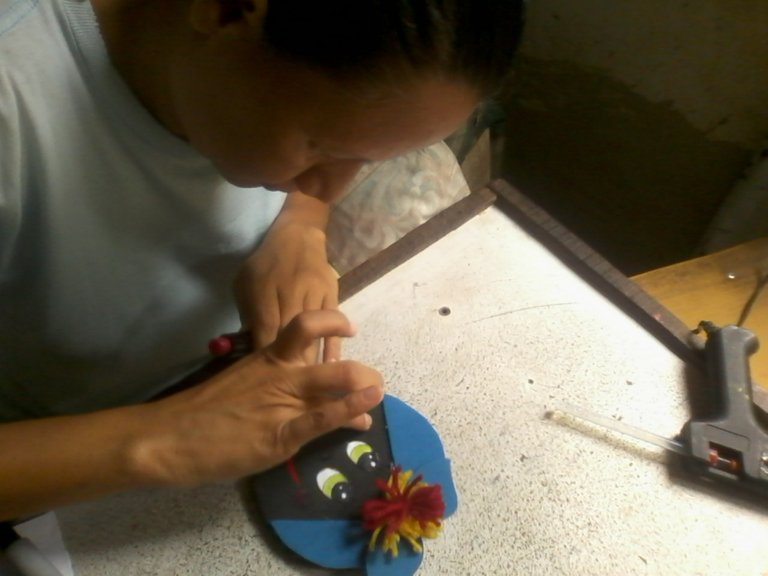
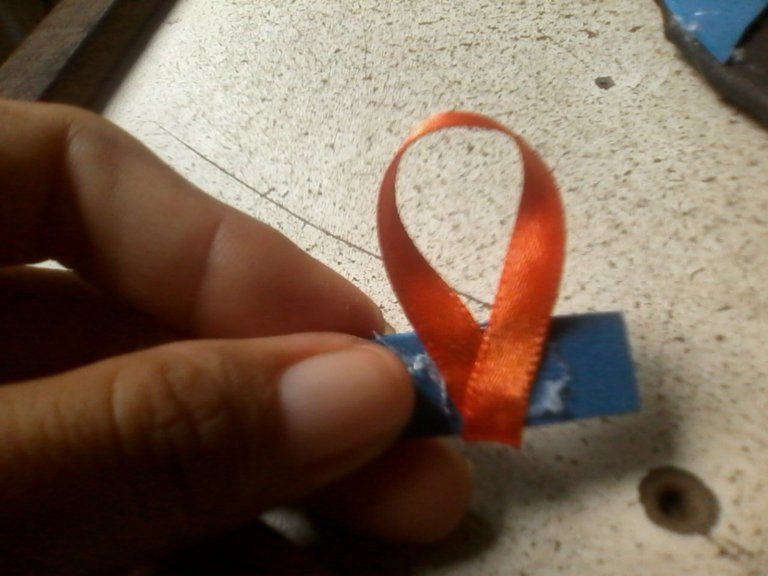
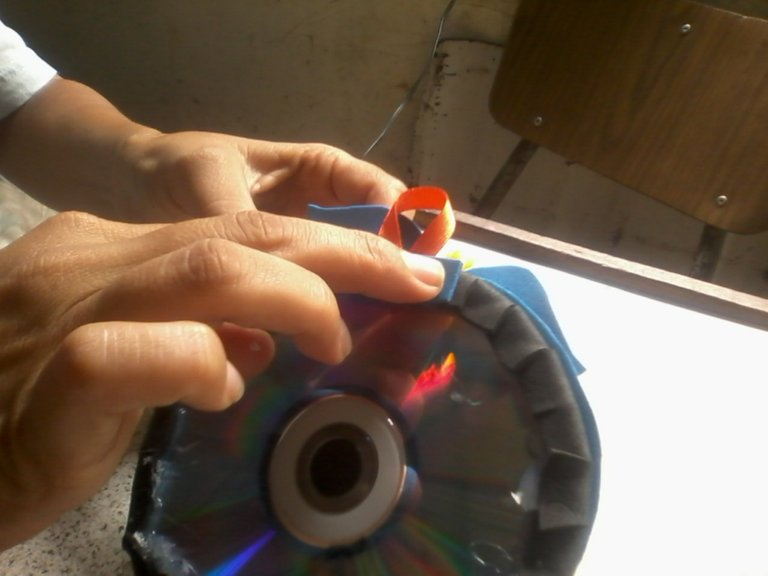
Stick the tape on a piece of Foami and place it on the back of the CD to be able to hang it wherever you want.

IMG05160.jpg
IMG05161.jpg

Lista nuestra hermosa muñeca realizada con cd.

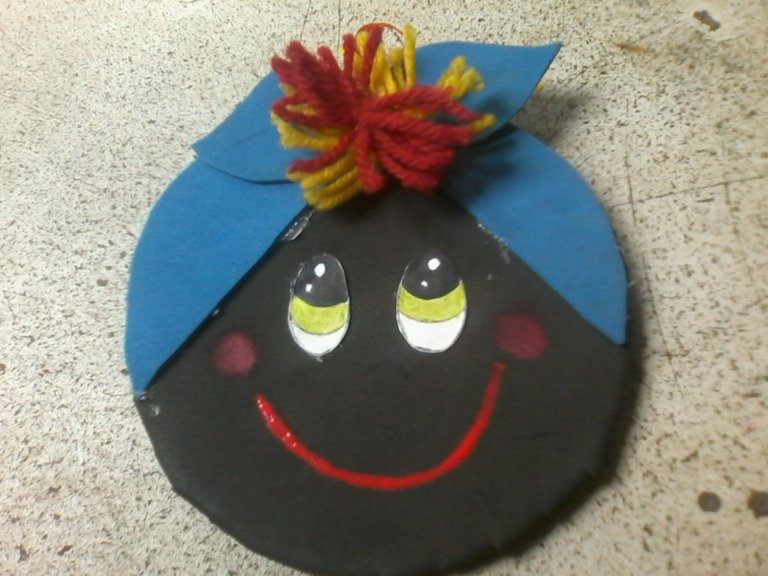
List our beautiful doll made with cd.

IMG05163.jpg
IMG05167.jpg

Gracias por seguir y votar mis publicaciones.

Thank you for following and voting on my posts.