Hola amigos de Hive, hoy me gustaría compartir con ustedes la elaboración paso a paso de unas cajitas realizadas con cartulina y la que podemos decorar a nuestro antojo para cualquier ocasión especial. Les cuento que son muy sencillas, solo debes tener unos pocos materiales totalmente accesibles y que seguro posees en casa, creatividad y muchas ganas de realizarlas.
Como les decía anteriormente pueden ser para cualquier ocasión y puedes hacerlas del tamaño que sea el obsequio, también serían excelente para unos cotillones en los cumpleaños de nuestros niños, para algún recuerdo de esos que se dan en las fiestas o hasta para guardar lápices, colores y mantener los espacios de tus hijos en completo orden, todo accesible para ellos, para esos momentos de creatividad.
En mi caso yo los he realizado para darle obsequios a mis hijos los días de sus cumpleaños, solo les coloco su temática favorita para ese día tan especial, los personalizo y se los llenamos de dulces algo que siempre les encanta.
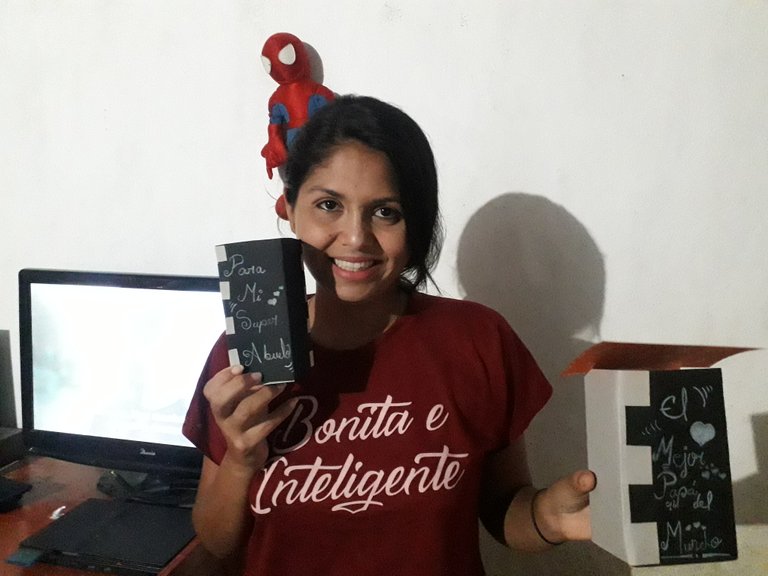
En este caso los elabore para el día del padre tanto para mi papá el cual entregarían mis hijos a su abuelo y otro a mi esposo.
Hello friends of Hive, today I would like to share with you the step by step elaboration of some little boxes made with cardboard that we can decorate as we wish for any special occasion. I tell you that they are very simple, you only need to have a few materials totally accessible and that you surely have at home, creativity and a lot of desire to make them.
As I said before, they can be for any occasion and you can make them in any size, they would also be excellent for a cotillion for our children's birthdays, for a souvenir of those that are given at parties or even to keep pencils, colors and keep your children's spaces in complete order, all accessible to them, for those moments of creativity.
In my case I have made them to give gifts to my children on their birthdays, I just put their favorite theme for that special day, I personalize them and we fill them with candy, something they always love.
In this case I made them for father's day both for my dad which my children would give to their grandfather and another one to my husband.
Sin más que decirles espero disfruten de este paso a paso y pongan manos a la obra...
Without further ado, I hope you enjoy this step by step step by step and get to work ....
| Materiales | Materials |
|---|---|
| Cartulina (los colores que desees) | Cardboard (any color you want) |
| Tijeras | Scissors |
| Pega | Glue |
| Regla | Ruler |
| Lápiz | Pencil |
| Colores (en caso que quieras realizar un diseño también puedes buscar imágenes y pegarlas) | Colors (in case you want to make a design you can also look for images and paste them) |
Paso 1
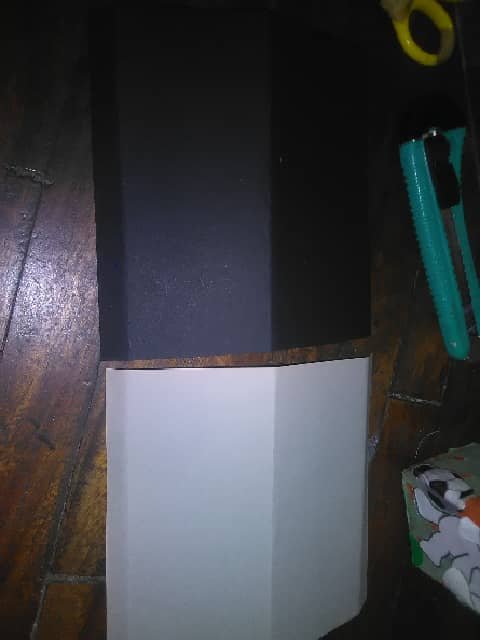
Selecciona la cartulina de tu preferencia, yo opte por colores oscuros negro, gris y un naranja para resaltar.
Step 1: Select the cardboard of your choice. Select the cardboard of your choice, I opted for dark colors black, gray and orange to highlight.
Pasó 2
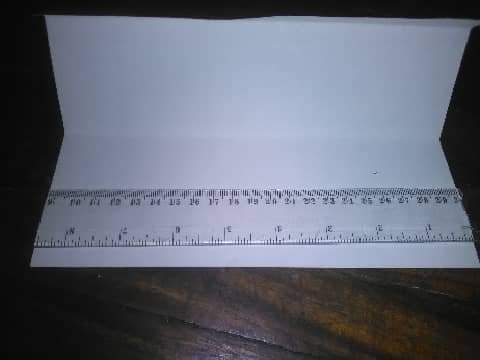
Los recorté de unos 15 centímetros de ancho y 15 cm de largo. (el tamaño va a depender de que tan grande o pequeña quieras tus cajitas) en este caso la hice delgada y alta.
Passed 2
I cut them out about 6 inches wide and 6 inches long. (the size will depend on how big or small you want your boxes to be) in this case I made it thin and tall.
Paso 3
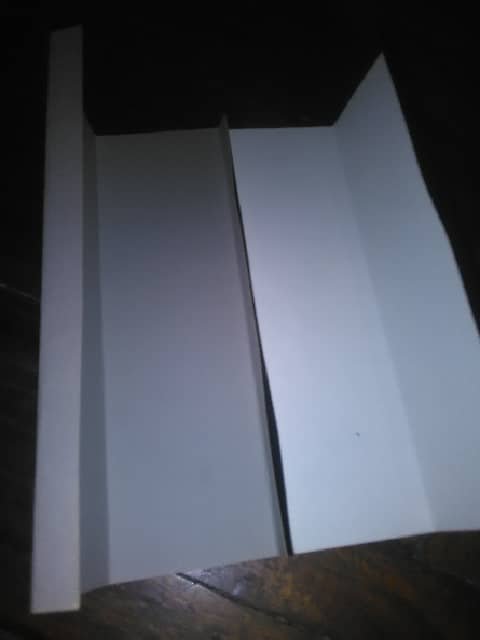
A ambas cartulinas una vez recortadas del tamaño que deseamos, las doble a la mitad y realice pestañas de 1cm aproximadamente.
Step 3
Once both cardboards are cut to the size you want, fold them in half and make tabs of approximately 1cm.
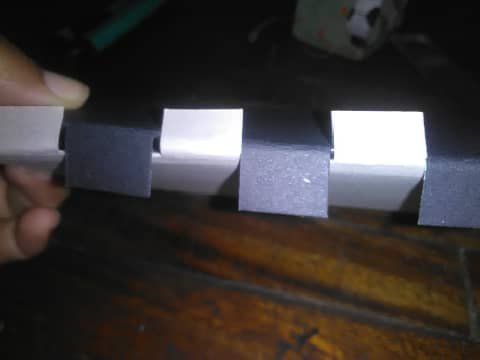
Paso 4
Realice pequeños cortes en las pestañas, esto lo hice para darle el efecto que mostraré más adelante.
Step 4
Make small cuts in the eyelashes, this was done to give the effect that I will show later.
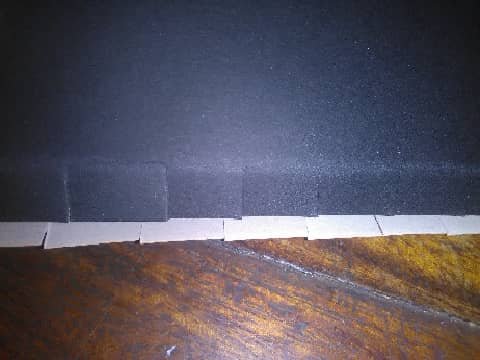
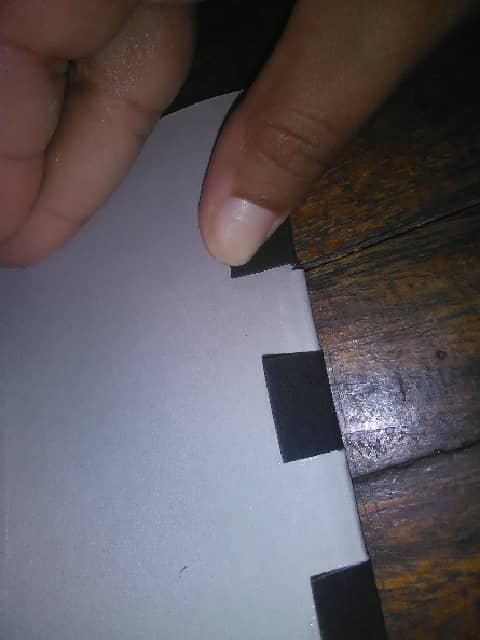
Paso 5
Ahora procedí a entrelazar ambas pestañas dejando una por fuera y una por dentro de manera que cuando la terminemos queden entrelazados los colores.
Step 5
Now I proceeded to interlace both tabs leaving one on the outside and one on the inside so that when we finish it the colors are intertwined.
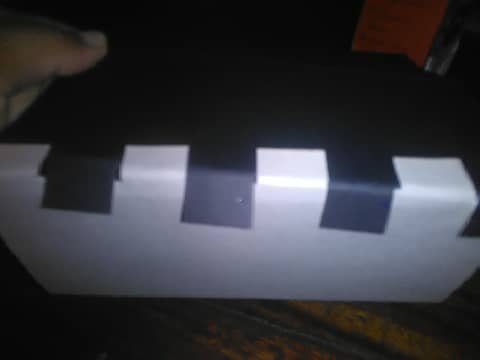
Paso 6
Procedemos a pegar las pestañas.
Step 6
We proceed to glue the tabs.
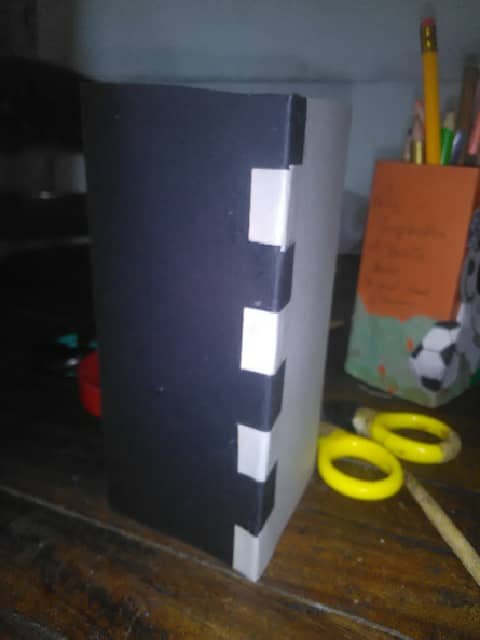
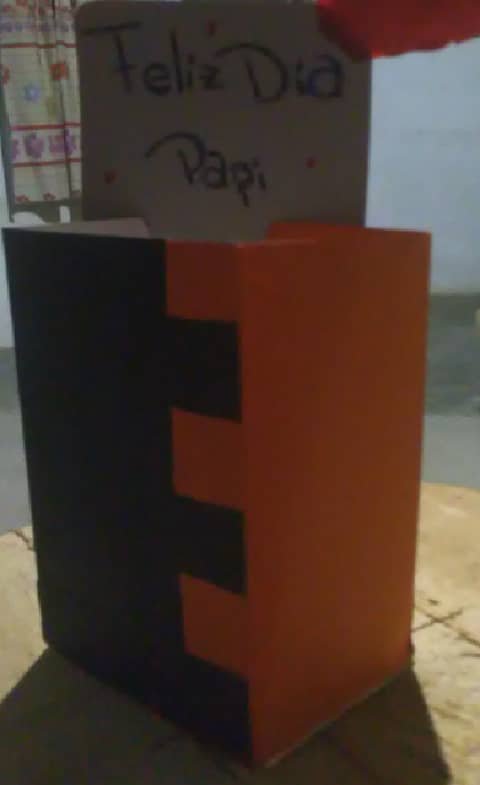
Realizamos el mismo paso del otro lado, Solo queda colocarle la tapita. Para esto solo recortamos un cuadrado del tamaño de la boca de nuestra caja dejando un centímetro adicional de cada lado para realizar las pestañas y las pegamos por dentro. y lista nuestra cajita.
We do the same step on the other side, we only have to put the lid. For this we just cut a square the size of the mouth of our box leaving an additional centimeter on each side to make the tabs and glue them inside. and ready our box.
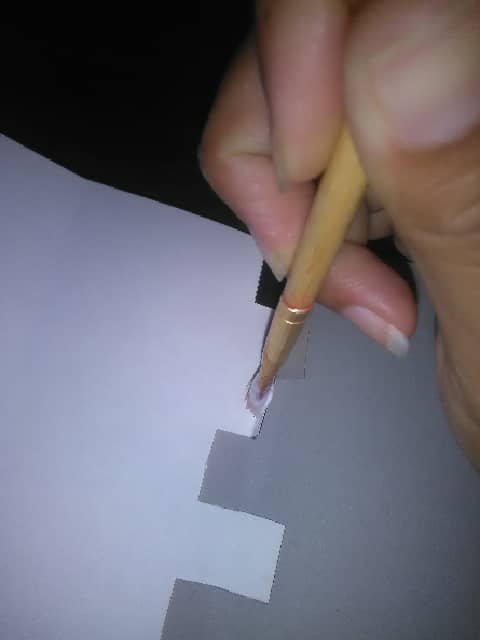
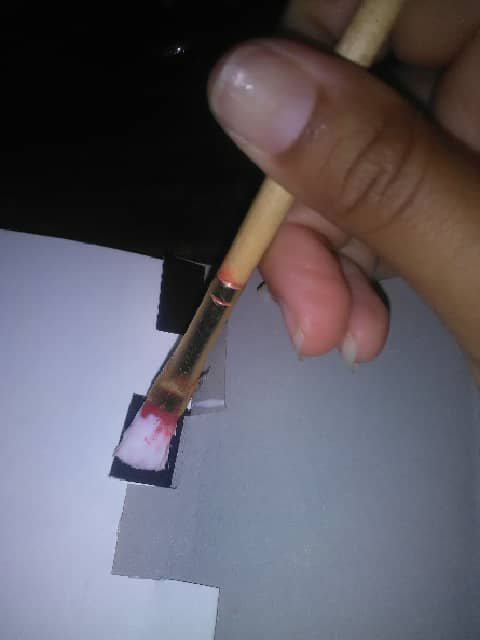
Paso 7
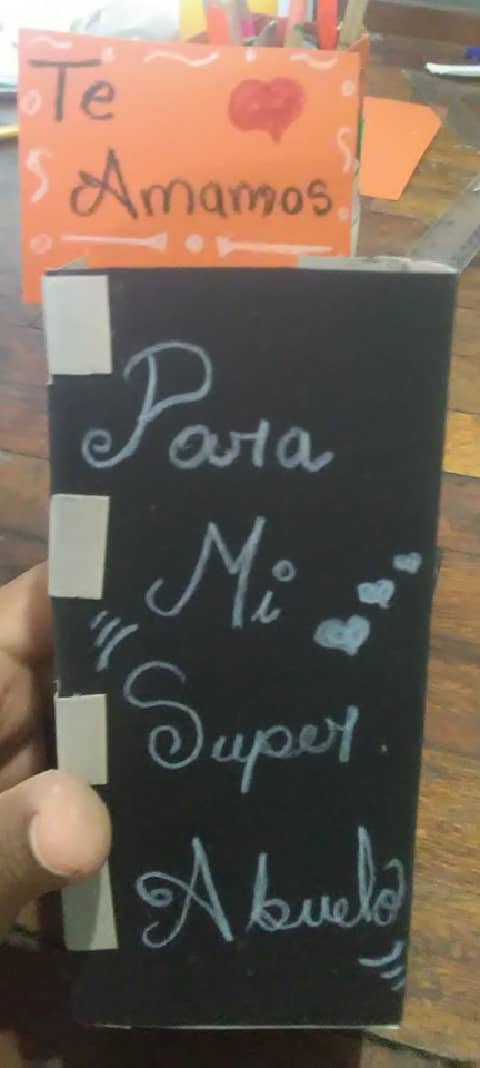
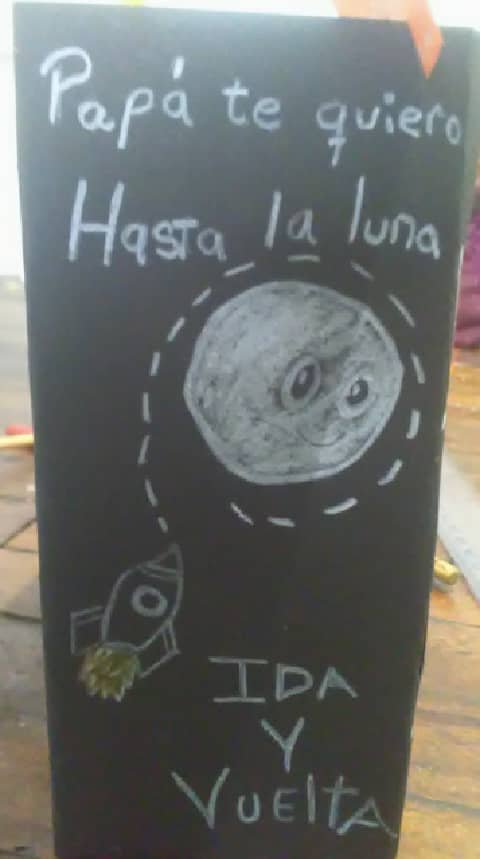
Ahora solo queda decorarla a nuestro gusto en mi caso lo hice con un lápiz blanco. Y como era día del padre solo realicé pequeñas transcripciones acerca del día.
Step 7
Now it only remains to decorate it to our taste in my case I did it with a white pencil. And as it was father's day I only made small transcriptions about the day.
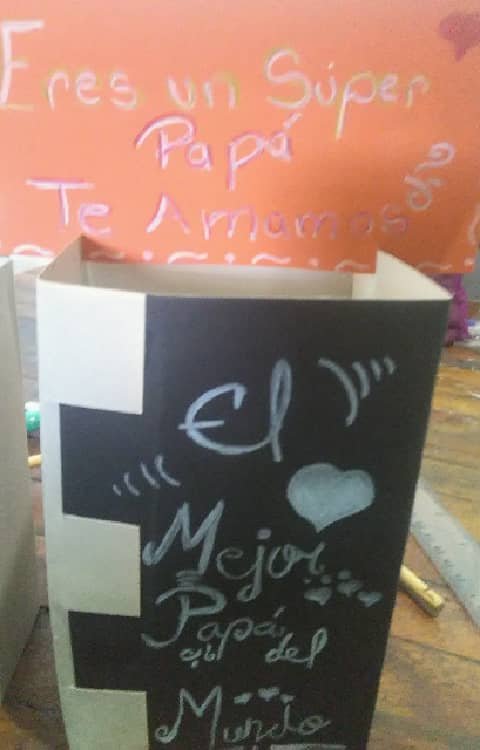
Aquí les dejaré otros diseños que realice para ese día tan especial, pero como les mencionaba anteriormente, pueden hacerlas para cualquier ocasión o darles el uso que deseen.
Here are some other designs I made for that special day, but as I mentioned before, you can make them for any occasion or use them as you wish.
Espero les haya gustado y disfrutado de esta manualidad tan sencilla y económica que también podemos realizar con los pequeñines de la casa... Gracias por leerme bendiciones y abrazos calurosos.
Todas las imágenes fueron tomadas con mi teléfono, y el contenido que les muestro aquí es original. Si les ha gustado, puede hacérmelo saber en los comentarios. Gracias
I hope you liked and enjoyed this simple and inexpensive craft that we can also do with the little ones of the house... Thanks for reading, blessings and warm hugs.
All the images were taken with my phone, and the content I show you here is original. If you liked it, you can let me know in the comments. Thanks
Congratulations @irismoreno! You have completed the following achievement on the Hive blockchain and have been rewarded with new badge(s) :
Your next target is to reach 50 comments.
You can view your badges on your board and compare yourself to others in the Ranking
If you no longer want to receive notifications, reply to this comment with the word
STOP