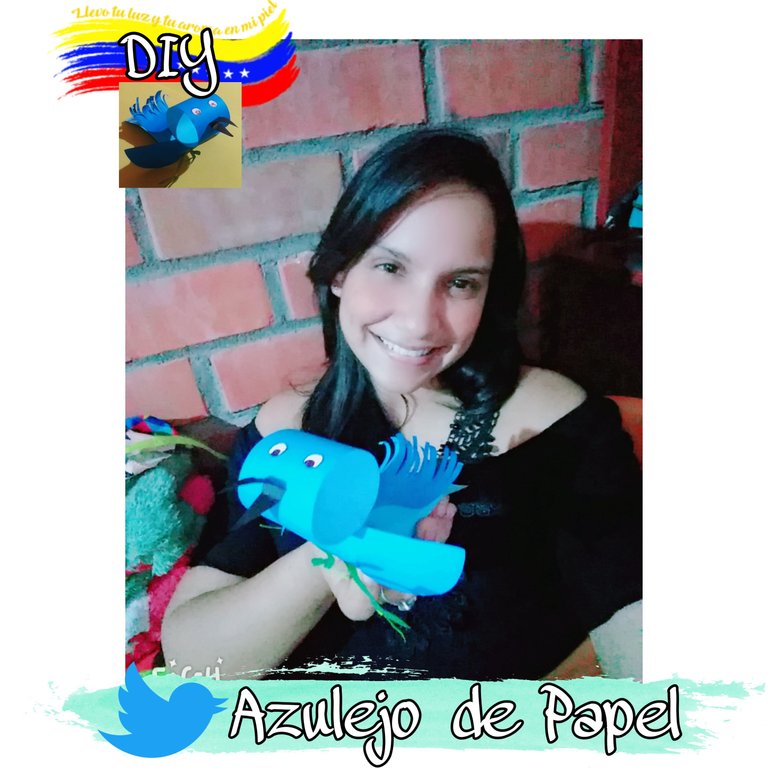
Hoy quiero mostrarles cómo elaborar un lindo pájaro azulejo muy fácil.
Happy and blessed Friday my dear Hive friends, I hope today is a day full of great blessings and many successes for all.
Today I want to show you how to craft a cute tile bird very easy.

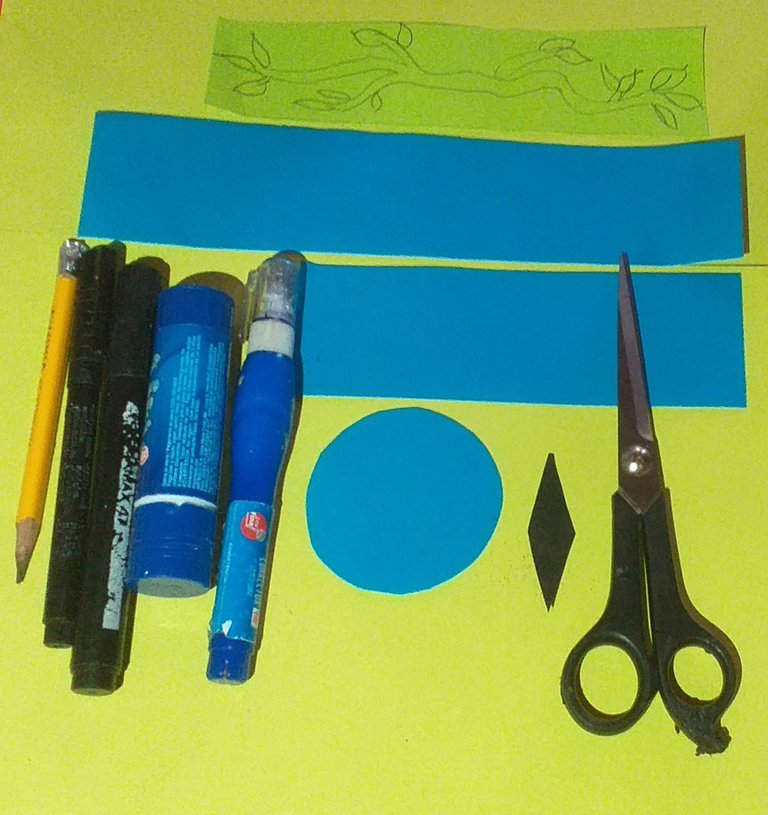
MATERIALES:
- Dos rectángulos de papel azul, uno de 24cm de largo y 5cm de ancho, el otro de 16cm de largo y 5cm de ancho.
- un círculo de papel azul.
- unas ramitas previamente dibujadas sobre papel de color verde.
- Tijeras.
- Marcadores.
- Pegamento en barra.
- Lapiz.
- Corrector blanco.
MATERIALS:
- Two blue paper rectangles, one 24cm long and 5cm wide, the other 16cm long and 5cm wide.
- a circle of blue paper.
- twigs previously drawn on green paper.
- Scissors.
- markers.
- Glue stick.
- Pencil.
- White corrector.

¡Aquí les muestro los pasos!
¡Here I show you the steps!
PASO 1
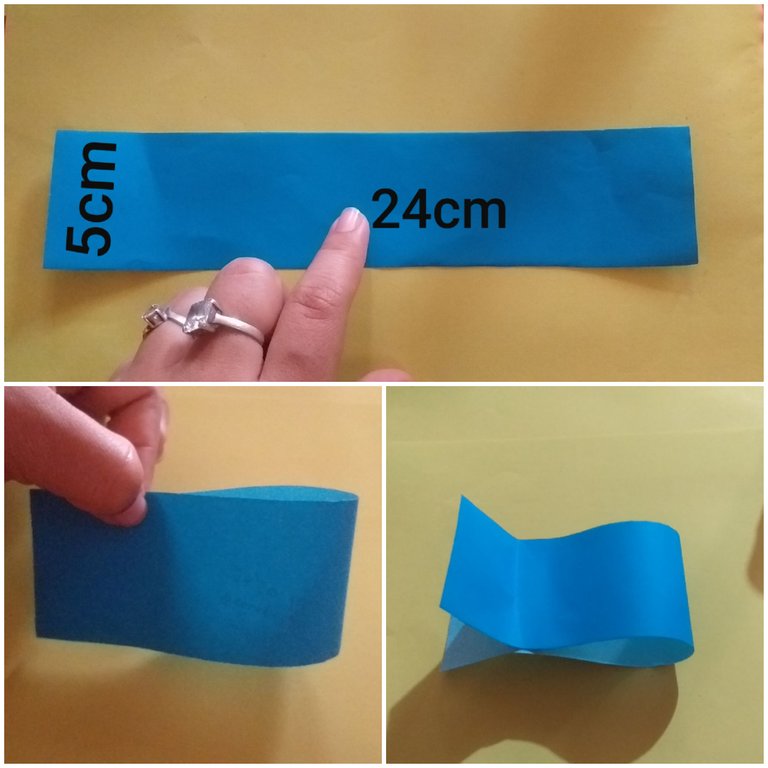
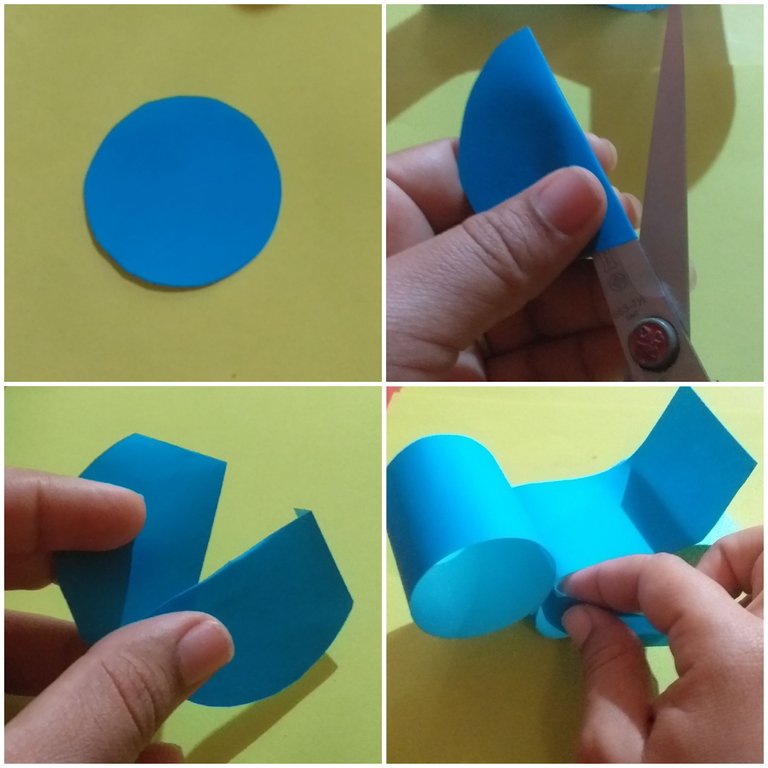
Con el rectángulo de 24cm de largo y 5cm de ancho hacemos el cuerpo del pájaro, doblando el papel y pegamos los extremo dejando un espacio para hacer las alas traseras.
STEP 1
With the rectangle of 24cm long and 5cm wide we make the body of the bird, folding the paper and glue the ends leaving a space to make the back wings.
PASO 2
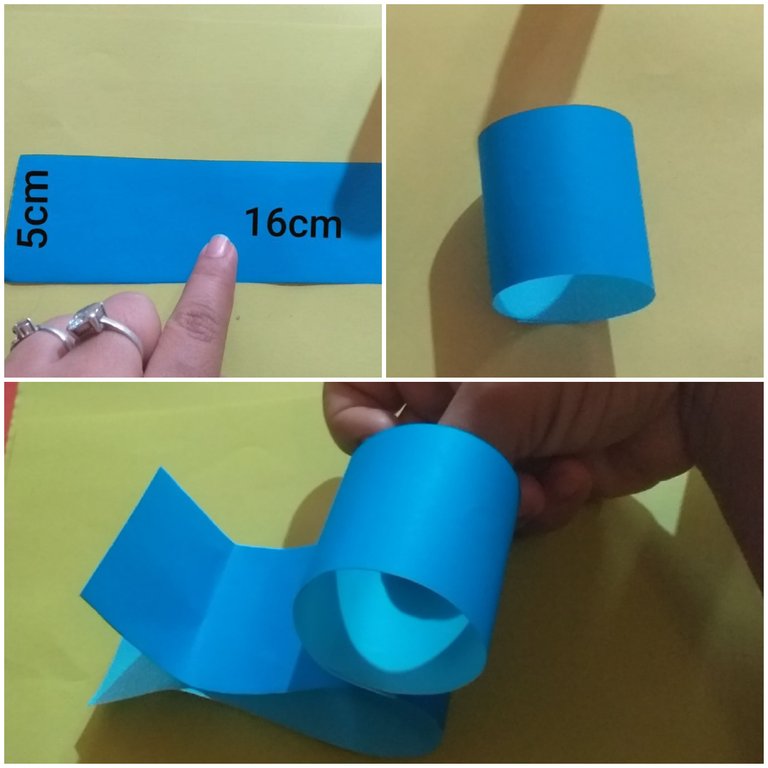
Para hacer la cabeza del pájaro usaremos el rectángulo de 16cm de largo y 5cm de ancho,hacemos un rollo y lo pegamos sobre el principio del cuerpo.
STEP 2
To make the head of the bird we will use the rectangle of 16cm long and 5cm wide, we make a roll and glue it on the beginning of the body.
PASO 3
Usamos el círculo de papel azul para hacer las alas, esto lo haremos cortando por la mitad, doblamos una punta de cada extremos y las pegamos en cada lado del cuerpo.
STEP 3
We use the blue paper circle to make the wings, we will do this by cutting it in half, fold one end of each end and glue them on each side of the body.
PASO 4
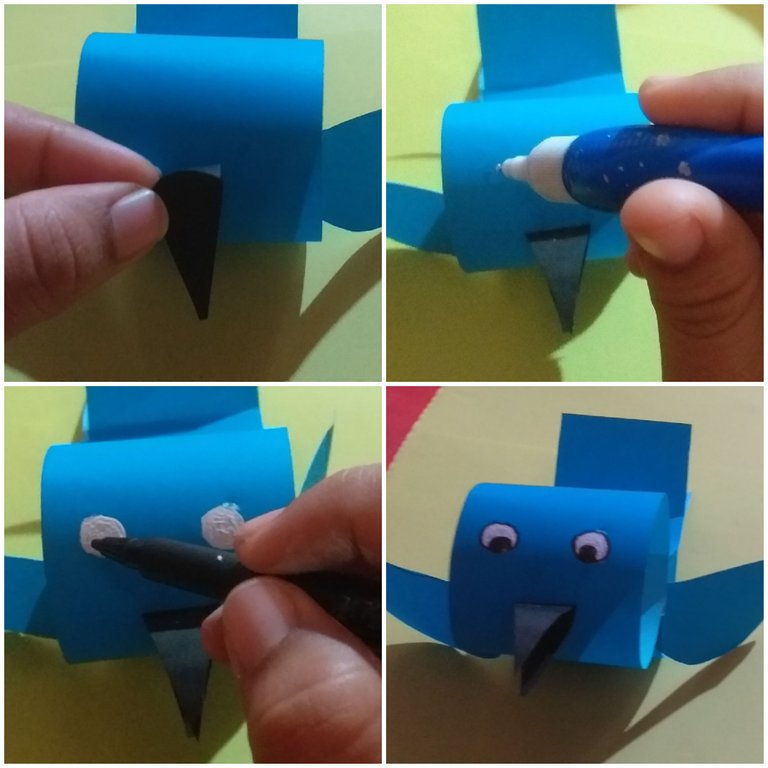
Con el papel negro, con forma de diamante, hacemos el pico del pájaro y con un corrector blanco y un marcador negro pintamos los ojos de del pájaro.
STEP 4
With the black paper, in the shape of a diamond, we make the bird's beak and with a white corrector and a black marker we paint the bird's eyes.
PASO 5
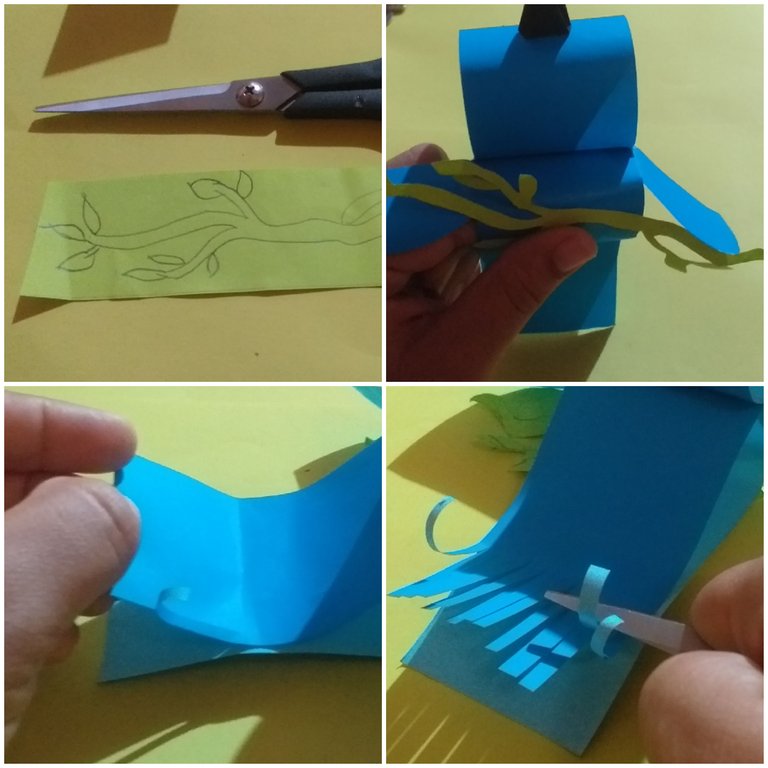
Recortamos la ramita previamente dibujada y la pegamos por la parte inferior del pajarito, y finalizamos haciendo unas pequeñas tiras, con semi rollitos en las punta de las alas traseras.
STEP 5
Cut out the twig previously drawn and glue it to the lower part of the bird, and finish by making small strips, with semi rolls on the tips of the back wings.

CULMINACIÓN
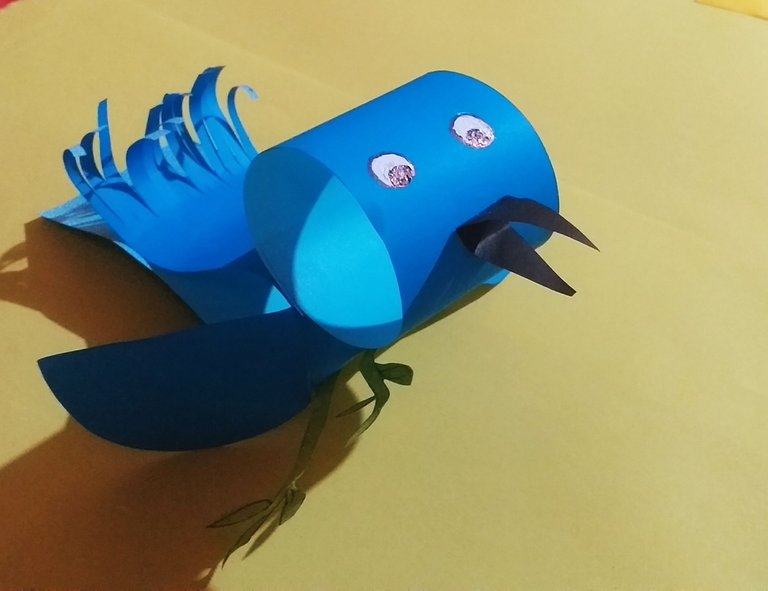
Saludos @kathelopez77 muy linda tu creación me parece ideal para ponerlo en el jardín.
Gracias @belkyscabrera, me parece muy buena idea, saludos y bendiciones.🤗