Español
Hola Amigos en Hive… gusto en saludarles nuevamente, en especial a la comunidad creadora de @Build-It.
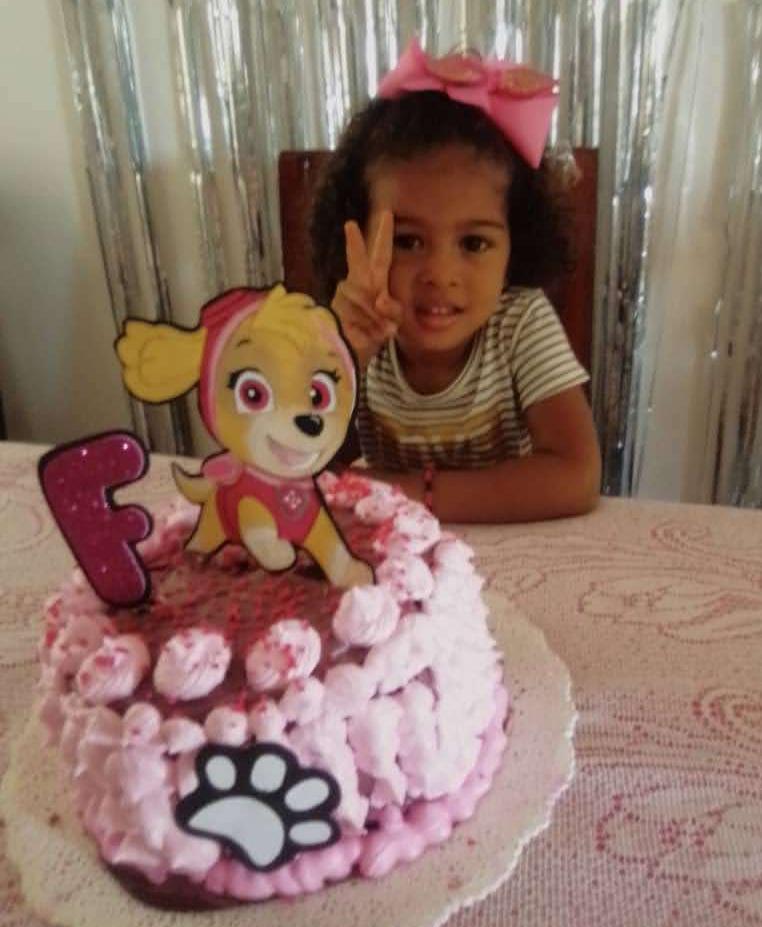
Como los cumpleaños siempre están presente en nuestros días, Hoy quiero mostrarles un topper súper fácil y divertido realizado para celebrar la vida de Fabiana, una hermosa niña a la que le encanta la tierna perrita que forma parte de los personajes del dibujo animado Paw Patrol.
Es un topper sencillo, realizado con materiales económicos, que fusionado con el lindo pastel realizado por su mami, le brindó una maravillosa alegría al verlo. Me encantó haber formado parte de ésta linda sorpresa.
Les invito a revisar con detenimiento este post esperando se animen a realizar algo parecido para que ofrezcan exclusividad a sus seres queridos y amig@s…
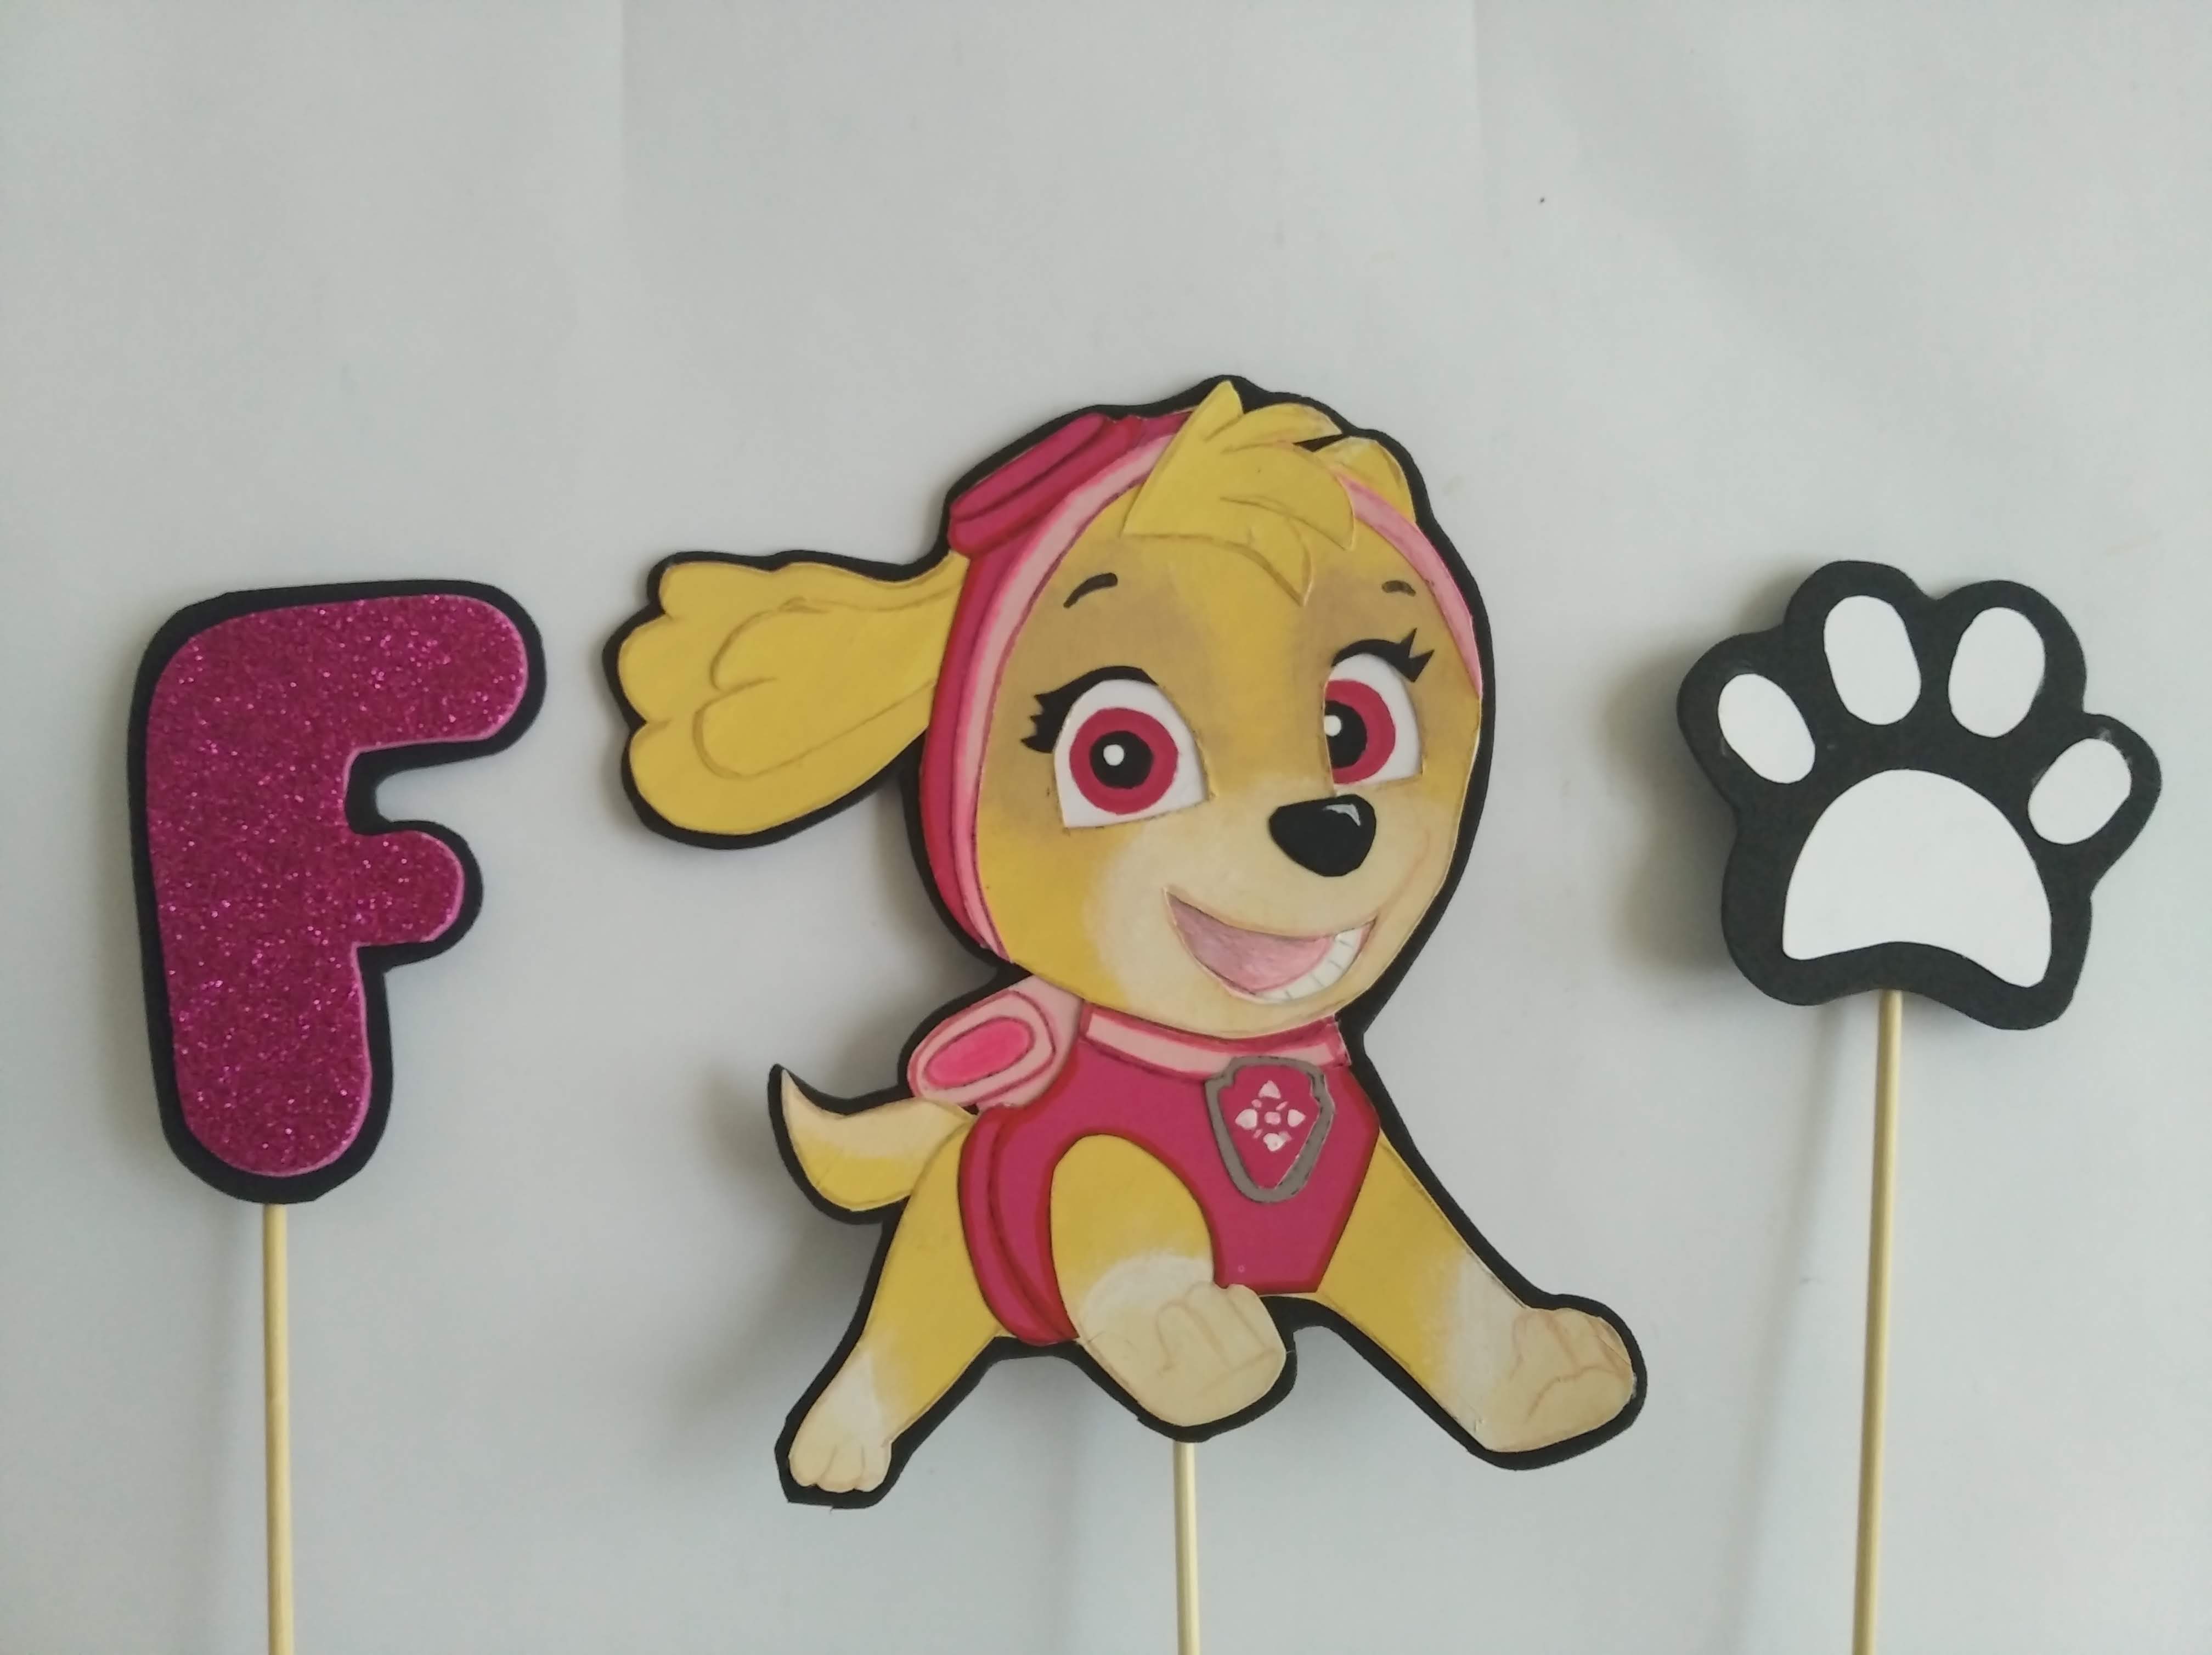
Acá les dejo los materiales utilizados, el proceso y las imágenes del trabajo.
- Diseño de Skye
- Cartulinas de colores (de acuerdo al diseño)
- Pinturas al frio de colores: carne, marrón y blanco (para el pelaje)
- Pinturas al frio de colores: blanco, fuscia y negro (para los ojos)
- Marcadores de Colores (para resaltar las piezas)
- Foami negro plano (para el fondo)
- Foami Fuscia escachado (para la letra)
- Foami blanco (para la pata)
- lápiz
- Tijera
- Cortador (cutter)
- Silicón Frio
- Silicón caliente
- 3 palitos de Altura (madera)
- y Mucho amor…
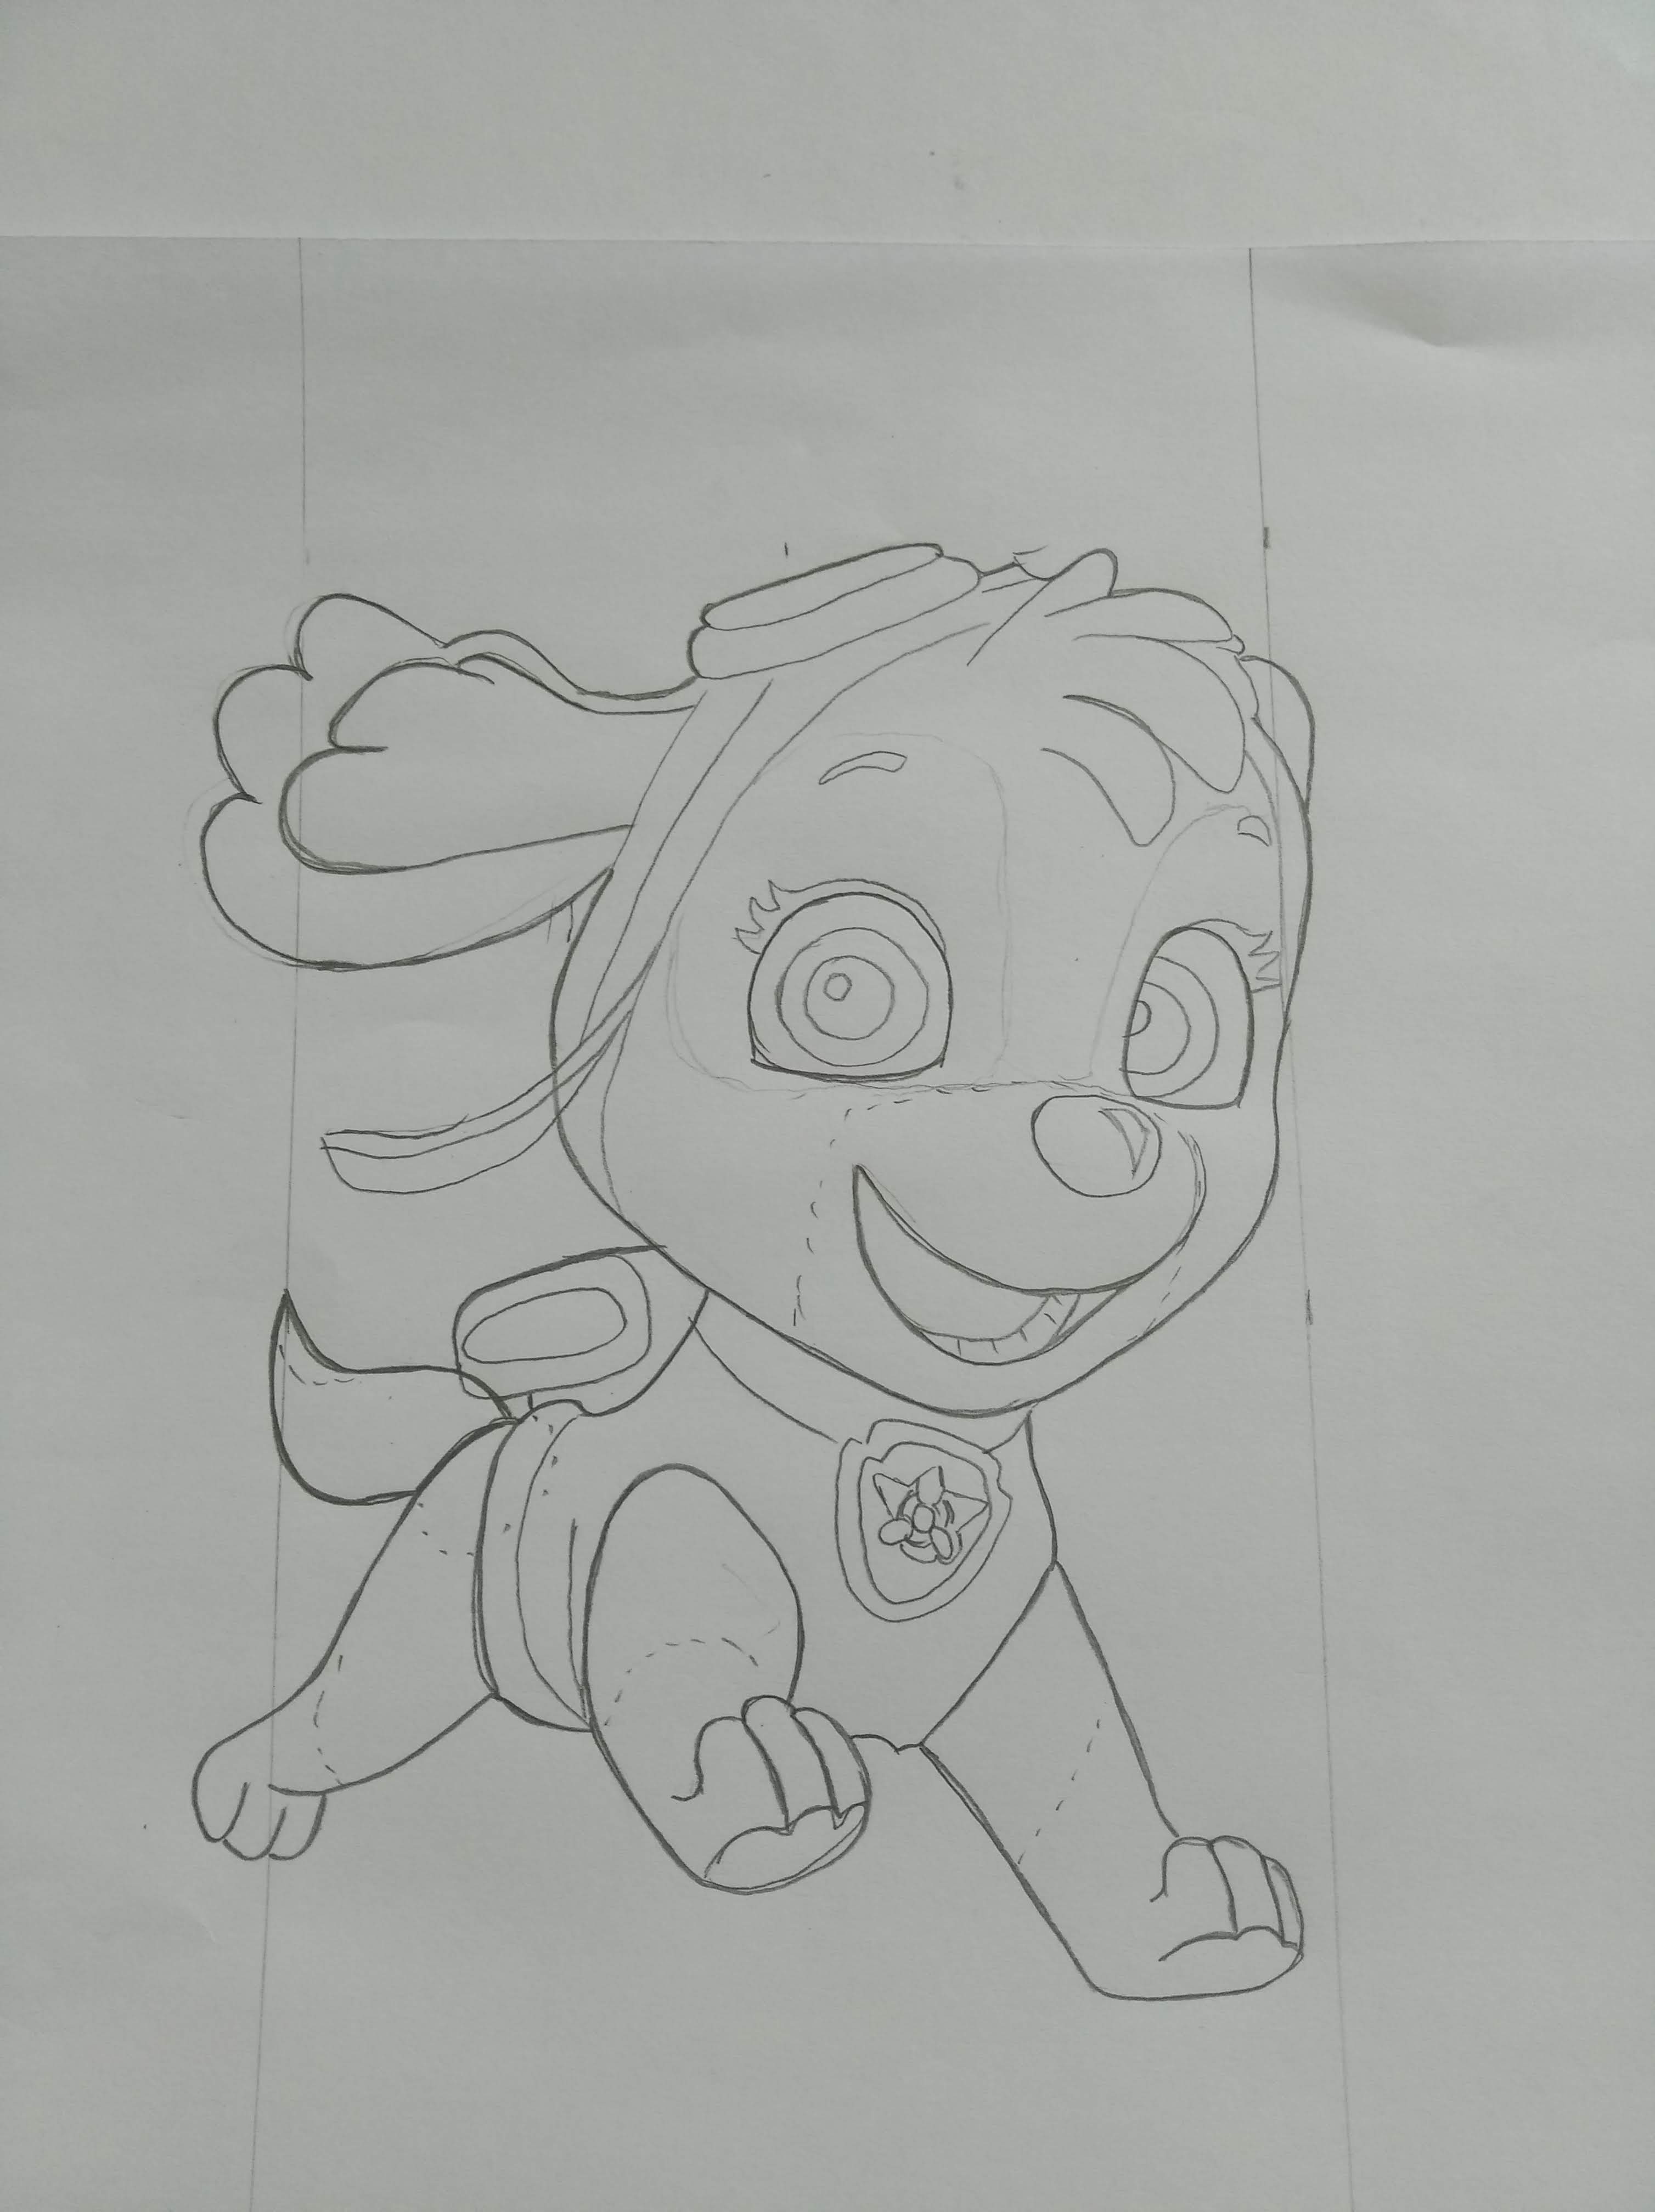
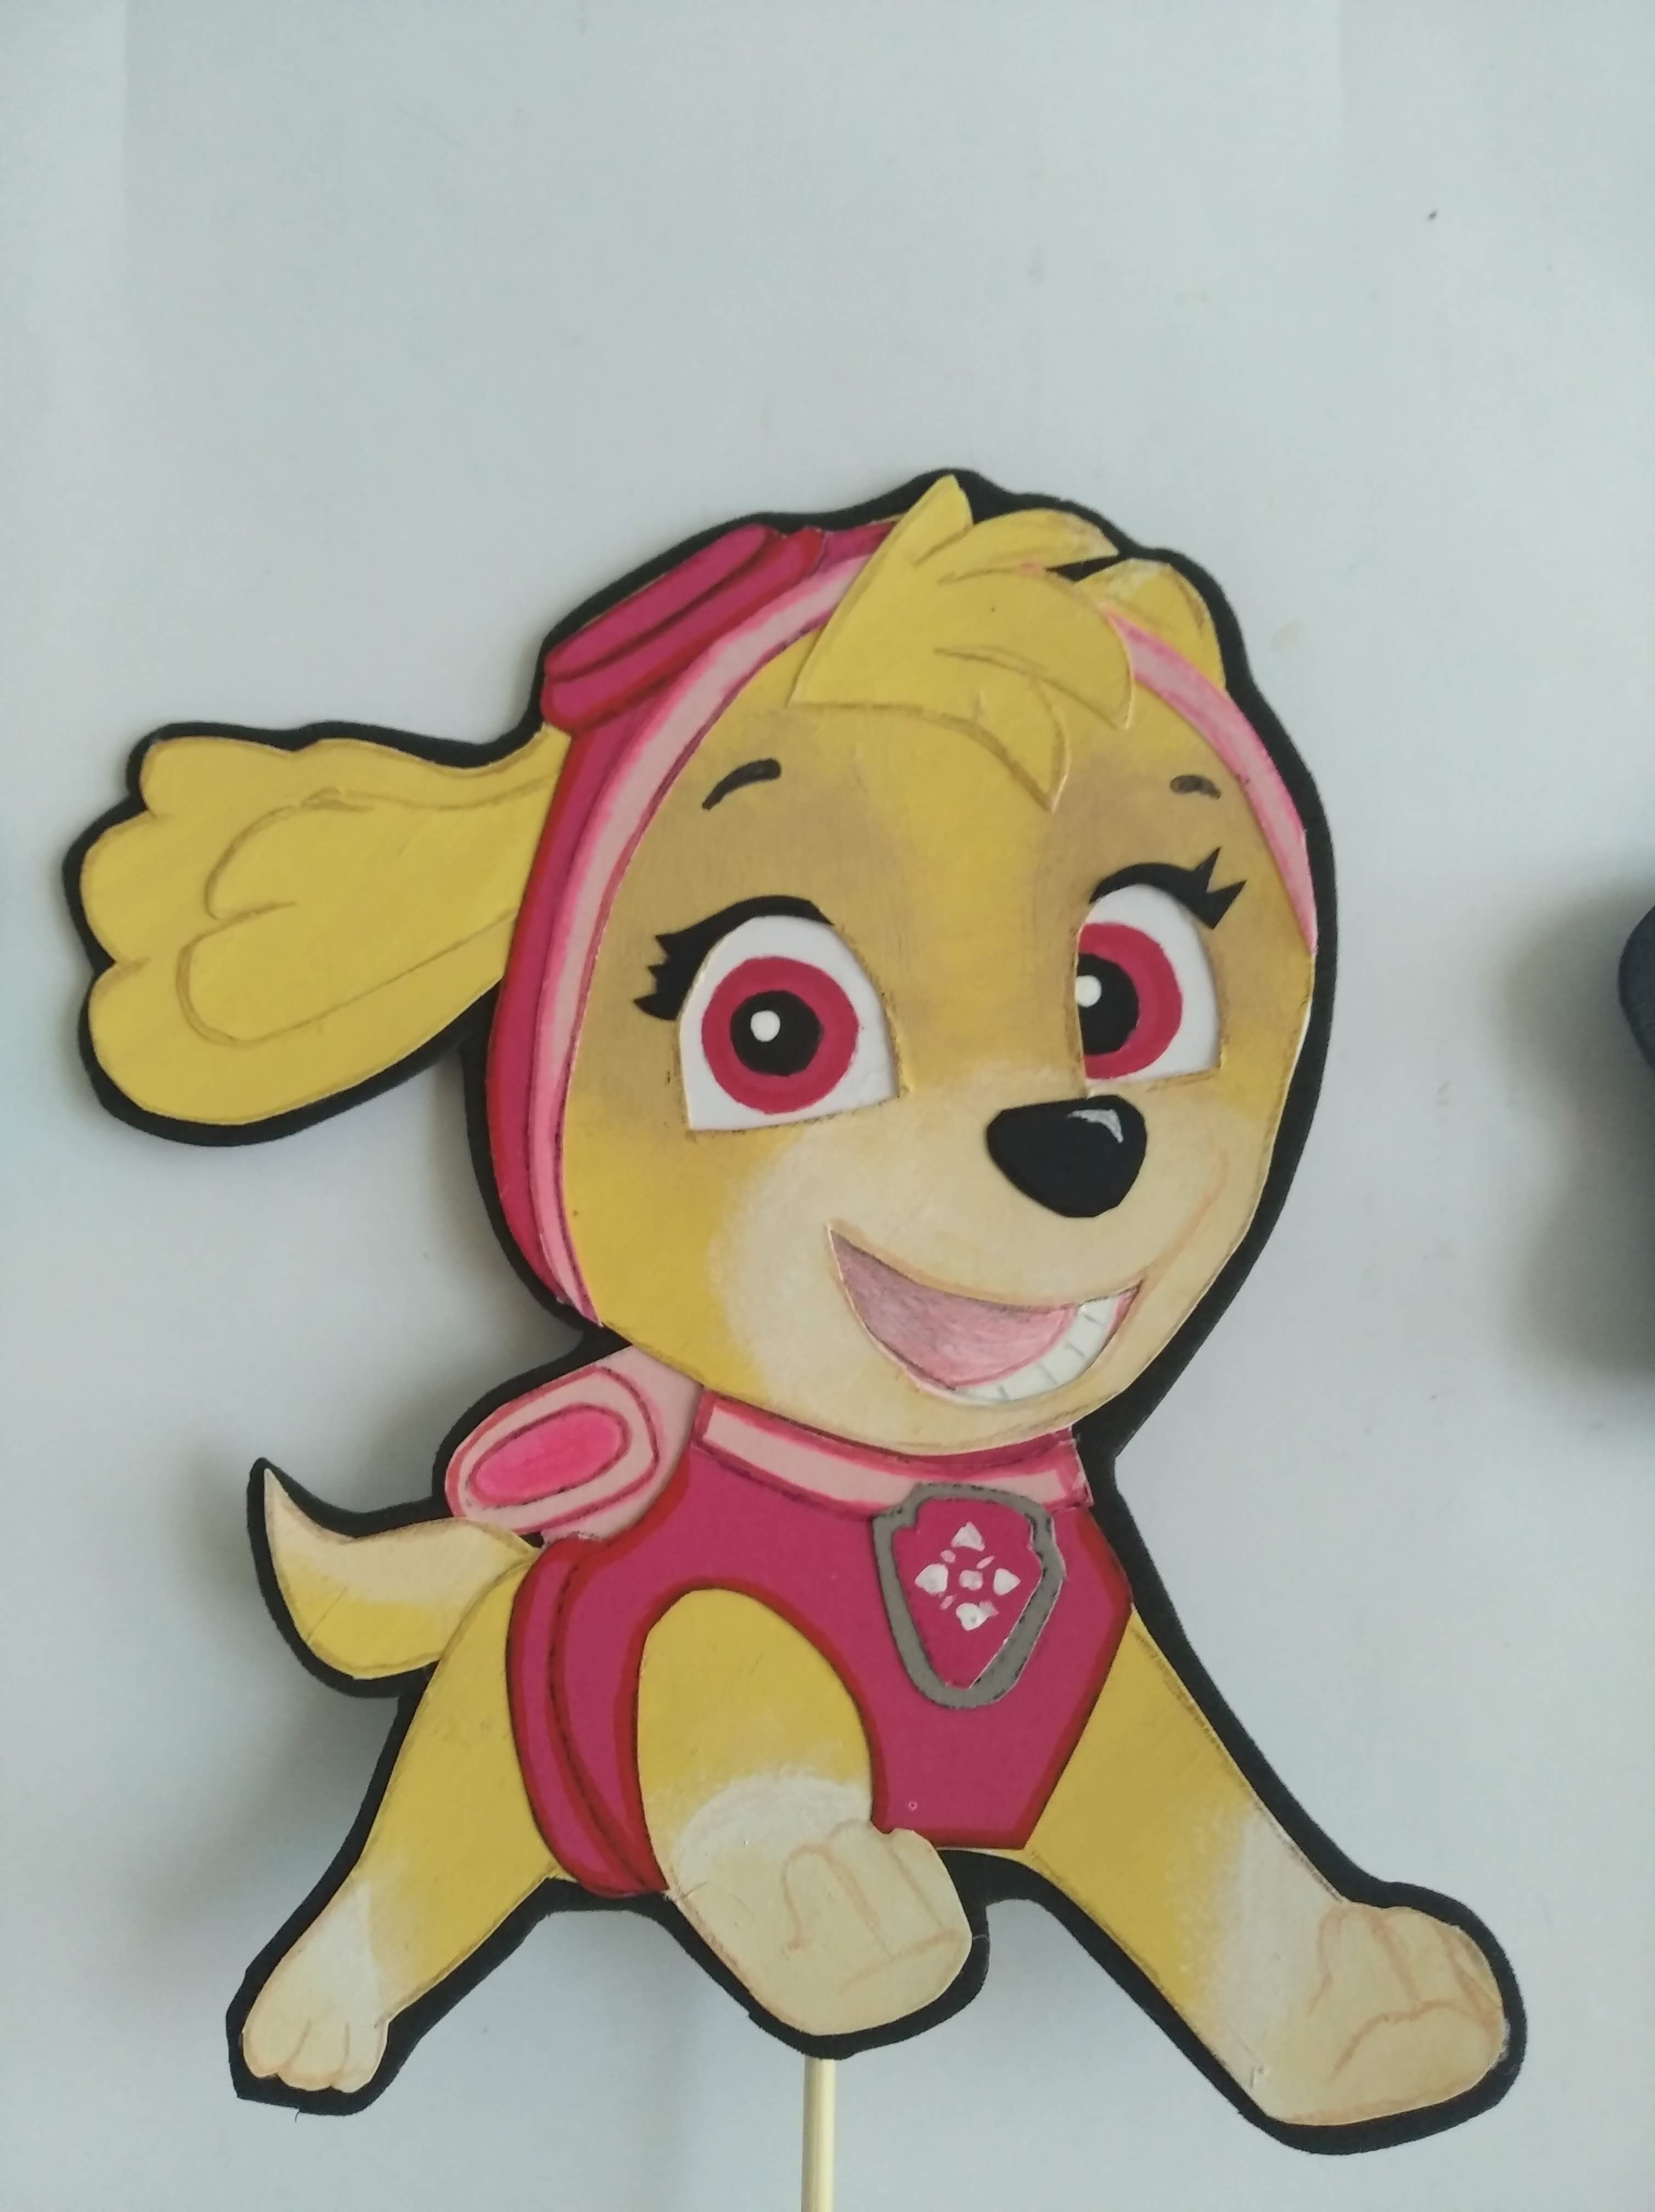
- Sacar el diseño de Skye
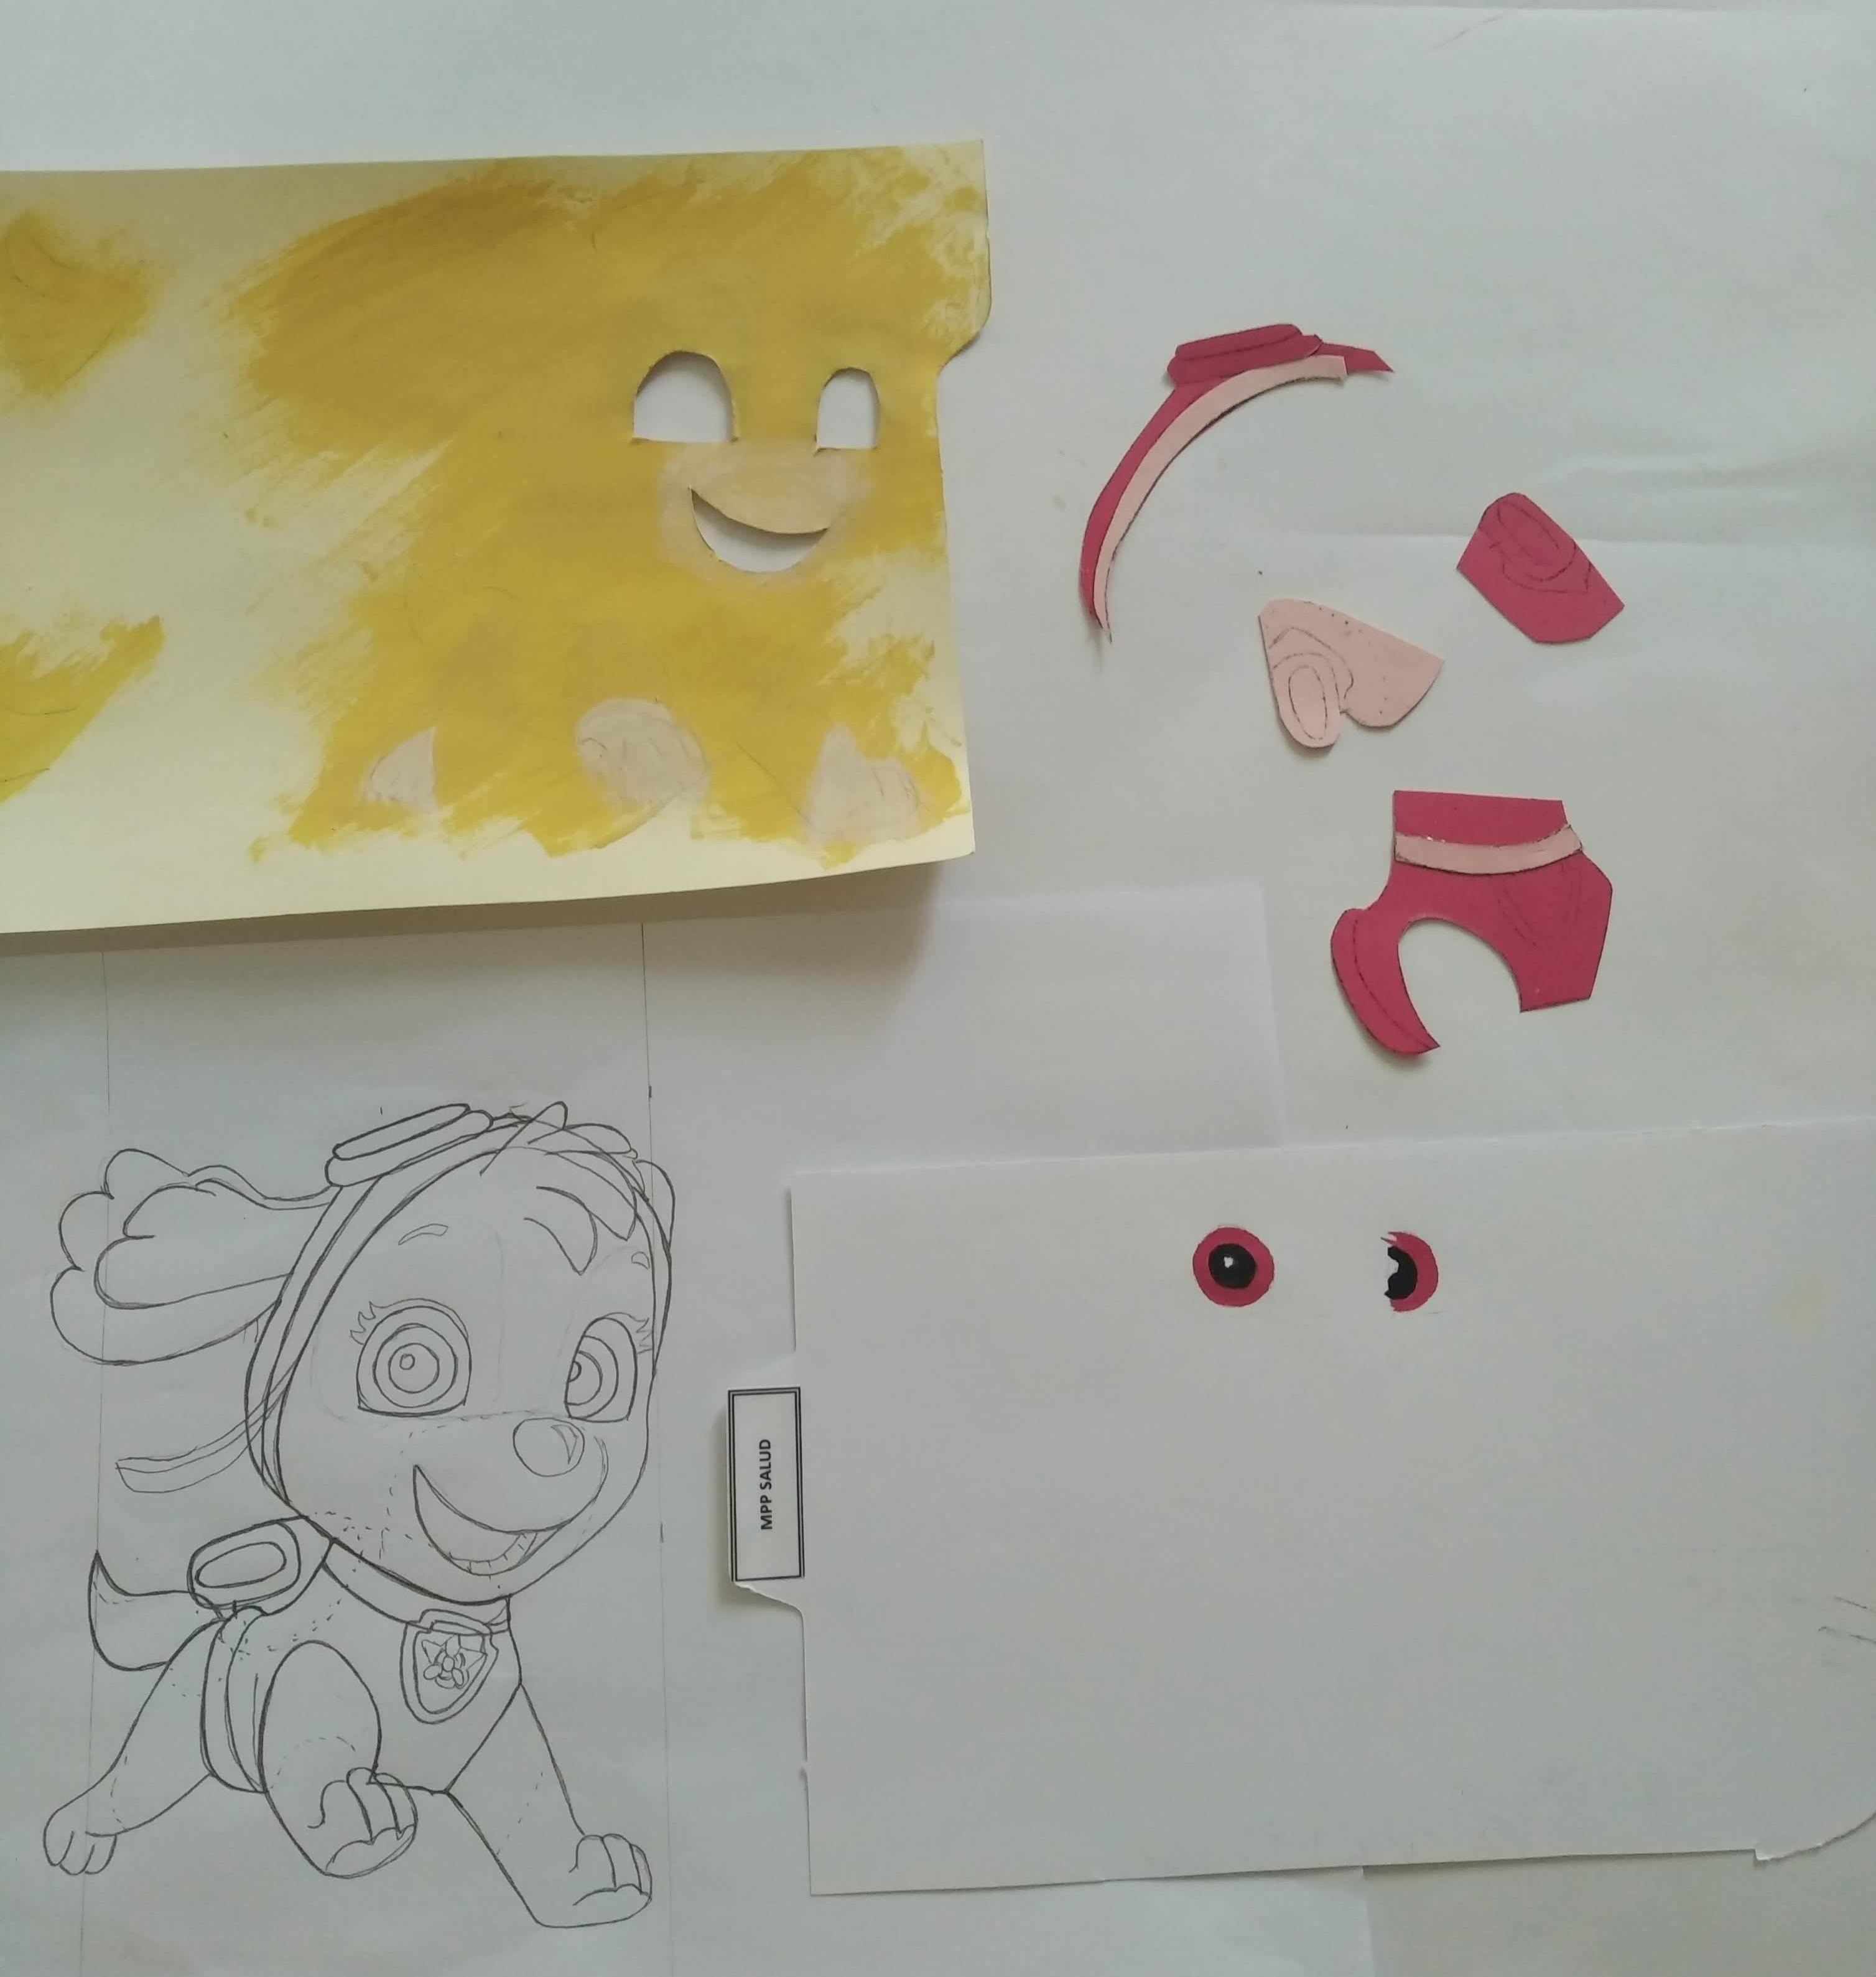
- Cortar en las cartulinas correspondientes los accesorios que lleva la perrita (chaleco, cintillo)
- A la pieza correspondiente al cuerpo cortar con el cutter el área correspondiente a los ojos y boca.
- Mezclar las pinturas al frio marrón , carne y blanco y pinar hasta lograr el efecto del pelaje.
- En una cartulina blanca pintar los ojos y la boca de acuerdo a los colores del diseño.
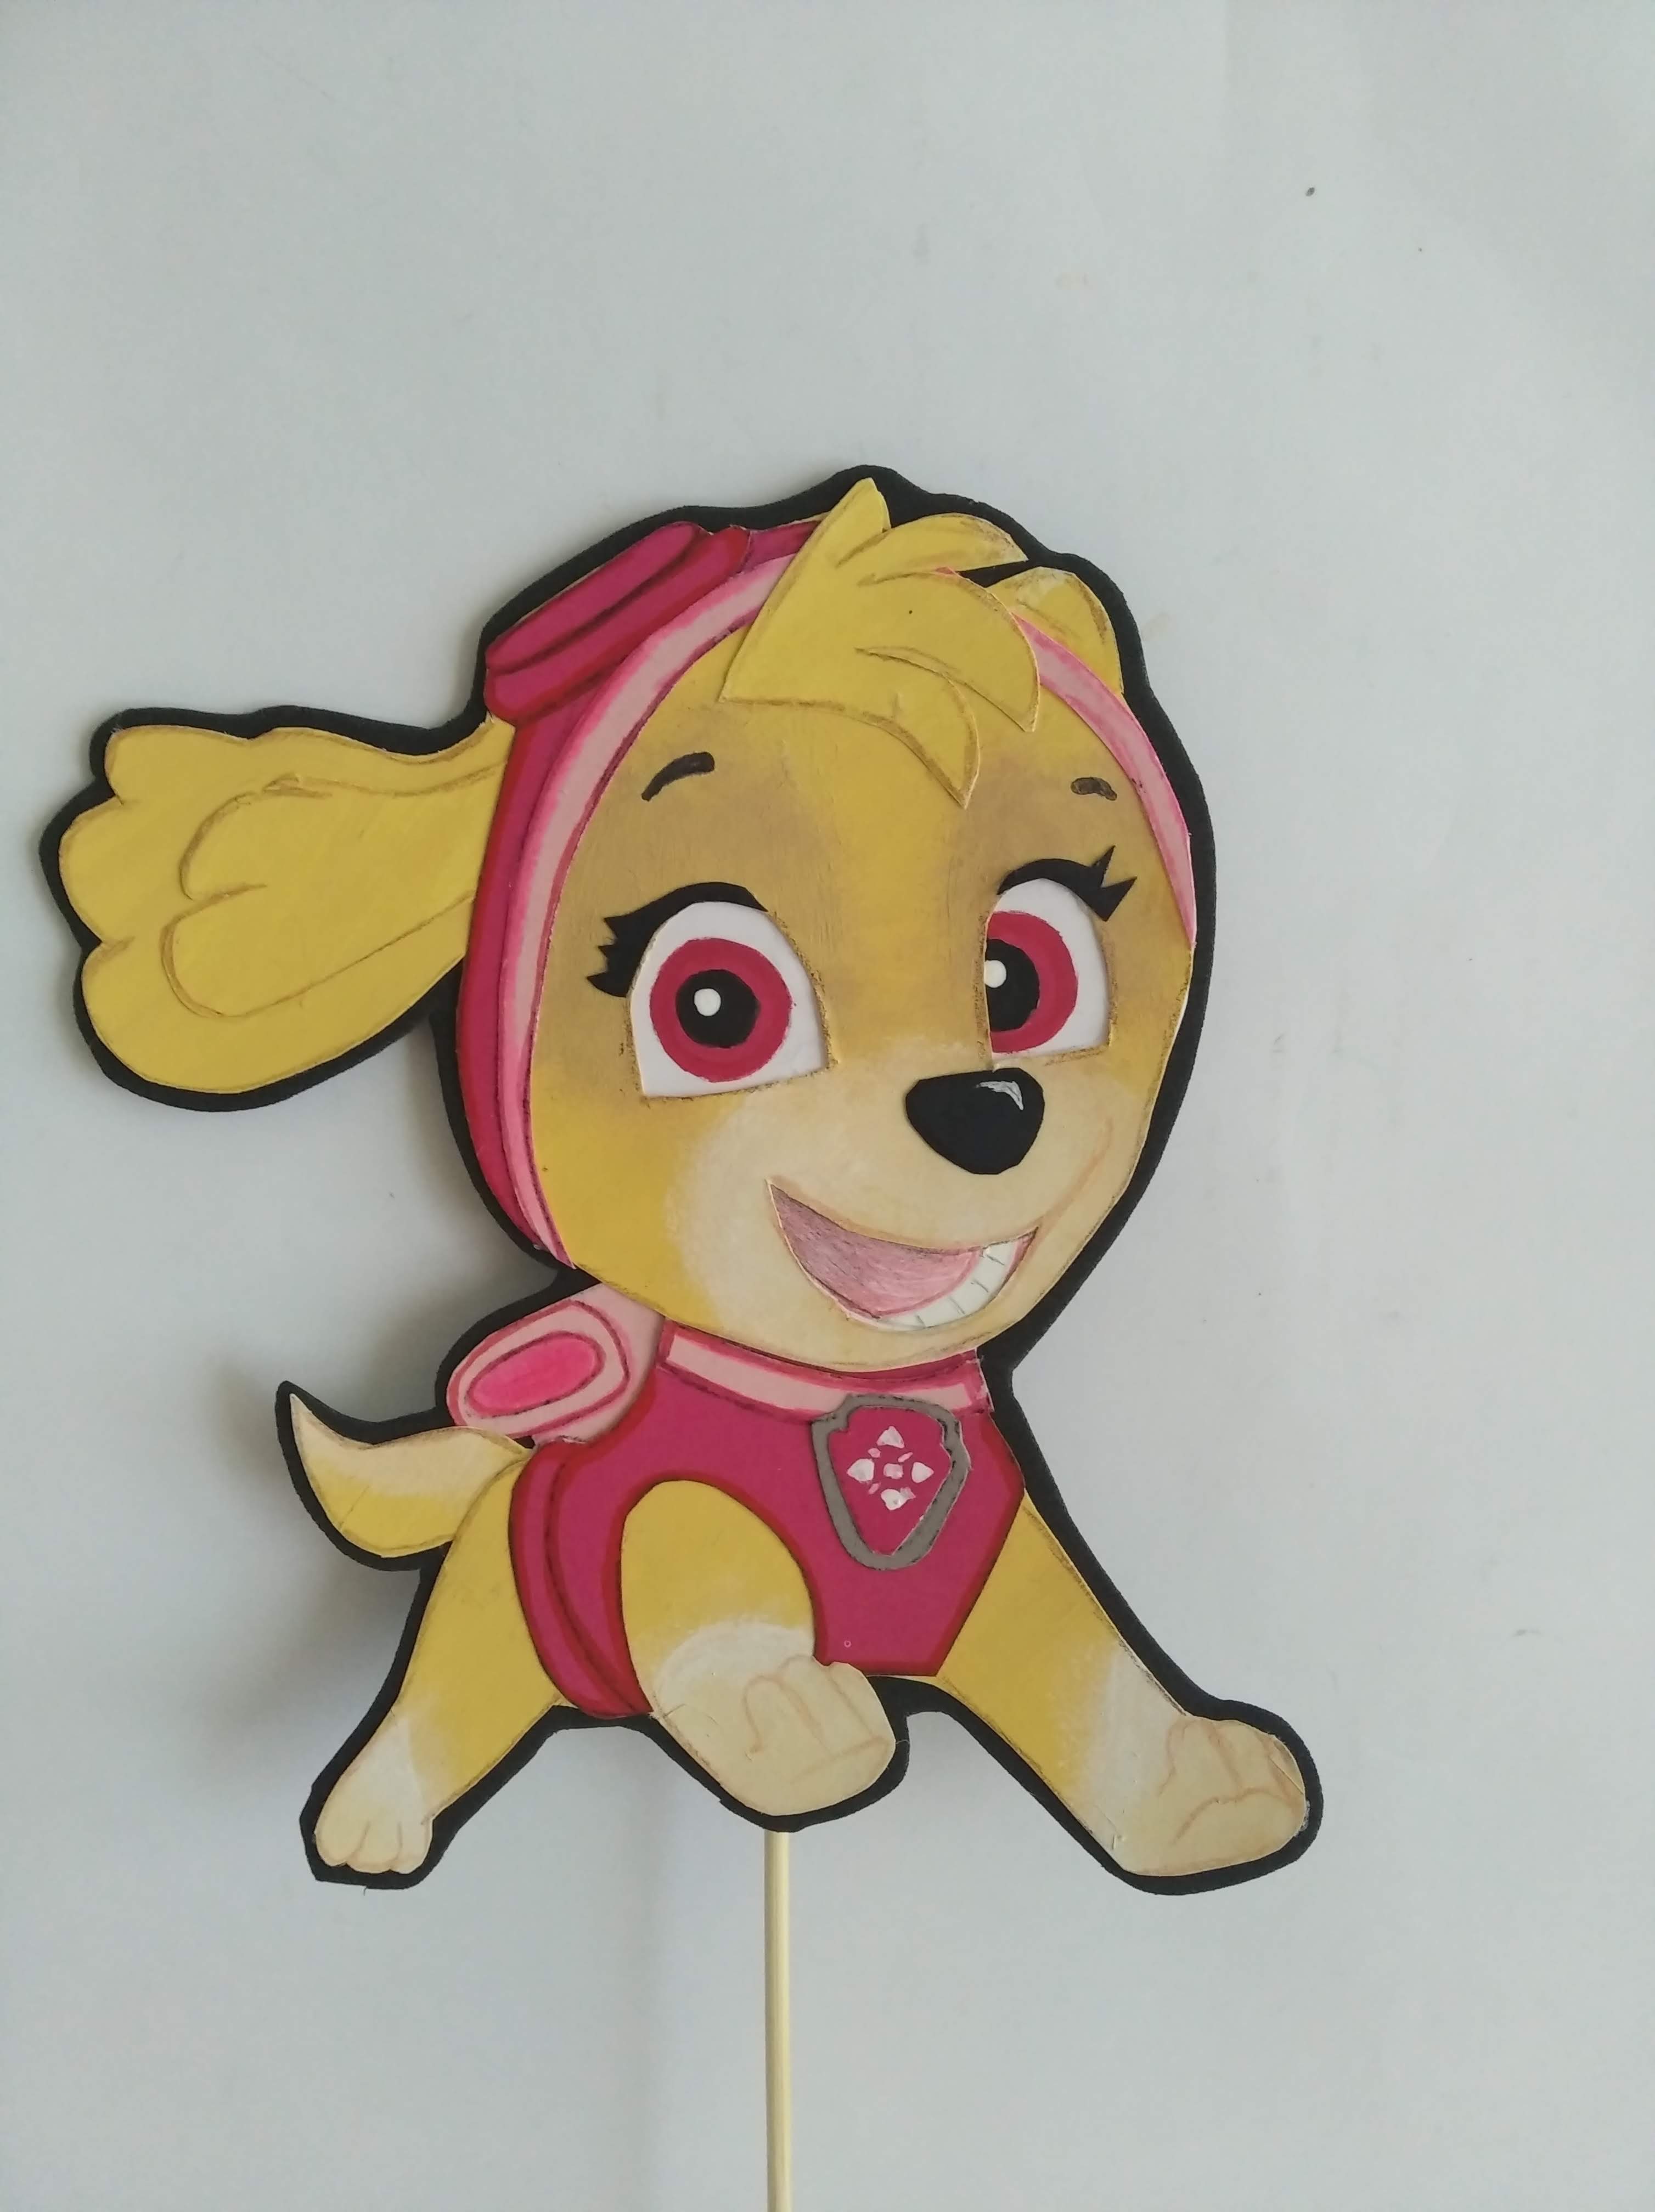
- Una vez seca las piezas, ensamblar pegando con el silicón frio y resaltar con marcadores de colores.
- Recortar la letra en el foami escarchado y luego pegarla en el foami negro y volver a recortar.
- Recortar las formas de la patica y pegar sobre el foami negro, luego recortar.
- Pegar el palito de madera con silicón caliente a cada pieza.
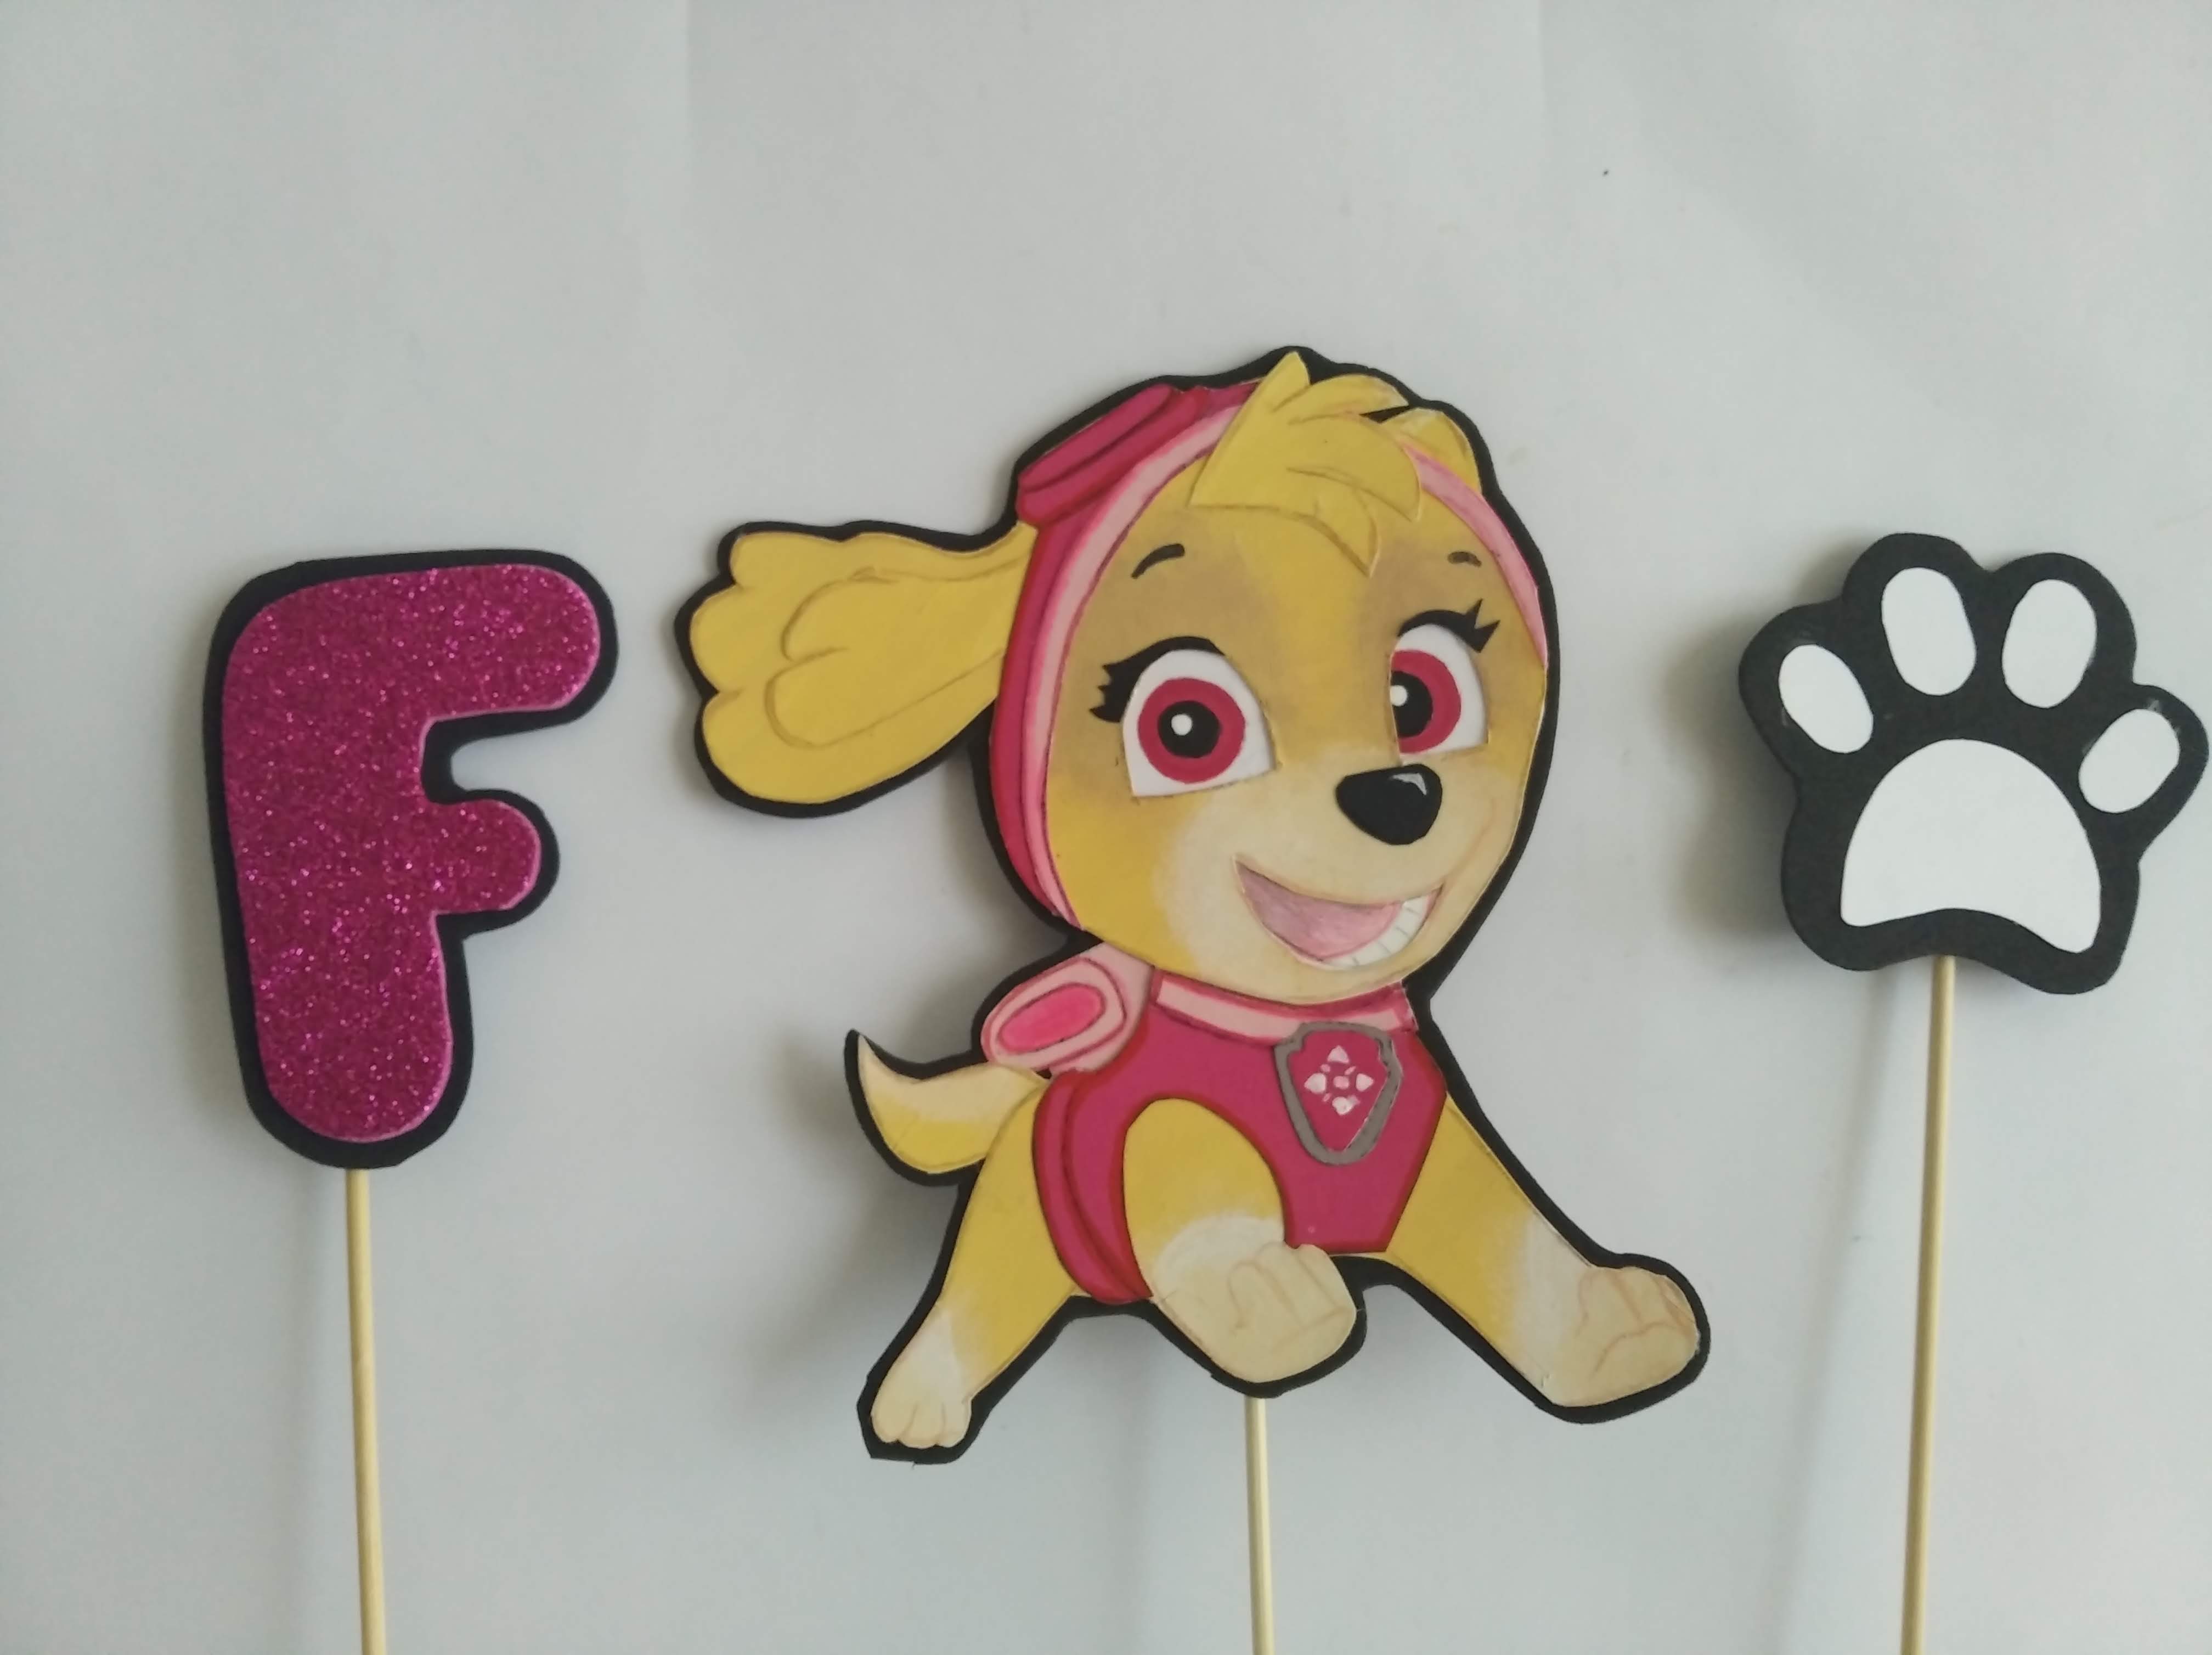
- Listo, a disfrutar de una hermosa decoración para pastel / torta….
Inglés
Hello Friends at Hive... nice to greet you again, especially to the community creator of @Build-It.
As birthdays are always present in our days, today I want to show you a super easy and fun topper made to celebrate the life of Fabiana, a beautiful girl who loves the cute little dog that is part of the characters of the cartoon Paw Patrol.
It is a simple topper, made with inexpensive materials, that fused with the cute cake made by her mommy, brought her wonderful joy when she saw it. I was delighted to have been part of this beautiful surprise.
I invite you to carefully review this post hoping you will be encouraged to make something similar to offer exclusivity to your loved ones and friends....
Here are the materials used, the process and the images of the work.
- Skye design
- Colored cardboard (according to the design)
- Cold colored paints: flesh, brown and white (for the fur).
- Colored cold paints: white, fuscia and black (for the eyes).
- Colored markers (for highlighting the pieces)
- Flat black Foami (for the background)
- Fuscia Fuscia Foami (for the lettering)
- White Foami (for the paw)
- Pencil
- Scissors
- Cutter (cutter)
- Cold Silicone
- Hot Silicone
- 3 Altura sticks (wood)
- and lots of love...
- Draw out Skye's design.
- Cut out the accessories (vest, headband) that Skye is wearing on the corresponding cardboard.
- Cut with the cutter the area corresponding to the eyes and mouth of the body.
- Mix the cold paints brown, flesh and white and paint until you get the effect of the fur.
- On a white cardboard paint the eyes and mouth according to the colors of the design.
- Once the pieces are dry, assemble by gluing with cold silicone and highlight with colored markers.
- Cut out the letter on the frosted foami and then glue it on the black foami and cut it out again.
- Cut out the shapes of the patica and glue on the black foami, then cut out.
- Glue the wooden stick with hot silicone to each piece.
- Ready, enjoy a beautiful cake decoration. ....
As my native language is Spanish, I used the Deepl translator for this publication.
IMÁGENES / IMAGES
Todas las Fotos fueron tomadas con mi teléfono Redmi 7A.
Contenido original de @keco (fotos y texto) - Todos los derechos reservados Publicado en HIVE así como en mi instagram : http://instagram.com/carton_pintura_algo_mas
All Photos were taken with my Redmi 7A phone.
Original content from @keco (photos and text) - All rights reserved Posted on HIVE as well as on my instagram: http://instagram.com/carton_pintura_algo_mas
Congratulations @keco! You have completed the following achievement on the Hive blockchain and have been rewarded with new badge(s) :
Your next target is to reach 400 comments.
You can view your badges on your board and compare yourself to others in the Ranking
If you no longer want to receive notifications, reply to this comment with the word
STOPCheck out the last post from @hivebuzz: