Español
Hola Amigos en Hive… gusto en saludarles , en especial a los apasionados creadores de @Build-It.
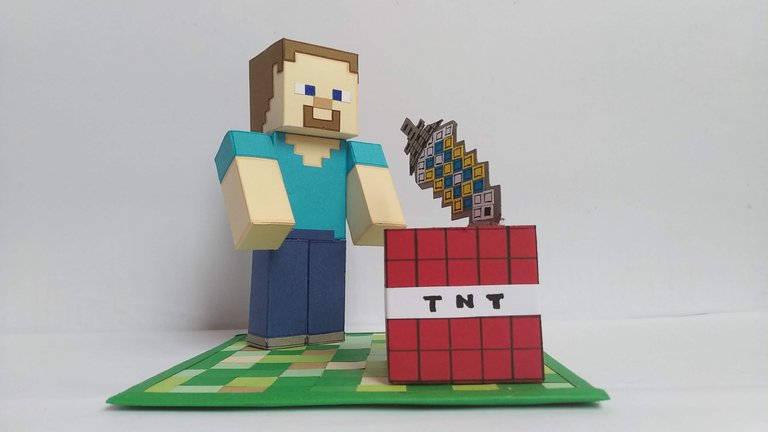
Actualmente el video juego “MINECRAFT” es toda una sensación entre los niños e incluso entre niñas también... Hace unos meses, realicé un topper 3D de Steve (pueden verlo en las publicaciones anteriores) para un amiguito llamado Isacc, ese topper causó emoción y muchos de sus amiguitos quisieron uno también (jejeje) ya que son fanáticos del juego.
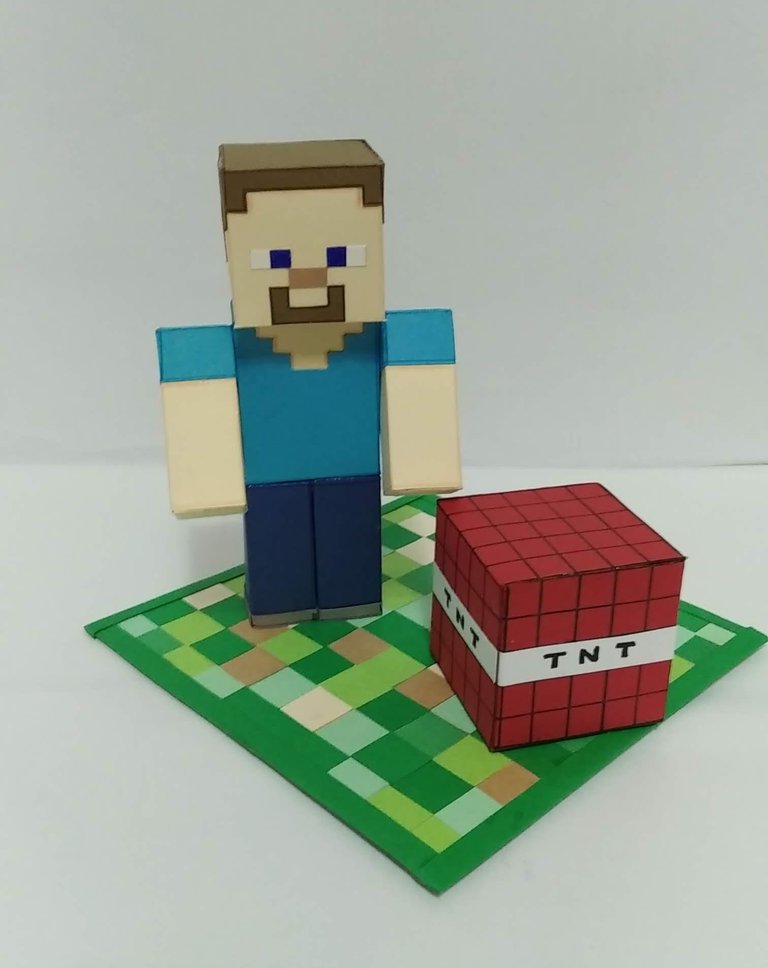
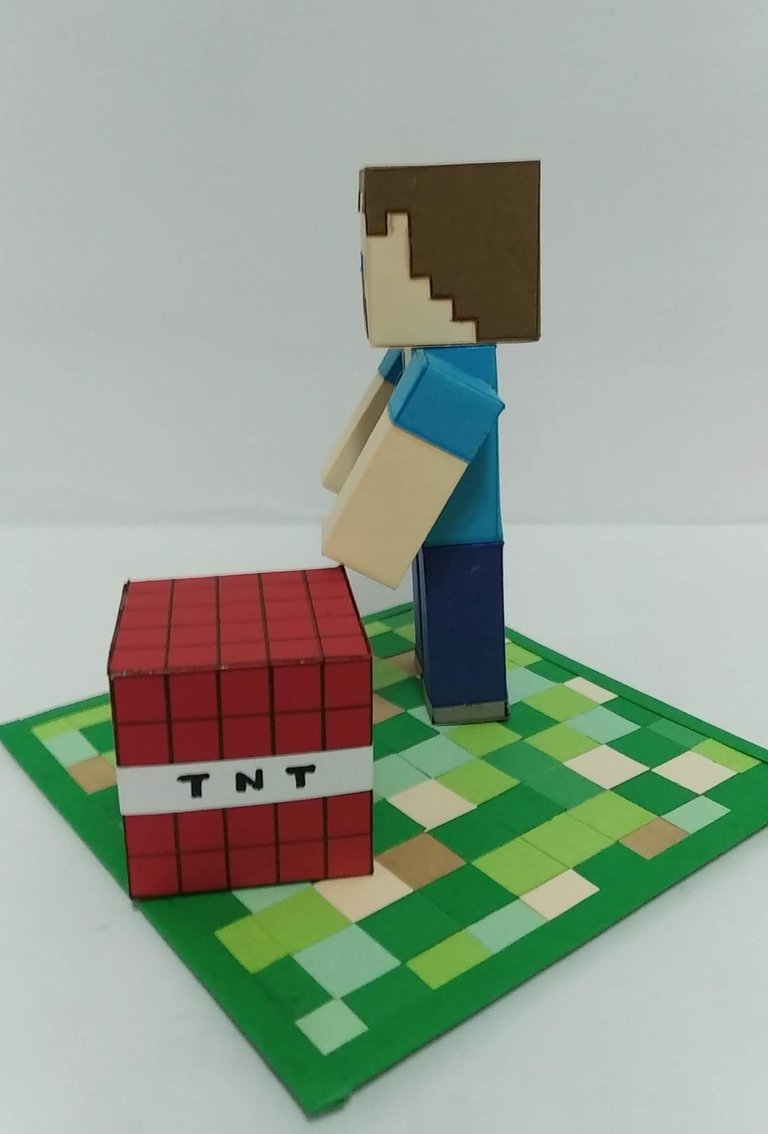
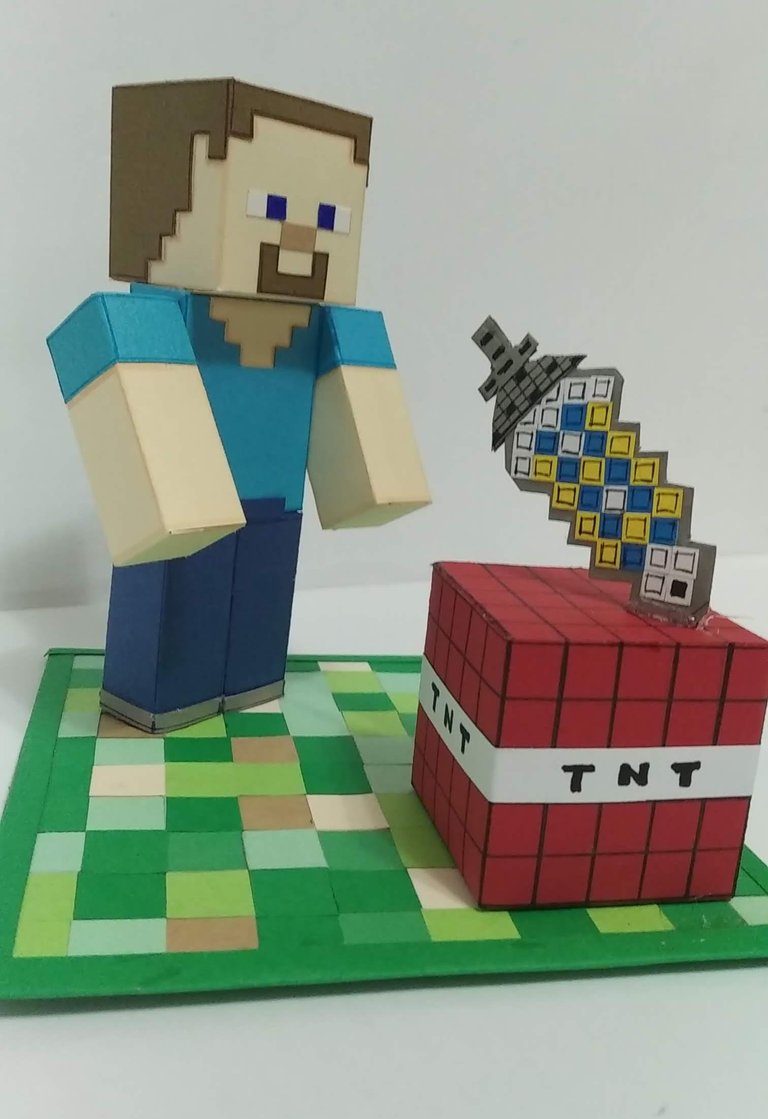
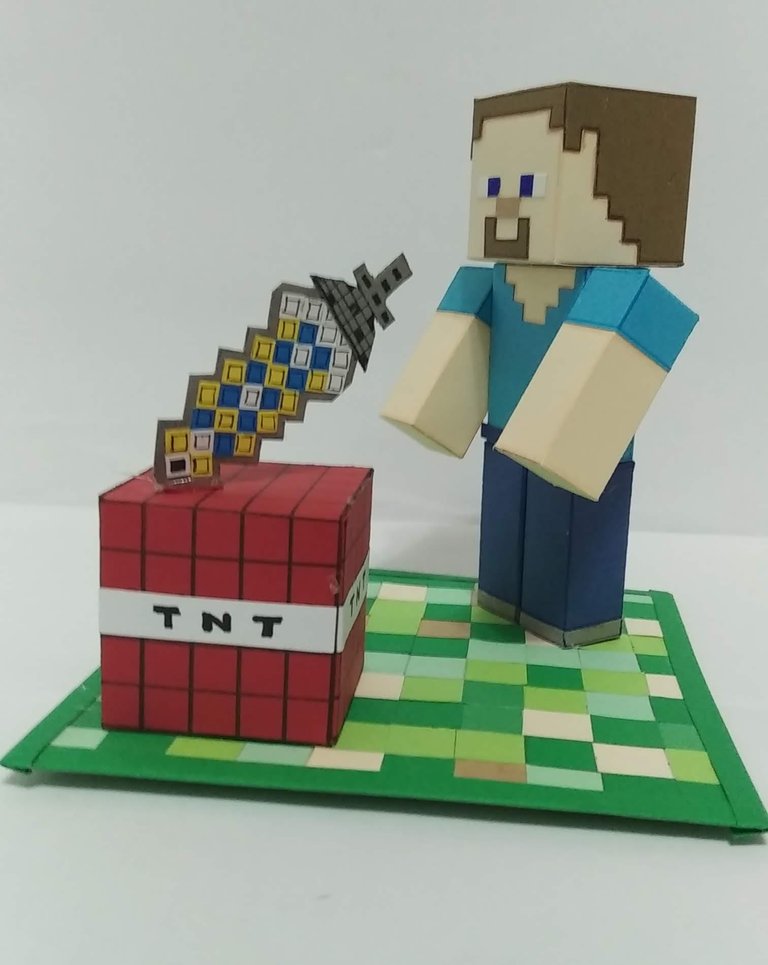
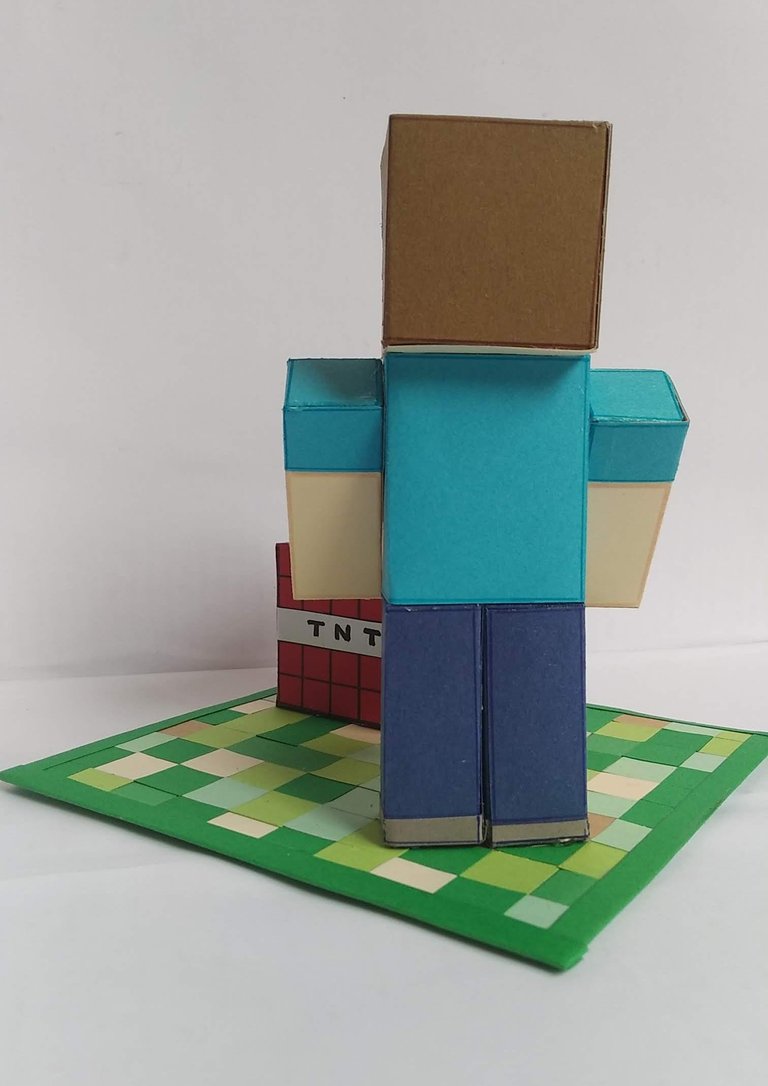
La madre de Santiago, a fin de complacer a su pequeño hijo el día de su cumpleaños, me pidió le hiciera un topper de Steve, el personaje principal del juego ya que quería sorprenderlo con algo único. Yo, tan respetuosa de los cumpleaños, dije sí a la propuesta y le realicé éste colorido, divertido y especial topper.
Espero disfruten las imágenes y se atrevan a realizar algo parecido para sus familiares y amigos.
Acá les dejo los materiales utilizados, el proceso y las imágenes del trabajo.
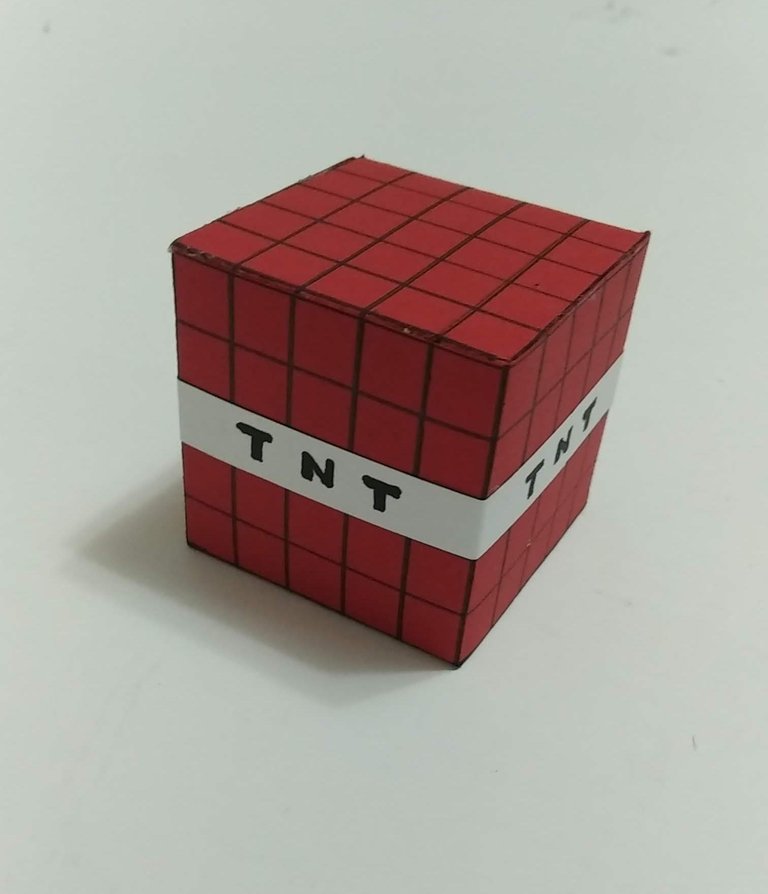
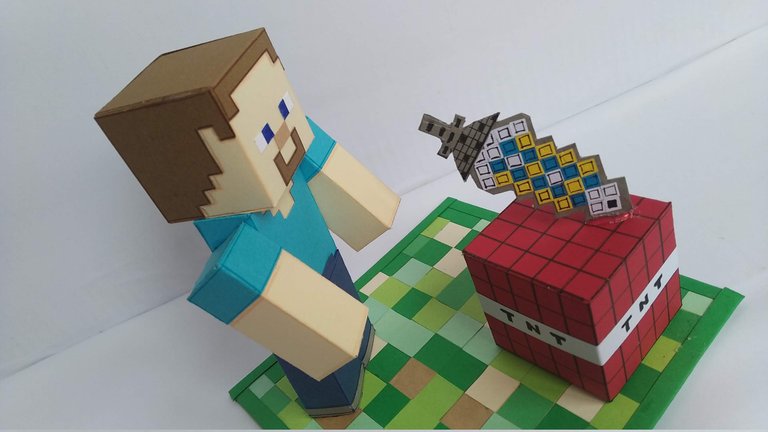
- Diseño a realizar (en este caso Steve, TNT, espada)
- Cartulina de Colores de acuerdo a la temática y personaje a realizar
- Marcadores de Colores
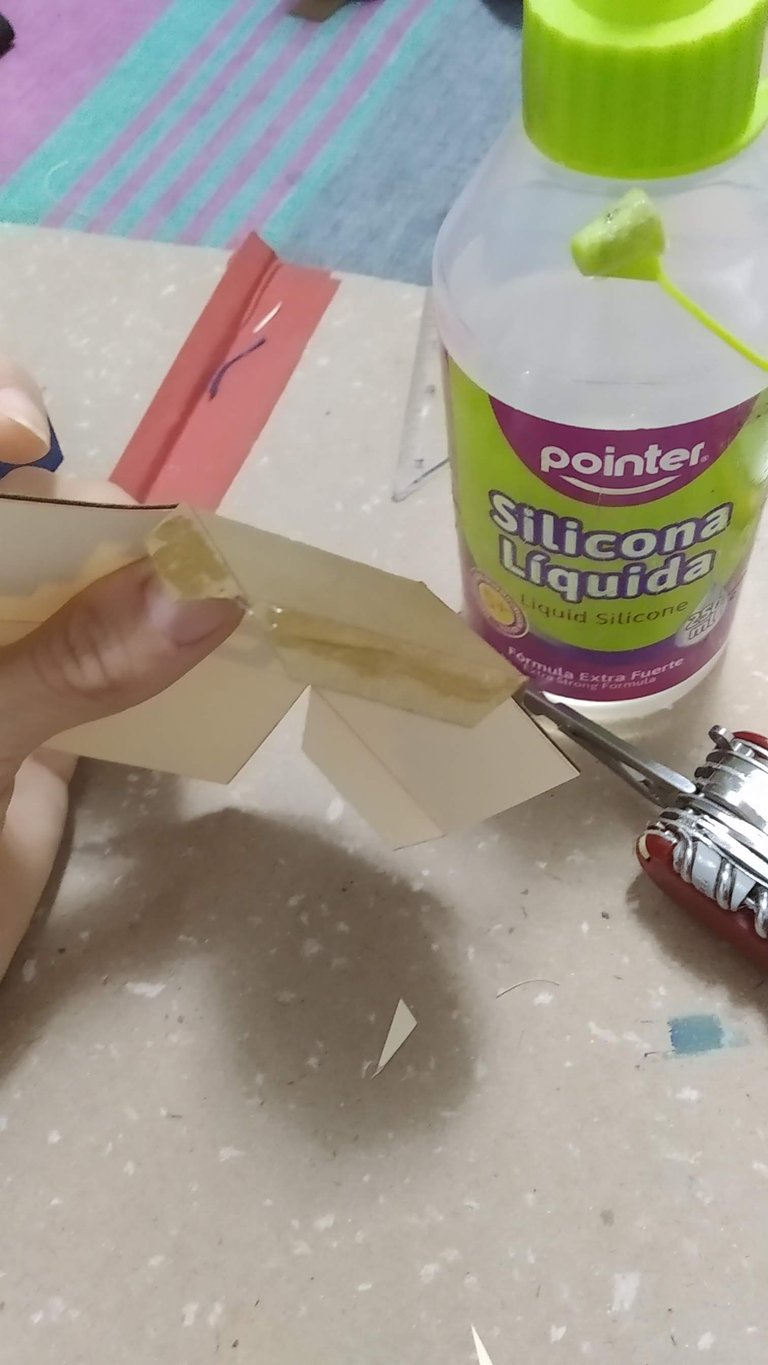
- Silicón Frío
- Pega en barra
- Tijera
- Regla
- Lápiz
- Silicón Caliente
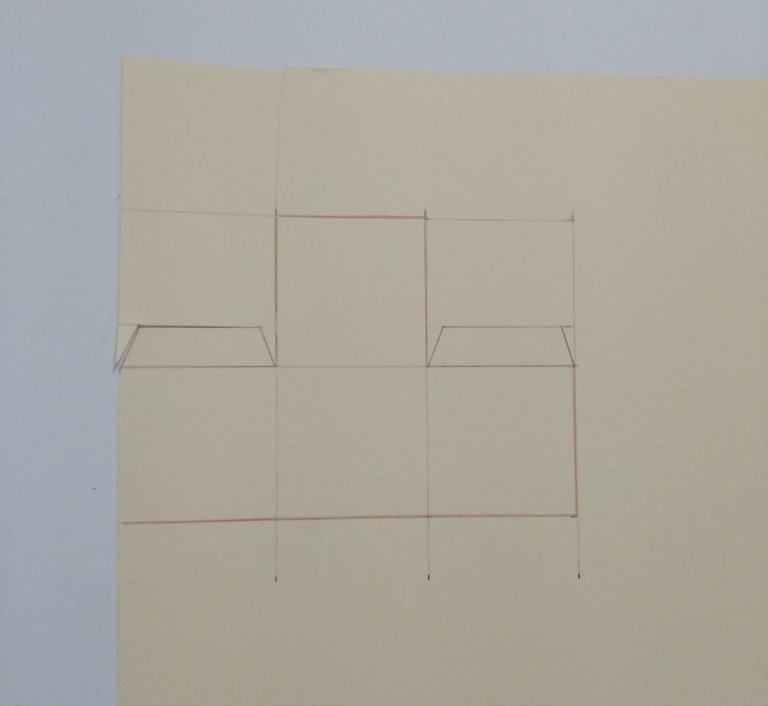
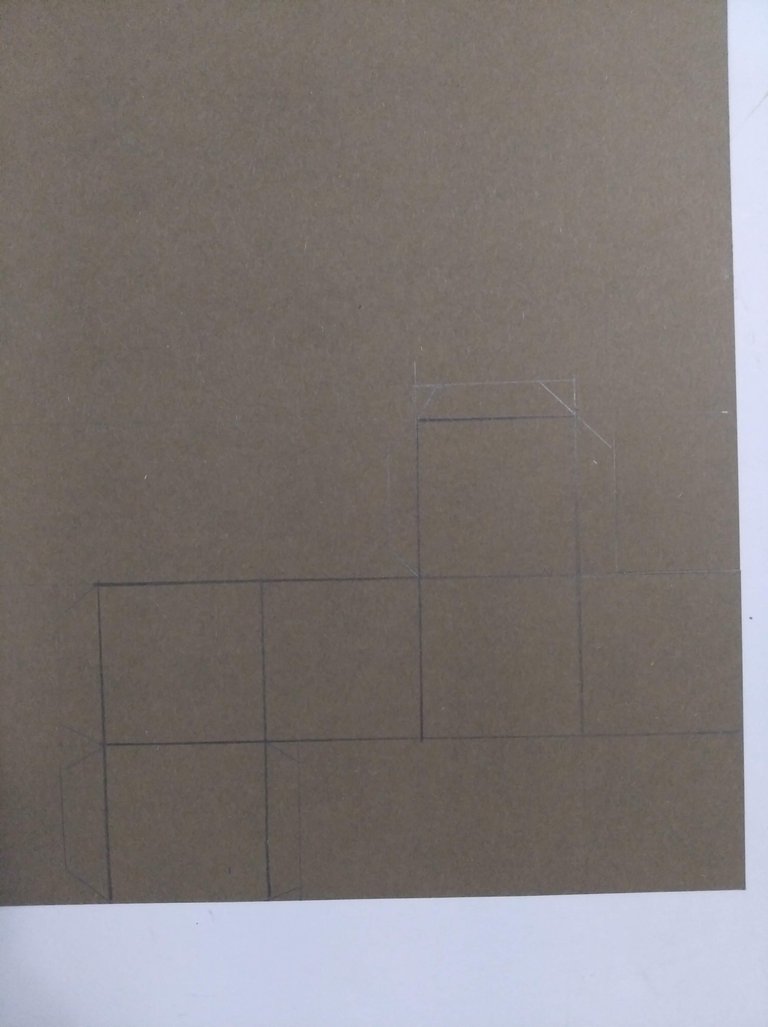
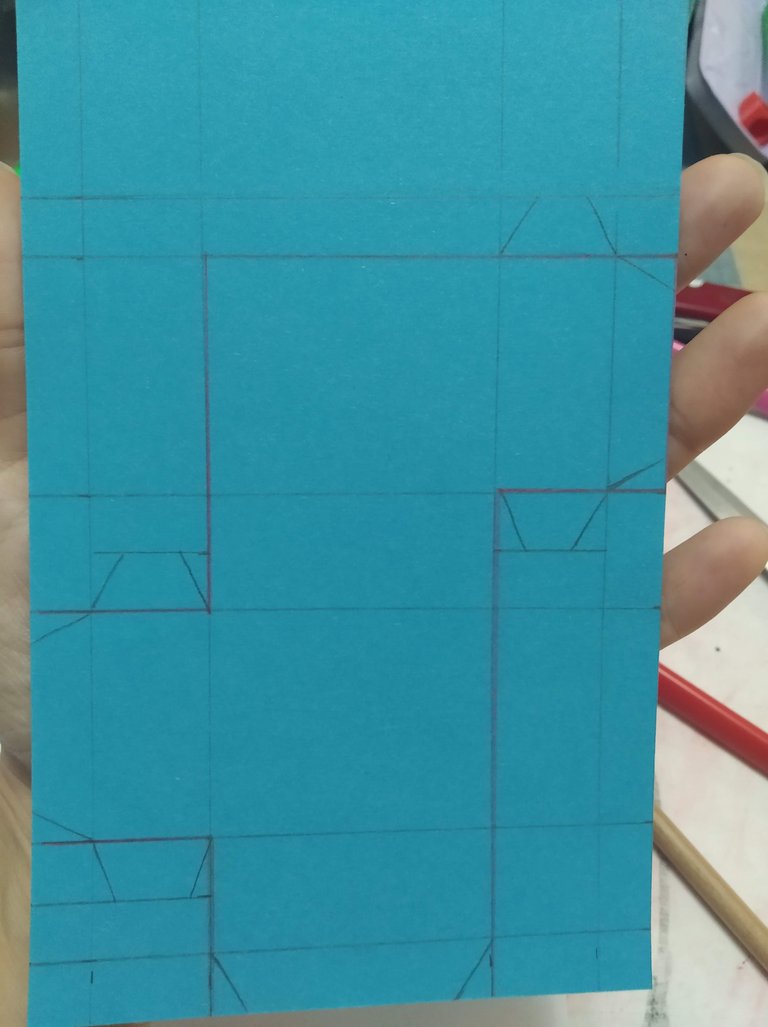
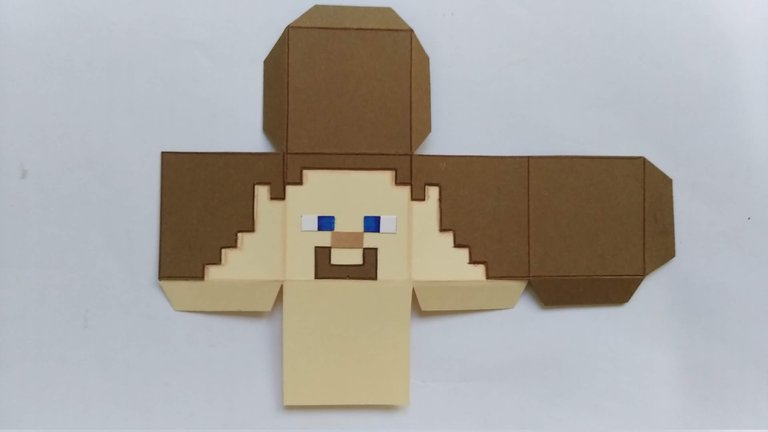
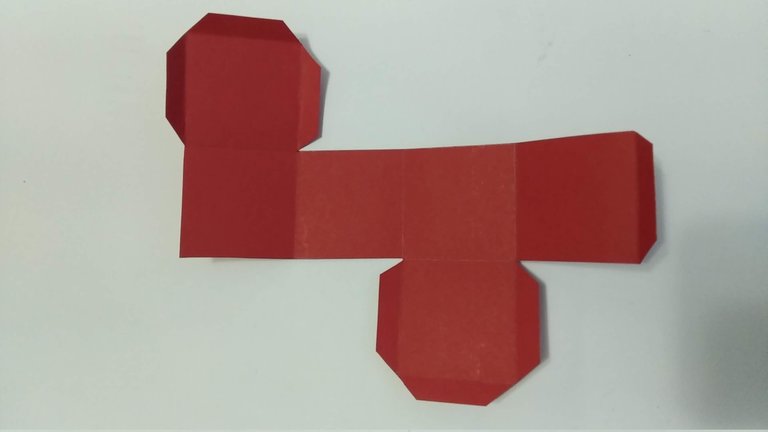
- En una hoja blanca sacar el esquema de las piezas a crear (formas y tamaño)
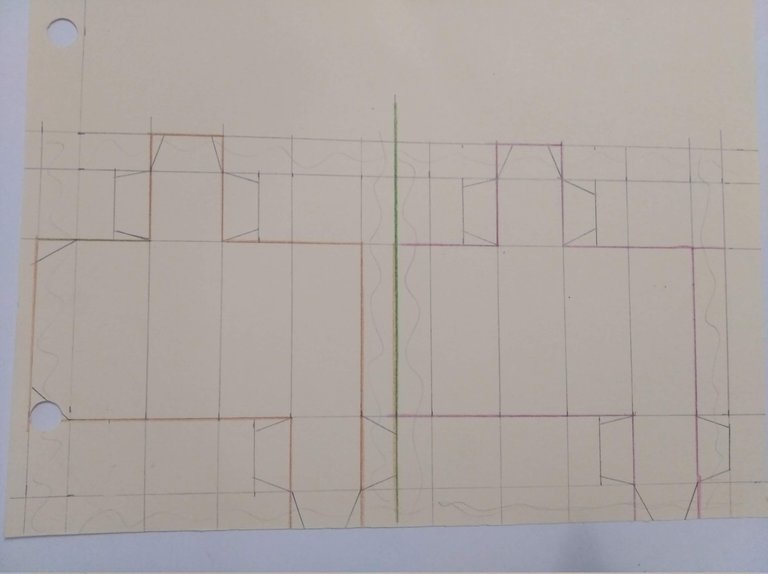
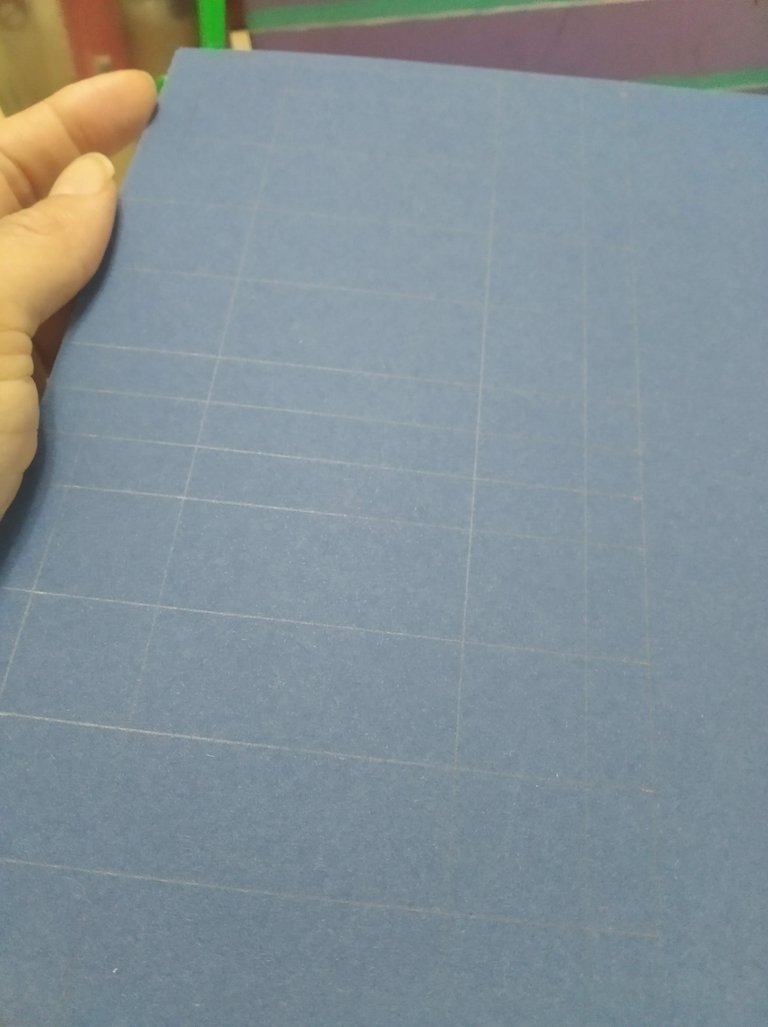
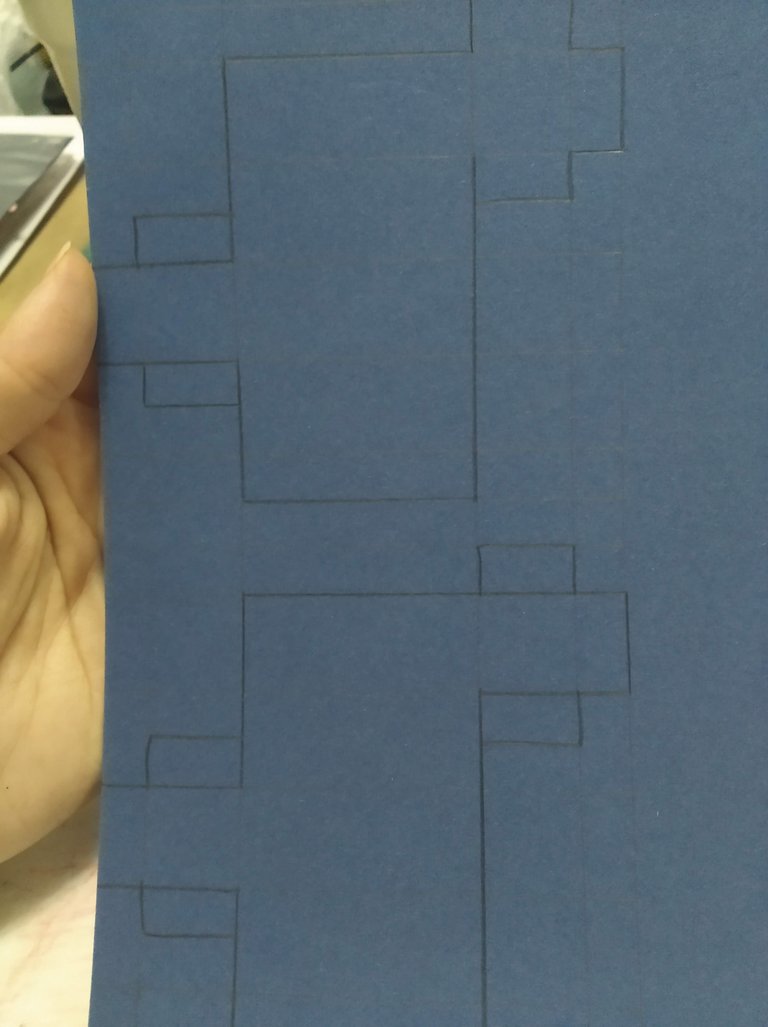
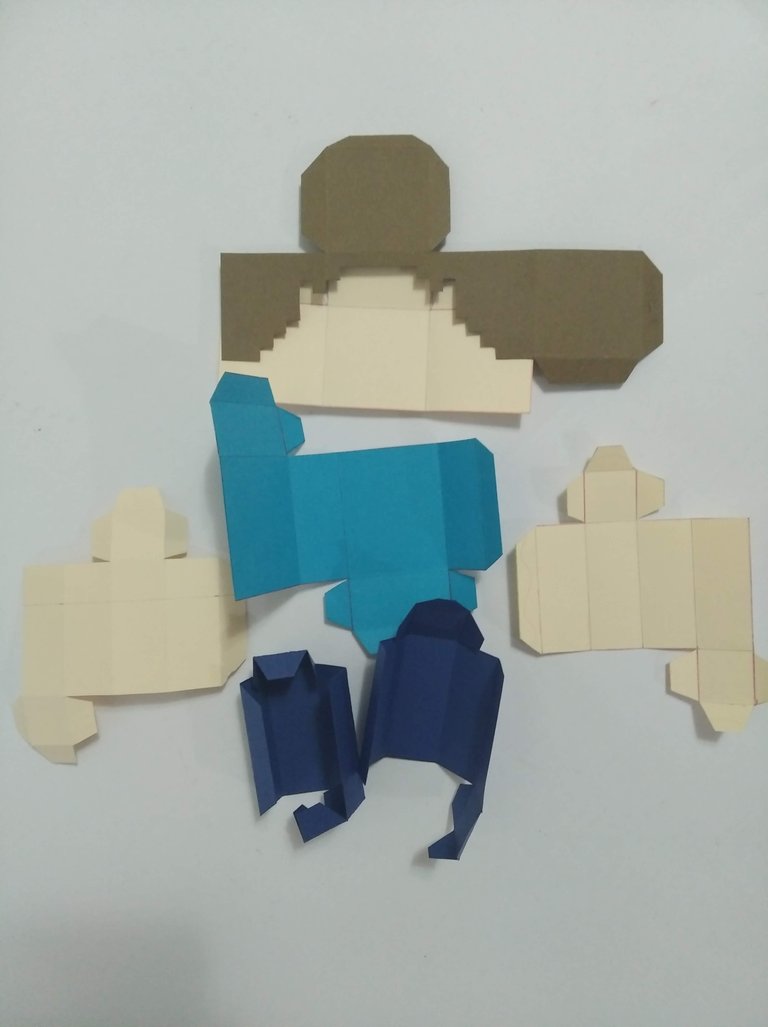
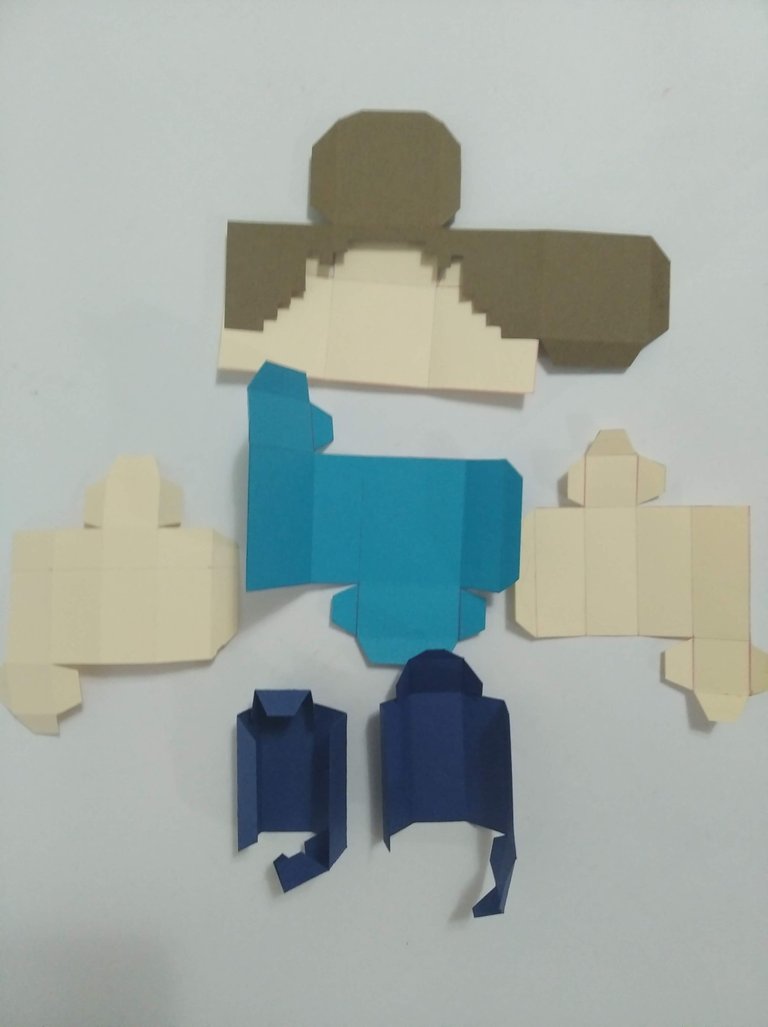
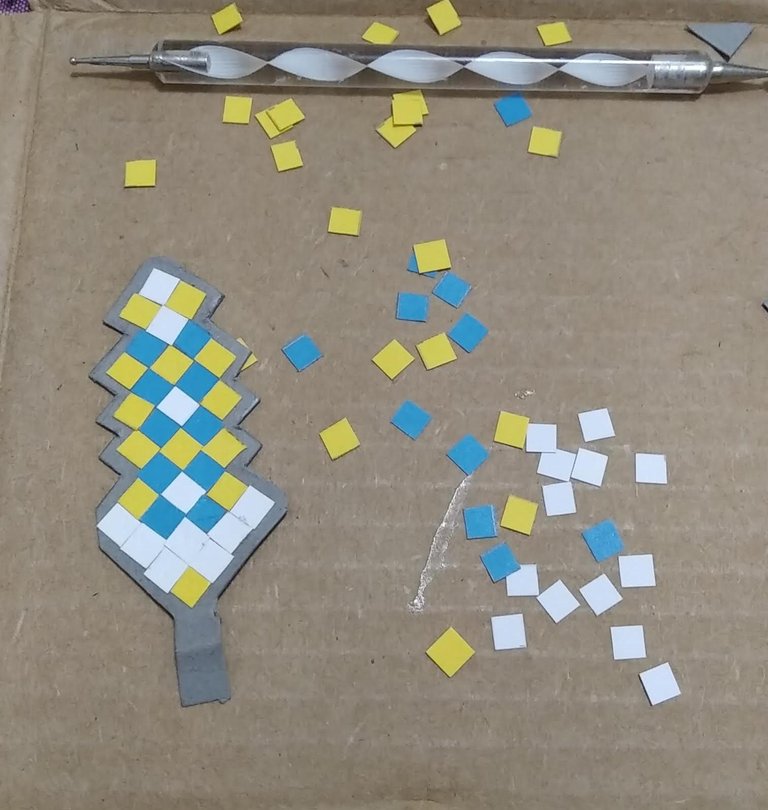
- Con la ayuda de la regla y lápiz, trazar en las cartulinas de colores las medidas establecidas. Para crear la pieza 3D las piezas debe cortarse en patrón continuo con pestañas externas que permitan el armado y cierre de la piezas.
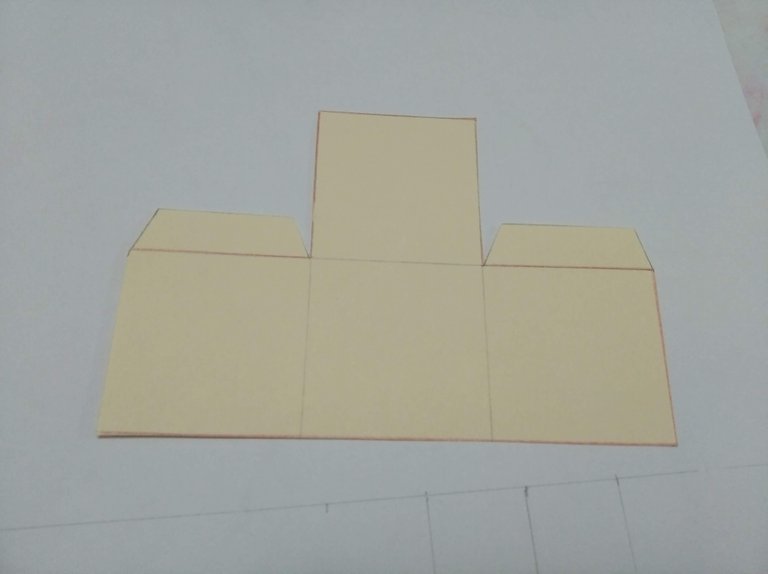
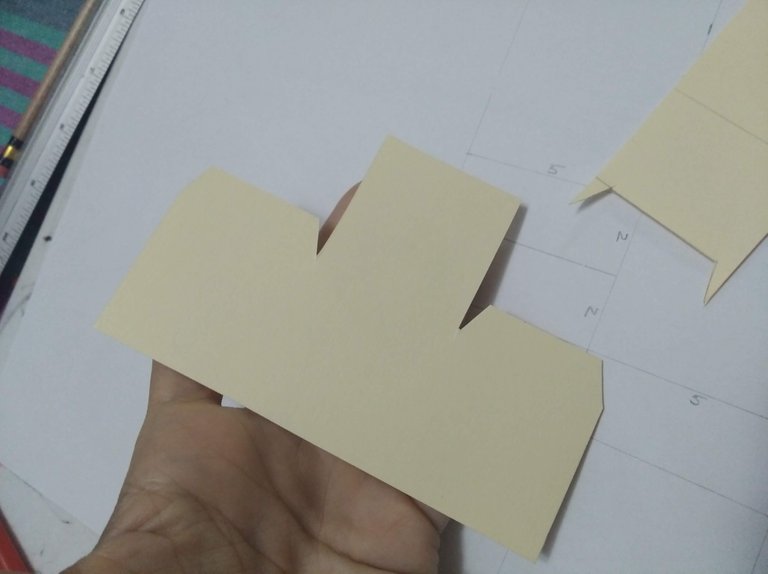
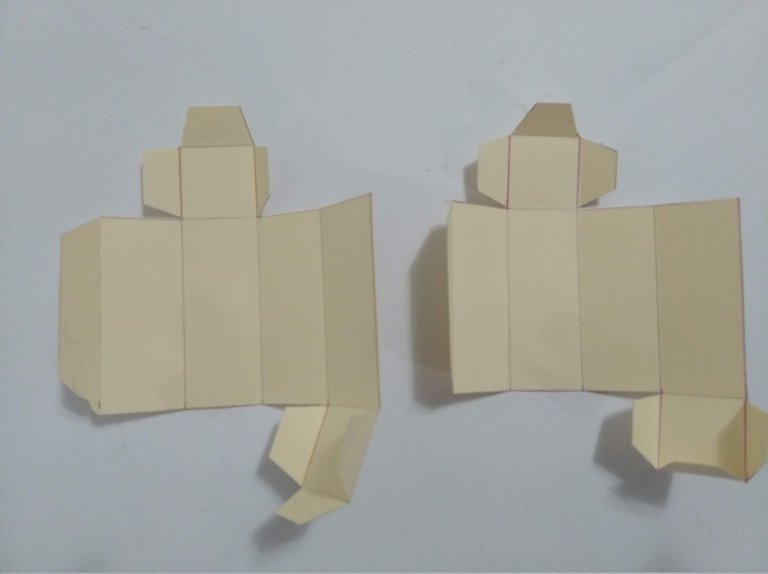
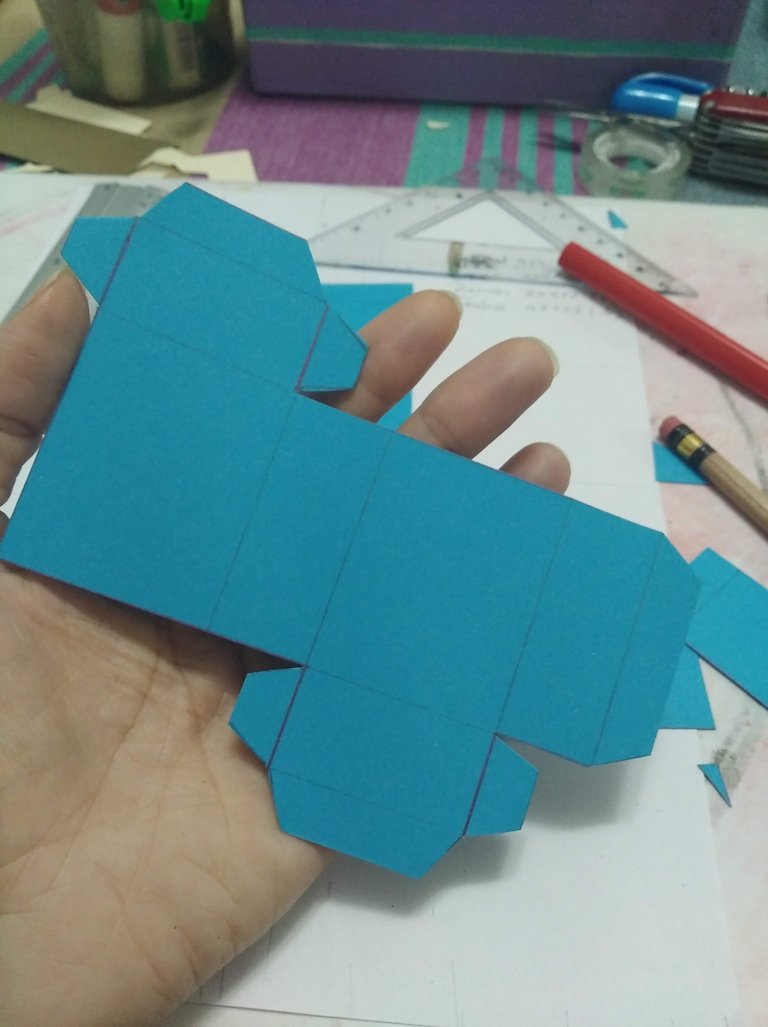
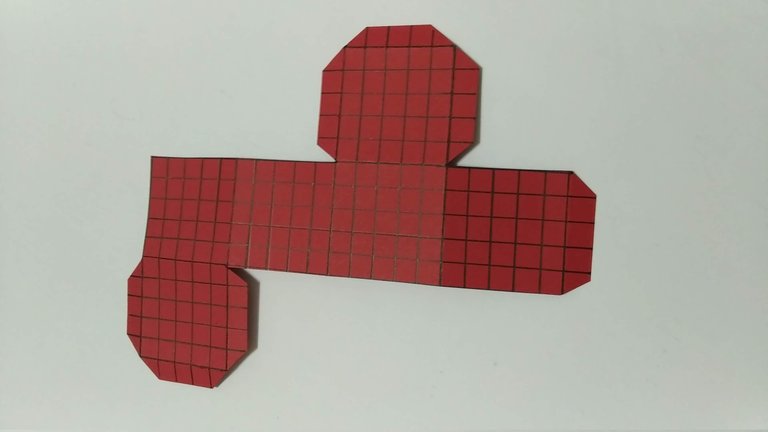
- Una vez marcado en las cartulinas el diseño de todas las piezas recortar con la tijera, teniendo cuidado de no cortar las pestañas para el cierre.
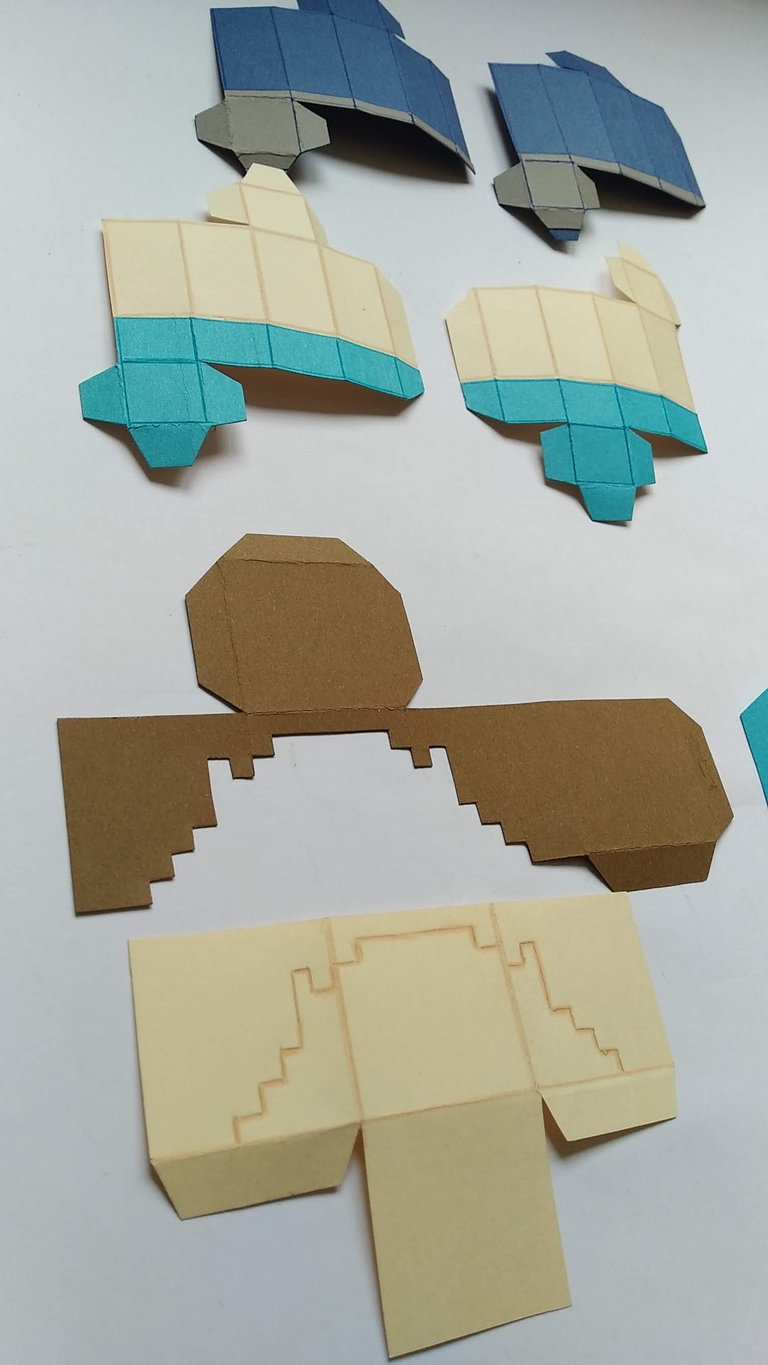
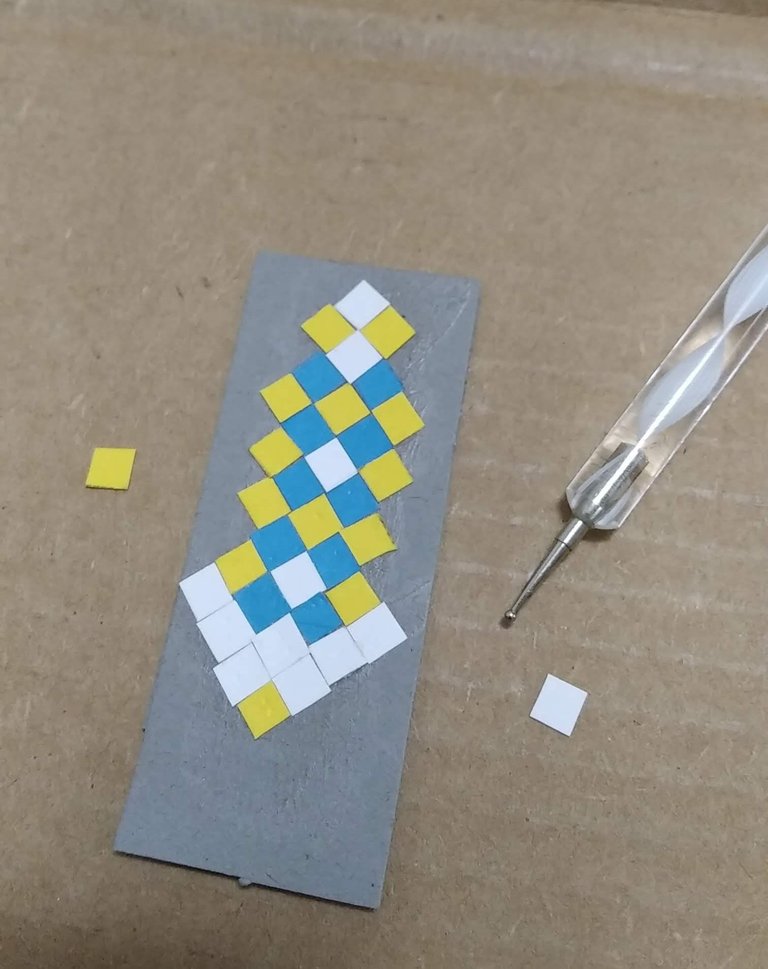
- Las piezas que lleven cortes adicionales como la cabeza que lleva detalles en el cabello, hacerlo antes de armar la pieza.
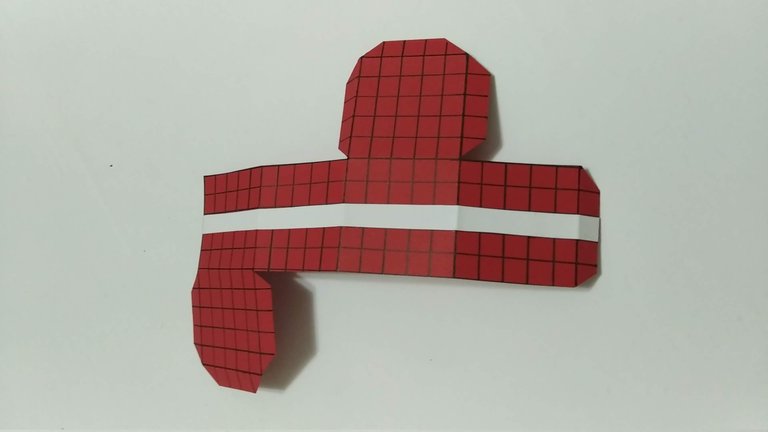
- Para resaltar las piezas, en cada lado donde se dobla, pasar marcador punta fina con la ayuda de la regla.
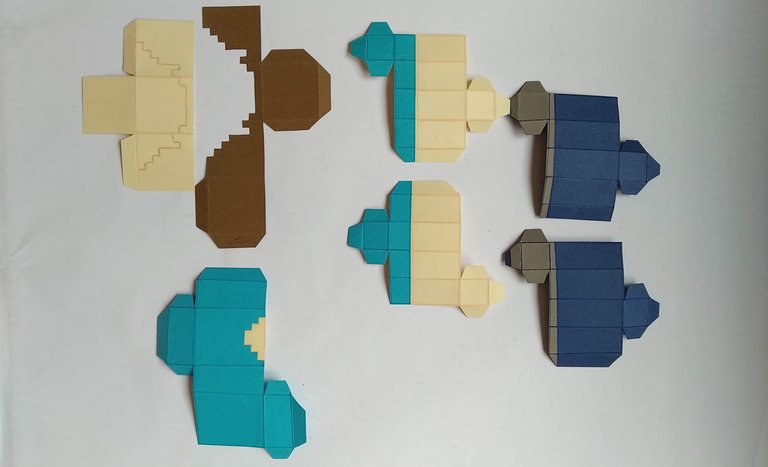
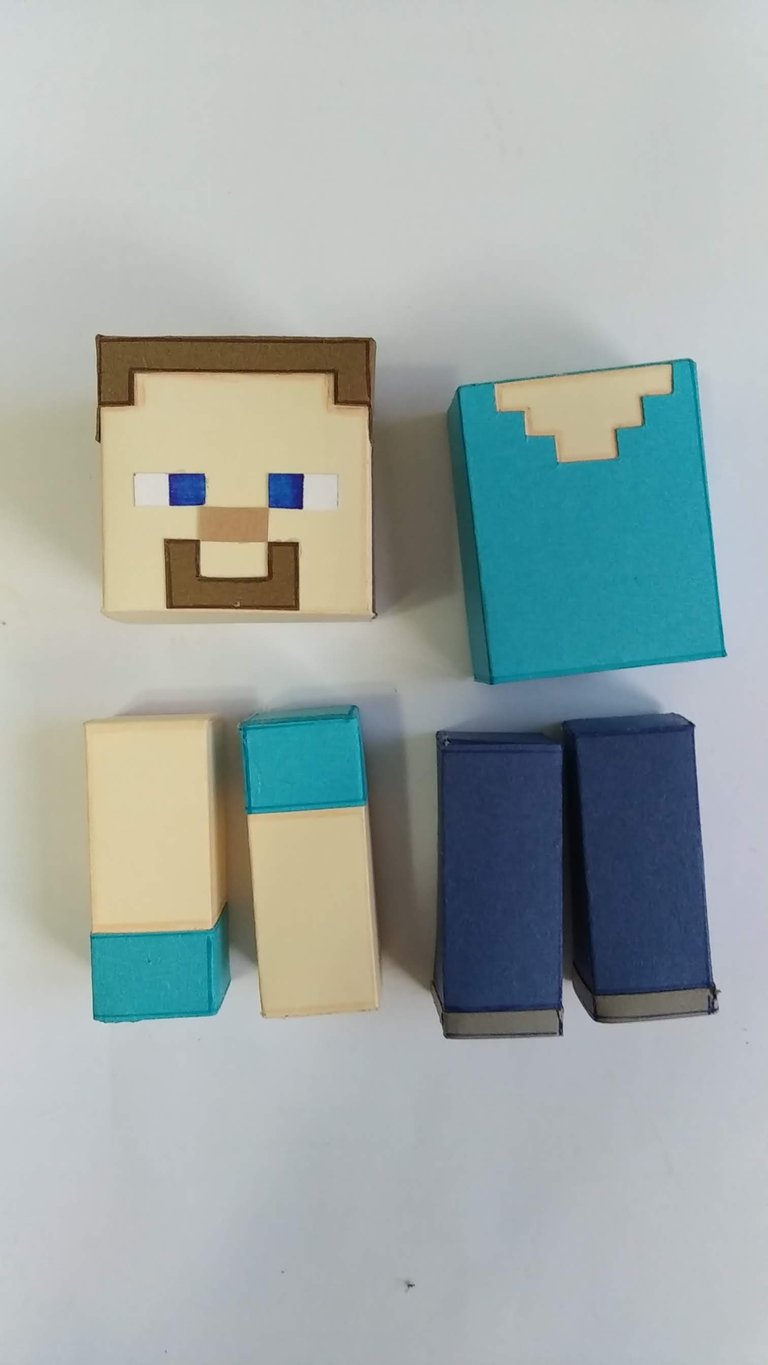
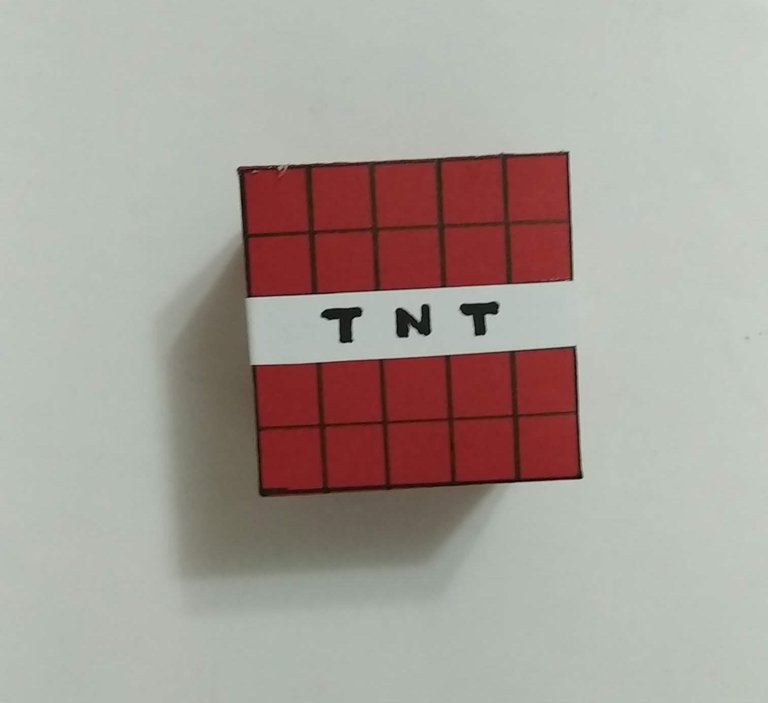
- Listas las piezas , armarlas pegándolas con silicón frio.
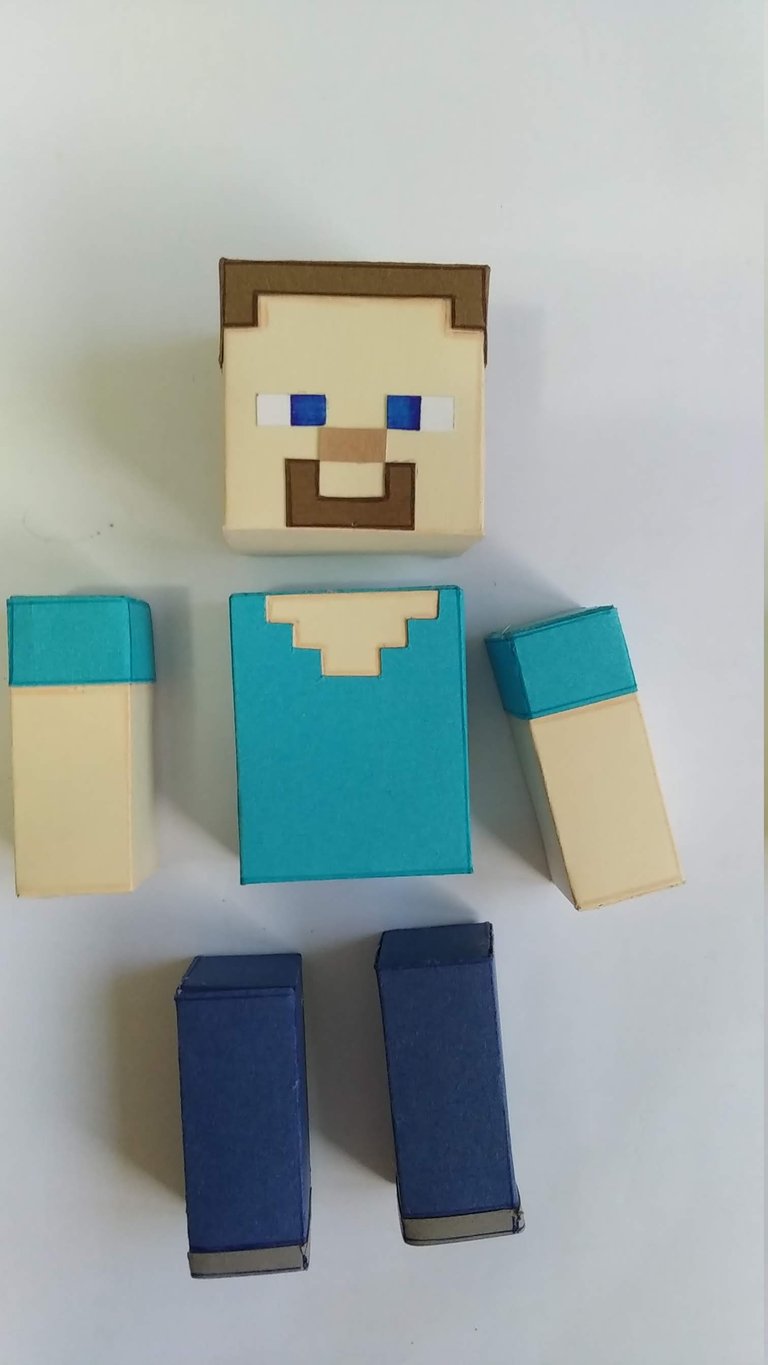
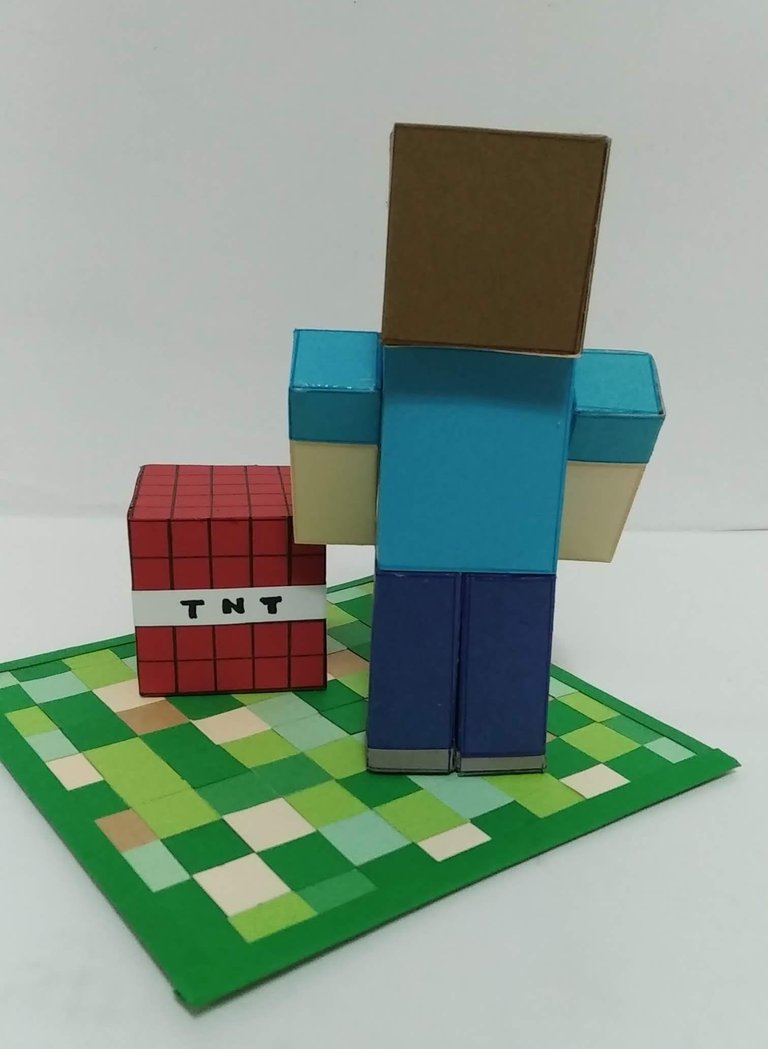
- Cuando se tengan todas las piezas armadas, comenzar a ensamblar el personaje central, pegando con silicón frio.
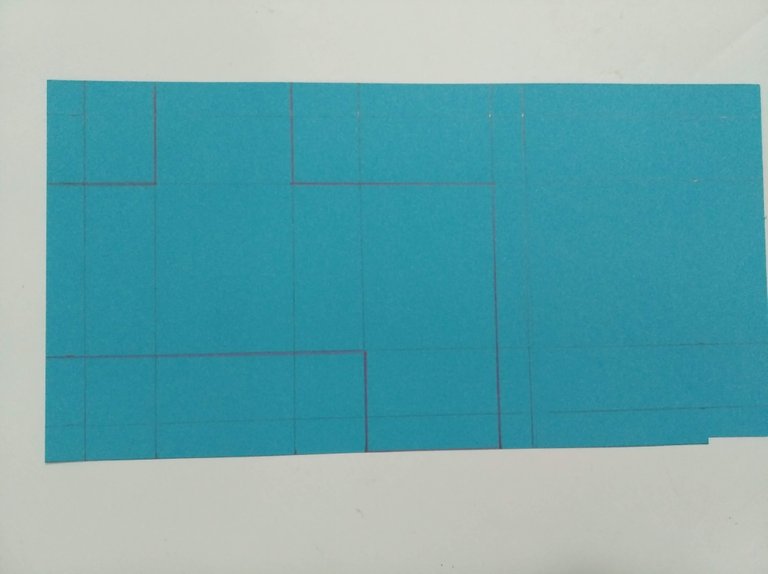
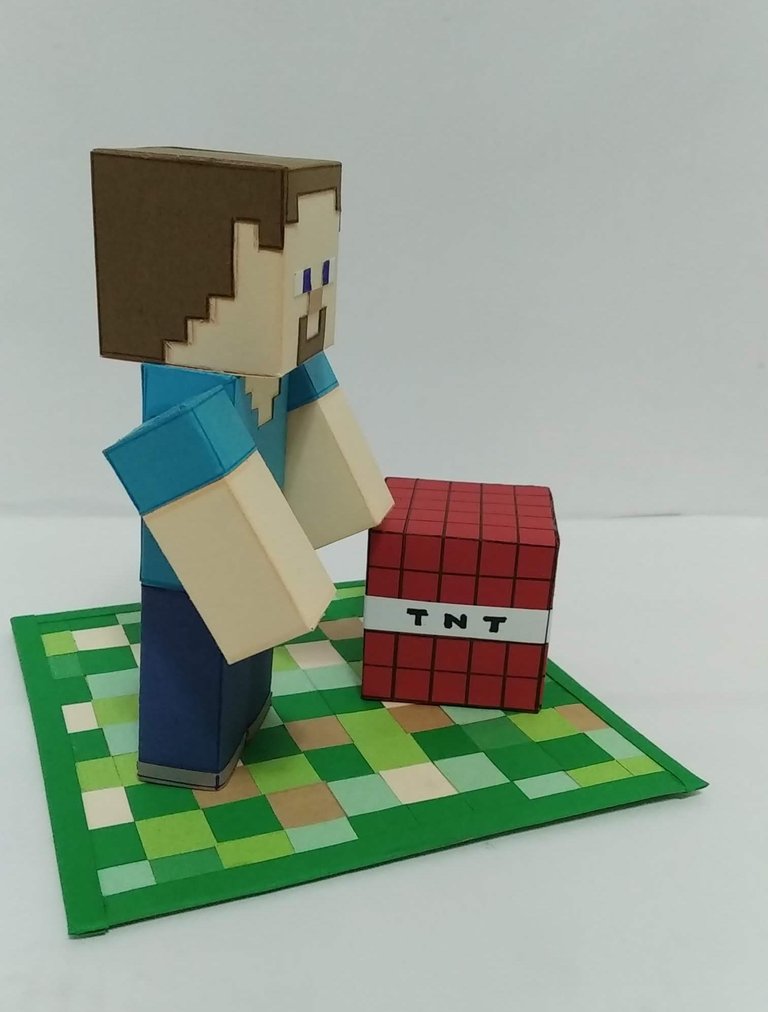
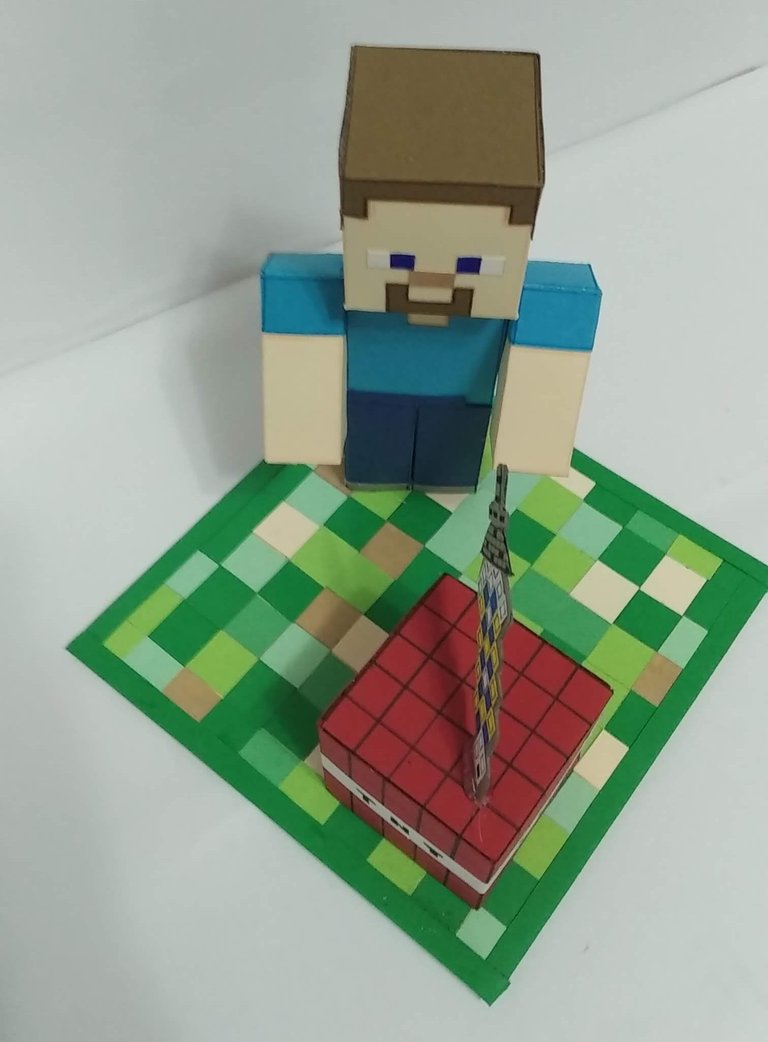
- La base donde se pegaran las piezas, decorarla con cuadros de colores alusivos a la temática.
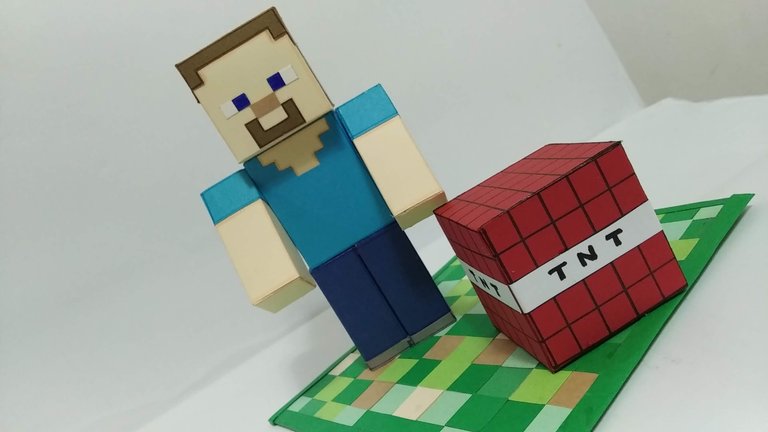
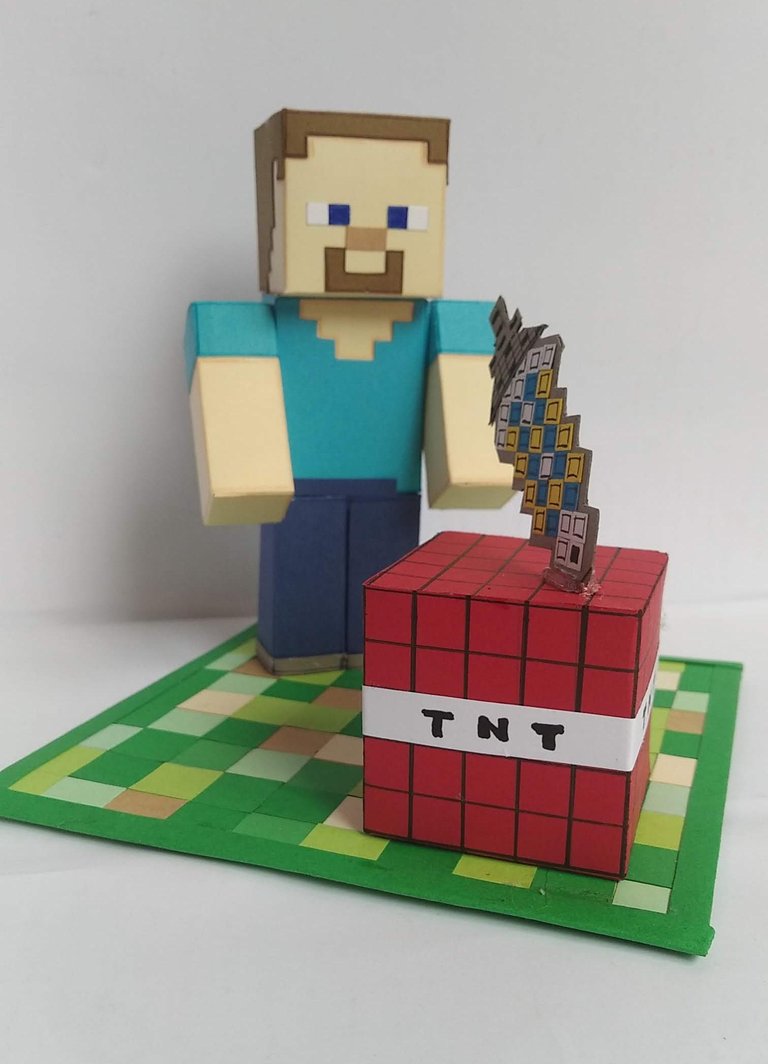
- Listo a disfrutar de la magia.
Inglés
Hello Friends at Hive... nice to greet you, especially the passionate creators of @Build-It.
Currently the video game "MINECRAFT" is a sensation among boys and even among girls too.... A few months ago, I made a 3D topper of Steve (you can see it in the previous posts) for a little friend named Isacc, that topper caused excitement and many of his friends wanted one too (hehehe) since they are fans of the game.
Santiago's mother, in order to please her little son on his birthday, asked me to make him a topper of Steve, the main character of the game as she wanted to surprise him with something unique. I, so respectful of birthdays, said yes to the proposal and made him this colorful, fun and special topper.
I hope you enjoy the images and dare to make something similar for your family and friends.
Here are the materials used, the process and the images of the work.
- Design to be made (in this case Steve, TNT, sword).
- Colored cardboard according to the theme and character to be made.
- Color markers
- Cold Silicone
- Glue stick
- Scissors
- Ruler
- Pencil
- Hot Silicone
- On a white sheet of paper draw the outline of the pieces to be created (shapes and size).
- With the help of the ruler and pencil, trace on the colored cardboard the established measures. To create the 3D piece, the pieces must be cut in a continuous pattern with external tabs that allow the assembly and closing of the pieces.
- Once the design of all the pieces has been marked on the cardboard, cut them out with the scissors, being careful not to cut the tabs for the closing.
- The pieces that have additional cuts such as the head that has details in the hair, do it before assembling the piece.
- To highlight the pieces, on each side where it is folded, pass a fine tip marker with the help of the ruler.
- Ready the pieces, assemble them by gluing them with cold silicone.
- When all the pieces are assembled, start assembling the central character, gluing them with cold silicone.
- The base where the pieces will be glued, decorate it with pictures of colors allusive to the theme.
- Ready to enjoy the magic.
As my native language is Spanish, I used the Deepl translator for this publication.
IMÁGENES / IMAGES

SALUDOS / REGARDS
Todas las Fotos fueron tomadas con mi teléfono Redmi 7A.
Contenido original de @keco (fotos y texto) - Todos los derechos reservados Publicado en HIVE así como en mi instagram : http://instagram.com/carton_pintura_algo_mas
All Photos were taken with my Redmi 7A phone.
Original content from @keco (photos and text) - All rights reserved Posted on HIVE as well as on my instagram: http://instagram.com/carton_pintura_algo_mas
Idénticos, que talento te gastas! Felicidades
Hola @emiliocabrera, gracias por tu apoyo...
Saludos, bendiciones y éxitos
Your content has been voted as a part of Encouragement program. Keep up the good work!
Use Ecency daily to boost your growth on platform!
Support Ecency
Vote for Proposal
Delegate HP and earn more
It looks cute and it is very good project to do during boring days. !discovery 20
Gracias @juecoree, vale la pena intentarlo, es genial...
Saludos ...
Thanks @juecoree, it's worth a try, it's great ....
Greetings ...
This post was shared and voted inside the discord by the curators team of discovery-it
Join our community! hive-193212
Discovery-it is also a Witness, vote for us here
Delegate to us for passive income. Check our 80% fee-back Program
Gracias por el apoyo, bendiciones.
Thank you for your support, blessings.
Hola @keco una vez mas me haz sorprendido con tus trabajos, que bellezaaaa, quede enamorada de este topper. Me encanta para intentar hacerlo para el cumple de mi hijo que es fanatico de minecraft. Dios bendiga tus manos y tu talento, Abrazos
Hola @nildasalazar, gracias por la valoración. Es fácil hacerlo, intentalo y sorprende a tu pequeño príncipe, se va a enloquecer de la emoción... cualquier duda o inquietud del proceso escríbeme y te apoyo.
Saludos .
Hi @nildasalazar, thanks for the review. It's easy to do, try it and surprise your little prince, he will go crazy with excitement ... any questions or concerns about the process write me and I will support you.
Regards