Greetings friends of this great community, today I will share with you how to make a soda pot bag, ideal for giving a gift or storing accessories, as was the case. Since I made this bag for my princess who spends it making beauty accessories within it bracelets. It was ideal for storing these accessories in this cute bag. This idea comes from my daughter watching videos on the web, she showed me this beautiful craft and I wanted to do it for her.
It is great to be able to recycle materials and transform them into others, here I use other materials that I buy with the same rewards received in my publications. Here I will show you the materials and the step by step.
Materiales
- 1 Foami fucsia escarchado
- Tira de foami plateado
- 1 pote de refresco
- Silicón frio
- Tijera
- Regla
- Exacto
materials
1 frosted fuchsia foam
Silver foami strip
1 pot of soda
Cold sylicon
Scissors
Rule
Exact

Paso a Paso
Step by Step
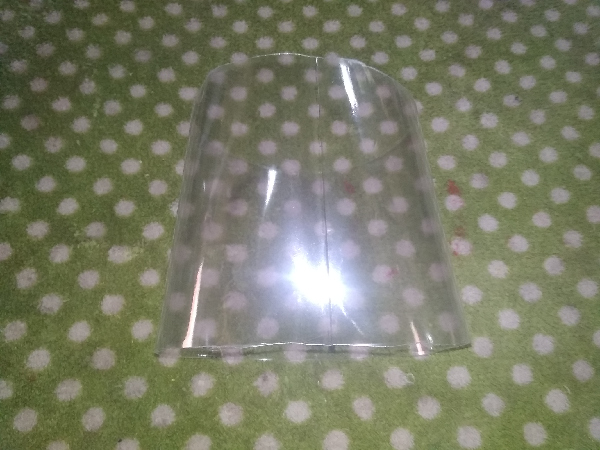
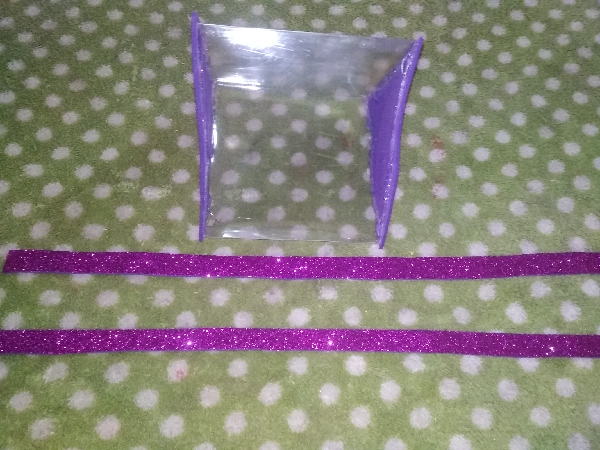
- Lo primero que haremos es tomar el pote de refresco y cortar la parte lisa del pote, esto lo realizó con la ayuda de un exacto.
The first thing we will do is take the soda pot and cut the smooth part of the pot, this was done with the help of an exact.

- Obteniendo la siguiente pieza
Getting the next piece
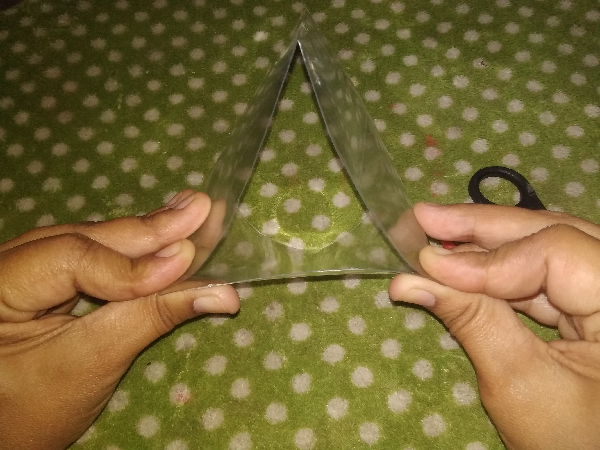
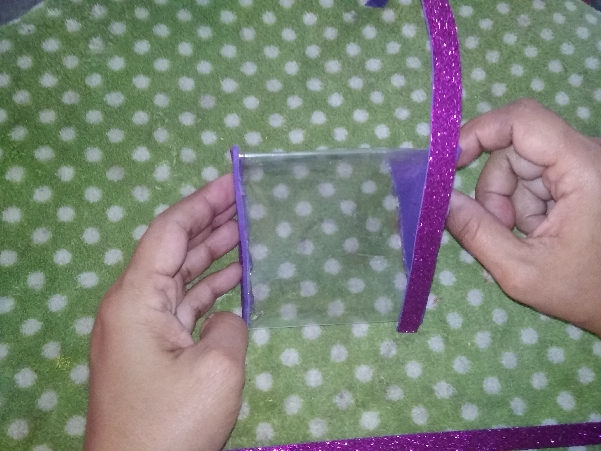
- Después con la mano presionamos para realizar un dobles, y luego le pasamos la regla o la tijera encima para que se marque bien las líneas.
Then with the hand we press to make a doubles, and then we pass the ruler or the scissors over it so that the lines are well marked
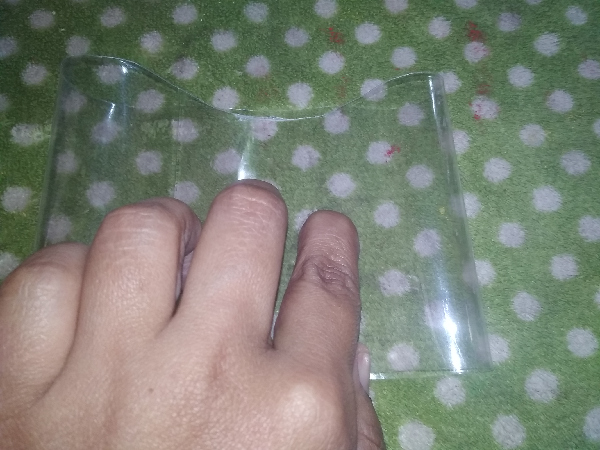
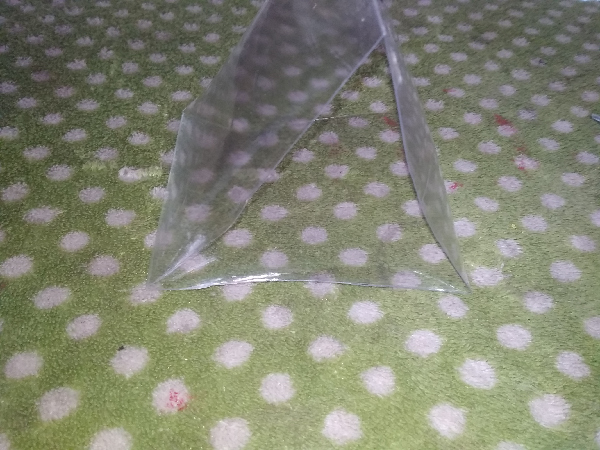
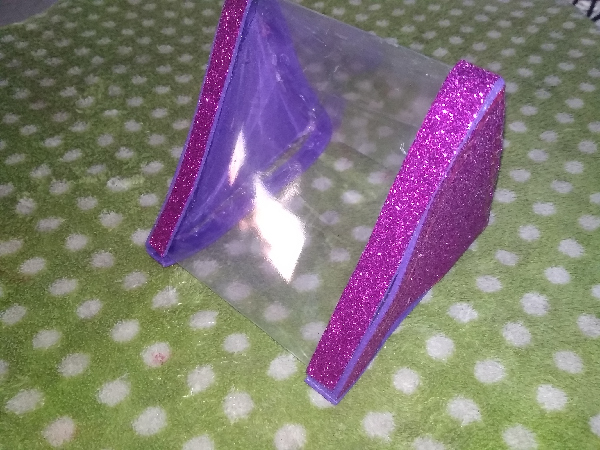
- Formamos un triángulo, así como muestra la fotografía.
We form a triangle, as the photograph shows.
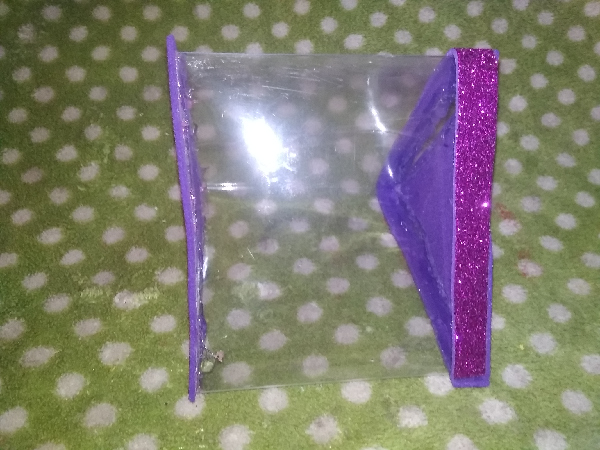
- Tomamos ya la pieza y comenzamos a colocar silicón frio
We take the piece and begin to place cold silicone
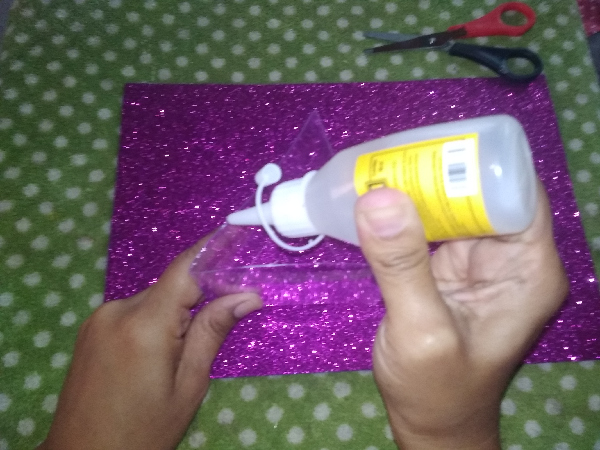
- Ahora volteamos el foami y pegamos, este procedimiento lo realizamos por ambos lados.
Now we turn the foami and paste, this procedure is carried out on both sides.
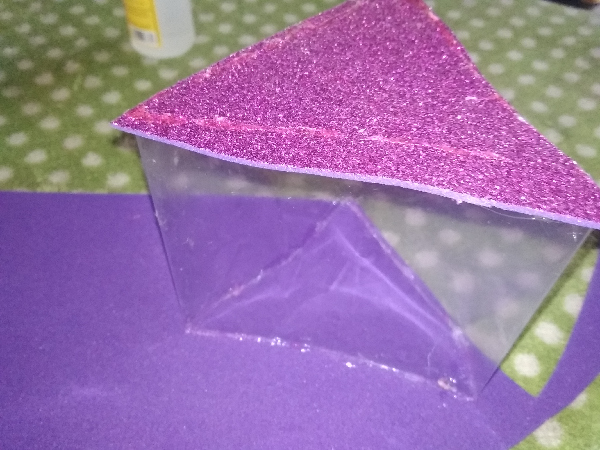
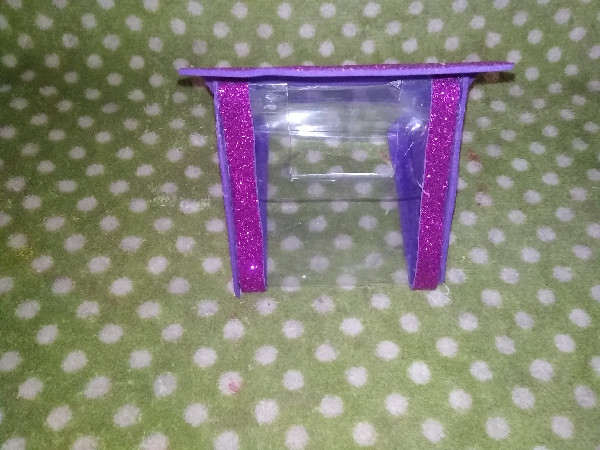
- Obteniendo ya la forma de nuestro bolso.
Getting already the shape of our bag.

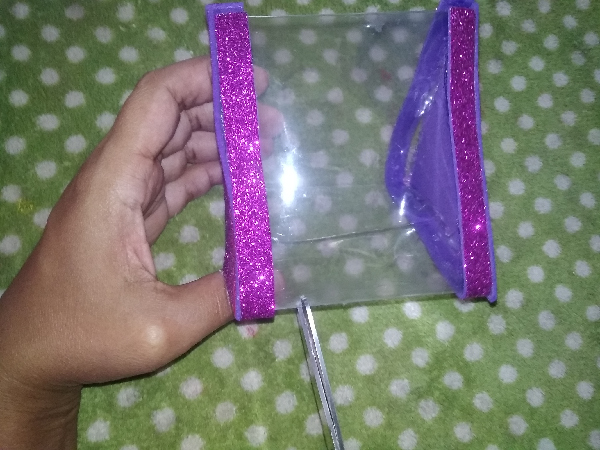
- Ahora cortamos dos tiras de 1cm de ancho, por el largo del foami carta.
Now we cut two strips of 1cm wide, for the length of the letter foam.
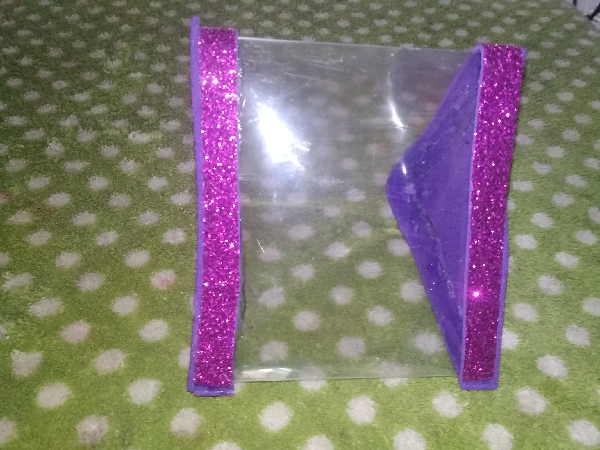
- Ahora coloco silicon en la tira, y coloque alrededor del bolso. Las tiras se colocan en ambos lados
Now I put silicon on the strip, and put it around the bag. Strips are placed on both sides

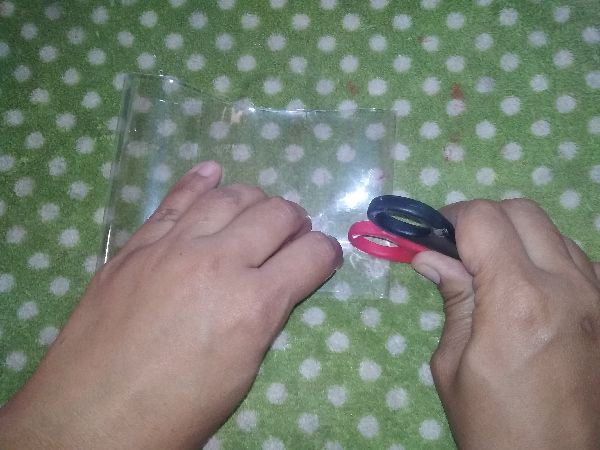
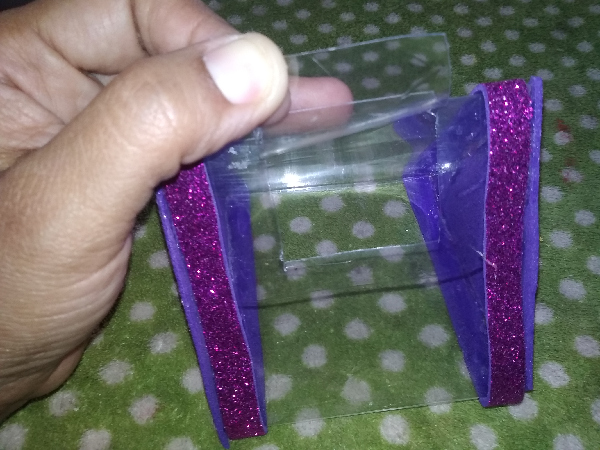
- Ahora como todo esta sellado, debemos abrir una ranura para poder colocar adentro lo que quieras. Realizamos un corte con la tijera
Now as everything is sealed, we must open a slot to be able to place whatever you want inside. We make a cut with the scissors
- Cortamos un pedazo, así como muestra la fotografía. Ese arista que sobre la cortaremos por completo para tener el espacio para introducir lo que quieras.
We cut a piece, as the photo shows. That edge that we will cut completely over to have the space to insert whatever you want.
- Ahora tomamos el foami y realizamos una tapa, que solo pegamos en la parte de atrás.
Now we take the foami and make a lid, which we only glue on the back.
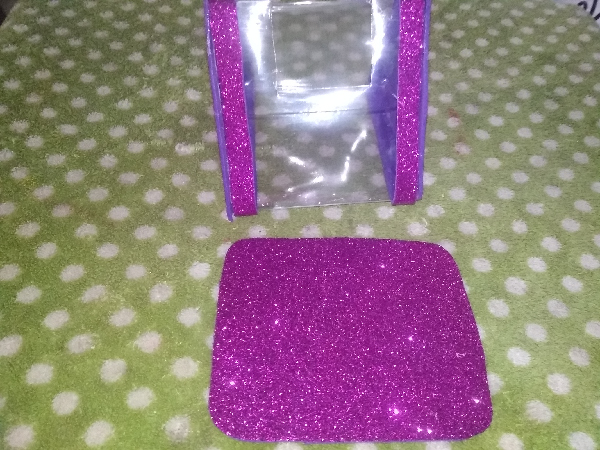
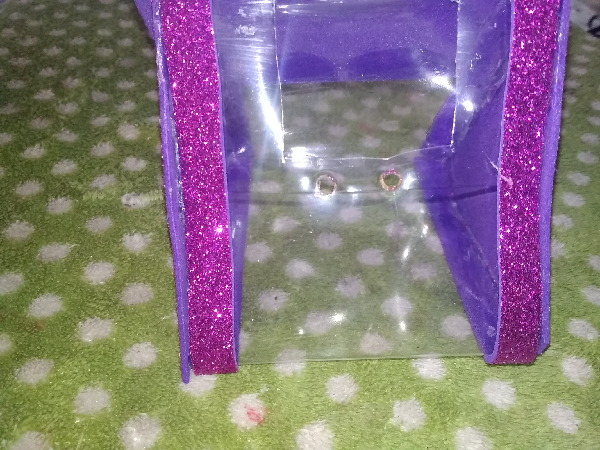
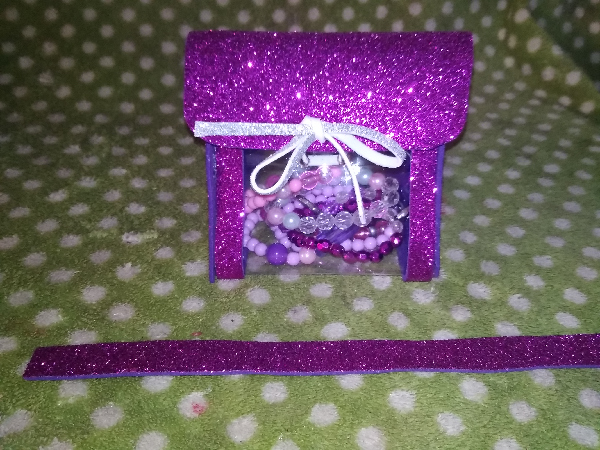
- Ahora realizamos unos huecos tanto en el foami como en el plástico, para poder amarrar.
Now we make some holes in both the foam and the plastic, to be able to tie.
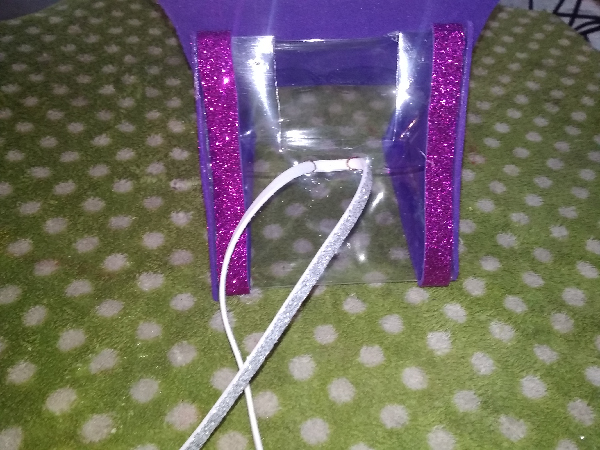
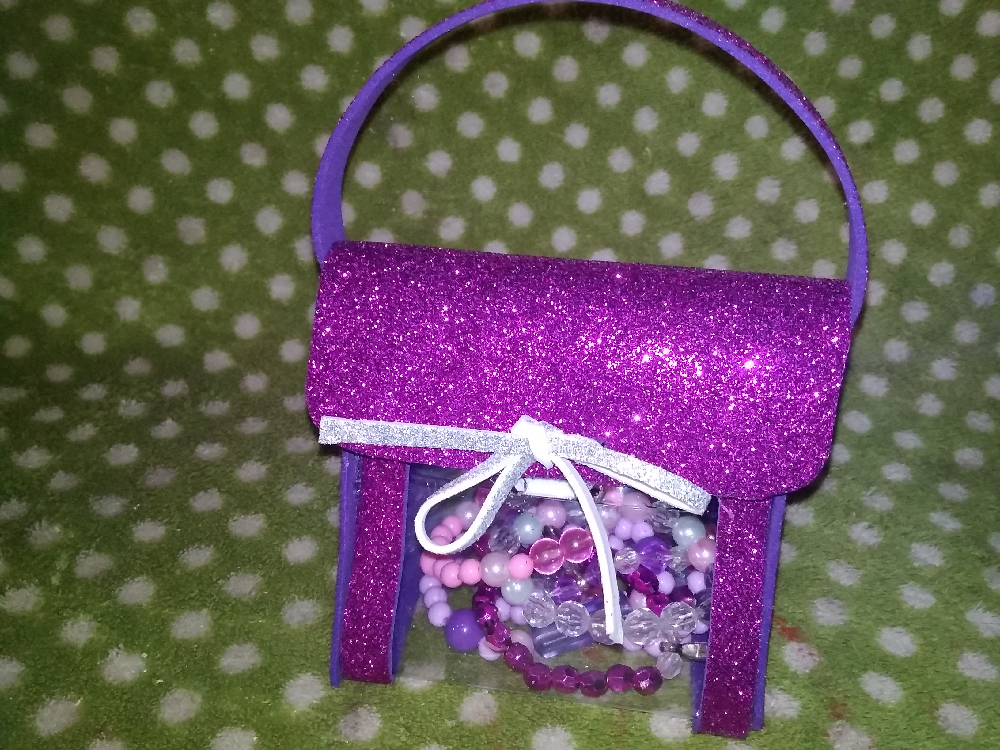
- Ahora hice una tira que será el agarradero del bolso, que pegue en ambos lados. Luego introduje las pulseras de mi pequeña.
Now I made a strip that will be the handle of the bag, that I stick on both sides. Then I put in my little girl's bracelets.
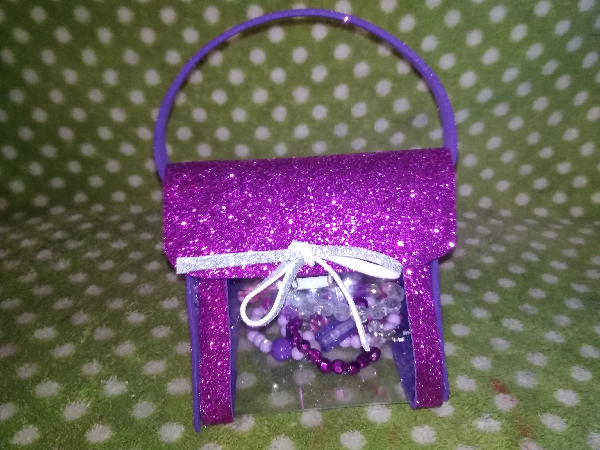
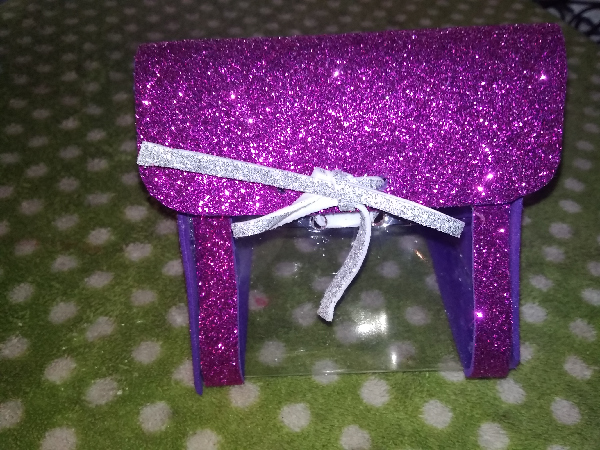
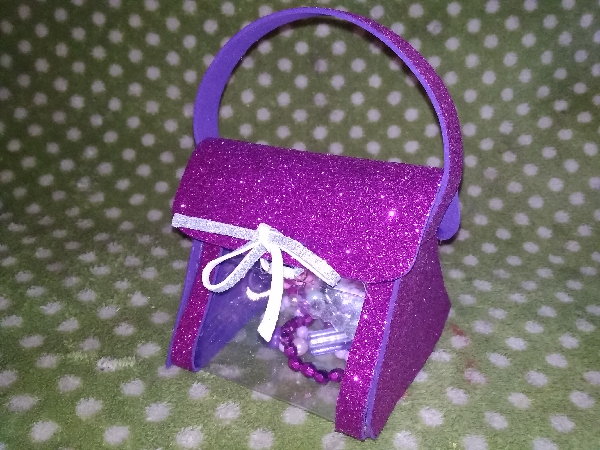
Resultado Final.
Este tipo de bolso puede ser usado para realizar algún obsequio o guardar algo. De verdad me encanto el resultado
Final score.
This type of bag can be used to make a gift or store something. I really loved the result

Espero les guste
Fotografías tomadas desde mi Teléfono RedmiGo
Gracias por Leerme
I hope you like it
Pictures taken from my RedmiGo Phone
Thanks for reading me

Nos vemos en un próximo post
Gracias por Leerme
See you in a next post
Thanks for reading me*