Hola queridos amigos de hive!Me encuentro muy emocionada de enseñarles el paso a paso de como hacer unas mariposa en origami.
Hello dear friends of hive! I am very excited to teach you the step by step of how to make origami butterflies
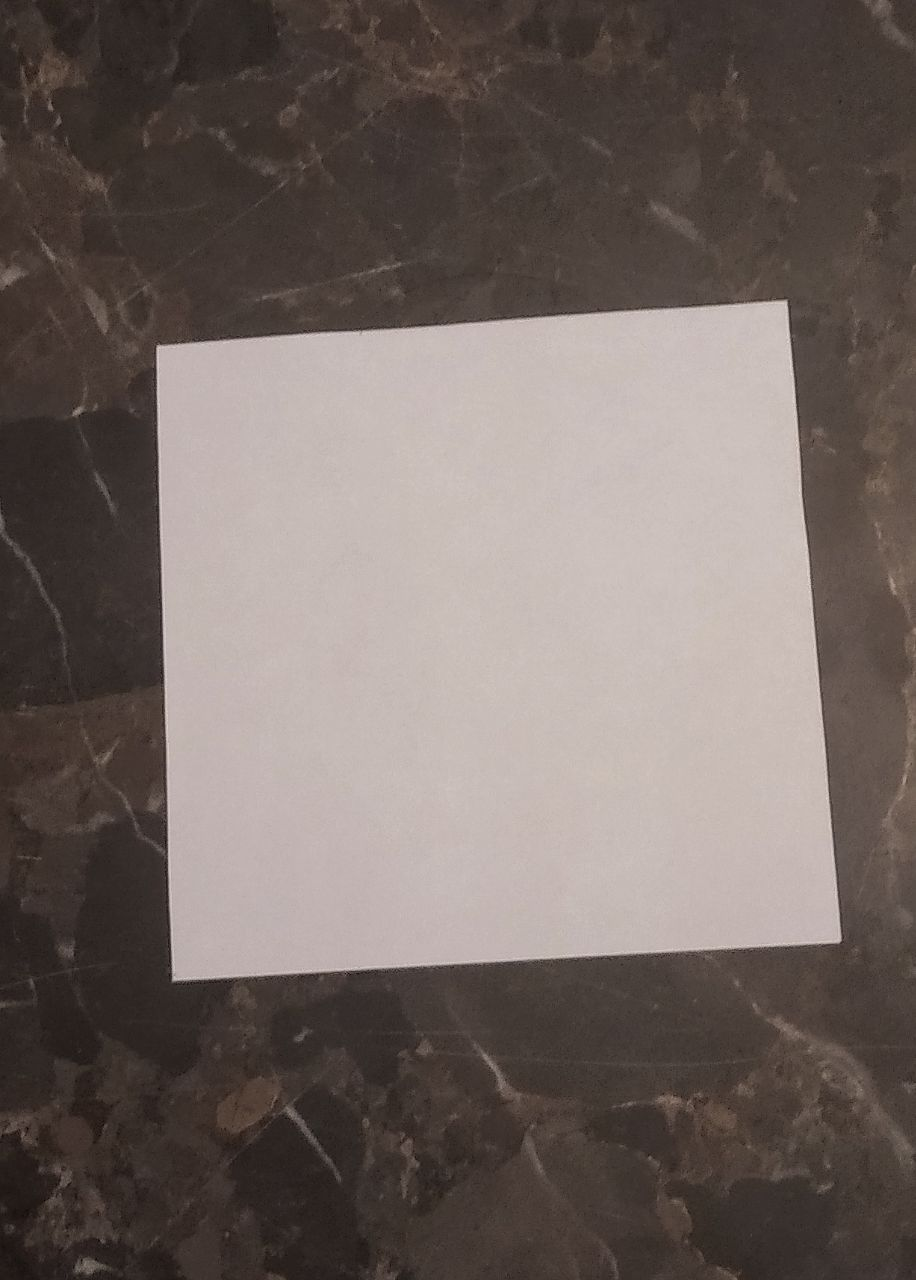
Para hacer esta bonita mariposa de origami, necesitas una hoja cuadrada el tamaño puede variar en función de lo grande que la quieras. En este caso use un cuadrado 12 por 12 cms.
To make this beautiful origami butterfly, you need a square sheet, the size can vary depending on how big you want it. In this case use a 12 by 12 cms square.
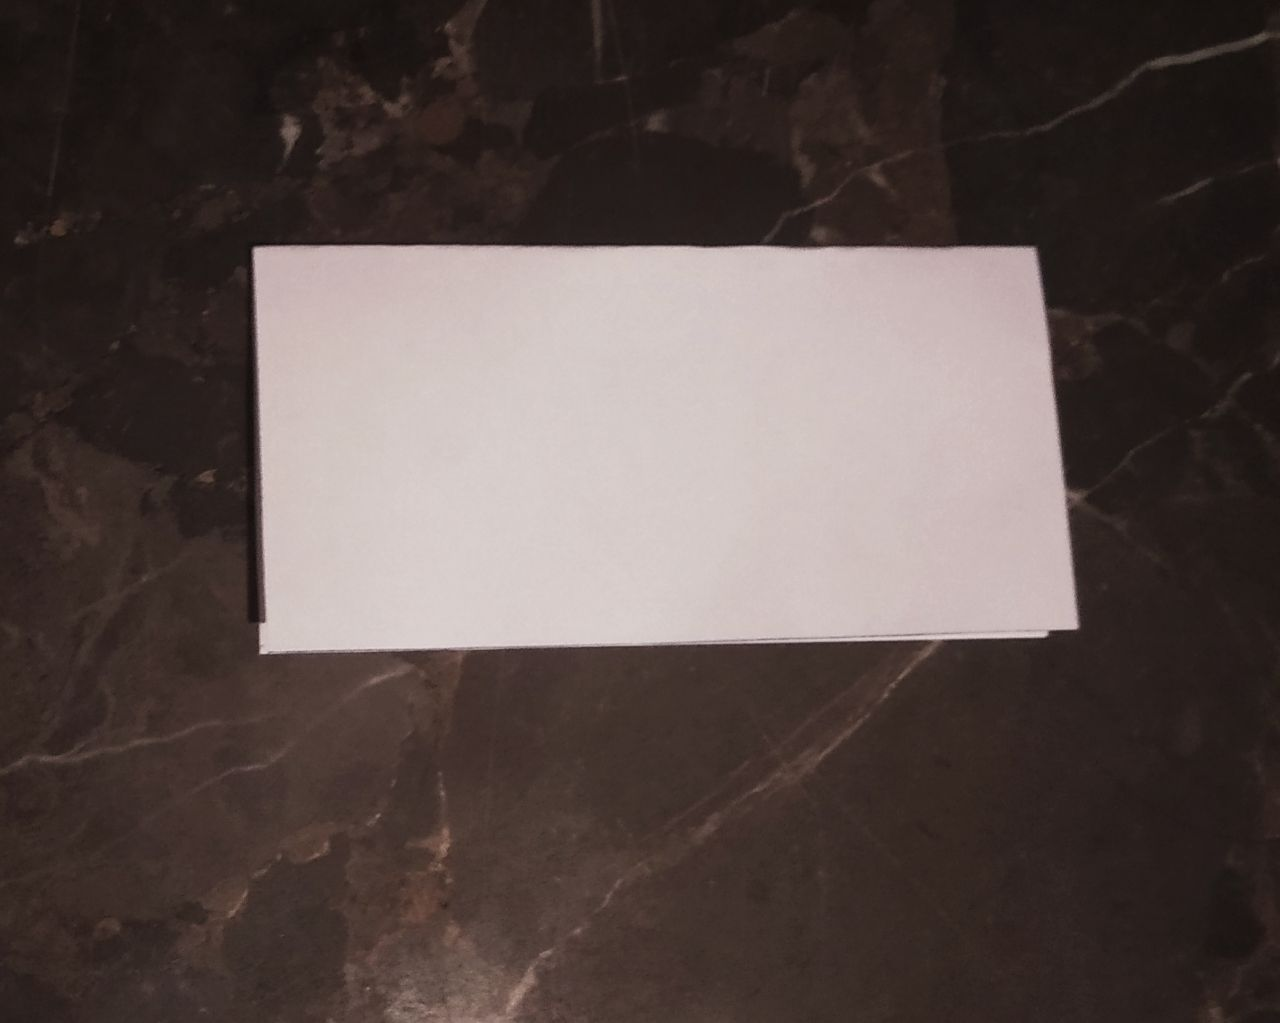
1 En primer lugar doble la hoja por la mitad.
First fold the sheet in half.
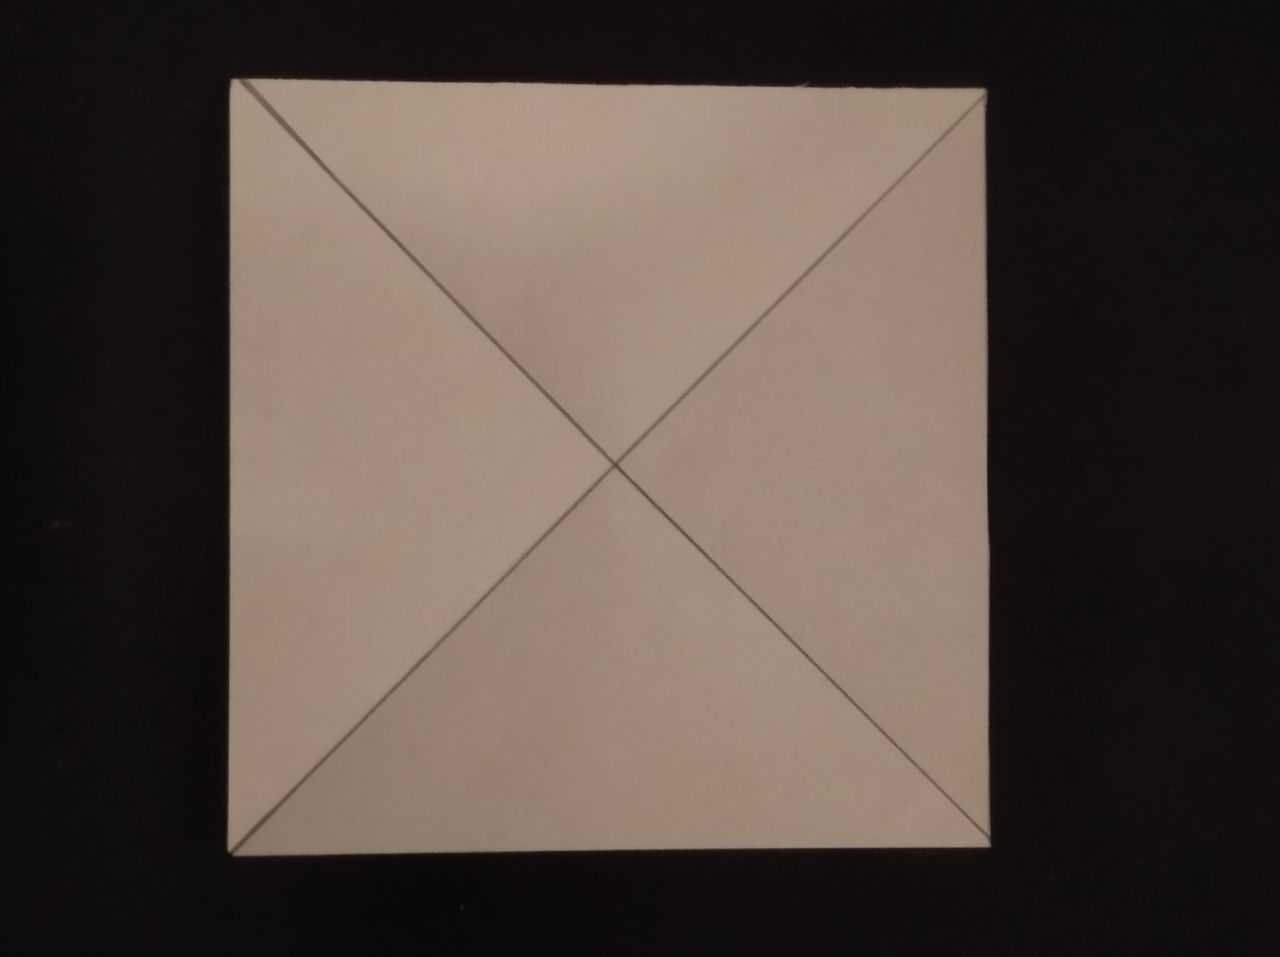
2 Abre la figura y dóblala por el otro lado, de modo que marques una cruz.
Open the shape and fold it on the other side, so that you mark a cross.
3 Abre la figura, dóblala formando un triángulo y marca bien las líneas.
Open the figure, fold it into a triangle and mark the lines well

4 dobla la figura y dóblala hacia el otro lado para marcar las líneas diagonales.
fold the figure and fold it to the other side to mark the diagonal lines.
5 Ahora dobla la figura como ves en la imagen.
Now fold the figure as you see in the image.
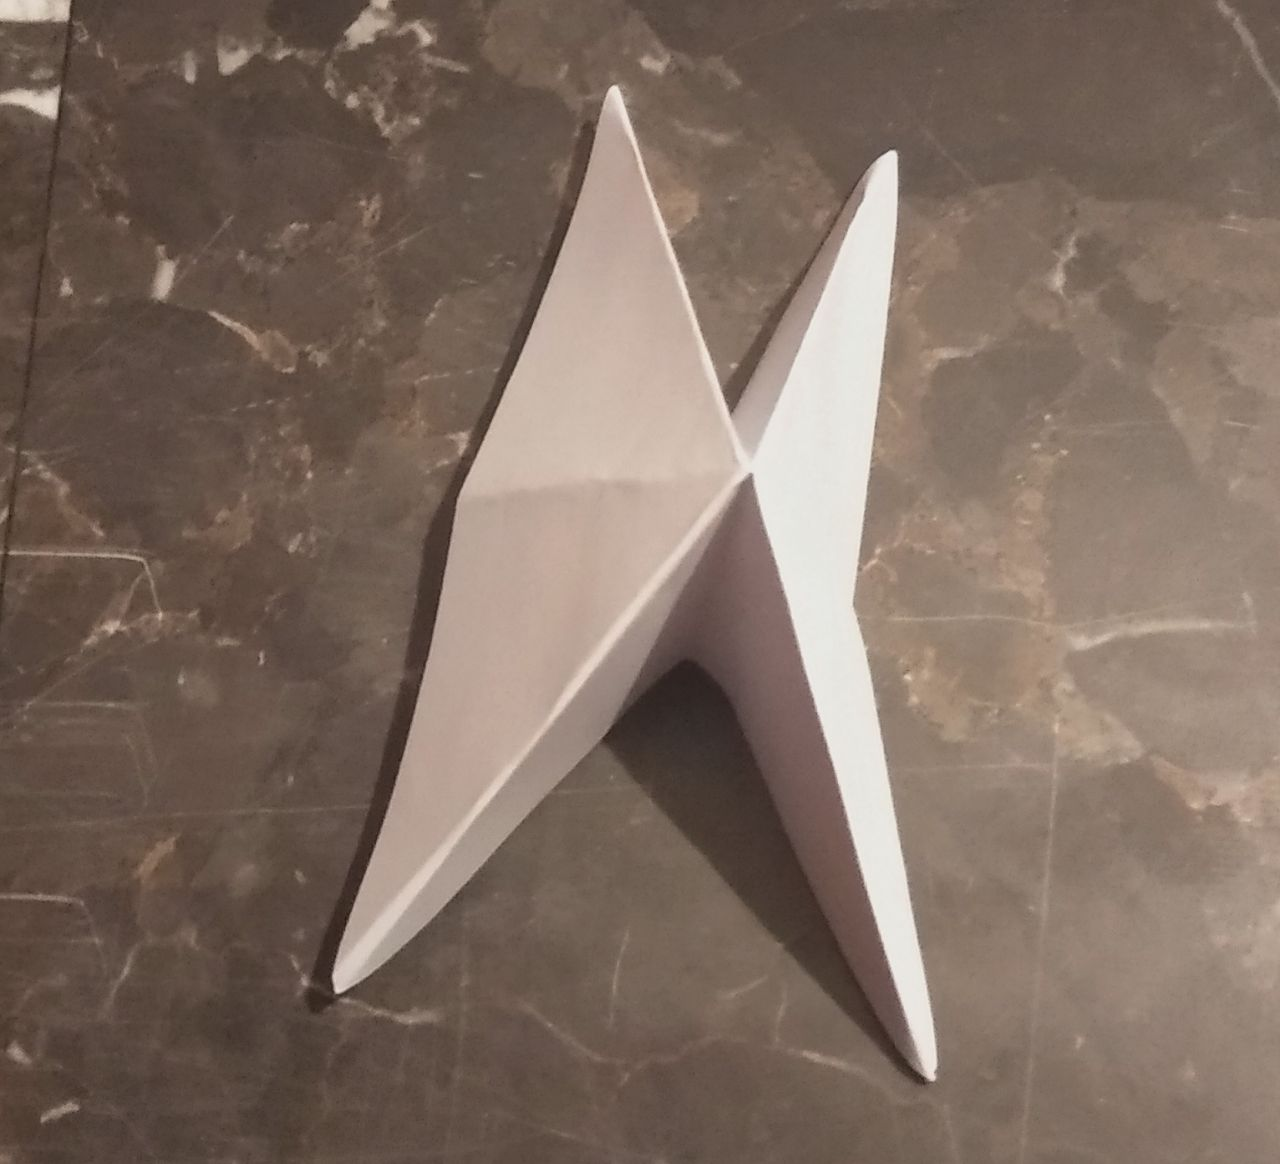
6 A continuación junta los pliegues (dos a cada lado) formando un triángulo.
Then join the folds (two on each side) forming a triangle
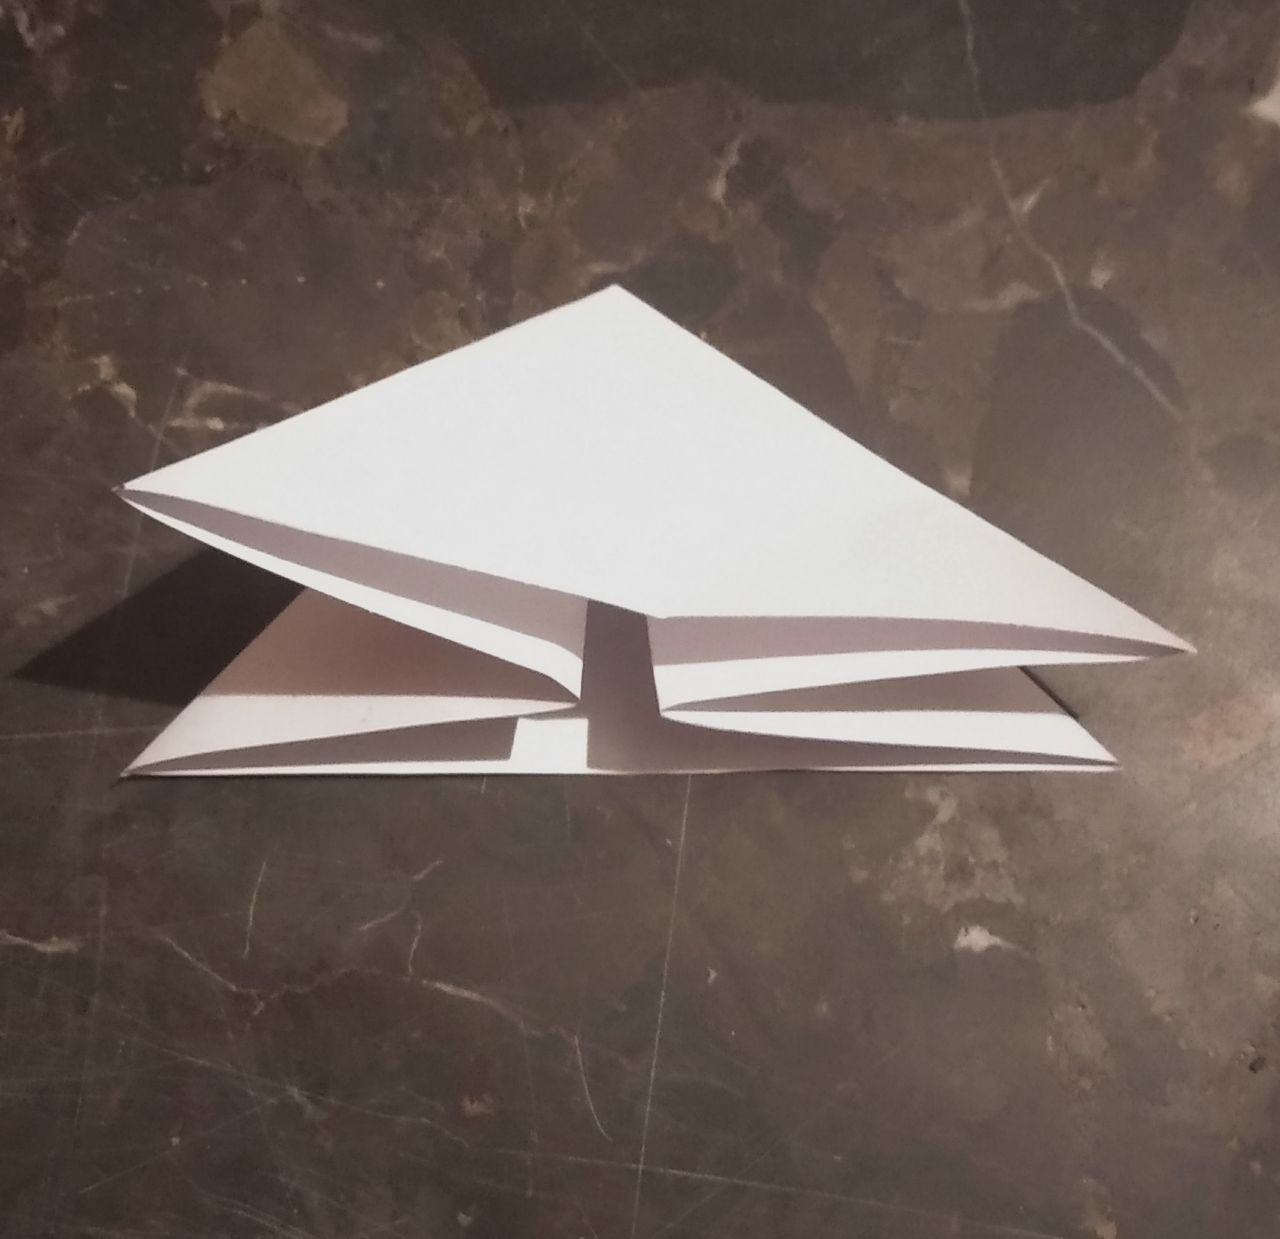
7 Coge la primera esquina inferior izquierda y dóblala hacia arriba, haz lo mismo con la primera esquina inferior derecha, formando un rombo.
Take the first lower left corner and fold it up, do the same with the first lower right corner, forming a rhombus
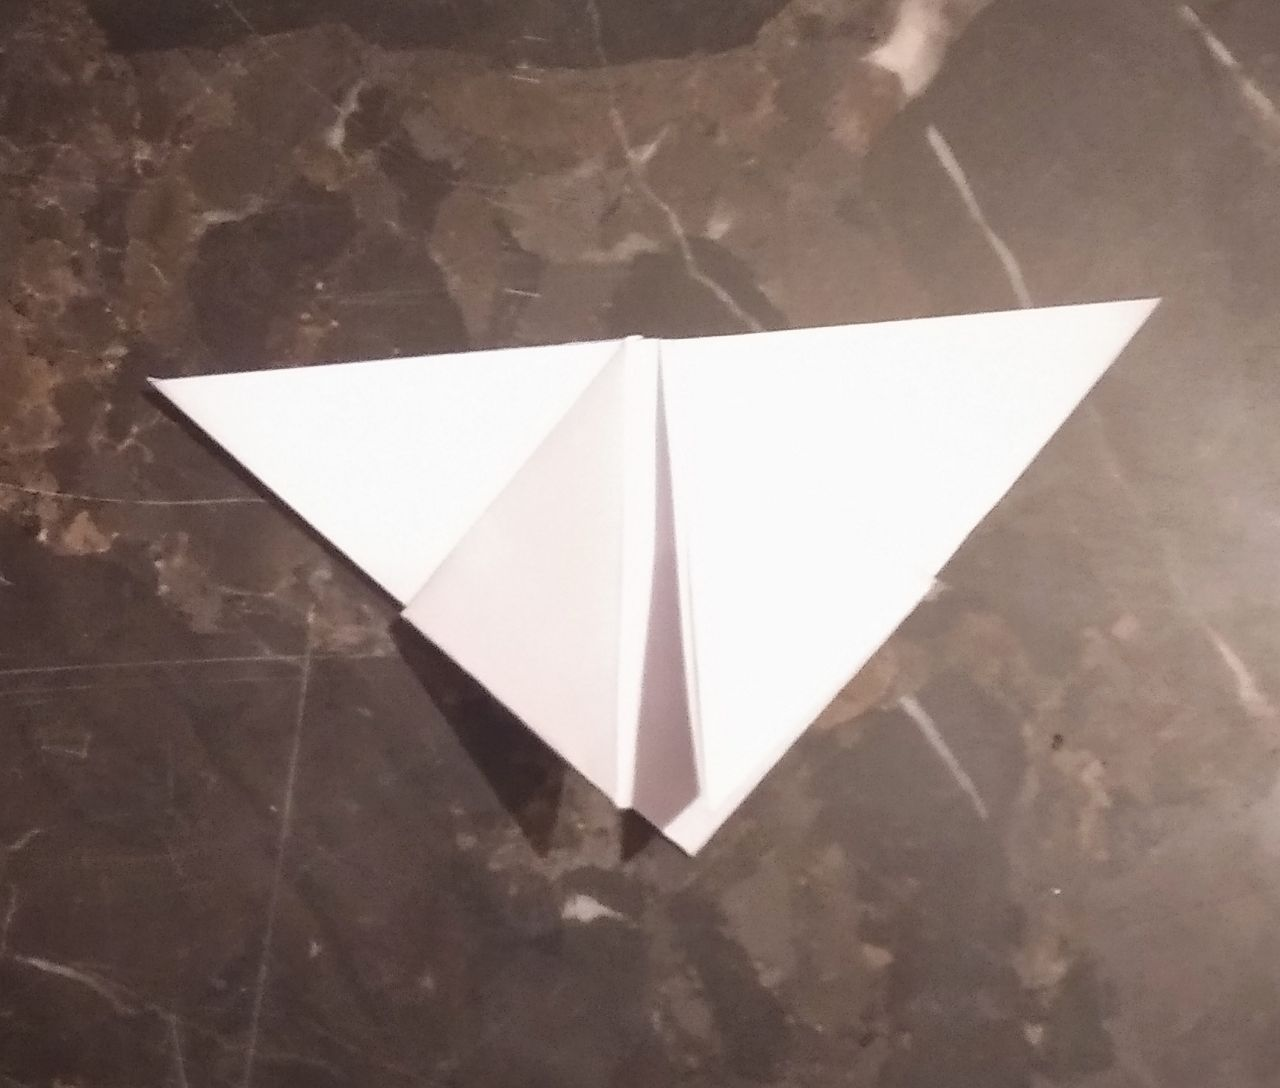
8 Da la vuelta a la figura y gírala, colocando el pico hacia abajo.
Flip the figure over and turn it, putting the beak down.
9 Ahora lleva la esquina inferior hacia arriba, de modo que el pico pasé por encima de la base del triángulo.
Now bring the bottom corner up so that the peak passed over the base of the triangle.
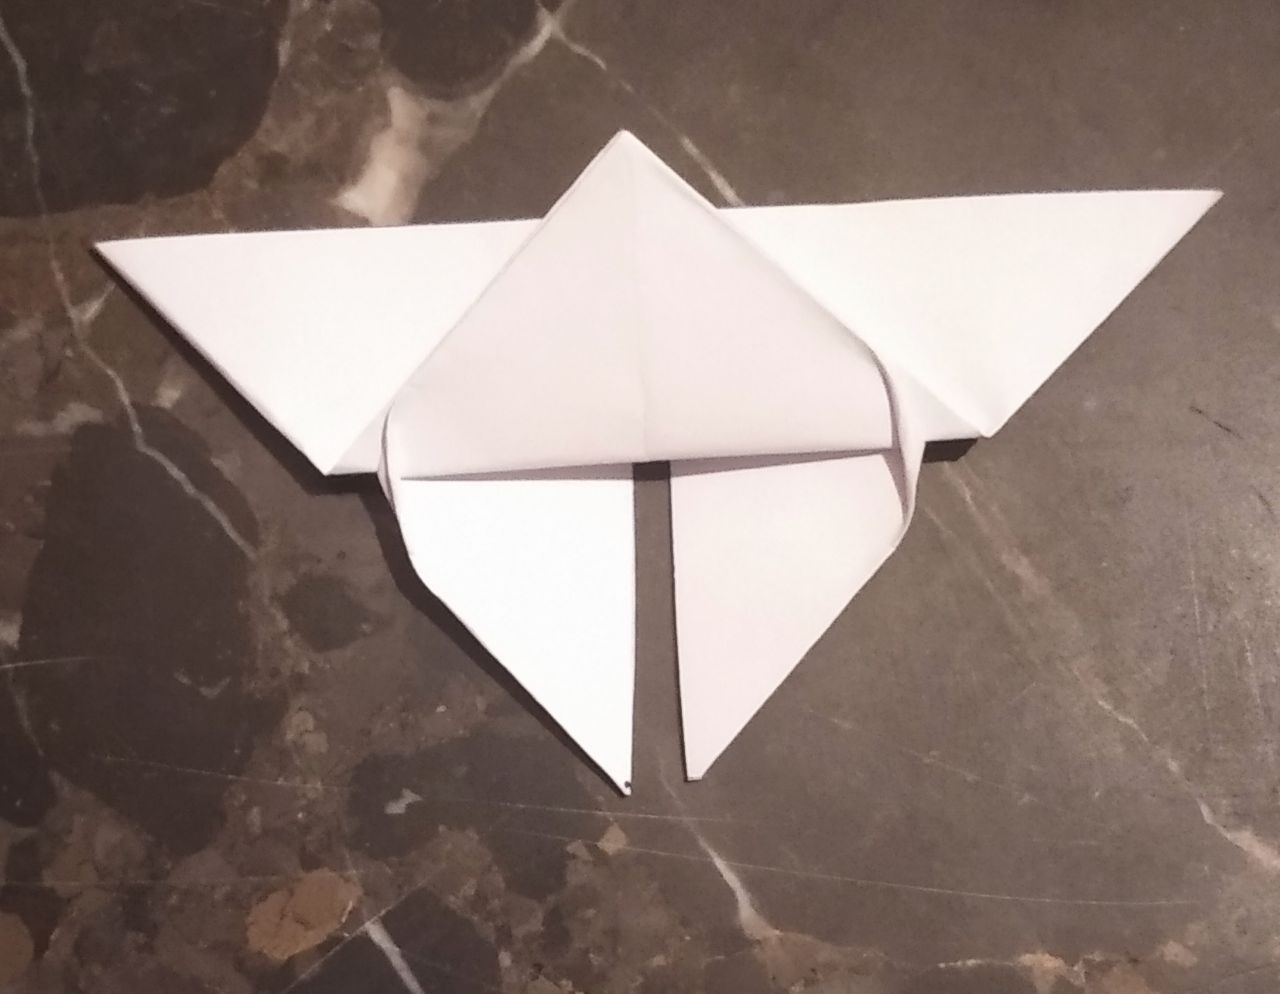
10 Dobla la esquina superior hacia atrás.
Fold the top corner back.
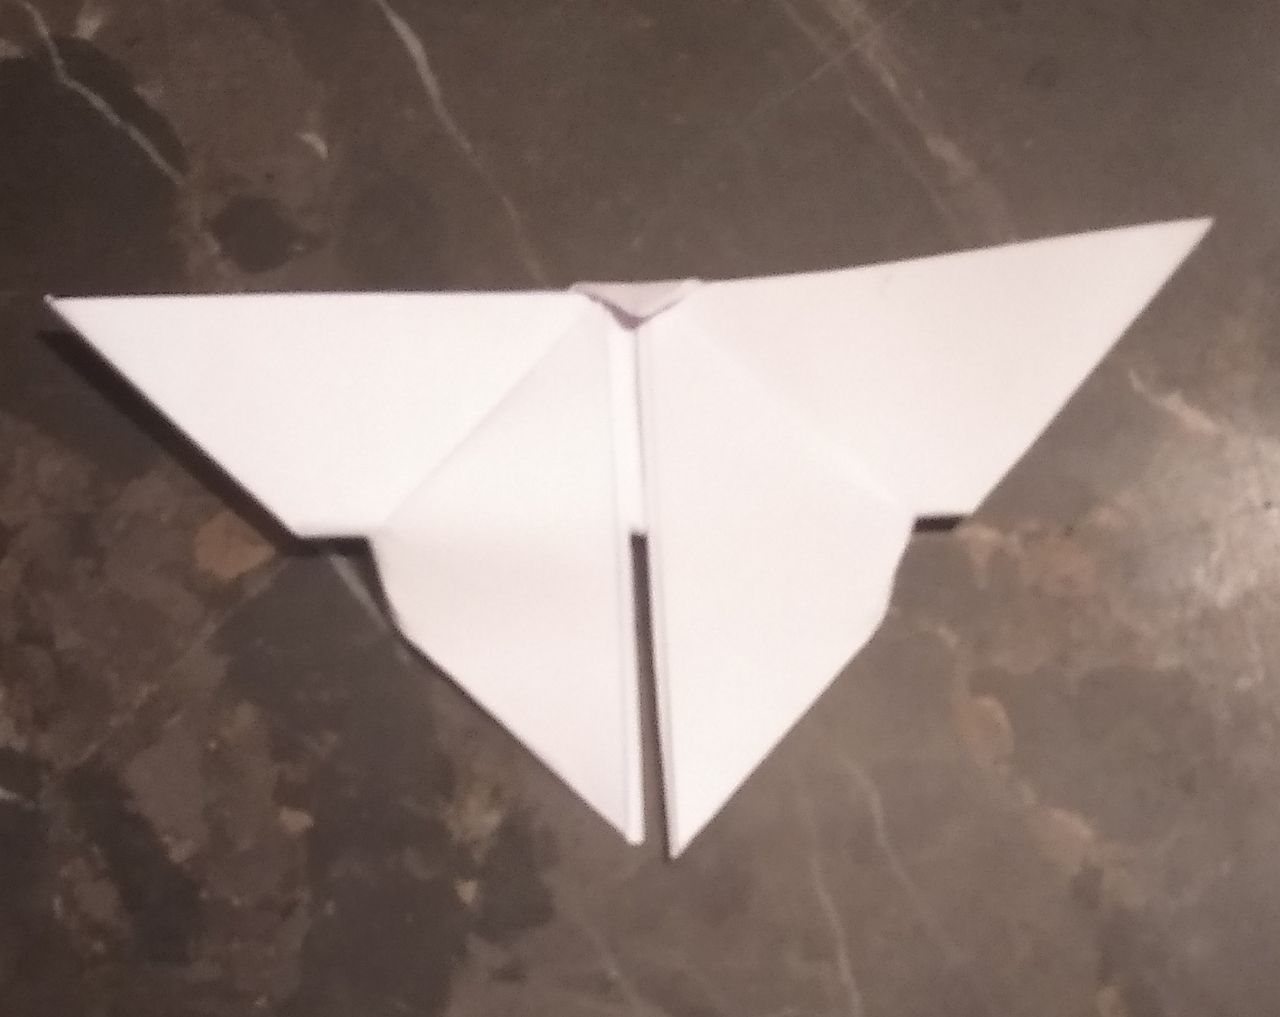
11 Da la vuelta a la figura así es como debe quedar, doble por la mitad para marcar bien el pliegue.
Turn the figure over this is how it should look, fold it in half to mark the fold well.
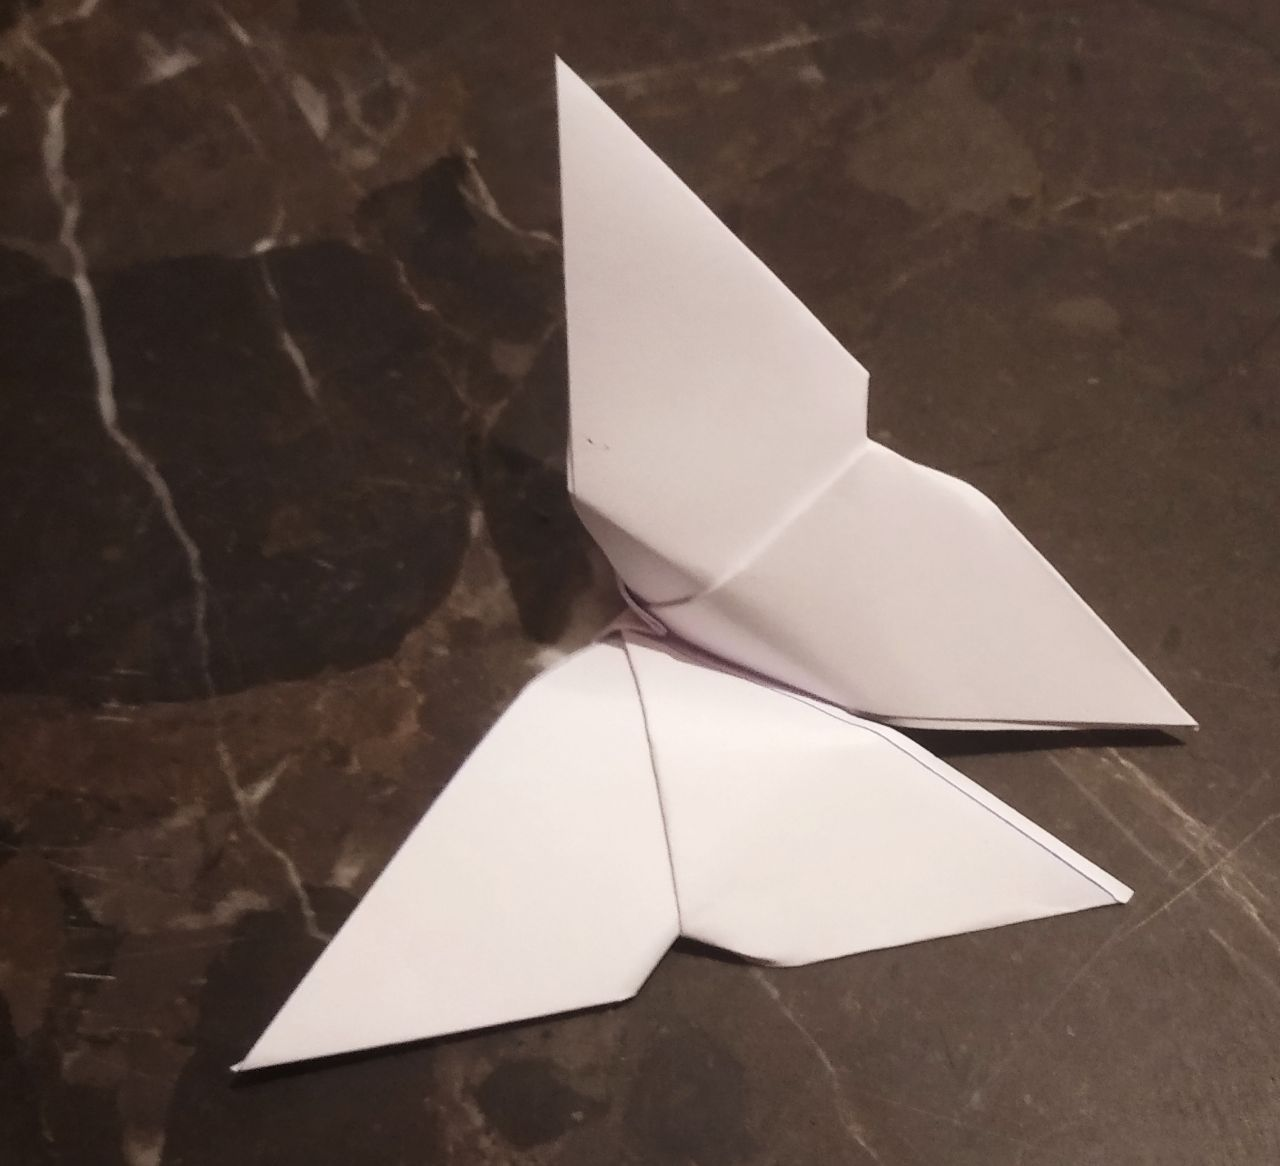
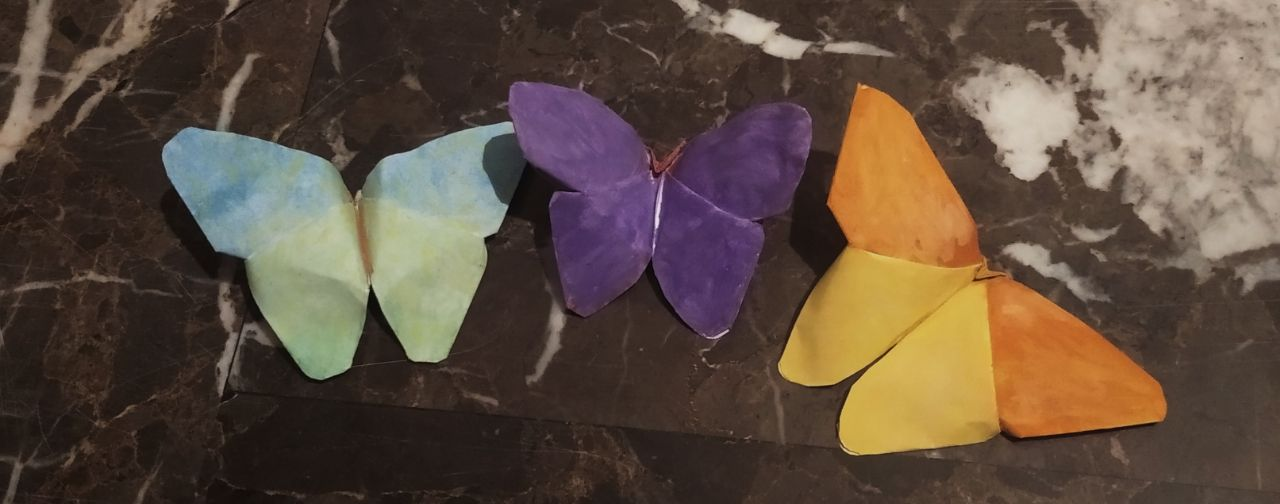
Resultado final:
════ ∘◦❁◦∘ ════


Congratulations @melisarm! You have completed the following achievement on the Hive blockchain and have been rewarded with new badge(s) :
You can view your badges on your board and compare yourself to others in the Ranking
If you no longer want to receive notifications, reply to this comment with the word
STOPCheck out the last post from @hivebuzz:
thank you very much
Es un placer nuestro @melisarm! Que bueno ver tus primeros pasos! Vas bien! 🌹🌹🌹