Bienvenidos mi gente bonita de #hive; hoy con mucho placer y orgullo, les presento este espléndido tutorial, donde destacaremos paso a paso, como #diseñar y #construir un hermoso y colorido #topper, el cual puede decorar muy bien tus arreglos y especialmente tus tortas; acompañenme en este hermoso viaje. Manos a la obra mis amores.
Welcome my pretty people from #hive; Today with great pleasure and pride, I present you this splendid tutorial, where we will highlight step by step, how to #design and #build a beautiful and colorful #topper, which can very well decorate your arrangements and especially your cakes; join me on this beautiful journey. Let's get to work my loves.

- Foami azul claro, rosado y verde.
- Foami escarchado gris, fucsia, azul, verde y dorado.
- Tijera, cuter, silicona.
- Palillo de altura.
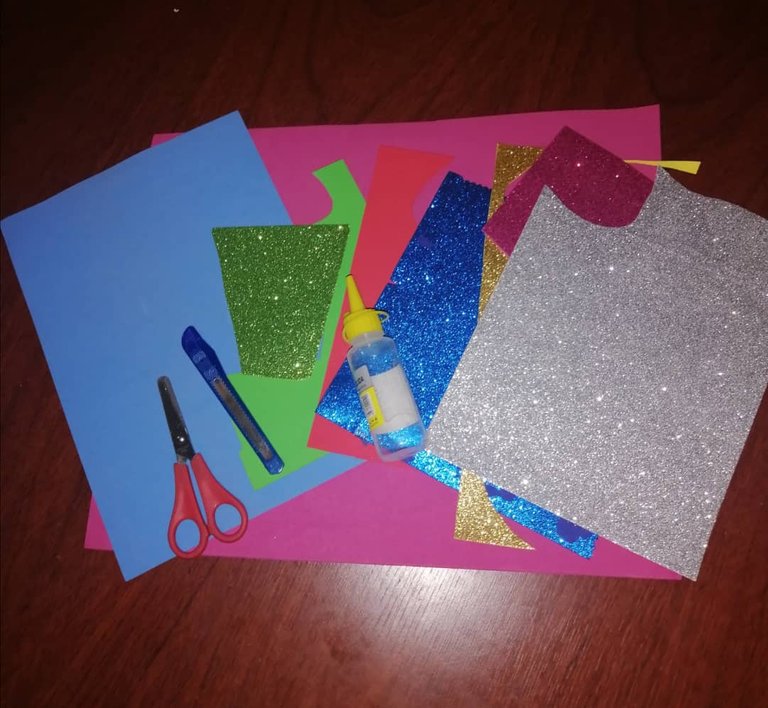
What do I need
- Light blue, pink and green foam.
- Gray, fuchsia, blue, green and gold frosted foam.
- Scissors, cutter, silicone.
- Height stick.
Procedure
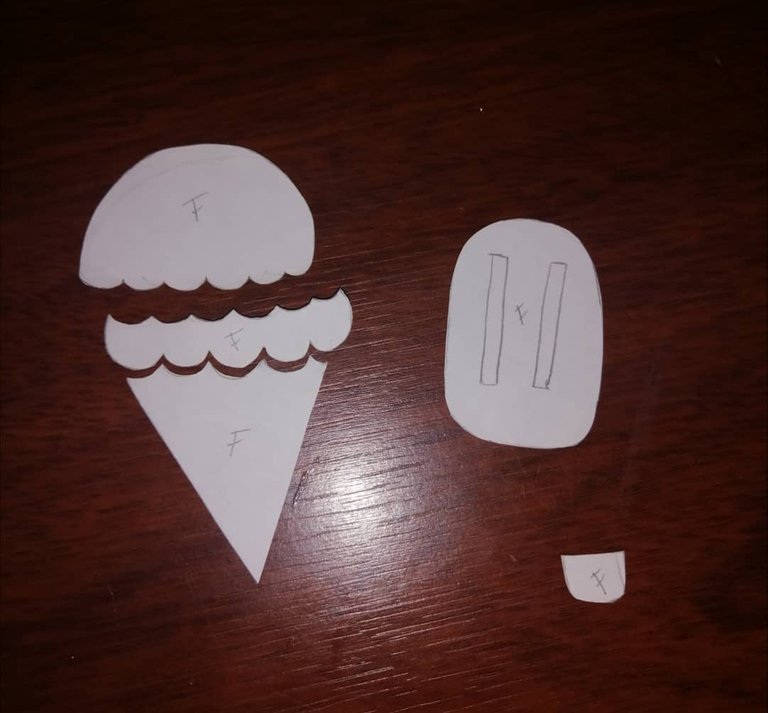
Paso 1 Principalmente debemos hacer el nombre de la persona, en este caso utilizaré el nombre abreviado Feli.
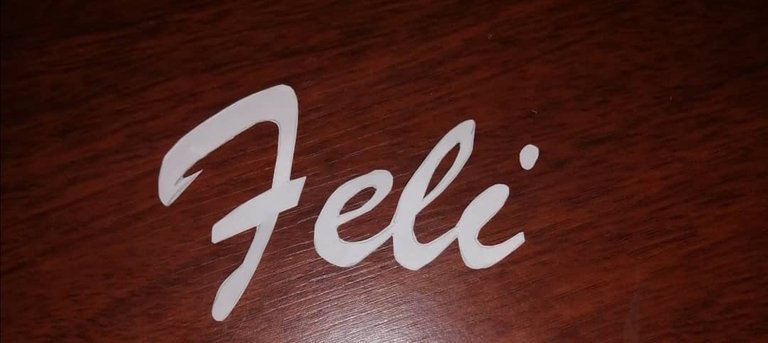
Step 1 Mainly we must make the name of the person, in this case I will use the abbreviated name Feli.
Paso 2 Como podemos ver en la imagen, primero hay que plasmar el nombre en el foami azul claro, y procedemos a recortar; luego Debemos pegar el nombre en el foami gris escarchado y volvemos a recortar, pero esta vez dejamod un pequeño borde, y finalmente lo pegamos en el foami azul escarchado y recortamos.

Step 2 As we can see in the image, first you have to capture the name in the light blue foami, and proceed to cut; Then we must paste the name on the frosted gray foami and cut again, but this time we leave a small border, and finally we paste it on the frosted blue foami and cut.
Paso 3 Procedemos a dibujar dos helados, pero una como barquilla, y la otro como una paleta.
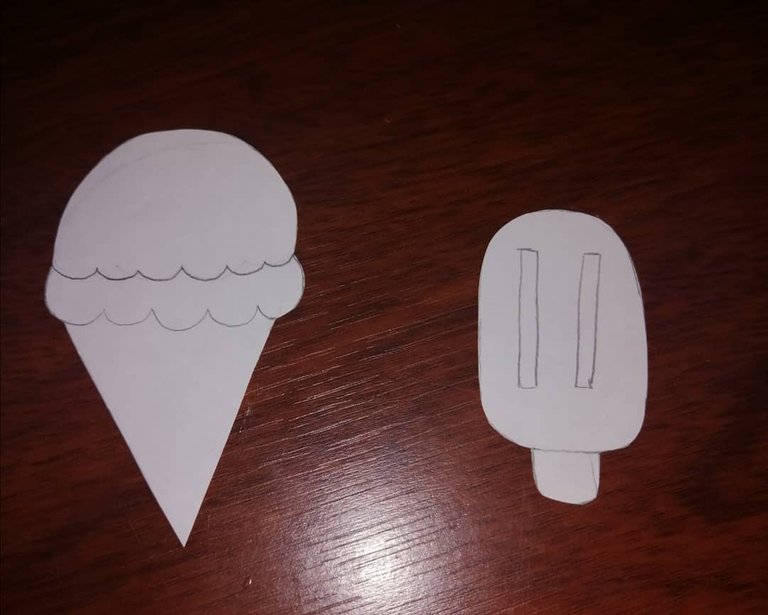
Step 3 We proceed to draw two ice creams, but one as a basket, and the other as a popsicle.
Paso 4 Con ayuda de la tijera, recortamos todas las separaciones que tiene el dibujo, ya que van a ser de colores distintos.
Step 4 With the help of the scissors, we cut out all the separations that the drawing has, since they will be of different colors.
Paso 5 Comenzamos con la paleta; la parte más grande se plasma en el foami verde escarchado, y recortamos; cuando ya ese elemento esté listo, con el mismo dibujo, debemos recortar las tiras que allí aparecen, para así plasmarlas en el foami verde; y por último sacamos en el foami dorado escarchado, parte del palillo de la paleta.
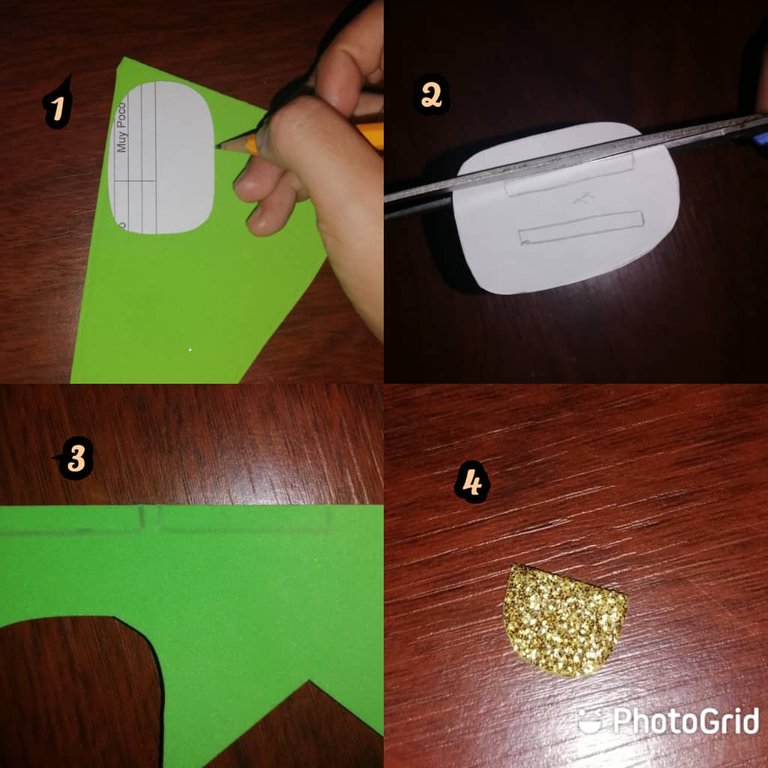
Step 5 We start with the palette; the largest part is captured in the frosted green foam, and we cut; When that element is ready, with the same drawing, we must cut the strips that appear there, in order to capture them in the green foami; and finally we remove in the frosted golden foami, part of the popsicle stick.
Paso 6 Ya teniendo todos los elementos completos, comenzamos a pegarlos, hasta formar nuestra paleta.
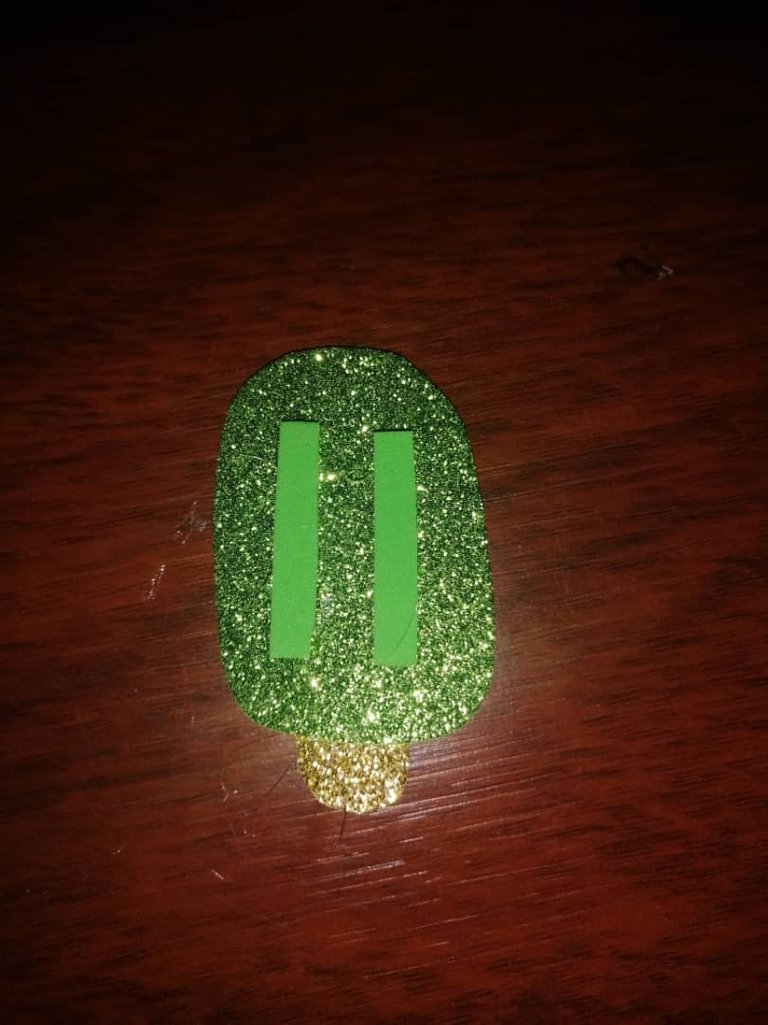
Step 6 Having all the elements complete, we begin to glue them, until we form our palette.
Paso 7 Para que la paleta se vea más hermosa, vamos a hacerle un fondo con el foami fucsia escarchado, y esto se logra pegando la paleta en el foami y recortando, pero dejando un borde pequeño.

Step 7 To make the palette look more beautiful, we are going to make a background with the frosted fuchsia foami, and this is achieved by gluing the palette on the foami and cutting, but leaving a small edge.
Paso 8 Cuando ya hemos terminado con la paleta, procedemos a la realización de la barquilla, todas las partes que hemos recortado, se plasman en los foamis correspondientes, la base en el foami dorado escarchado, el centro de Azul escarchado, y la parte superior de fucsia escarchado.
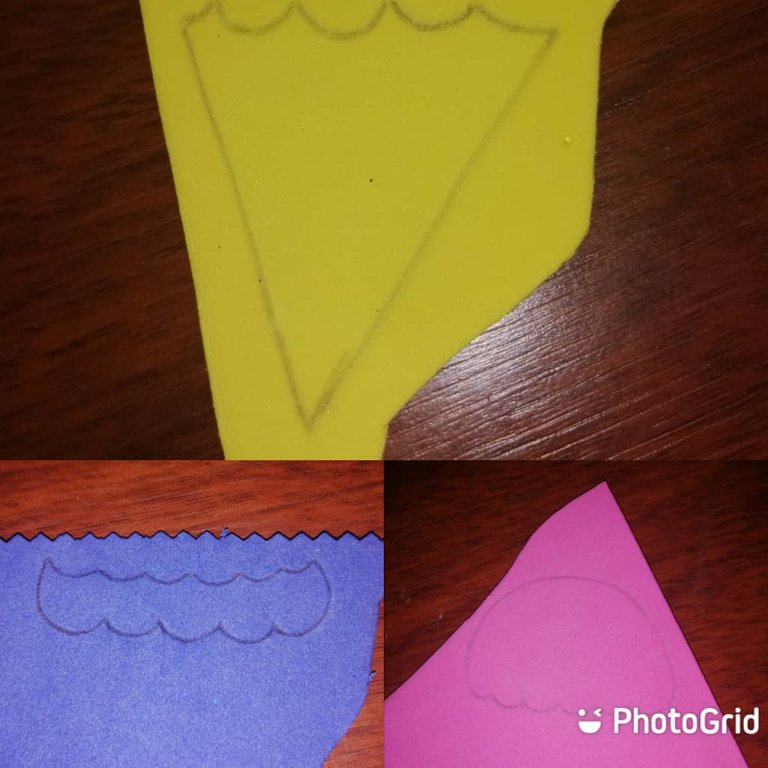
Step 8 When we have finished with the palette, we proceed to the realization of the basket, all the parts that we have cut, are reflected in the corresponding foamis, the base in the frosted golden foami, the center in frosty blue, and the upper part in fuchsia frosty.
Paso 9 Estas son las partes ya recortadas.
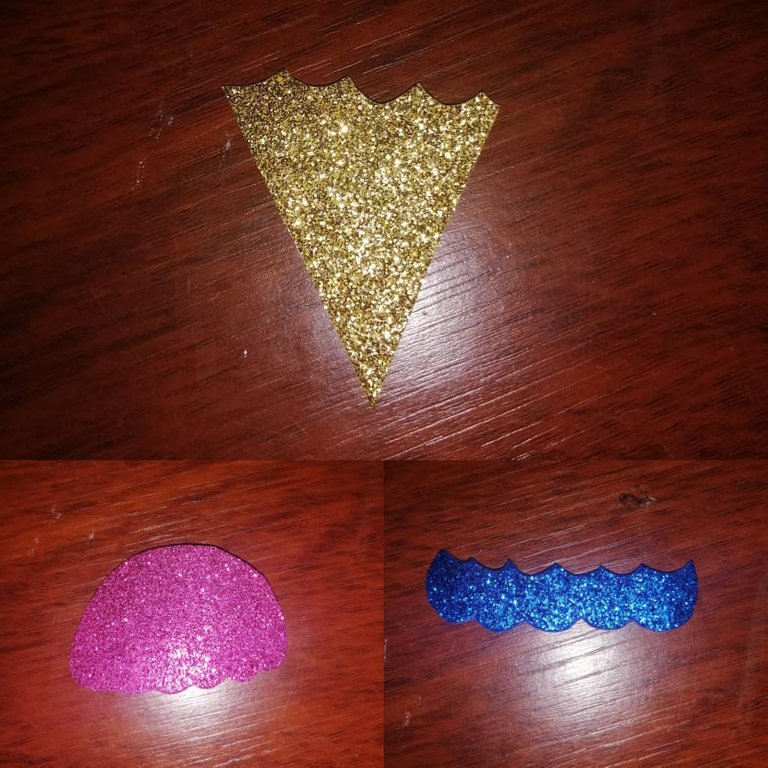
Step 9 These are the parts already cut out.
Paso 10 Cuando ya estén las partes listas, debemos pegarlas en los lugares que corresponden, y para hacer las chispas de colores de la barquilla, solo recortamos pedacitos de colores demasiado pequeños, y solo los pegamos.
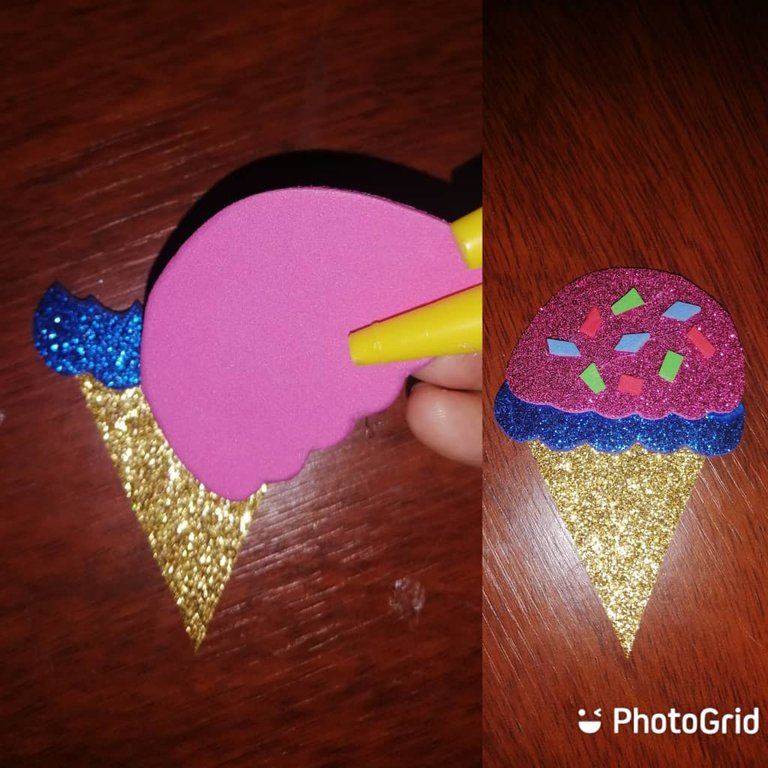
Step 10 When the parts are ready, we must glue them in the corresponding places, and to make the colored sparks for the nacelle, we only cut out bits of colors that are too small, and we only glue them.
Paso 11 Ahora la barquilla debe tener un fondo, y solo hay que pegarlo en el foami azul claro, recortamos y dejamos un borde considerable.
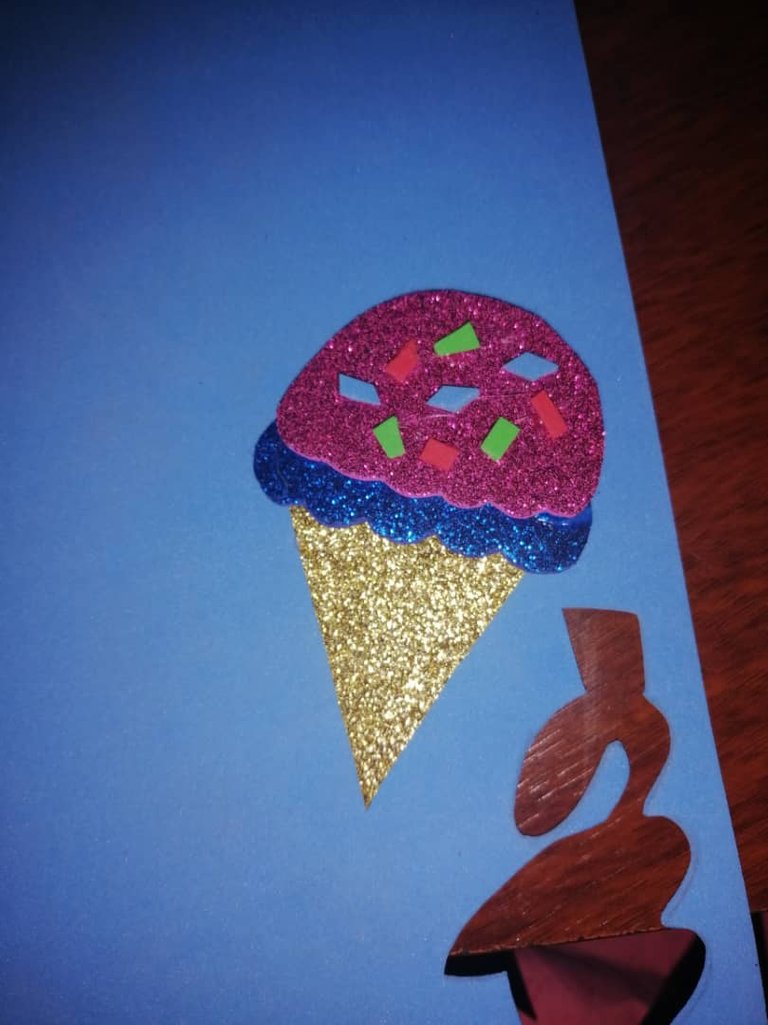
Step 11 Now the basket must have a background, and you just have to stick it on the light blue foami, cut it out and leave a considerable edge.
Paso 12 Ya con la mayoría de los elementos listos, solo faltan las dos muñecas, las cuales son el tema principal.
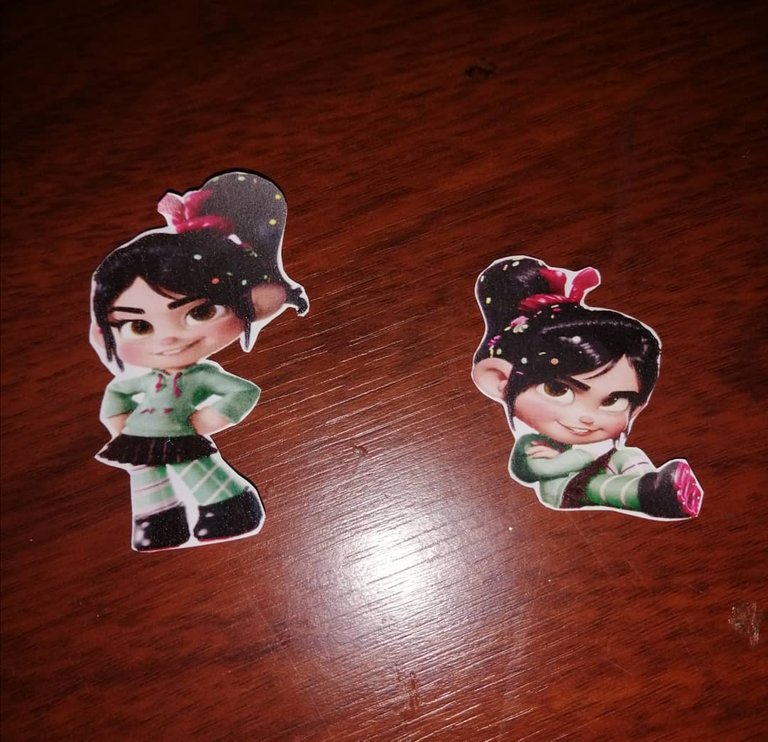
Step 12 With most of the items ready, only the two dolls are missing, which are the main theme.
Paso 13 Como podemos observar en la imagen, cada una de las muñecas va en un foami distinto, en este caso vamos a utilizar el foami verde y el fucsia escarchado, y procedemos a recortar dejando bordes.
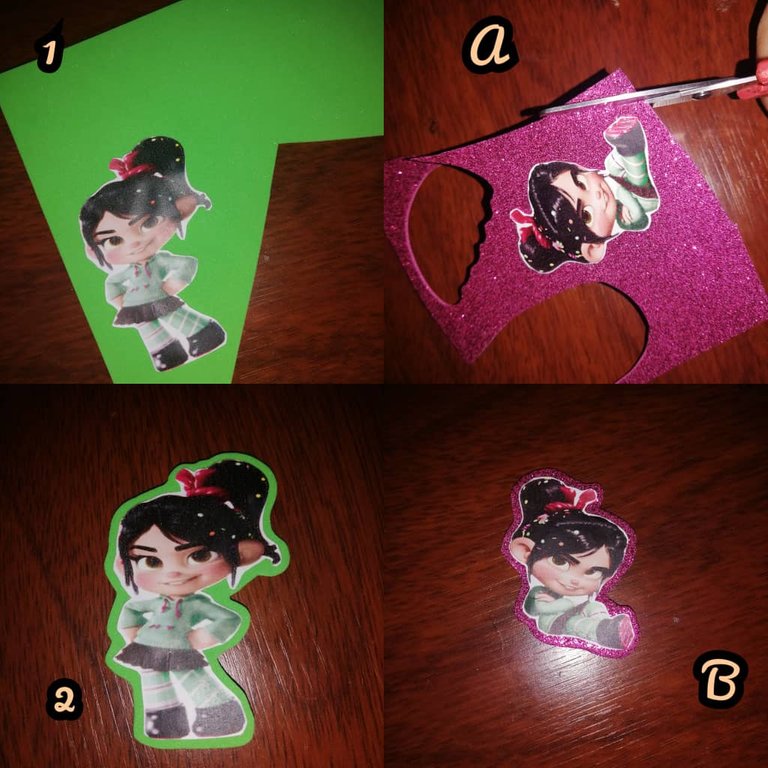
Step 13 As we can see in the image, each of the dolls is in a different foami, in this case we are going to use the green foami and the frosted fuchsia, and we proceed to cut leaving edges.
Paso 14 Luego, solo debemos pegar en las posiciones indicadas en la imagen, todos nuestros elementos y comenzamos a recortar nuestros bordes.
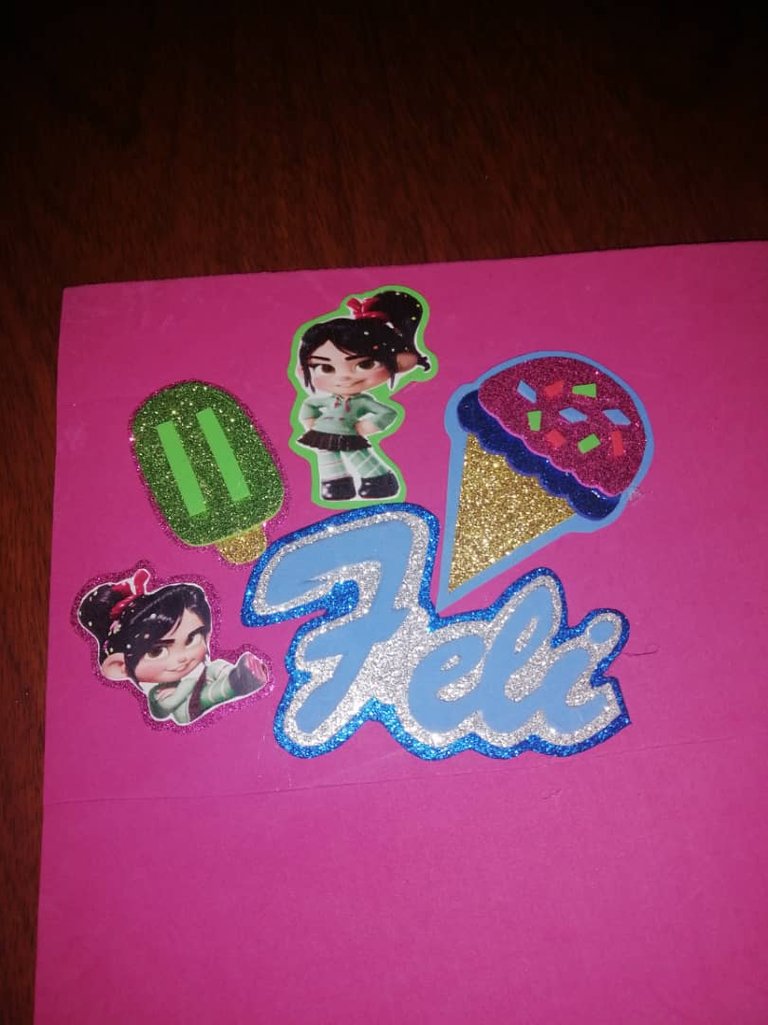
Step 14 Then, we only have to paste in the positions indicated in the image, all our elements and we begin to trim our edges.
Paso 15 Así quedaría ya recortado nuestro #topper, ya casi terminamos mis amores.
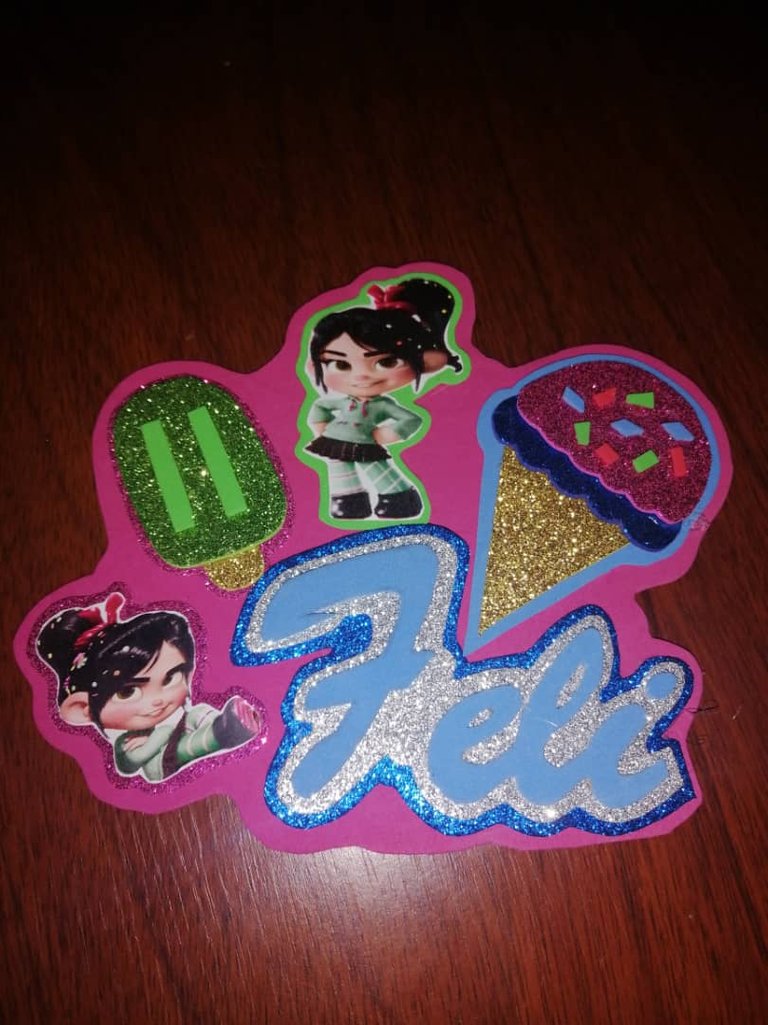
Step 15 This is how our #topper would be cut, we are almost done with my love affairs.
Paso 16 Como punto final, cortamos a la mitad nuestro palillo de altura, y comenzamos a pegarlos, ya que estos serán los soportes para que entre a la torta.

Step 16 As a final point, we cut our toothpick in half in height, and we began to glue them, since these will be the supports for it to enter the cake.
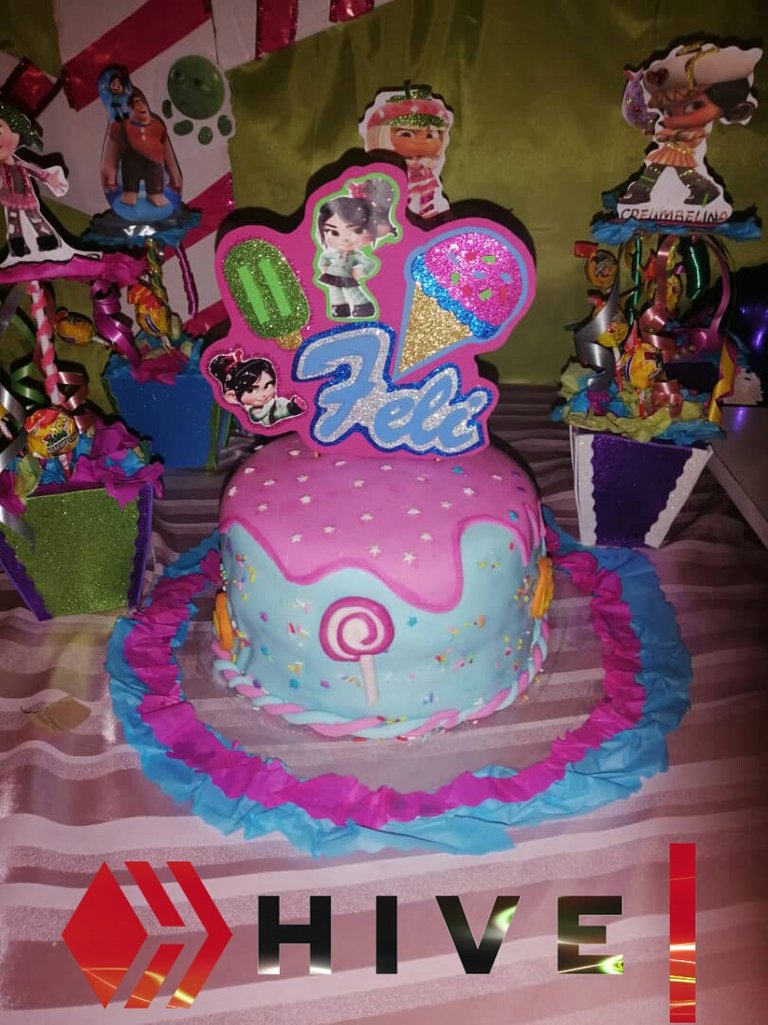
Paso 17 Y ya tenemos el resultado que tanto hemos esperado, nuestro topper para torta; hermosa creación. Admiren.
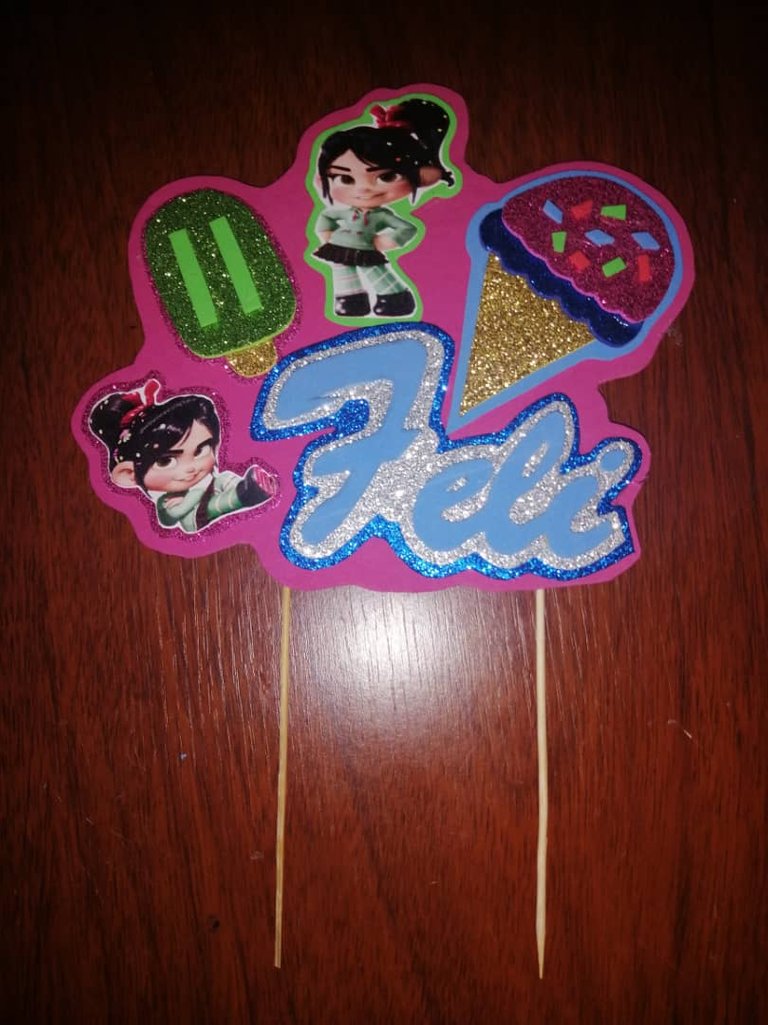
Step 17 And we already have the result that we have waited for so long, our cake topper; beautiful creation. Admire.
Mis amores, finalizamos una nueva entrega de nuestro tutorial, hermosas #manualidades especialmente diseñadas y construidas para todos ustedes, espero se animen e inicien en este maravilloso mundo; chao chao.
My loves, we finished a new installment of our tutorial, beautiful #crafts specially designed and built for all of you, I hope you will cheer up and start in this wonderful world; bye bye.
...Gracias Por Visitar...
...Thanks for visiting...
Las imágenes en collage, son de mi propiedad y editadas con Photogrid
The collage images are my property and edited with Photogrid
Imágenes Fotográficas, tomadas por Ronmel Nuñez.
Photographic images, taken by Ronmel Nuñez
Congratulations @nancytarojas! You have completed the following achievement on the Hive blockchain and have been rewarded with new badge(s) :
Your next target is to reach 20 posts.
You can view your badges on your board and compare yourself to others in the Ranking
If you no longer want to receive notifications, reply to this comment with the word
STOPCurador: @andrewmusic
Te invitamos a visitar nuestro servidor en Discord
Agradecida por el apoyo y valoración @curaciones-fh, excelente labor que realizan @fuerza-hispana @andrewmusic @curaciones-fh, sigan adelante en pro del desarrollo de su comunidad