Hola, Buenas tardes hermosa familia de hive♥ espero que estén todos bien quiero compartir con todos ustedes como hacer un hermoso pavo real con material reciclado ideal para decorar nuestro hogar.
Hello, Good afternoon beautiful family of Hive♥ I hope you are all well I want to share with you all how to make a beautiful peacock with recycled material ideal for decorating our home.
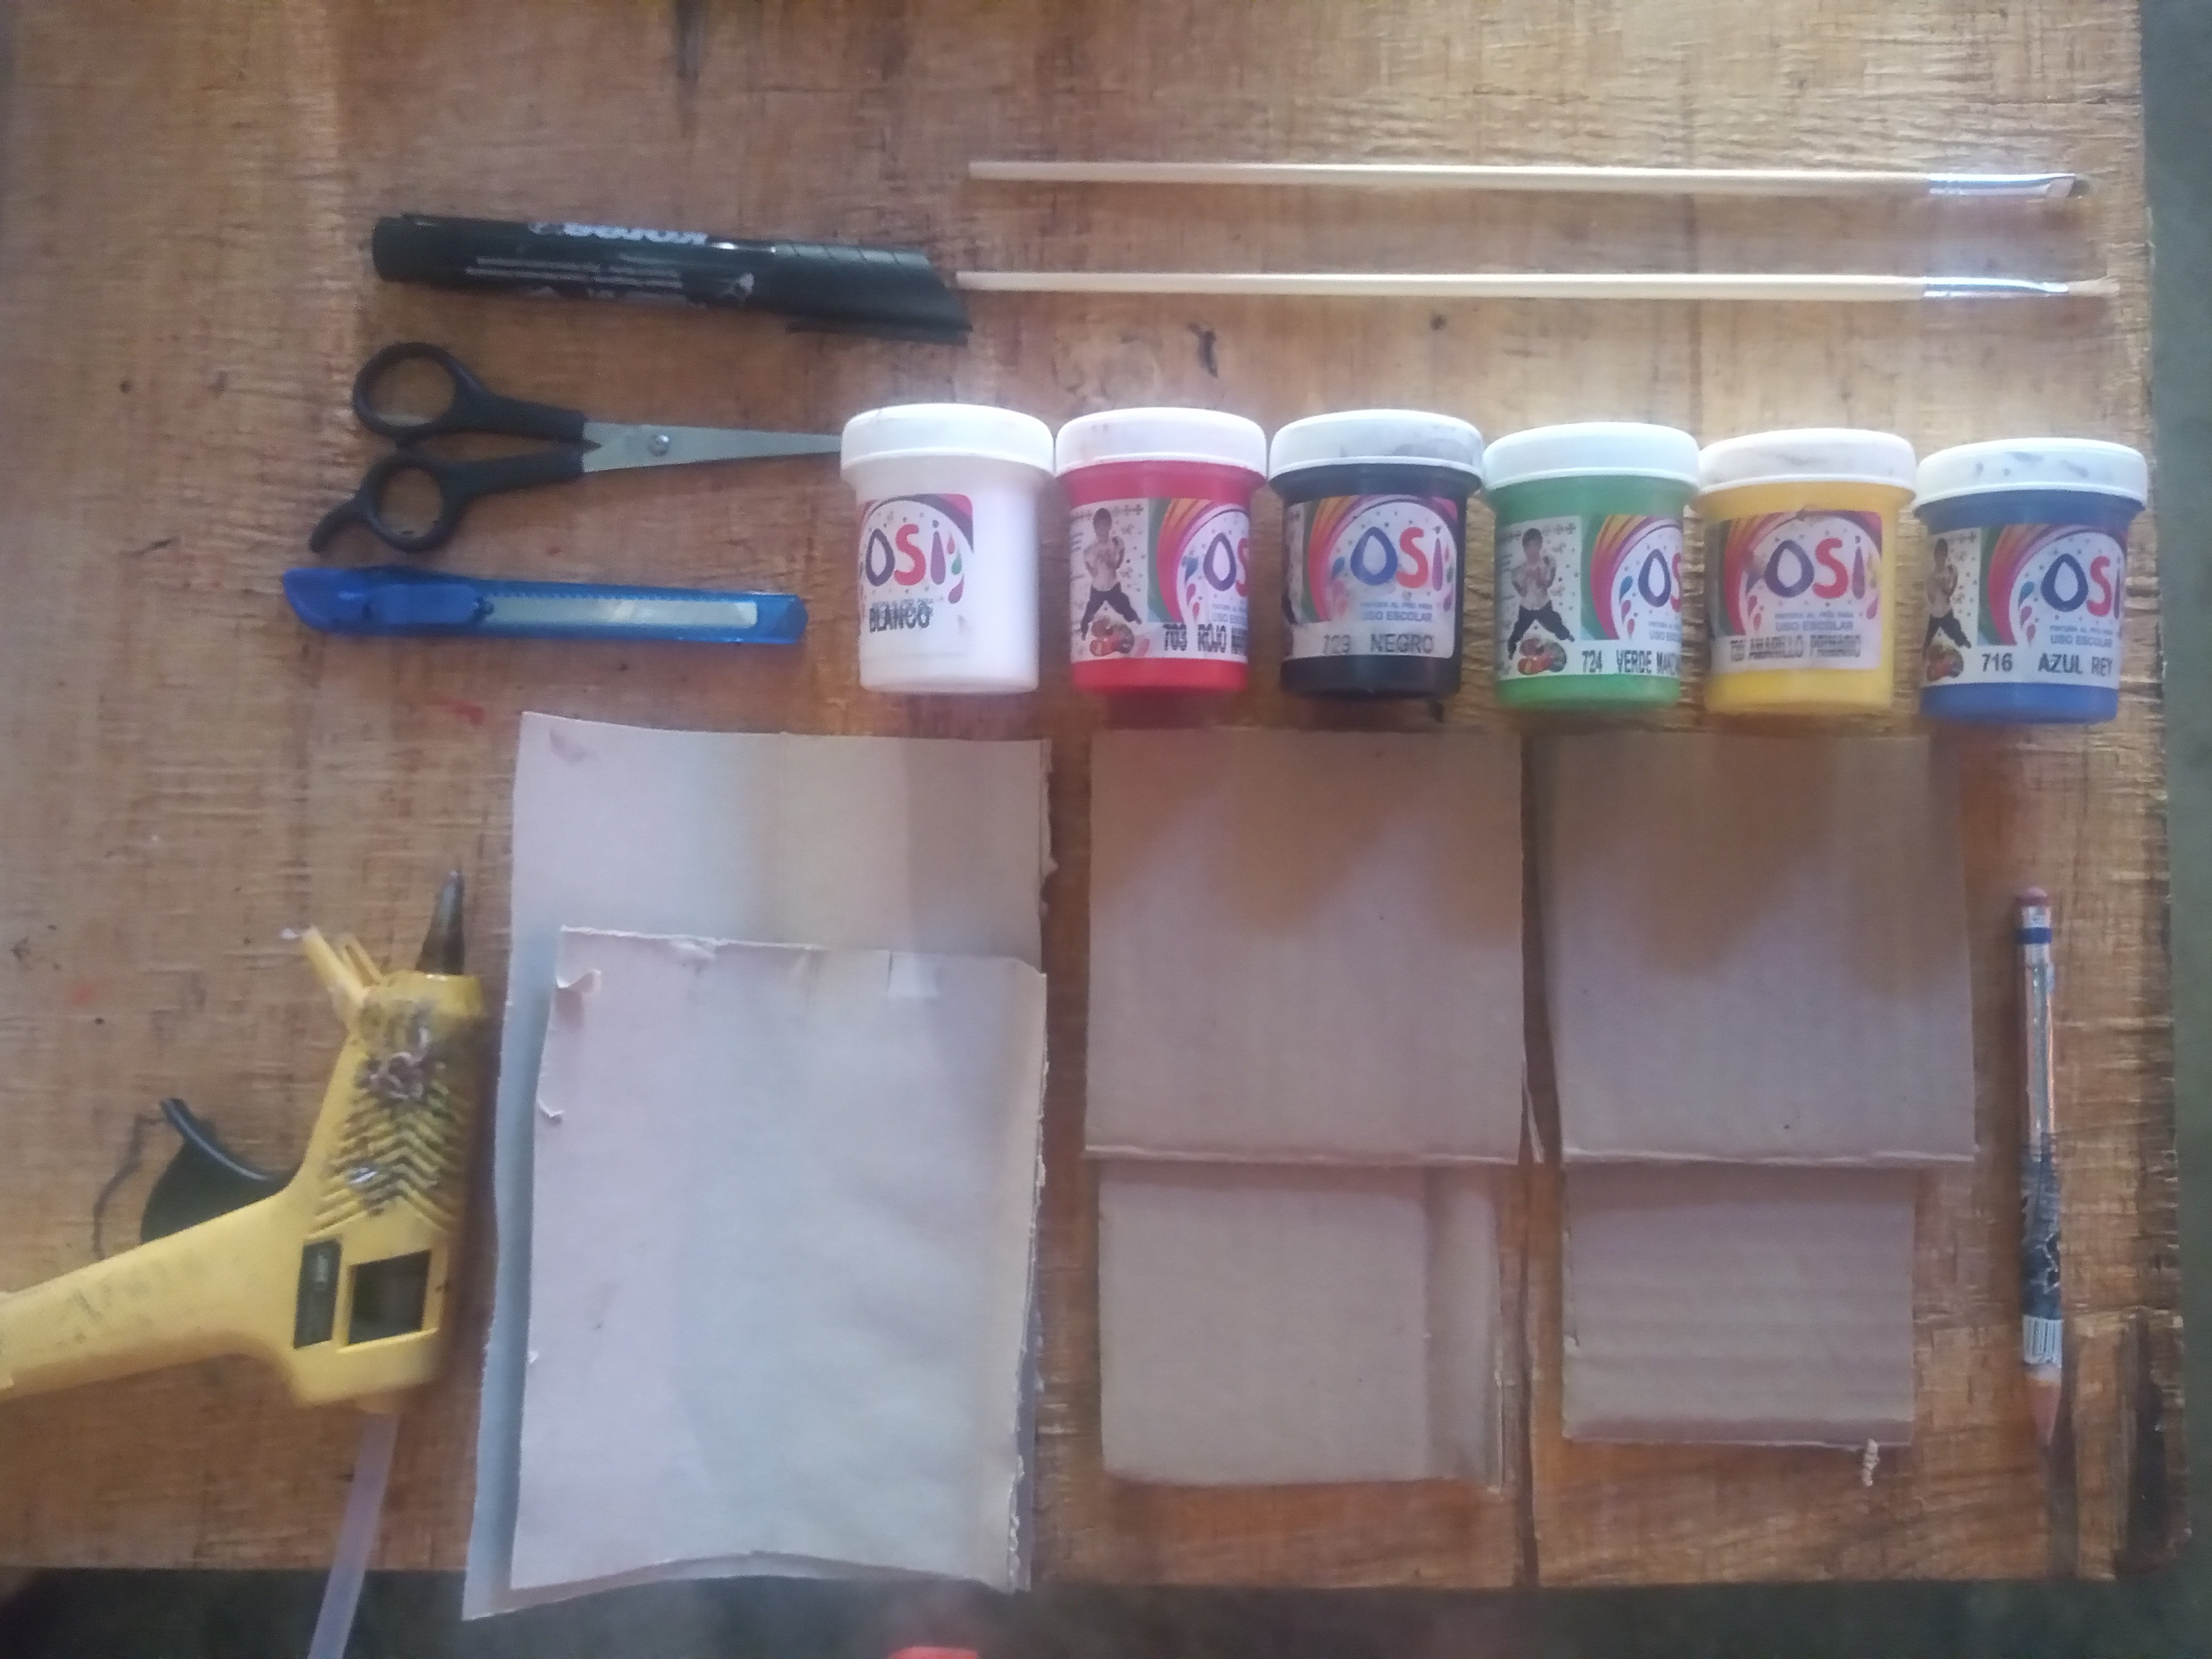
Materiales
Carton
Pintura al frío color azul
Pintura al frío color amarilla
Pintura al frío color blanca
Pintura al frío color naranja (mezcla de amarillo y rojo)
Pintura al frío color verde ( mezcla de amarillo y azul
Pintura al frío color negra
Pintura al frío color roja
Pincel
Marcador negro punta fina
Tijera
Cutter
Lápiz de grafito
Silicon caliente
Materials
Cardboard
Blue cold paint
Yellow cold paint
White cold paint
Orange colored cold paint (mixture of yellow and red)
Cold paint green color (mixture of yellow and blue)
Cold paint black color
Cold paint red color
Brush
Black fine tip marker
Scissors
Cutter
Graphite pencil
Hot silicon
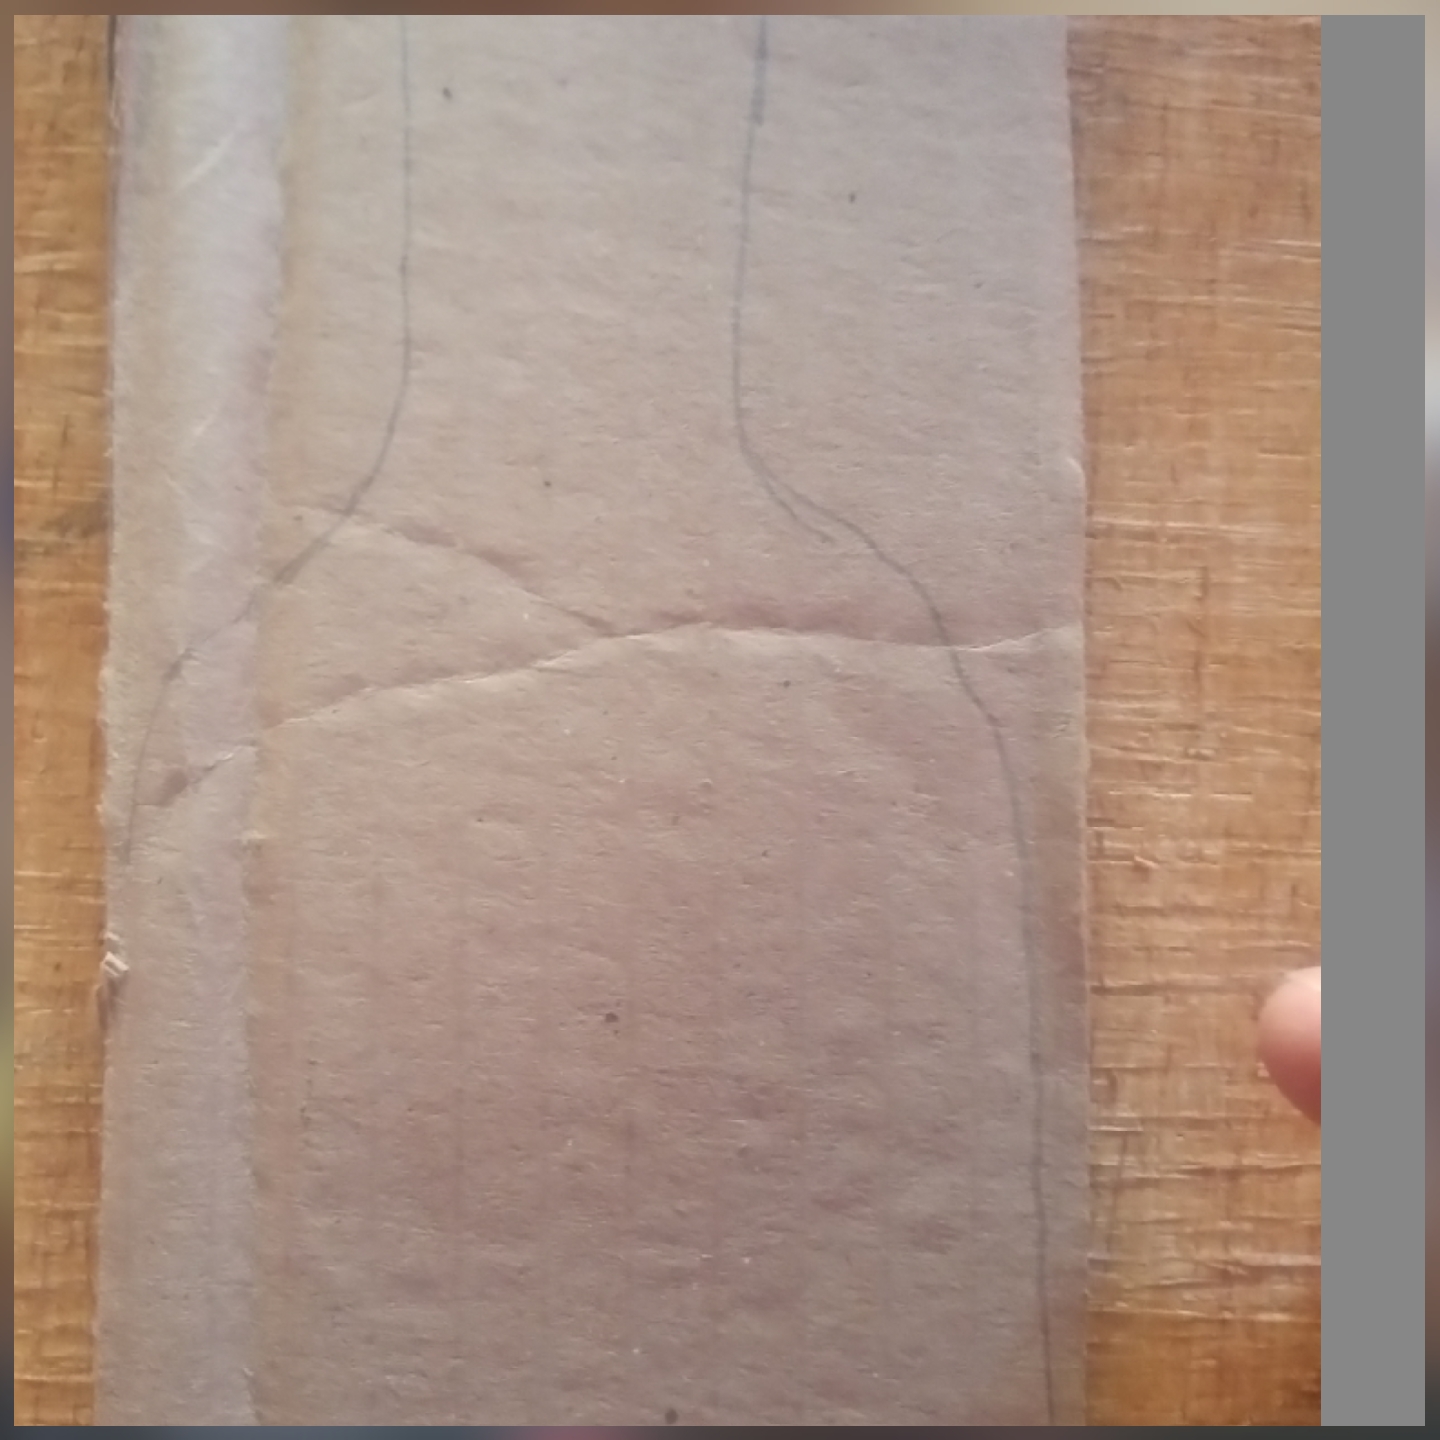
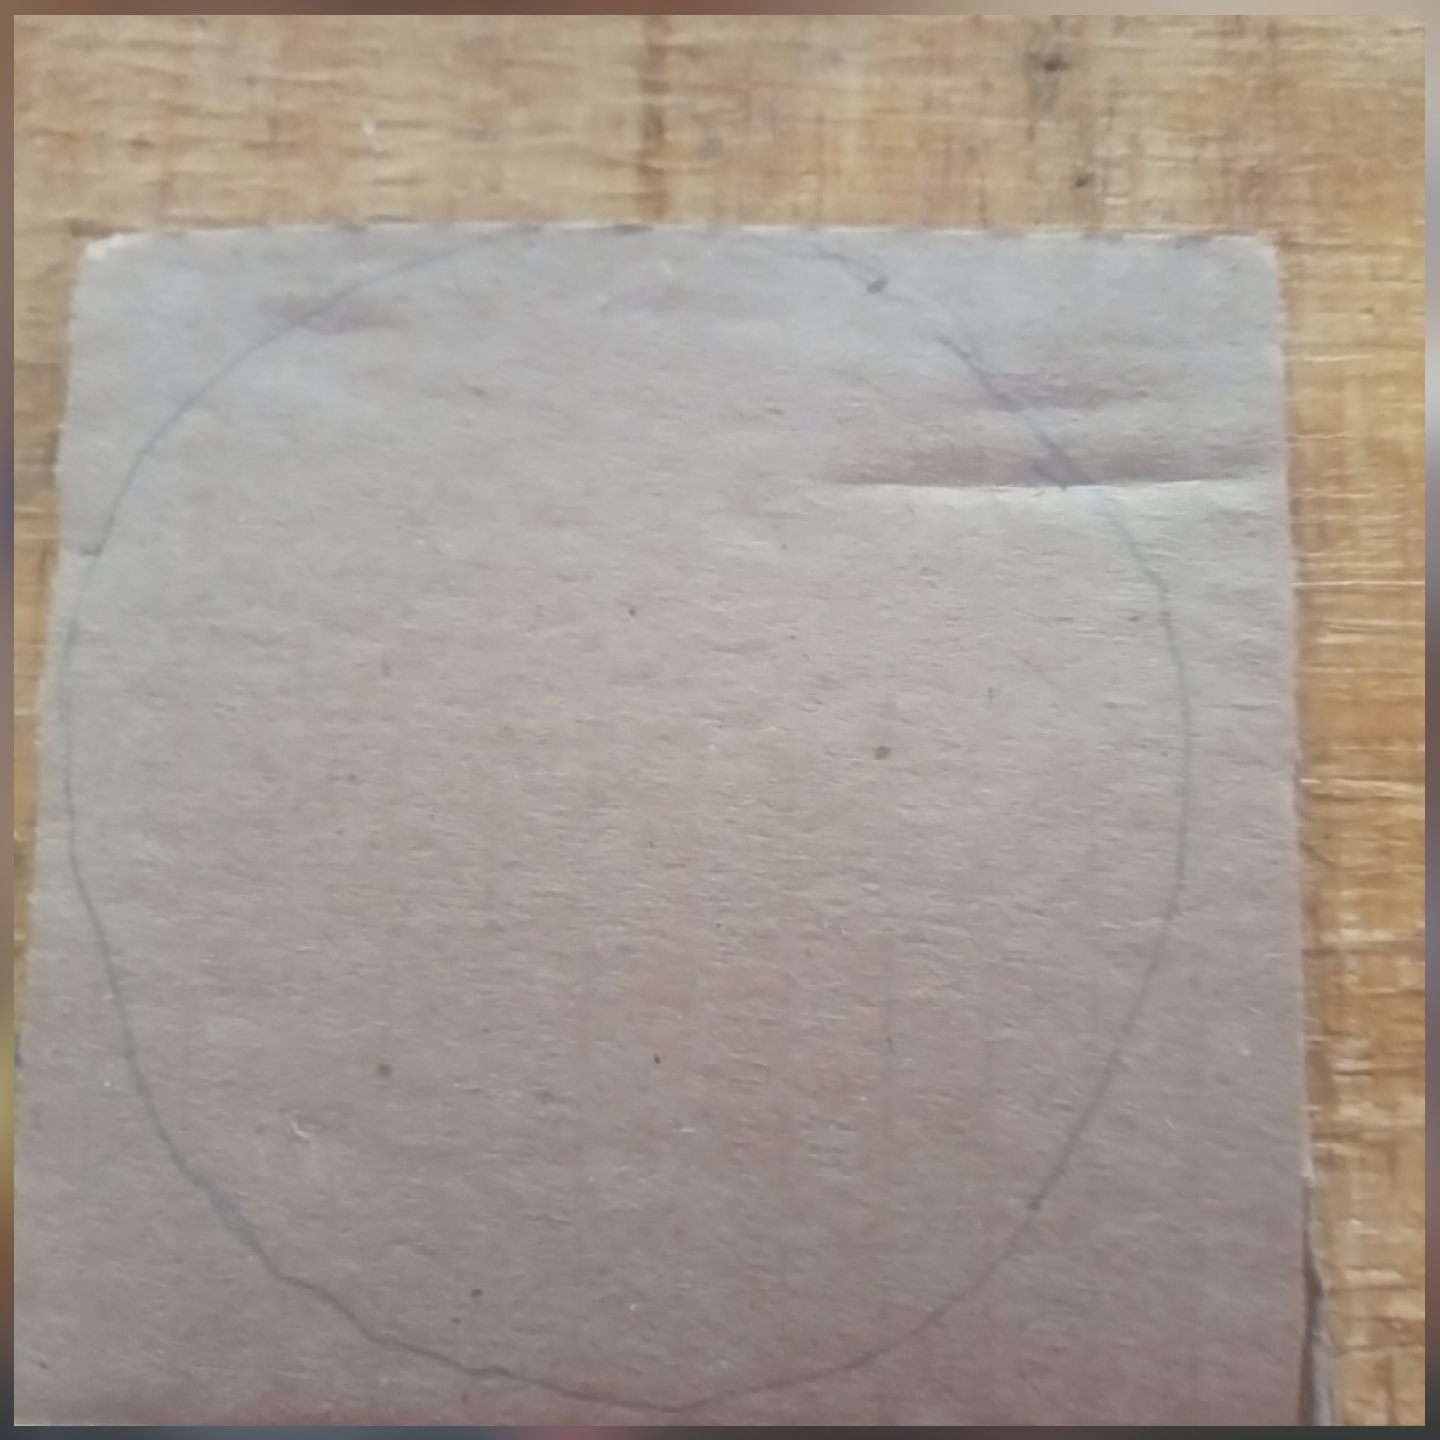
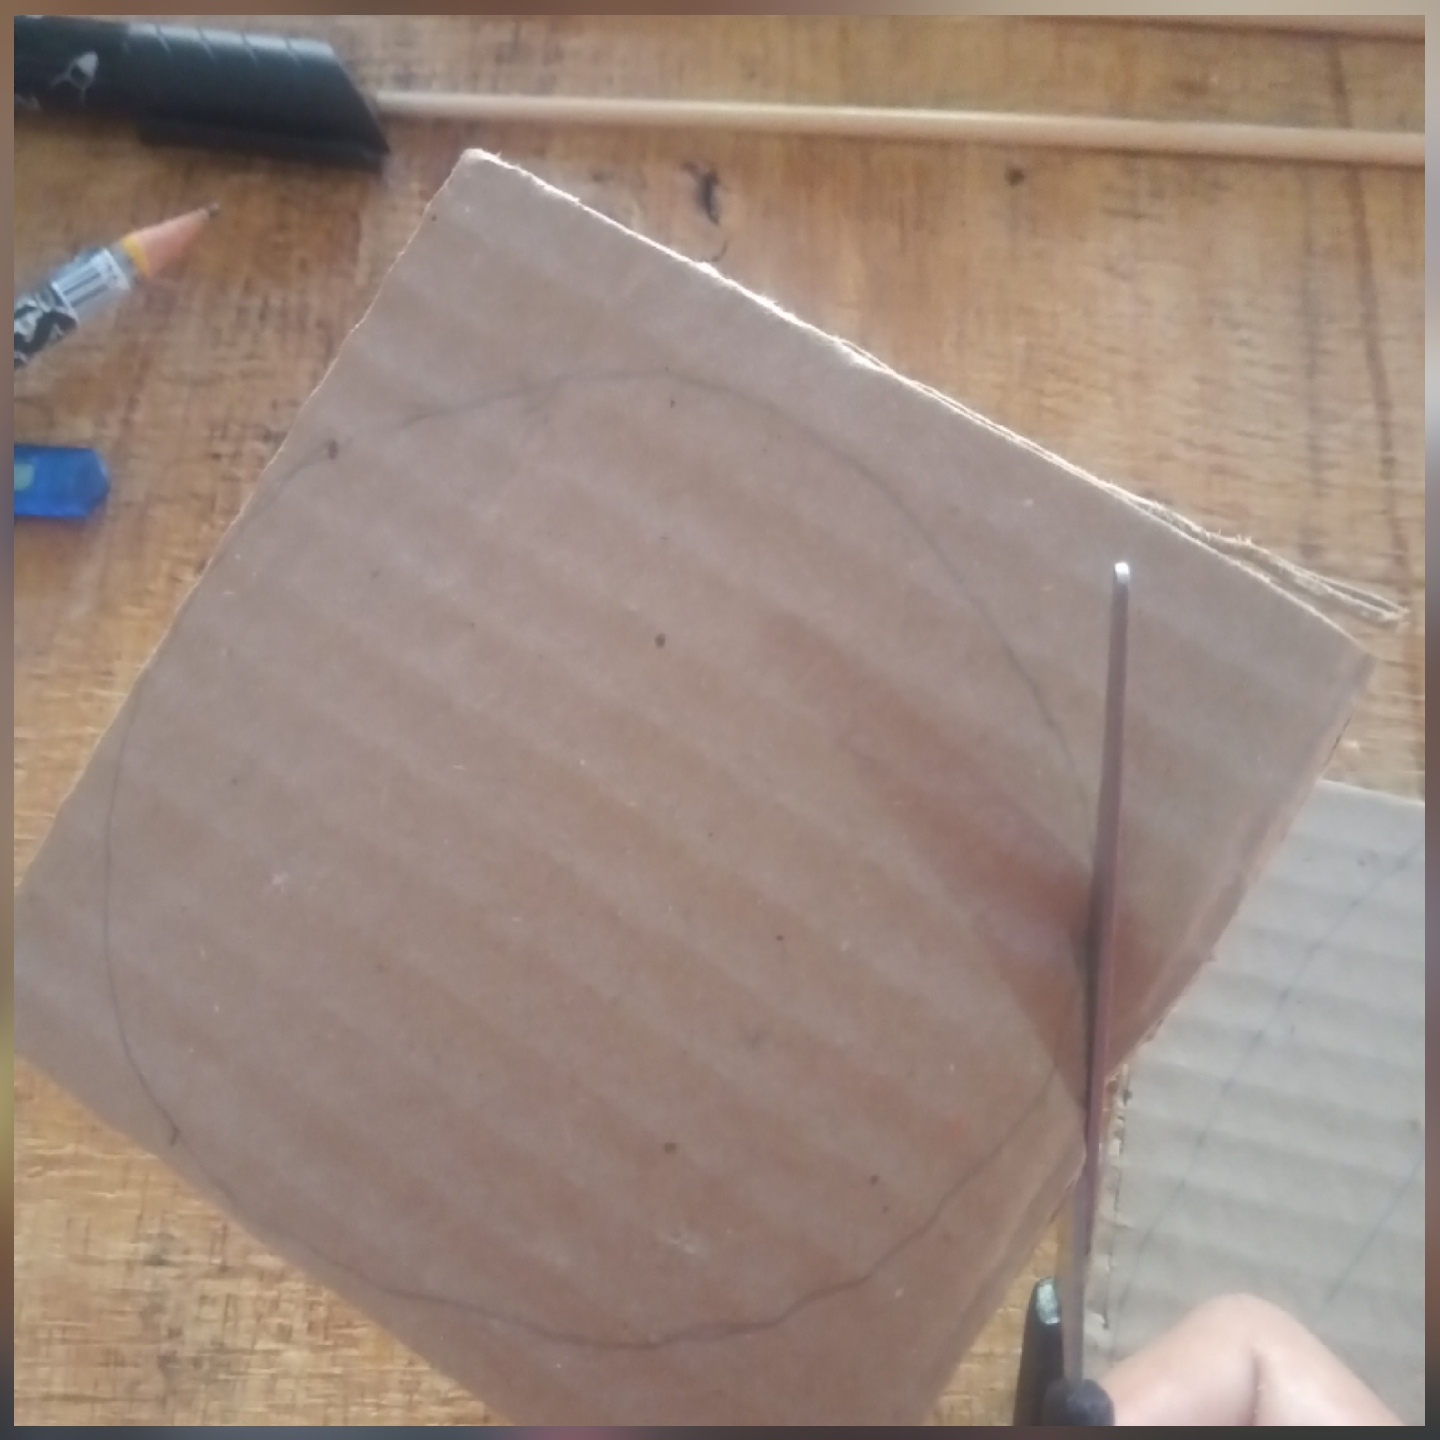
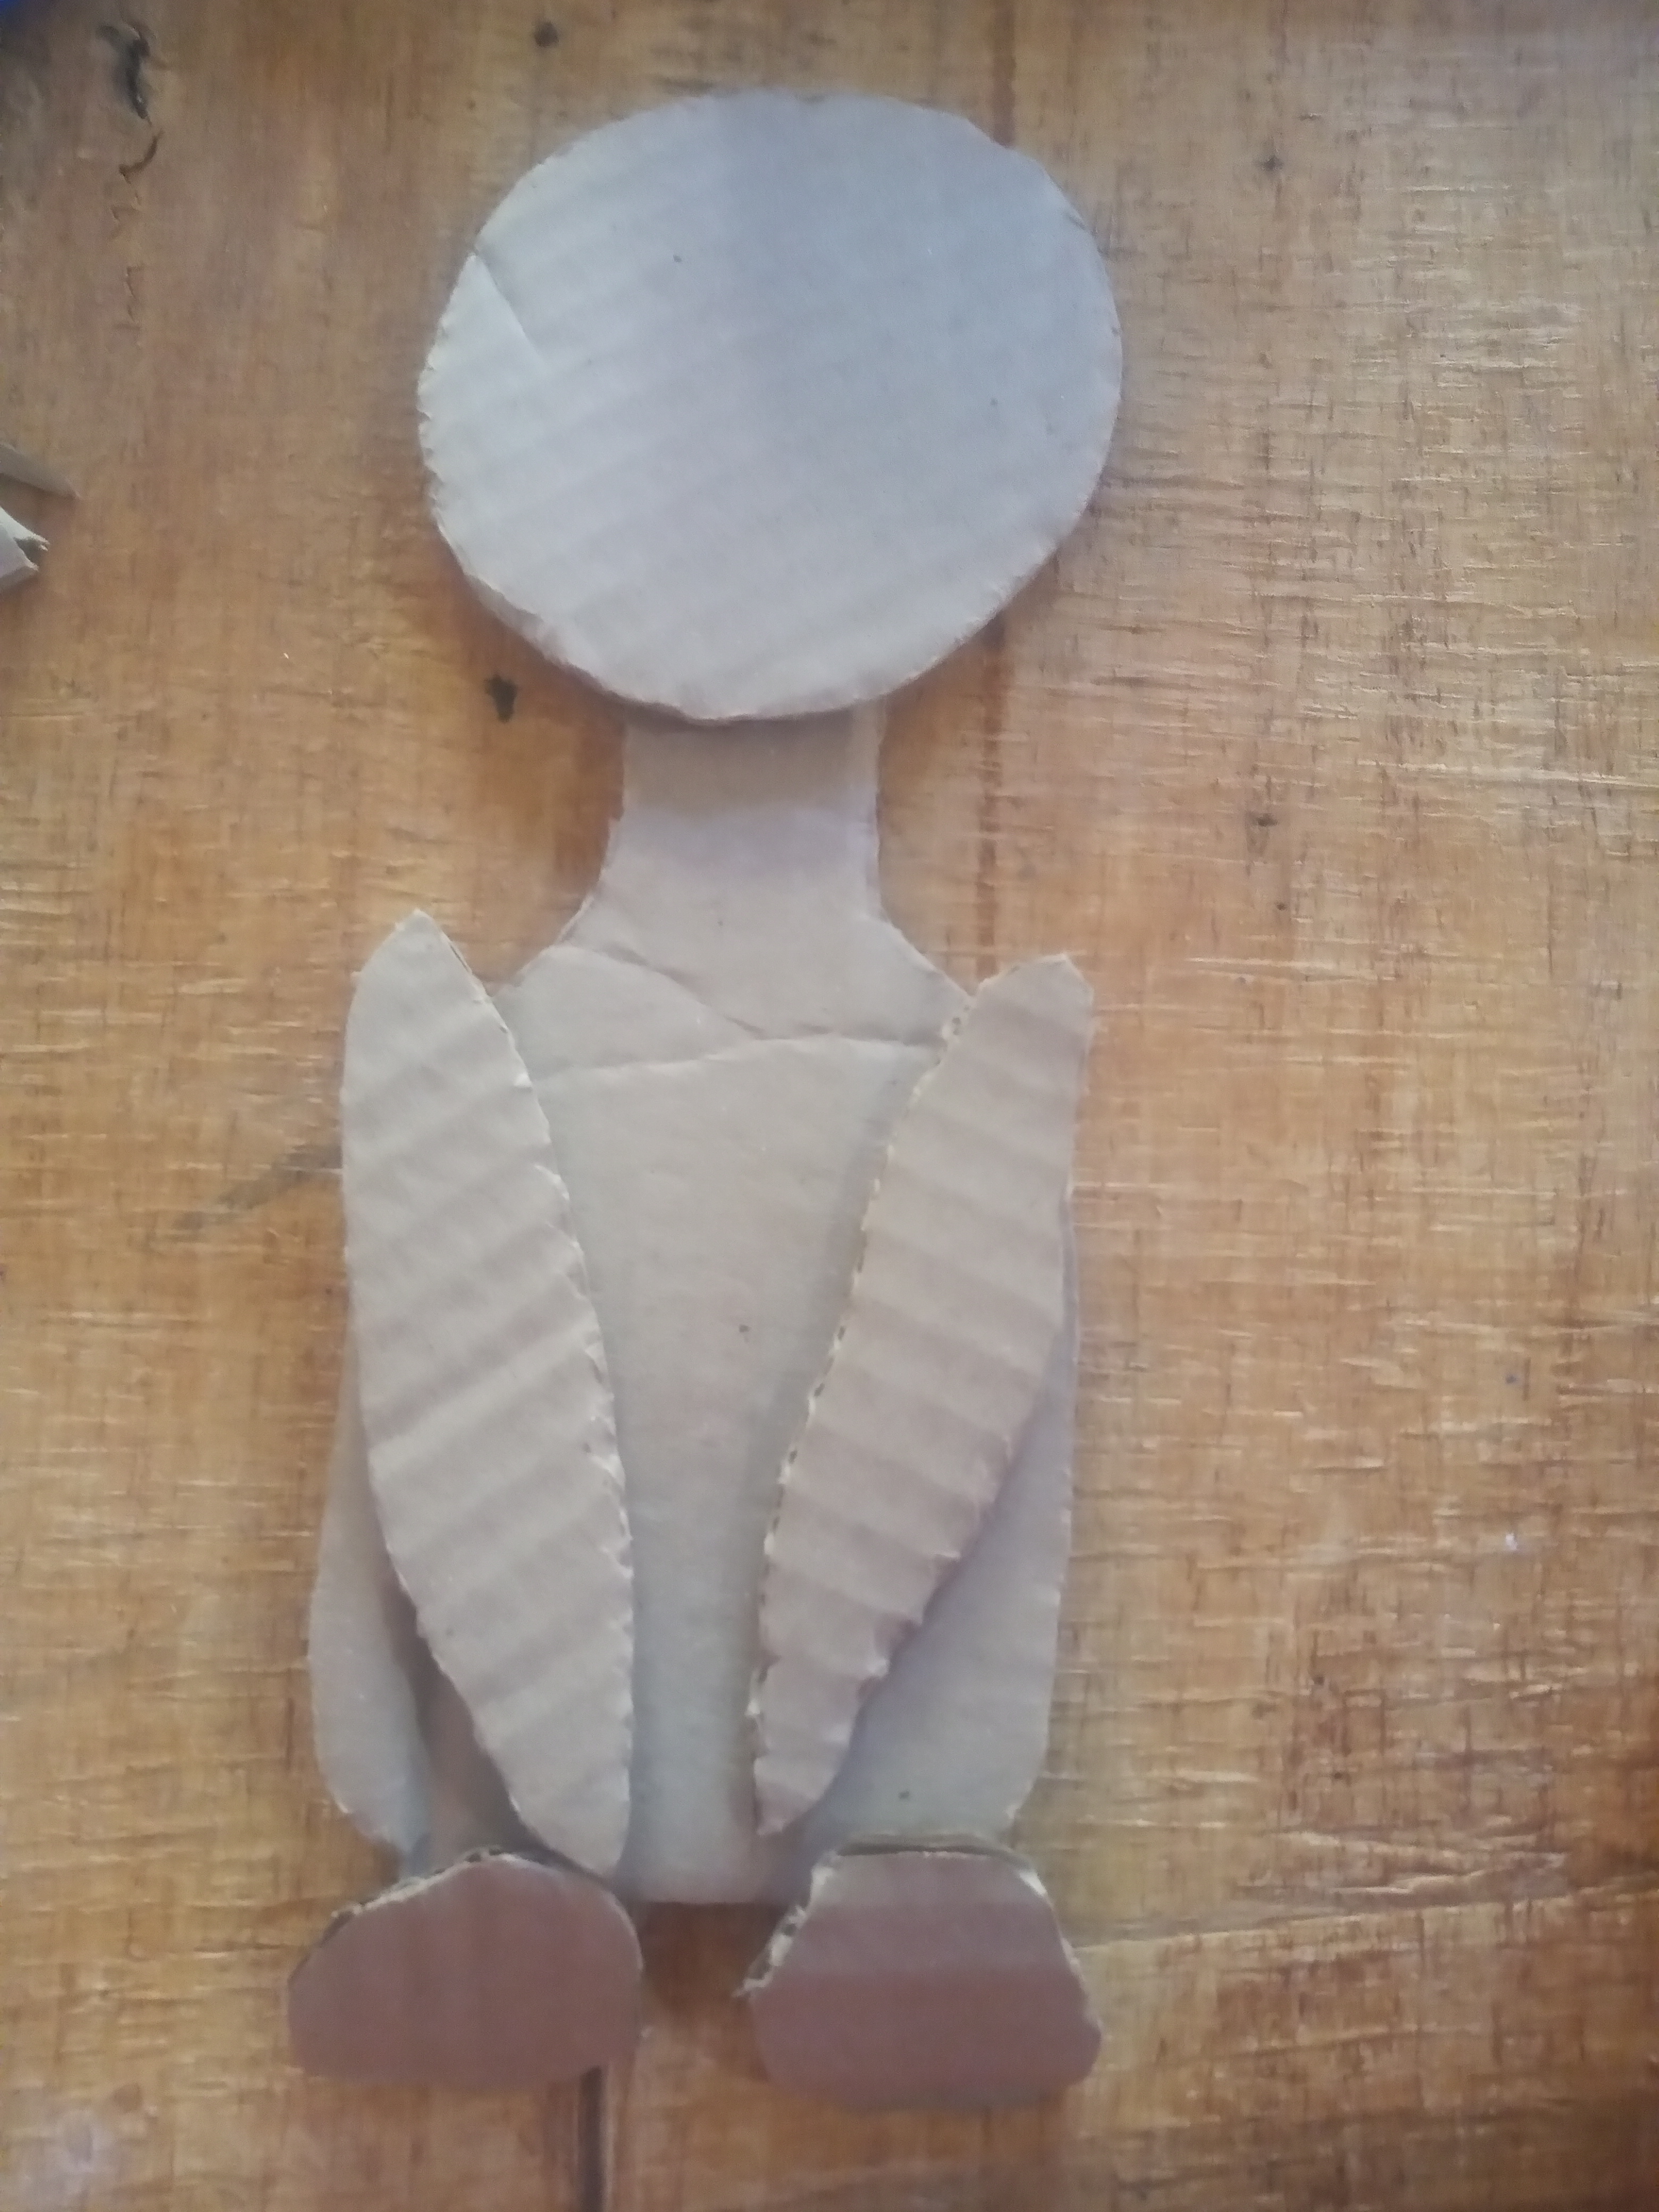
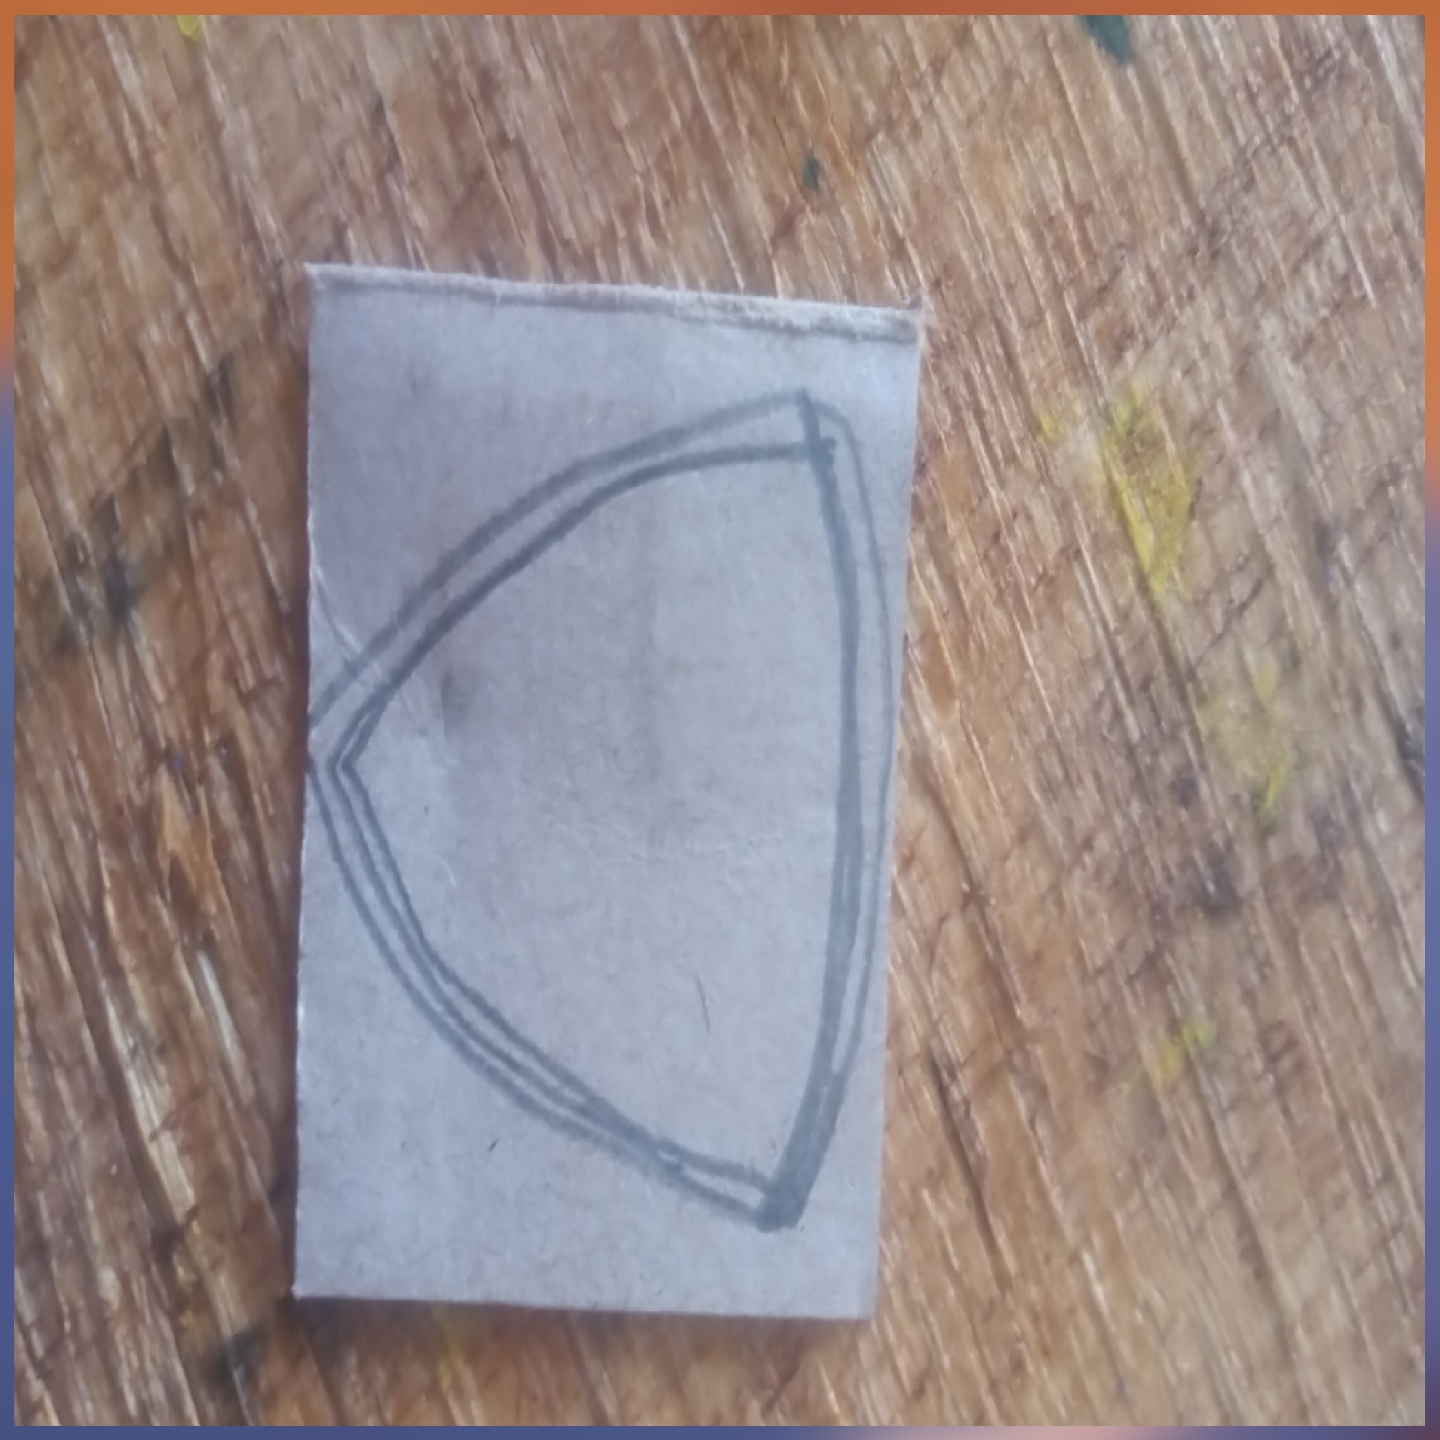
Empecemos por marcar en nuestro cartón con un lápiz de grafito las zonas a recortar.
Let's start by marking on our cardboard with a graphite pencil the areas to be cut out.
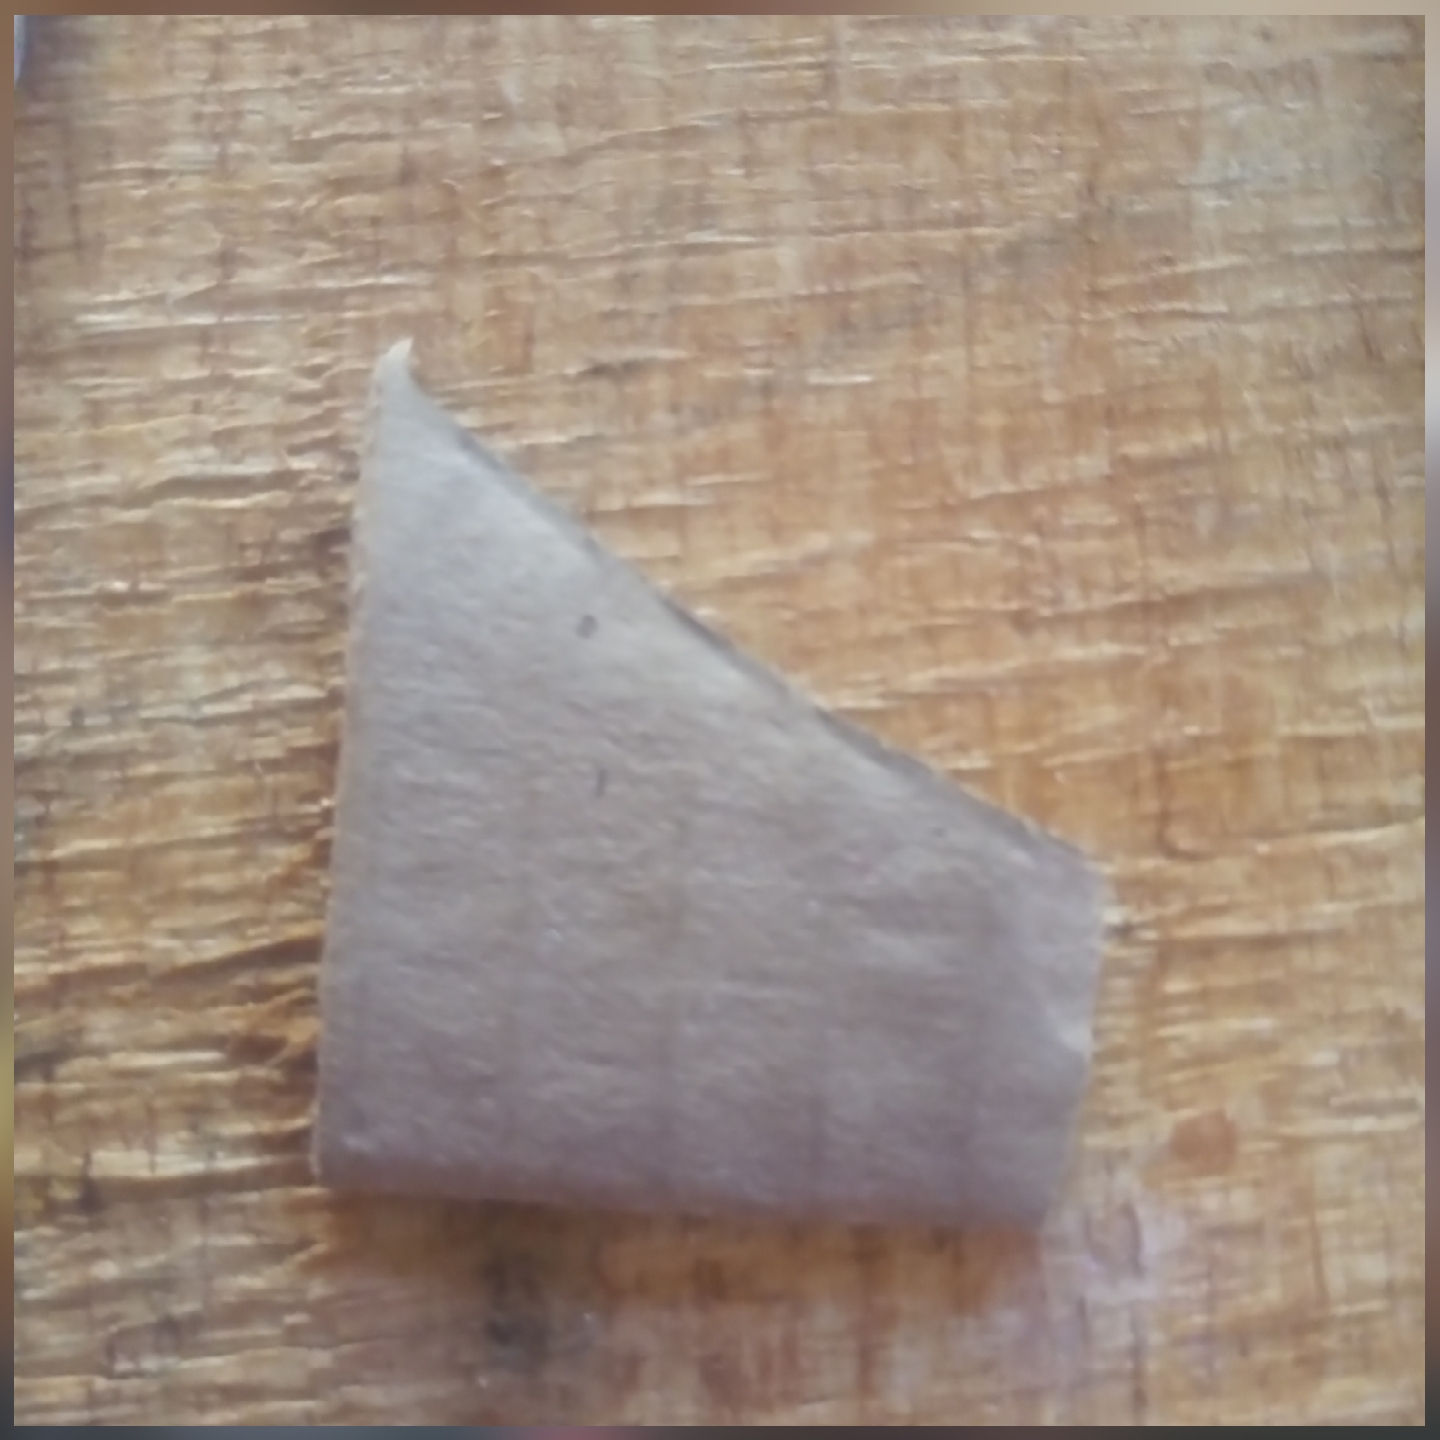
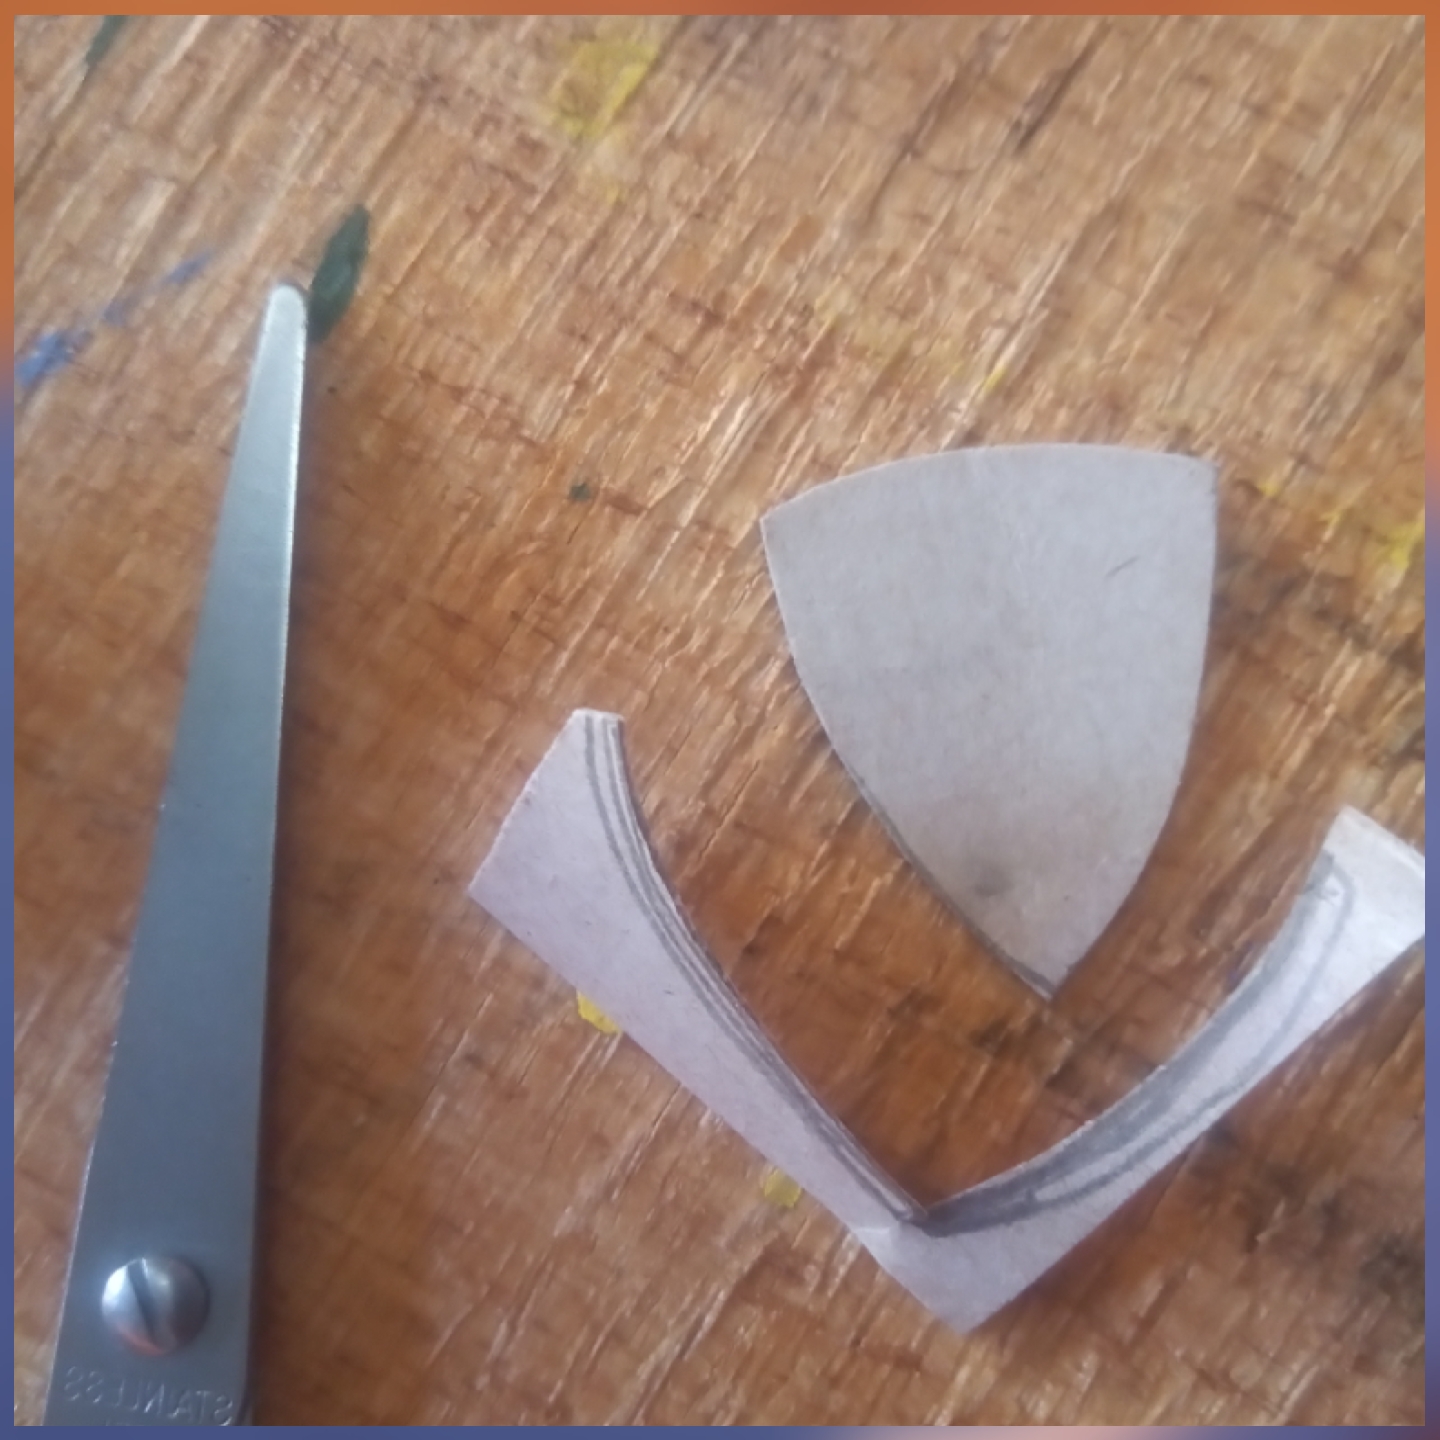
Cortar con cuidado las partes marcadas
Carefully cut the marked parts
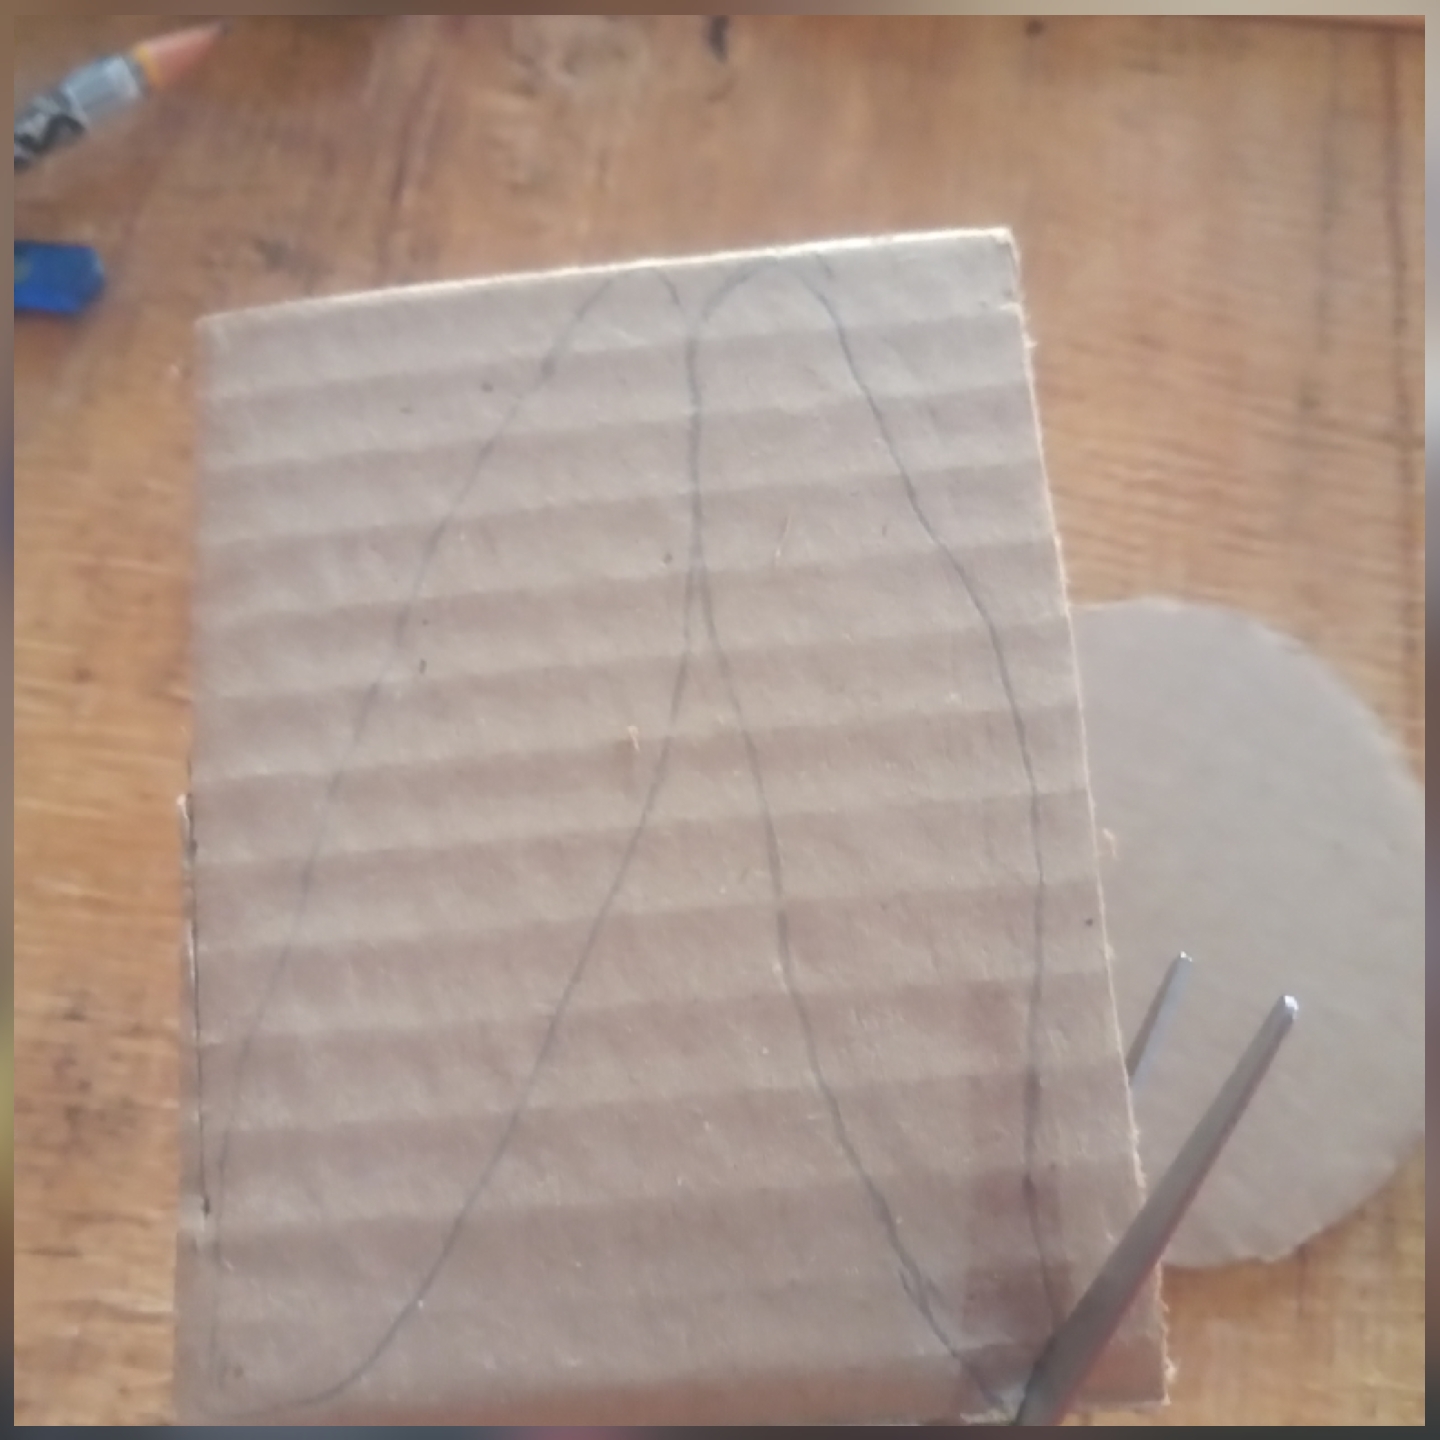
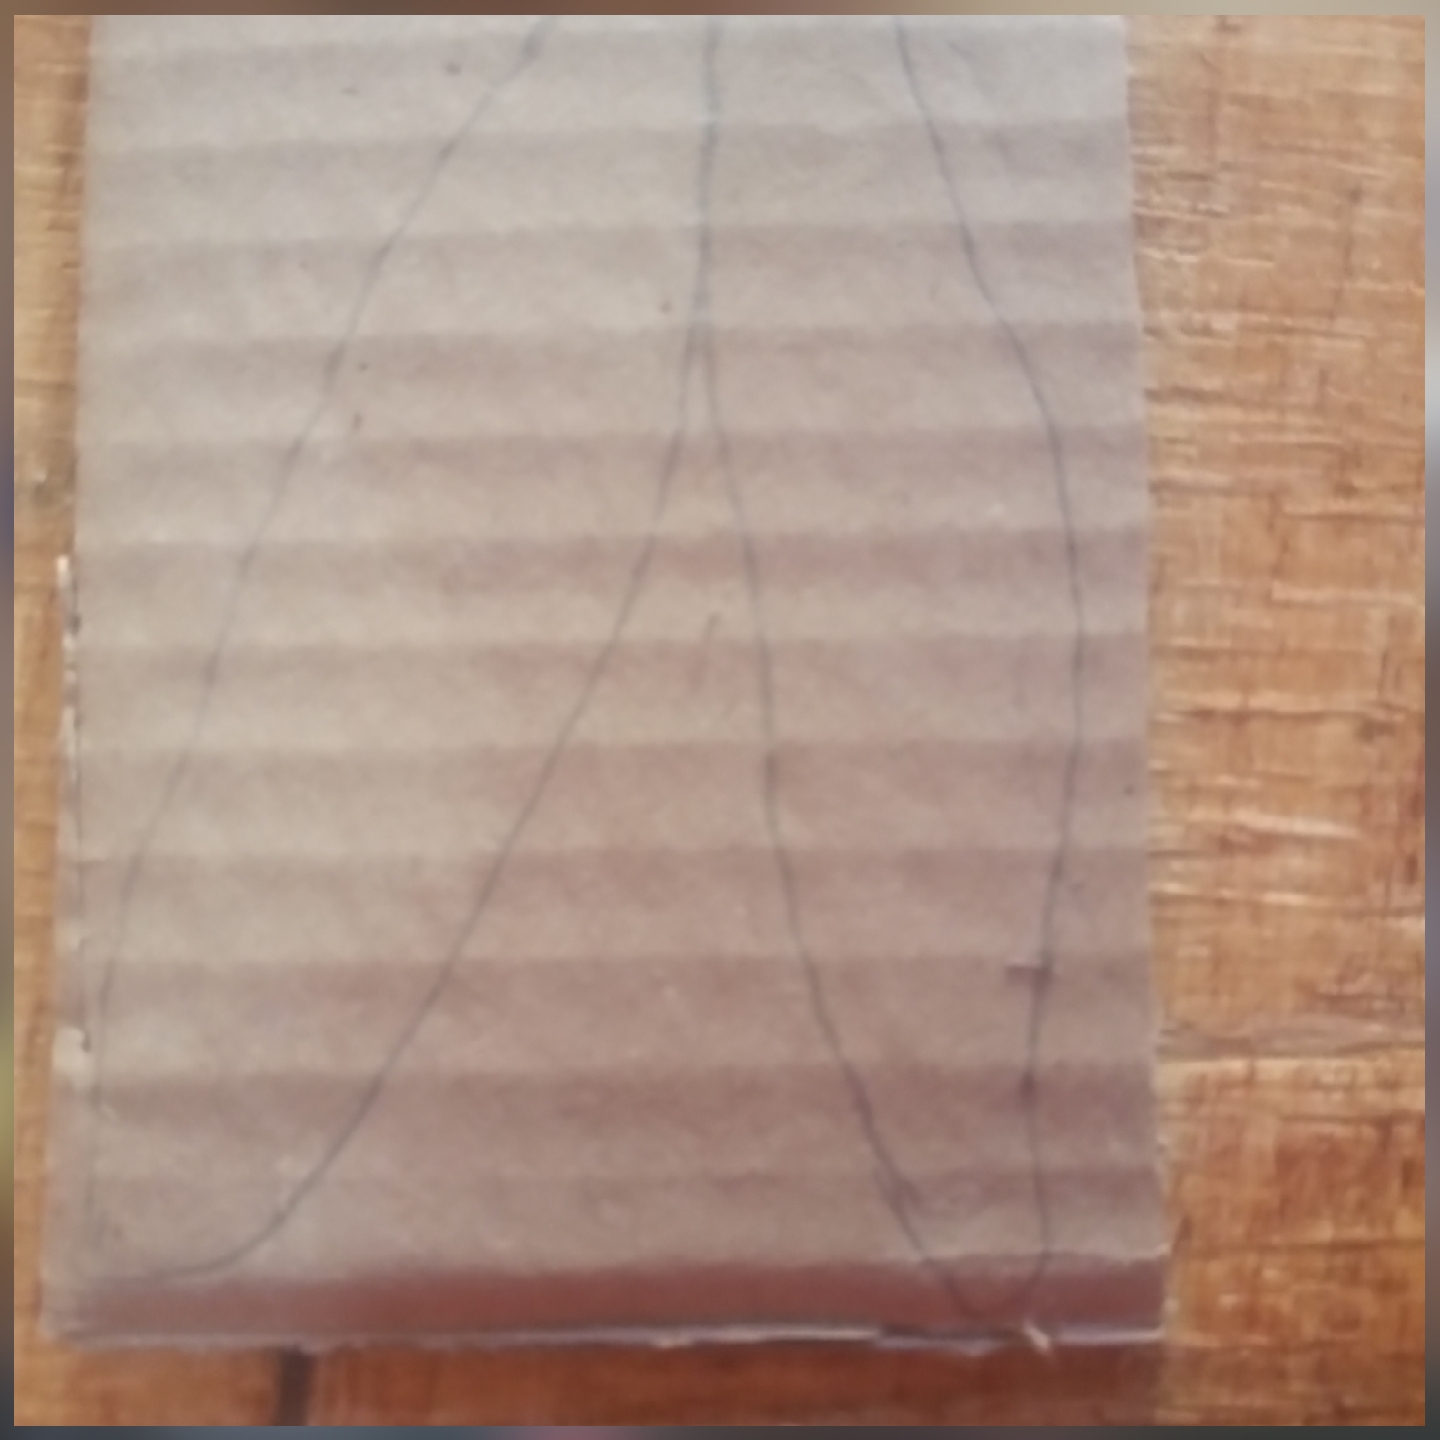
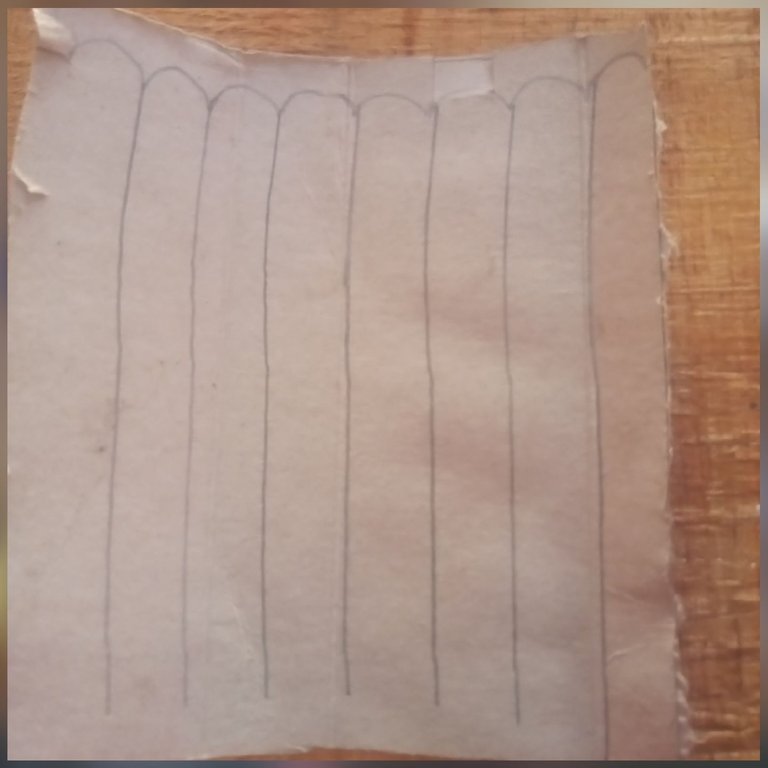
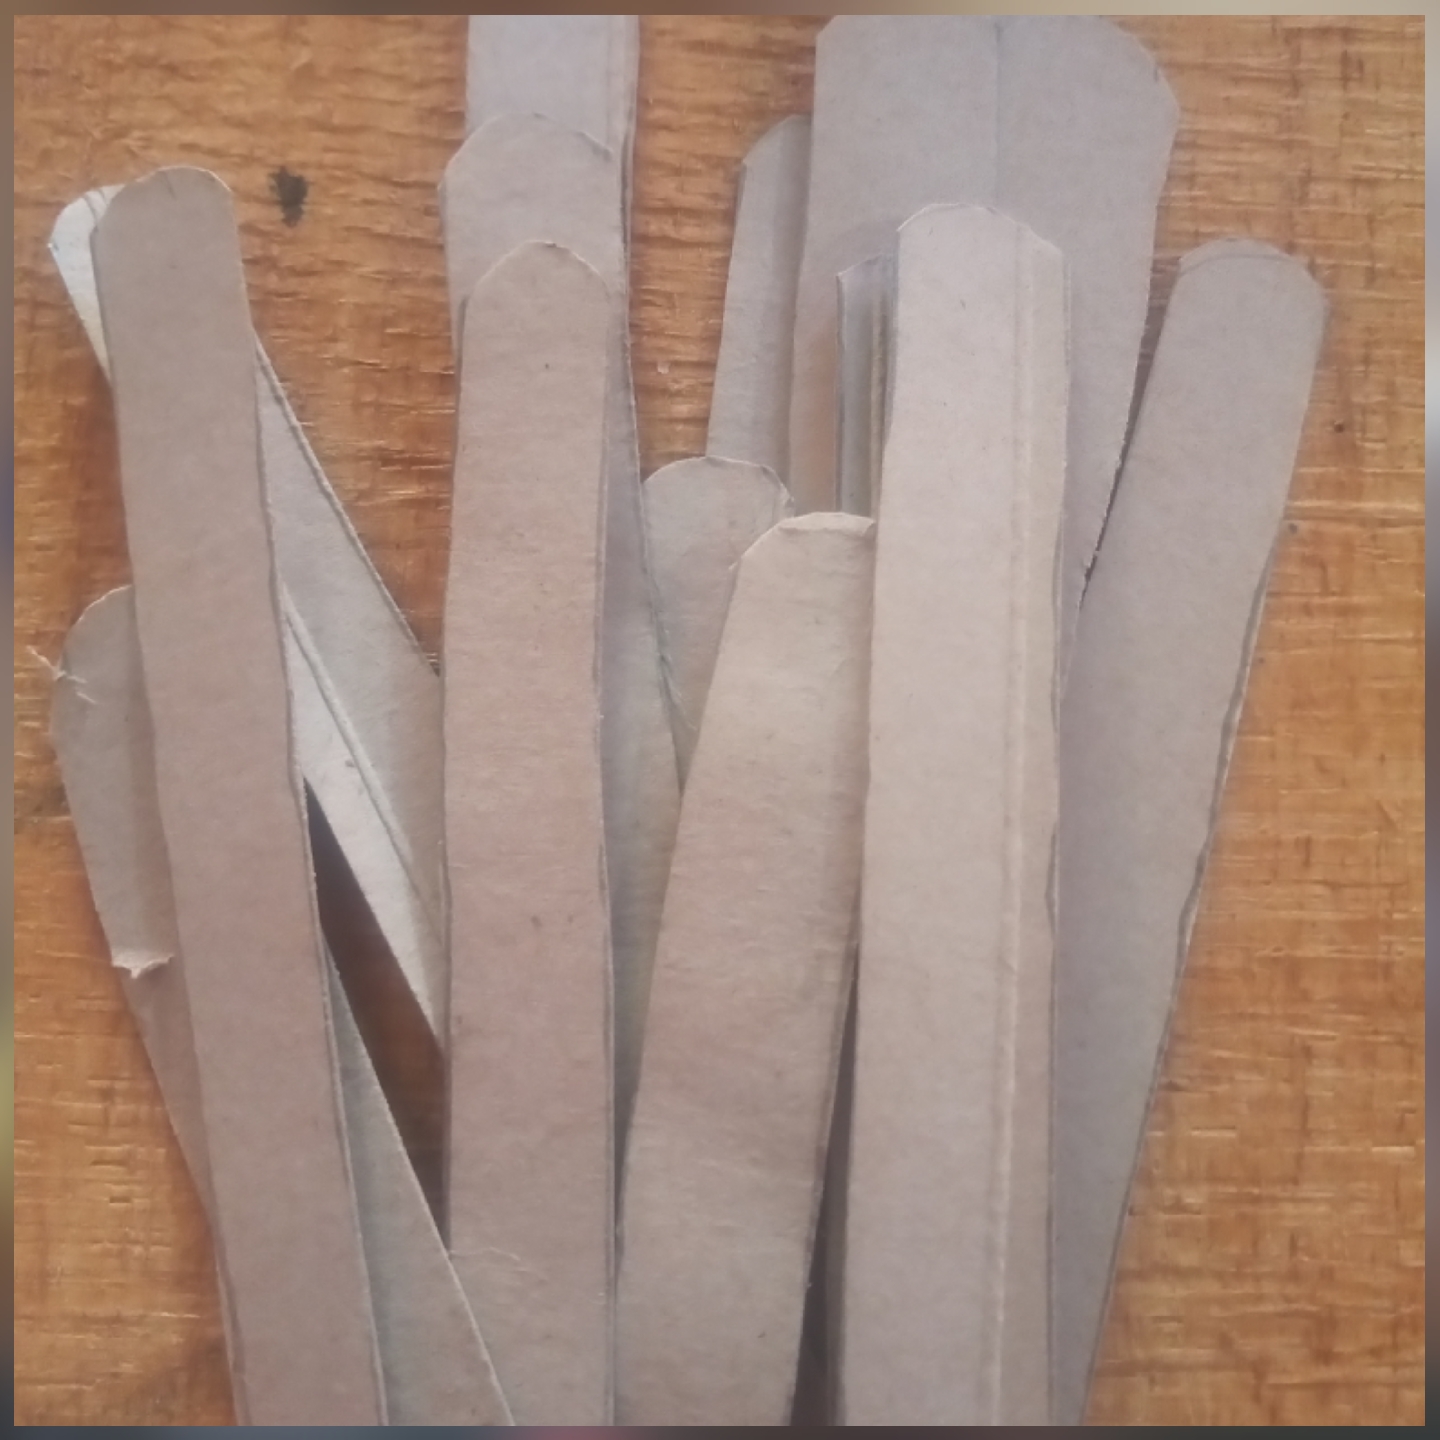
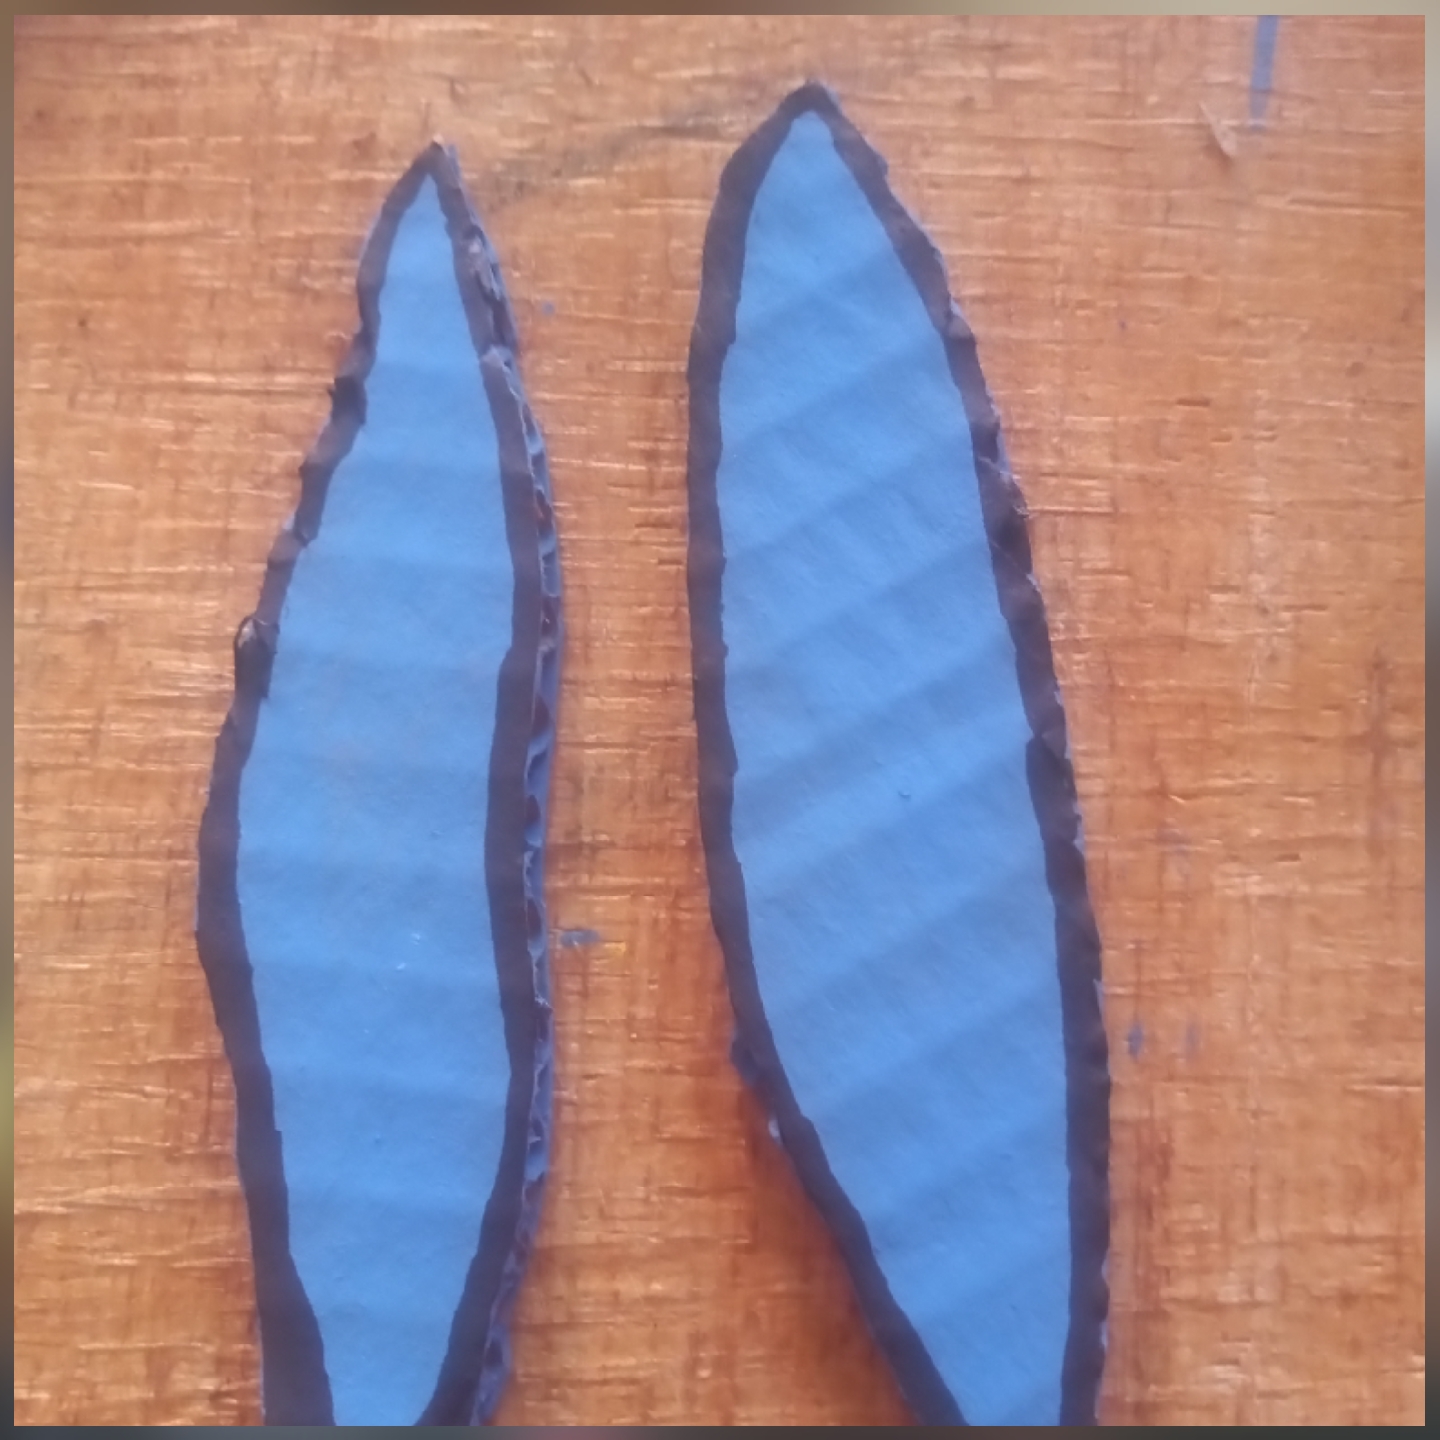
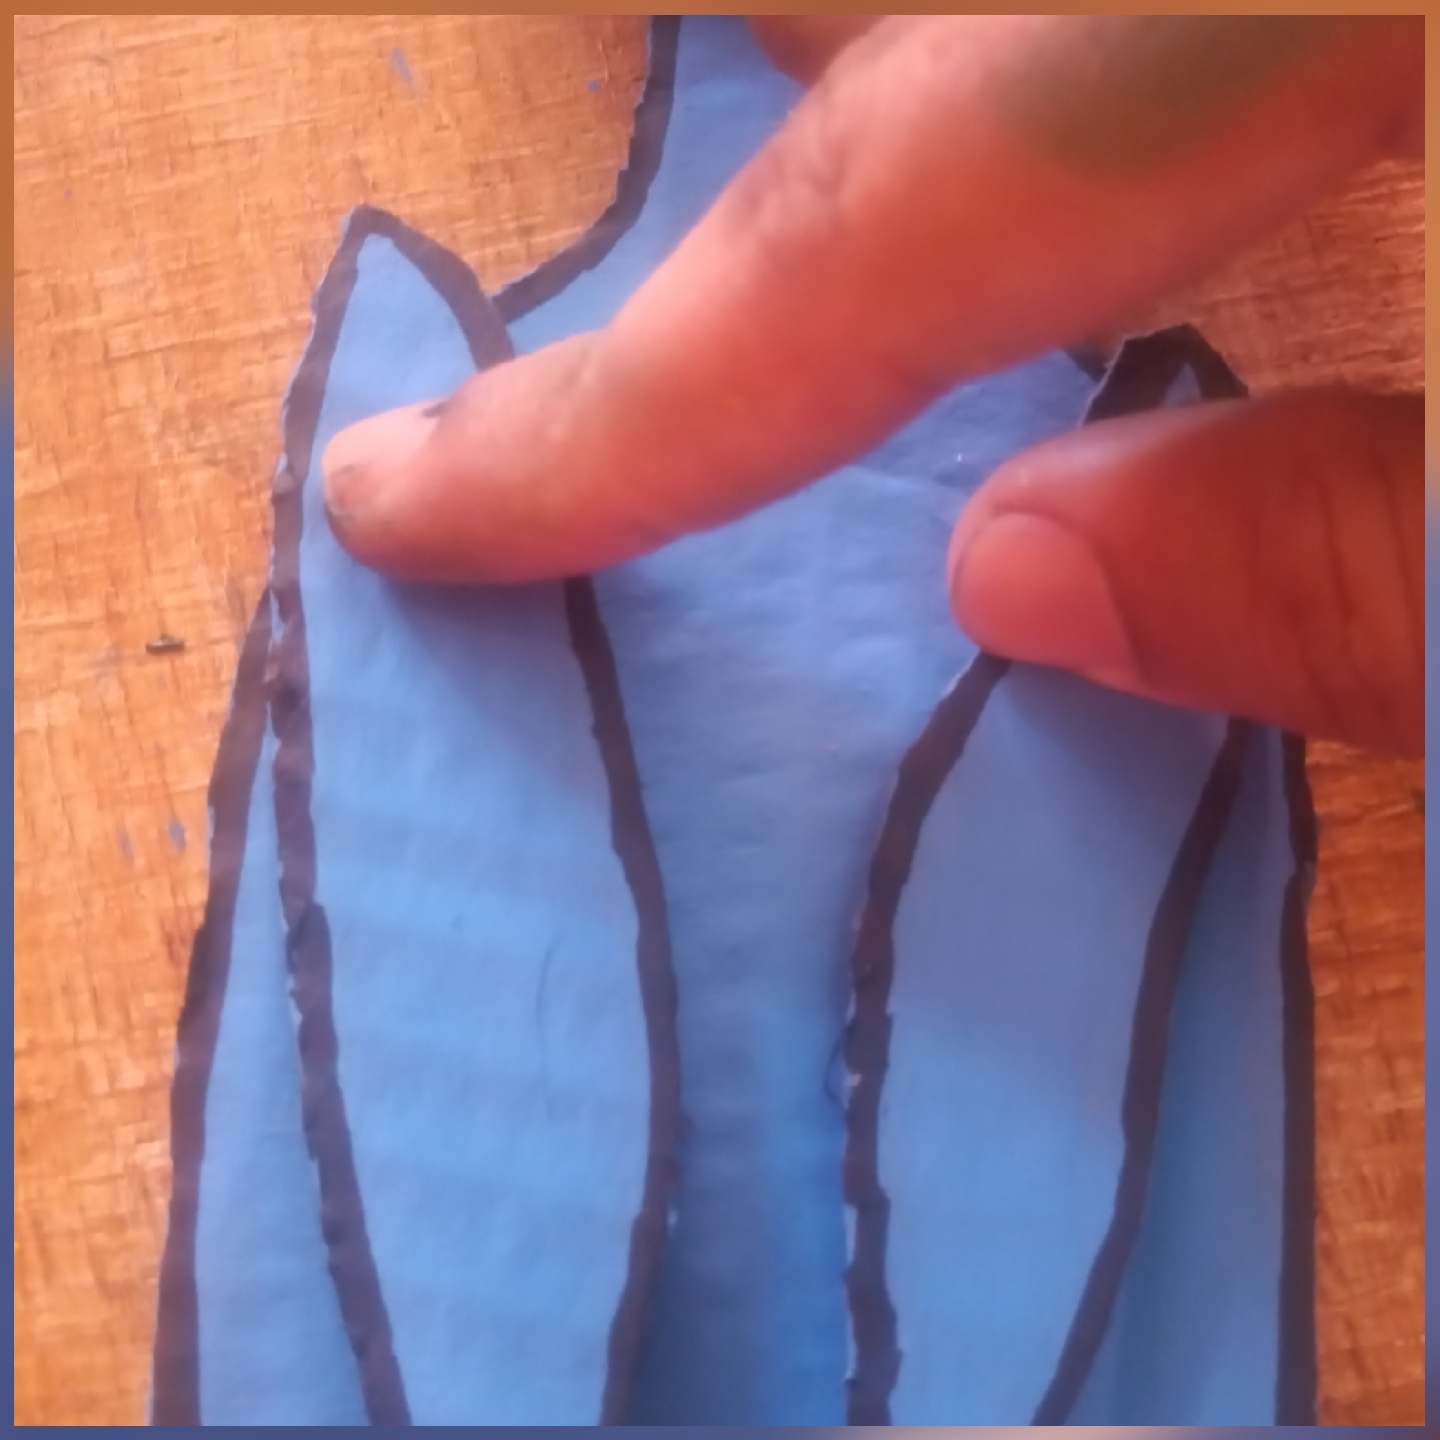
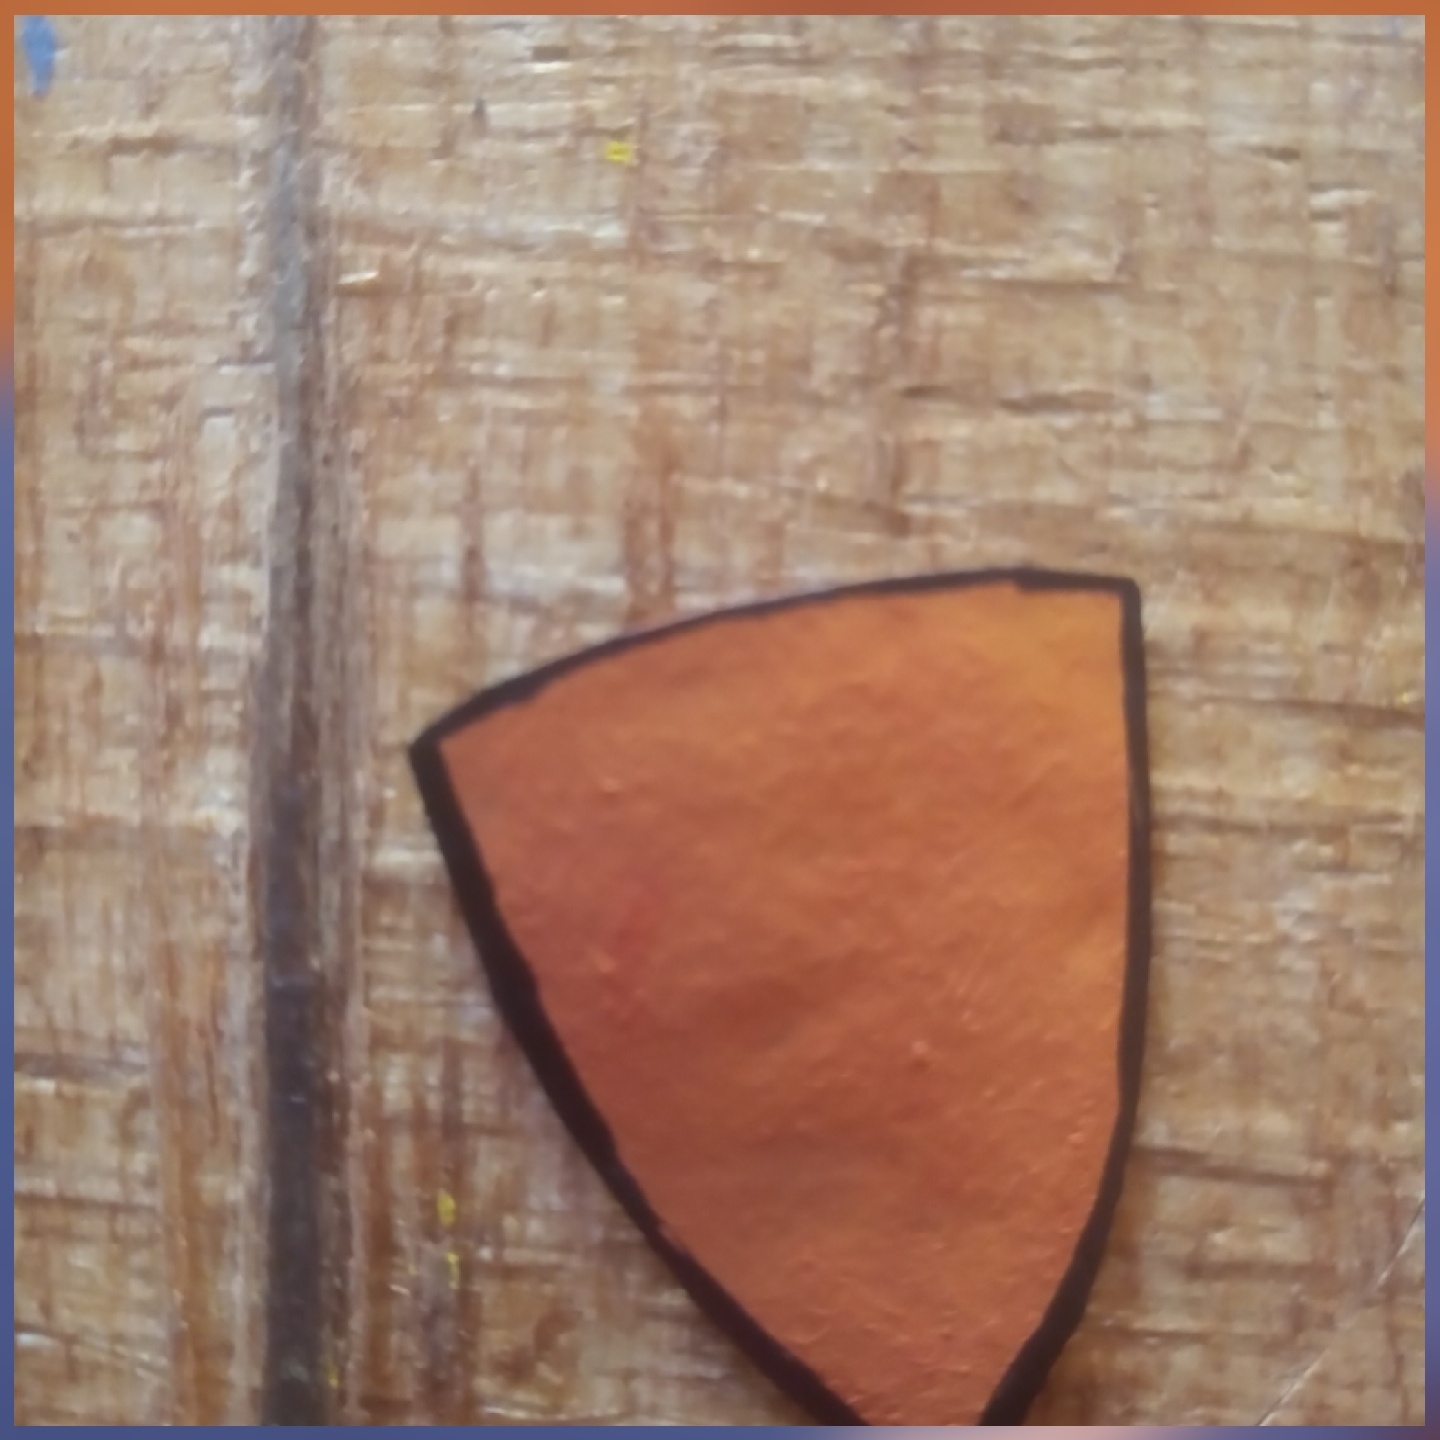
Sobre un trozo de cartón dibujamos líneas onduladas en horizontal y luego líneas verticales para dividirlas. Luego las cortamos
On a piece of cardboard we draw wavy lines horizontally and then vertical lines to divide them. Then we cut them
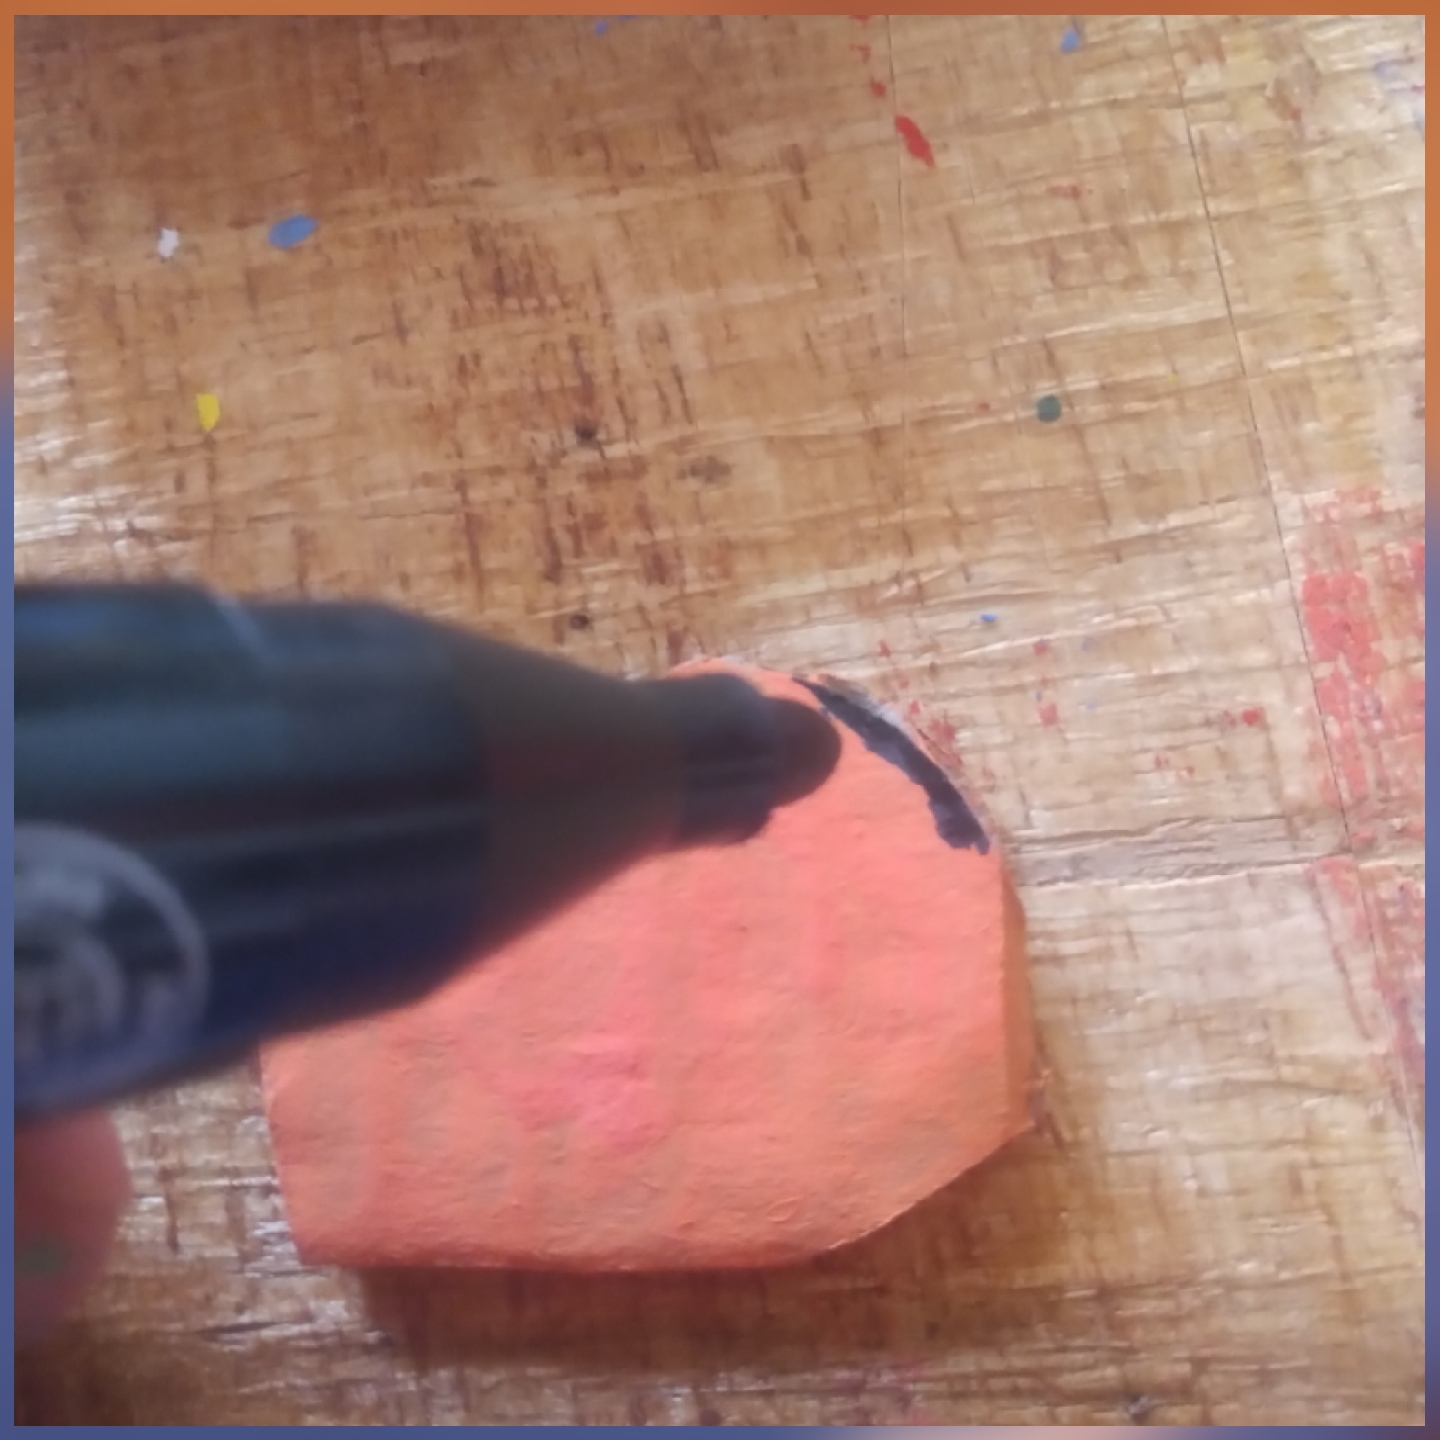
Pinta las piezas cortadas en azul. Después del secado, marque los bordes con un marcador negro.
Paint the cut pieces in blue. After drying, mark the edges with a black marker.


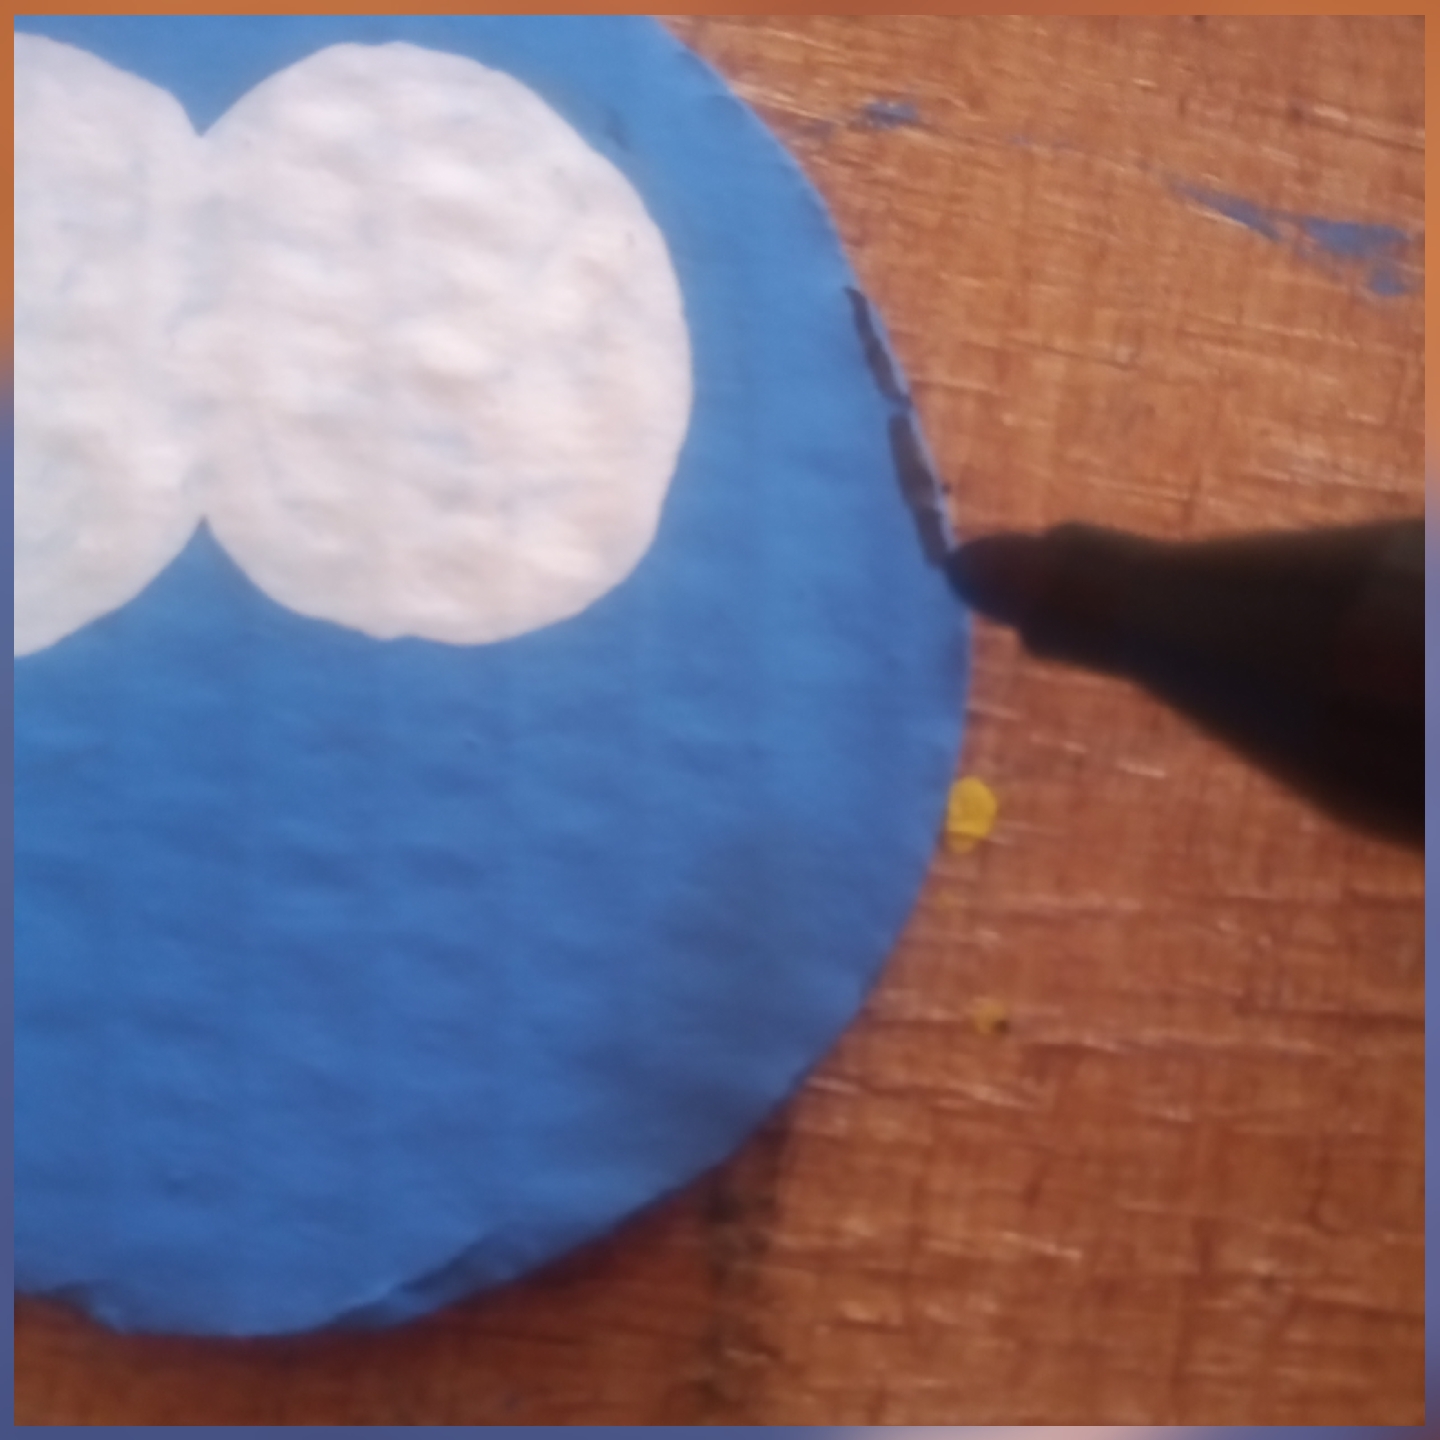
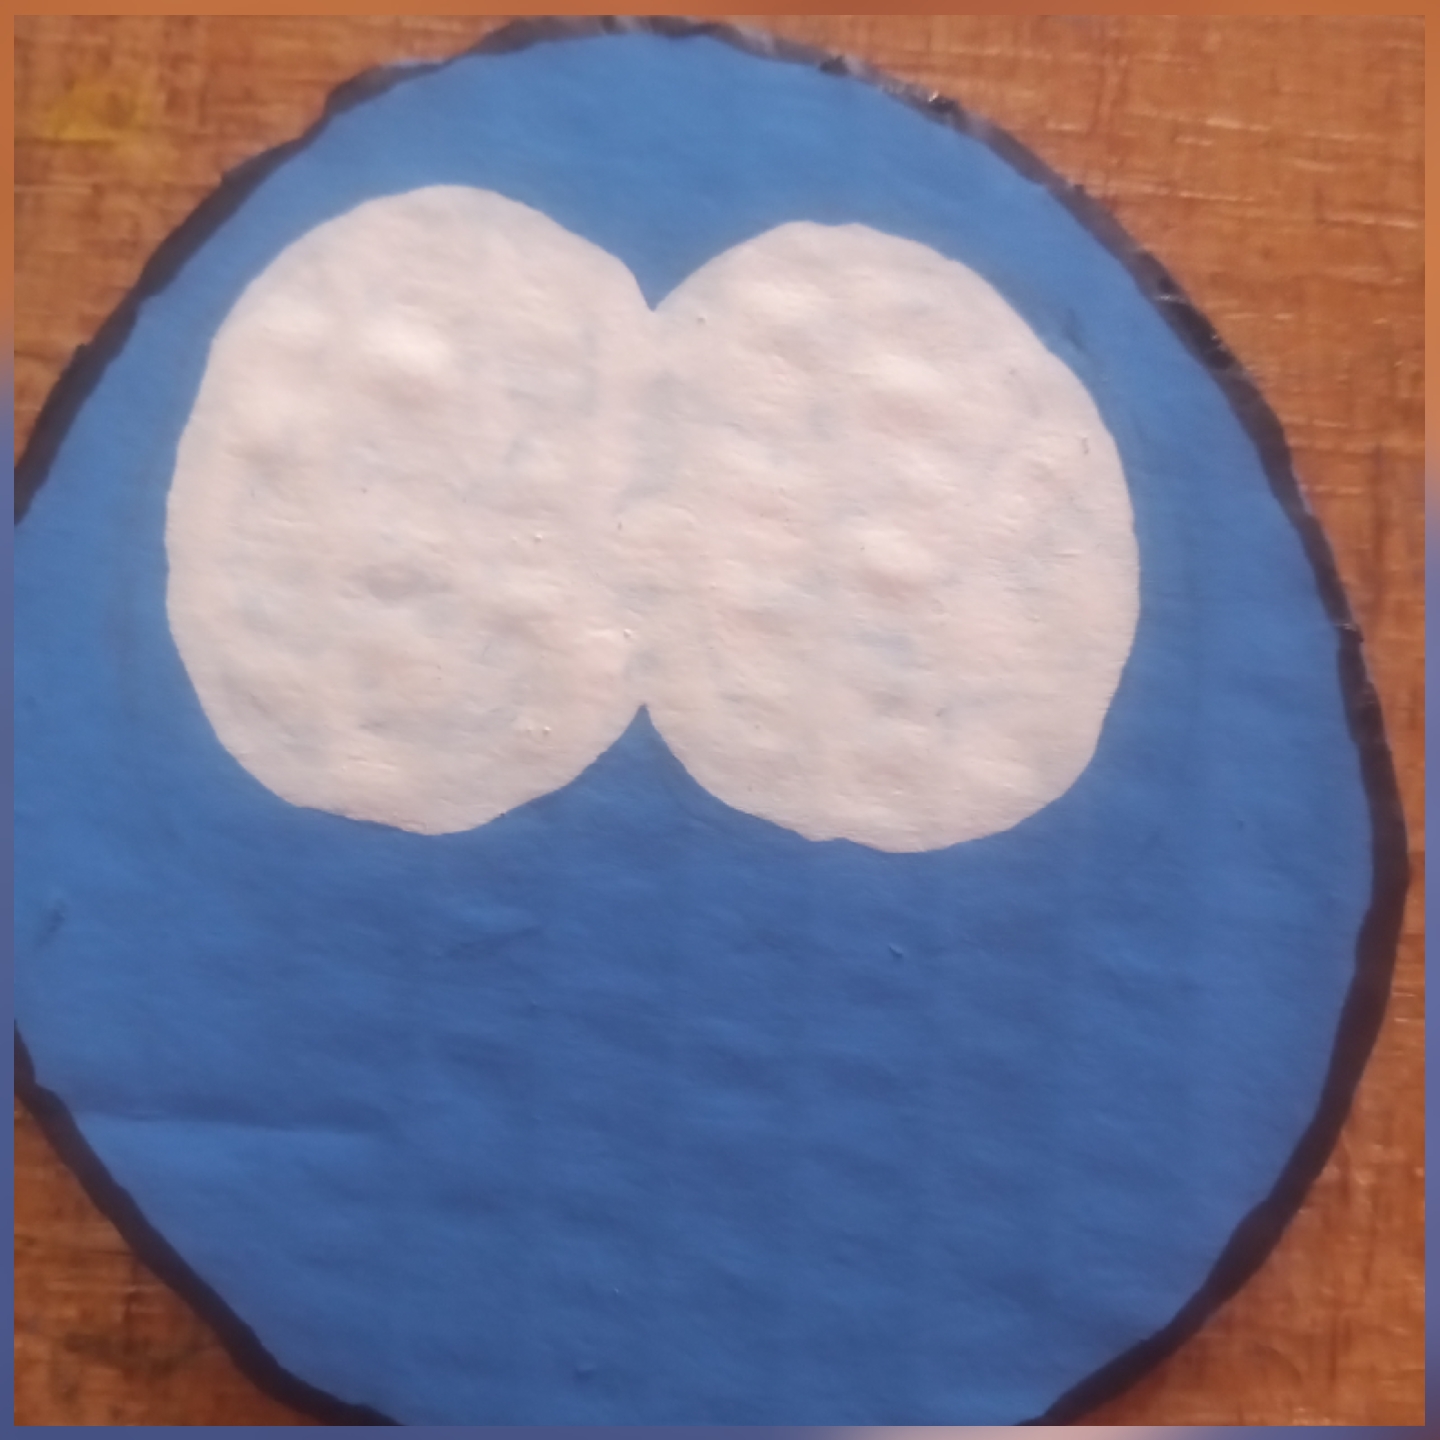
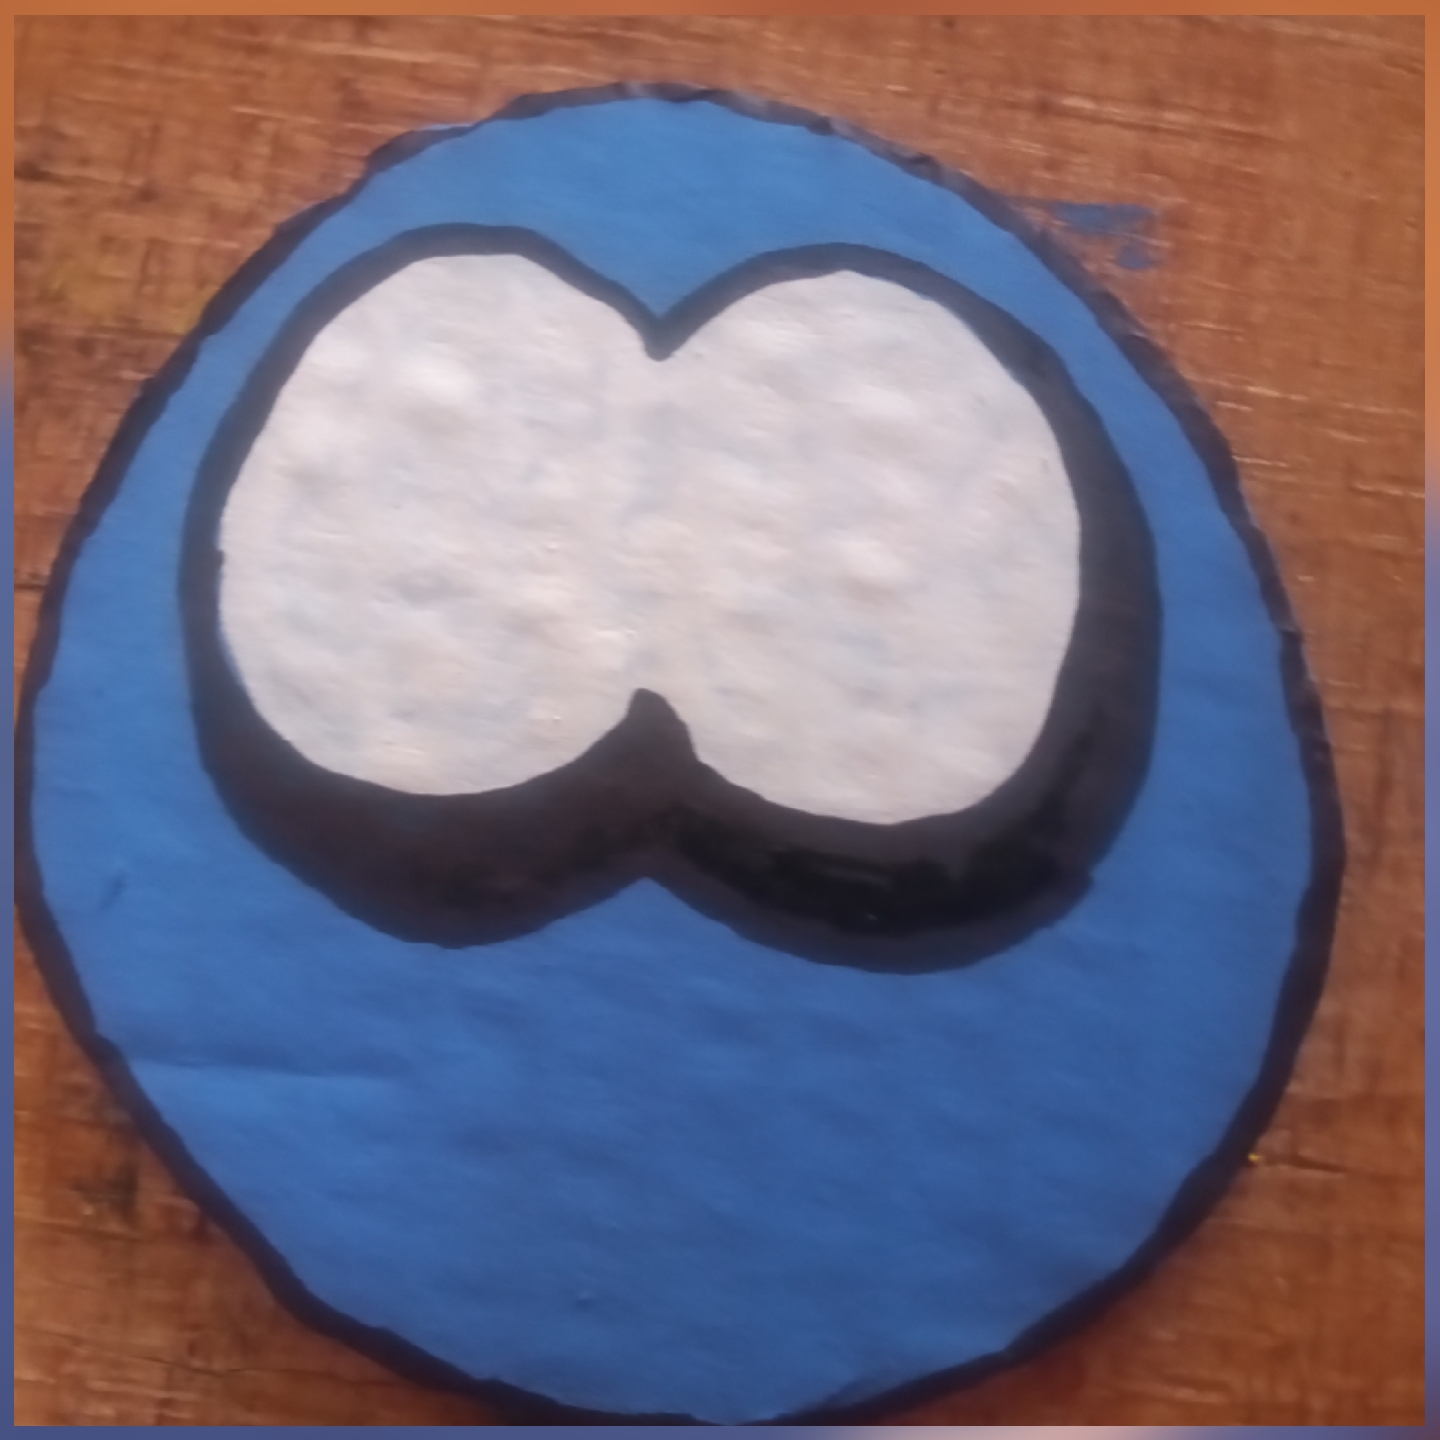
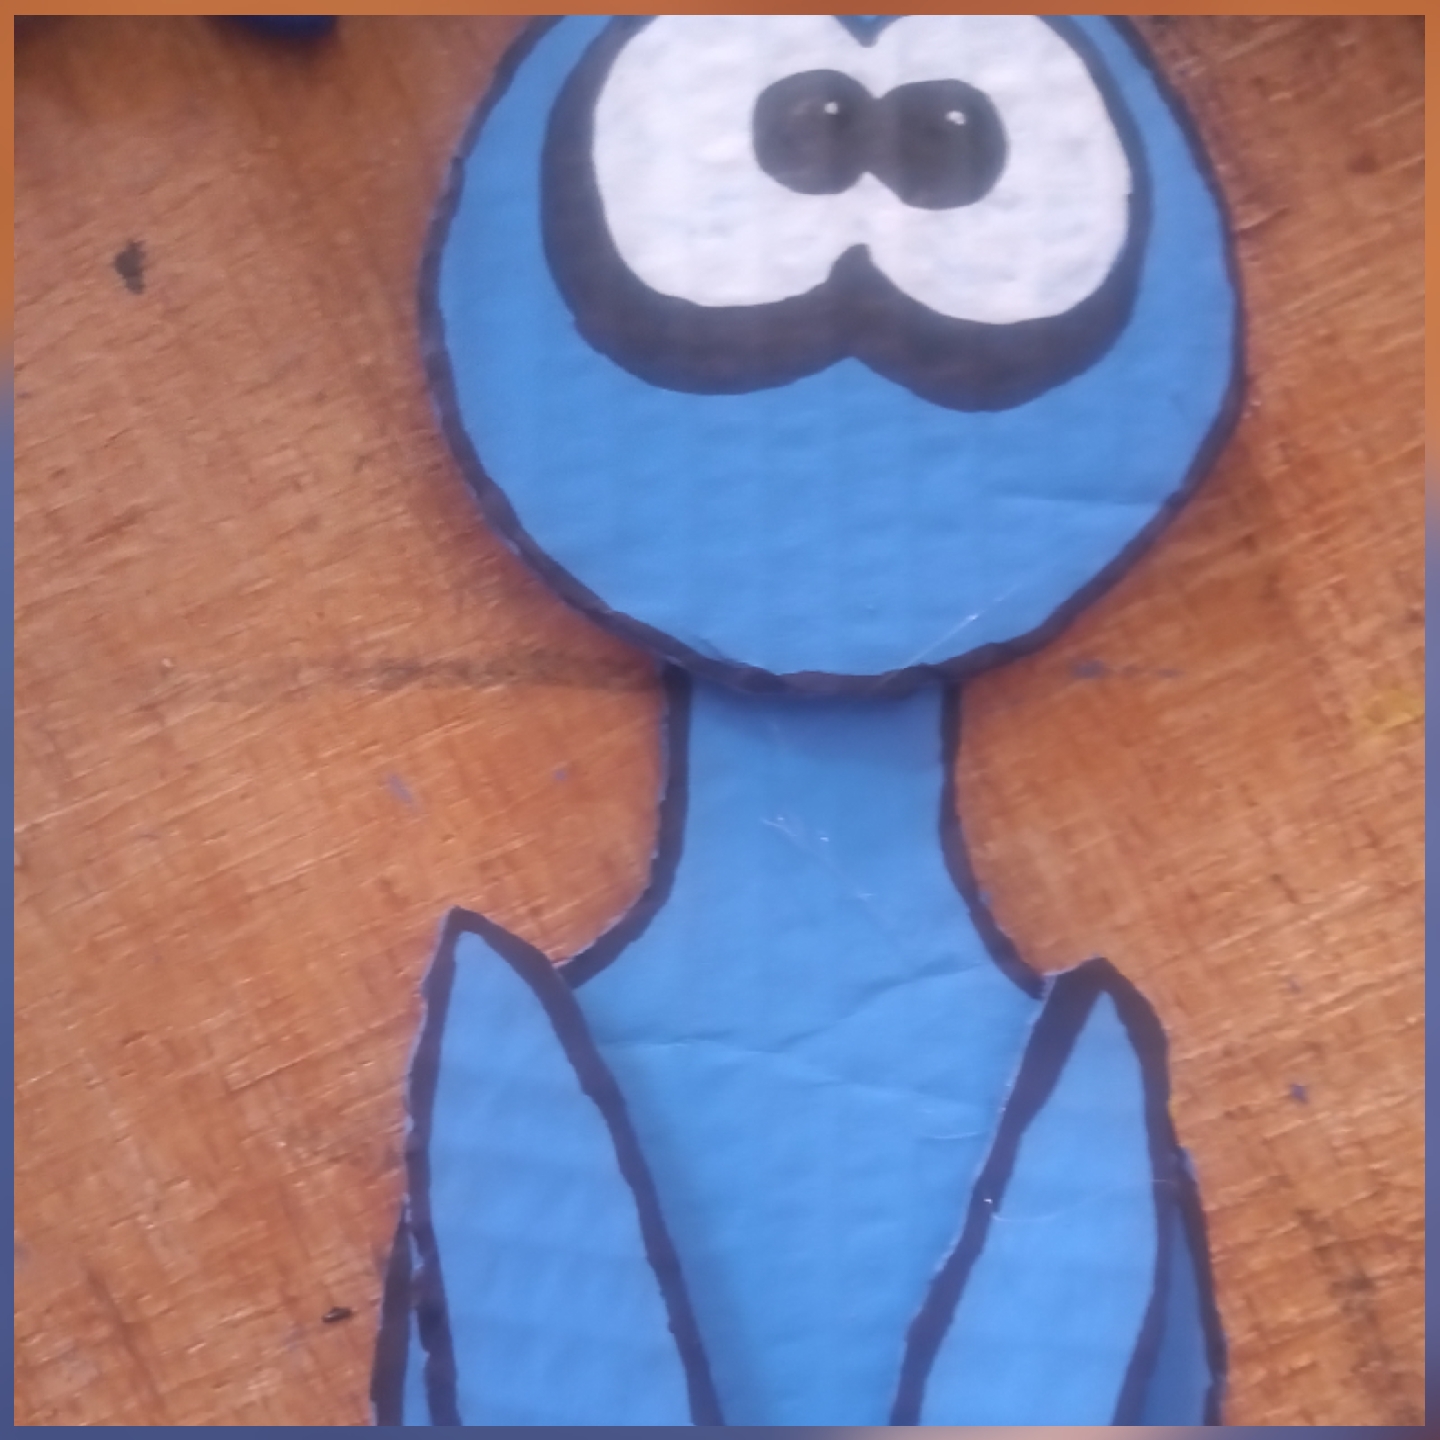
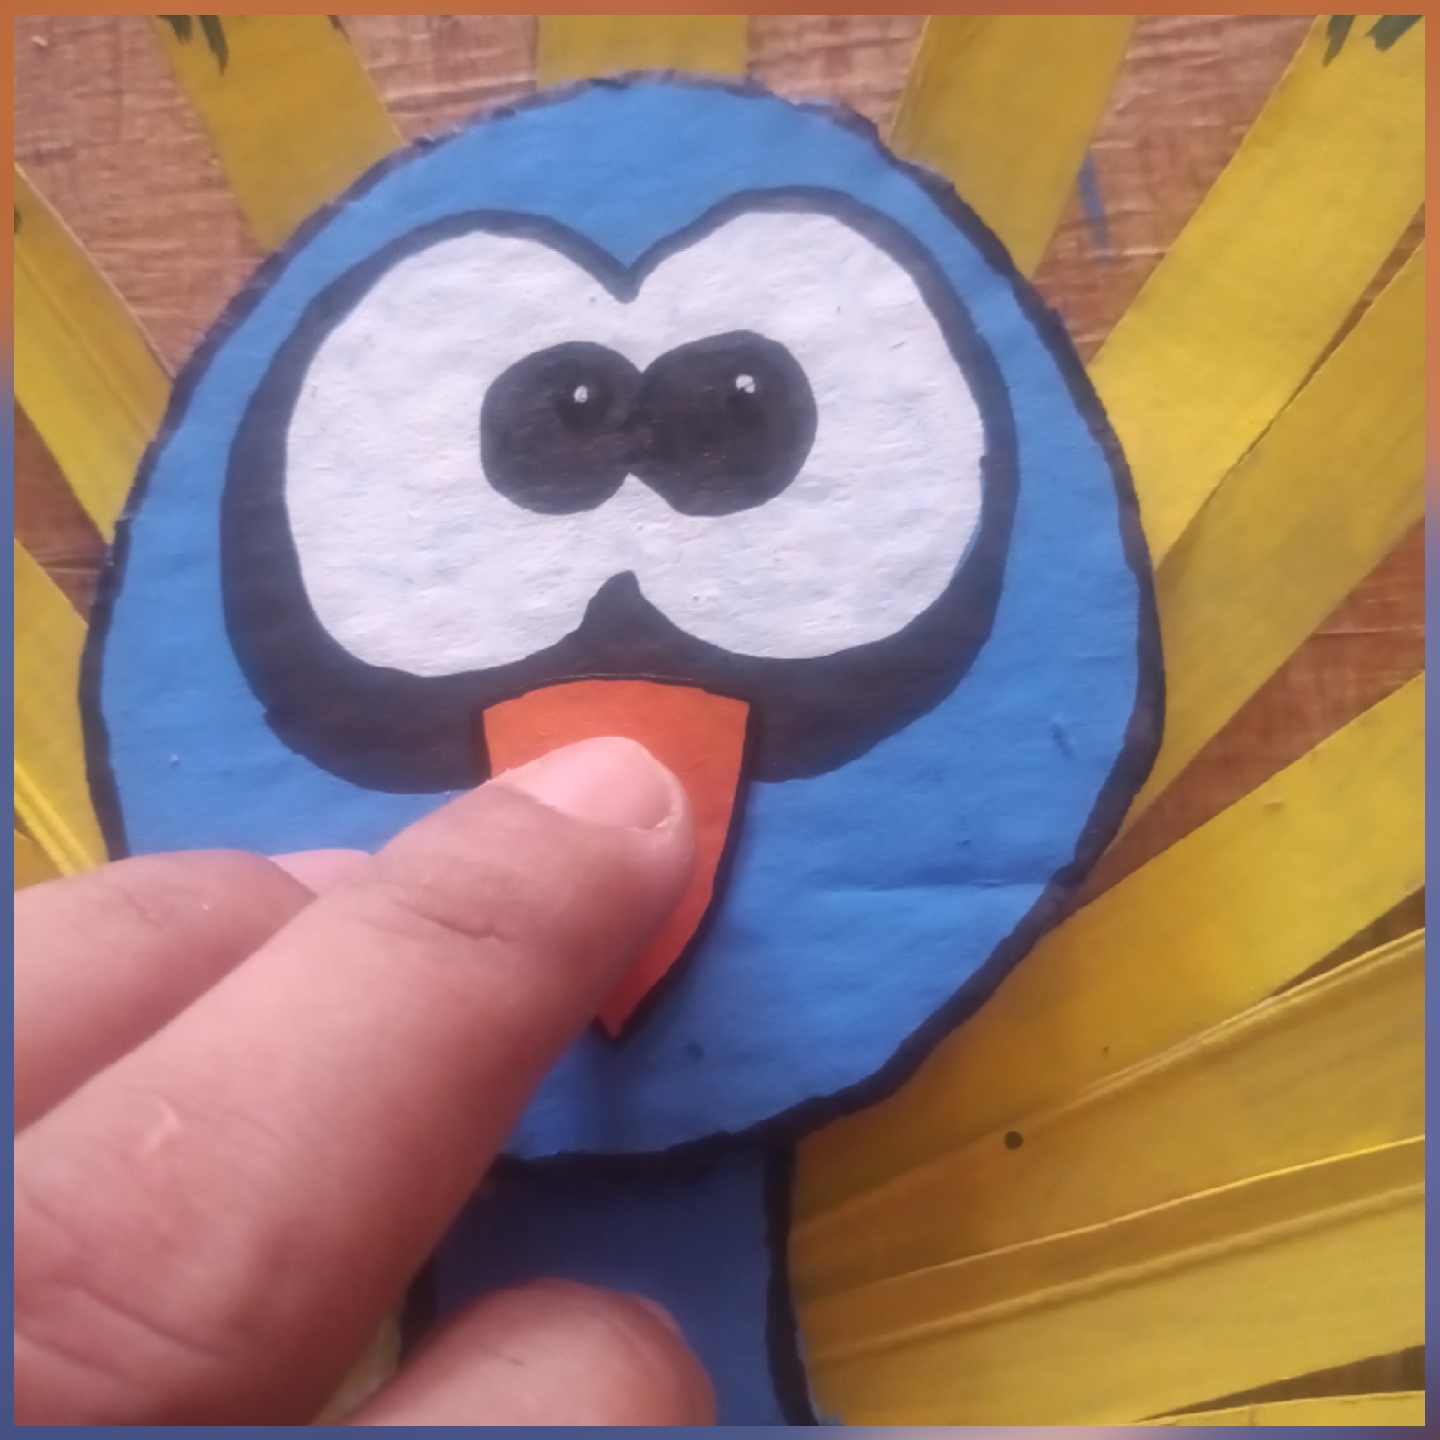
Pintamos con color blanco la silueta de lo que serán los ojos.
We paint with white color the silhouette of what will be the eyes.

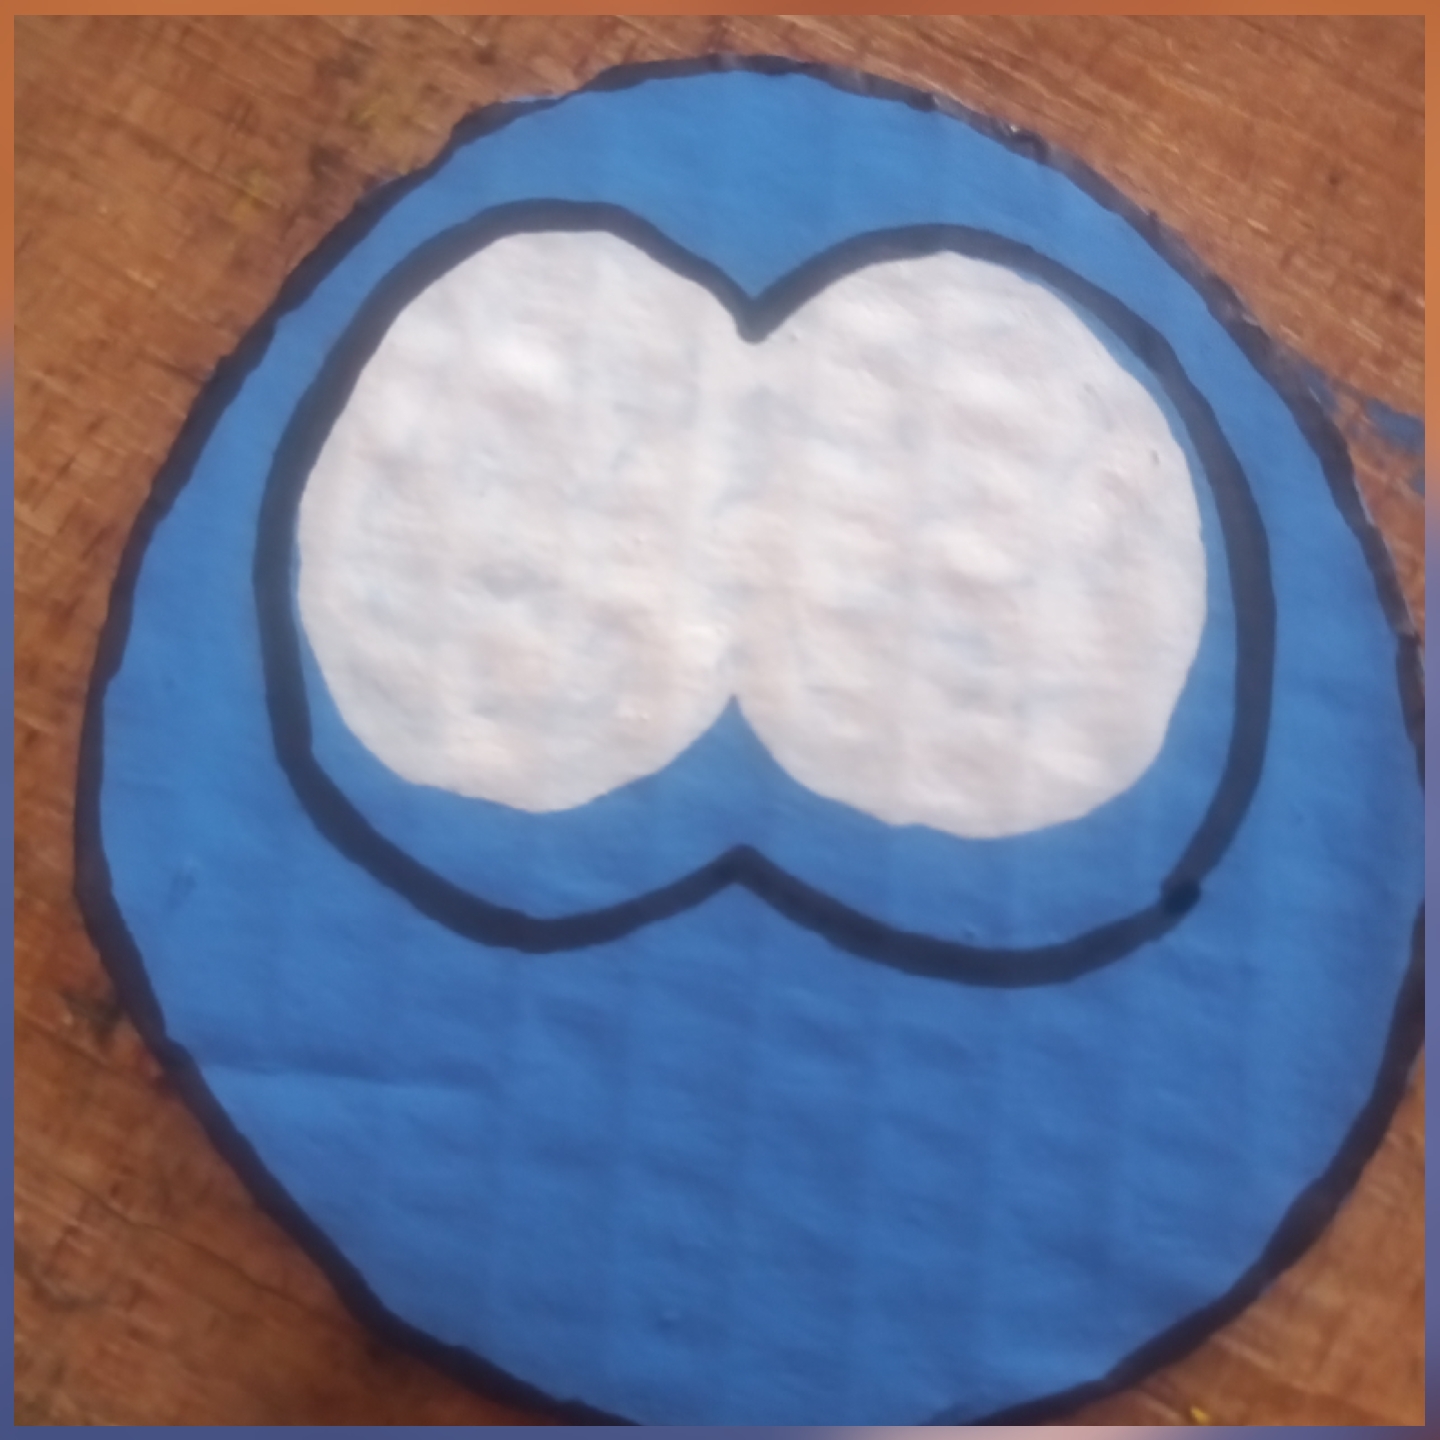
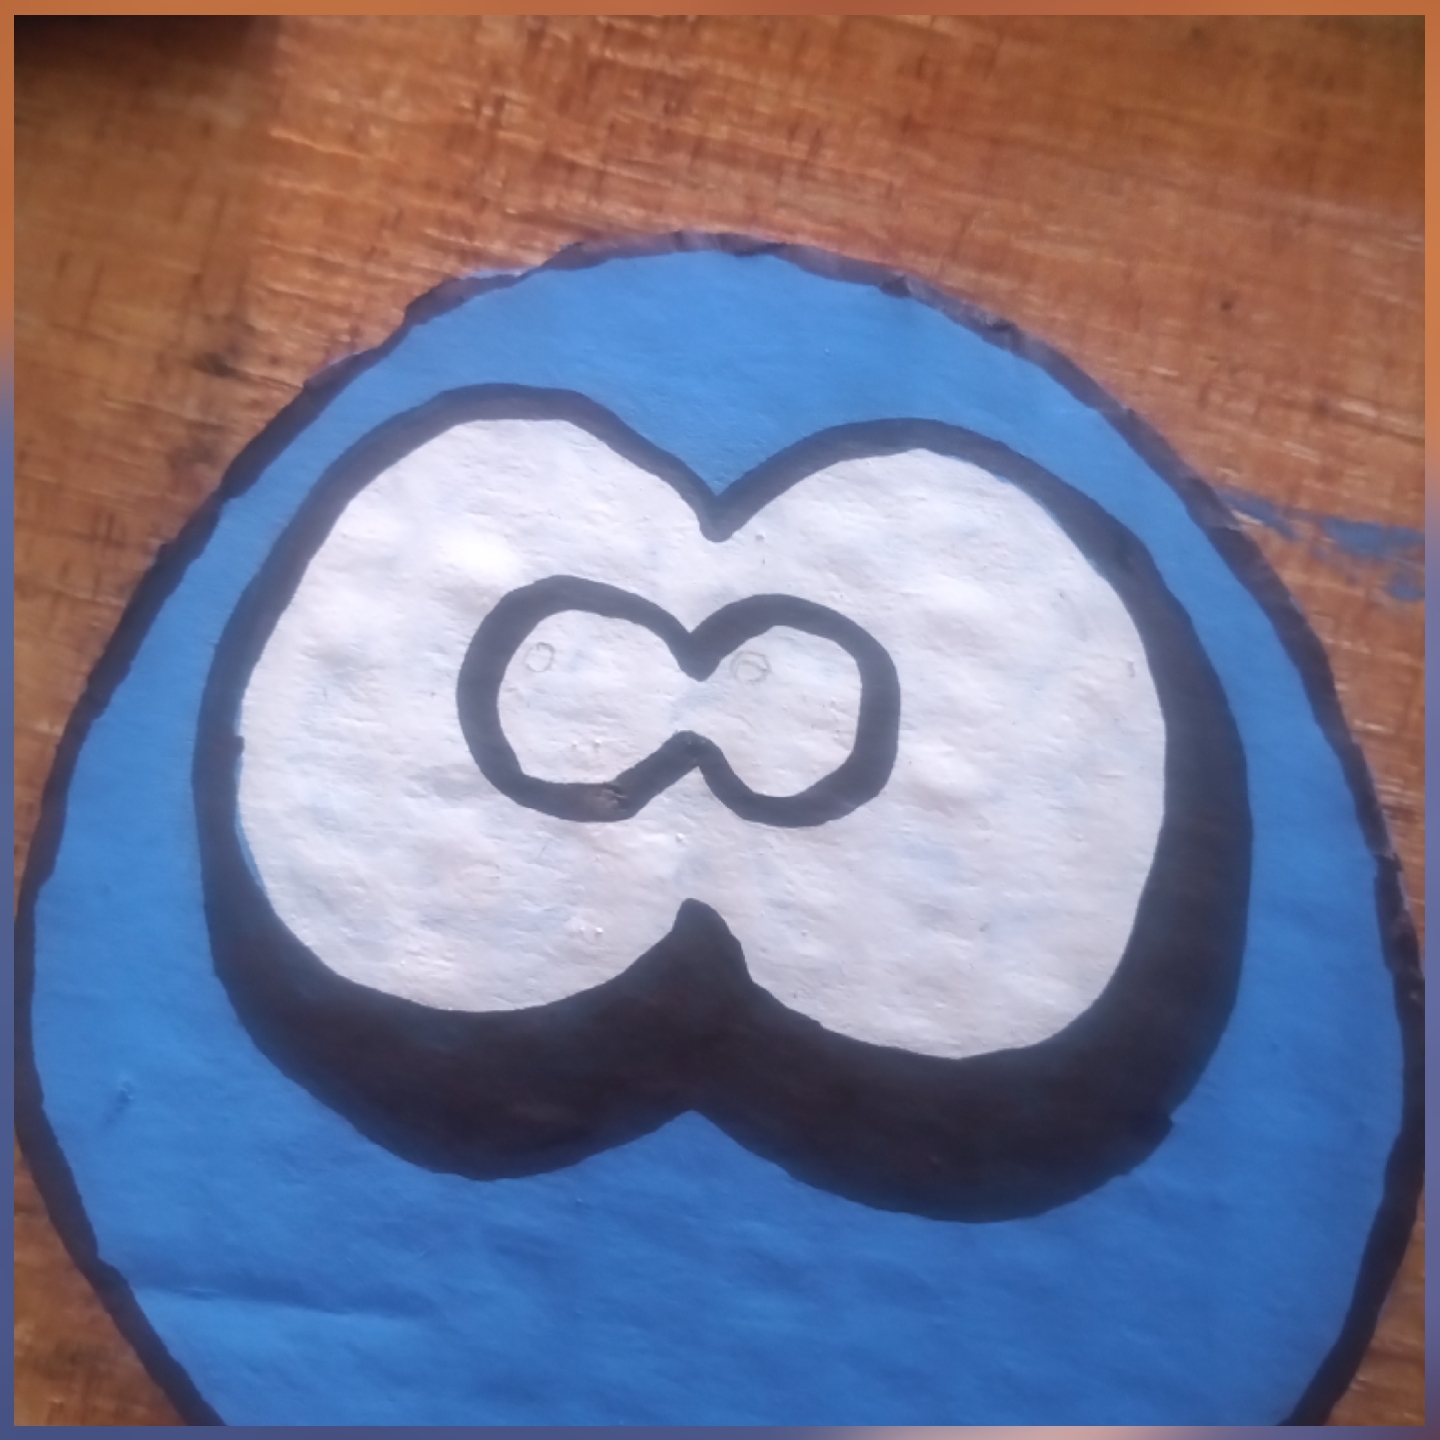
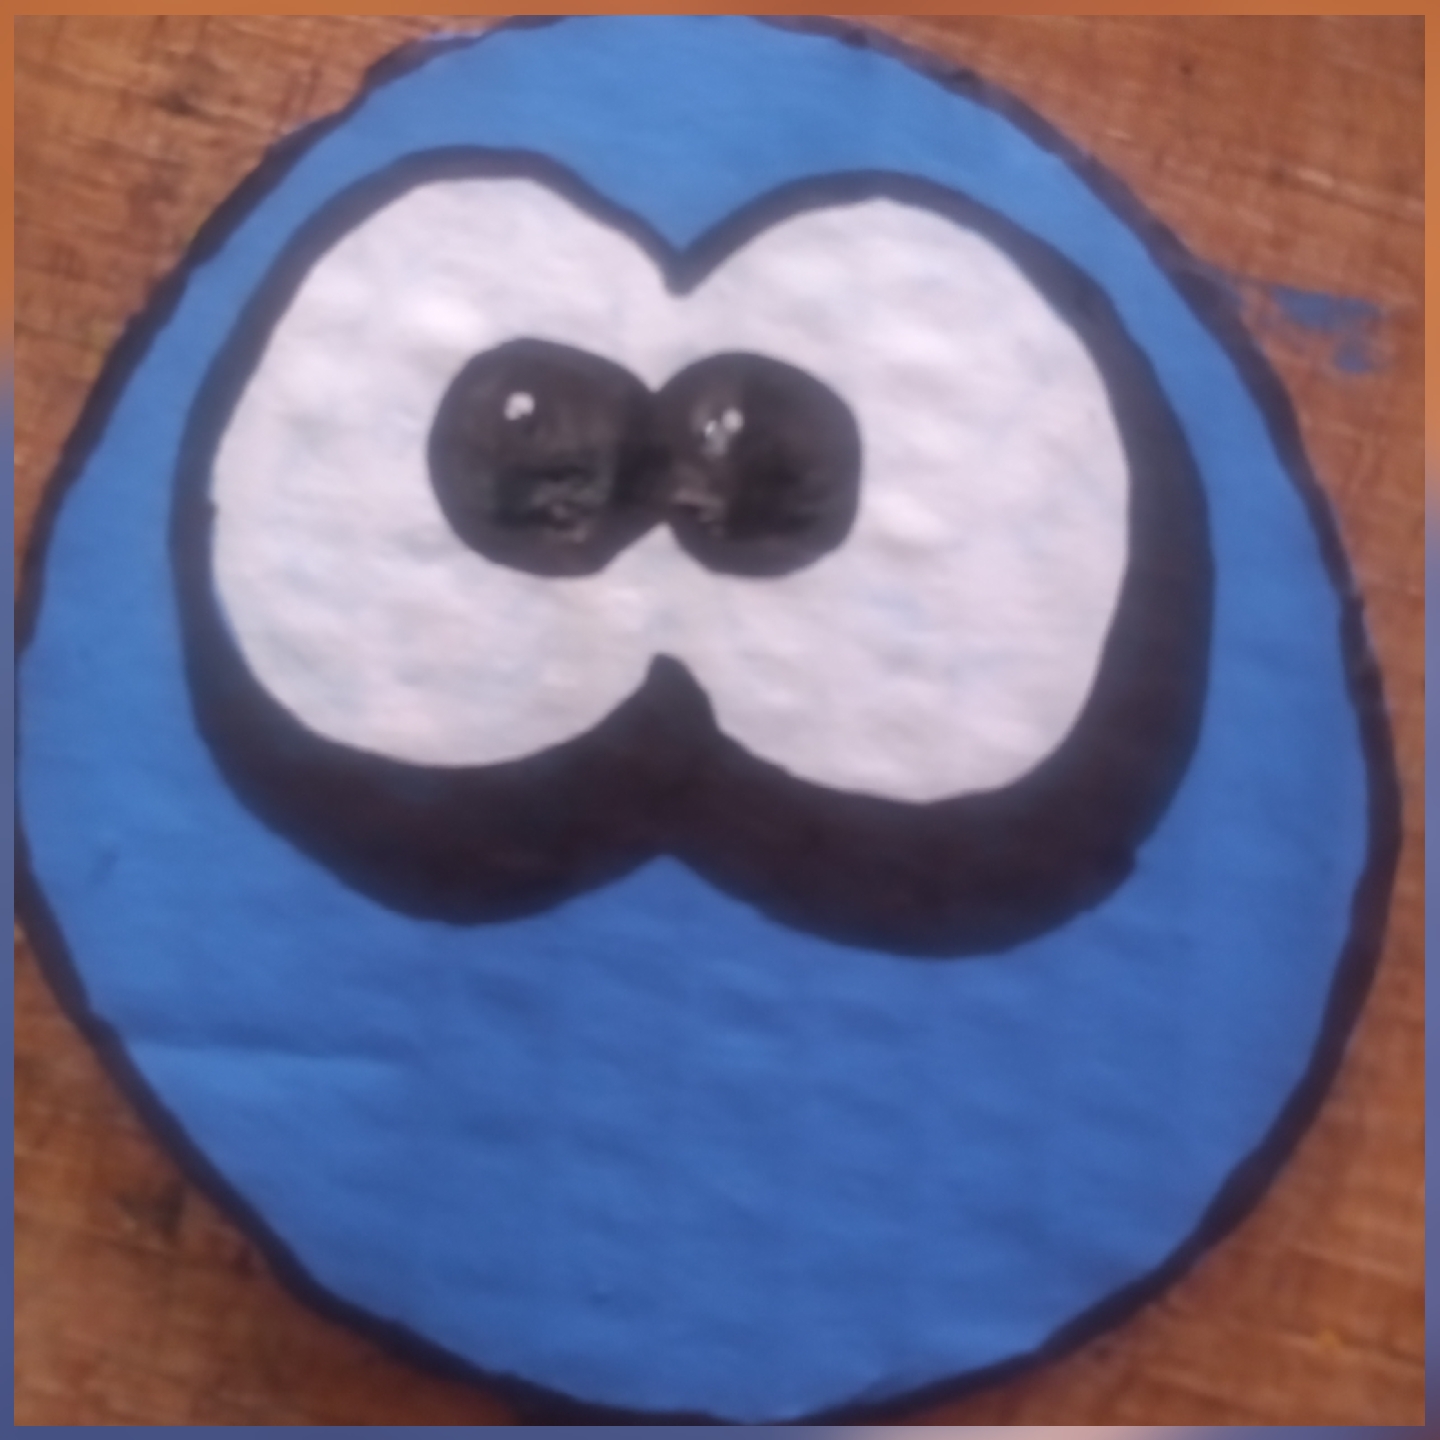
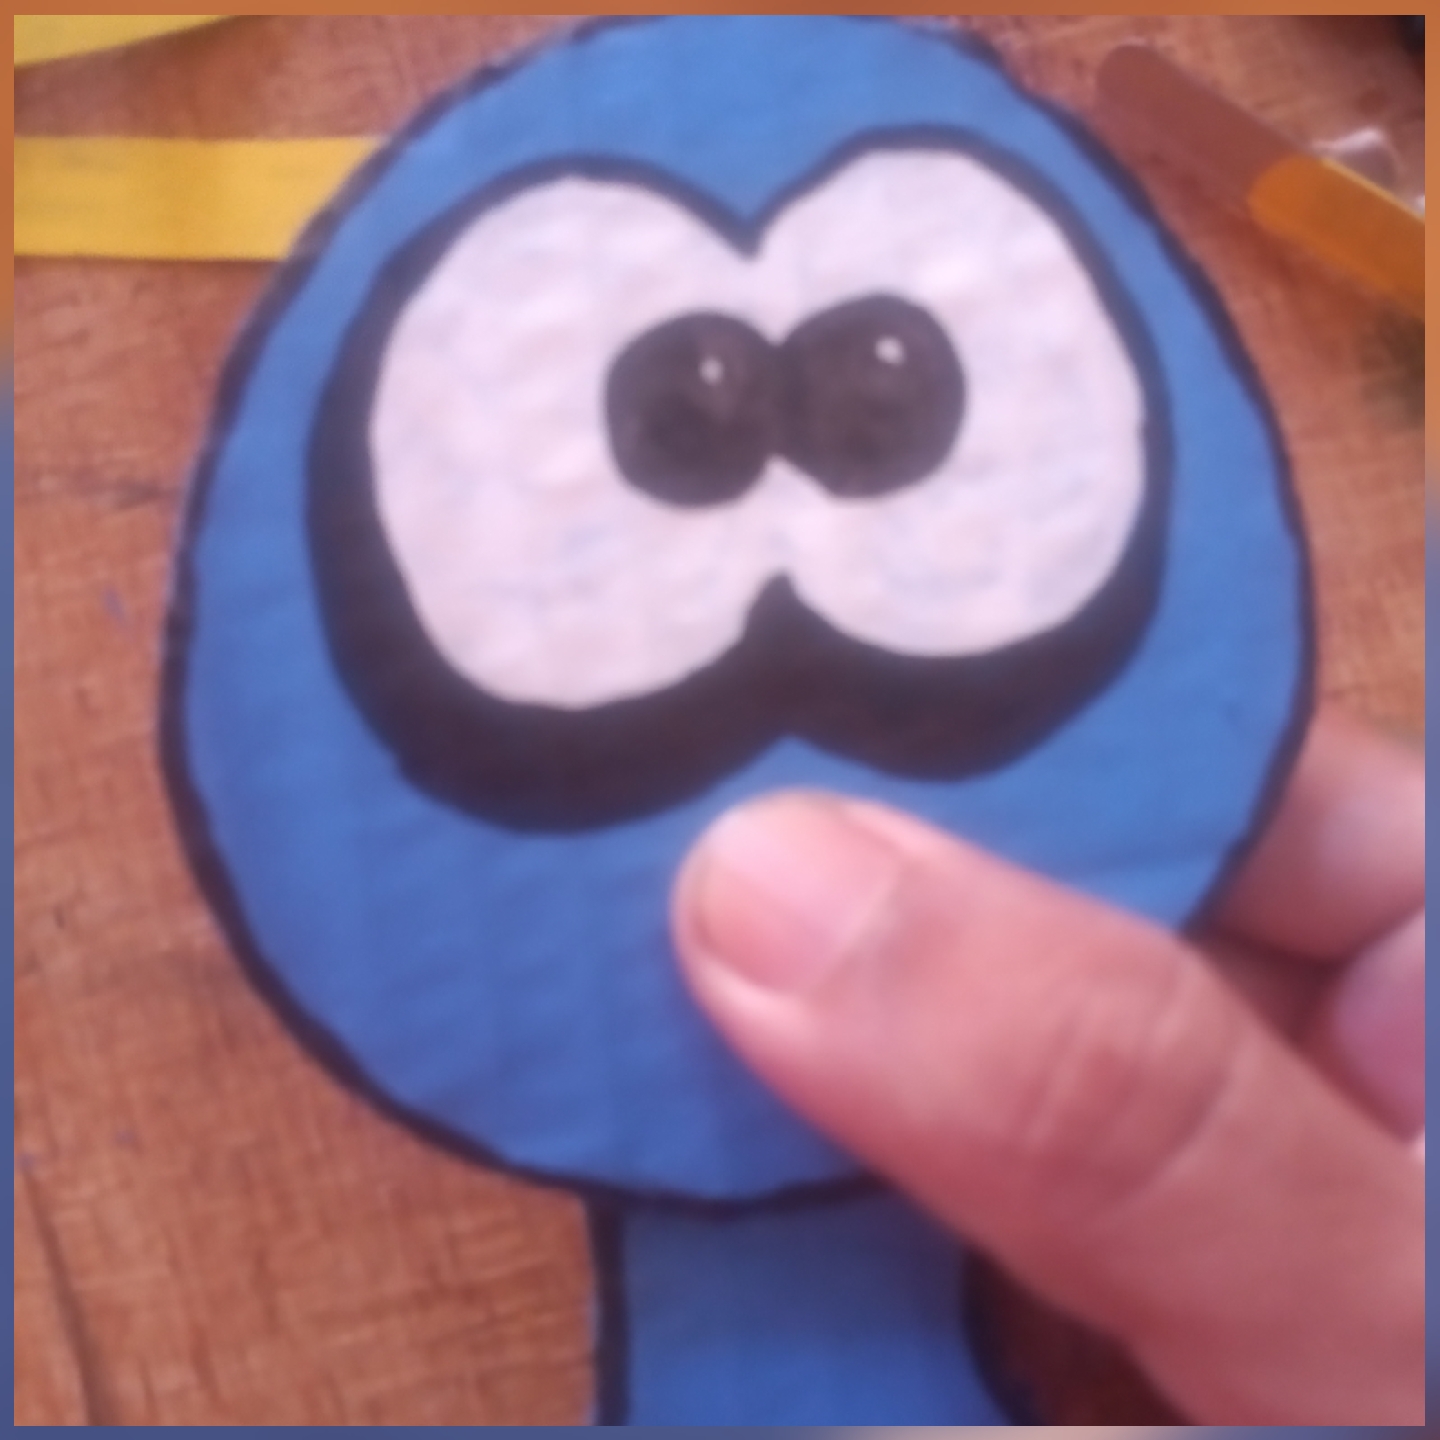
Utilizaremos el macador negro para sombrear los bordes de la cara de nuestro pájaro y dar forma a los ojos, dejando un pequeño círculo blanco en el interior.
We will use the black macador to shade the edges of our bird's face and shape the eyes, leaving a small white circle inside.
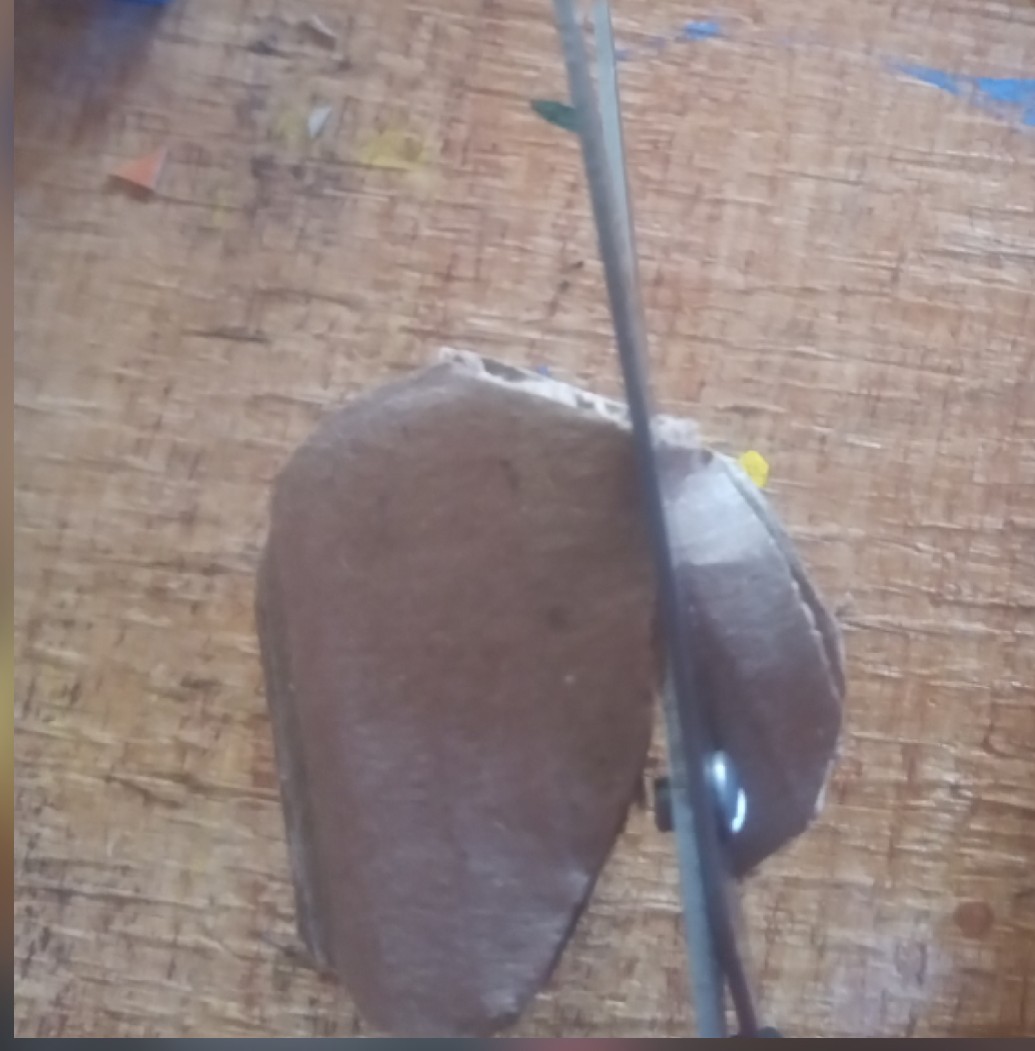
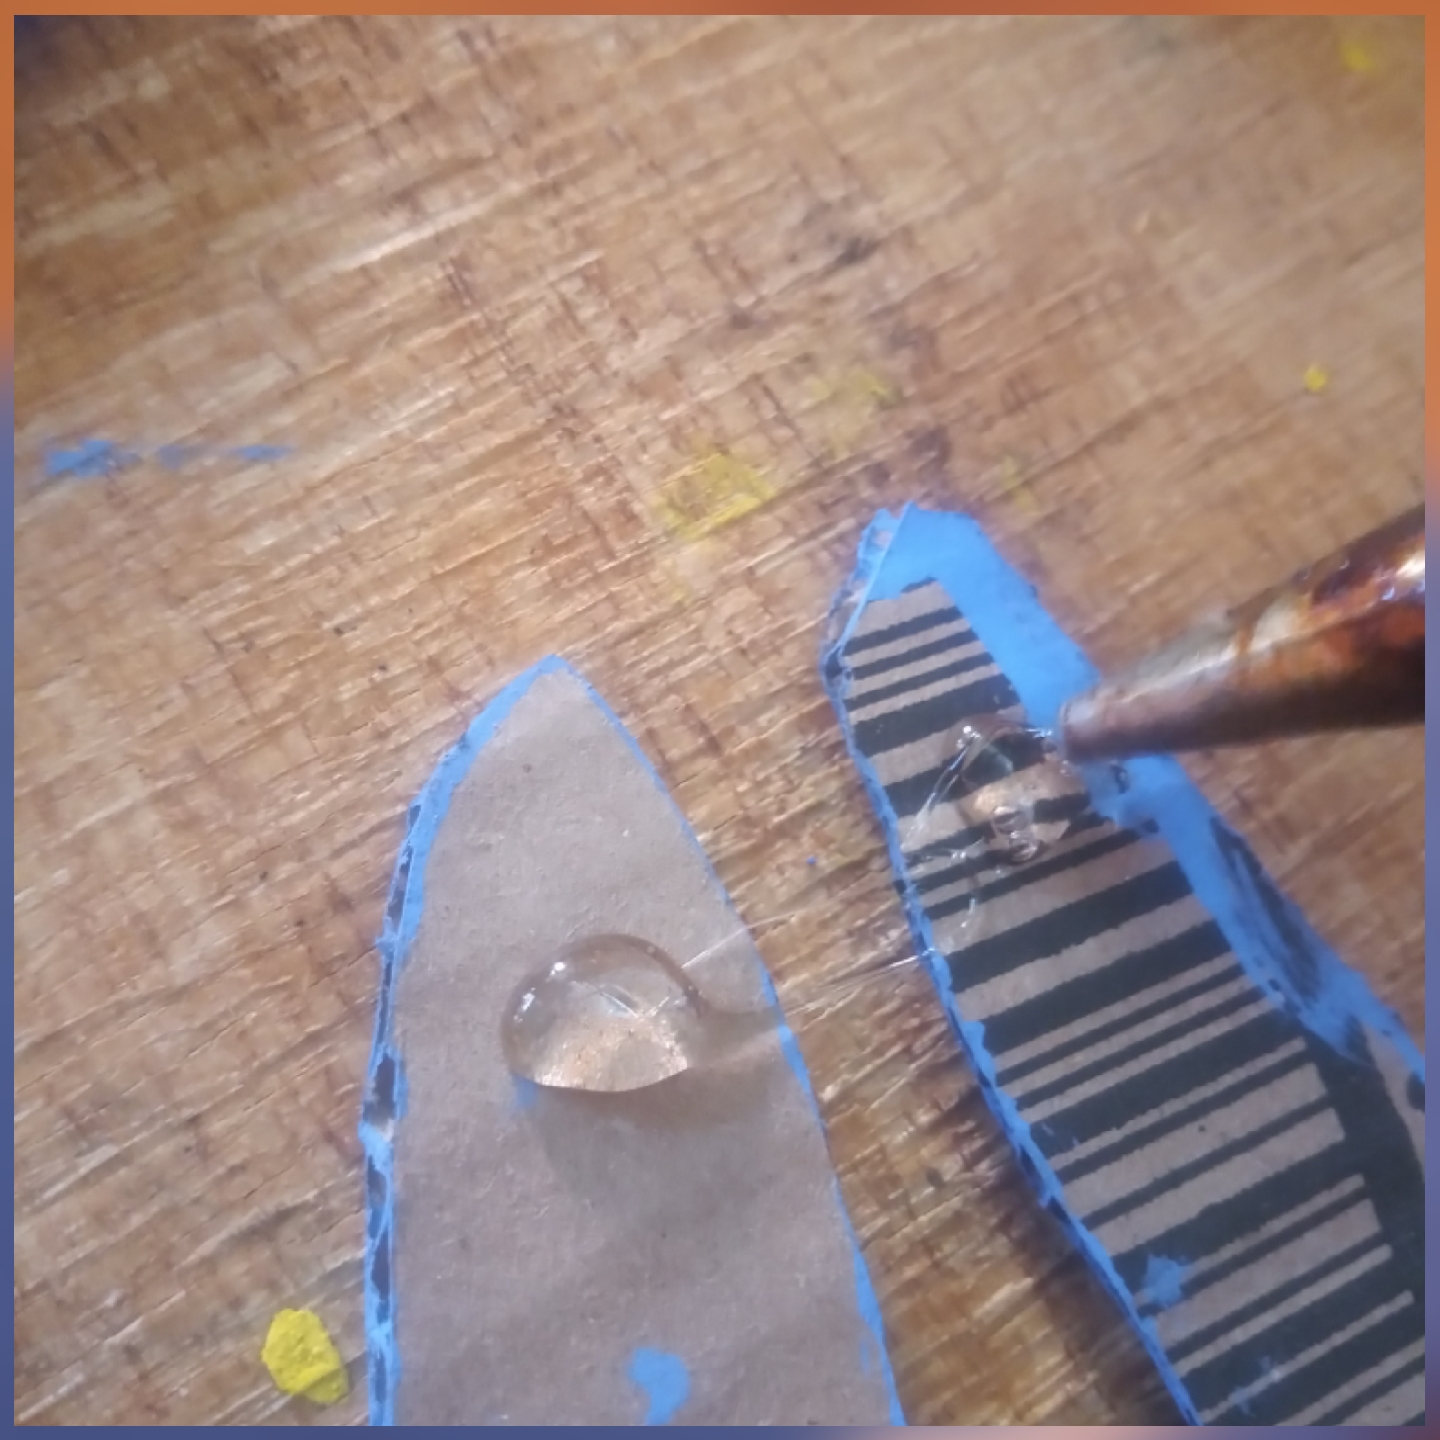
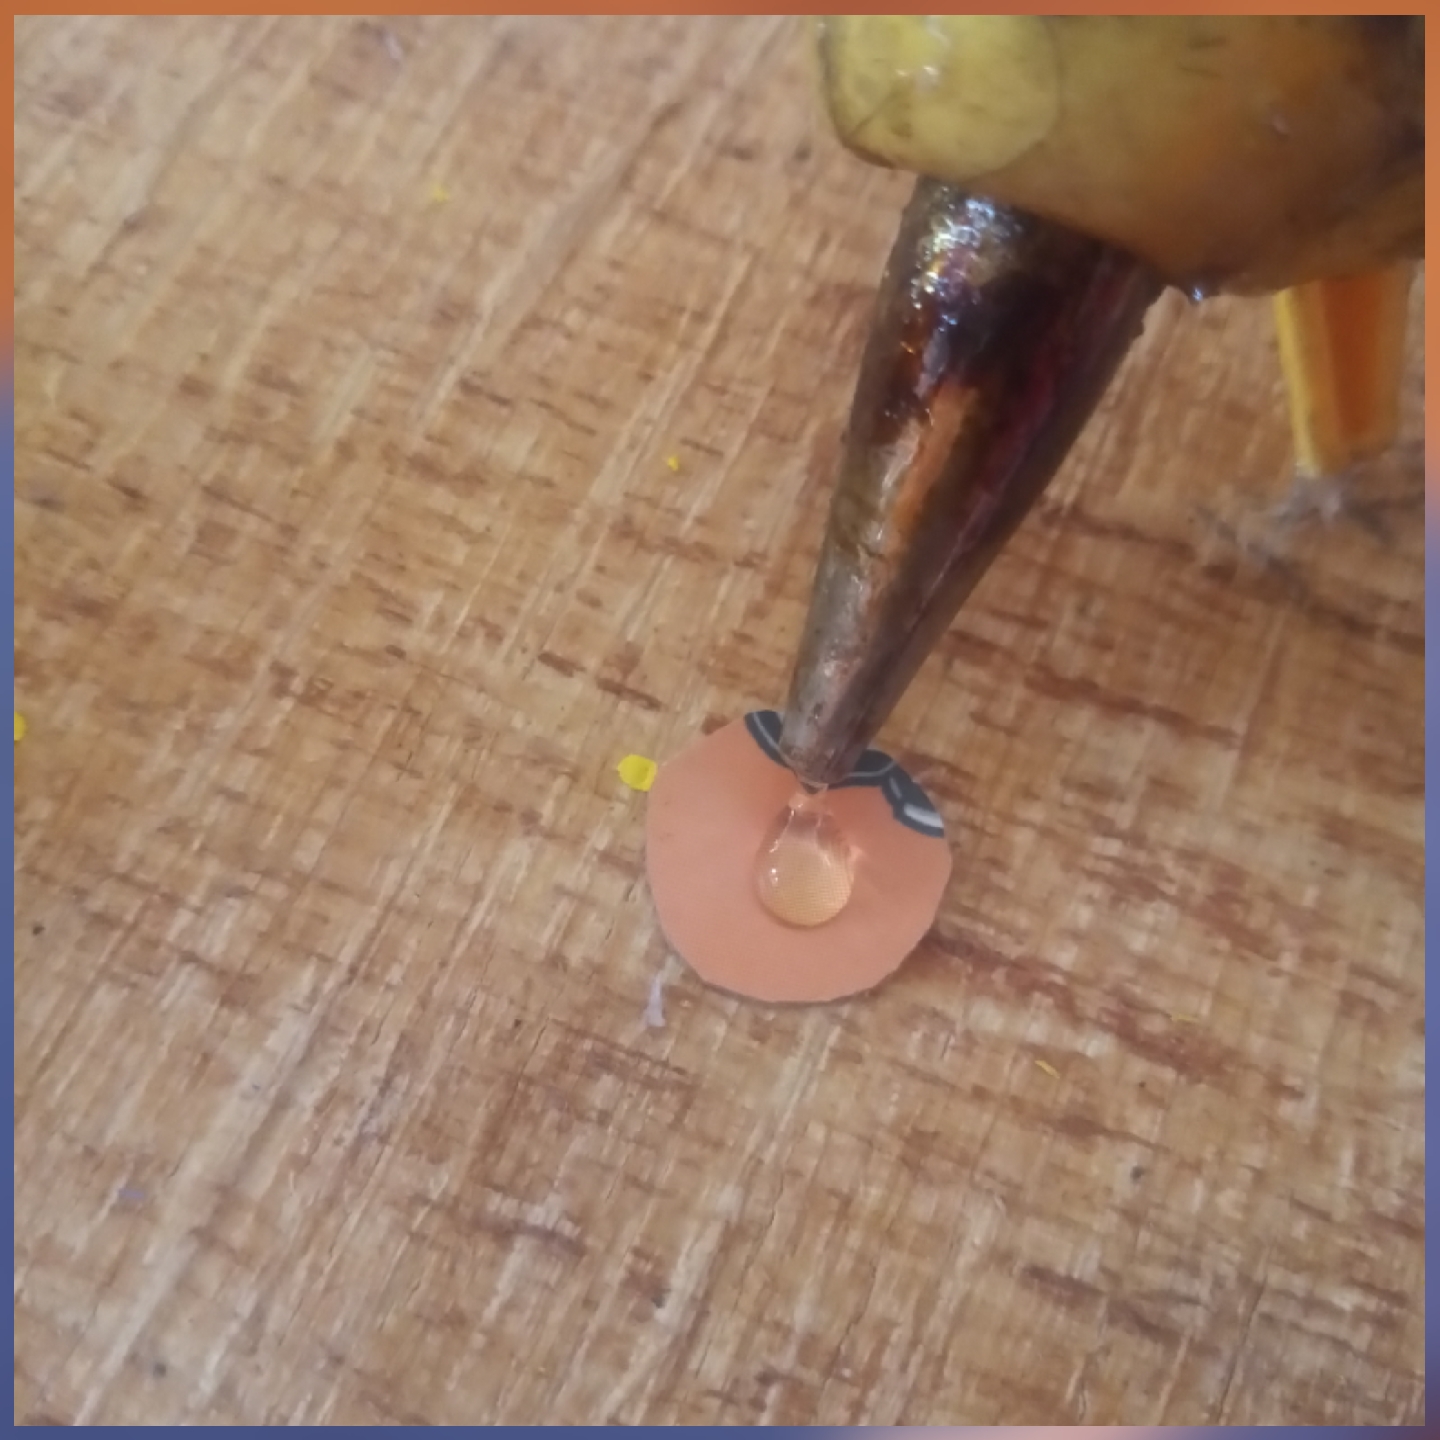
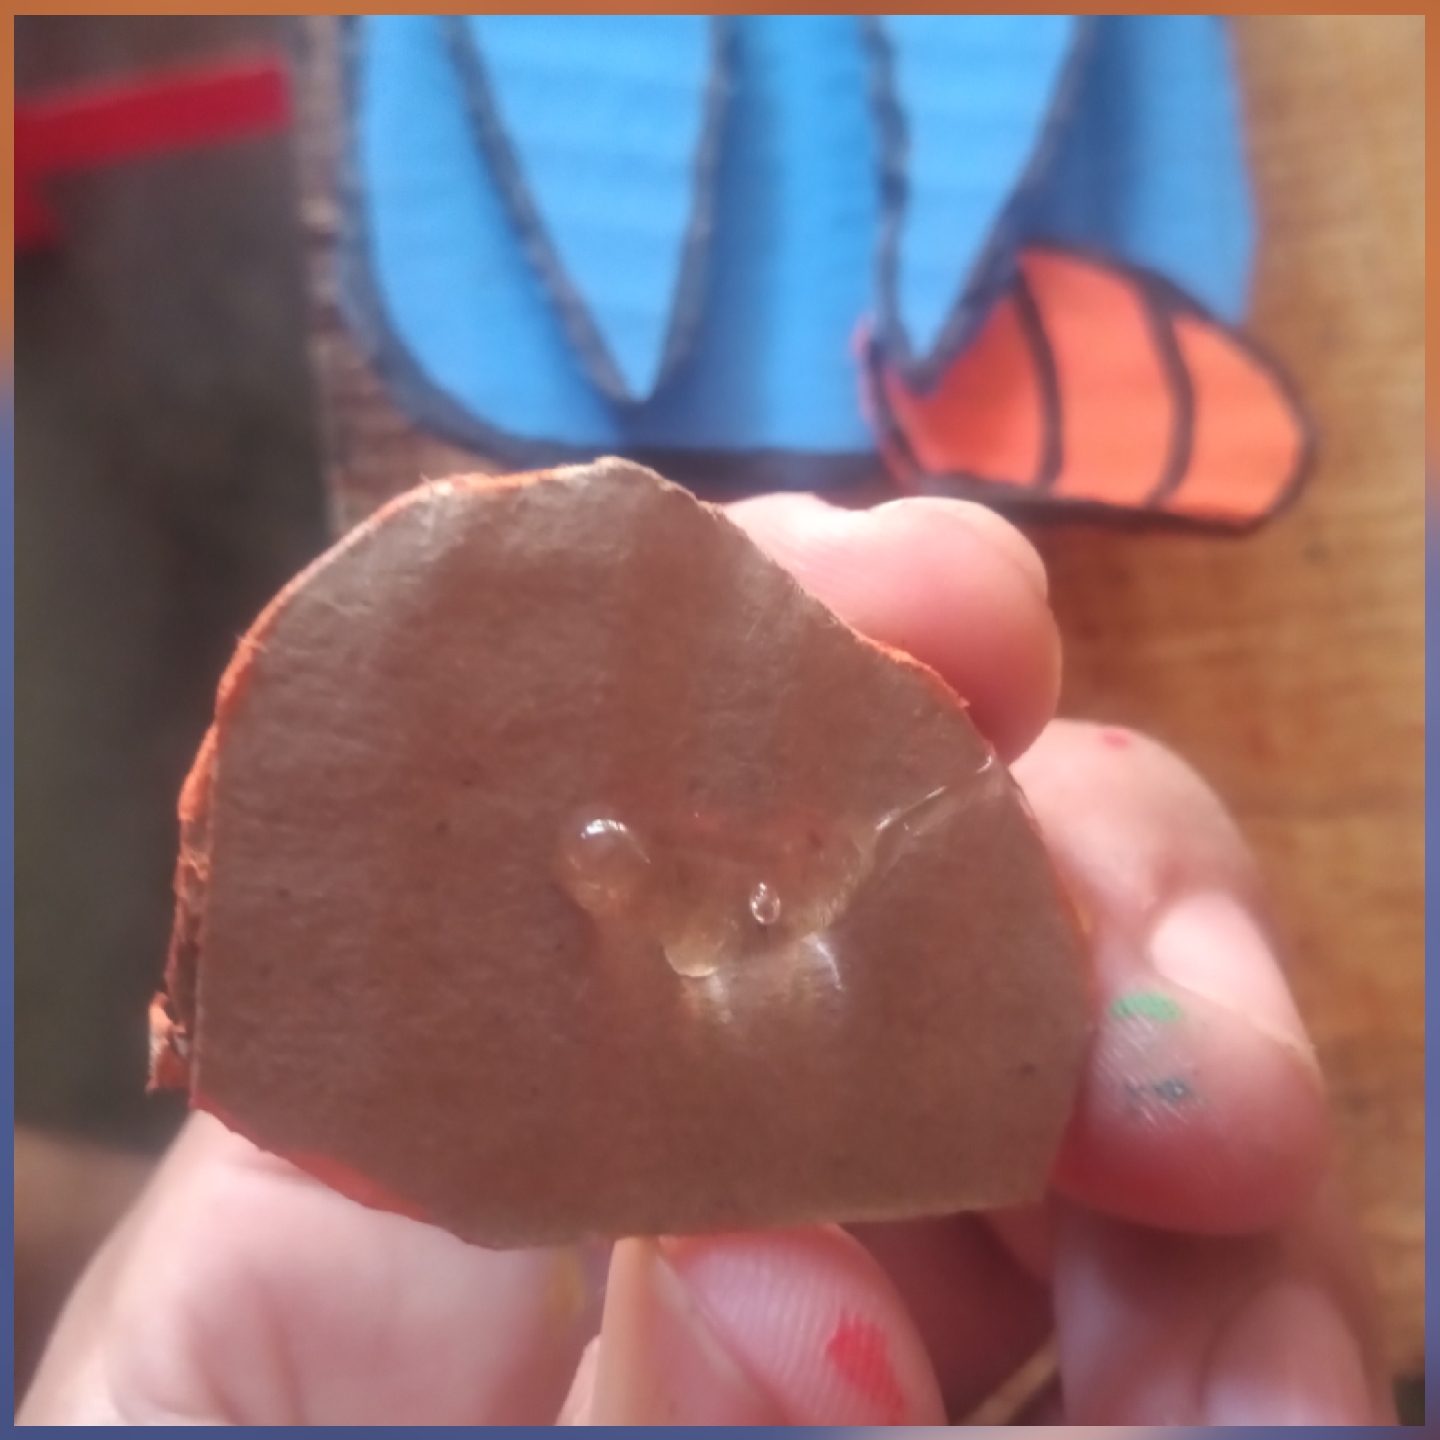
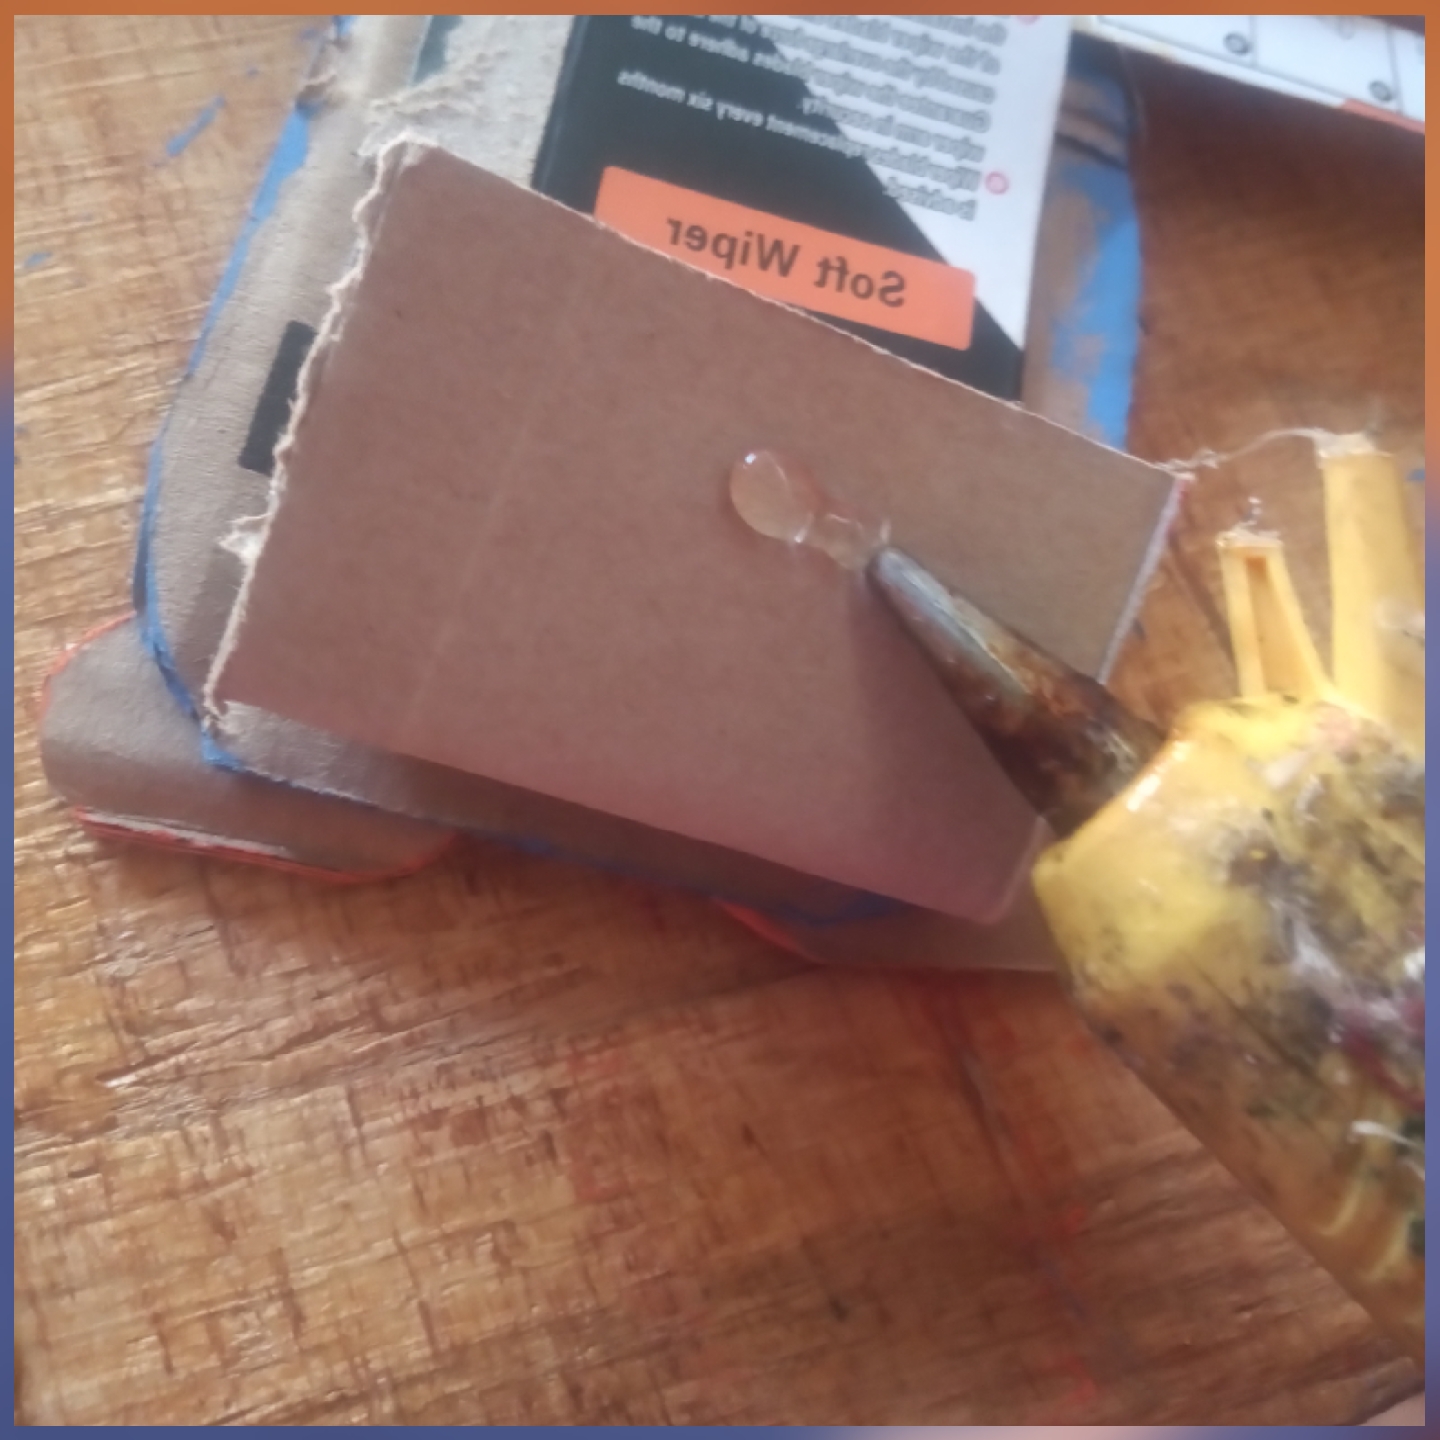
Aplicamos silicona para pegar la cabeza al cuerpo y pegamos los brazos.
We apply Silicon to glue the head to the body and glue the arms.

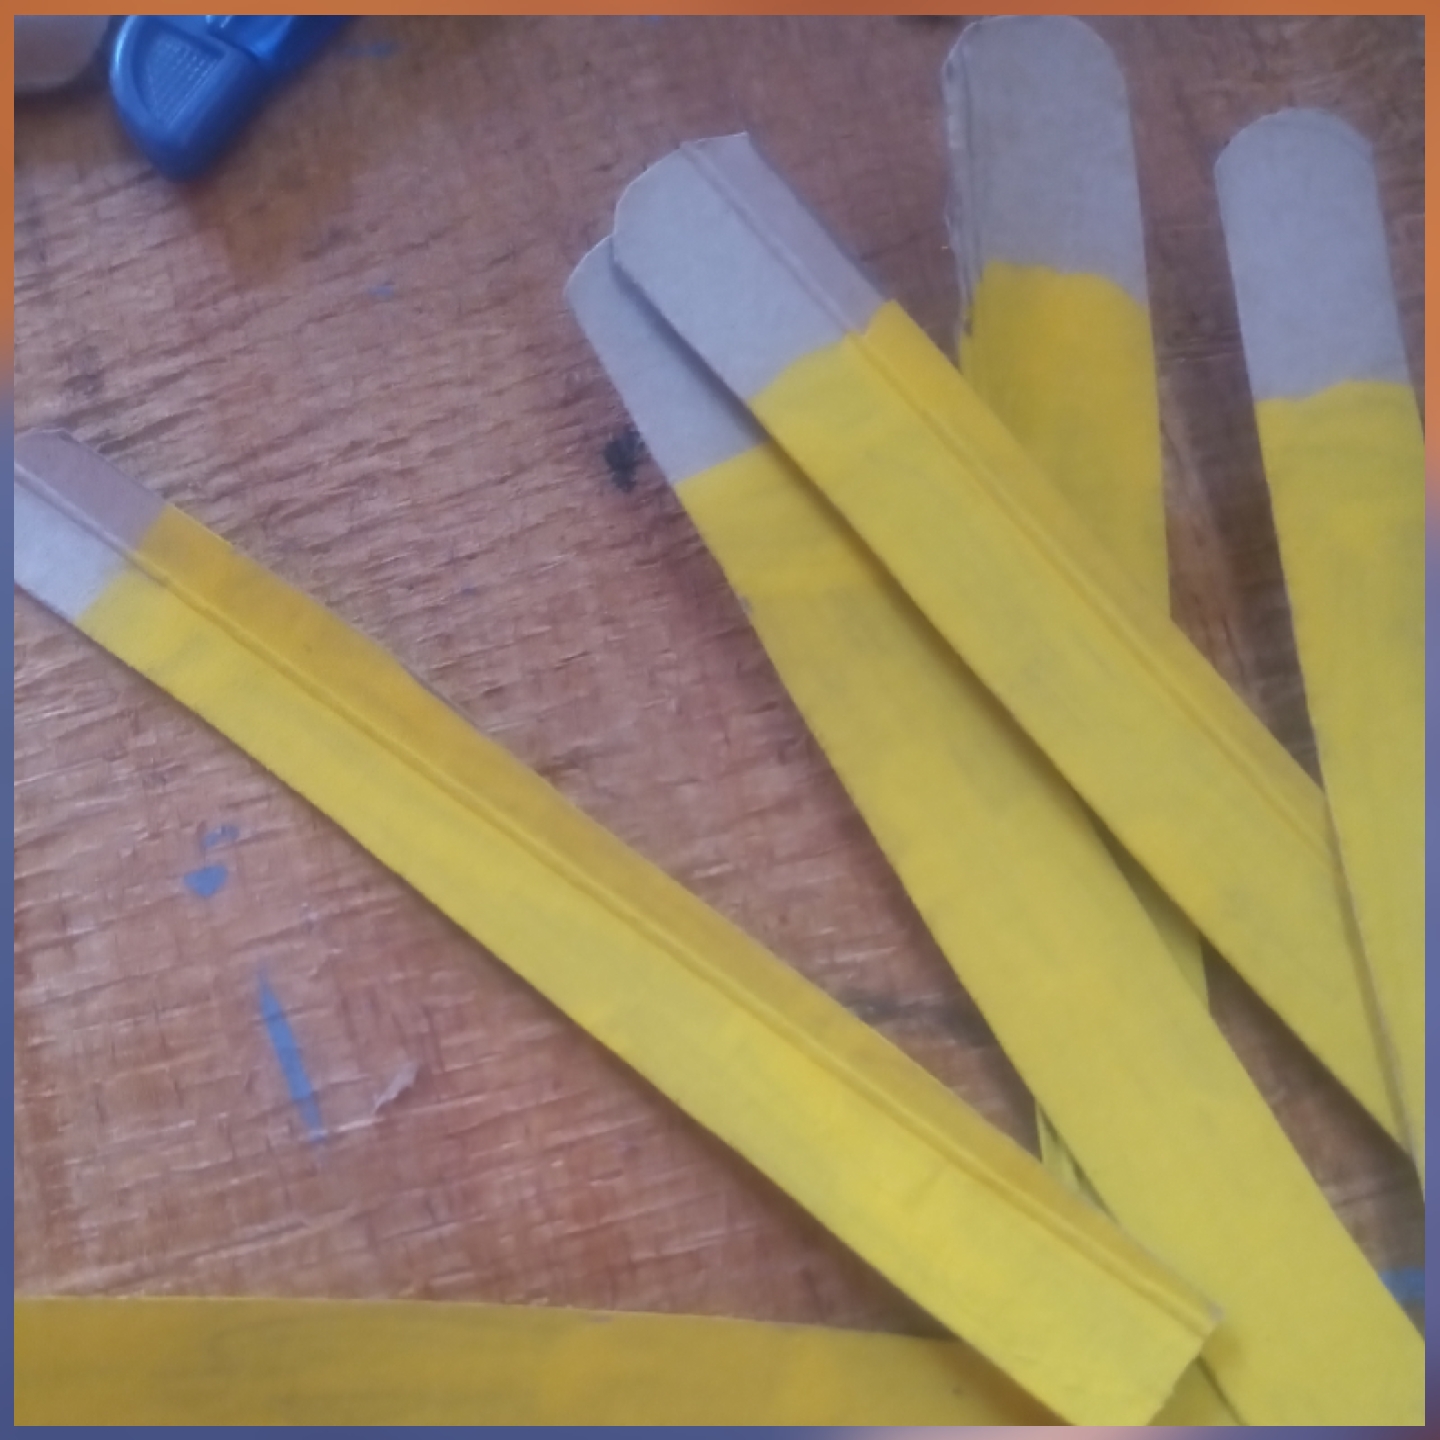
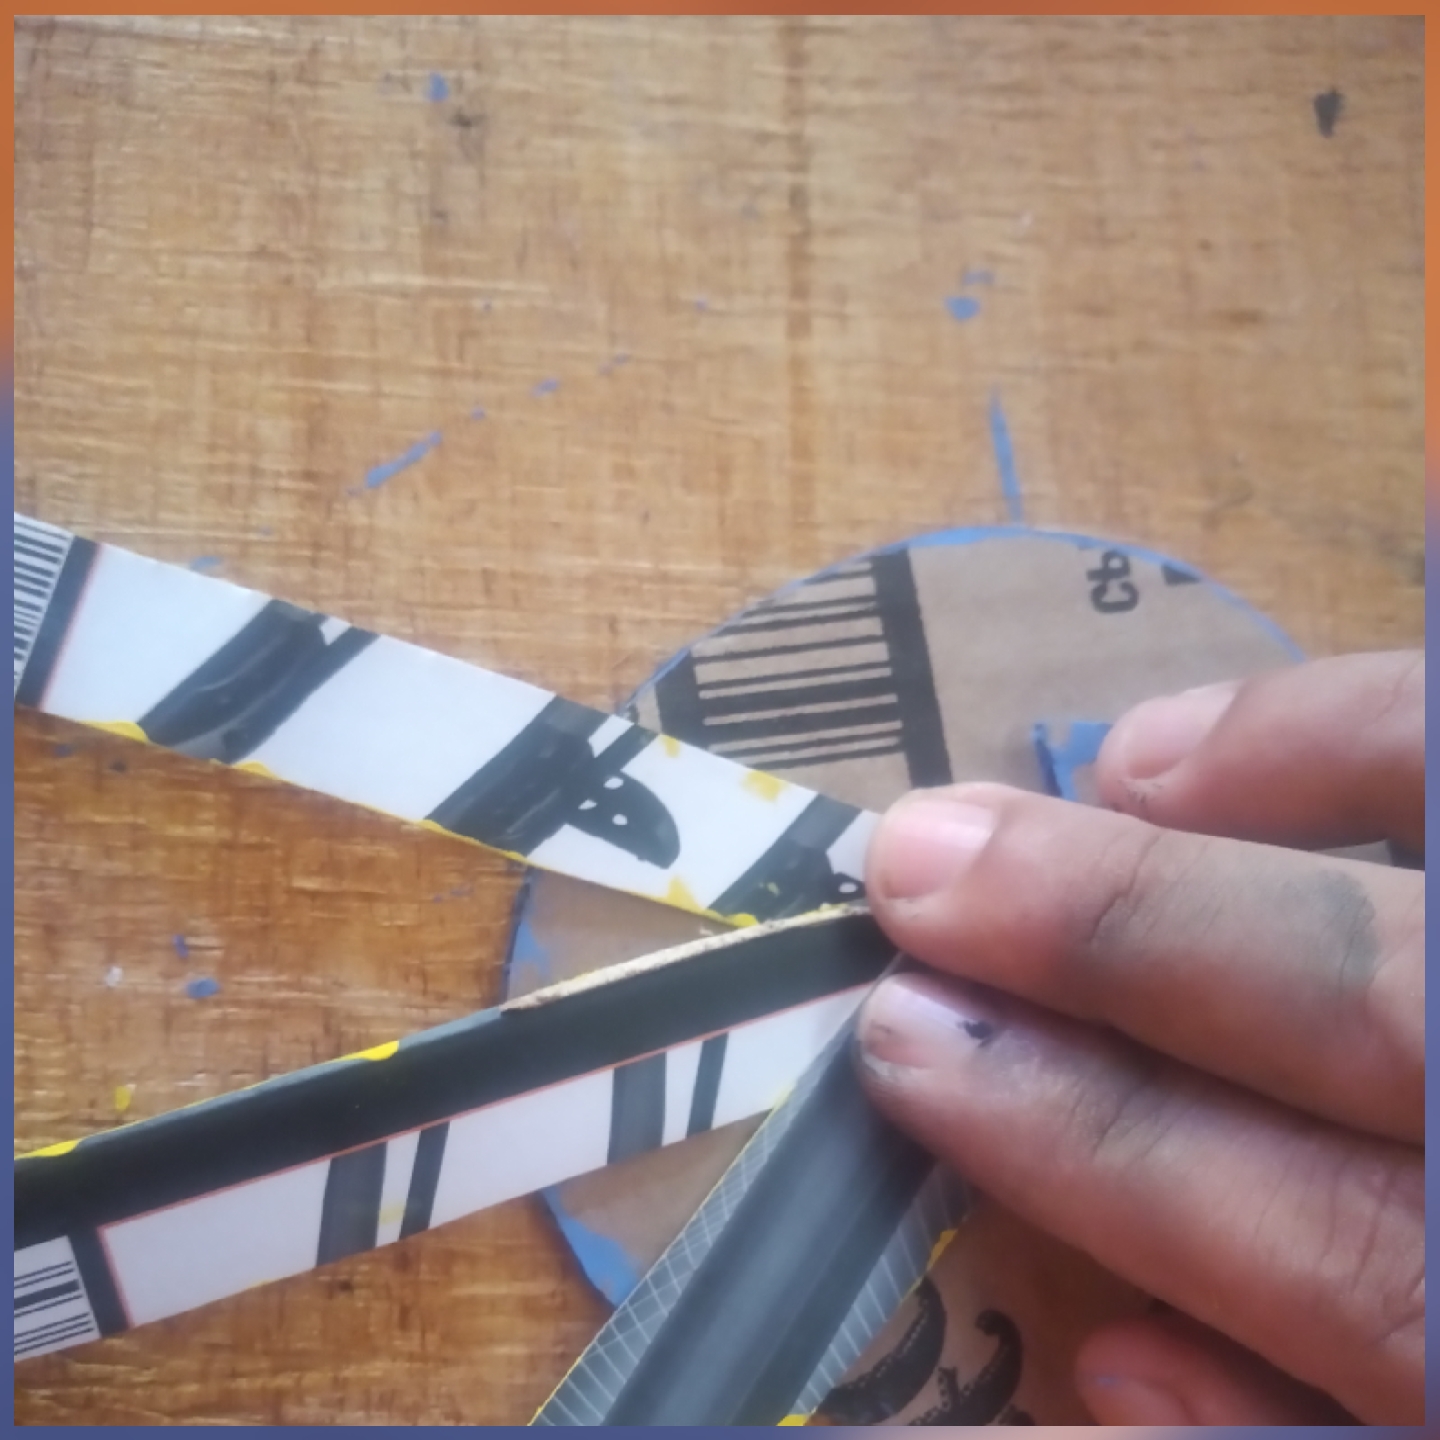
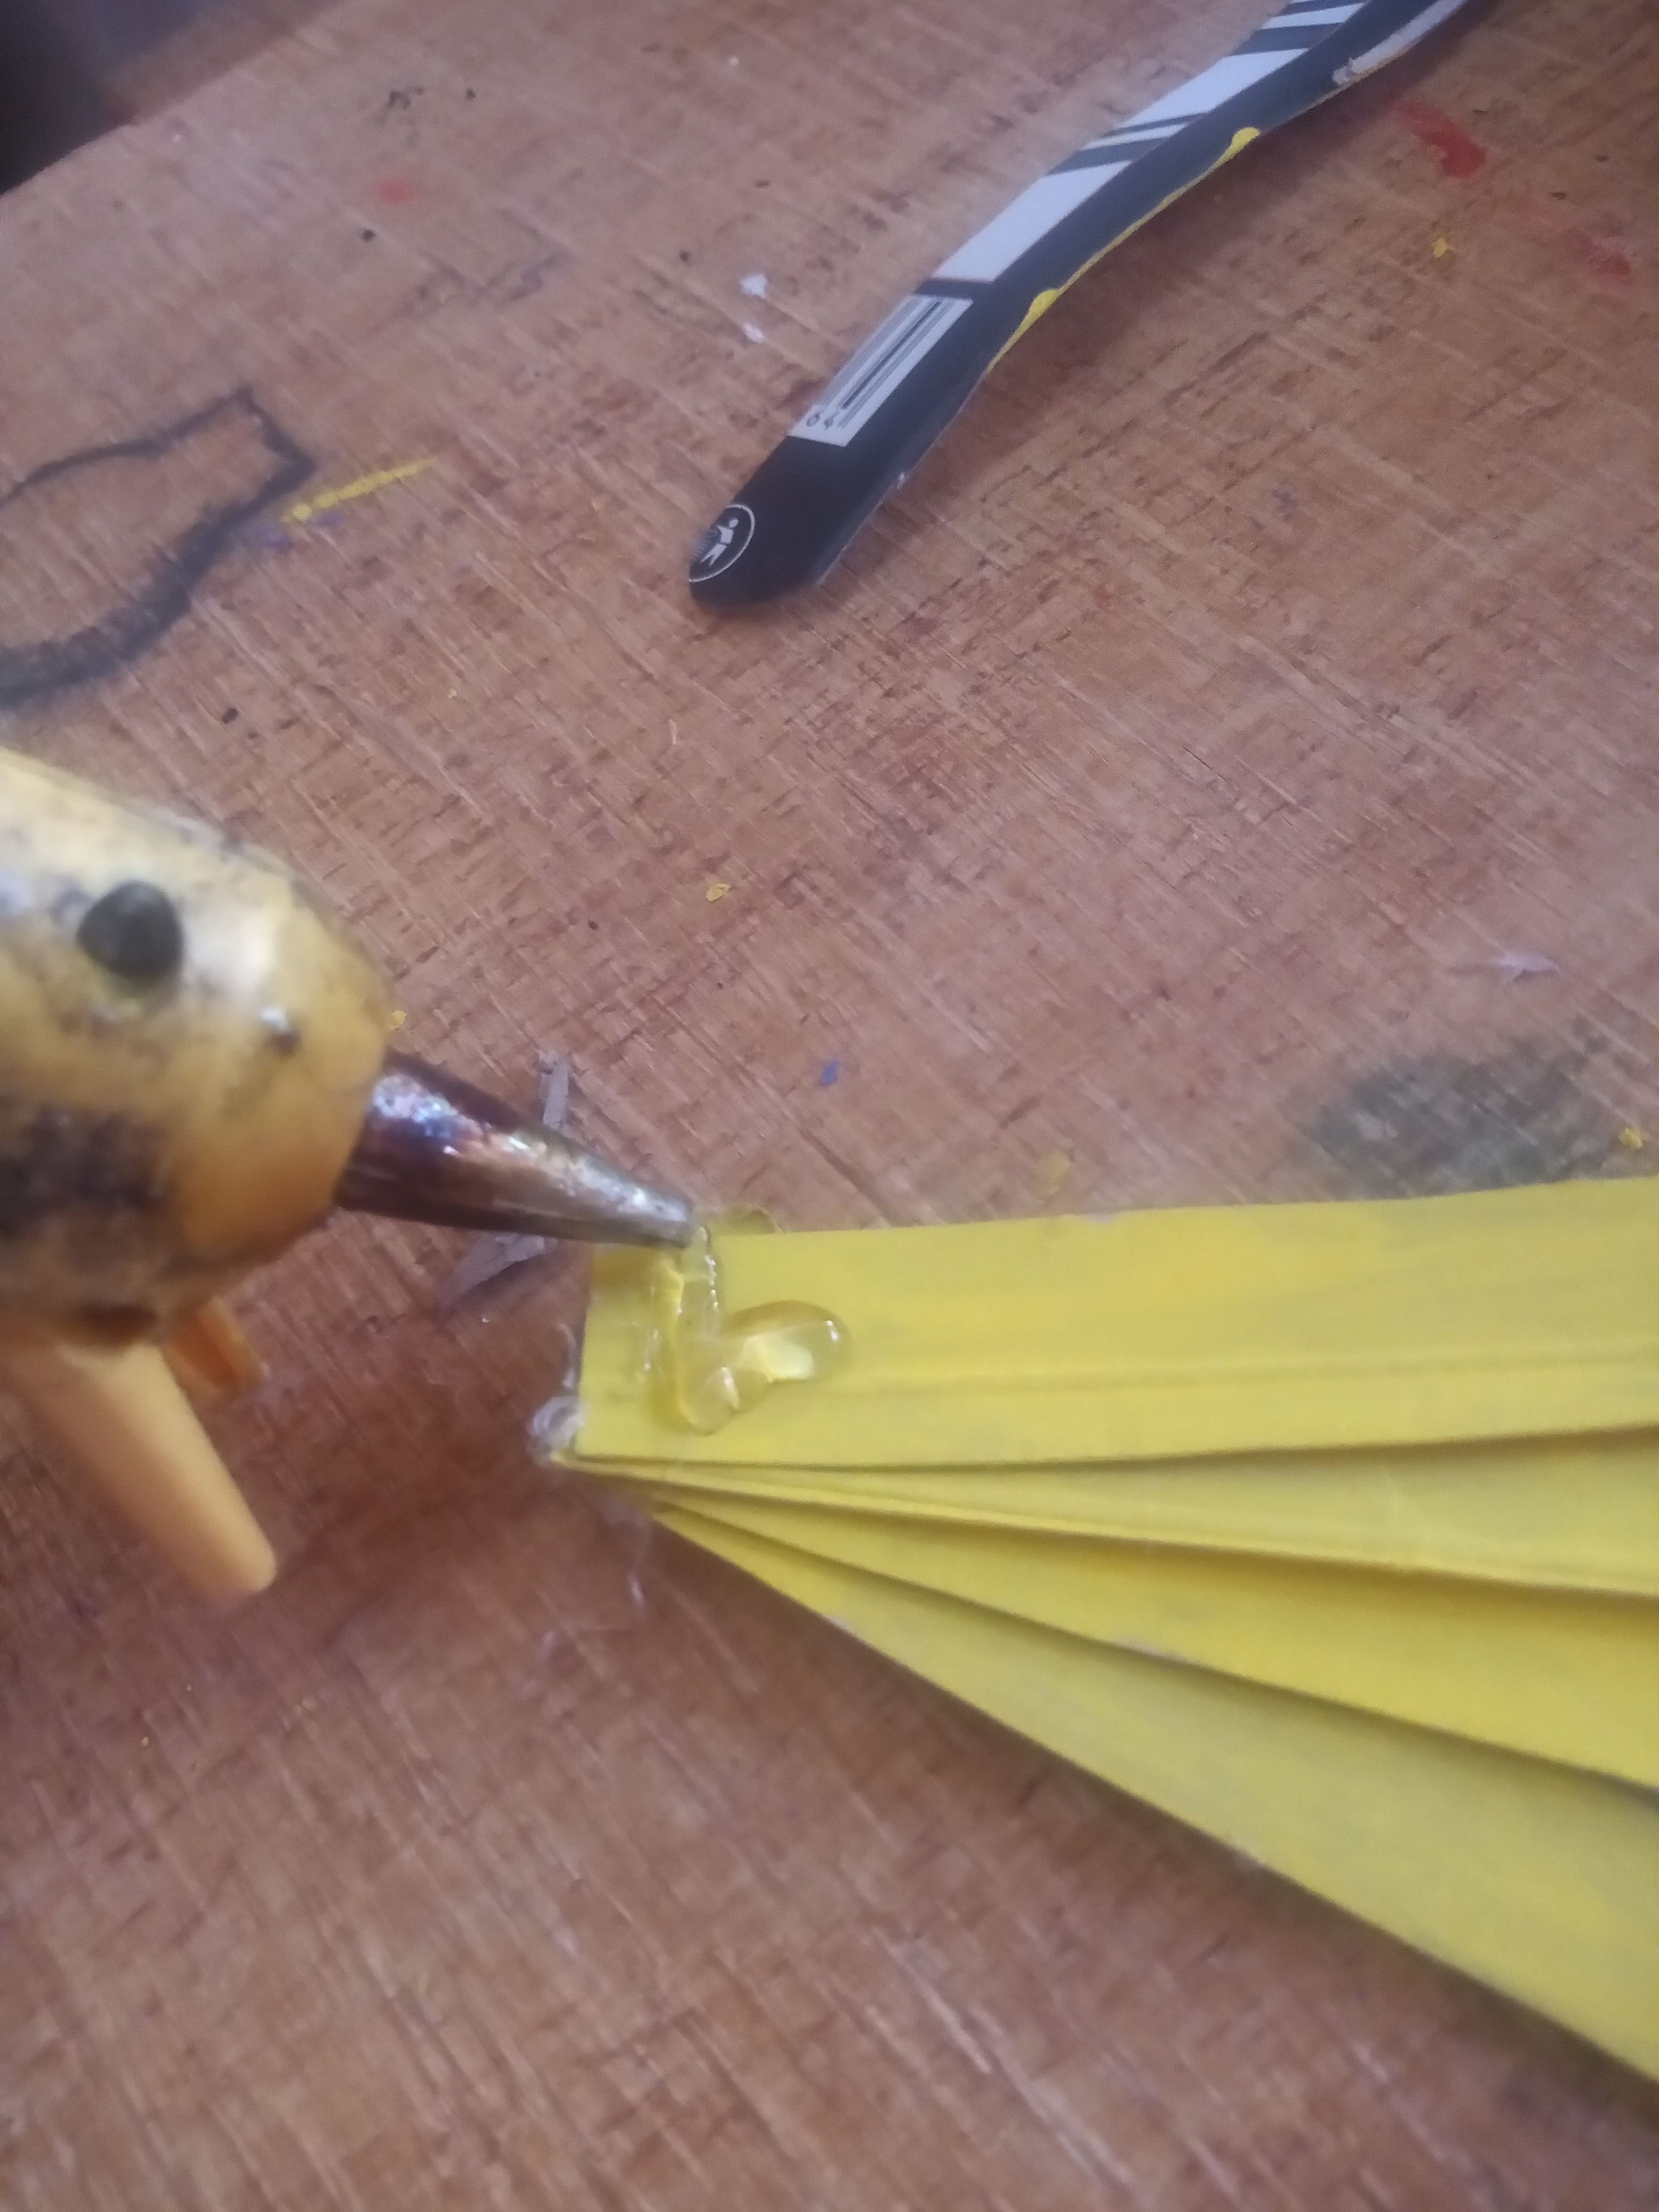
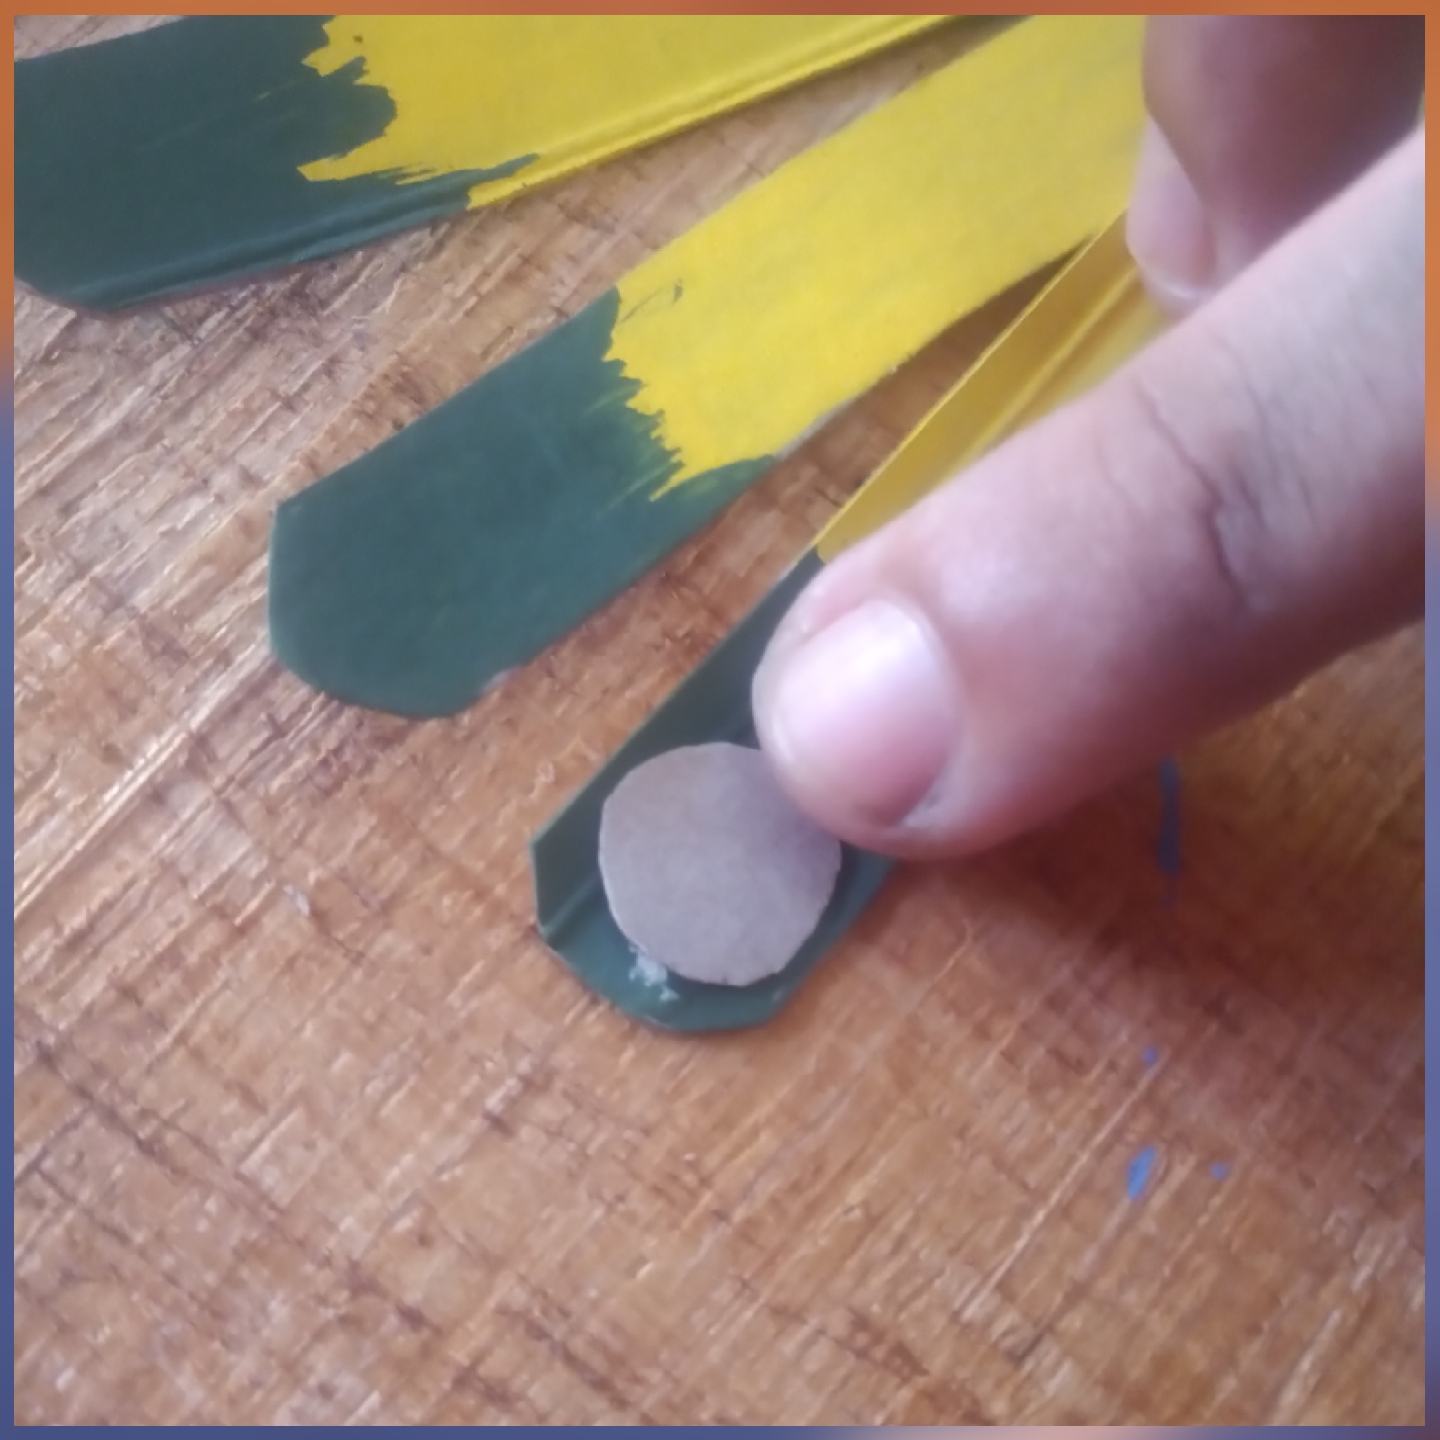
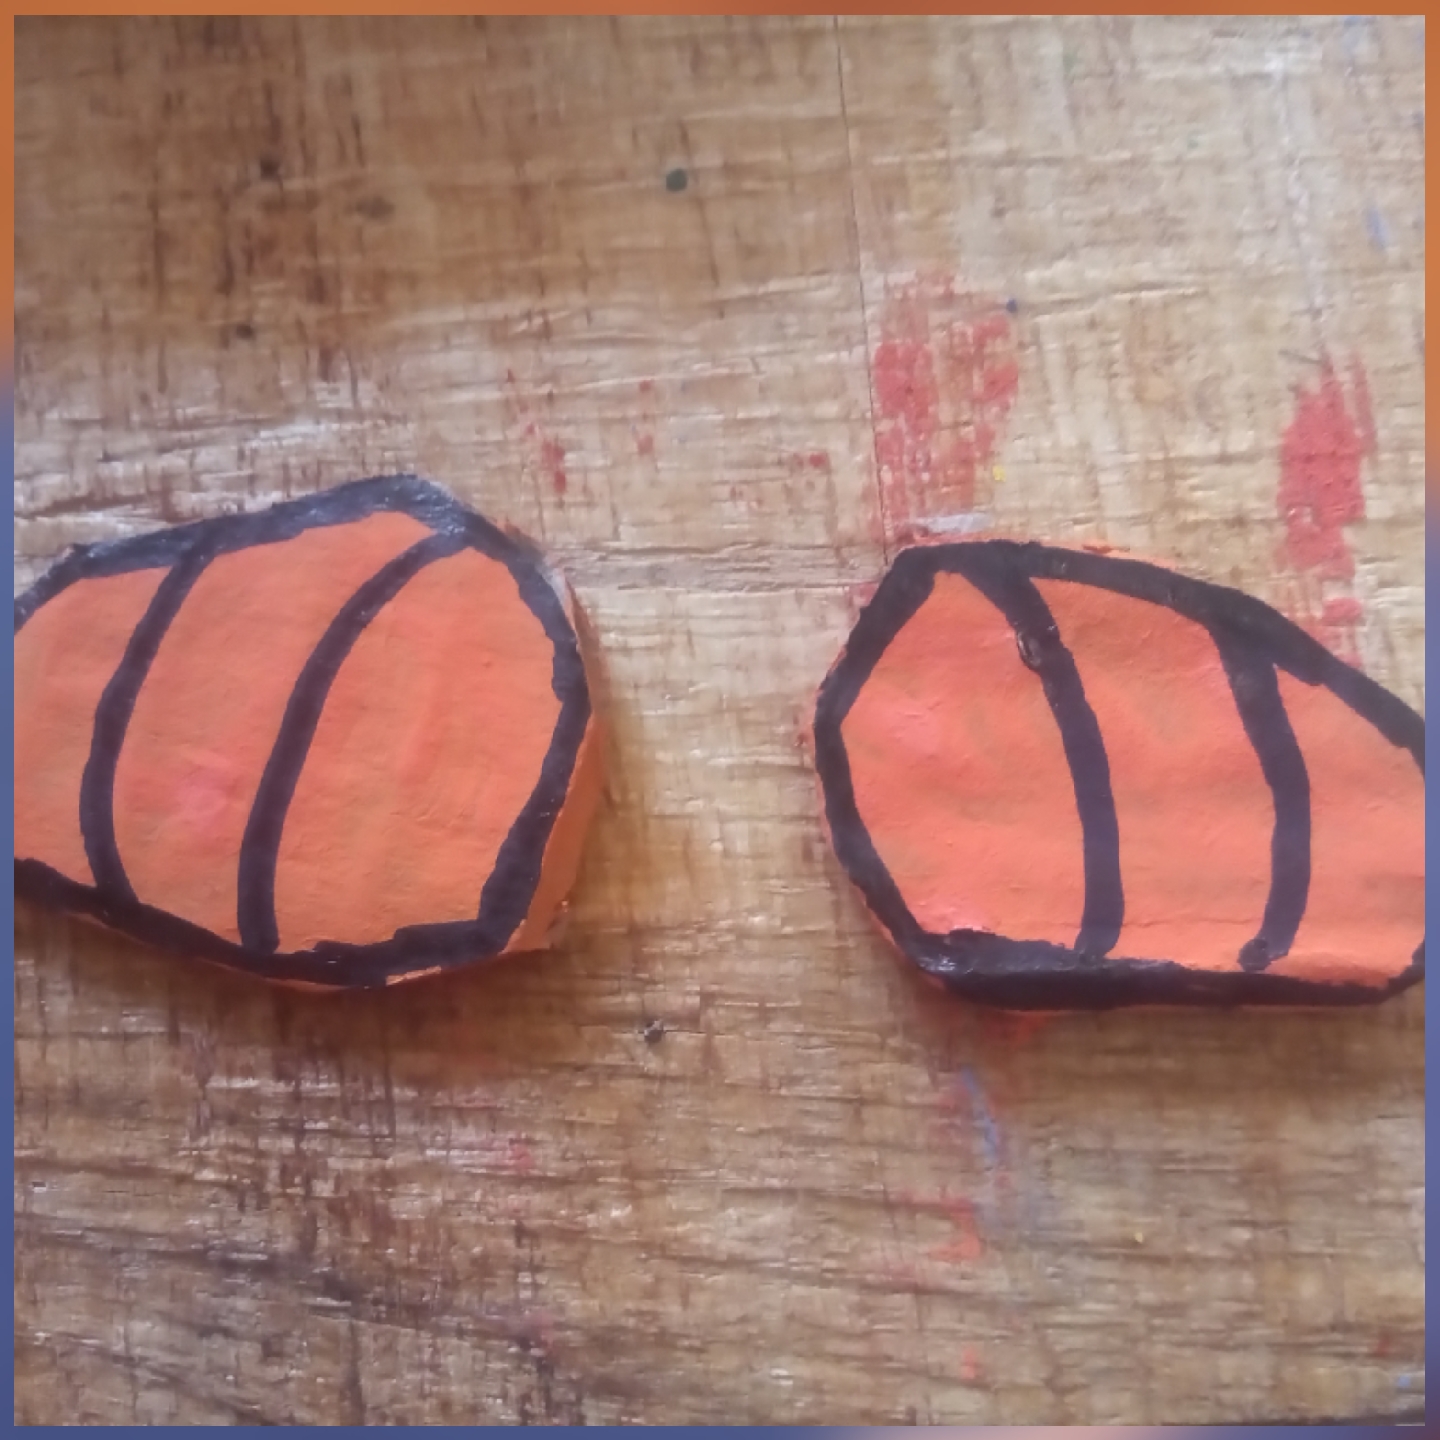
Pintamos las tiras de cartón en color amarillo, formarán parte de las plumas traseras.
We paint the cardboard strips in yellow color, they will be part of the back feathers.
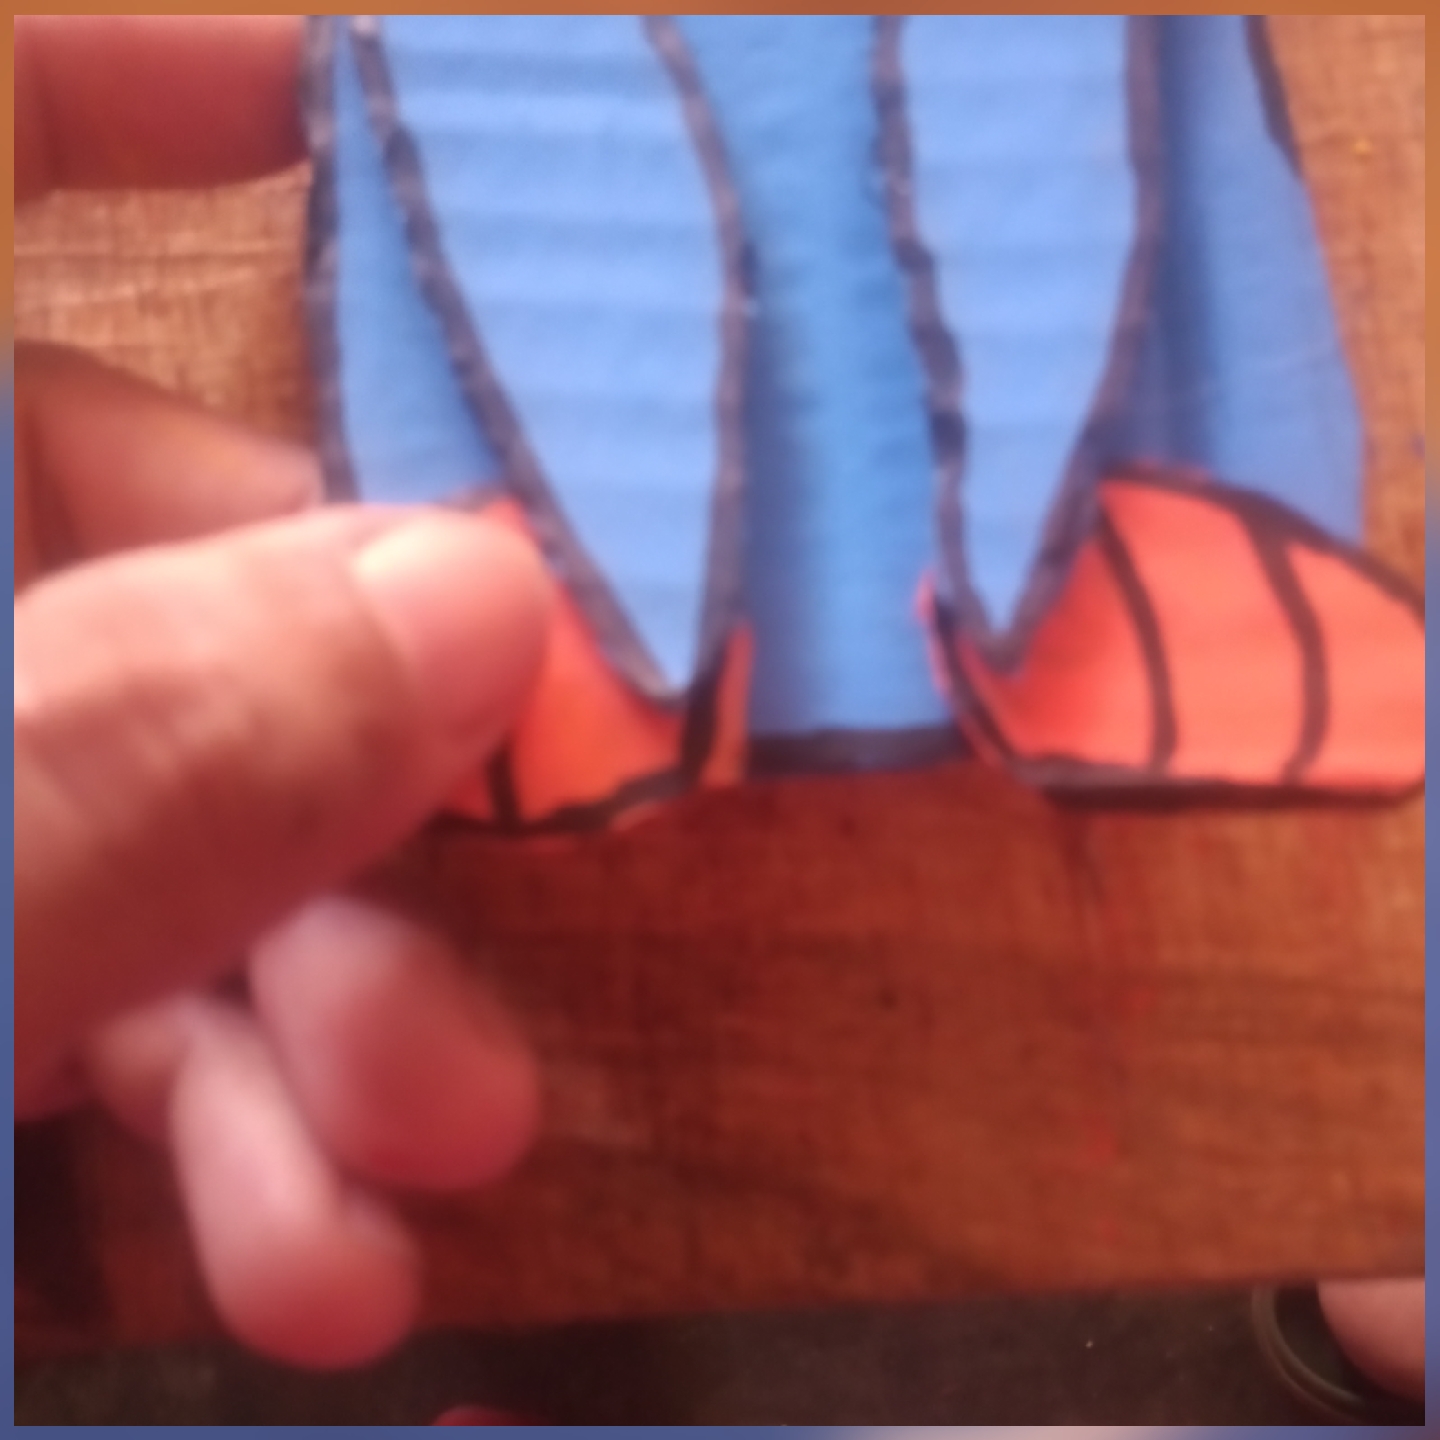
Con mucho cuidado formaremos una especie de abanico abierto con estos trozos de cartón y luego pegaremos con silicon.
With great care we will form a kind of open fan with these pieces of cardboard and then glue with Silicon.

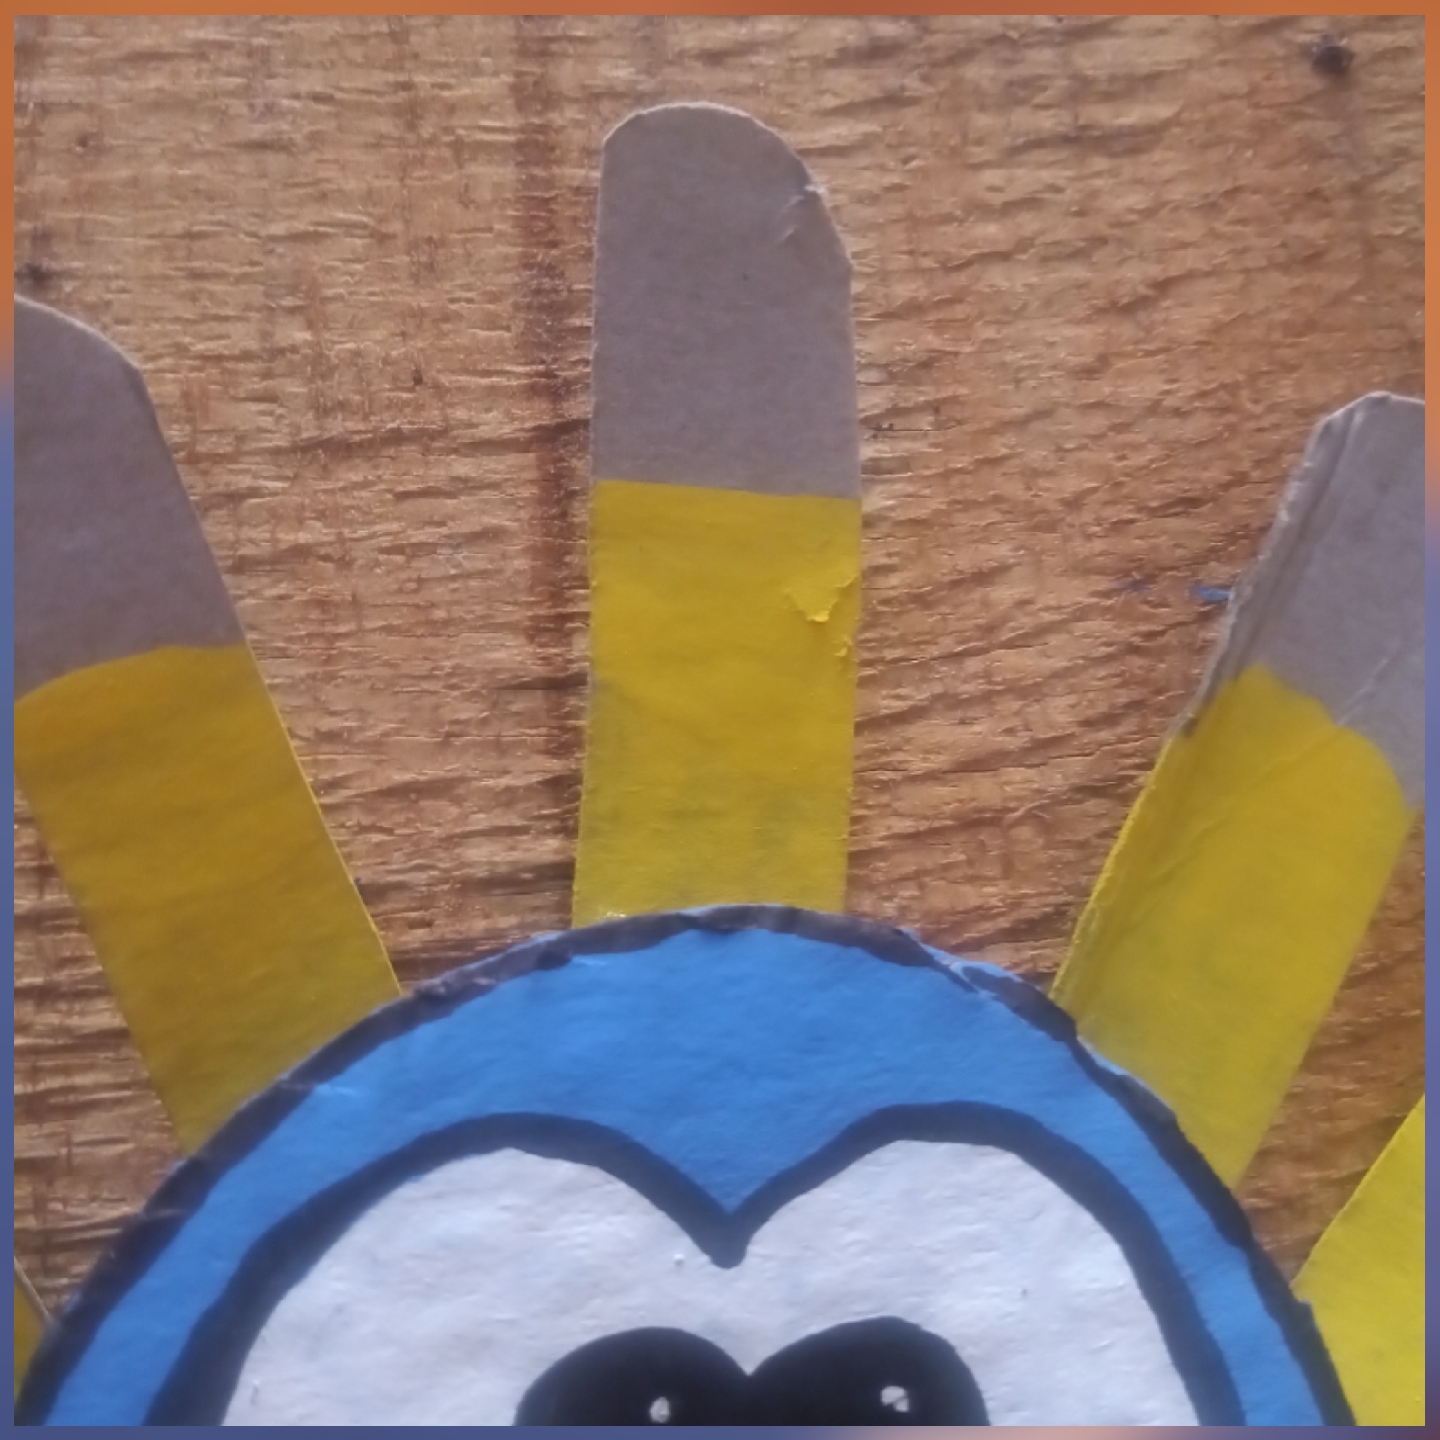
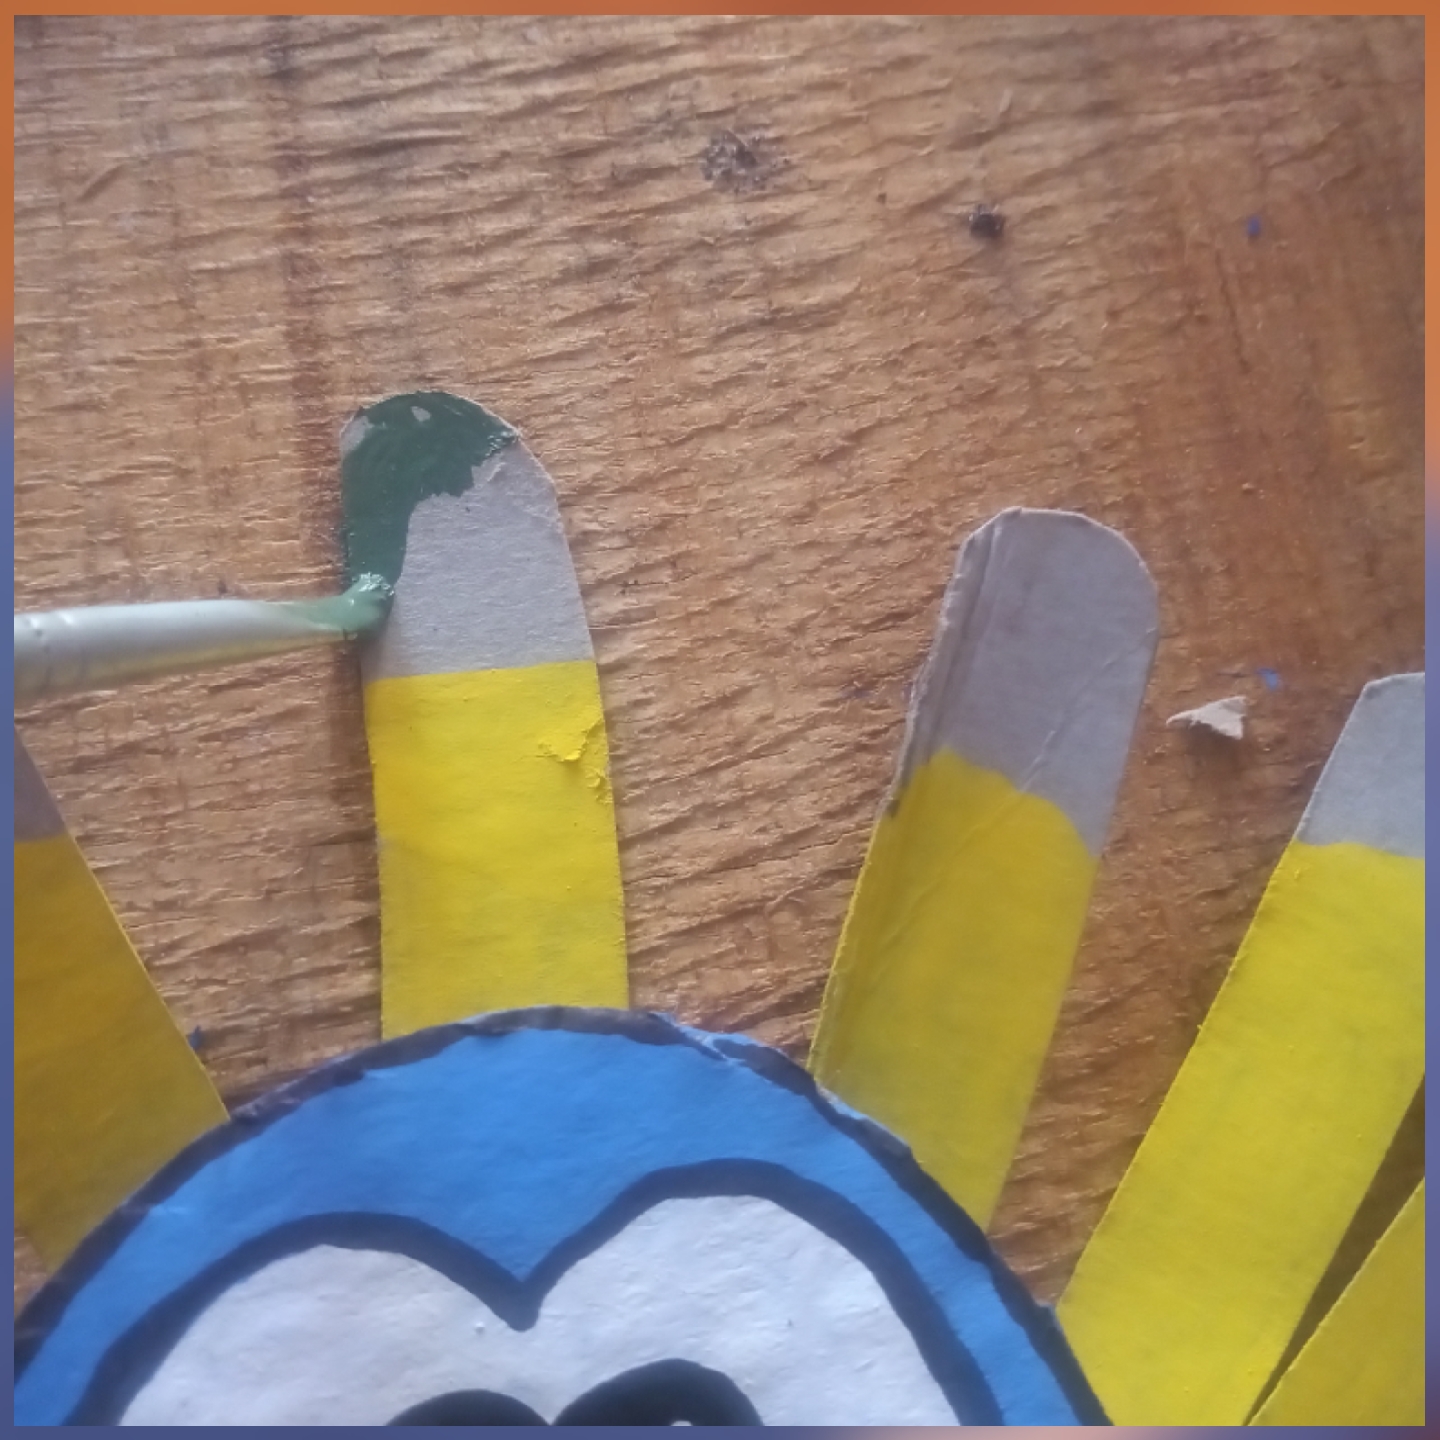
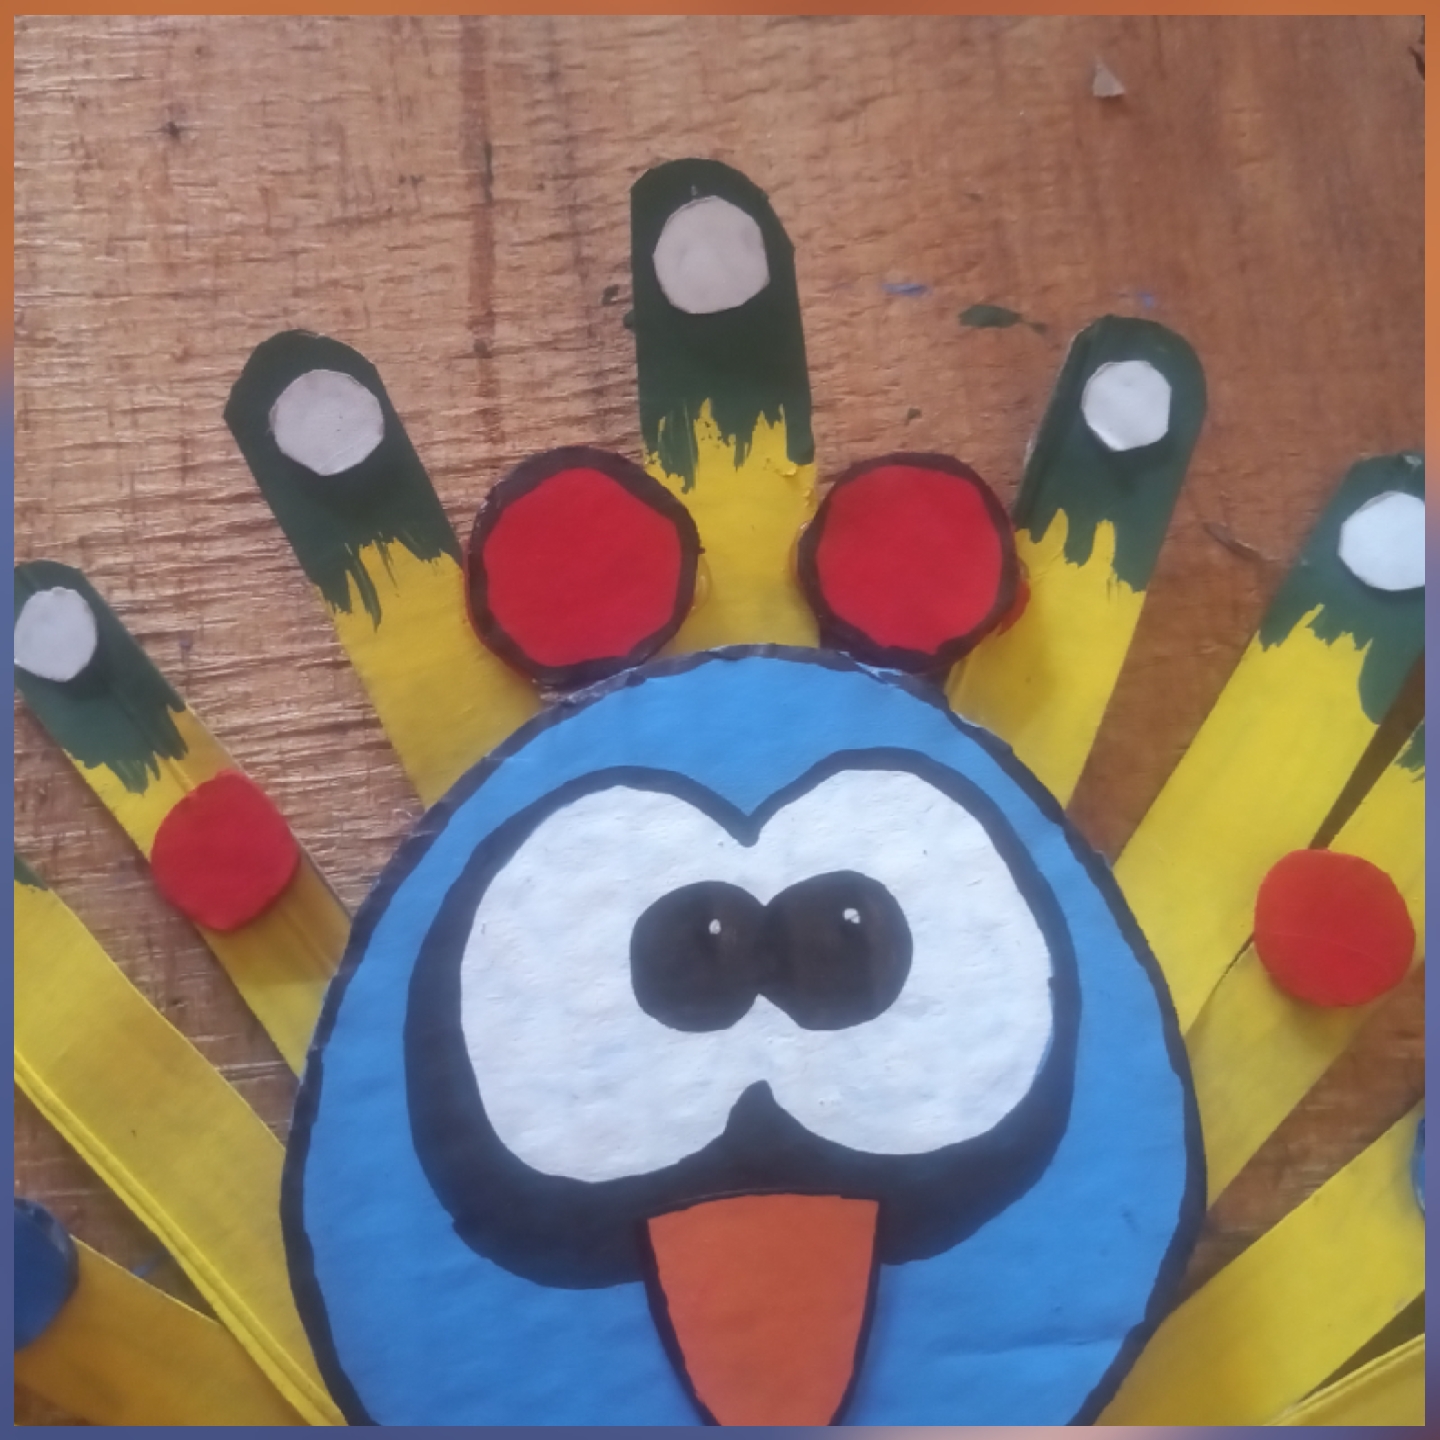
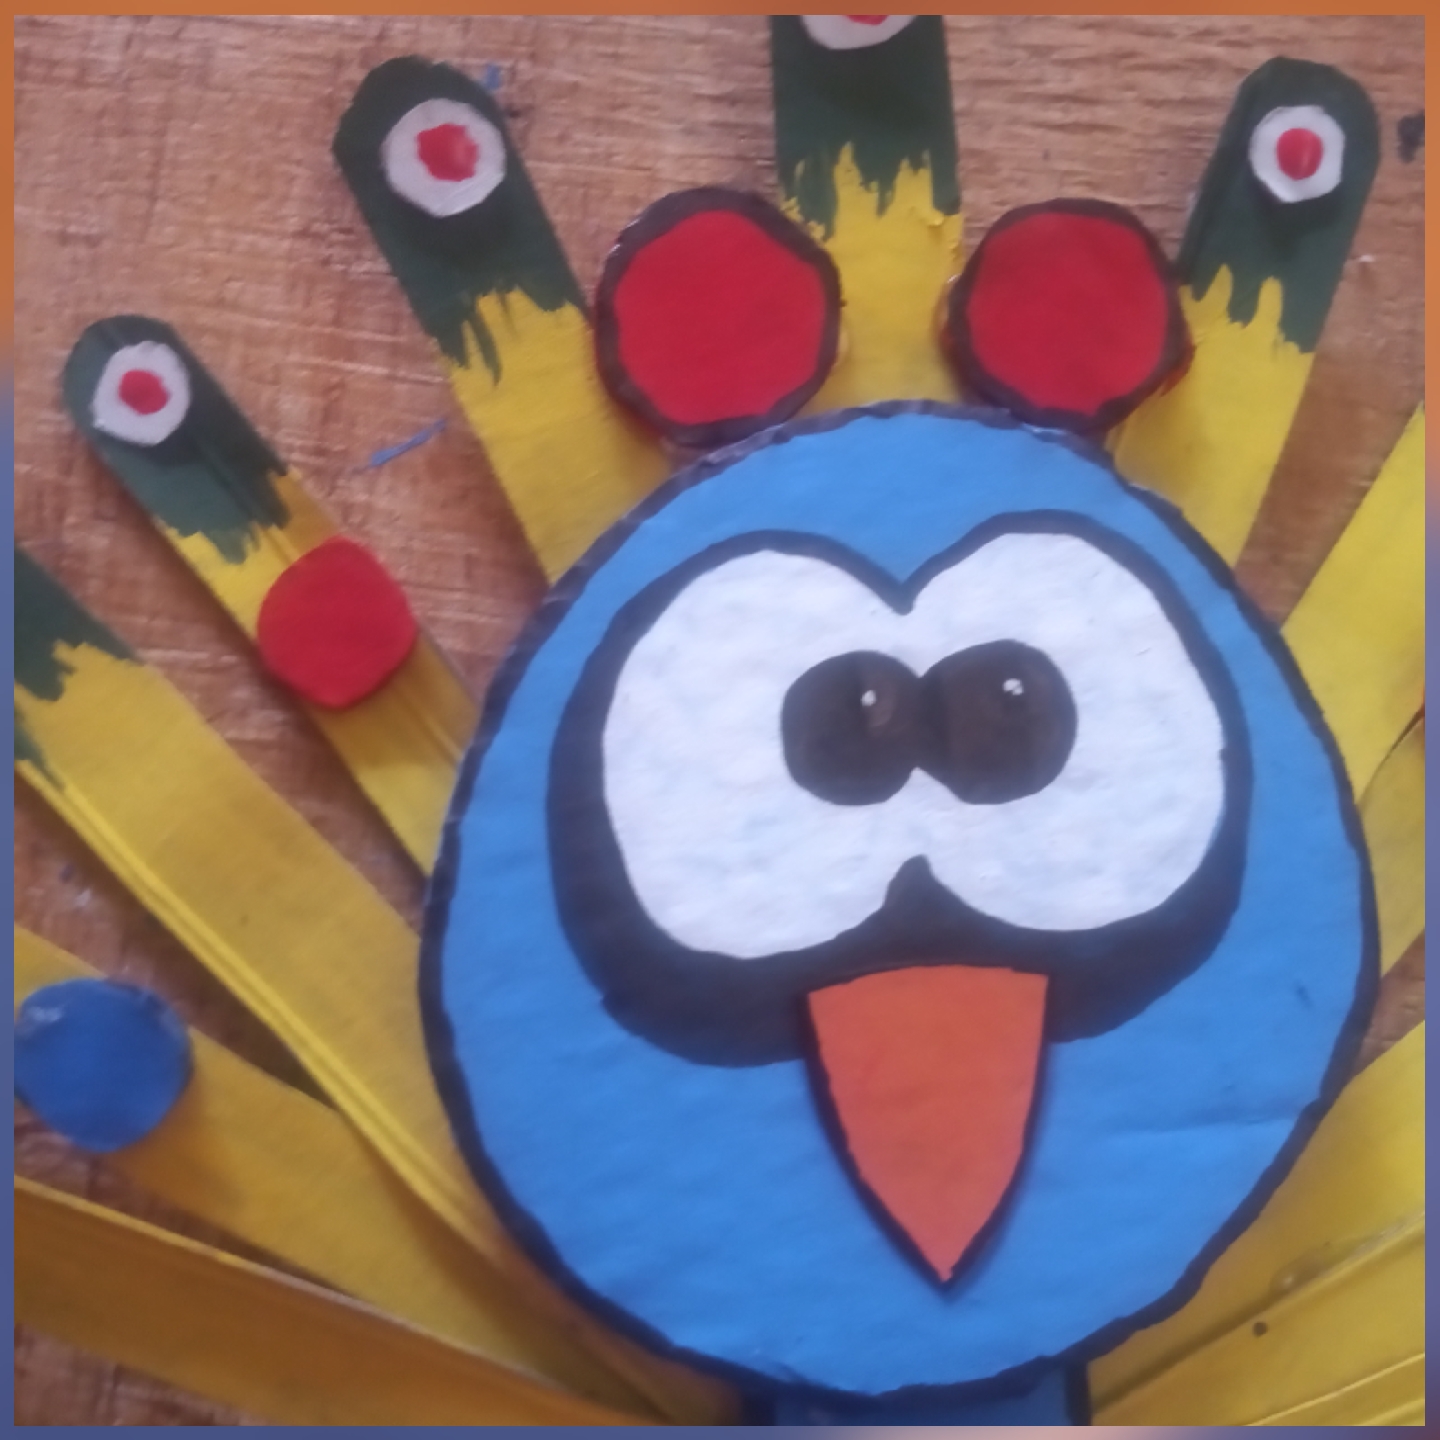
En la parte superior de la cola pintaremos las puntas de color verde.
On the upper part of the tail we will paint the tips green.
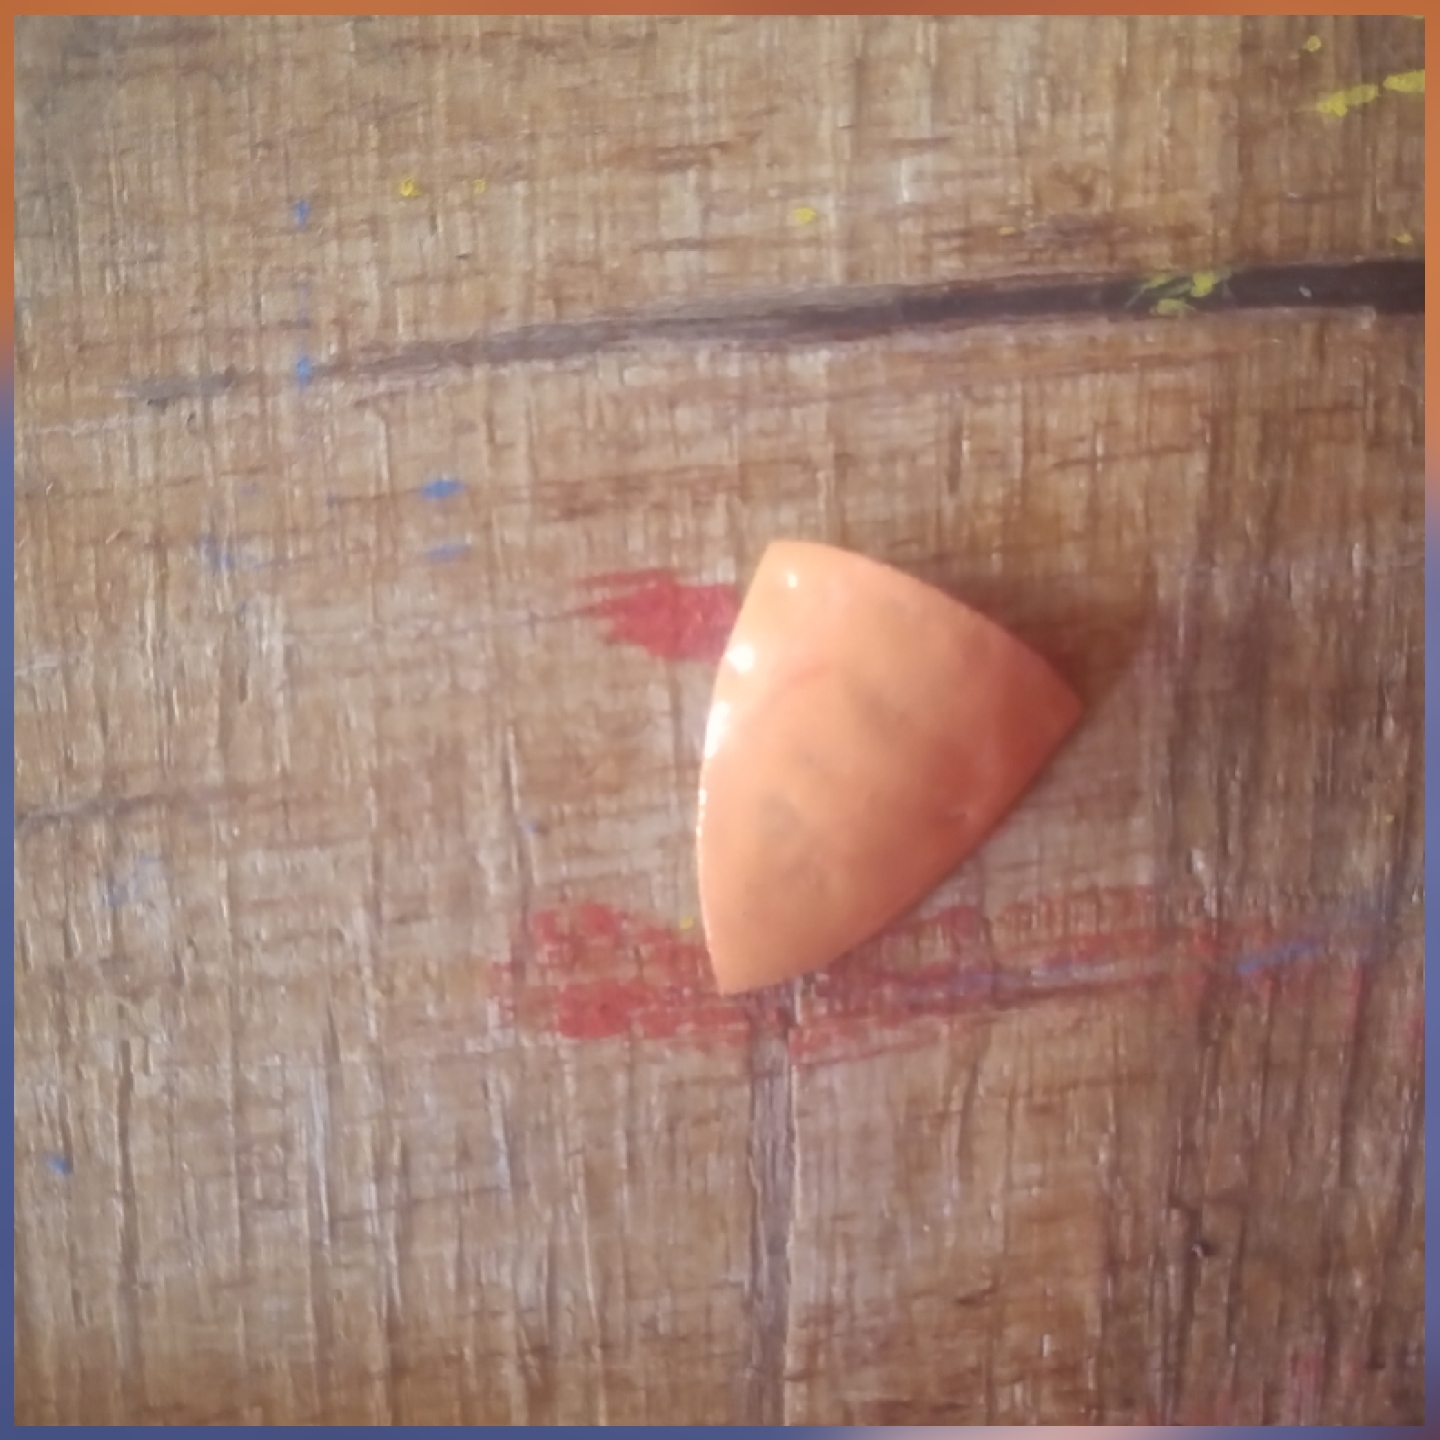
Dibujamos en un pequeño trozo de cartón el pico de nuestro pájaro. Luego lo recortamos, lo pintamos y lo pegamos, dándole a nuestro pavo real una bonita imagen.
We draw on a small piece of cardboard the beak of our bird. Then we cut it out, paint it and glue it, giving our peacock a nice image.
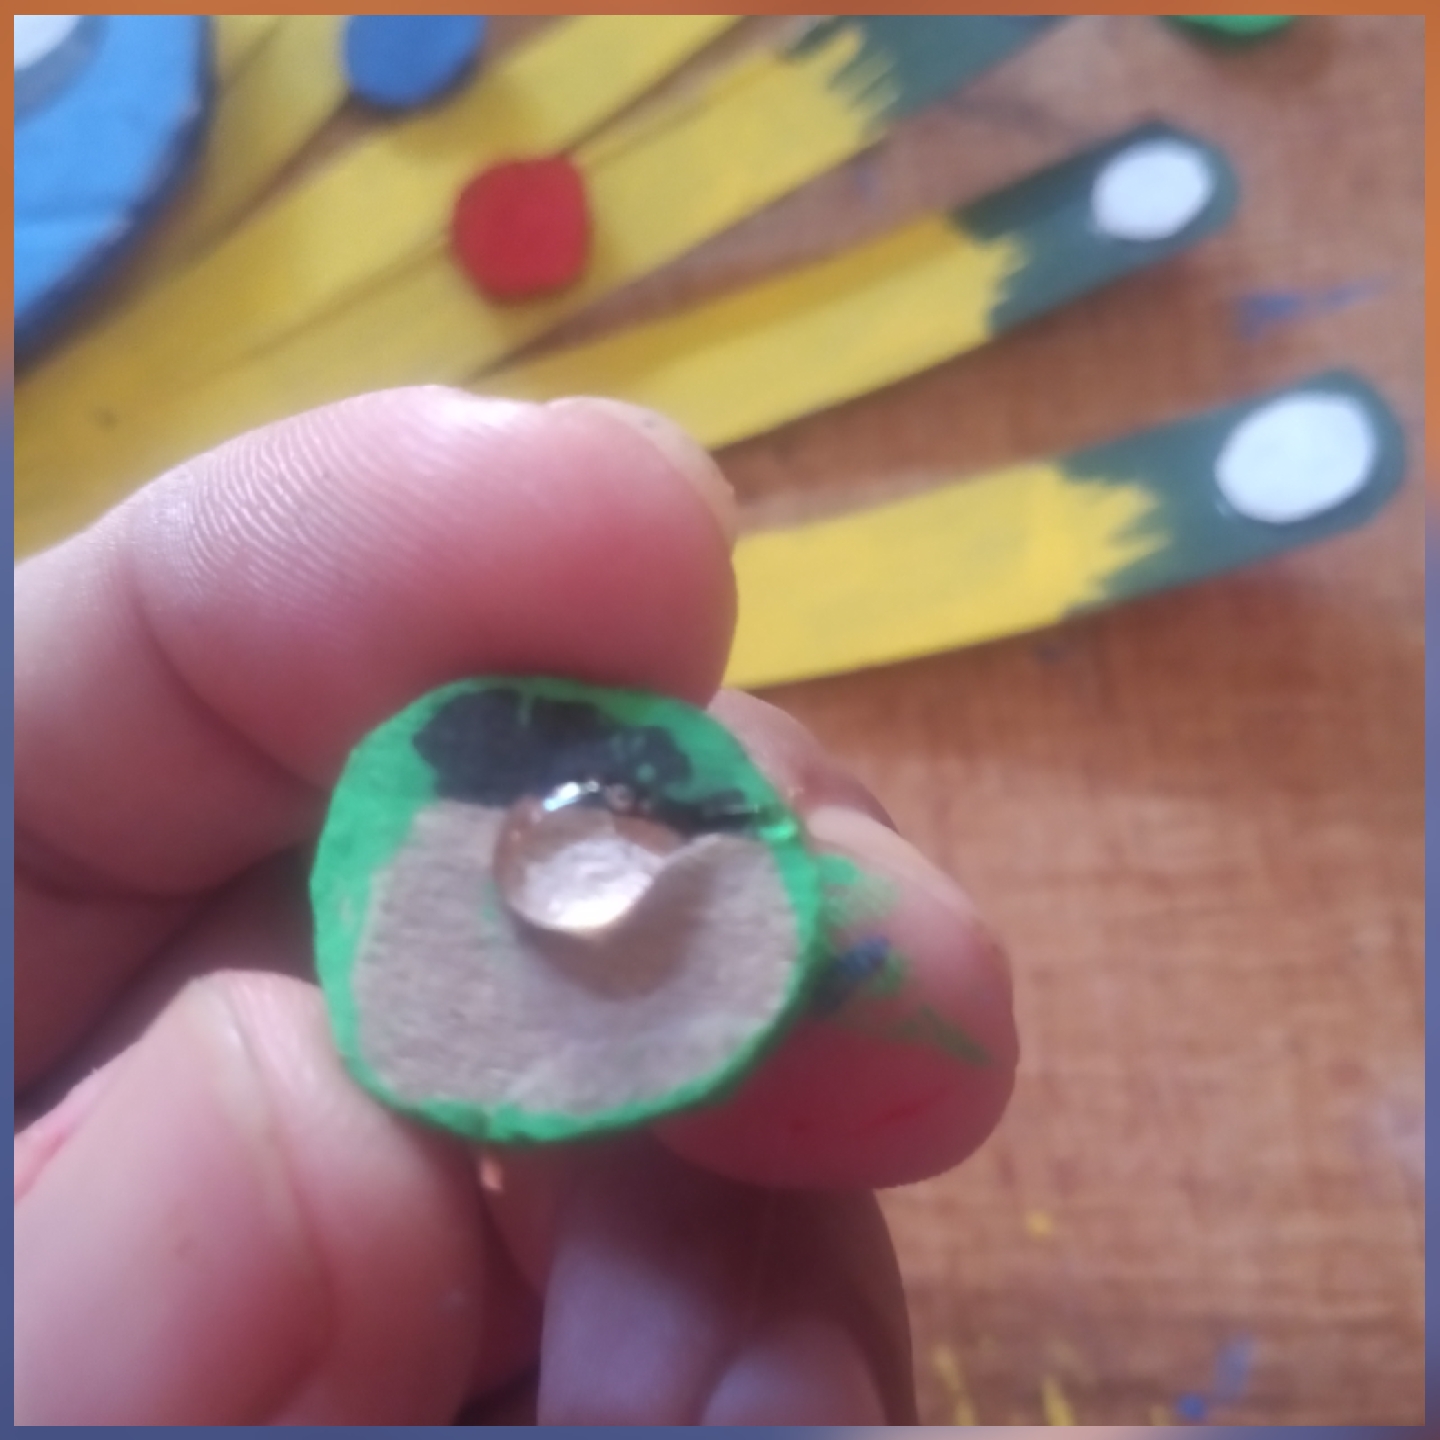
Dibujamos con el lápiz de grafito pequeños círculos en unos trozos de cartón y los recortamos en forma de círculos. Para pegarlos y pintarlos en la parte superior de la cola del pájaro.
We draw with the graphite pencil small circles on some pieces of cardboard and cut them in the shape of circles. To glue and paint them on the top of the bird's tail.
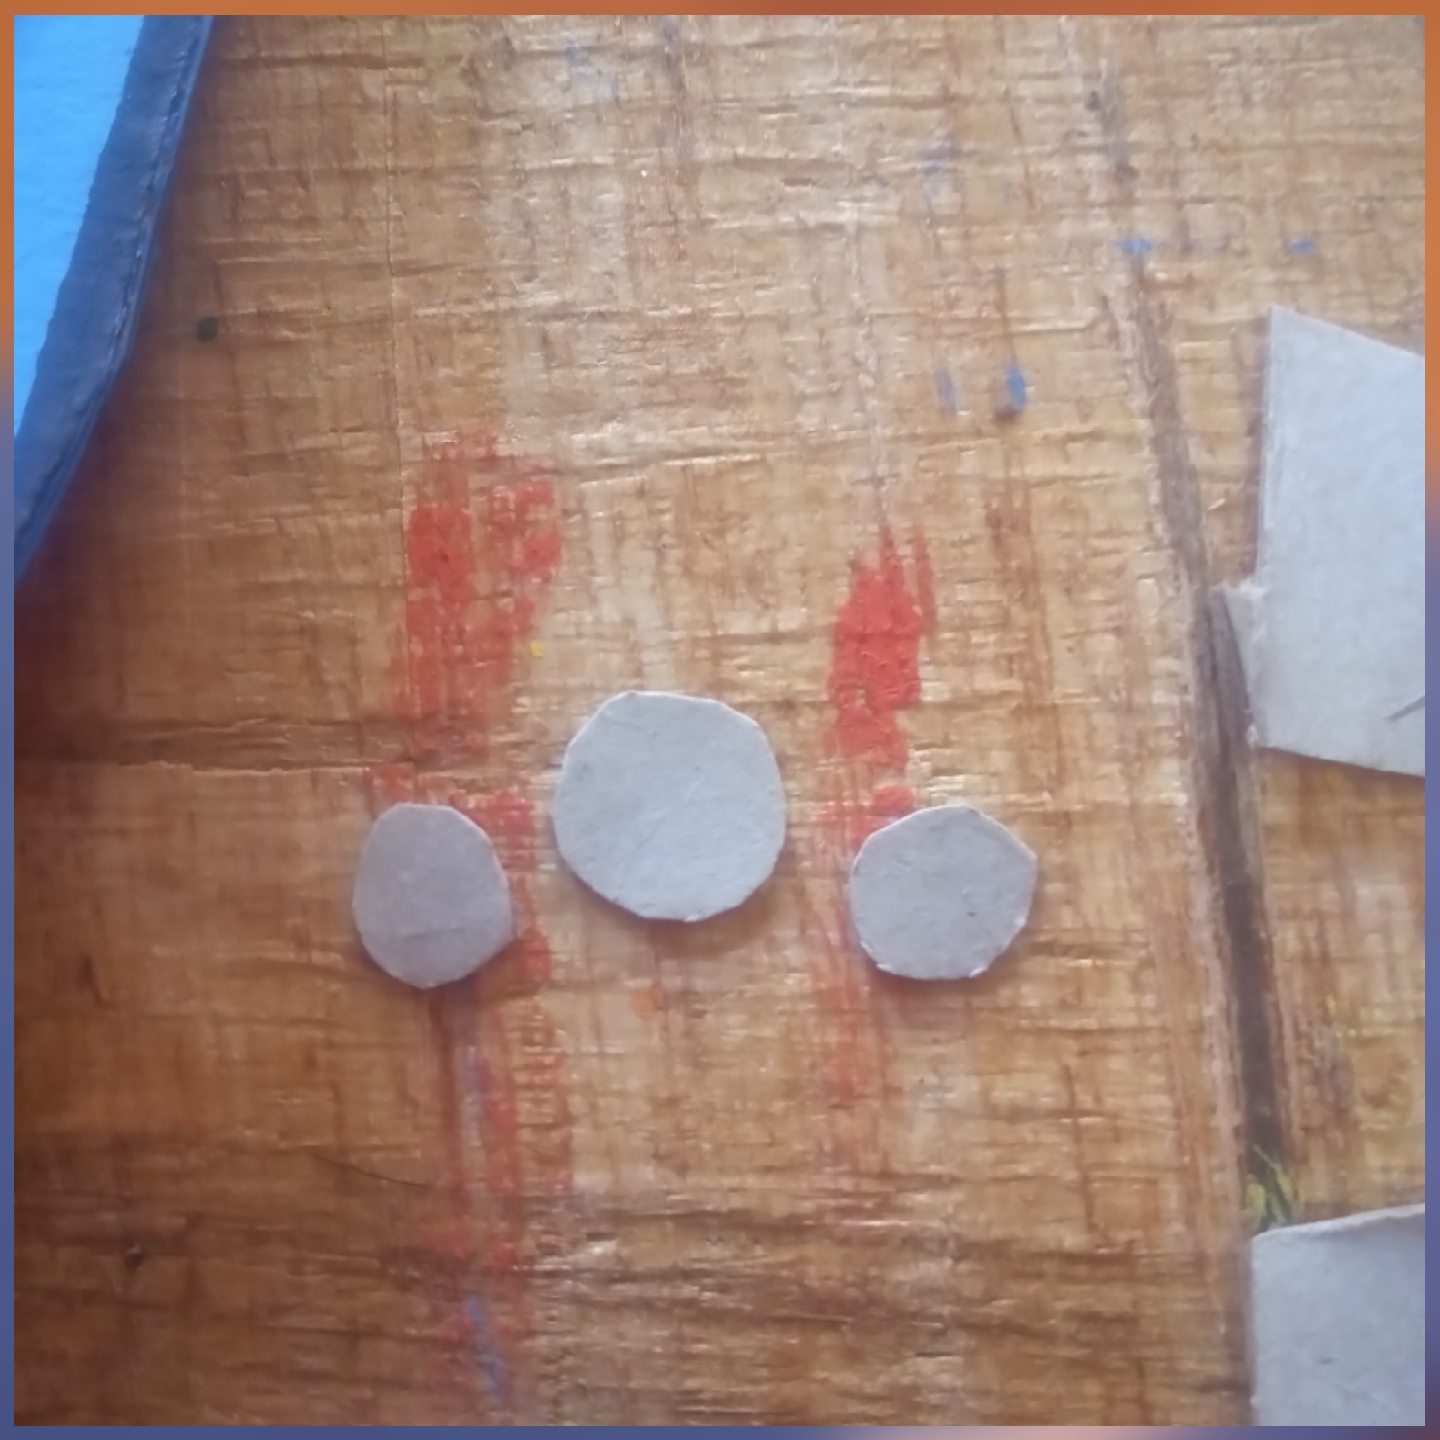
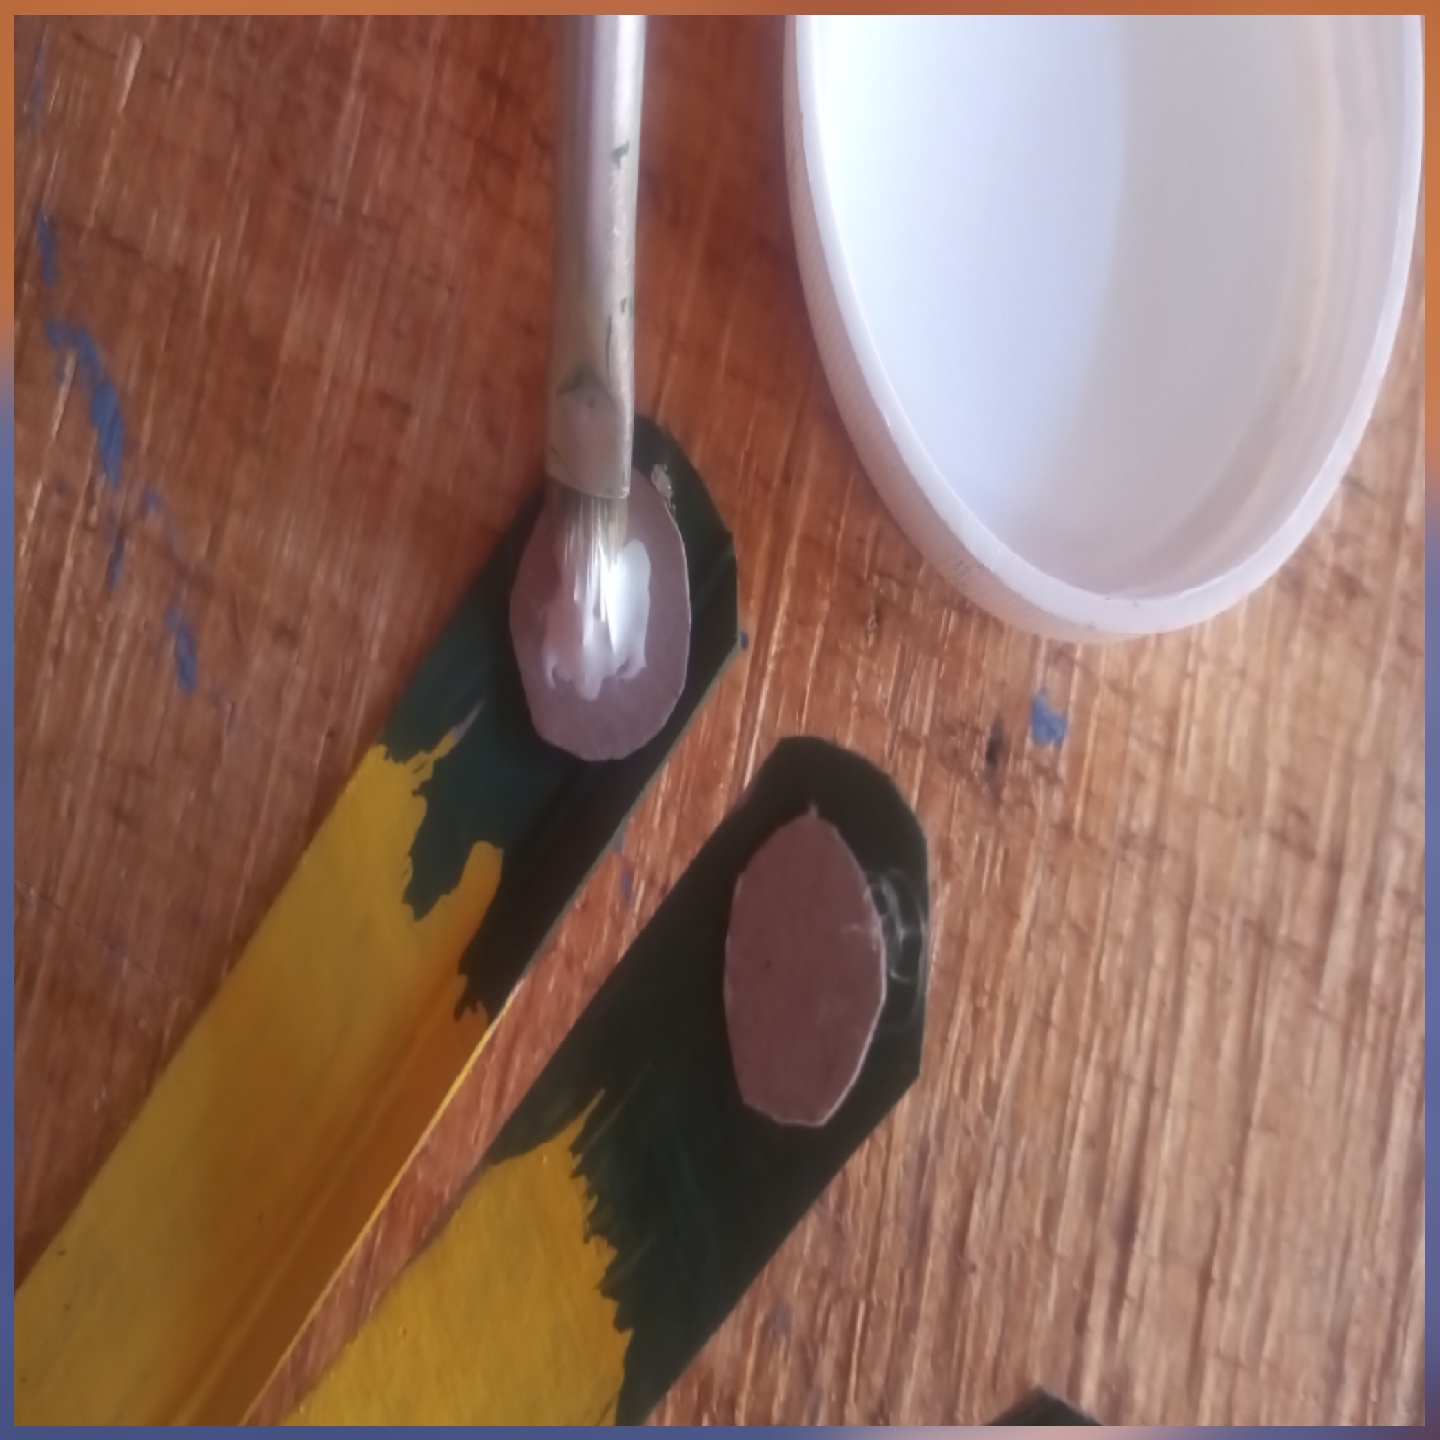
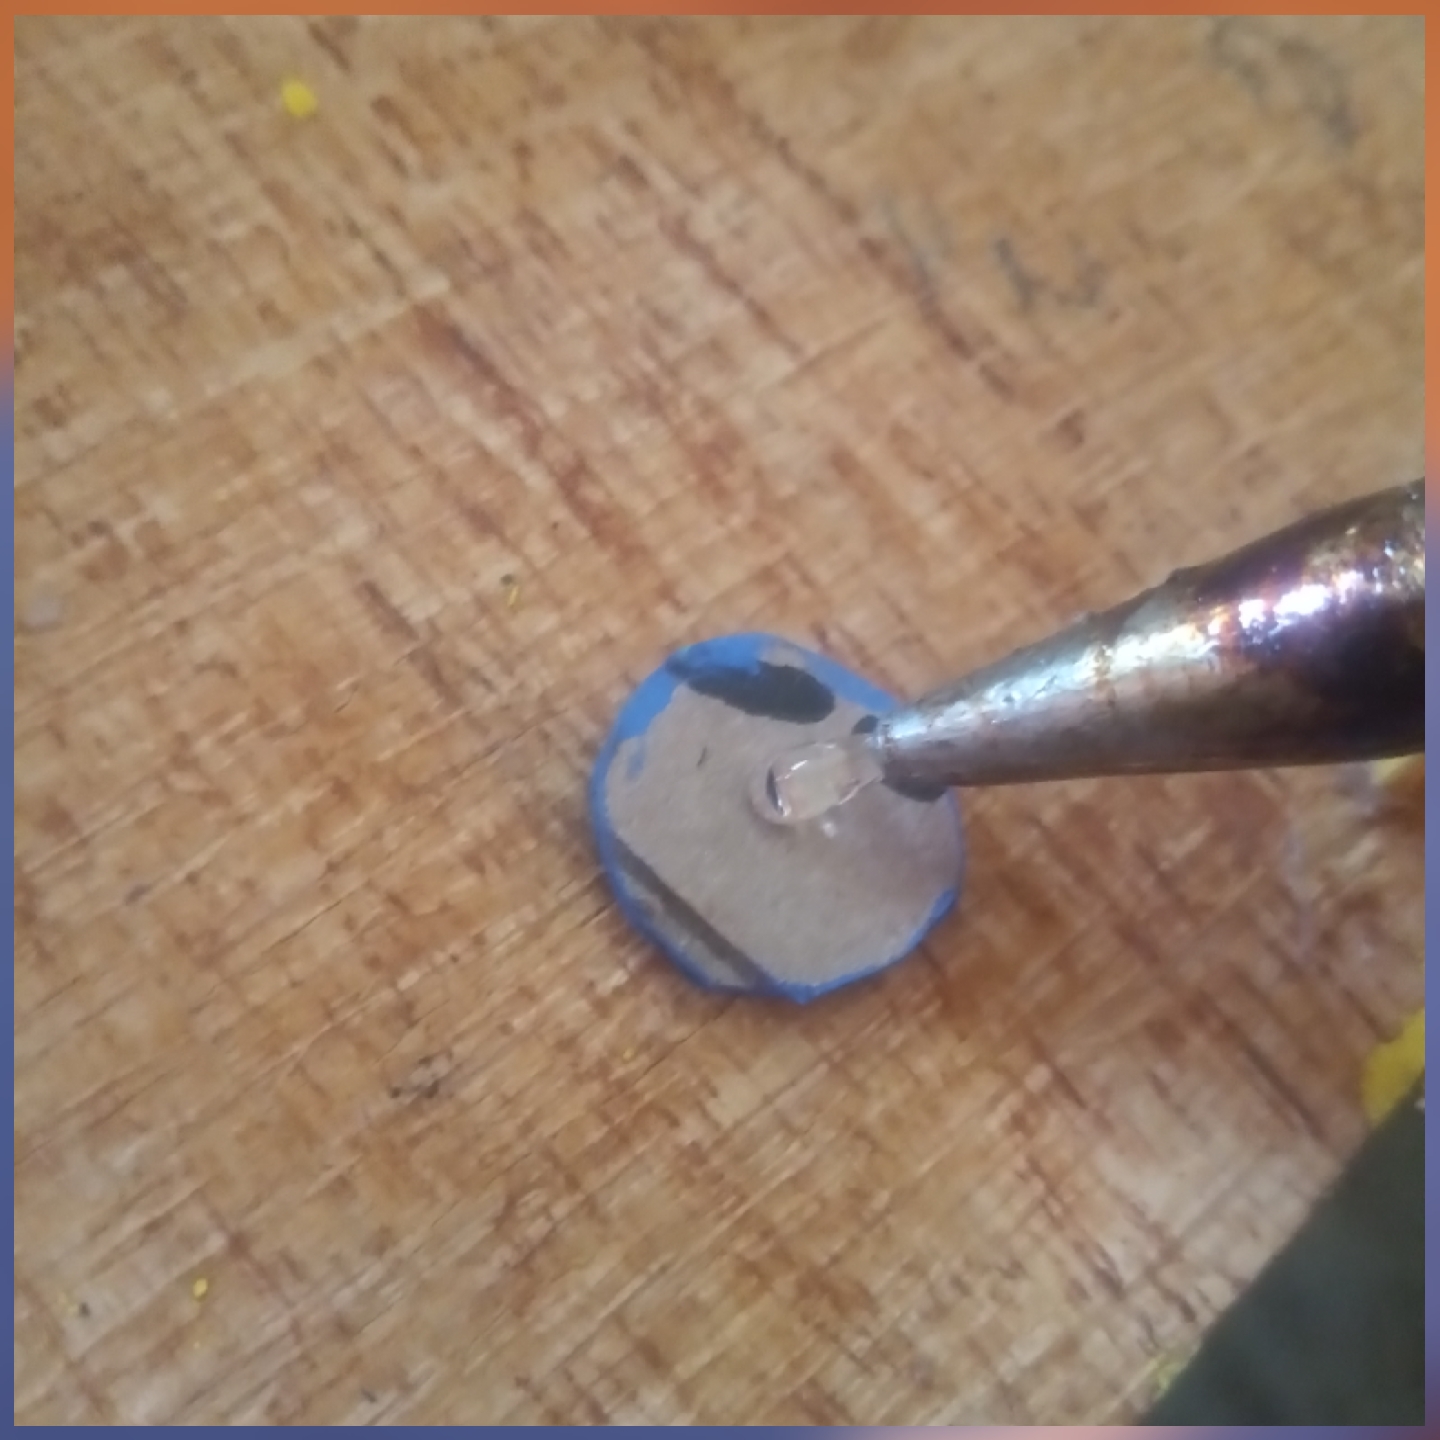
Aplicamos pintura blanca a los círculos de cola.
We apply white paint to the glue circles.
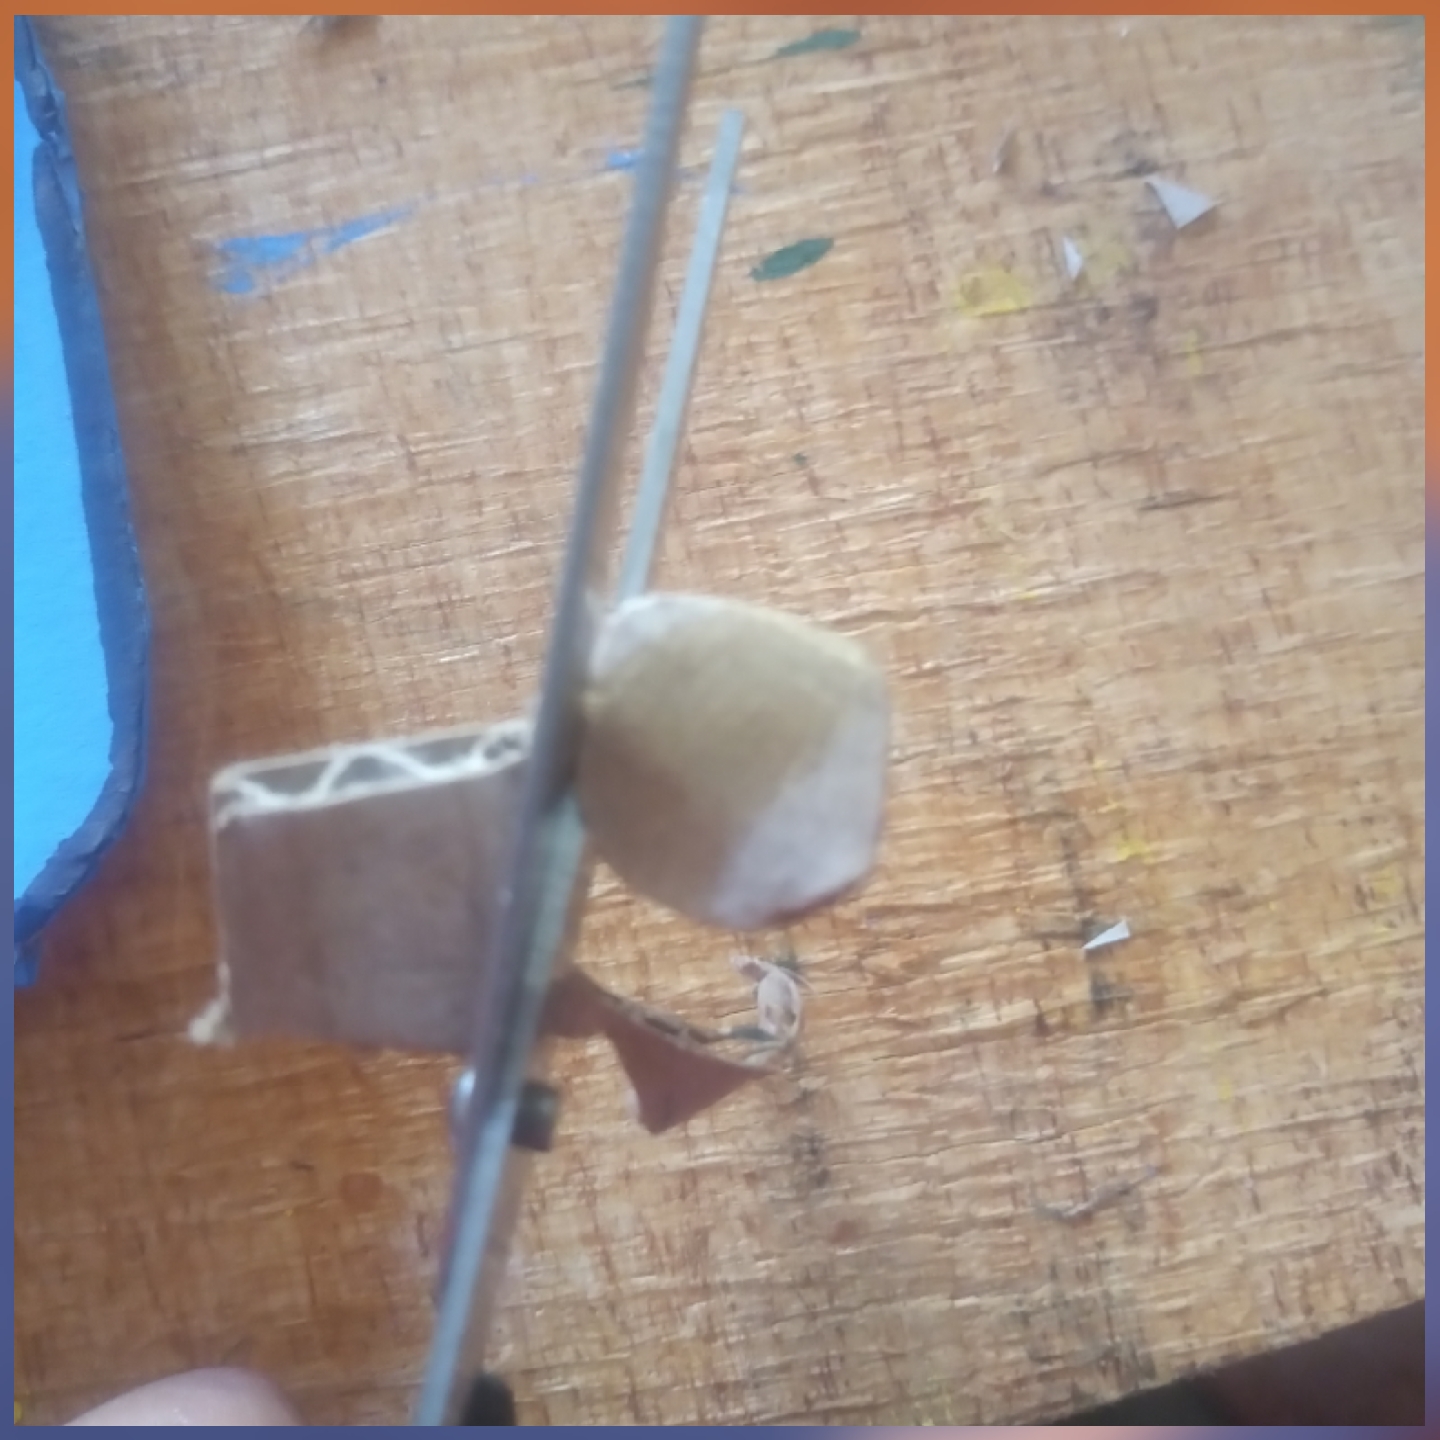
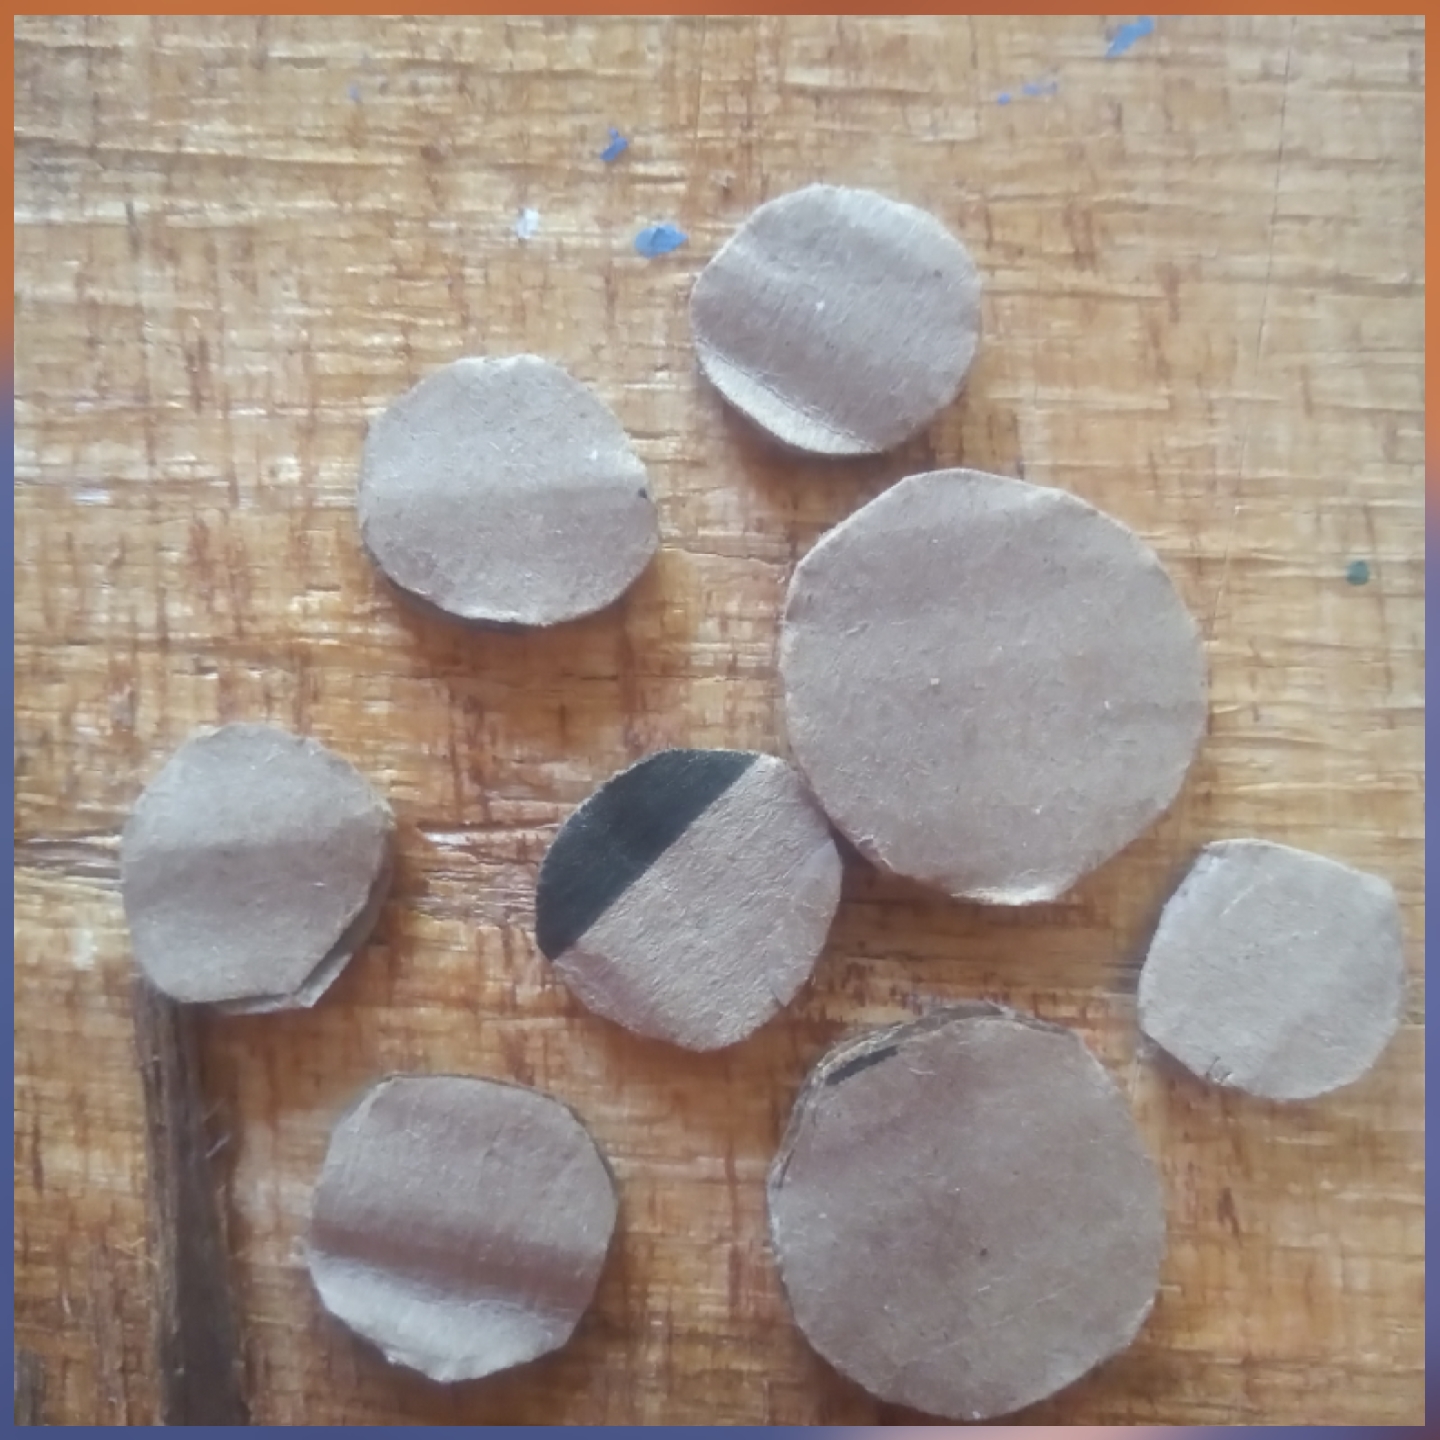
Cortaremos diferentes tamaños de círculos para pintarlos de diferentes colores para que la cola tenga un aspecto colorido. luego los pegaremos con silicon en la zona central de la cola.
We will cut different sizes of circles to paint them in different colors so that the glue will have a colorful appearance. then we will glue them with silicone in the middle area of the glue.
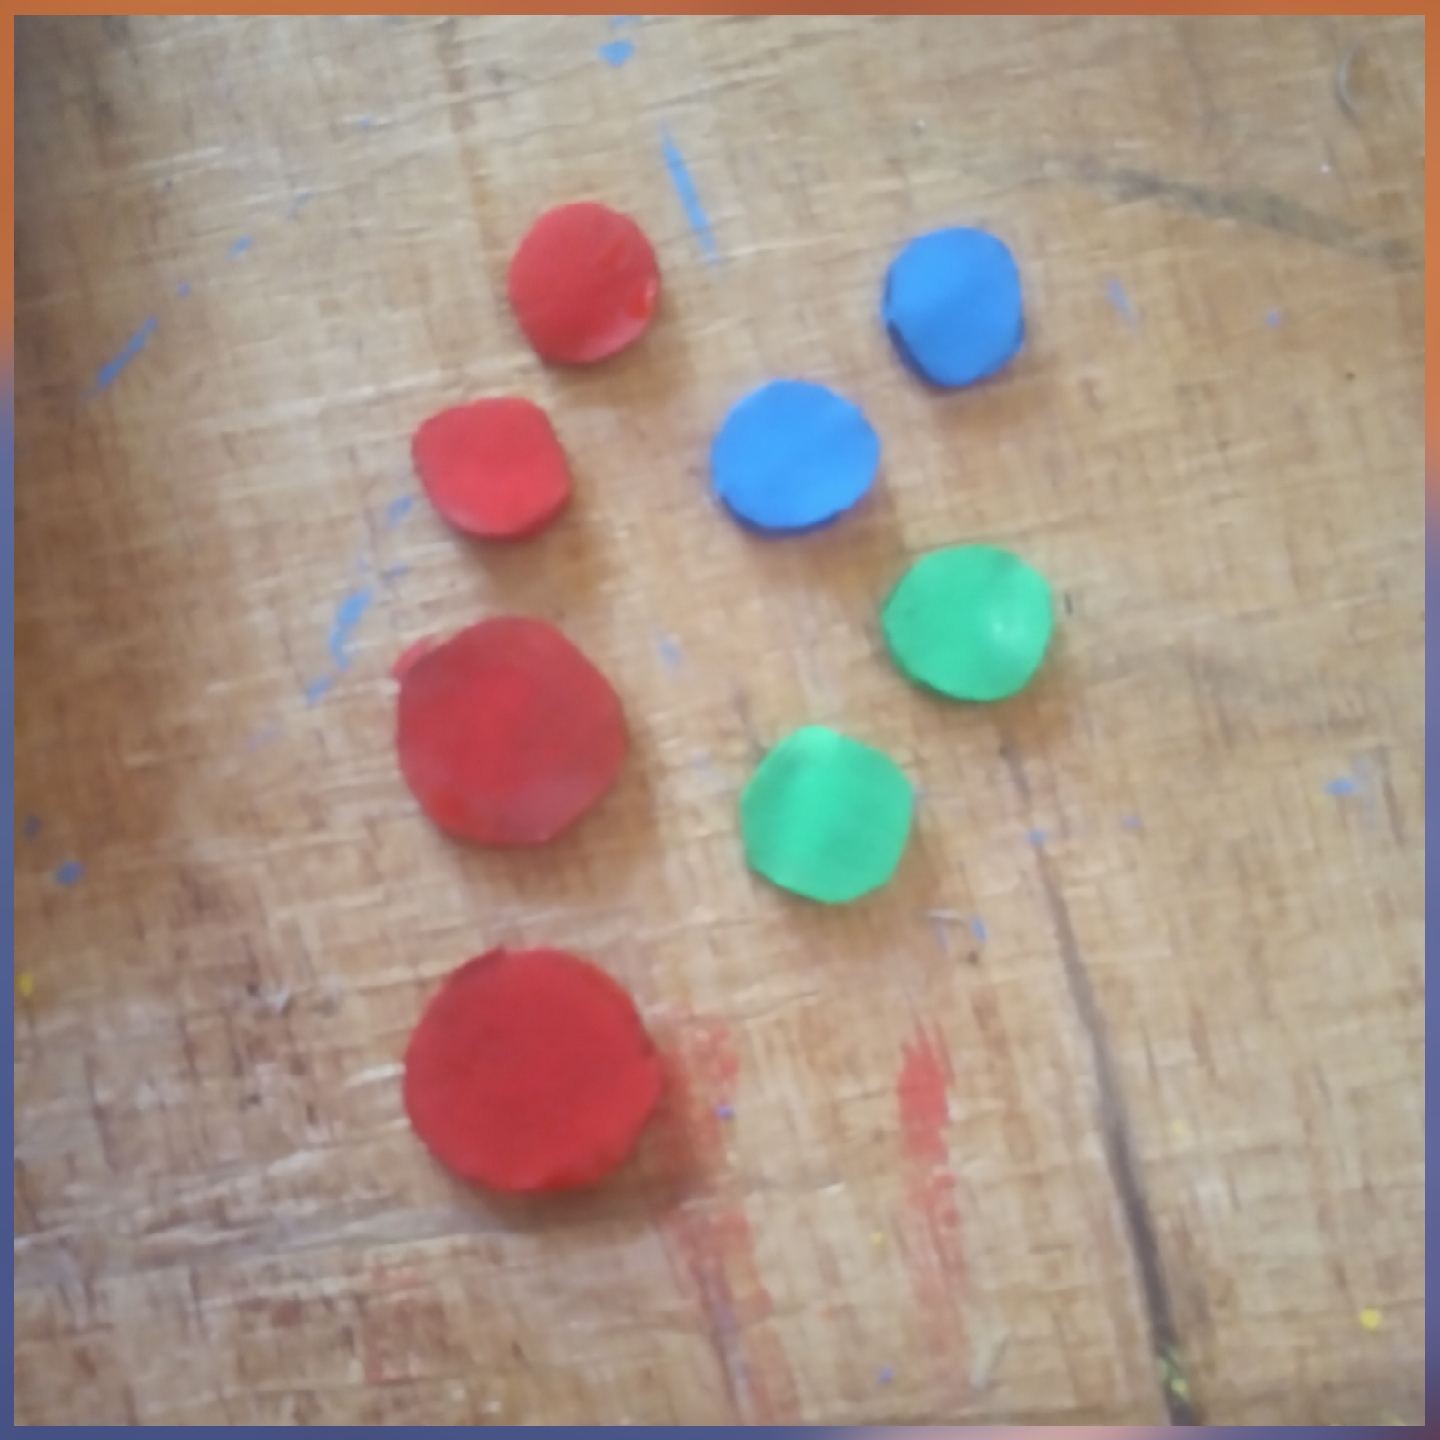
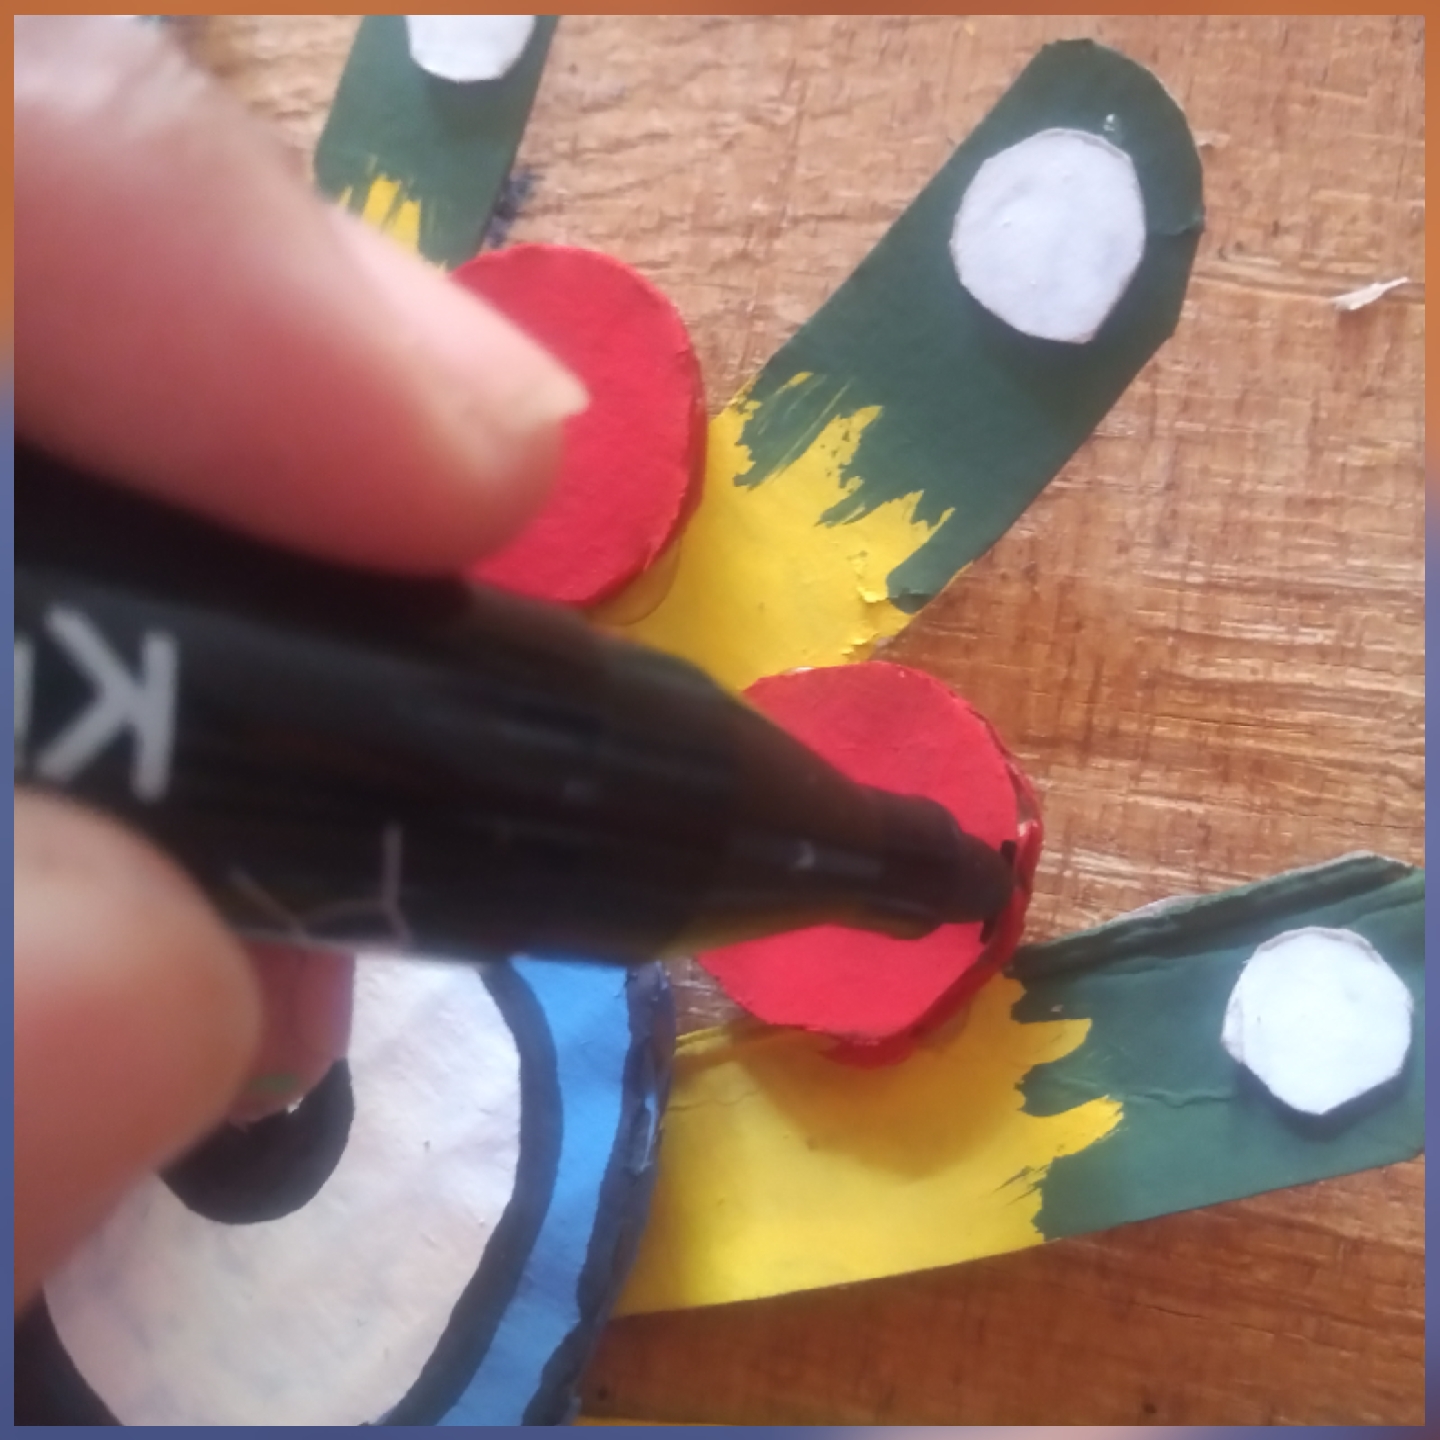
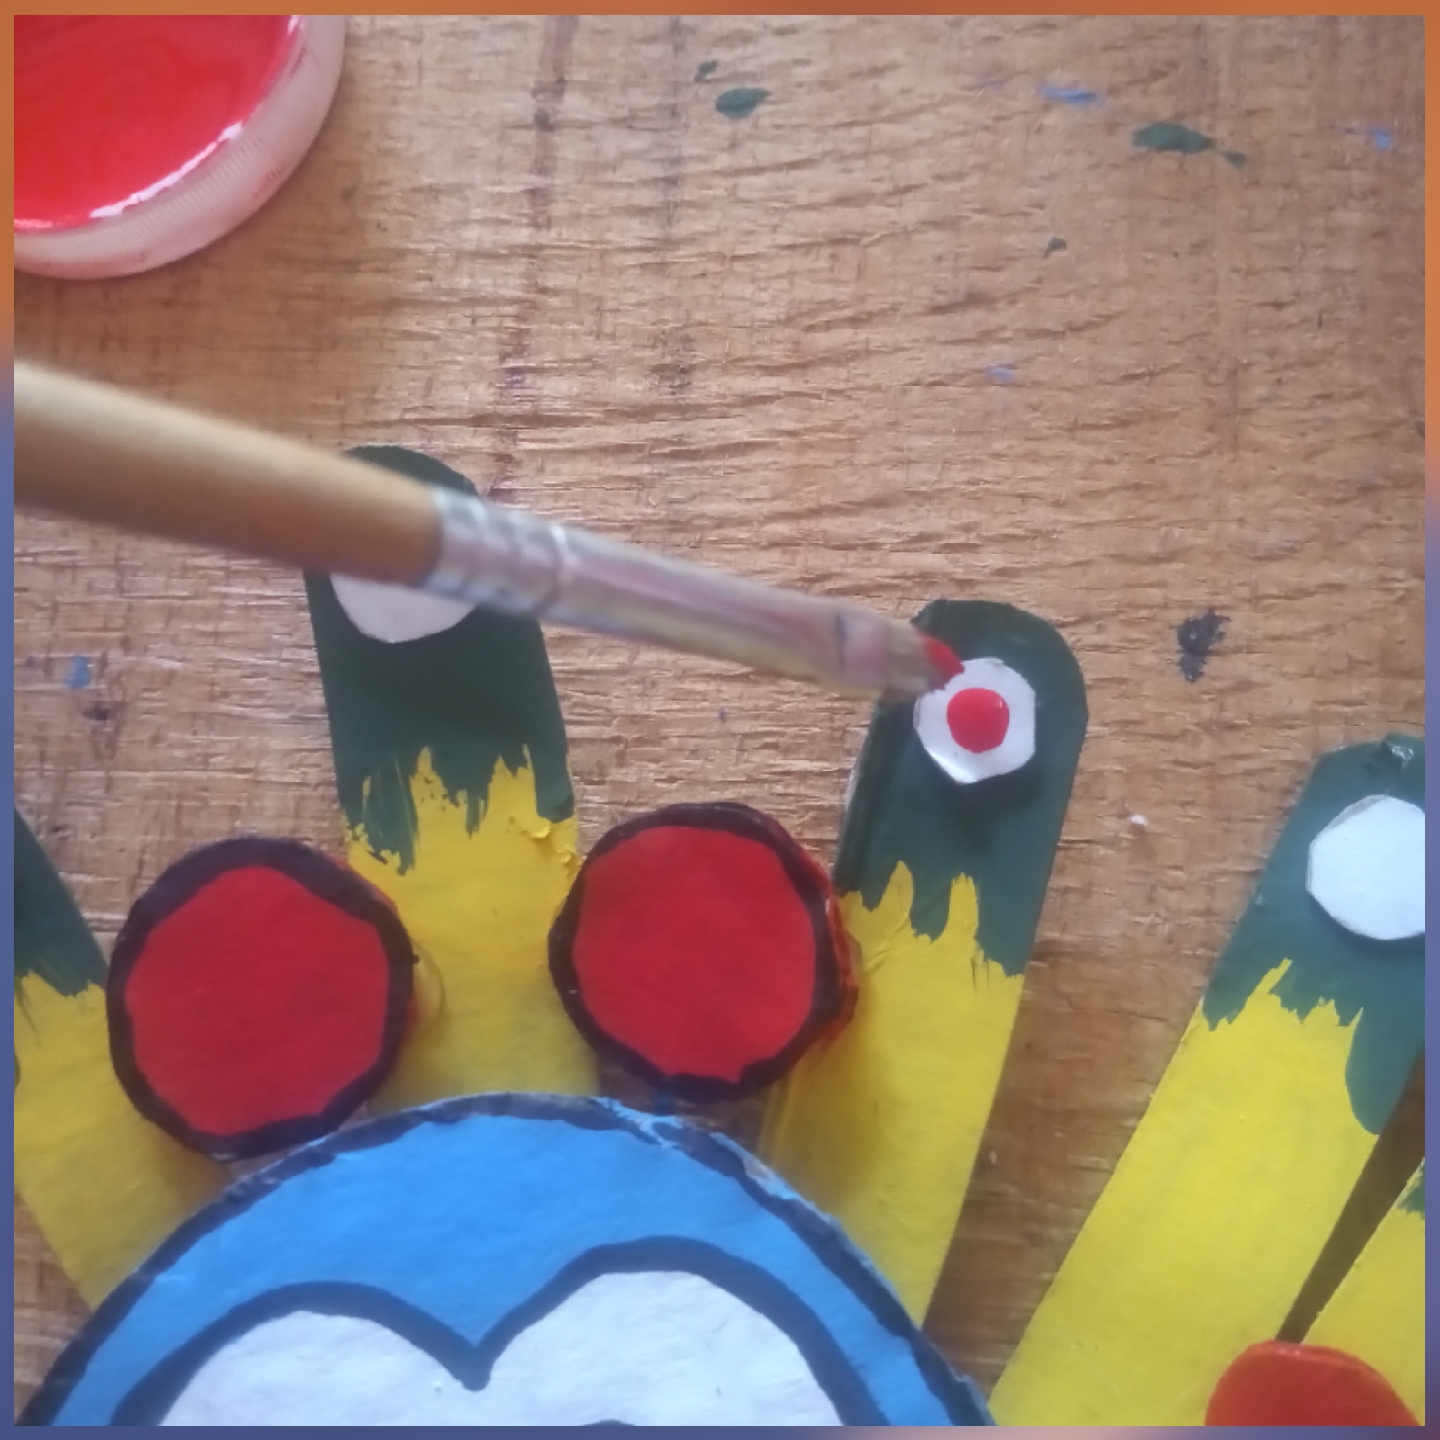
Daremos unos toques de sombra a los círculos centrales superiores de la cola, igual que a los otros círculos, pero daremos un punto rojo a cada círculo.
We will give a few touches of shadow to the upper central circles of the tail, the same as to the other circles, but we will give a red dot to each circle.
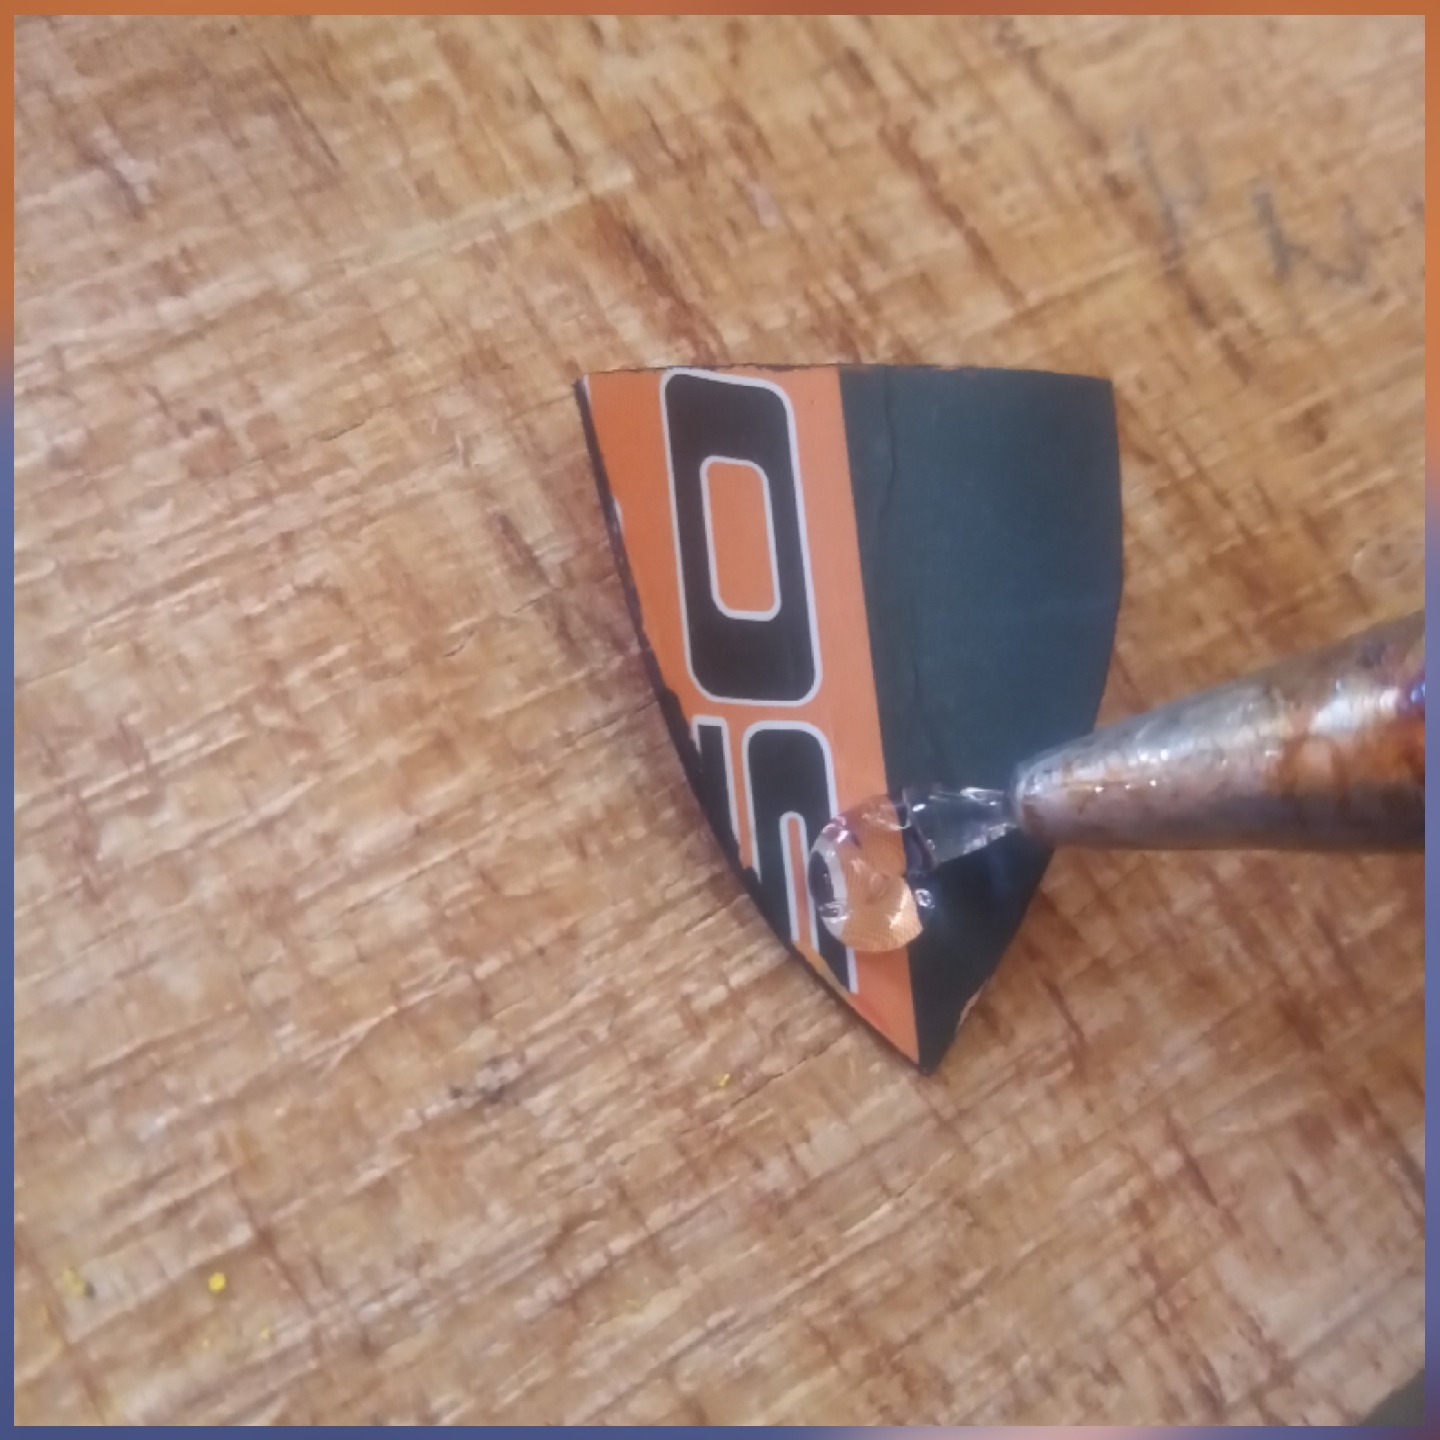
Utilizaremos el marcador negro para dar sentido a las patas de nuestro pájaro. Luego aplicamos silicona para fijarlas.
We will use the black marker to give meaning to the legs of our bird. Then we apply silicone to fix them.
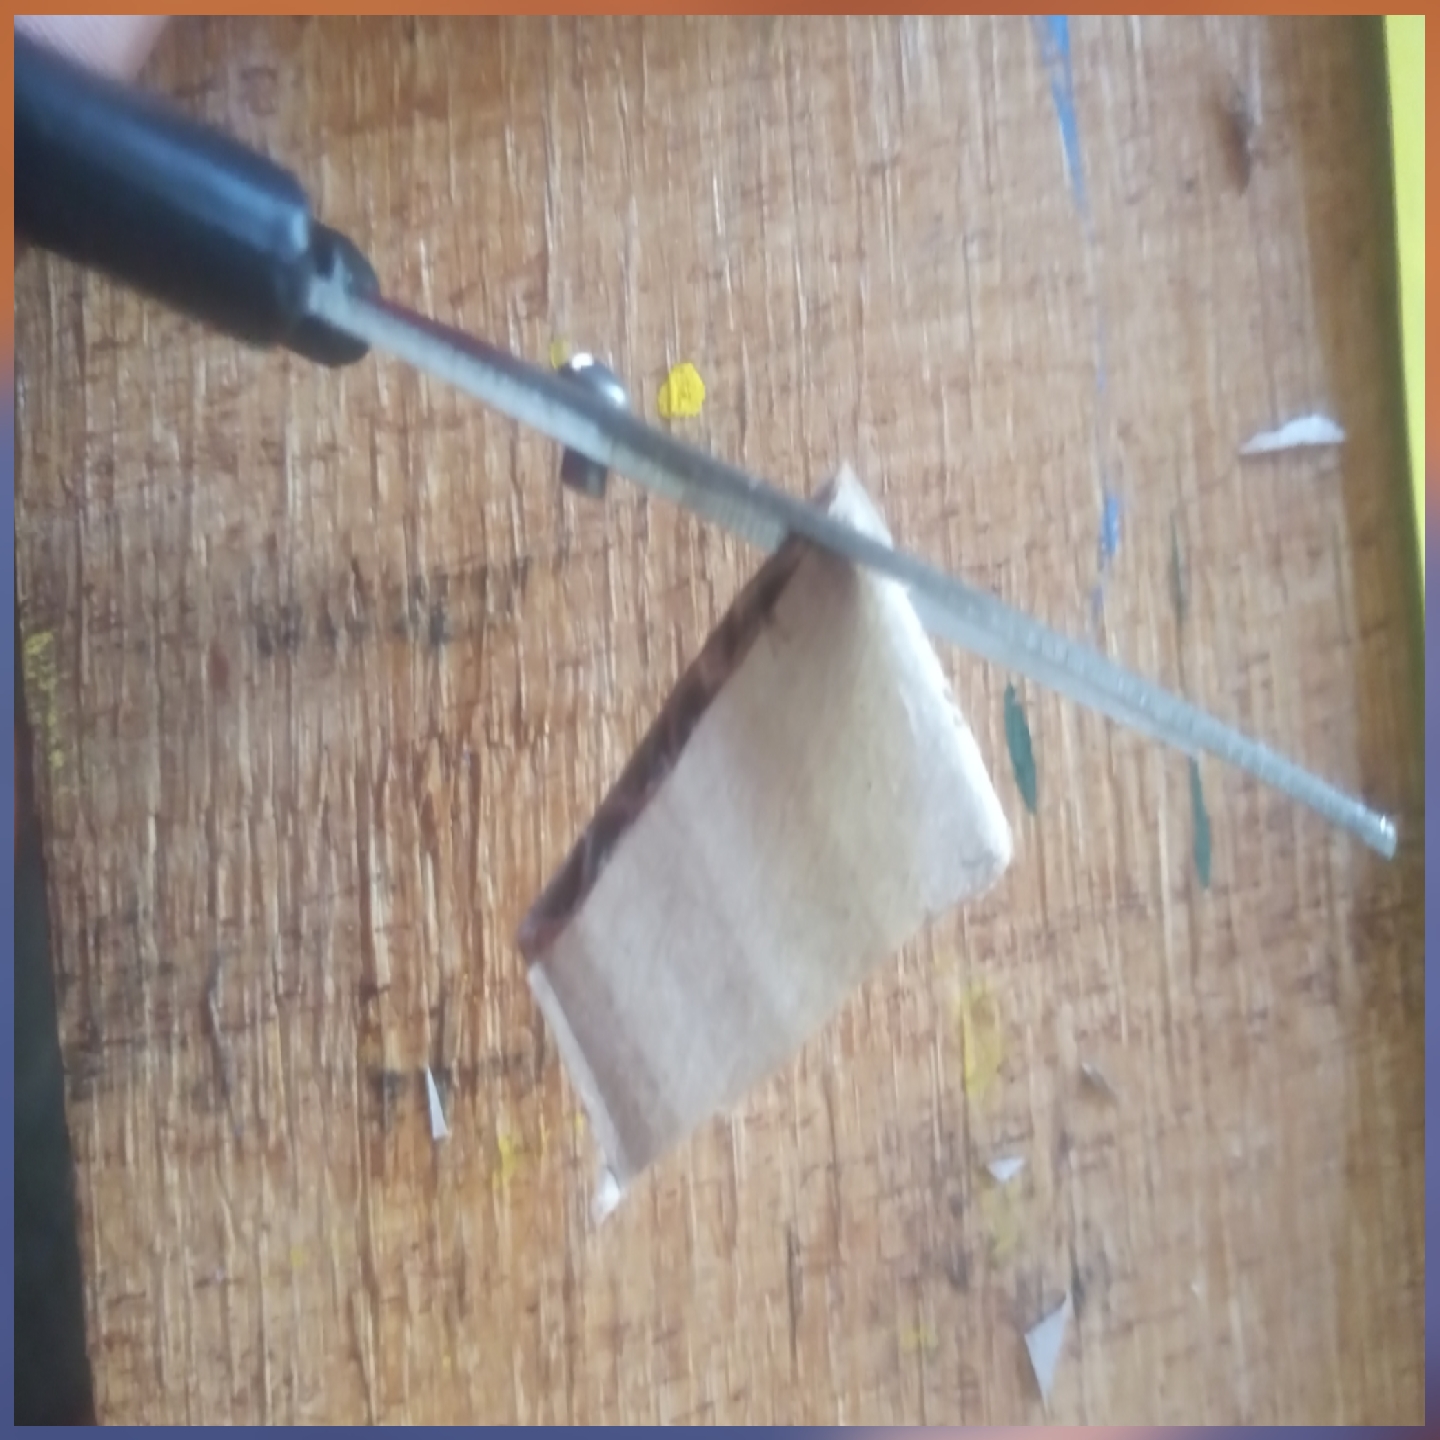
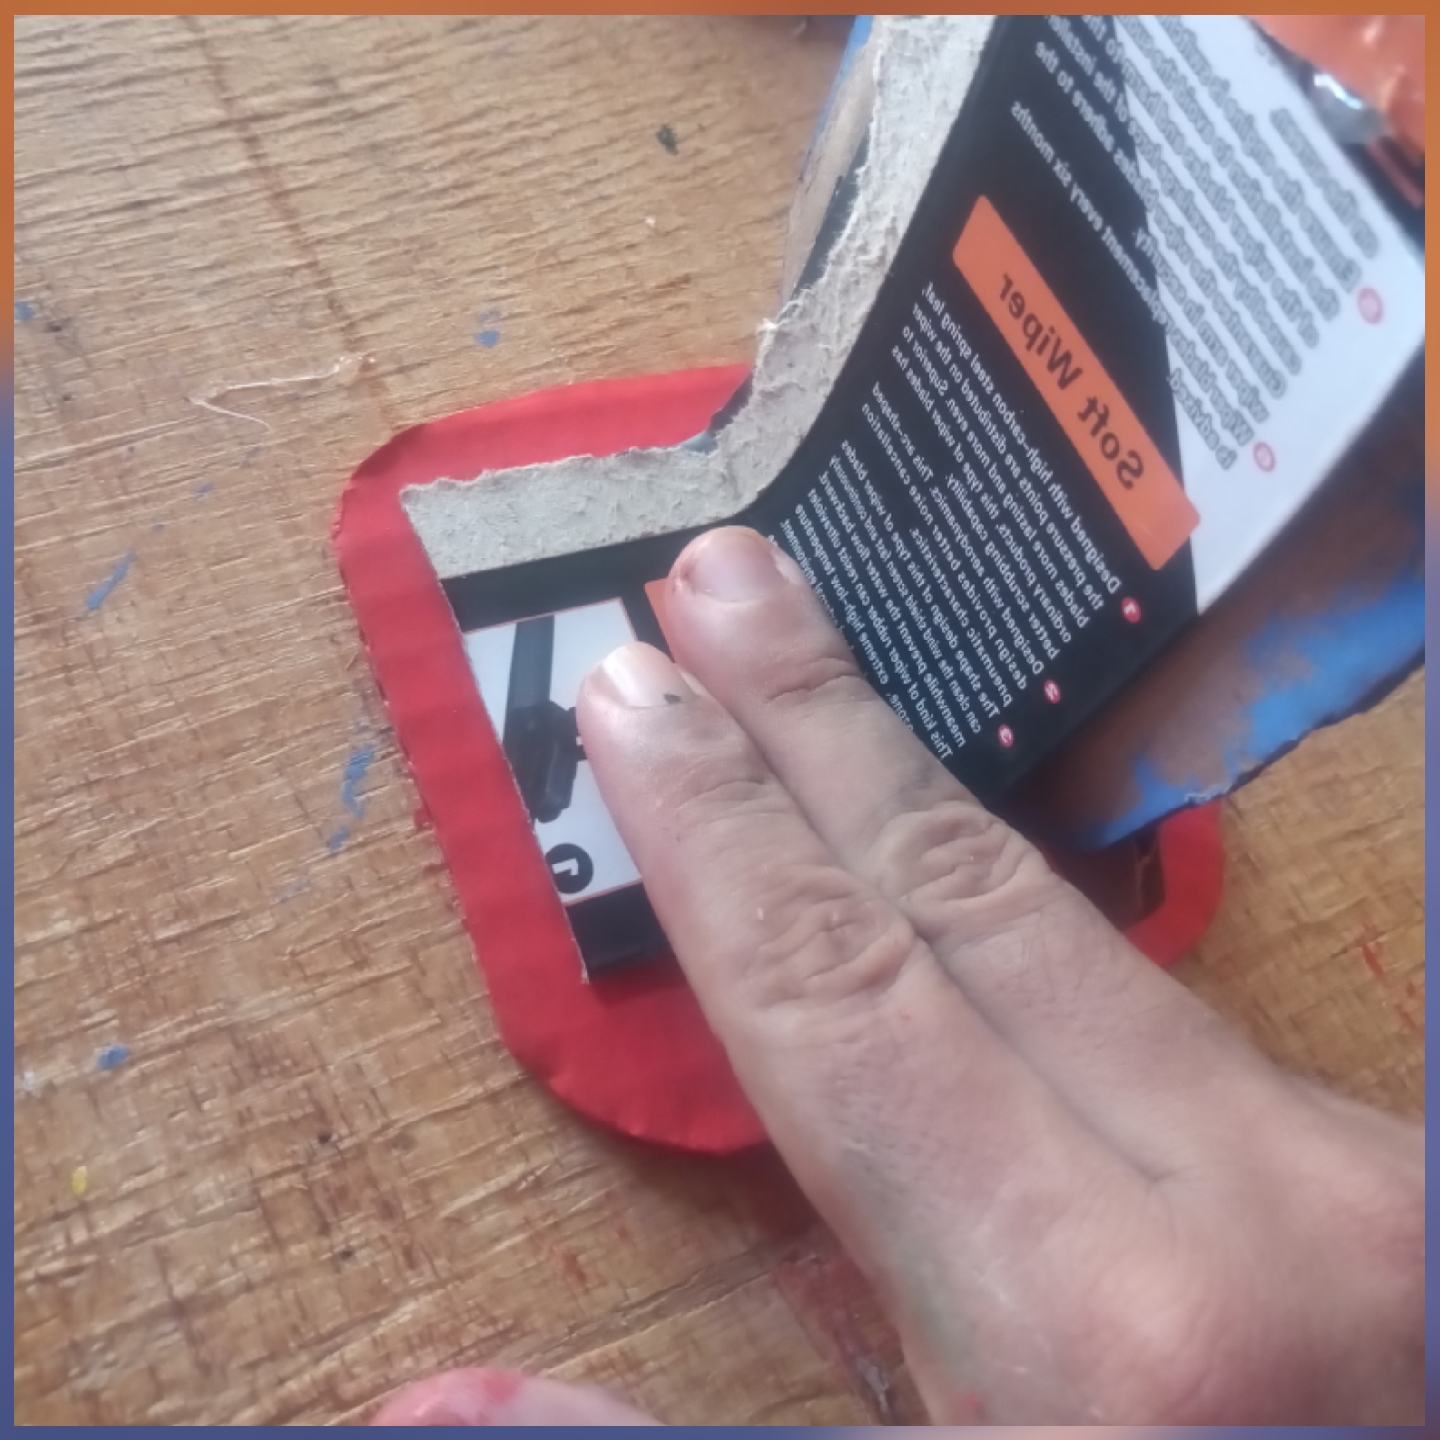
Picamos un pequeño trozo de cartón, lo pegamos con Silicon en la parte trasera y le doblamos en forma de "L" para que parte para poder fijarla a una base y dejar nuestra figura totalmente fija
We cut a small piece of cardboard, glue it with silicone on the back and fold it in the shape of an "L" to be able to fix it to a base and leave our figure totally fixed.
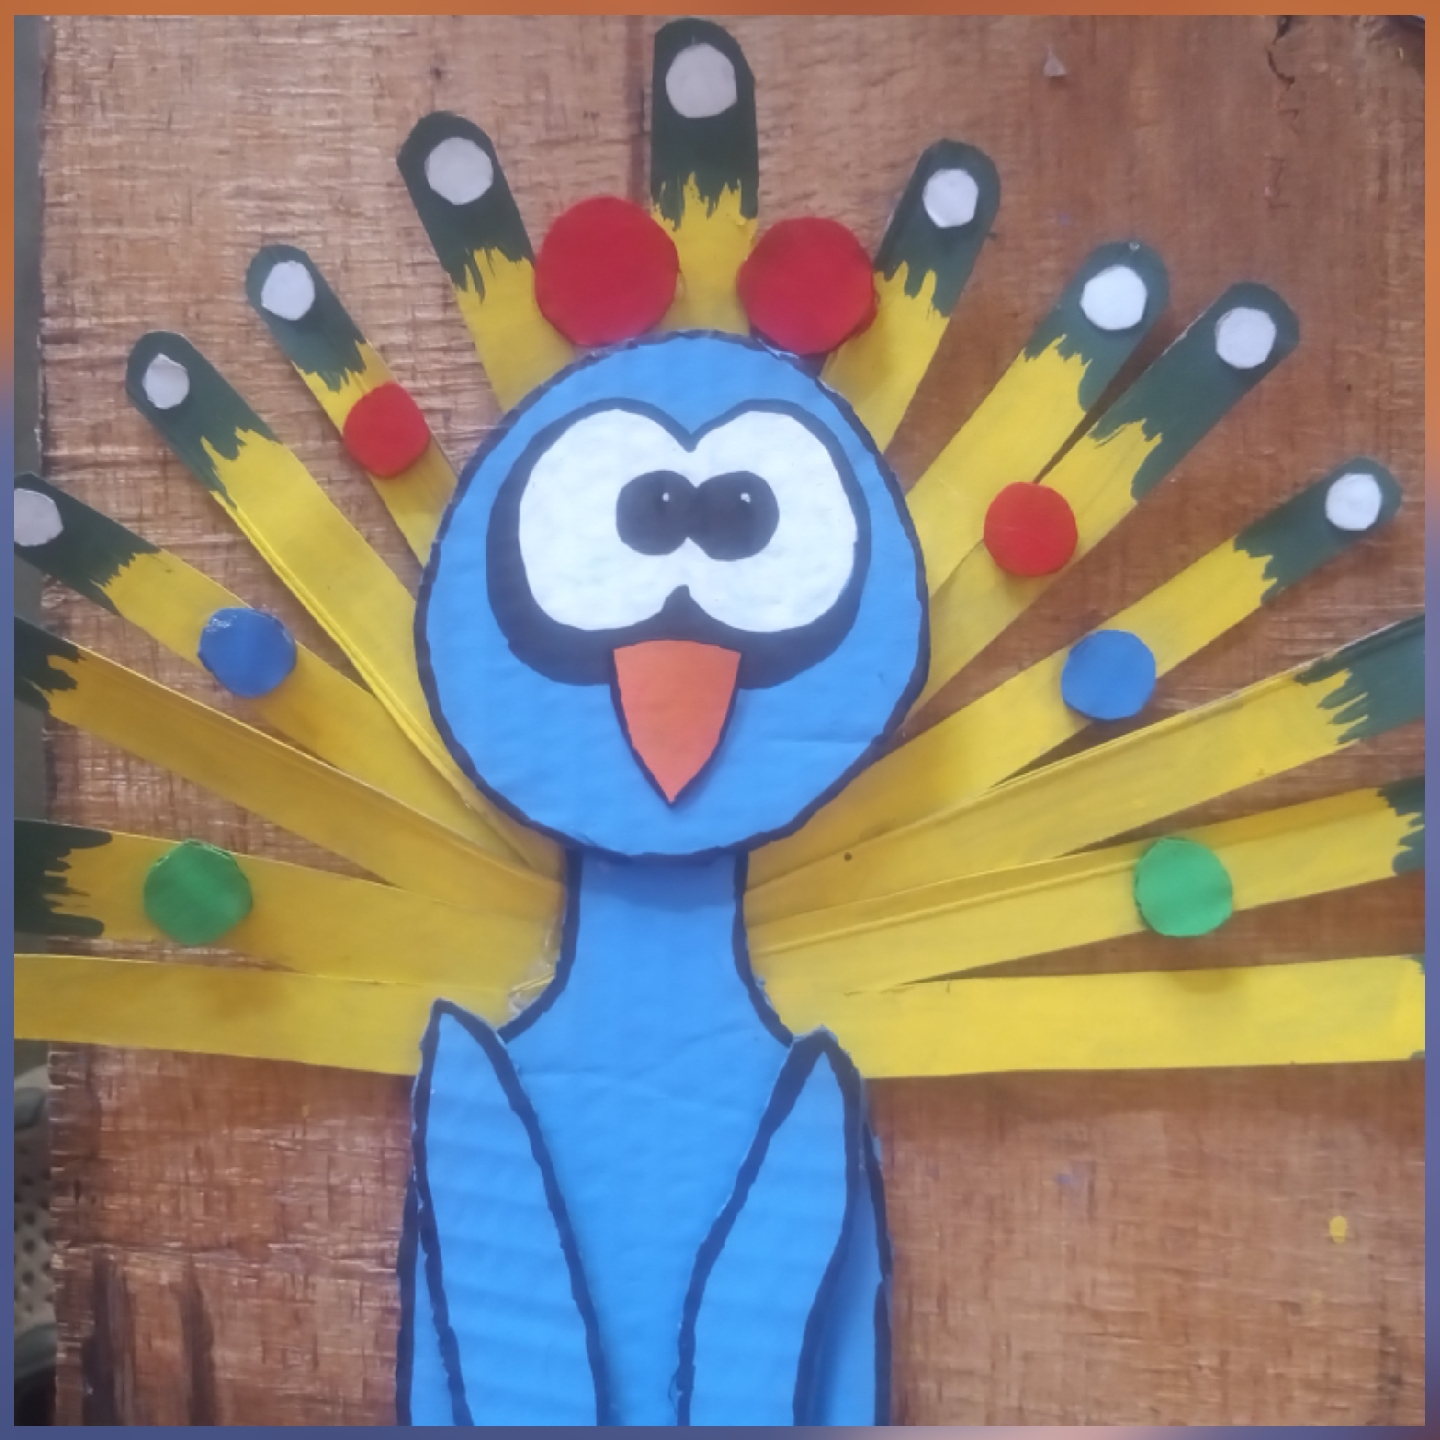
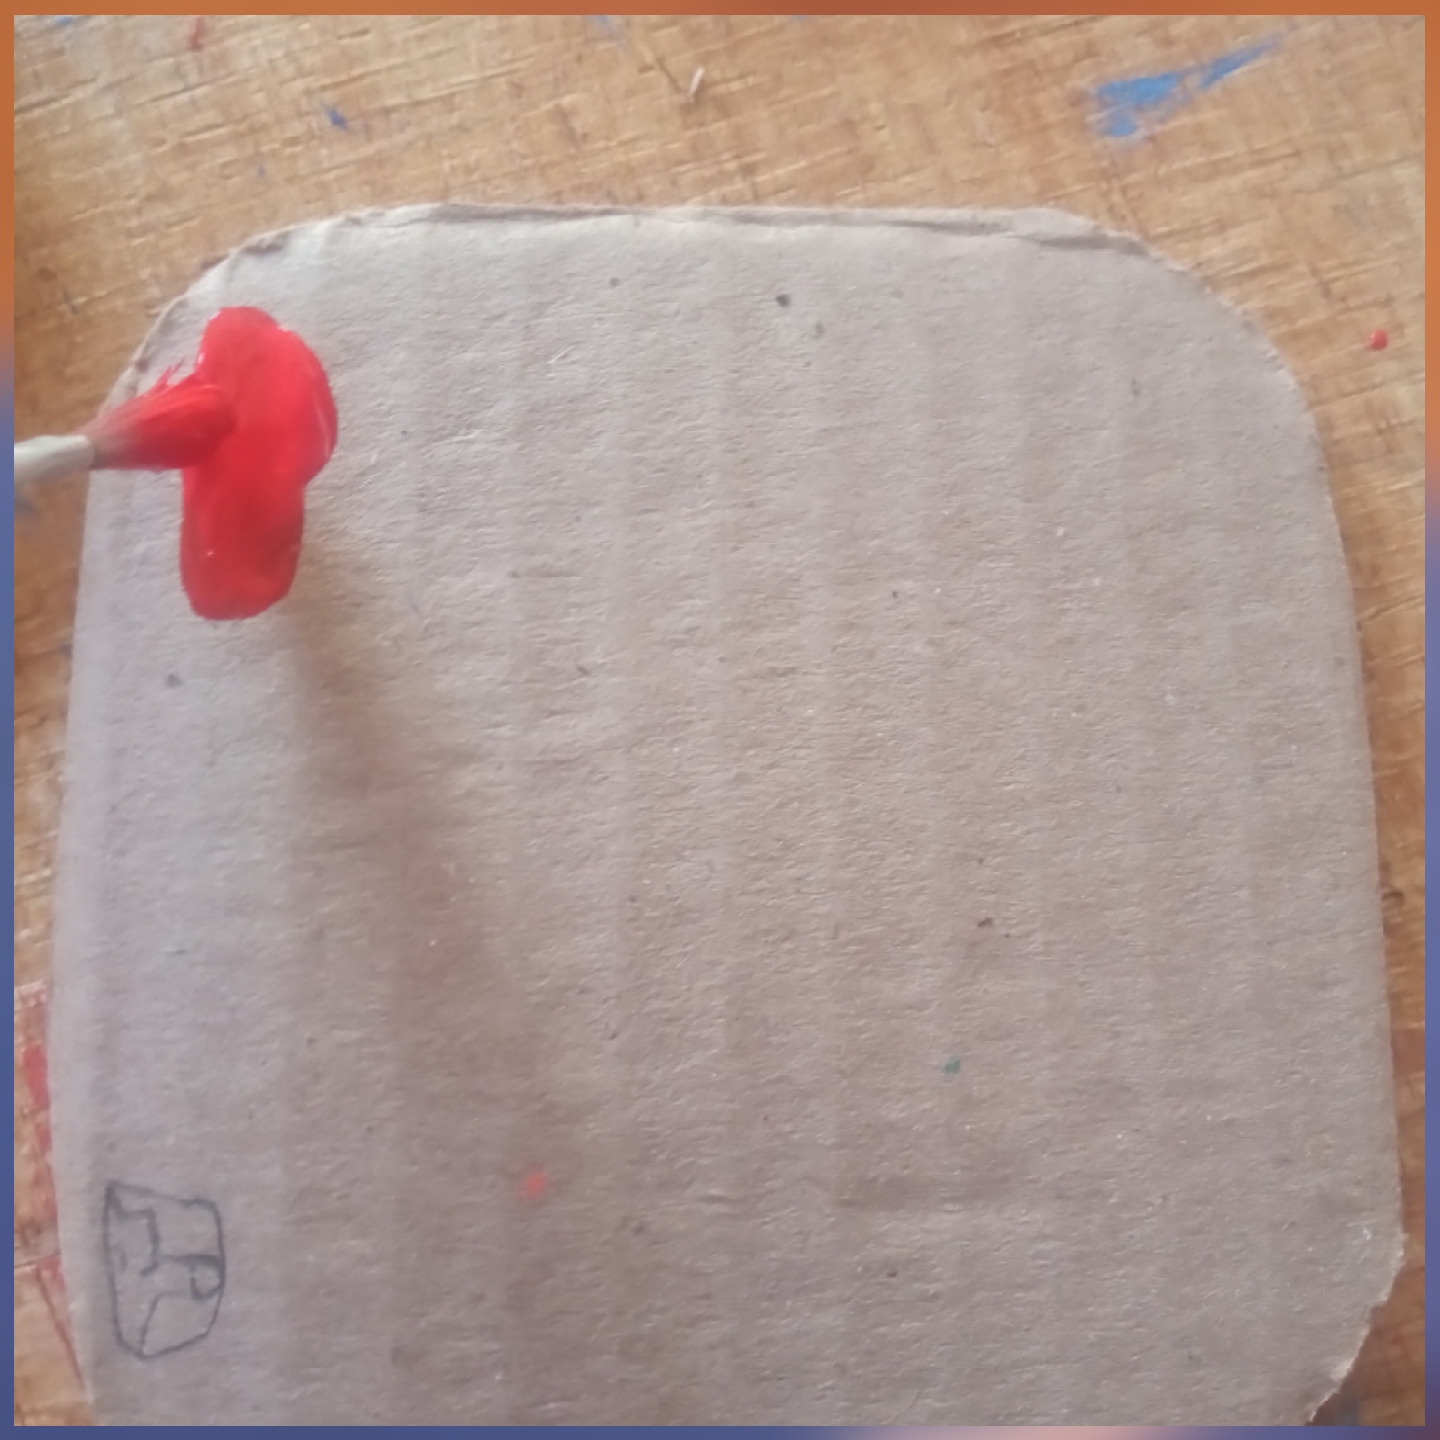
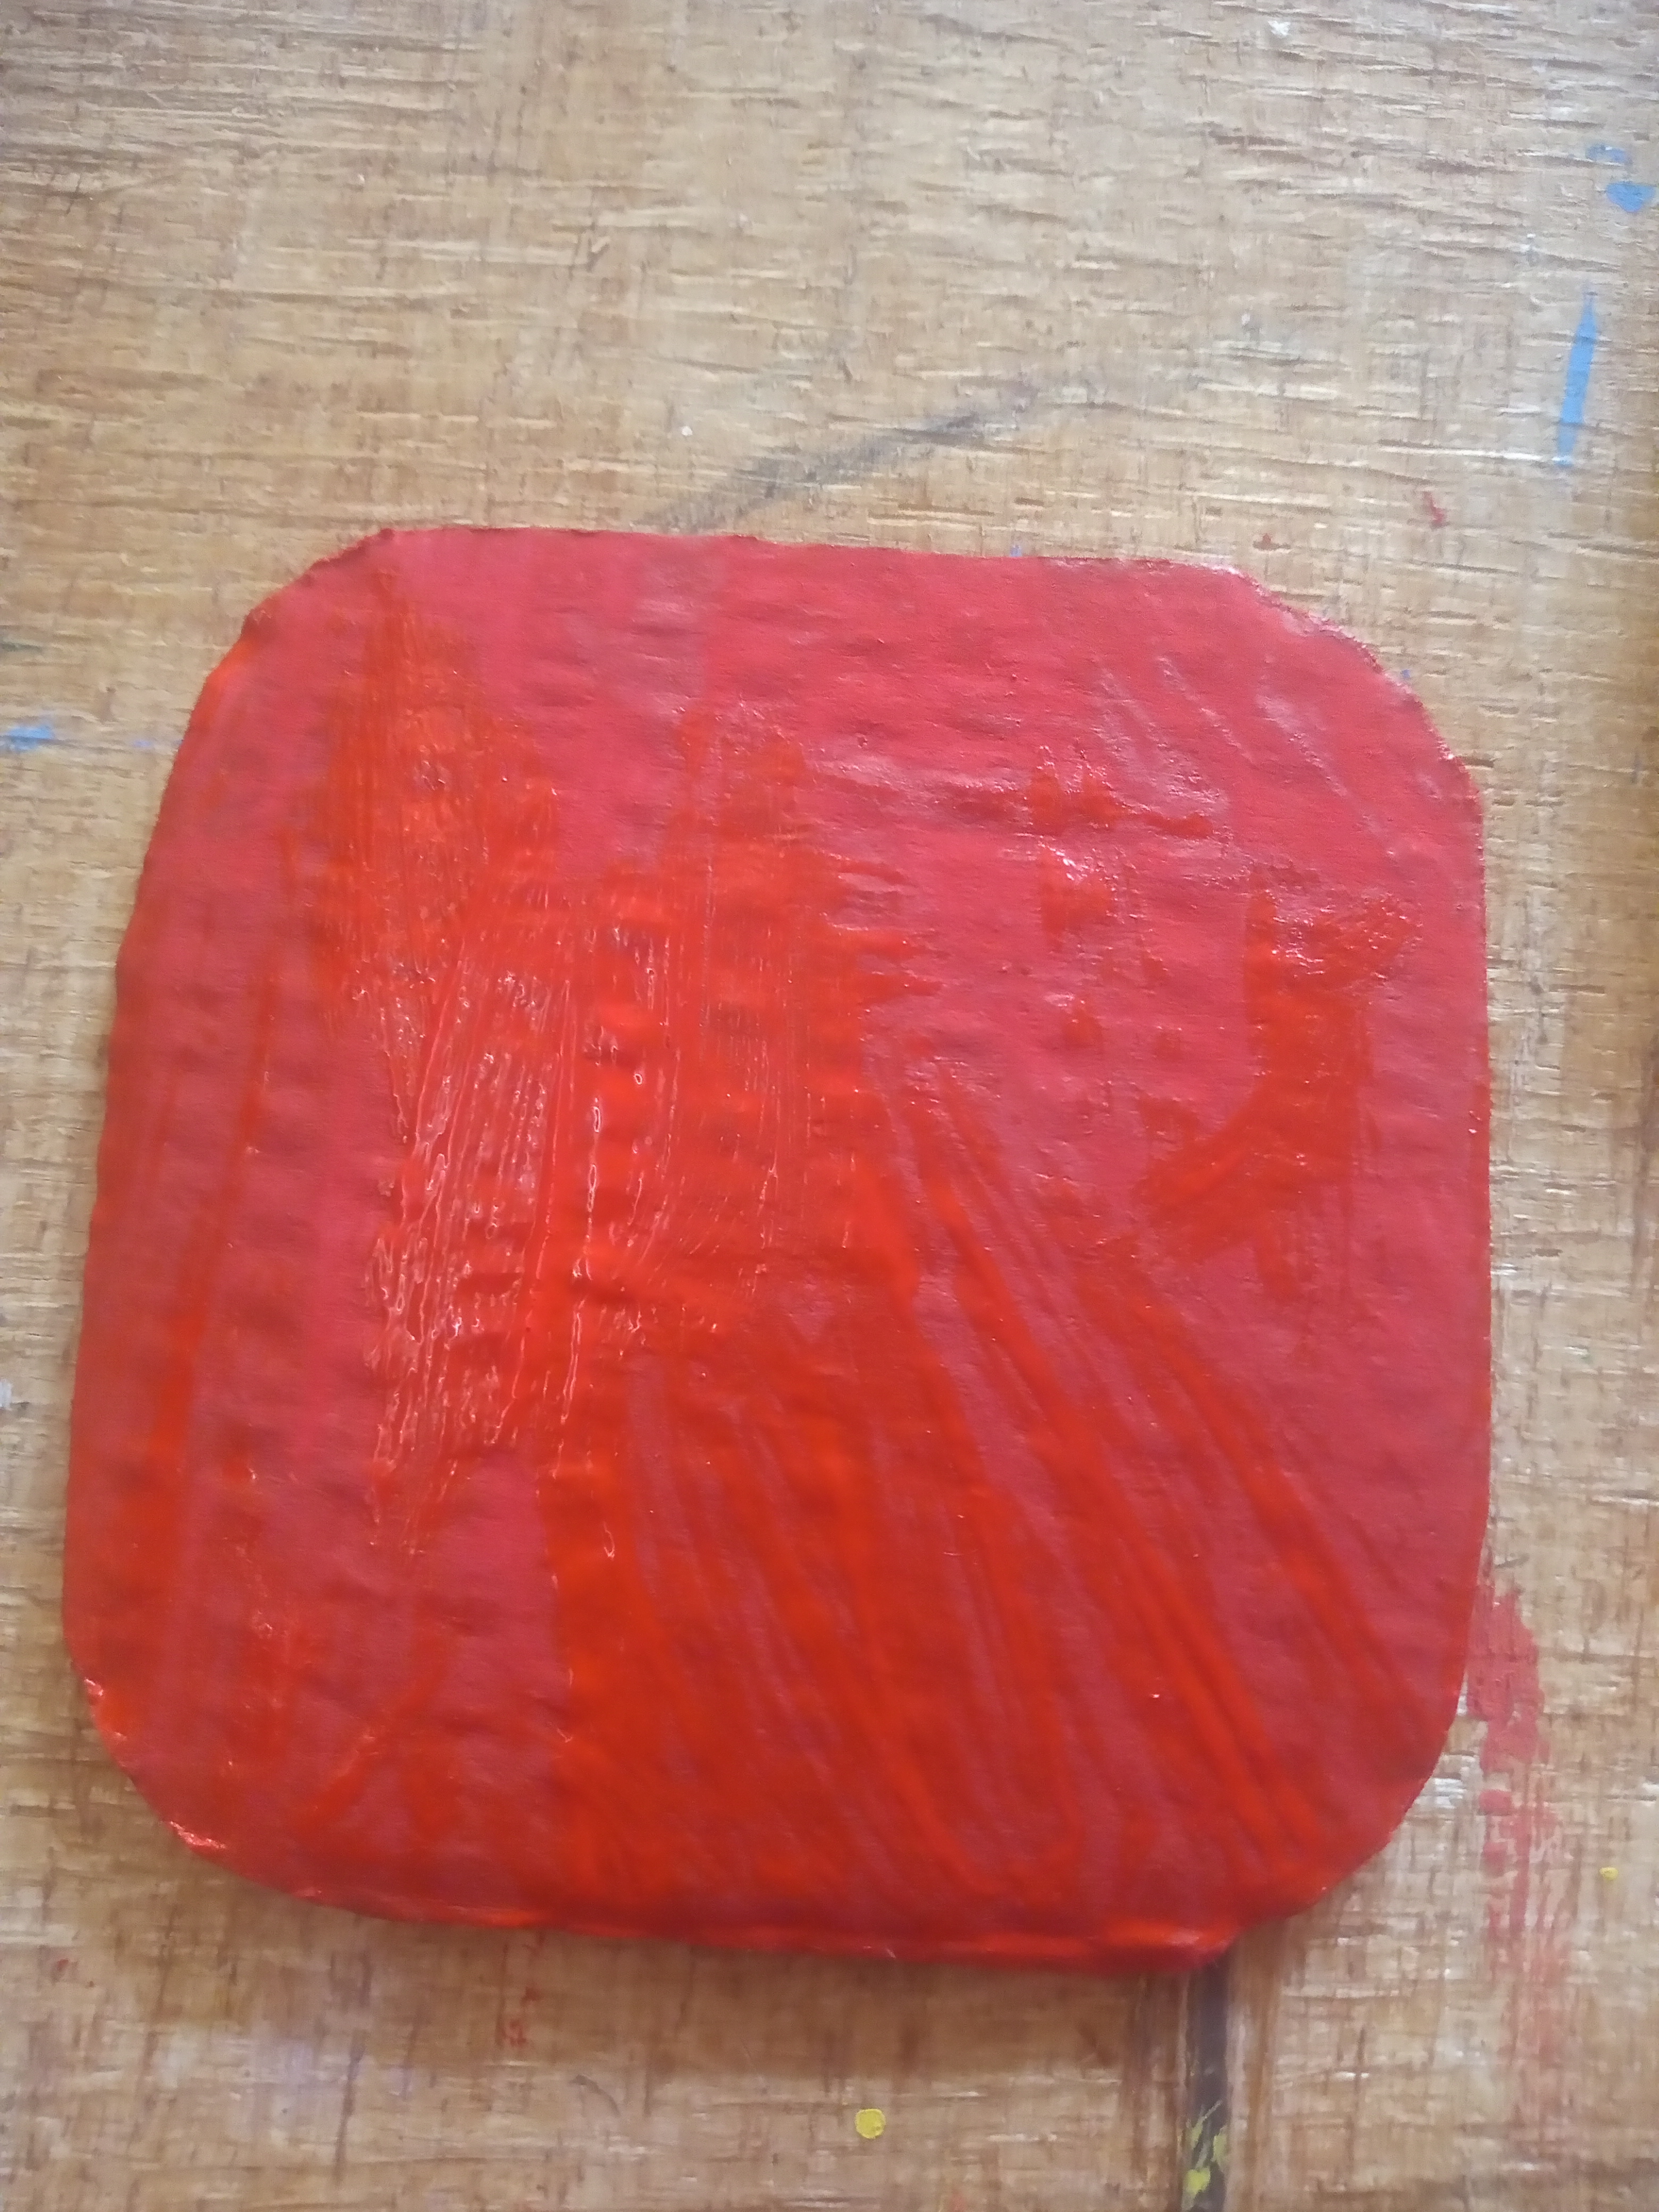
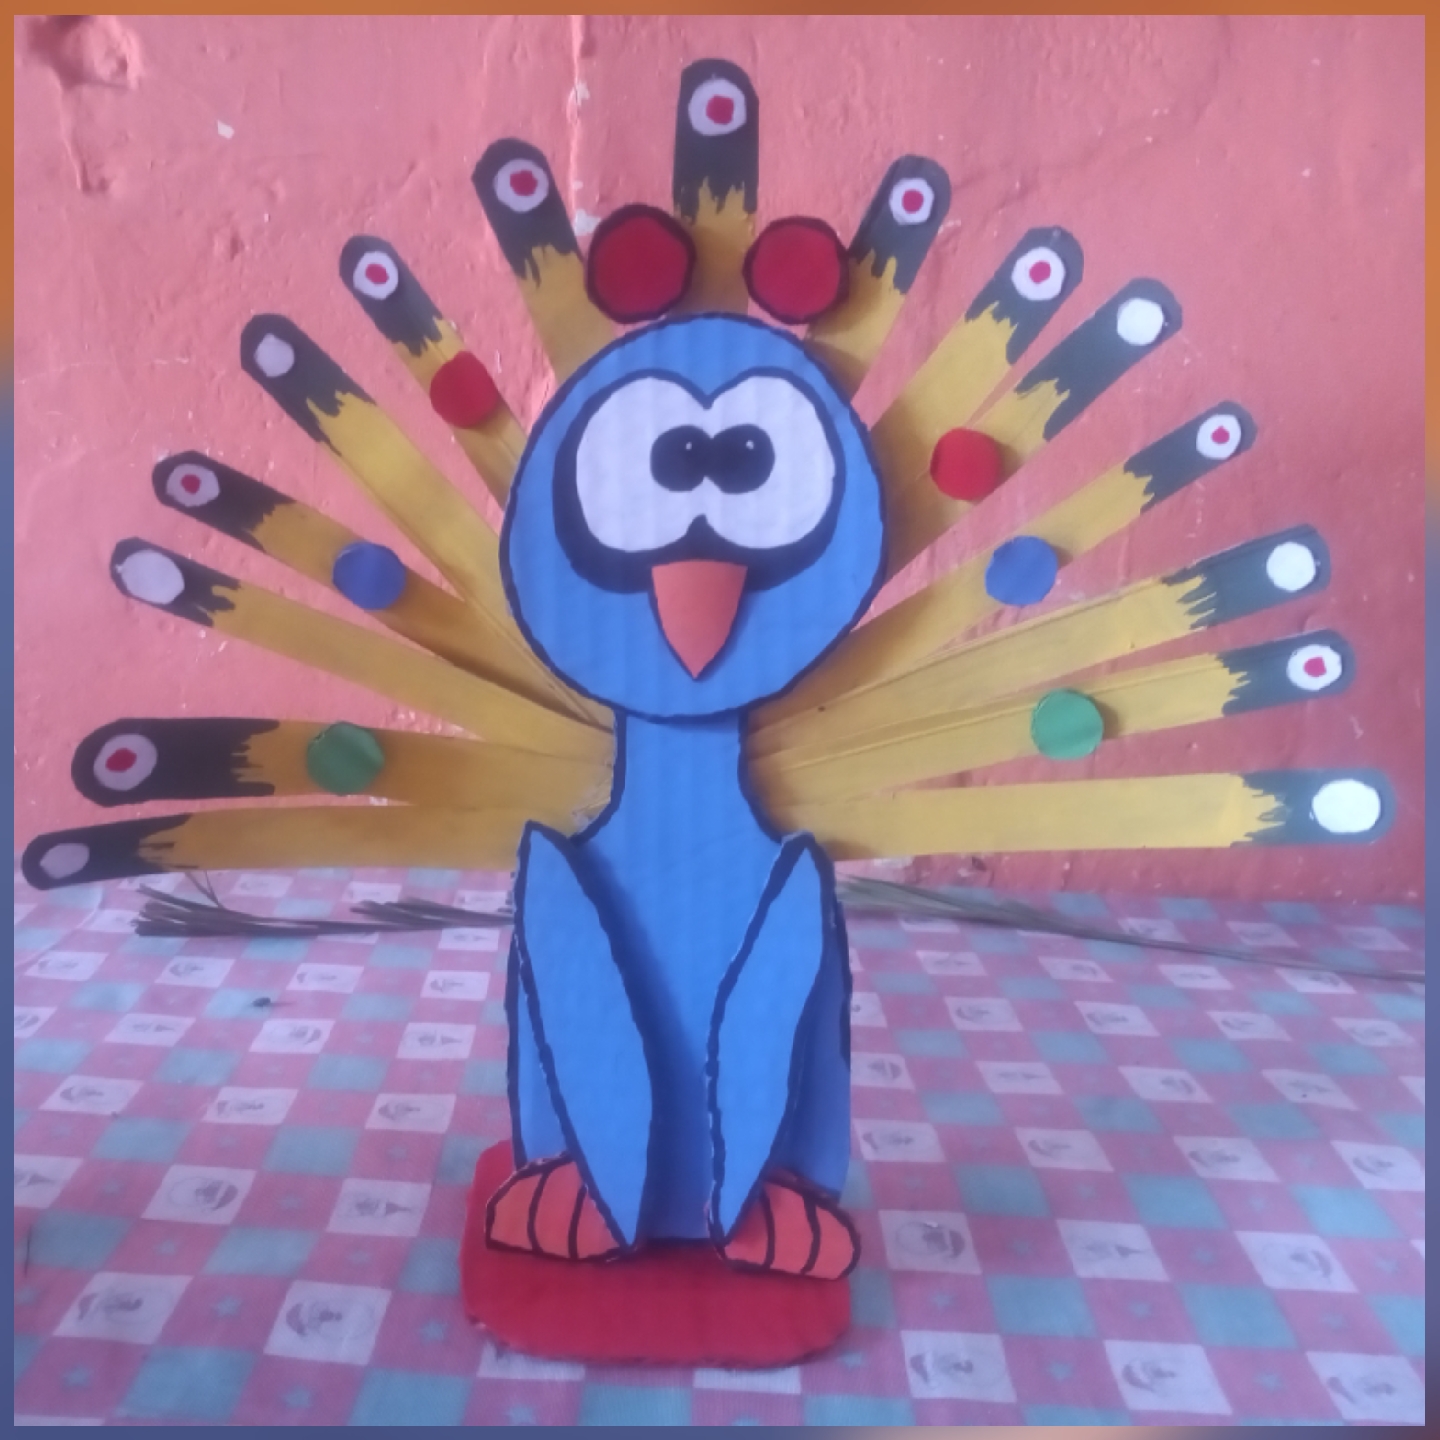
Finalmente cortamos un cuadrado y lo pintamos con rojo paja para fijar nuestro pavo real y terminar este paso a paso.
Finally we cut a square and paint it with straw red to fix our peacock and finish this step by step.
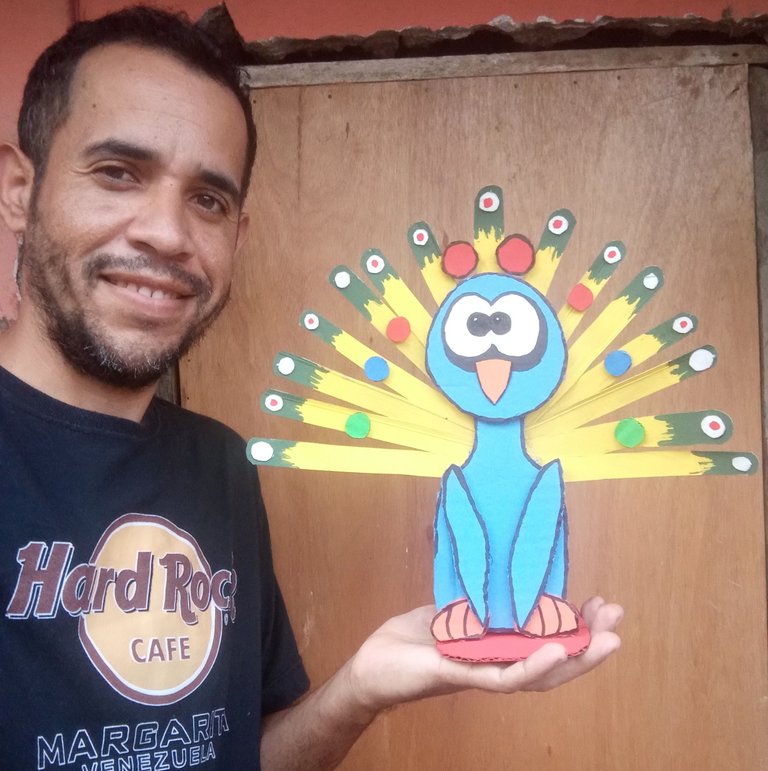
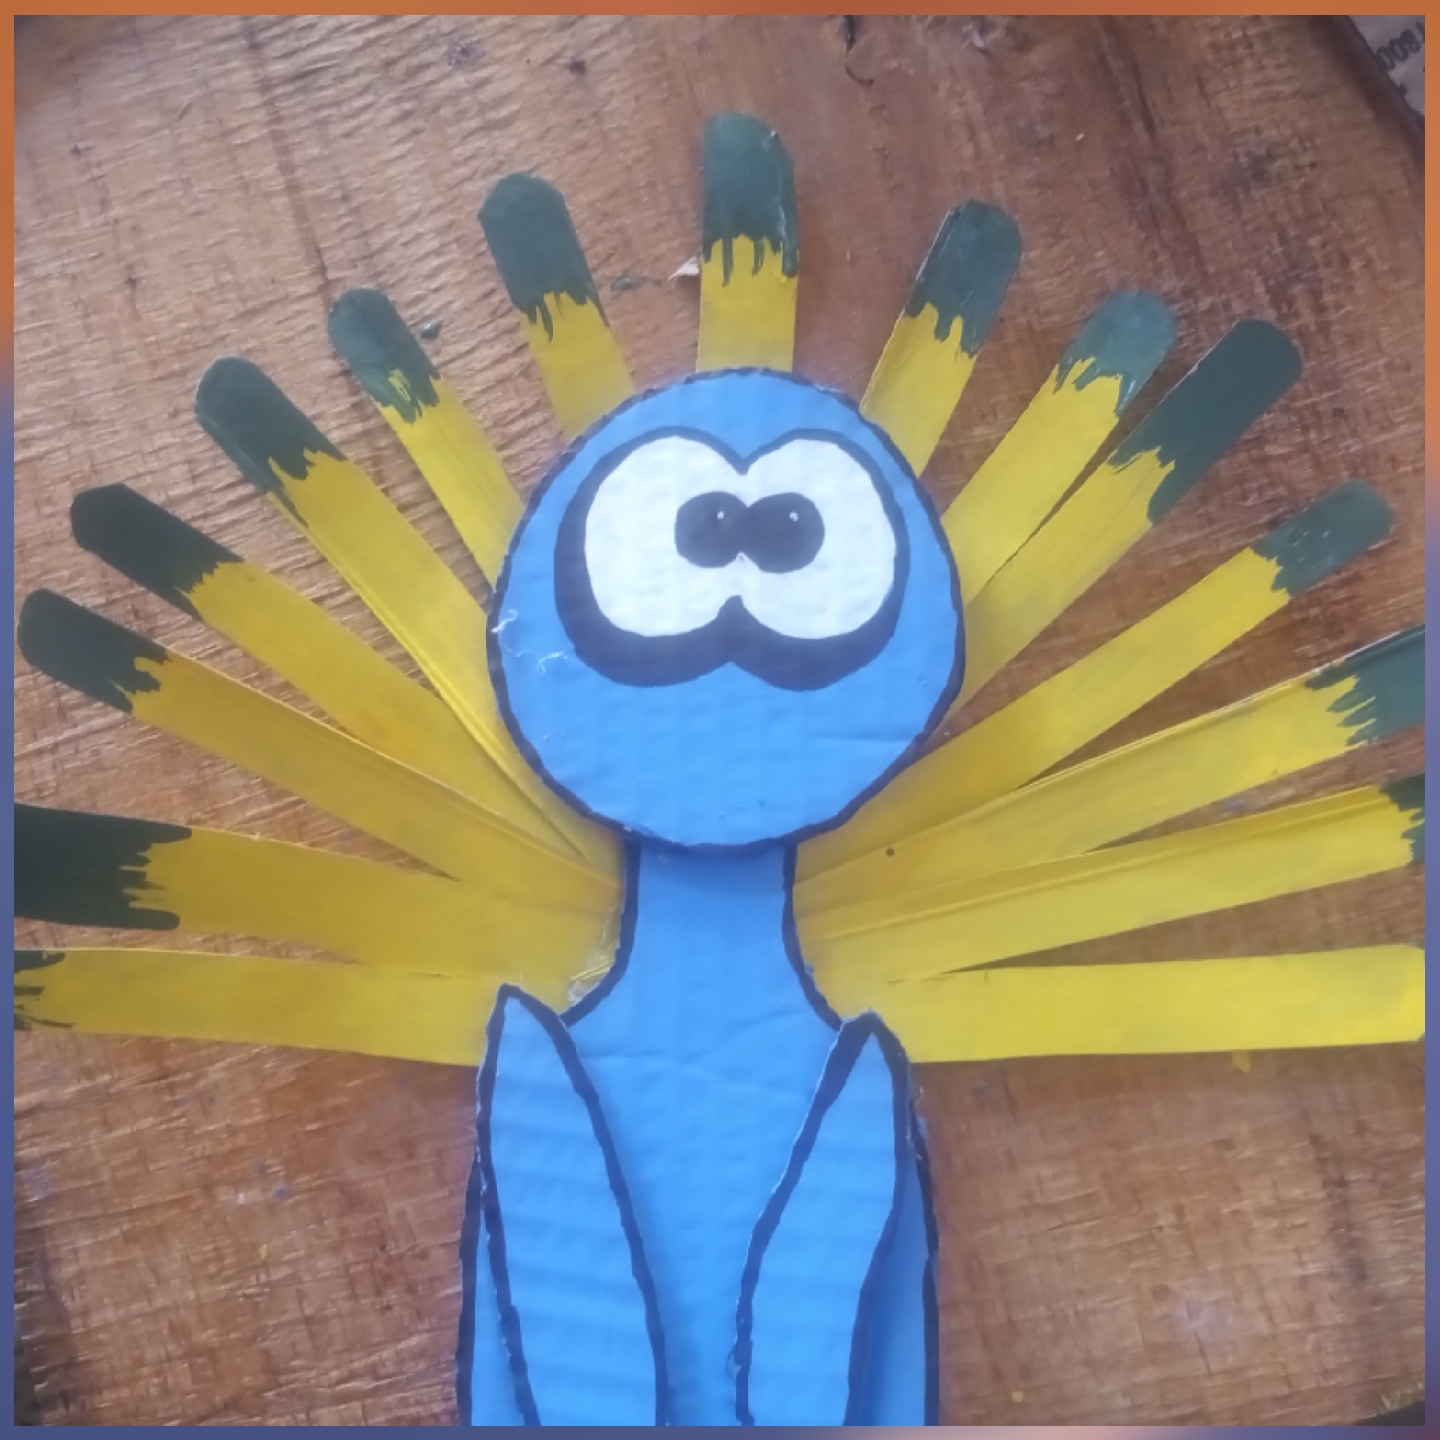
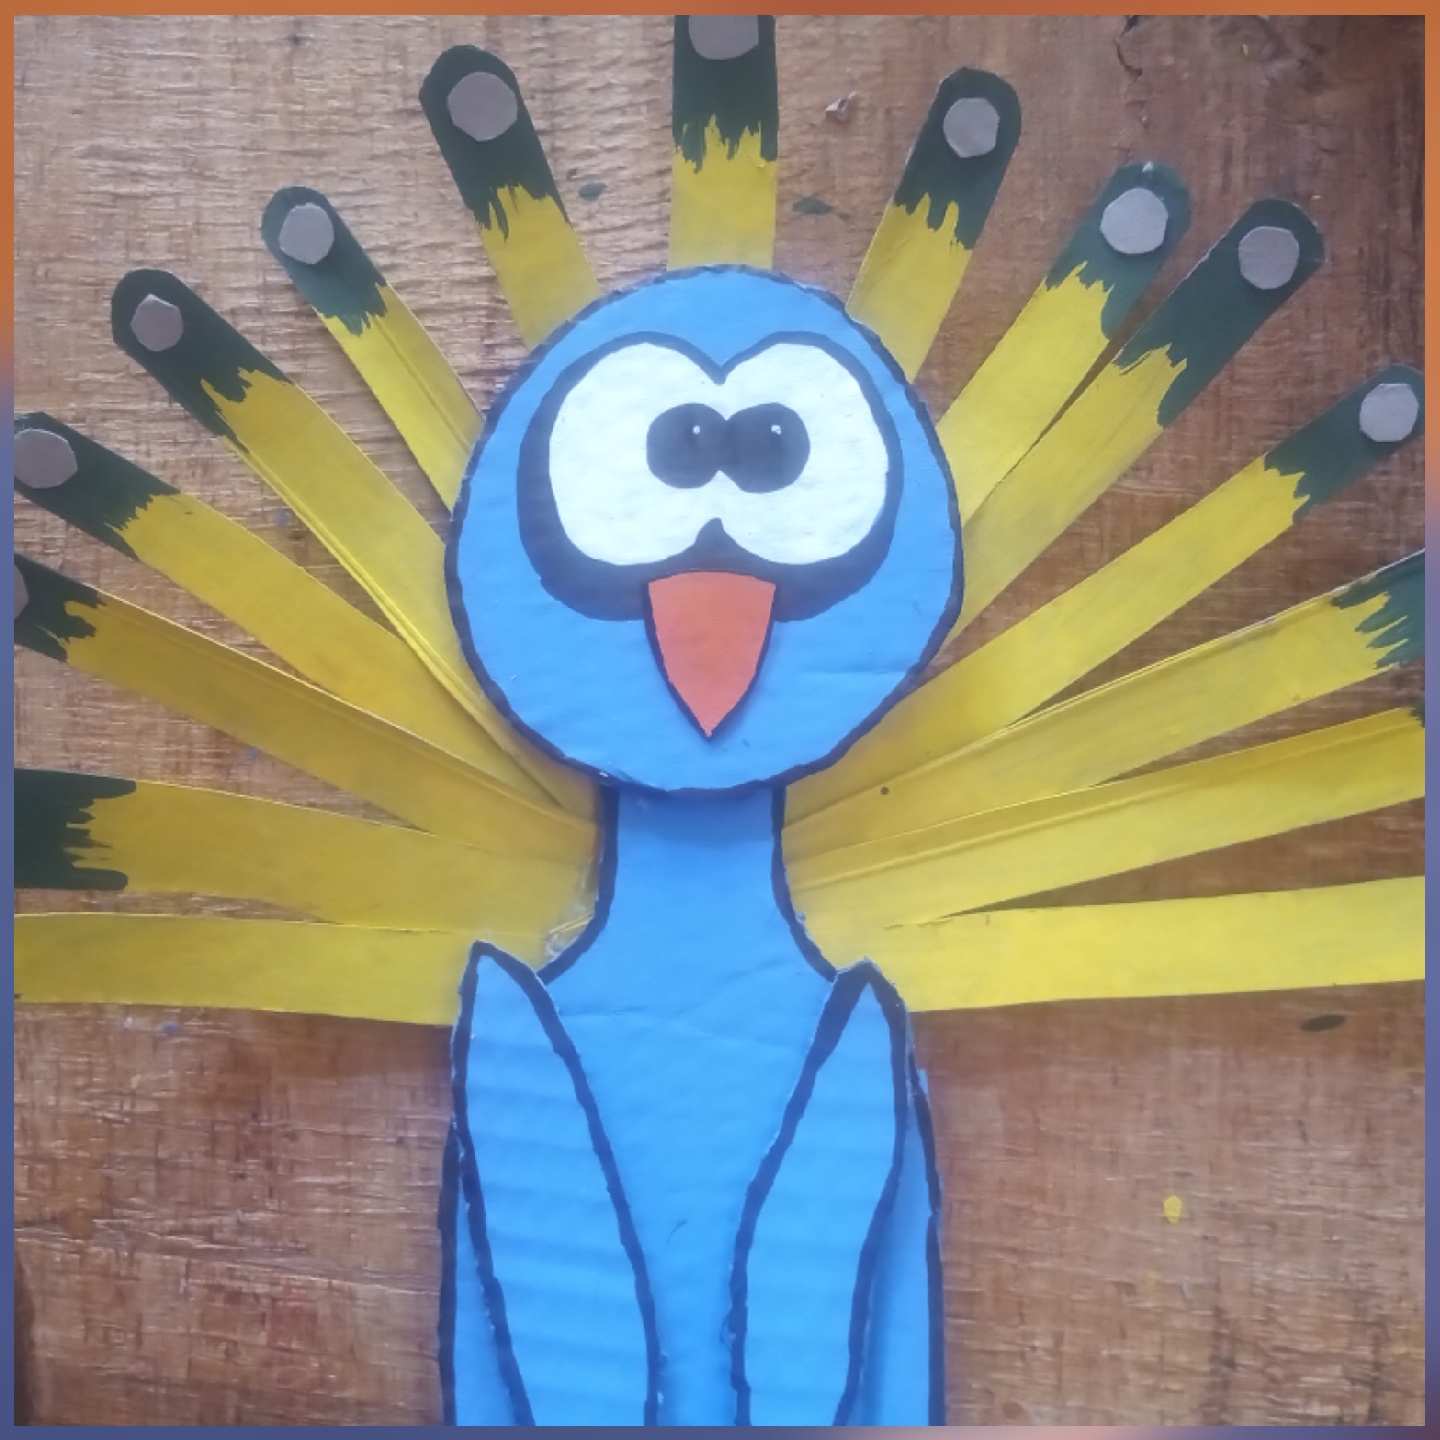
Así de bonito ha quedado nuestro pavo real, espero que les haya gustado. Hasta la próxima, amigos.
This is how beautiful our peacock turned out, I hope you liked it. See you next time, friends.
Una publicación bastante detallada sobre el proceso que llevaste en hacer esta manualidad tan llena de colores y sencilla de hacer para decorar nuestro hogar, se aprecia el buen trabajo que nos compartes.
Lindos colores para el pavo.
Tu post ha sido votado por @celfmagazine, una iniciativa autónoma en favor del contenido de calidad sobre arte y cultura. Apóyanos con tu voto aquí para mantener y mejorar nuestra labor. Únete a nuestra comunidad
Your post has been upvoted by @celfmagazine, an autonomous initiative in favour of quality content on art and culture. Support us with your vote here to maintain and improve our work. Join our community
Aprecio mucho que valores mi trabajo. Todo lo hago de corazón. Mil gracias
Hey @oscarcampos86 mira aquí https://peakd.com/hive-111516/@camiloferrua/vectorizando-el-pavo-real-elaborado-por-oscarcampos86
Gracias amigo ya le dejé mi opinión, me llegó al corazón ver mi pavo real digitalizado, su trabajo no tiene comparación. Me alegro la noche. Que detalle. Mil gracias con toda mi humildad y sinceridad hacia usted. Hoy ha sido un gran día. Gracias
Congratulations, your post has been upvoted by @dsc-r2cornell, which is the curating account for @R2cornell's Discord Community.
Gracias ya soy parte de el. Mil gracias
Congratulations @oscarcampos86! You have completed the following achievement on the Hive blockchain and have been rewarded with new badge(s) :
Your next target is to reach 80 posts.
You can view your badges on your board and compare yourself to others in the Ranking
If you no longer want to receive notifications, reply to this comment with the word
STOPCheck out the last post from @hivebuzz:
Support the HiveBuzz project. Vote for our proposal!
Congratulations, your post has been upvoted by @dsc-r2cornell, which is the curating account for @R2cornell's Discord Community.
Nuestras coordenadas: