If you've been here before, you know I ramble a bit. If this is your first time visiting, welcome! If you just want the facts, skip ahead to after the first picture. If you like reading all the background stuff, well, I suppose you probably don't need to be to told to continue reading.
I'll start with a disclaimer (the excuses): I'm tired right now. The four of you who seem to read these posts will remember that I 'buzzed' a couple days ago regarding a small disaster during some testing. Long story short, what I thought was a good sturdy clay mix was actually just frozen, like a clay ice cream. After a bunch of this mix heated up during a test in which I was blowing the warm air into the house, it collapsed and left a big hole under one of the walls of my heat exchange room. This hole sucked a bunch of smoke and stinky steam (from wet, heated clay and ash mix) from the firebox and hopper right into the house. This had me airing out the house until a little after midnight, while it was around 20°F outside.
All that excitement had me up way past my bedtime, and I've still been trying to plug away at this build because I REALLY want that extra heat before the nights start hitting single digits. So like I said, I'm tired. I didn't want this post to have to wait until Sunday, though, so I'm putting my back into it and slugging this thing out tonight, even though it's already taken me almost an hour to get this far.
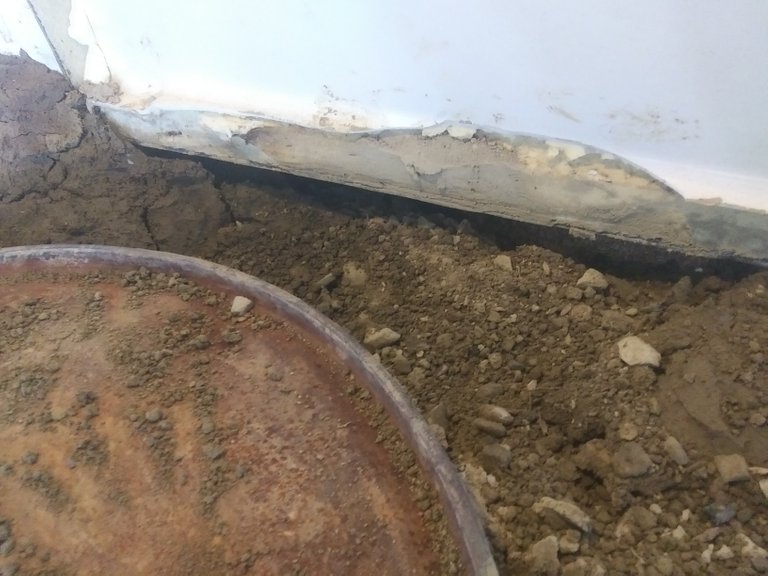
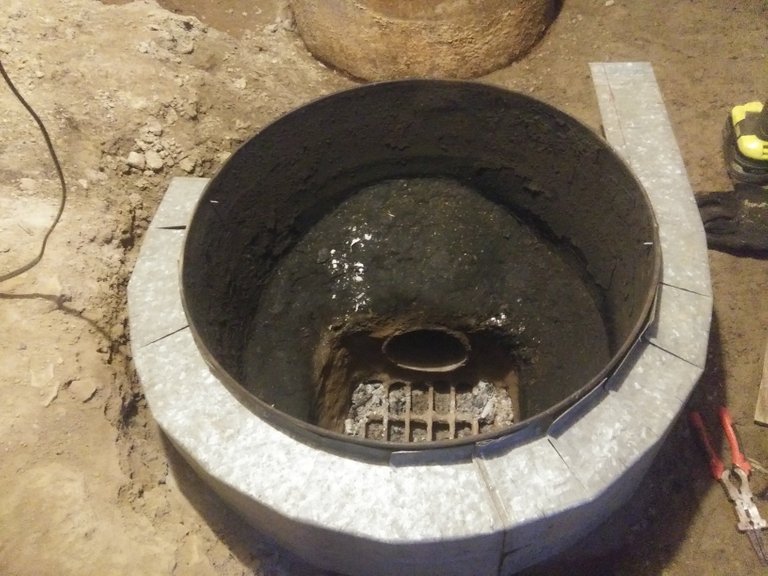
That little gap you see is what caused my main problem. Some smoke still leaks around this lid, and sometimes from around my front access. The hot air rising rapidly out of the heat exchange room creates a lot of suction in this little gap, and when I ran out to see what was going on, all of that smoke was curling around the top and going straight in here.
Enough of all that for now, though, because it's jumping ahead a bit in our sequence; we'll get to that in time. Until that time, let's continue with the build, which is really the beginning of this story anyway.
To get all the heat from my unique rocket stove build into the house, I need to build air passages around both barrels that channel air into the basement window. Eventually I want to hook this whole thing right into the ducts from the old forced air furnace. Since I need to be able to open the top of my hopper, I need to build an air space that wraps around just the outside of that piece. Fortunately, I have a lot of the old intake duct that I've been wanting to pull from the basement that will work perfectly. Most of today's post will focus on building and installing this, with a minimum of tools. I recommend a full face mask with air filters (like the kind I'm wearing here for doing this kind of demolition work, these things are always dusty and nasty.
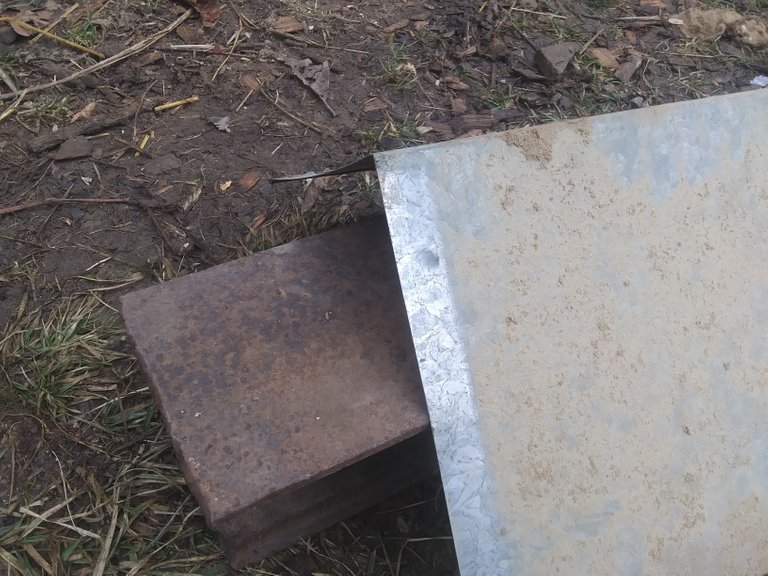
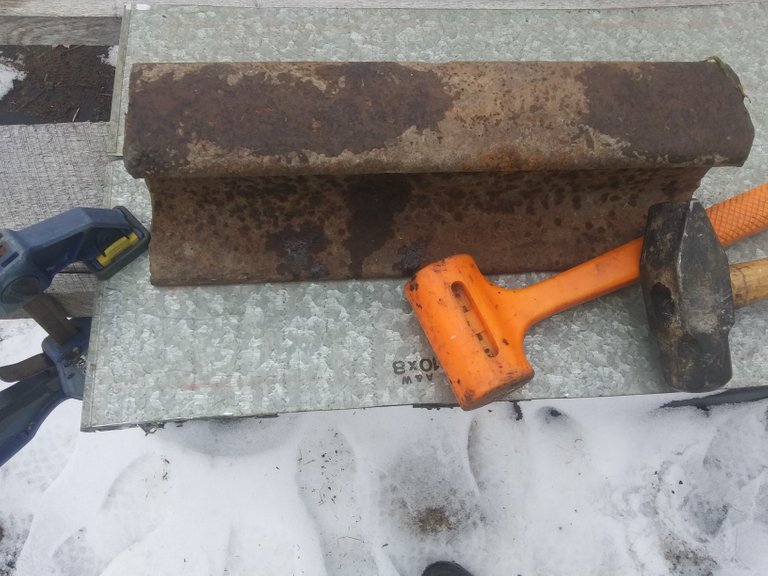
Rectangular ductwork like this will separate into two halves, each with a 90° bend in it. The current bend is in the wrong place for my use, so I'll need to bend it flat. To do this, I lay it over a piece of railroad tie (future anvil build) like a 'roof', and hammer down into the bend. You can do this by laying it right on the ground, but I've found it is much easier if you have something like the railroad tie or a 4"x4" board to lay it on. Always start with the 'peak' facing up, and hit the peak down until the sheet has mostly flattened out. Working the bend in small increments, from one end to the other, will help to get things flattened out evenly.
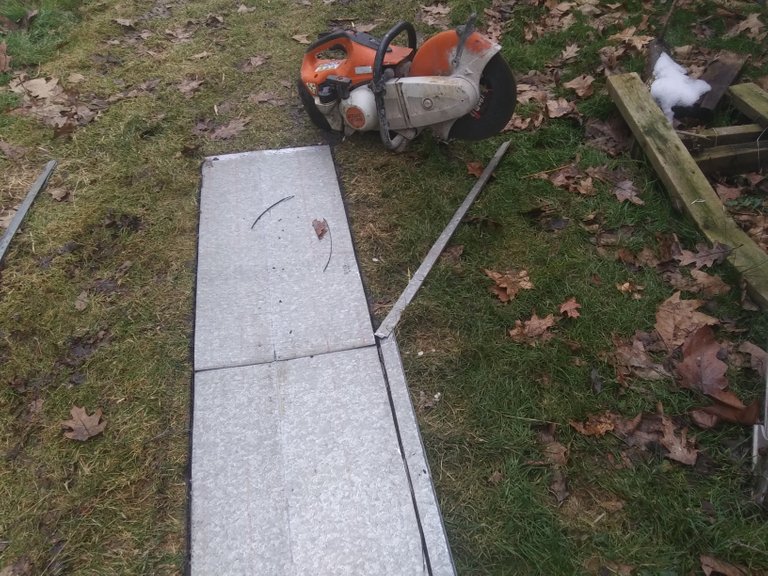
I was fortunate enough to acquire this demolition saw through local online sales a few years ago, which saved me a huge amount of time cutting the flatted sheet to size. The metal is folded over on either edge where it locks into place with the other half, so I made sure to cut these off of each side, to make some of my future bending easier.
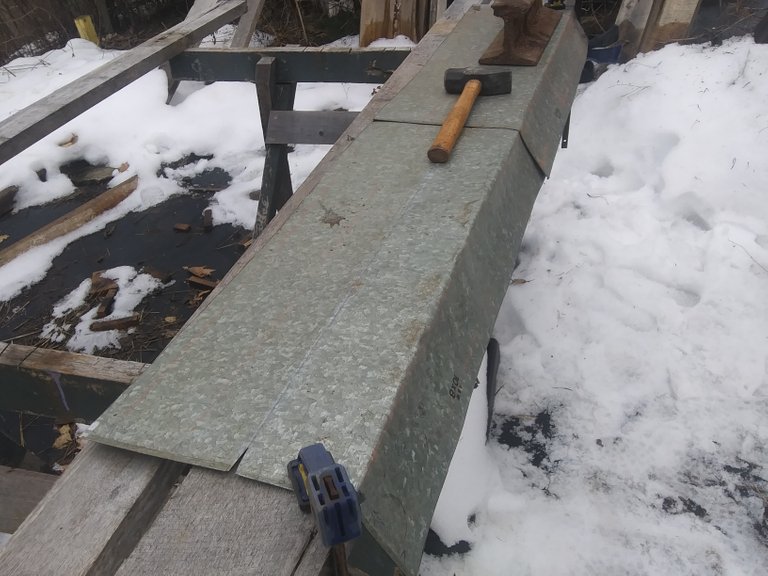
I don't have a press for bending sheet metal, so I need to improvise. You can't really see my chalk lines in the picture, but this metal is marked for four bends. My first bend is lined up at the edge of this 2"x6" board, which I've clamped the metal to. The railroad tie sitting on top is just a weight to help keep the metal from jumping when I hit it, which makes this go a lot faster. Just like hammering out the original bend that was in the metal, to put this bend in I work back and forth, hitting it down just a little at a time.
Once the edge is folded over, hammer the bend right into the edge of the 2"x6" so it produces a nice seam. If you find the metal is bouncing around too much, use more clamps and weight as necessary.
Once the seam is hammered in, it's usually easier to straighten up everything by hand. I put some final touches on the seams using my railroad tie on the inside of the bend and hammering against it.
A little off topic, but I use an old countertop for one of my workbenches, and it doubles as a great sketch pad. Here is my 'beautiful minds' circle math for figuring out how much I would need to cut out of my edges to bend my new channel around the hopper barrel. I couldn't explain it now, but it ended up working out well enough on the first try!
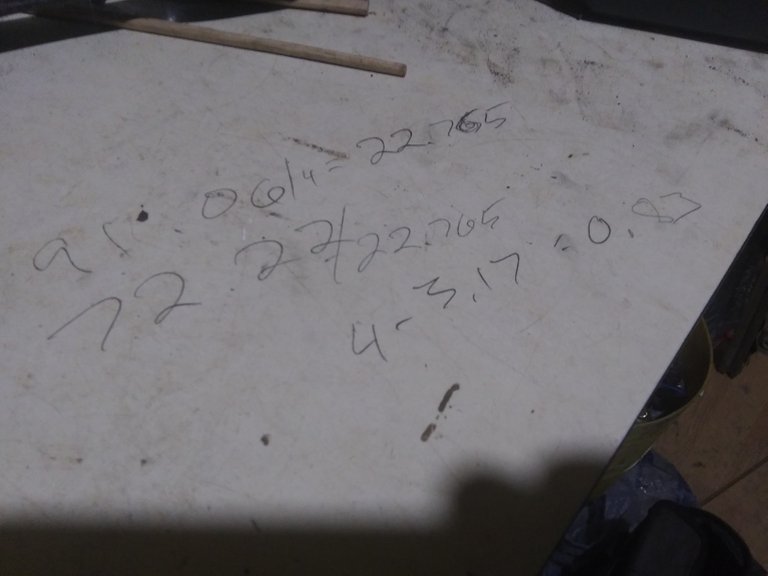
Here's how all that scribble translated on to my ductwork. What I do remember is that the solution, .83", is how much I need to cut out of each bend from what will be the inside.
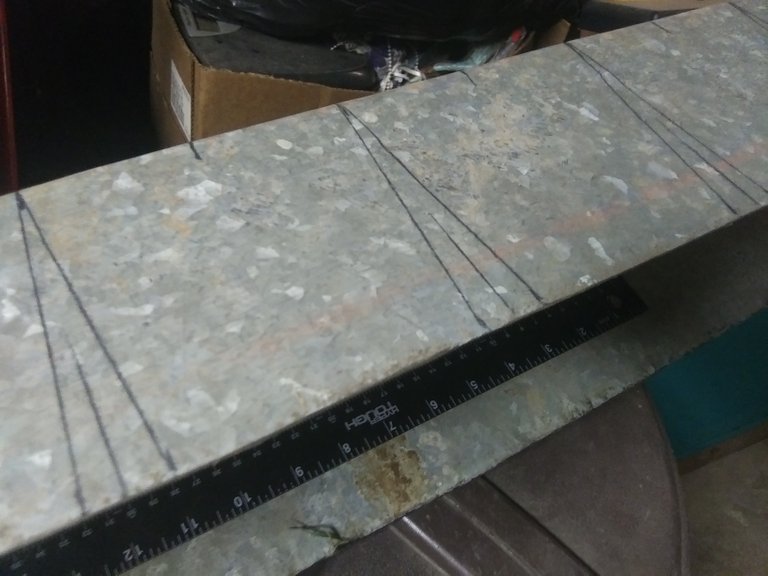
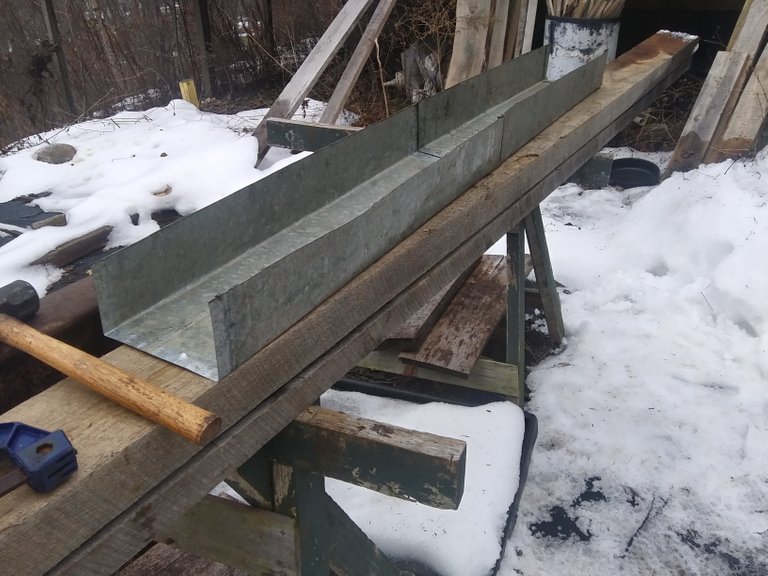
90 minutes of tin-snipping and plier-bending later, this sweet piece of fabrication is ready to be taken out for a fitting!
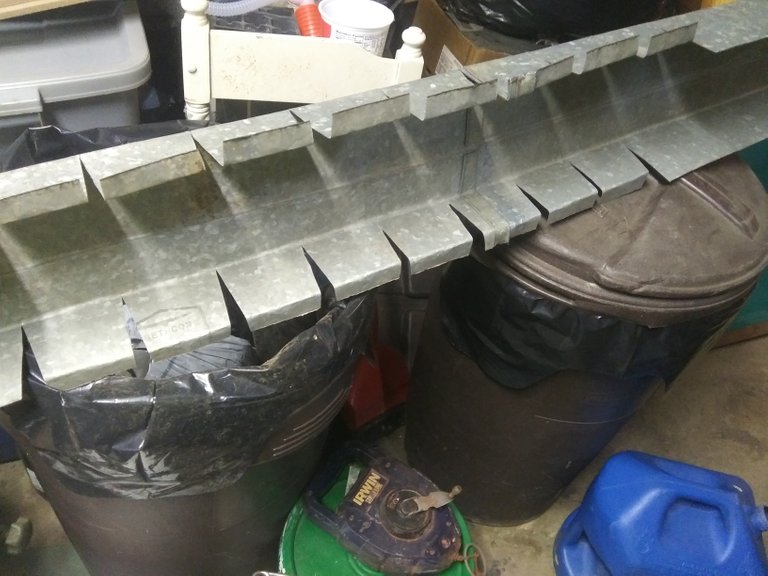
It needed a few more notches cut out, and some extra bending around the ends, and I felt pretty confident about fastening this contraption in place.
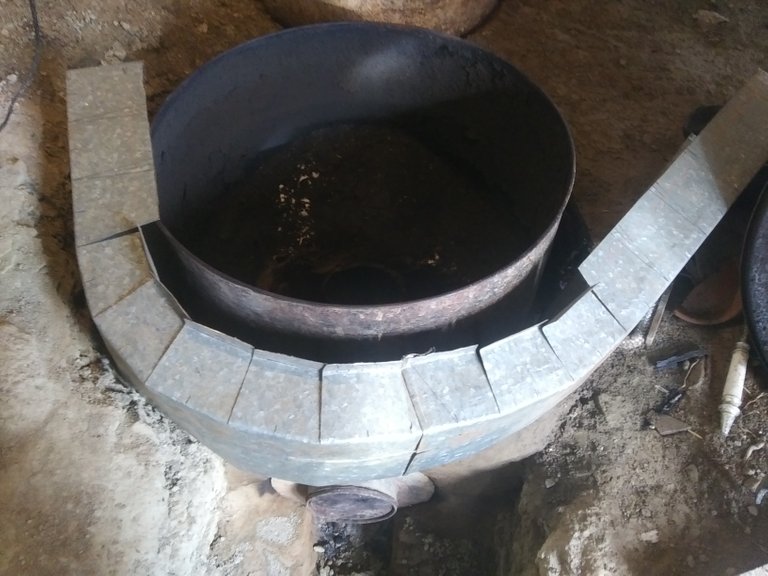
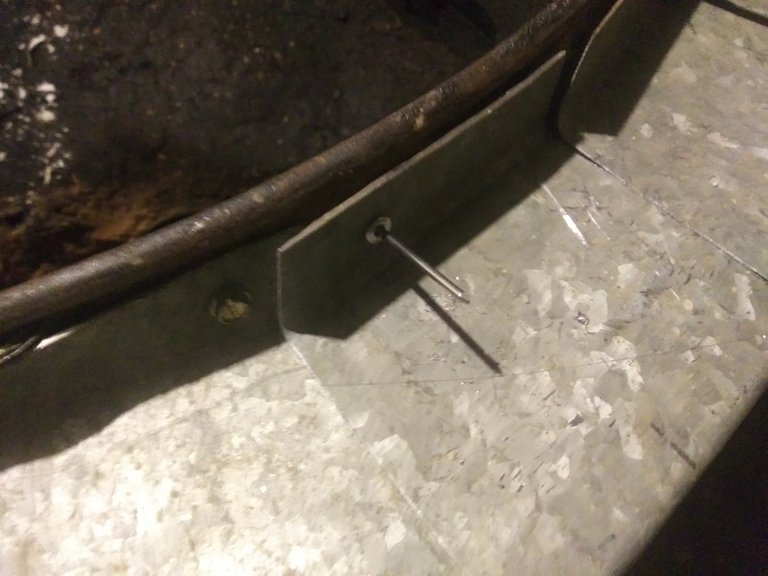
I initially held it in place with a few screws, then went around and tightened everything up with rivets. The rivets took a little extra time, but didn't leave big pointy ends sticking into the hopper. I want to avoid having things in the hopper that wood might get hung up on.
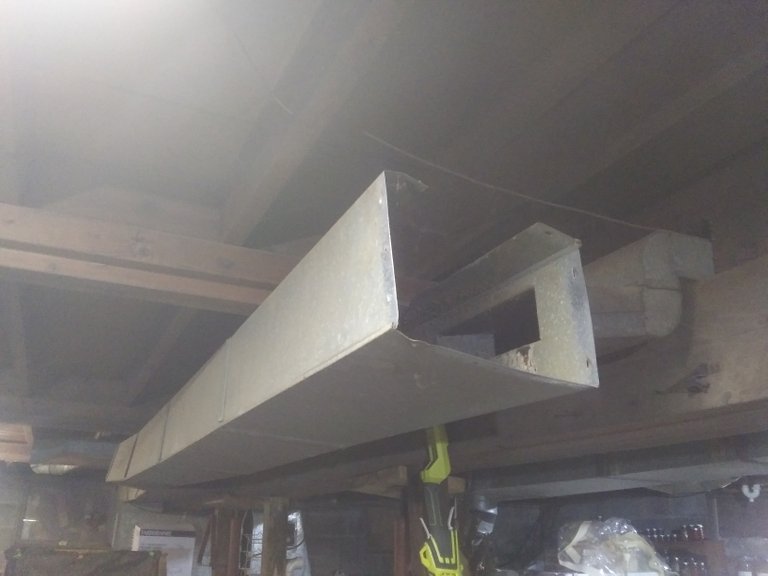
When the forced air is hooked into this, cold air will be blown in on the left side and of the right side, into the room around the larger 'bell' or heat exchanger. The heated air from that room will then be blown into the heating ducts, but for now is just blown in the basement window. This whole part isn't absolutely necessary, but I found that over continued use the hopper becomes quite warm, so I added this on both to capture that heat and to lower the chance of me (or the dog) burning myself on the hopper.
I'm afraid if I go any farther now, this post will hit 2000 words in a hurry, and I already feel like I'm hurrying through this. If you have any questions, please ask in the comments. I'll eventually post some more detail about bending sheet metal without the 'proper' tools, and using rivets. I'll put those posts up faster if there's requests.
My apologies if this a bit less entertaining that I usually try to be, or poorly edited. This has already taken 2 hours more than it should have, and I'm starting to doze through the proofreading, so I think it's about time to send this one out the ether, ready or not. Don't hold back on the criticism for my errors, I can take it. Until then, I hope you found this useful, and I hope you've been getting more sleep than I have!
thanks for showing how you made the bend, it looks really good around your stove!