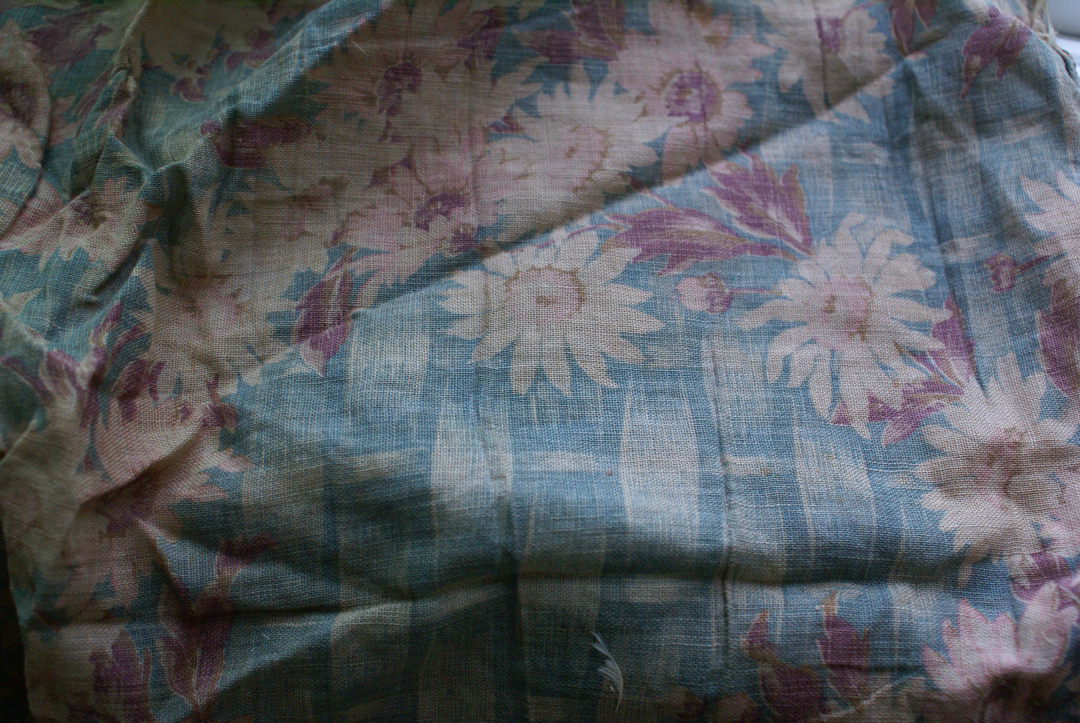
When I was growing up, there was a trunk in our attic. In the trunk, were two ancient pillows. My dad had salvaged the trunk and its contents from a house across the street from the house he grew up in when the owner was moved into a nursing home. Several years later, I decided to dismantle the two pillows, which served as a country estate for dust mites. I had to have the fabric that covered the pillows — of course.
In disassembling the pillows, I found, in addition to feathers from long extinct birds, several layers of once stunning linen. Apparently, Mrs. Armacost had covered — and recovered — and re-recovered — the pillows many times. Being the textile pack rat that I am, I couldn’t bring myself to throw away this stained and faded fabric. So, I washed it — and rewashed it — and re-rewashed it — folded it, and put it in a big bin with it’s younger colleagues.
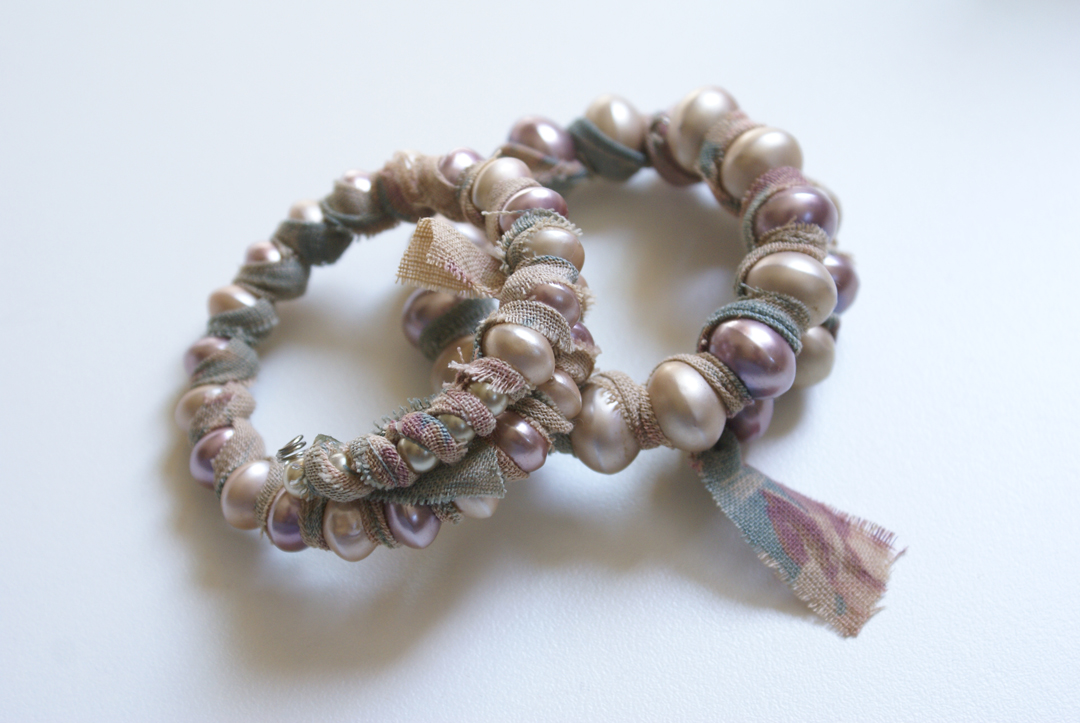
Add several more years and lots of web-creativity voyeurism, and I have found a use for some of my linen.
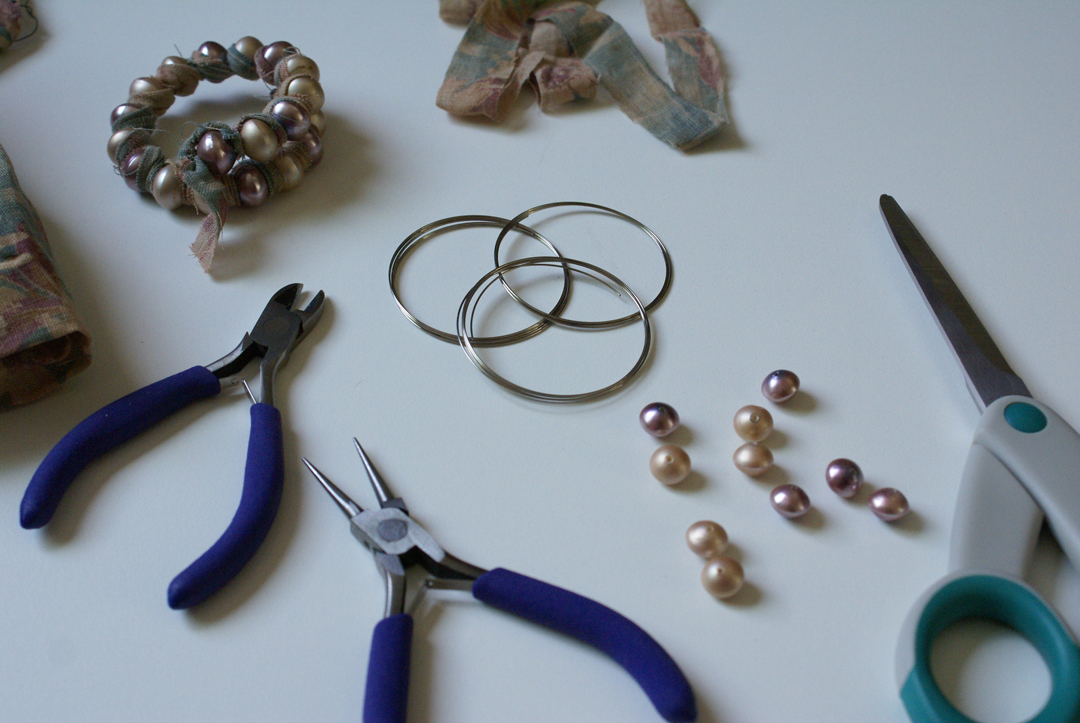
These bracelets can be made with all kinds of base materials: thin bangles, leather cord, wire, waxed cotton, etc.; all kinds of beads; and various fabrics (cotton, jersey knit, etc). For this tutorial, I used:
- Memory wire (bracelet size)
- Old plastic beads from a broken vintage necklace (you’ll need enough to fit the length of memory wire you choose)
- Half-dead linen (or the fabric of your choice — it shouldn’t be too stiff)
Also needed:
- round-nosed pliers (if using memory wire)
- wire cutters
- a needle and small amount of thread (you may or may not need this)
- fabric glue (also optional)
- Fray Check (optional)
1- Cut the desired length of memory wire. I have comically small wrists (just over 6 inches), so I used 1-3/4 rings. You may want to use more if your wrist is larger or if you want the bracelet to wrap around more than one and a half times.
2- Cut a strip of fabric 4 times the length of the memory wire and 3/4″ wide. If your fabric is at all stiff, you may want to go with a narrower width.
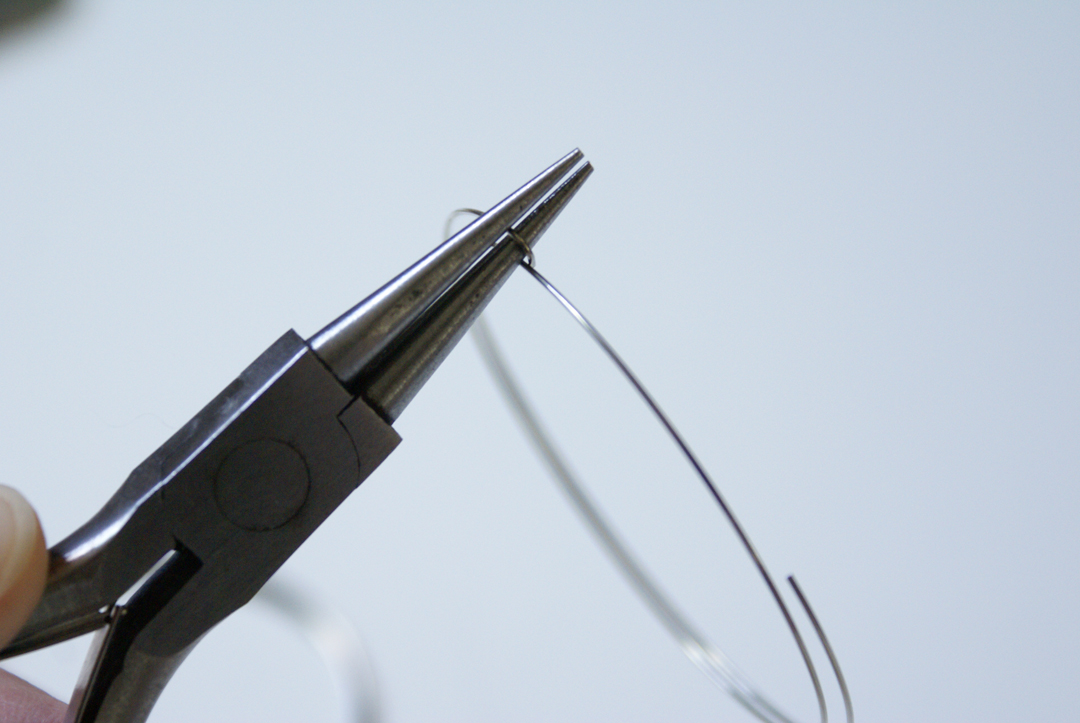
3- Curl one end of the memory wire around the pliers into a closed ring.
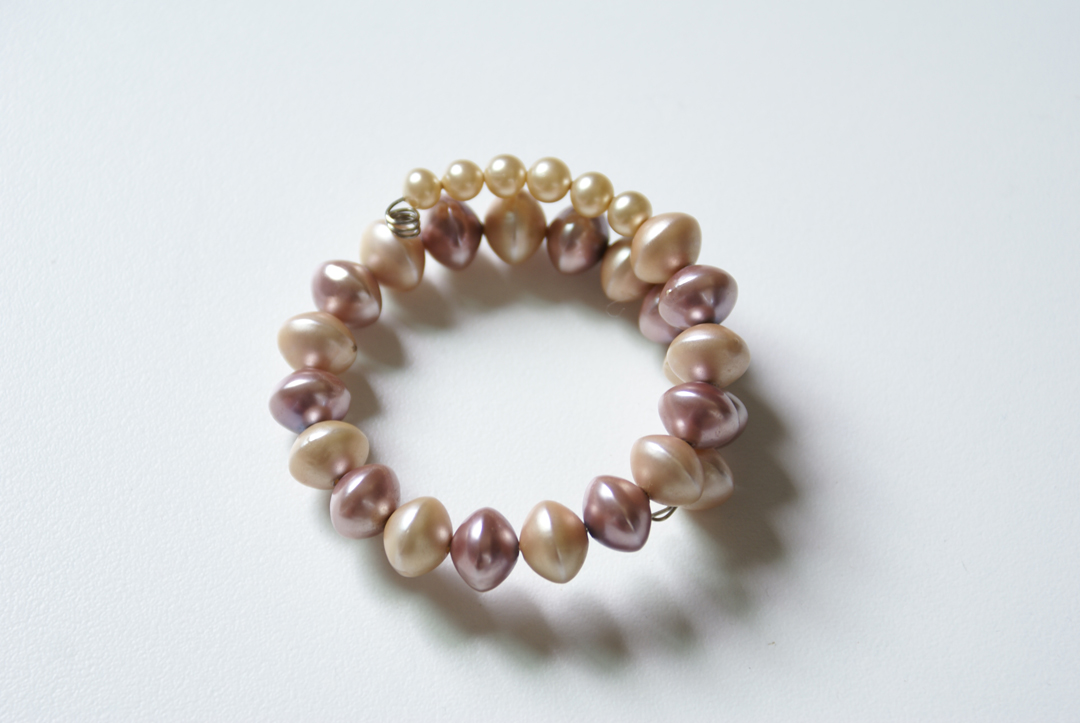
4- Thread all of the beads onto the memory wire, leaving enough wire at the end to form another ring.
5- Curl the end of the of the memory wire around the pliers into a closed ring.
6- Tie one end of your fabric strip between the first two beads (starting from either end).
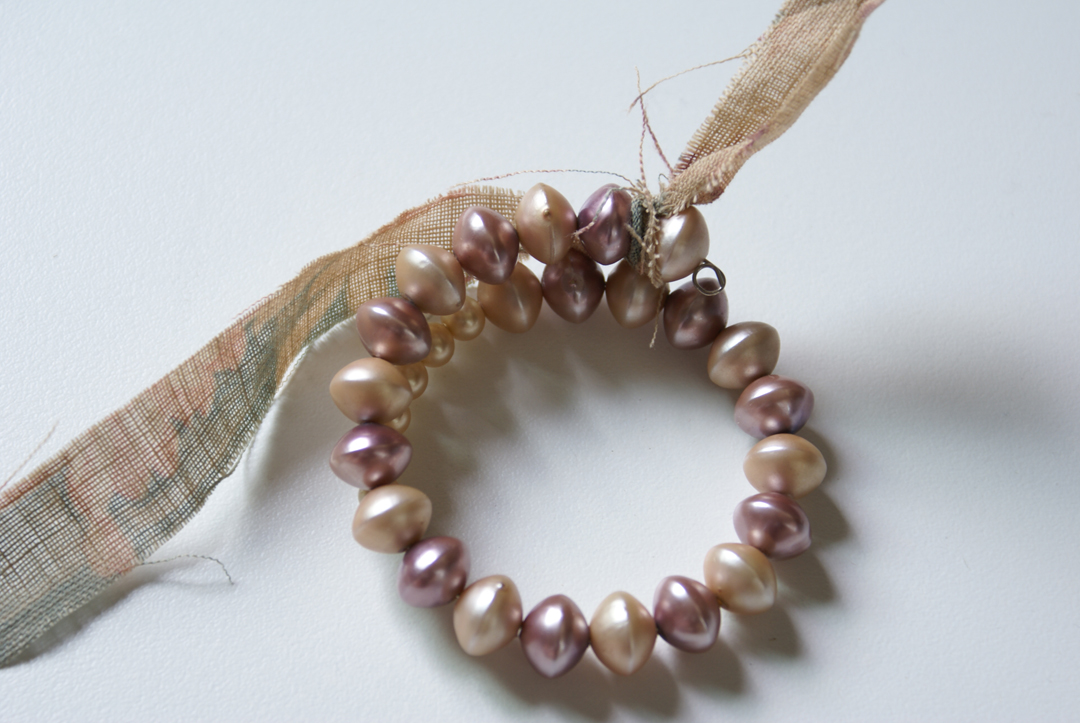
7- Holding the fabric knot firmly in place, wrap long tail of fabric around the space between each bead.
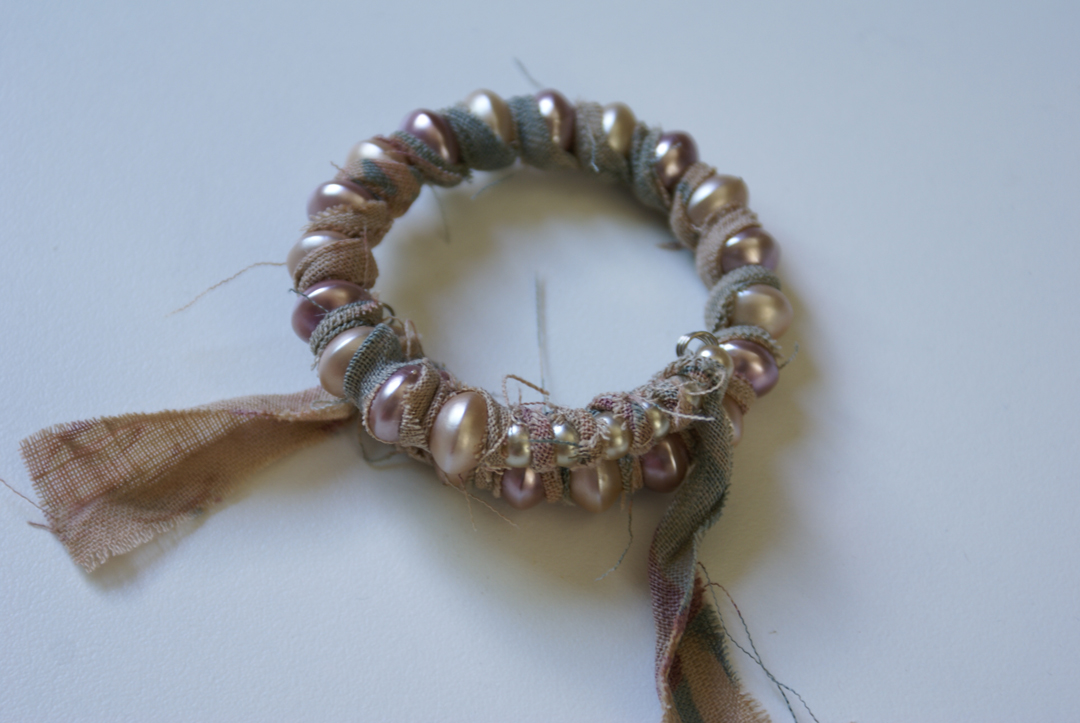
8- Carefully knot the fabric between the last two beads.
9- If you used woven fabric, you will likely have a lot of threads sticking out. Keep them or trim them. It’s up to you. I trimmed mine mainly because the fabric is very delicate and I didn’t want to risk further fraying.
10- As you can see above, I left a little tail of fabric. I put a bit of Fray Check across the bottom edge. You can cut yours shorter, add beads, embroider it — anything you can think of. I also put a couple of small stitches in each knot to secure it. I couldn’t pull too hard on my linen without ripping it.
11- That’s it.
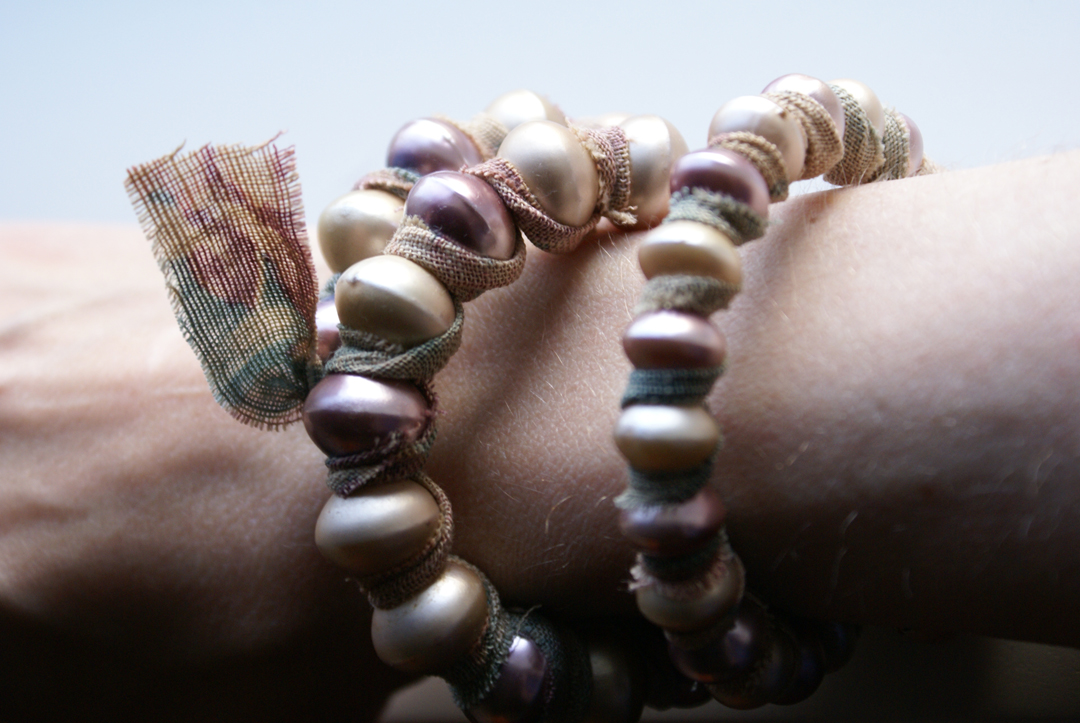
It's antique linen and makes your bracelet aesthetic. I like it. :)
Thank you, I'm glad you liked it, Anggrek 💐
Congratulations @veramen! You have completed the following achievement on the Hive blockchain and have been rewarded with new badge(s) :
Your next target is to reach 80 posts.
You can view your badges on your board and compare yourself to others in the Ranking
If you no longer want to receive notifications, reply to this comment with the word
STOPCheck out the last post from @hivebuzz:
Support the HiveBuzz project. Vote for our proposal!
Thank you ☀️
You're welcome @veramen
Support us back and vote for our witness.
You will get one more badge and bigger upvotes from us when we notify you.
@veramen, thank you for supporting the HiveBuzz project by voting for our witness.
Click on the badge to view your Board of Honor.
Once again, thanks for your support!