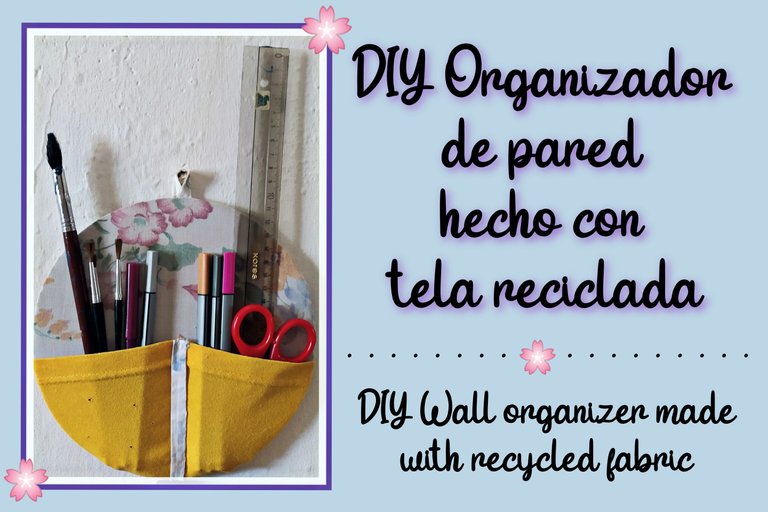
Hola amigos de esta increíble comunidad, espero que hayan tenido un excelente domingo, hoy vengo a compartir con ustedes un mini tutorial de cómo hacer un organizador de pared con materiales de provecho.
Hello friends of this amazing community, I hope you had a great Sunday, today I come to share with you a mini tutorial on how to make a wall organizer with useful materials.
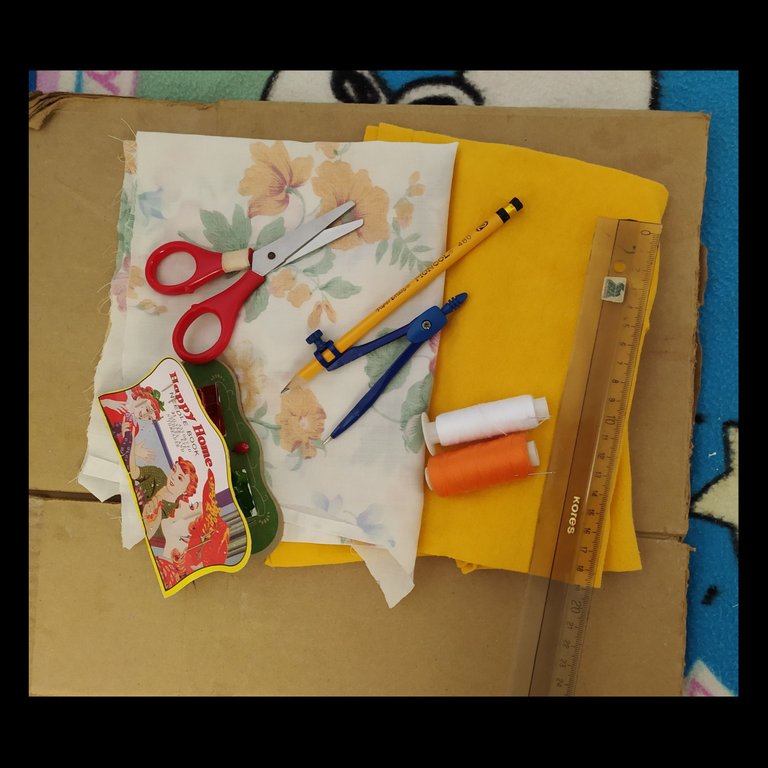
Los materiales que utilicé fueron:
- Cartón
- Tela reciclada
- Hilo de coser
- Aguja gruesa
- Compás
The materials I used were:
- Cardboard
- Recycled fabric
- Sewing thread
- Thick needle
- Compass

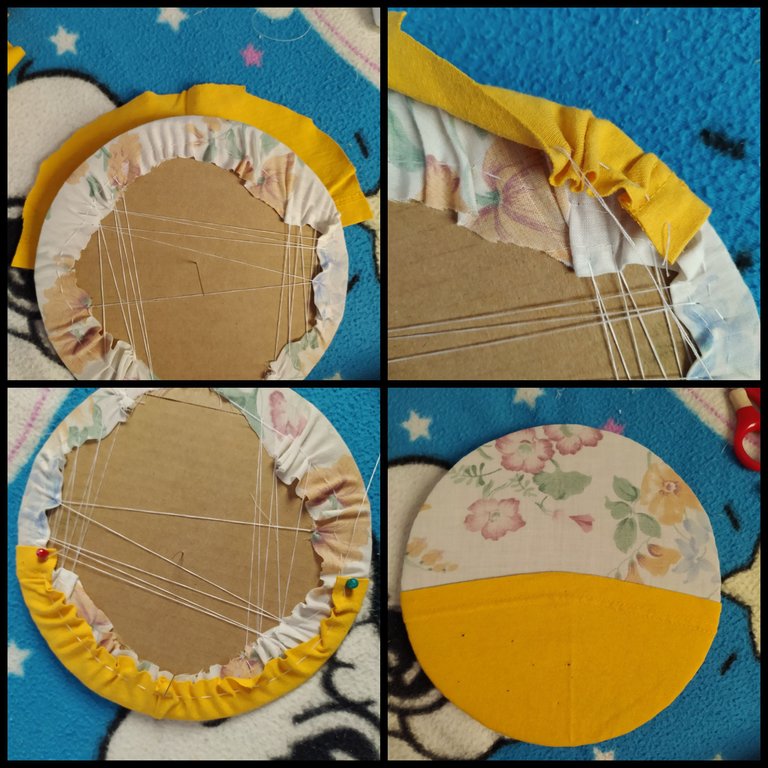
Lo primero que haremos será trazar un círculo en el cartón del tamaño de nuestra preferencia con ayuda del compás y el lápiz.
The first thing we will do is to trace a circle on the cardboard in the size of our preference with the help of the compass and pencil.
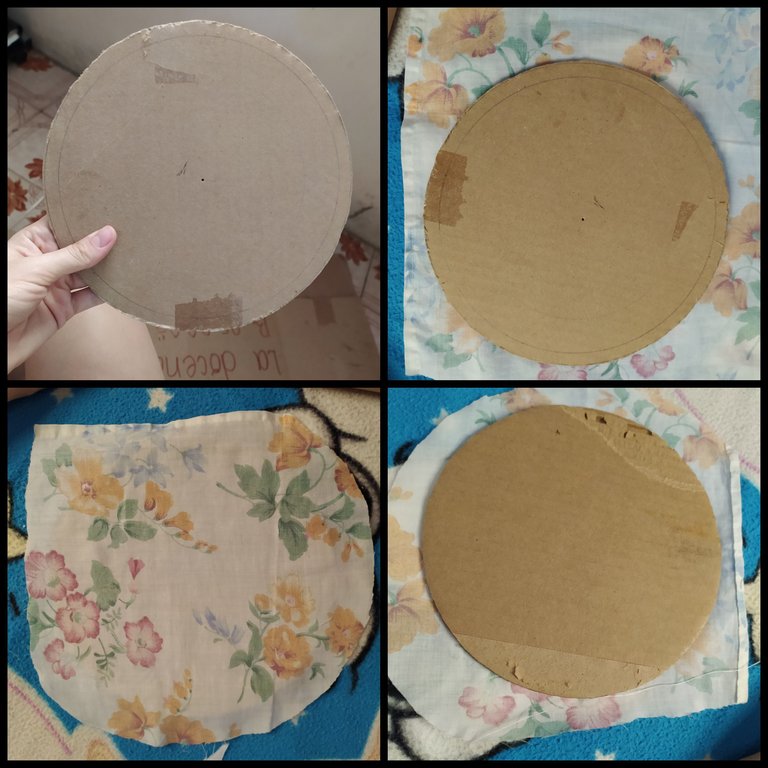
Ya cuando tengamos el circulo recortado, vamos a sacar el circulo de tela que va a forrar este cartón.
Once we have the circle cut out, we will take out the fabric circle that will line this cardboard.
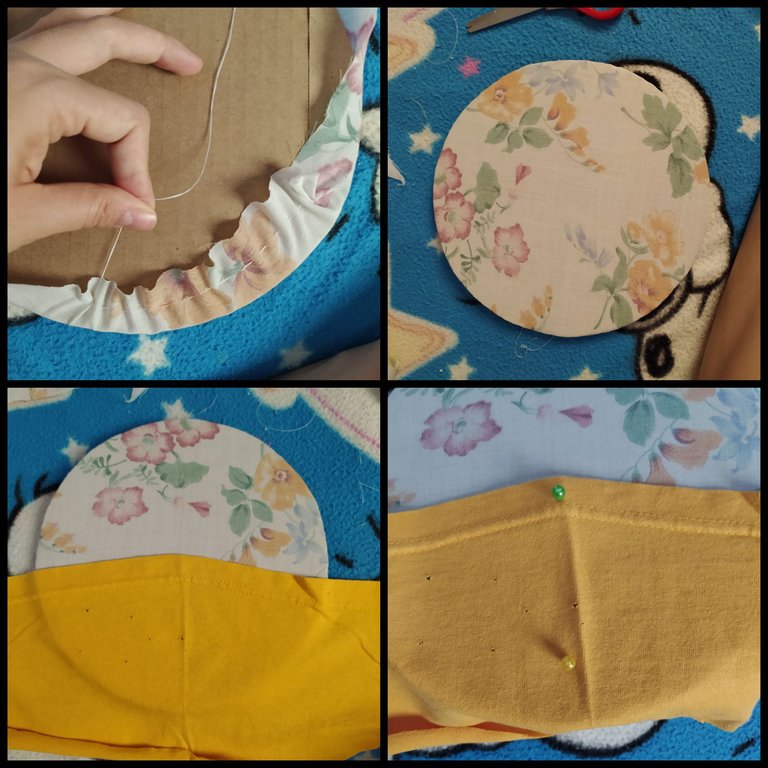
Vamos a coser todo el alrededor y vamos a arruchar para que se ajuste al tamaño de nuestro círculo. Y recortaremos una media luna que serán los bolsillos.
We are going to sew all around it and we are going to crease it so that it adjusts to the size of our circle. And we will cut out a half moon that will be the pockets.
Vamos a coser el alrededor de la media luna y arruchamos para ajustar.
We will sew around the crescent moon and tuck to adjust.
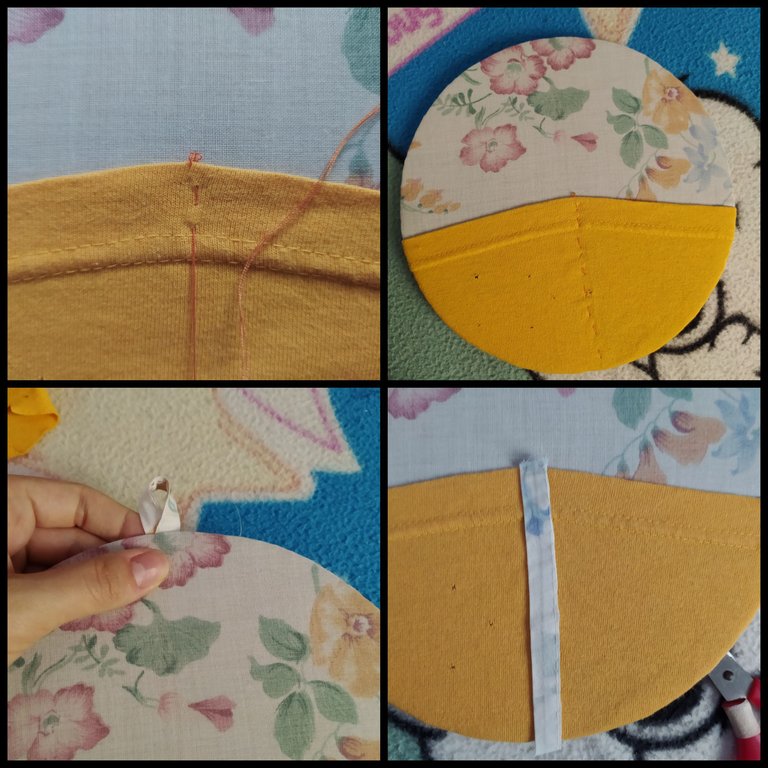
Finalmente, vamos a tomar una tira muy fina de tela y la vamos a coser al cartón por la mitad para obtener dos bolsillos y agregamos un cordón en la parte superior para guindarlo en un clavito de la pared.
Finally, we are going to take a very thin strip of fabric and sew it to the cardboard in half to obtain two pockets and add a string at the top to hang it on a nail on the wall.
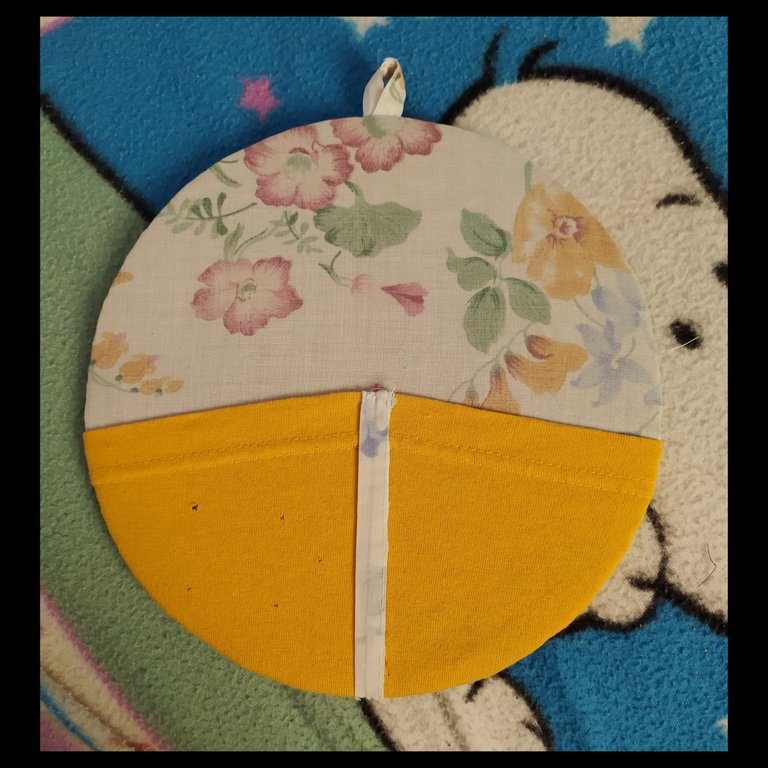
Este fue el resultado, espero les guste!!
This was the result, I hope you like it!
Traducido con DeepL
Banner y ediciones con PicsArt y Cymera
Las fotos son de mi autoría
Translated with DeepL
Banner and editions with PicsArt y Cymera
The photos are of my authorship

The rewards earned on this comment will go directly to the person sharing the post on Twitter as long as they are registered with @poshtoken. Sign up at https://hiveposh.com.
#posh @ocd @ocdb @appreciator @blocktrades @curangel
Le quedó muy bonito, feliz y bendecida noche!! Saludos...
Gracias por leerme, saluditos!