Greetings my beautiful people of Hive! Today I bring you my hive nails, I hope you like it as much as I do.
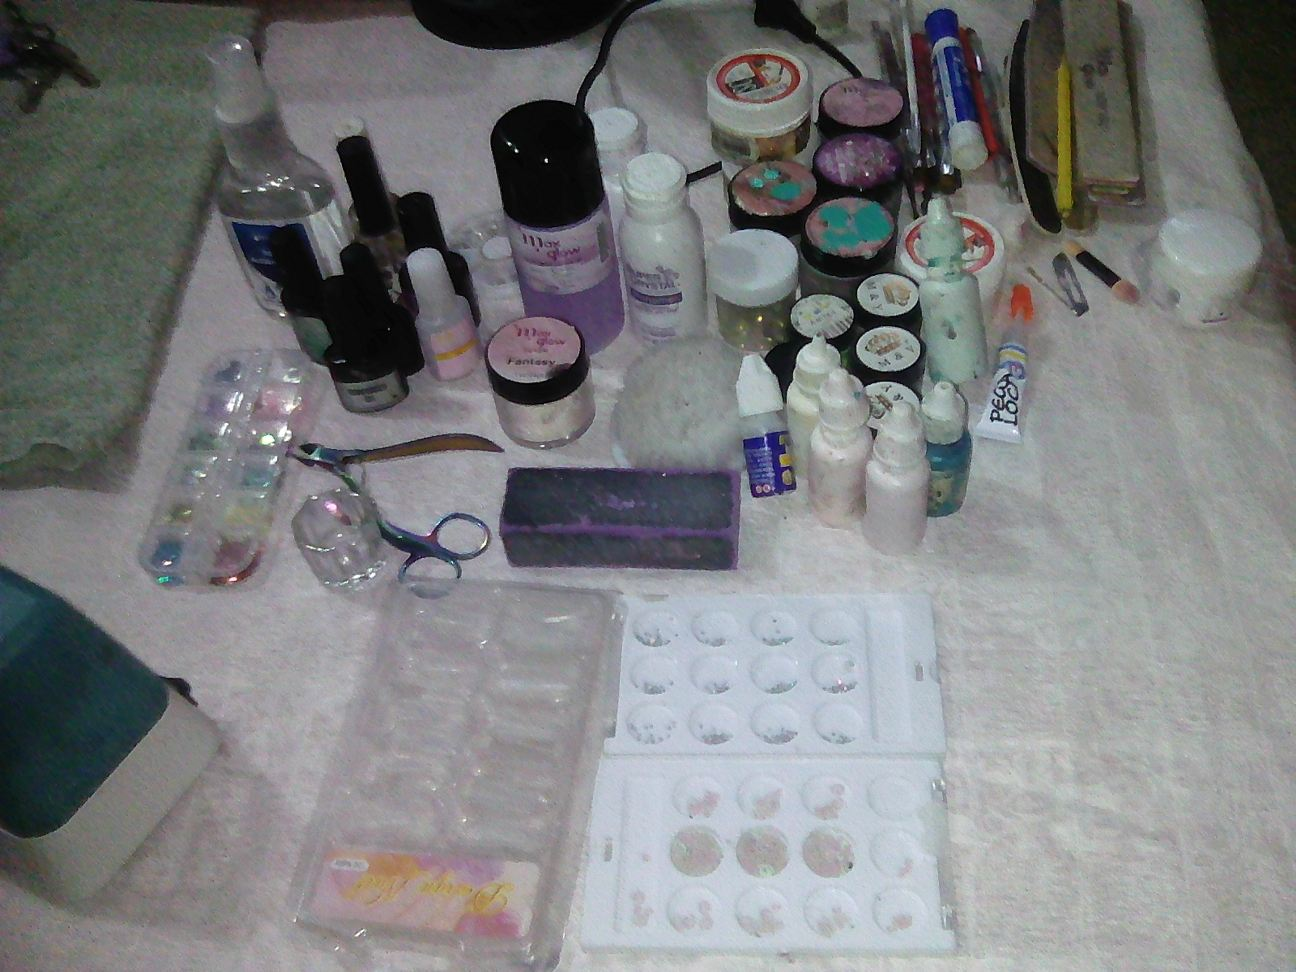
Materiales:
- Tips de uñas.
- Pega para uñas.
- Lima.
- Antiadherente (primer o protein bond)
- Polvo acrilico.
- Monómero.
- Pincel.
- Top coat.
- Pinturas semi permanentes.
Materials:
- Nail tips.
- Nail glue.
- Nail file.
- Antiadherent (primer or protein bond).
- Acrylic powder.
- Monomer.
- Brush.
- Top coat.
- Semi-permanent paints.
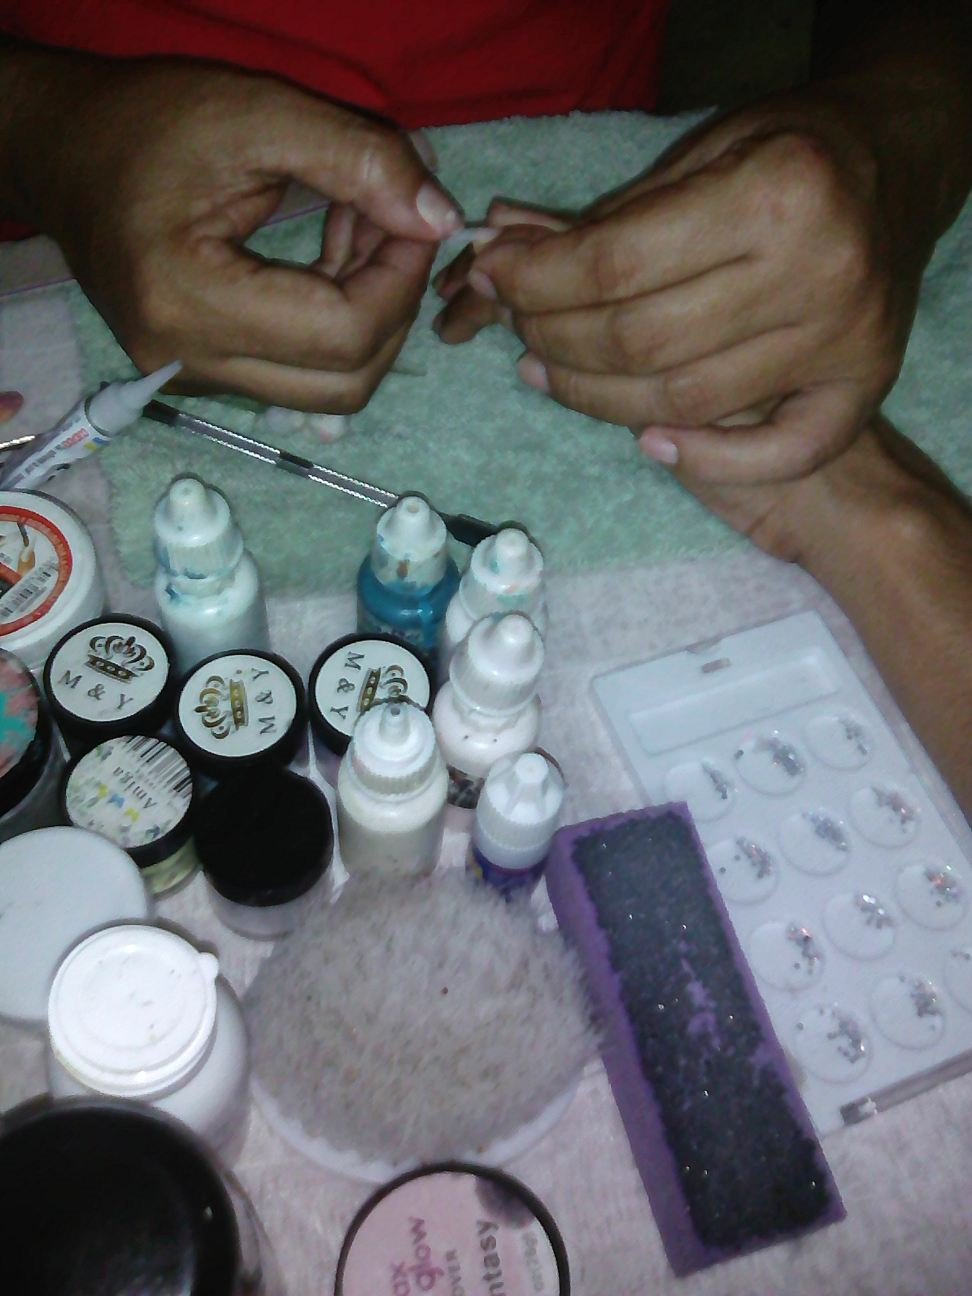
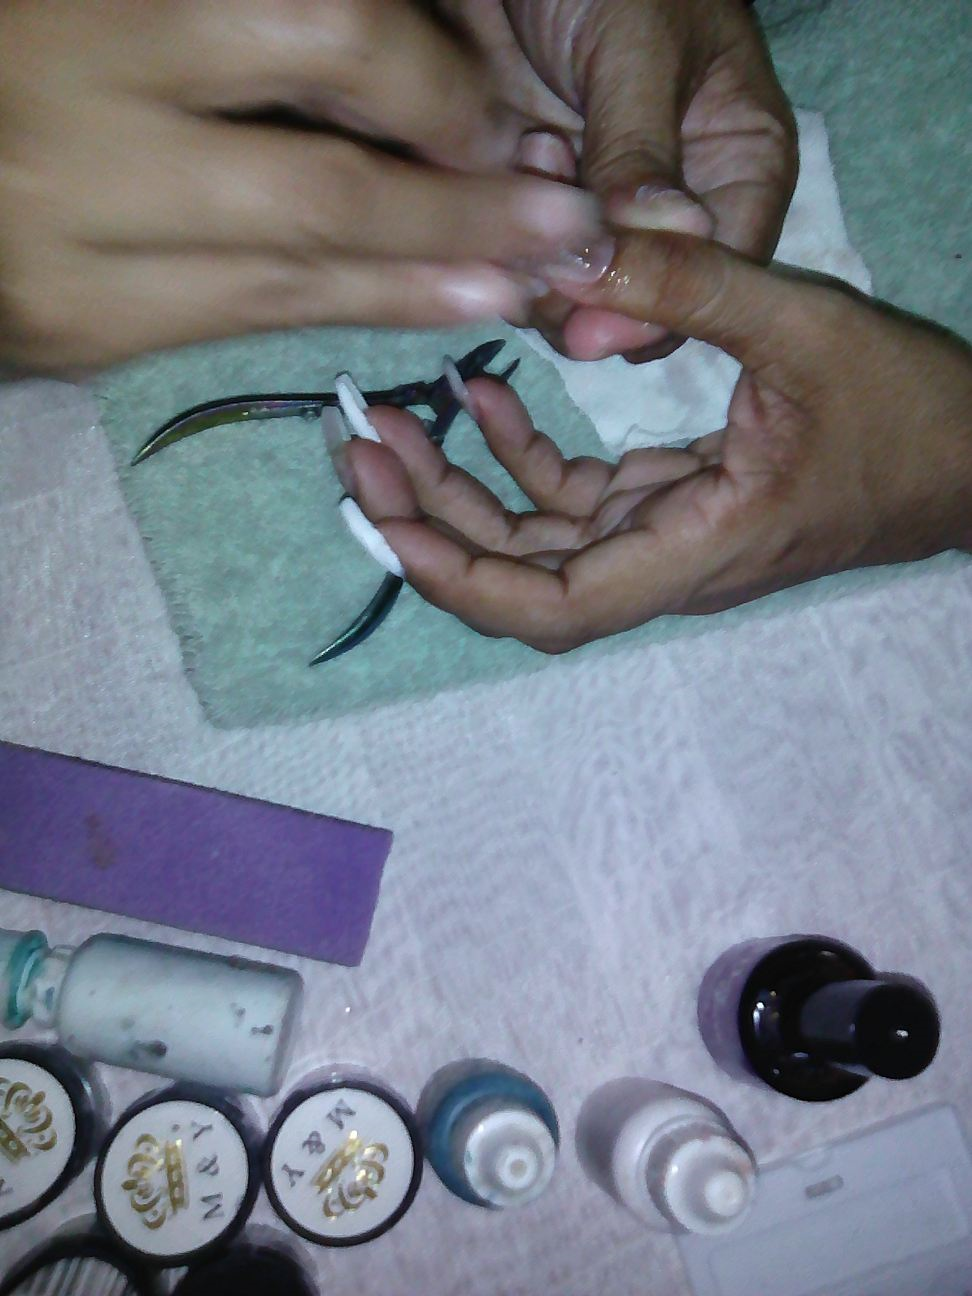
1- Escoger el tips adecuado al tamaño de la uña. Si no se encuentra el tamaño adecuado, agarrar una talla superior y limar los laterales para que encaje mejor en la uña. Colocar el tips en la uña y presionar durante 10-20 seg hasta que el pegamento esté totalmente seco. El tips tiene una demarcación que tiene que quedar justamente en el borde de la uña.
1- Choose the right tip for the size of the nail. If you do not find the right size, take a larger size and file the sides to make it fit better on the nail. Place the tip on the nail and press for 10-20 seconds until the glue is completely dry. The tips have a demarcation that has to be right on the edge of the nail..
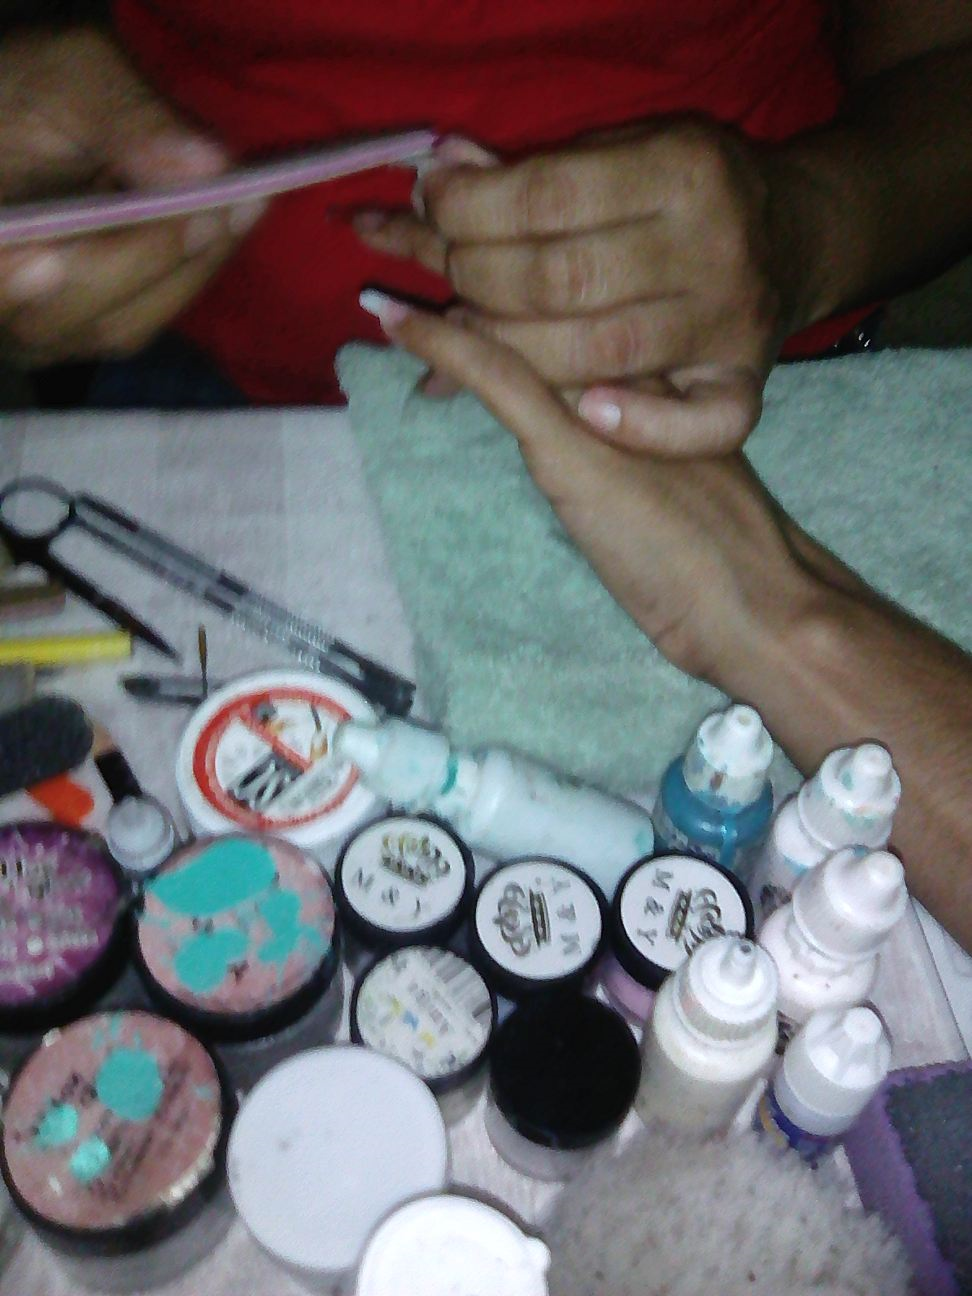
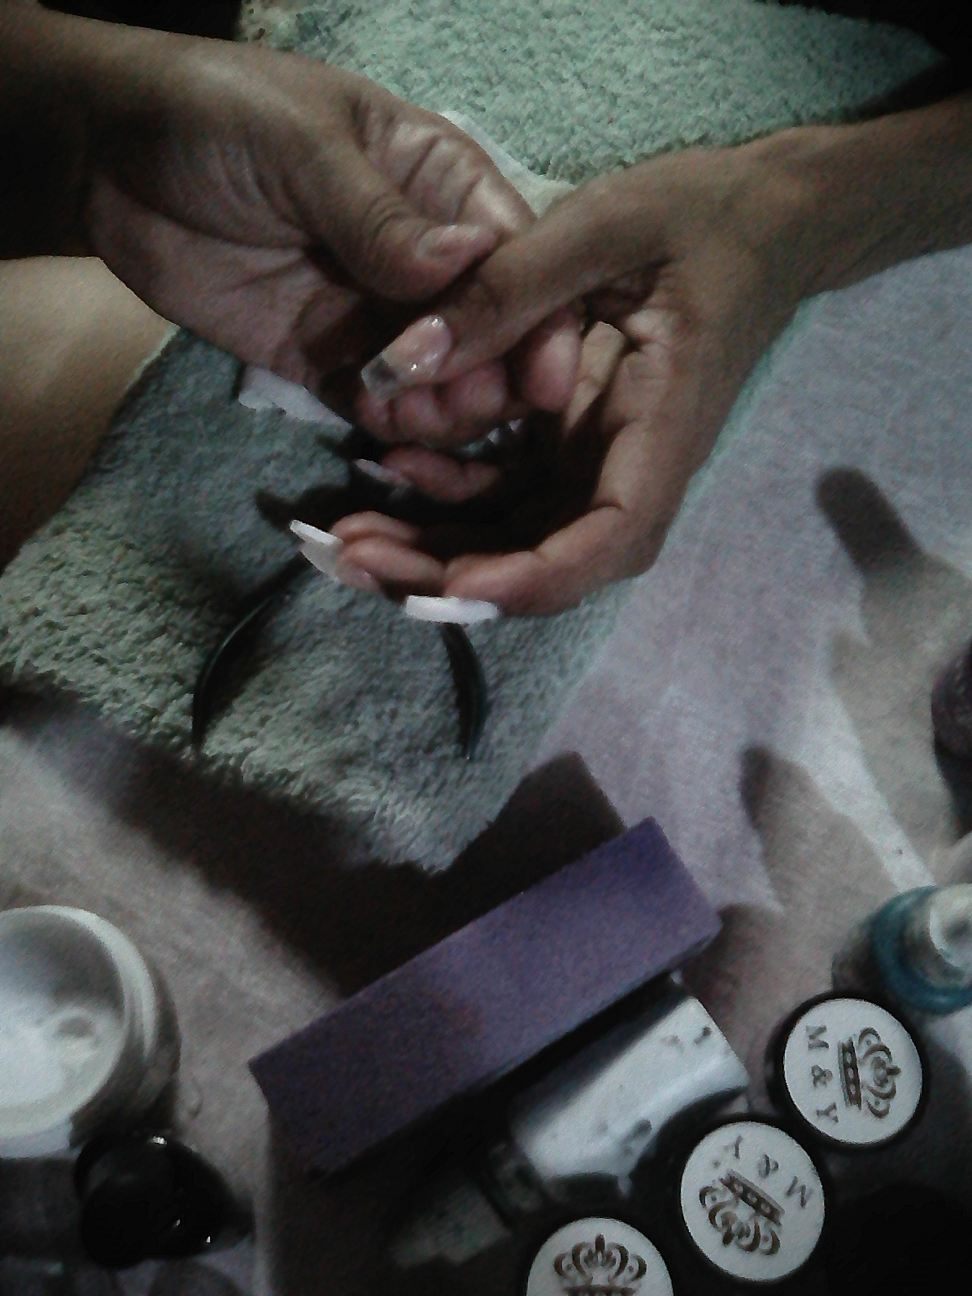
2- Limpiar los restos de pegamento con un algodón seco y así evitar problemas de adherencia. Cortar el tips a la medida deseada con el cortatips. Limar por la parte de delante para dar la forma deseada. Limar también en la zona de unión con la uña para que desaparezca el escalón.
2- Clean the glue residues with a dry cotton swab to avoid adhesion problems. Cut the tips to the desired size with the tip cutter. File on the front side to give the desired shape. File also in the area where it meets the nail so that the step disappear.
3- Aplicar Primer Adherente (con ácidos) en la uña natural, sin tocar el tip. Añadir en un recipiente una pequeña cantidad de Líquido Acrílico y humedecer bien el pincel. Introducir el Pincel en el polvo acrílico en ángulo de 45º y esperar unos segundos a que se forme una perla de producto. Colocar la perla de producto en la zona de la sonrisa y repartirla hacia la cutícula. Marcar bien la forma de la sonrisa. Si el producto se pega en el pincel, es necesario humedecerlo en el líquido acrílico para seguir moldeando la uña. Si es necesario, agarrar una segunda perla y seguir moldeando la uña. Se aconseja trabajar rápido para que el producto no se seque, ya que el acrílico es una técnica de construcción de uñas de secado al aire.
3- Apply Adhesive Primer (with acids) on the natural nail, without touching the tips. Add a small amount of Acrylic Liquid in a container and moisten the brush well. Dip the brush into the acrylic powder at a 45° angle and wait a few seconds for a bead of product to form. Place the bead of product on the smile area and spread it towards the cuticle. Mark the shape of the smile well. If the product sticks to the brush, it is necessary to moisten it in the acrylic liquid to continue shaping the nail. If necessary, take a second bead and continue shaping the nail. It is advisable to work quickly so that the product does not dry out, as acrylic is an air-drying nail building technique.
4- Esperar que se seque por completo y a continuación, limar la zona de la sonrisa. Quitar el polvo y limpiar con cleaner. También limpiar bien el pincel, con el mismo líquido acrílico, para retirar posibles restos de producto que puedan quedar pegados. Limar la uña y unificar con la almendra. De este modo eliminaremos posibles huecos e imperfecciones. Pasar también el taco pulidor y quitar el polvo con el cepillo. Limpiar con cleaner.
4- Wait for it to dry completely and then file the smile area. Remove dust and clean with cleaner. Also clean the brush well, with the same acrylic liquid, to remove possible remains of product that may be stuck. File the nail and unify with the almond. In this way we will eliminate possible holes and imperfections. Pass also the polishing block and remove the dust with the brush. Clean with cleaner.
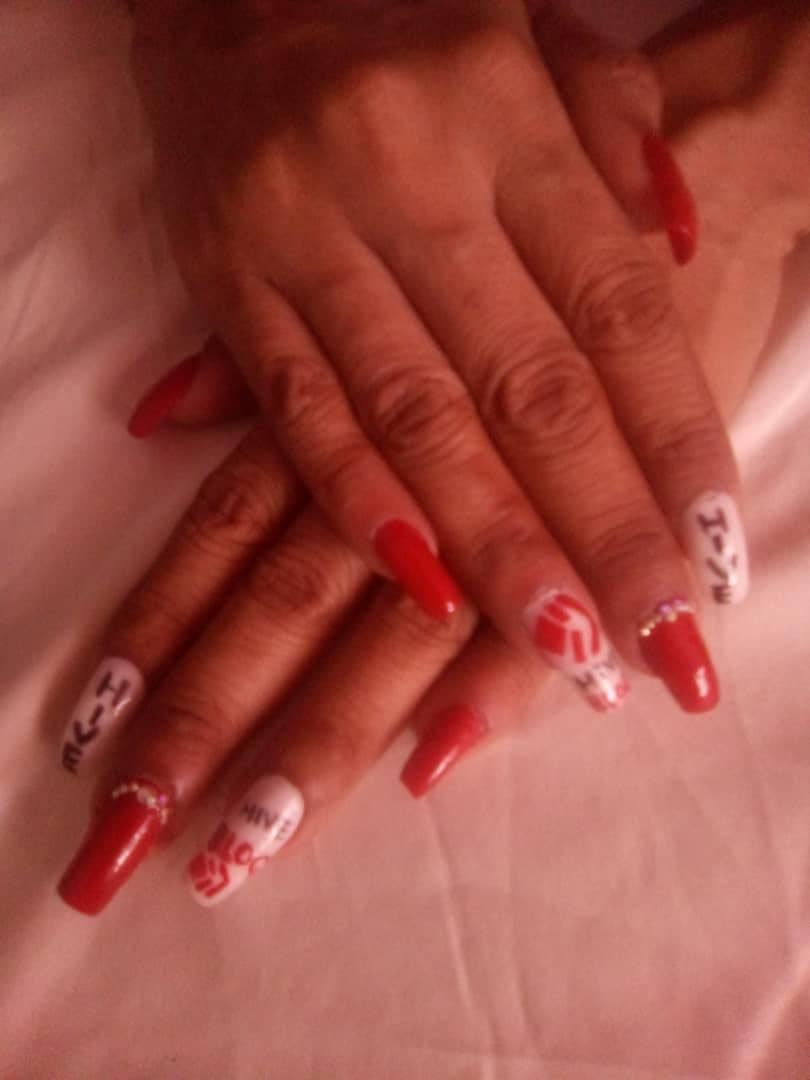
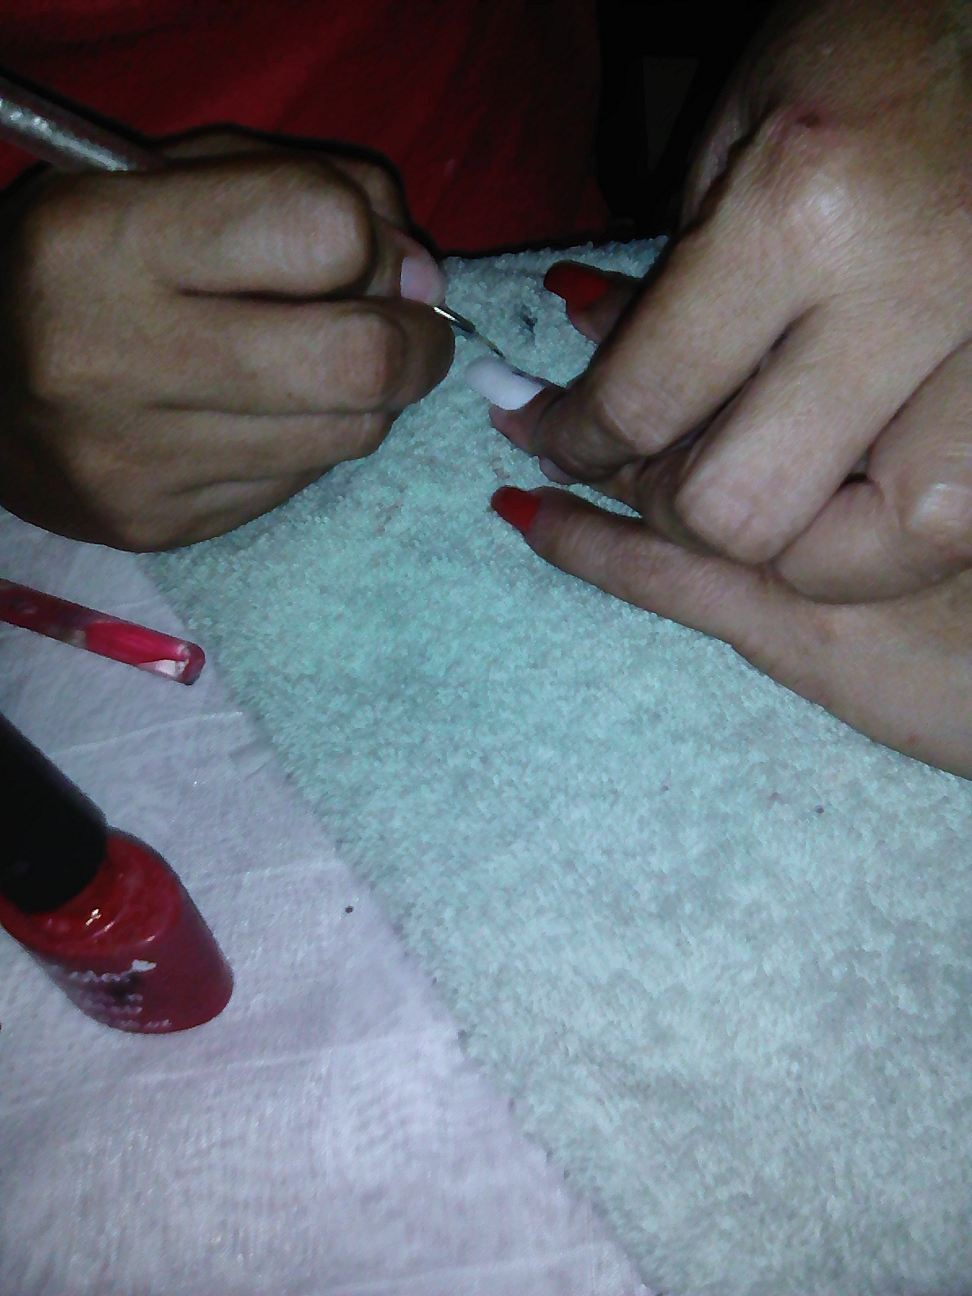
5- Luego con la pintura roja vamos a hacer el logo de Hive y con la negra realizaremos las letras. Añadimos los cristales y aplicamos el Top Coat de secado al aire. En el caso de disponer de lámpara para el secado de uñas, se recomienda, para una mayor durabilidad, aplicar un finalizador de secado en lámpara.
5- Then with the red paint we will make the Hive logo and with the black paint we will make the letters. Add the crystals and apply the air-drying Top Coat. In the case of having a lamp for drying the nails, it is recommended, for greater durability, to apply a lamp-drying top coat.
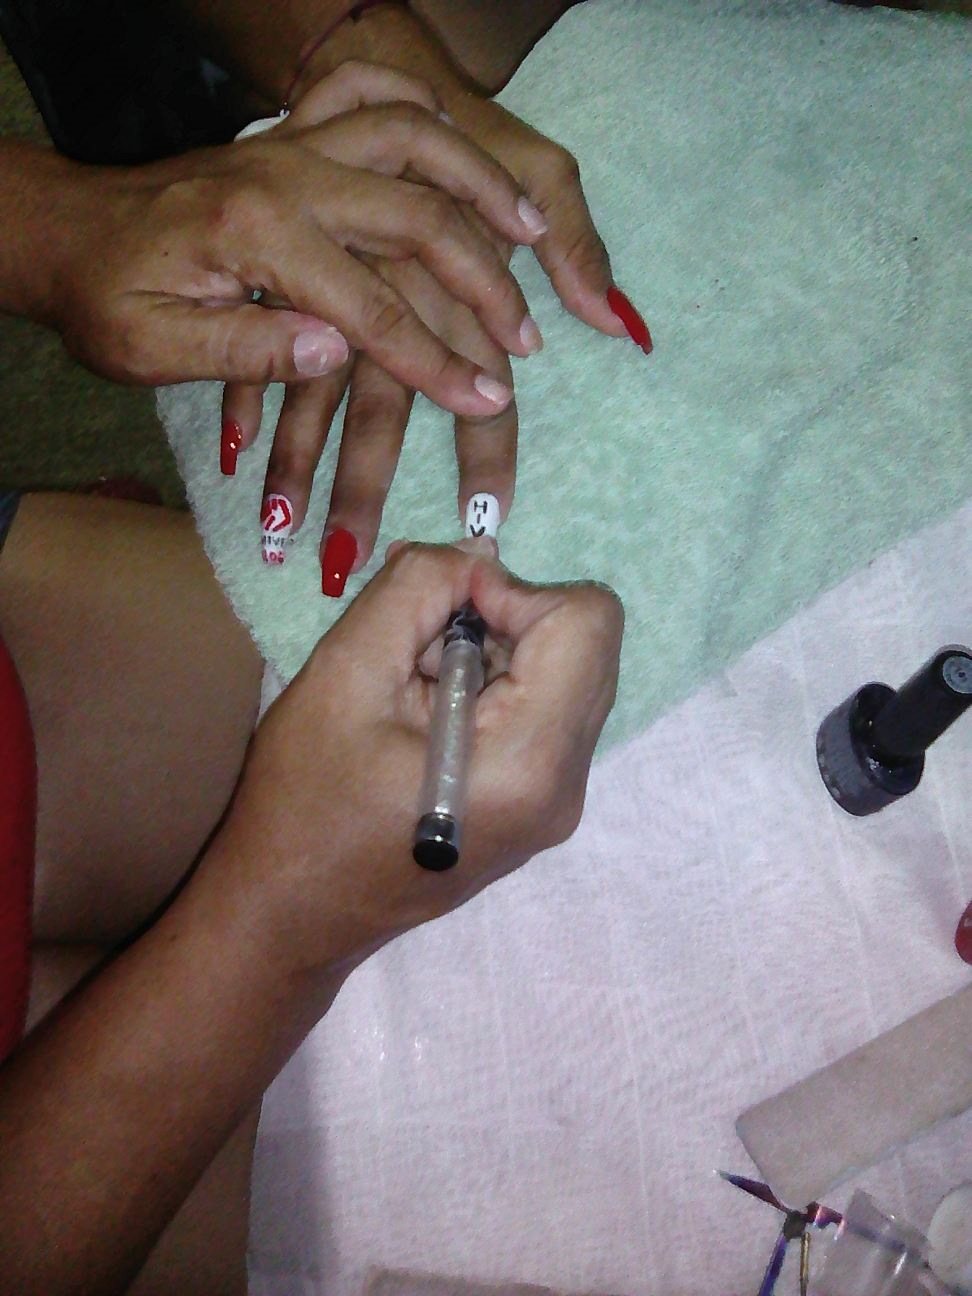

This is my final result, I hope you like it as much as I do, I really enjoyed making them, see you in another blog. .
 </center