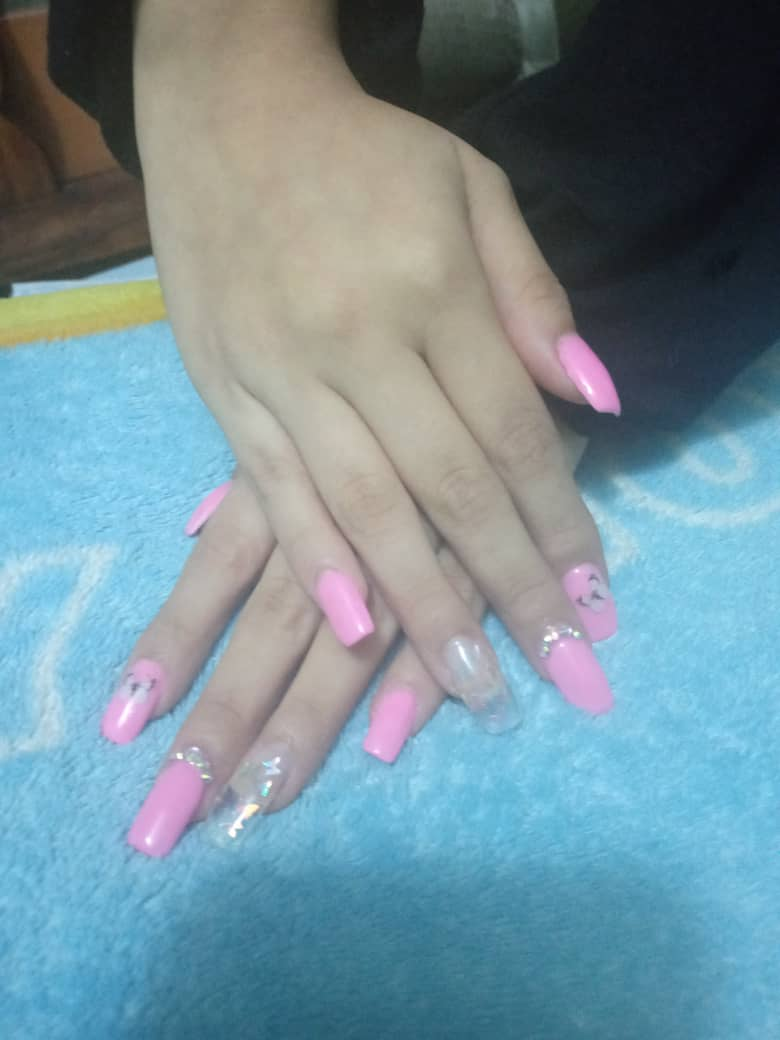
Greetings Hive friends, today I want to share with you my pink acrylic nails, I hope you like it!
Materiales:
- Alcohol. - Acrilico rosado. - Polimero. - pincel. - Stikers. - Moldes para esculpir uñas.
- tips.
- lima.
- top coat.
Materials:
- Alcohol.
- Pink acrylic.
- Polymer.
- Brush - Stikers.
- Nail sculpting molds.
- Tips.
- Nail file. >- Top coat.
Procedure:
Paso 1:
Prepara las uñas naturales antes de poner el acrílico
Limpia: Retira el esmalte. Si la uña no está esmaltada, limpia con alcohol o sanitizante para remover cualquier suciedad. Luego procede a retirar la cutícula con el empujador, de esta manera, eliminas piel muerta de la base y laterales.
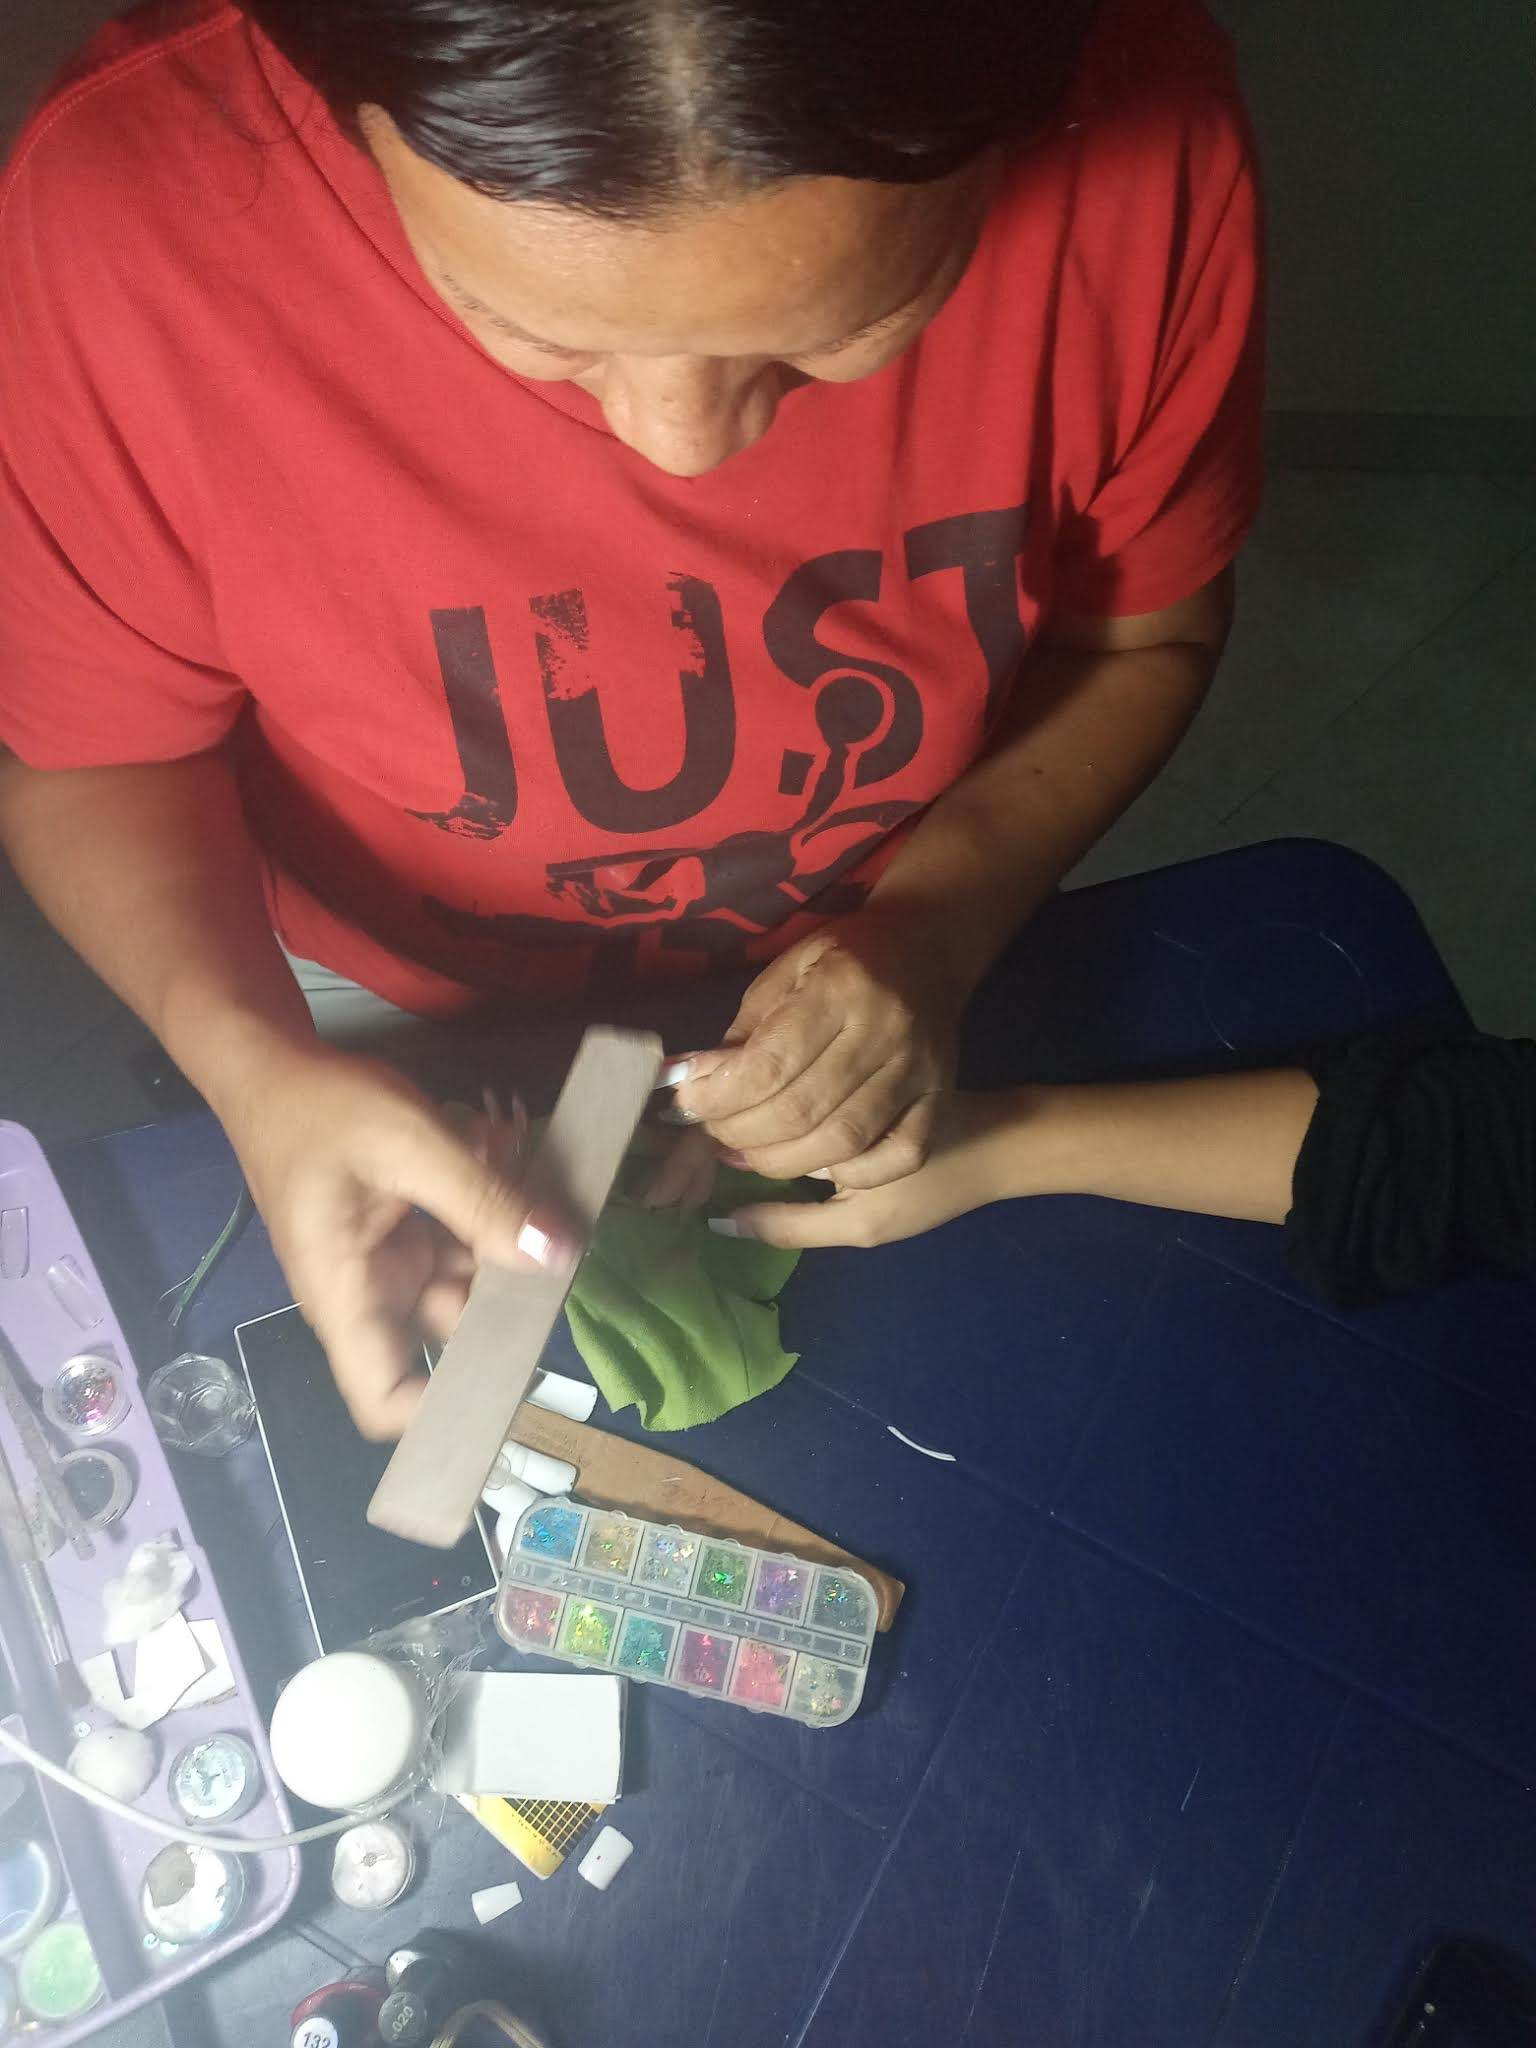
Lima: Deja las uñas cortas, lima el borde y los laterales; con la ayuda de un cepillo, retira las partículas de polvo. Luego quita la capa de grasa natural de la uña, con una lima 150. Lima suavemente en una sola dirección. Sé cautelosa al abrir un poco los poros para que el producto se adhiera mejor y así evitarás algún daño en la uña natural.
Desinfecta: Con un algodón especial para uñas. limpia por completo la uña. Pídele a tu cliente evitar el contacto con la piel o cabello. En lo posible aplica antihongos en las uñas.
Step 1:
Prepare the natural nails before applying the acrylics.
Clean: Remove the polish. If the nail is not enameled, clean with alcohol or sanitizer to remove any dirt. Then proceed to remove the cuticle with the pusher, this way, you remove dead skin from the base and sides.
File: Leave the nails short, file the edge and sides; with the help of a brush, remove dust particles. Then remove the natural grease layer of the nail with a 150 file. File gently in one direction only. Be careful to open the pores a little so that the product adheres better and thus avoid any damage to the natural nail.
Disinfect: With a special cotton swab for nails, clean the nail completely. Ask your client to avoid contact with skin or hair. If possible, apply antifungals on the nails
Paso 2:
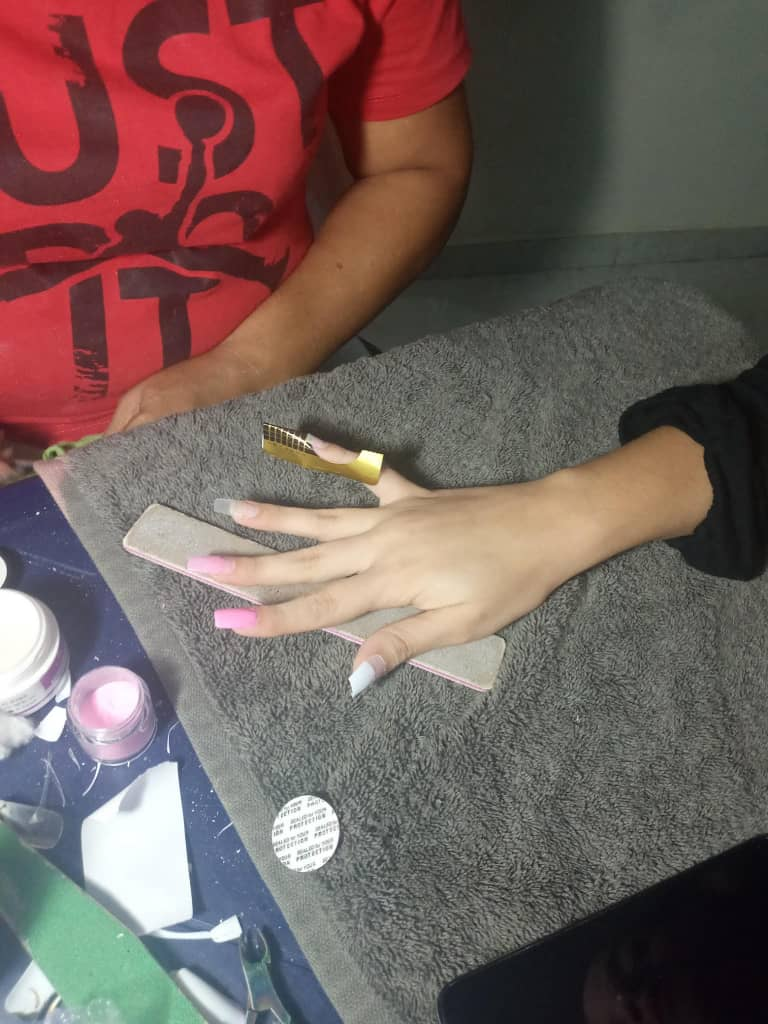
Con las uñas cortitas y redondeadas, coloca el tip o molde. Debe quedar bien fijo y justo, unido al borde libre, con ello vas a definir la forma y largo de la uña. Coloca en el vasito dappen un poco de monómero y en otro recipiente, el polímero. Recuerda tener las manos limpias y desinfectadas.
Con el molde o tip ya puesto sobre la uña, coloca una capa de primer preferiblemente, sin ácido y deja secar bien. Luego moja la punta del pincel en el monómero y escurre un poco haciendo presión ligera en los bordes del vasito; posteriormente, inserta el pincel en el polvo acrílico durante dos o tres segundos, hasta conseguir recoger una bolita. Ten en cuenta que las cantidades de producto sean las correctas, ya que la bolita o perla no puede quedar ni líquida ni seca.
Una vez seco el material, dale forma a la uña. Elimina imperfecciones remanentes con una lima de grano 100/180, procurando que quede lo más natural posible. Finaliza con una lima pulidora para dejar la superficie lo más suave posible.
Step 2:
Place the tip or mold .
With the nails short and rounded, place the tip or mold. It must be well fixed and just, attached to the free edge, with it you will define the shape and length of the nail. Place in the dappen cup a little monomer and in another container, the polymer. Remember to keep your hands clean and disinfected.
Place the tip and apply the primer .
With the mold or tip already placed on the nail, place a layer of primer preferably without acid and let it dry well. Then dip the tip of the brush into the monomer and squeeze a little by pressing lightly on the edges of the cup, then insert the brush into the acrylic powder for two or three seconds, until you get a little ball. Make sure that the amounts of product are correct, as the ball or bead can be neither liquid nor dry.
Shape the nail .
Once the material is dry, shape the nail. Remove remaining imperfections with a 100/180 grit file, trying to make it as natural as possible. Finish with a polishing file to leave the surface as smooth as possible.
Paso 3:
Colocamos el stickers y los cristales, luego le ponemos la base del gel y metemos la mano en la lampara, cuando esta esté seca finalizamos con el top coat.
Step 3:
We place the stickers and the crystals, then we put the base of the gel and we put the hand in the lamp, when it is dry we finish with the top coat.

Congratulations @yusmelis26! You have completed the following achievement on the Hive blockchain and have been rewarded with new badge(s) :
Your next target is to reach 50 upvotes.
You can view your badges on your board and compare yourself to others in the Ranking
If you no longer want to receive notifications, reply to this comment with the word
STOPCheck out the last post from @hivebuzz:
Support the HiveBuzz project. Vote for our proposal!