.jpeg)

Español
Hola familia 🌞 El día de hoy les traigo un nuevo y divertidísimo paso a paso donde aprenderemos a realizar un cuadro de una chica rubia muy cool utilizando un overol. Genial no?, Sin duda es una perfecta imagen para decorar nuestras paredes favoritas dando ese toque creativo y personal, y lo mejor de todo es que esta hecho de materiales súper económicos y muy fáciles de conseguir. Así que, los invito a seguir disfrutando de este divertido trayecto, perfecto para el desarrollo de la creatividad de todos, especialmente de nuestros niños.
English
Hello familly 🌞 Today I bring you a new and hilarious step by step where we will learn to make a painting of a very cool blonde girl wearing overalls. Great no? Without a doubt, it is a perfect image to decorate our favorite walls giving that creative and personal touch, and the best of all is that it is made of super cheap materials and very easy to get. So, I invite you to continue enjoying this fun journey, perfect for developing everyone's creativity, especially our children.
¿Qué están esperando?
Gracias a esta técnica podemos crear nuestro propio cuadro, además, una hermosa obra hecha en casa es una manera creativa y muy económica de darle un toque de alegría a nuestro entorno. Antes de comenzar no olvidemos lavarnos nuestras manos.
What are they waiting for?
Thanks to this technique we can create our own painting, in addition, a beautiful work done at home is a creative and very economical way to give a touch of joy to our environment. Before we start, let's not forget to wash our hands.
[Materiales | Materials]
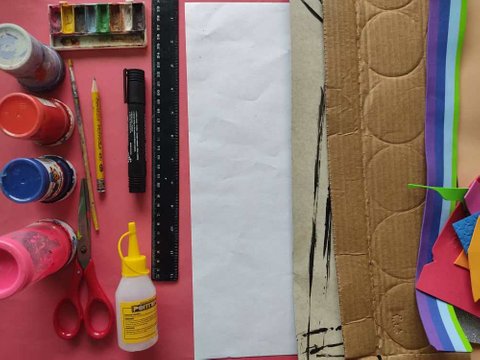
Para realizar esta linda obra necesitaremos:
- Moldes.
- Foamy o goma eva.
- Papel vegetal o calco.
- Lamina de cartón.
- Regla.
- Lápiz.
- Marcador.
- Tijera.
- Cúter.
- Pincel o brocha.
- Pinturas.
- Silicón liquido o pegamento.
To make this cute work we will need:
- Molds.
- Foamy or eva Foam.
- Vegetable paper or tracing.
- Cardboard sheet.
- Rule.
- Pencil.
- Bookmark.
- Scissors.
- Cutter.
- Brush or brush.
- Paintings.
- Liquid silicone or glue.
Procedimiento (paso a paso)
Process (step by step)
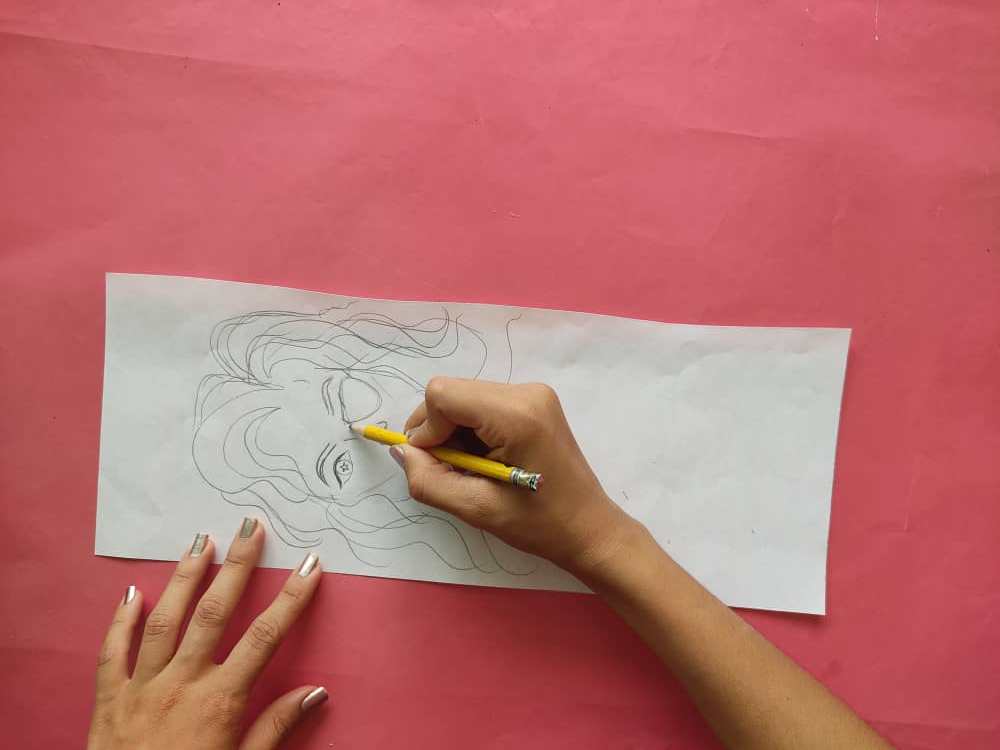
Primero, dibujamos una hermosa chica con el cabello un poco suelto y con unas gafas, dejamos volar nuestra imaginación para agregarle el resto de detalles y hacer que todo quede hermoso y autentico.
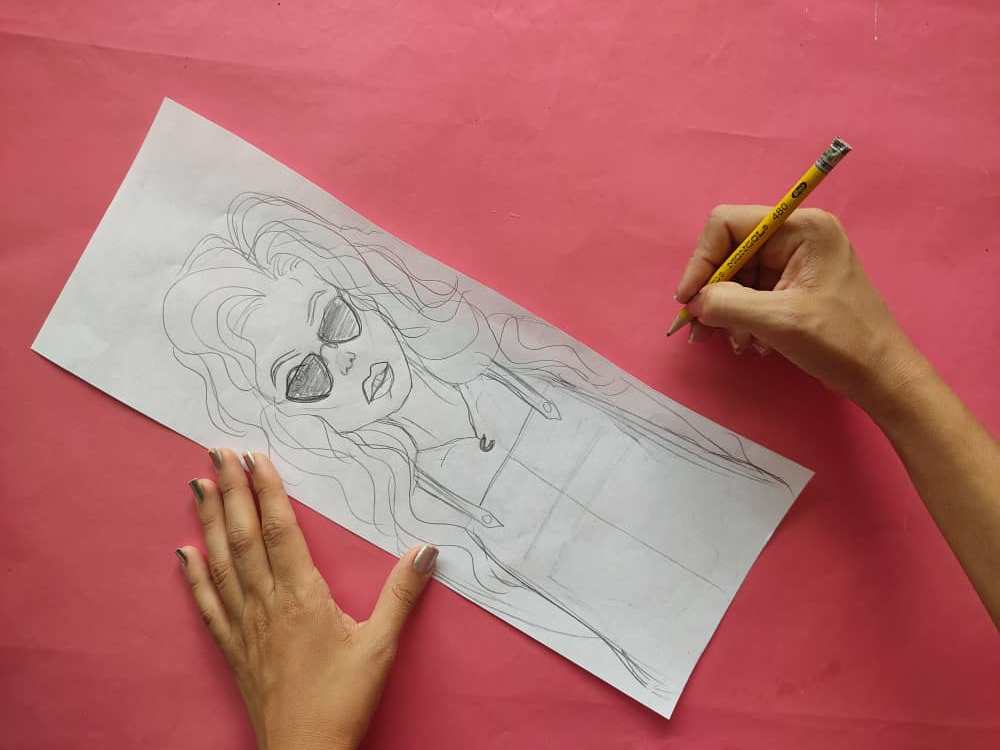
First, we draw a beautiful girl with her hair a little loose and with some glasses, we let our imagination fly to add the rest of the details and make everything beautiful and authentic.
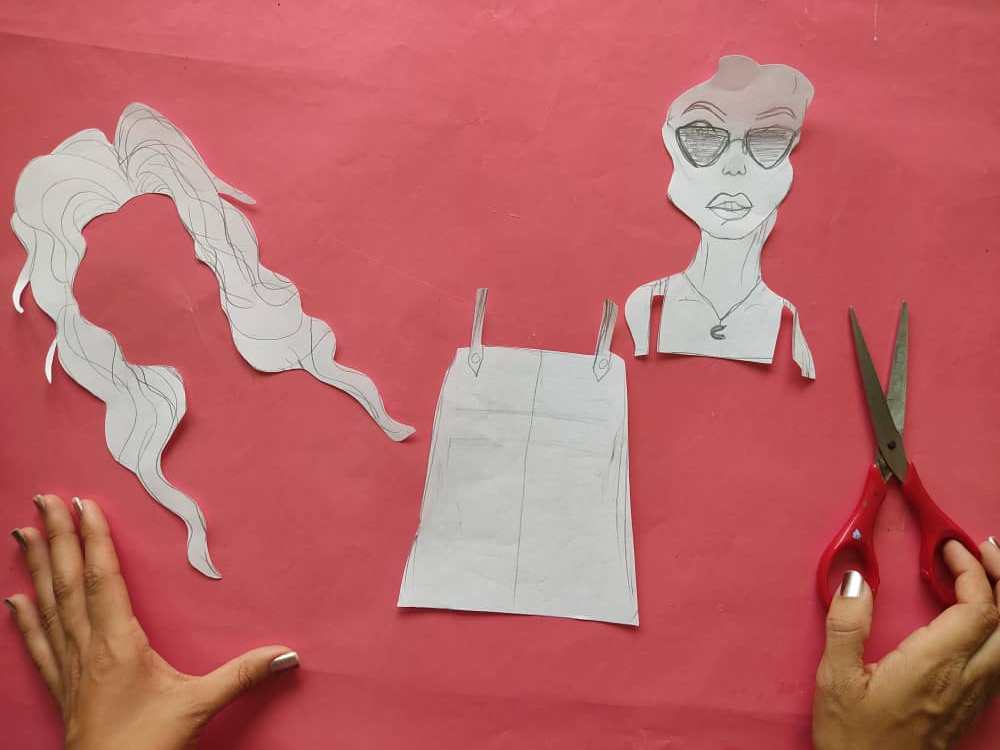
Seguidamente, recortamos las partes de nuestra modelo separando el cabello, overol, y cara. Y luego, transferimos las partes al foamy con mucho cuidado para que todas las medidas y figuras se mantengan intactas.
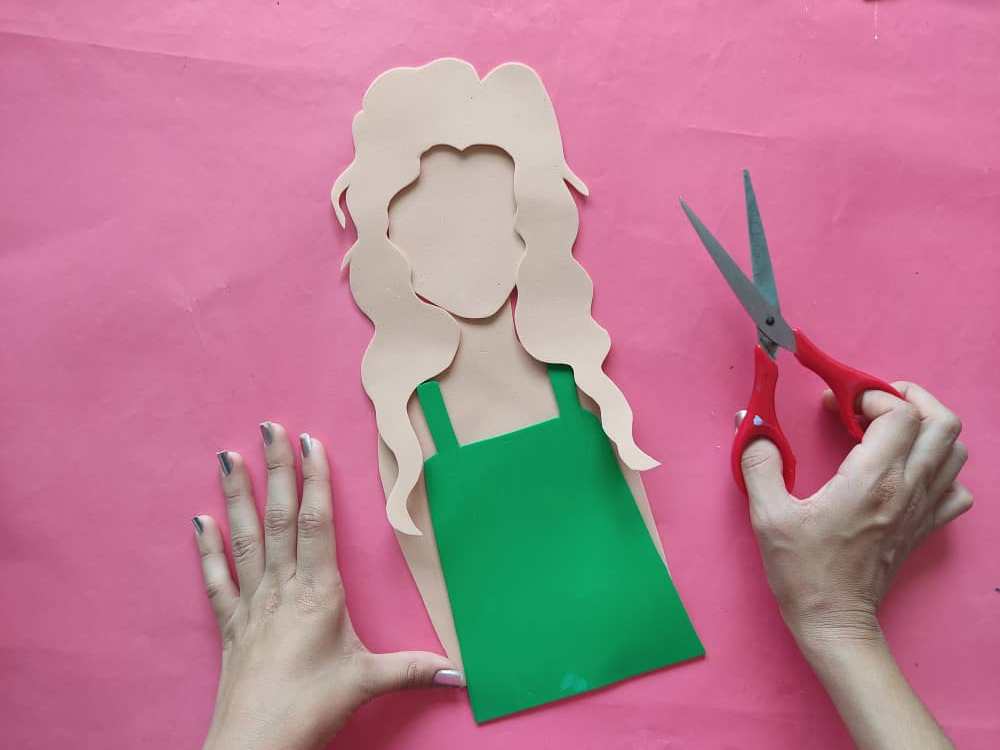
Next, we cut the parts of our model separating the hair, overalls, and face. And then, we transfer the parts to the foamy very carefully so that all the measurements and figures remain intact.
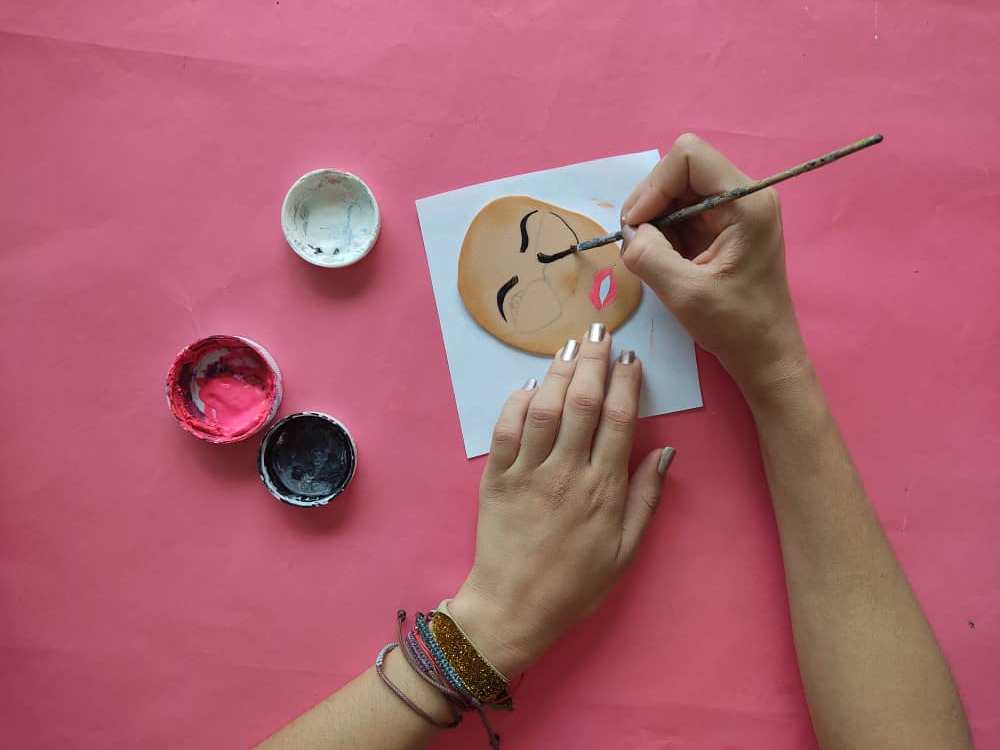
Ahora, definimos y coloreamos con mucho amor el rostro de este linda rubia utilizando nuestra imaginación para que todo quede perfecto, sin olvidar pintar las hermosas gafas al estilo del maestro Roshi “DBZ” xD.
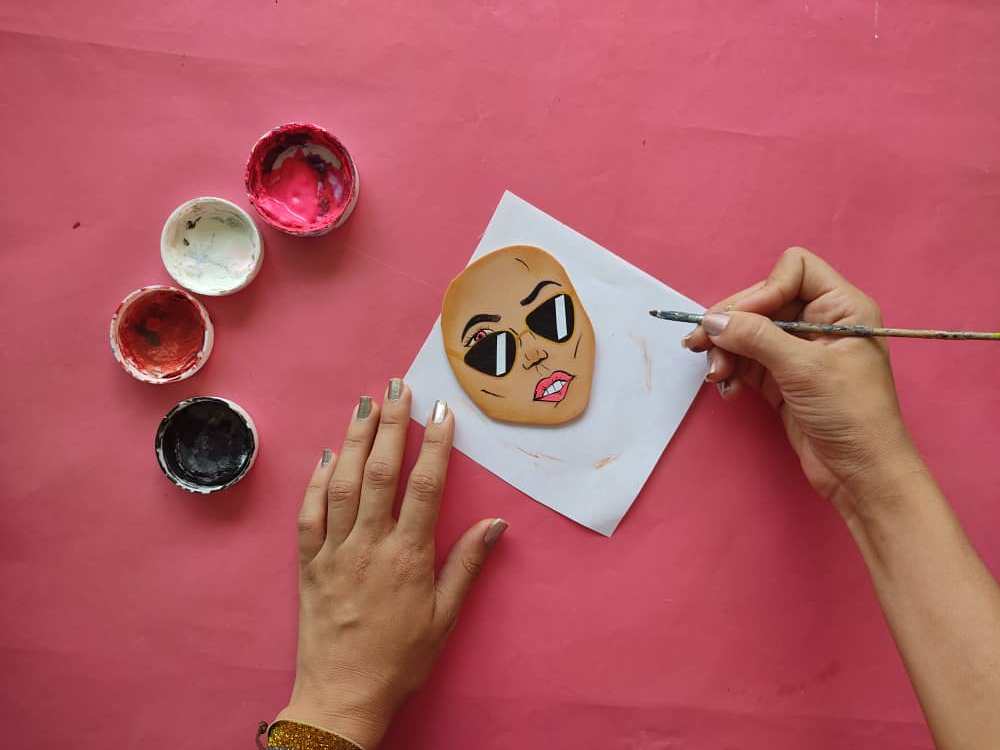
Now, we define and color the face of this pretty blonde with love using our imagination so that everything is perfect, without forgetting to paint the beautiful glasses in the style of master Roshi "DBZ" xD.
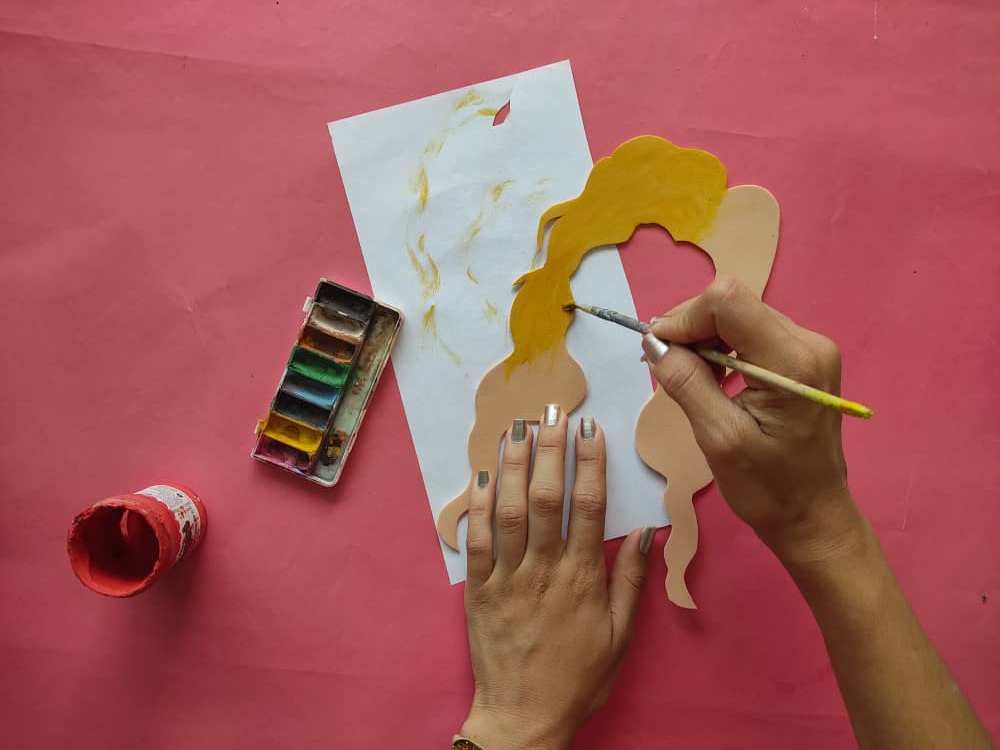
Luego, pintamos el cabello de color amarillo jugando con tonos amarillo y naranja para simular un cabello rubio.
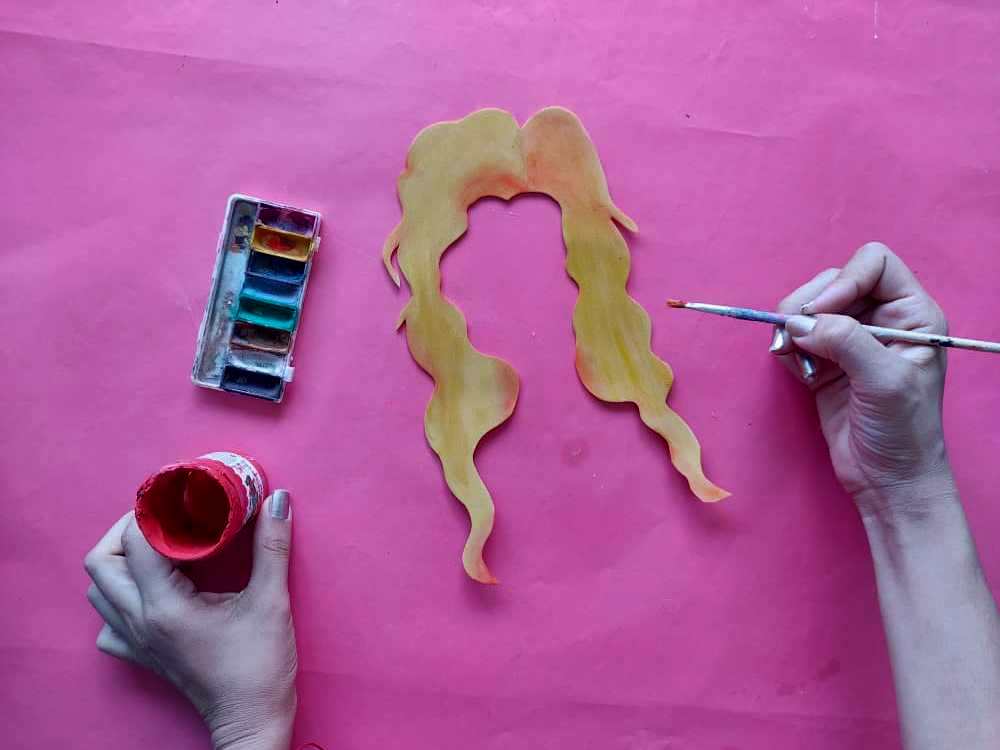
Then, we paint the hair yellow playing with yellow and orange tones to simulate blonde hair.
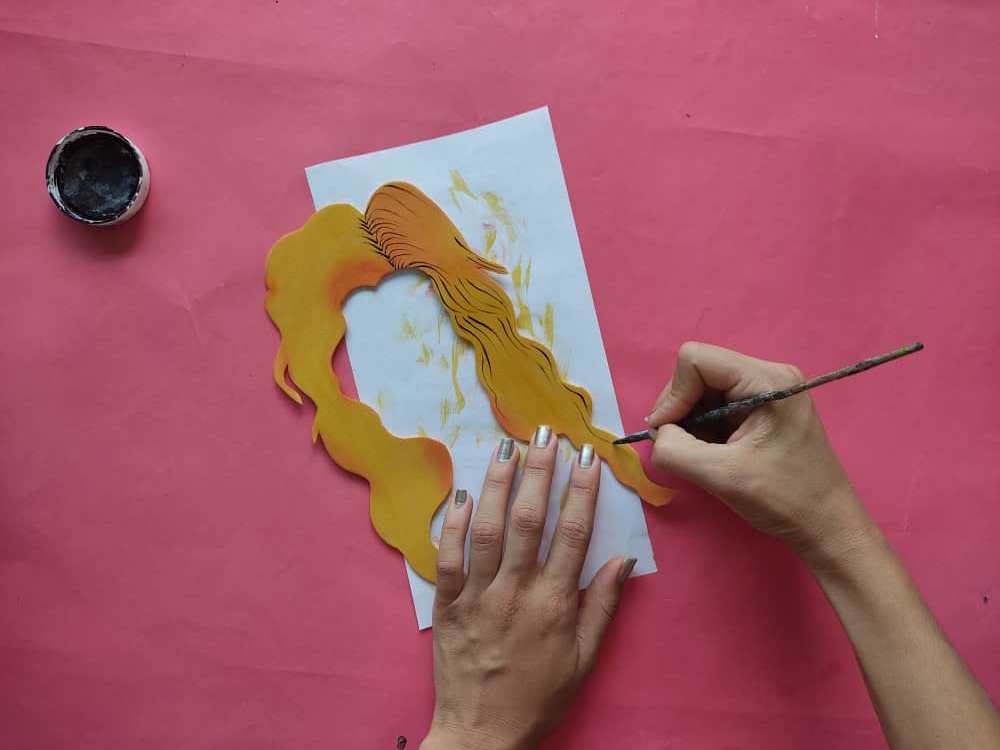
Seguidamente, definimos los detalles del cabello con la ayuda de un pincel fino y pintura negra, haciendo cada detalle con mucho amor y cuidado para no dañar el resto del cabello.
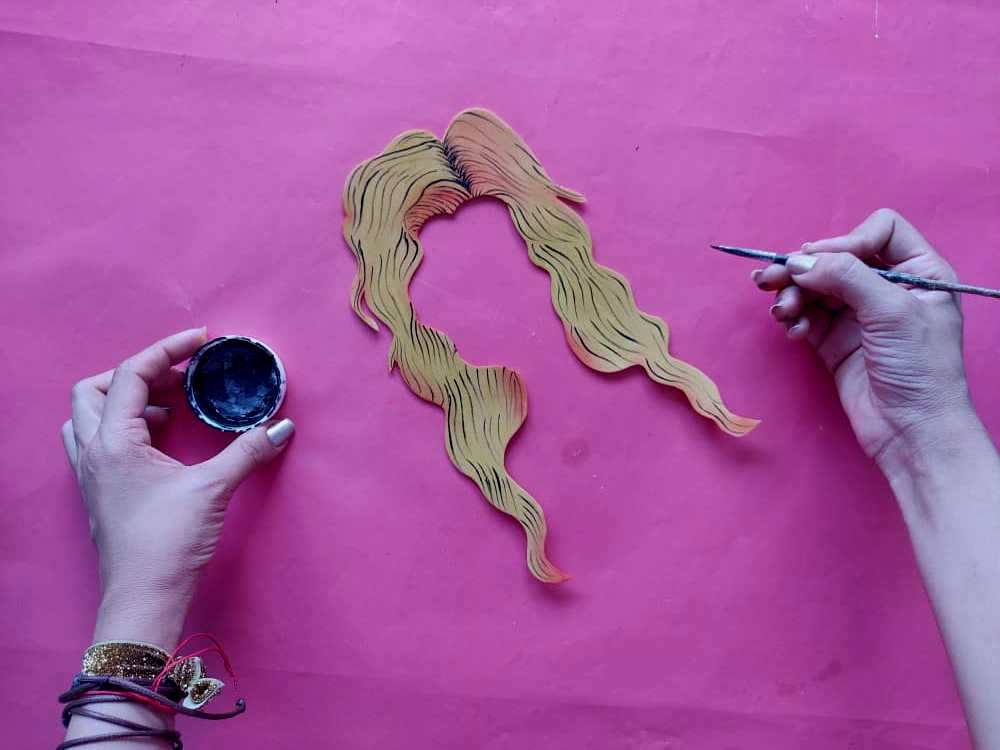
Next, we define the details of the hair with the help of a fine brush and black paint, making each detail with great love and care so as not to damage the rest of the hair.
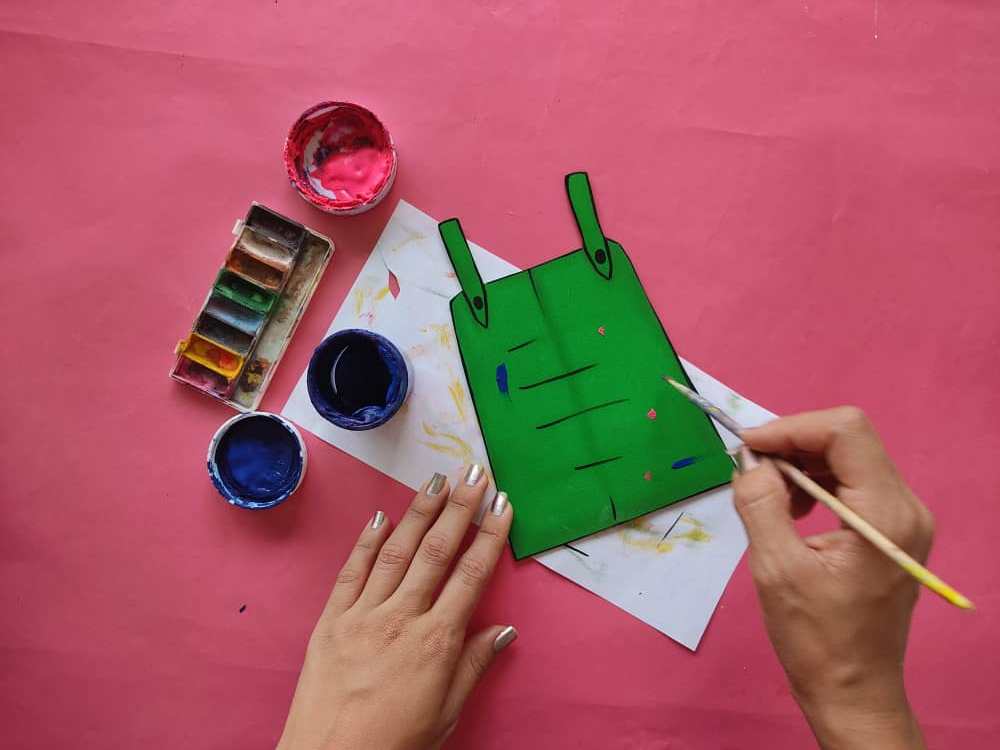
Ahora, sombreamos los bordes del overol con un tono un poco más oscuro y agregamos detalles de manchas de pintura para simular que el overol está sucio y manchado, tal parece que nuestra rubia trabaja con pinturas, seguramente es alguna pintora famosa xD.
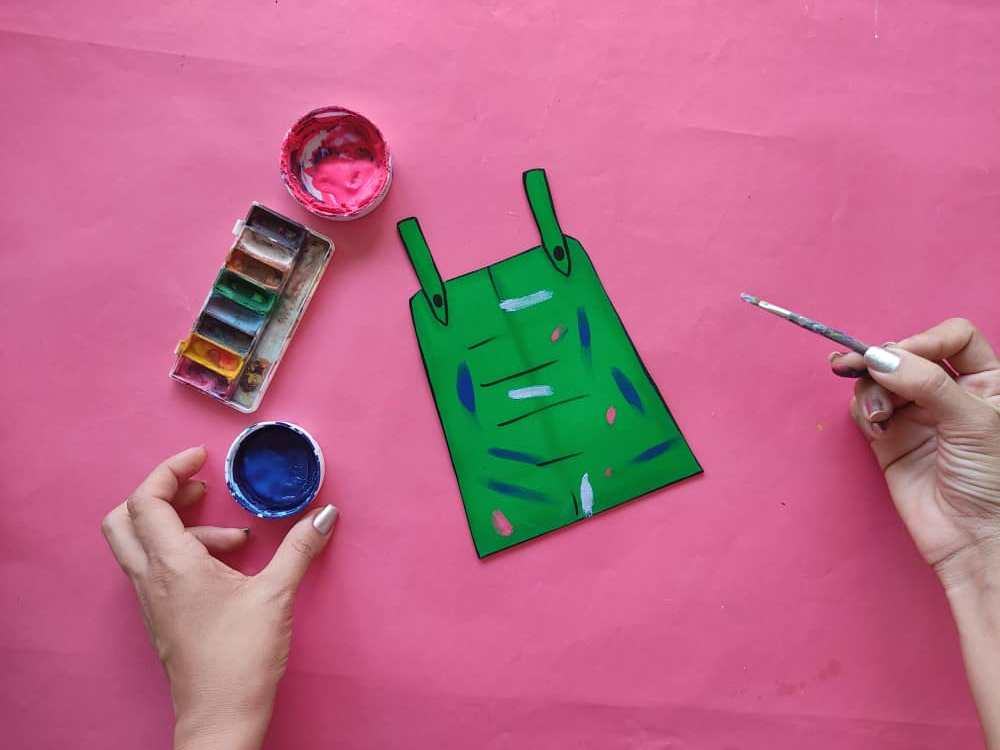
Now, we shade the edges of the jumpsuit with a slightly darker tone and add details of paint stains to simulate that the jumpsuit is dirty and stained, it seems that our blonde works with paints, surely it is some famous painter xD.
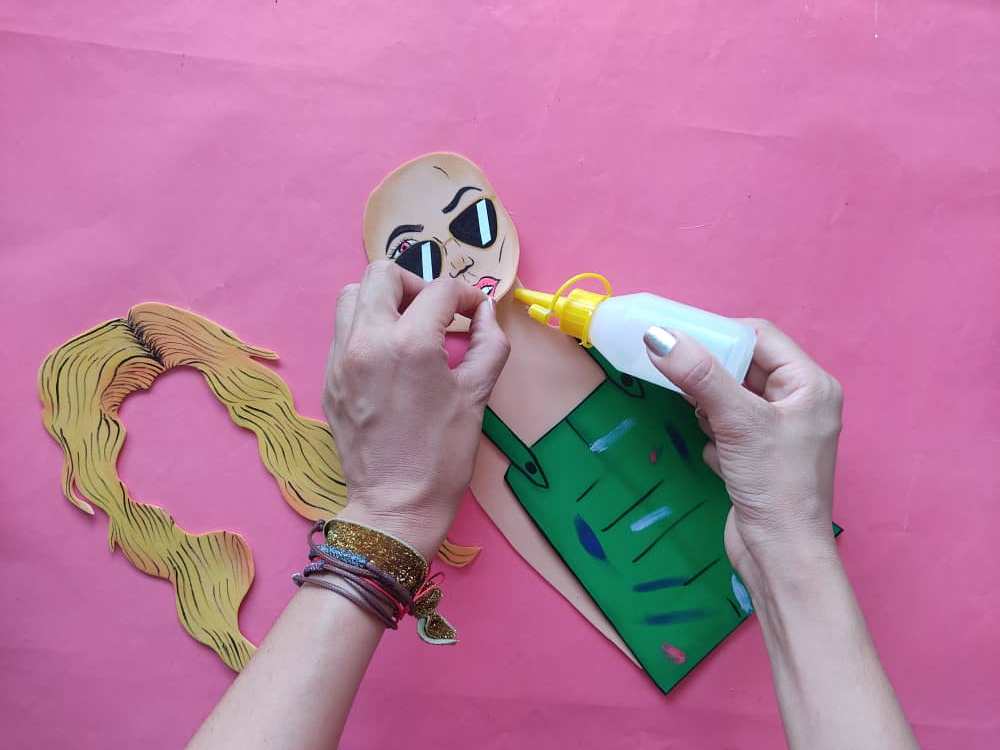
Una vez listas y pintadas todas las partes de nuestra bella modelo, armamos con mucho cuidado utilizando silicón líquido y ubicando cada pieza en su lugar, sin olvidar asegurarnos de que todo quede bien pegado.
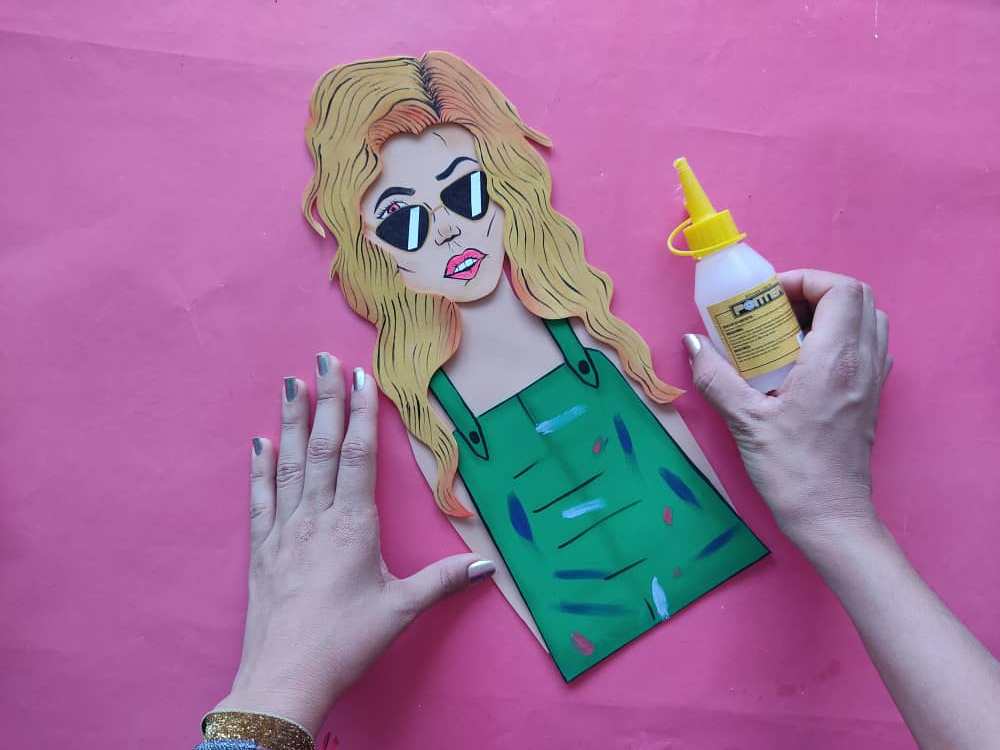
Once all the parts of our beautiful model are ready and painted, we assemble with great care using liquid silicone and placing each piece in its place, without forgetting to make sure that everything sticks well.

Seguidamente, elaboramos una base de cartón de 18cm por 50cm y la pintamos haciendo hermosos contraste de azul claro y oscuro.
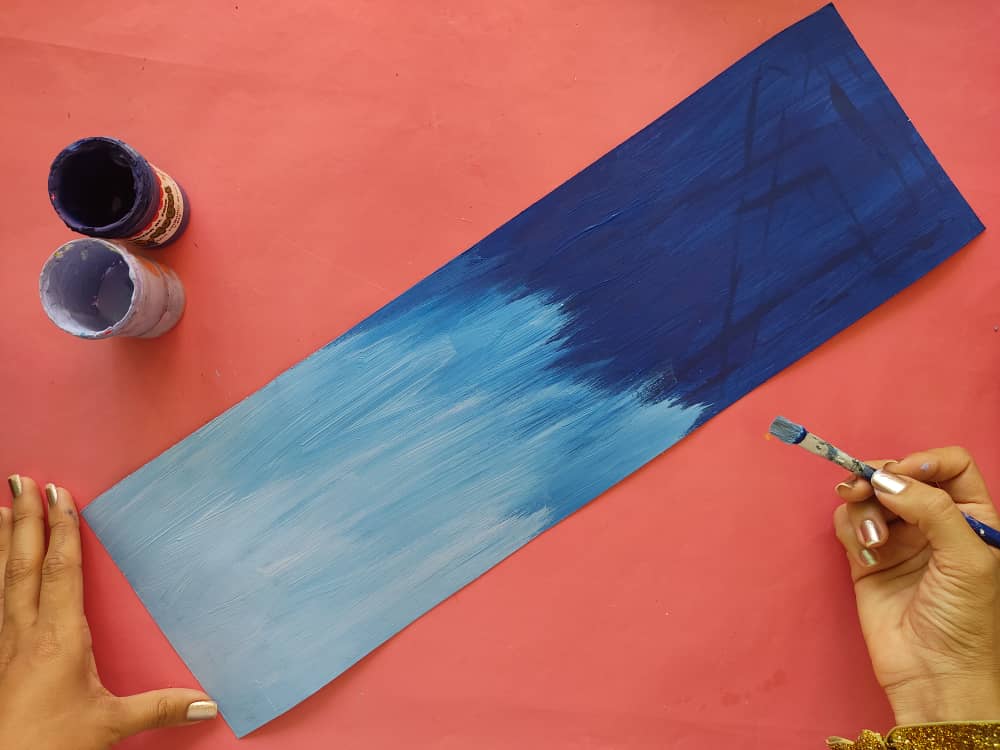
Next, we make a cardboard base measuring 18cm by 50cm and paint it making a beautiful contrast of light and dark blue.
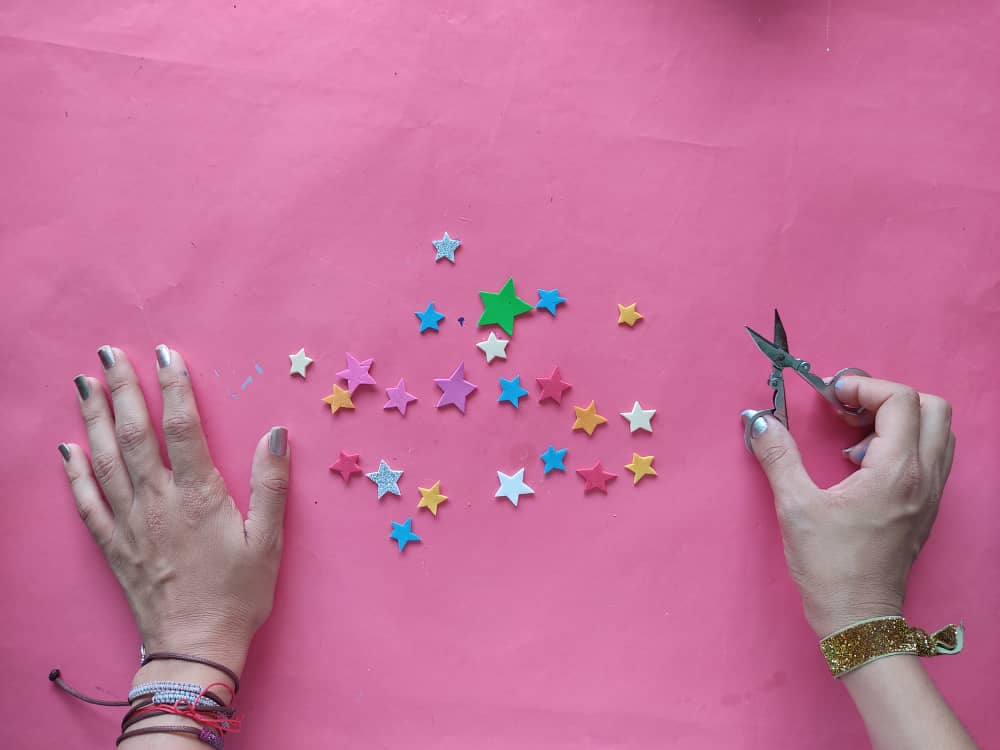
Una vez seca la base, recortamos muchas estrellas de foamy de diferentes colores y la pegamos a la base para simular una noche estrellada. Genial no?
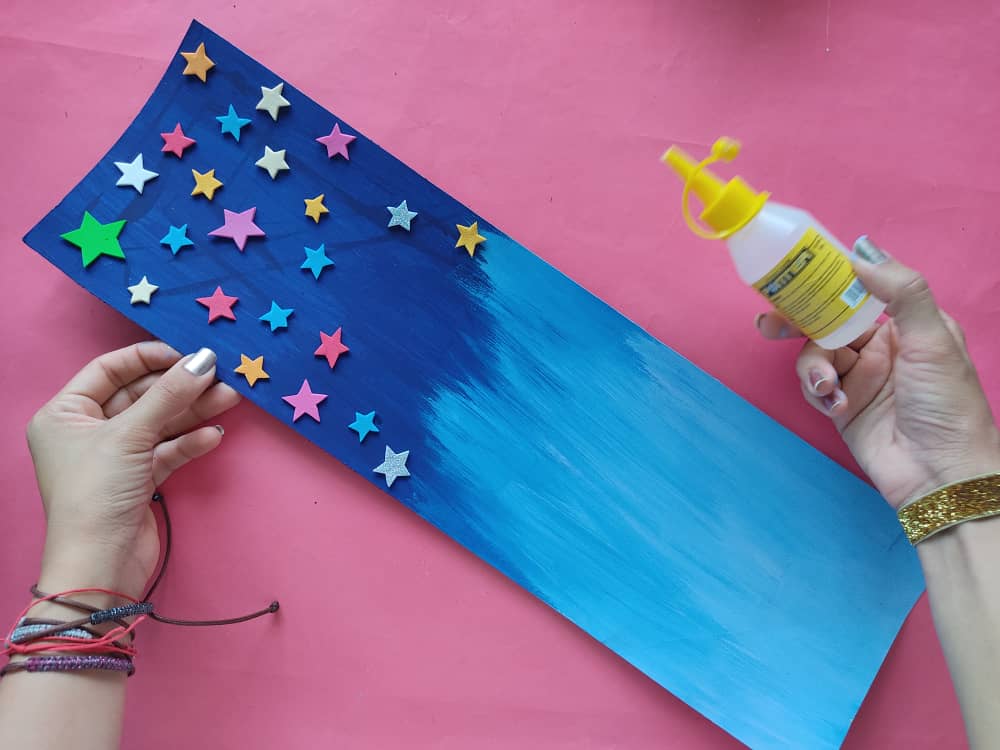
Once the base is dry, we cut out many different colored foamy stars and glue them to the base to simulate a starry night. Cool no?
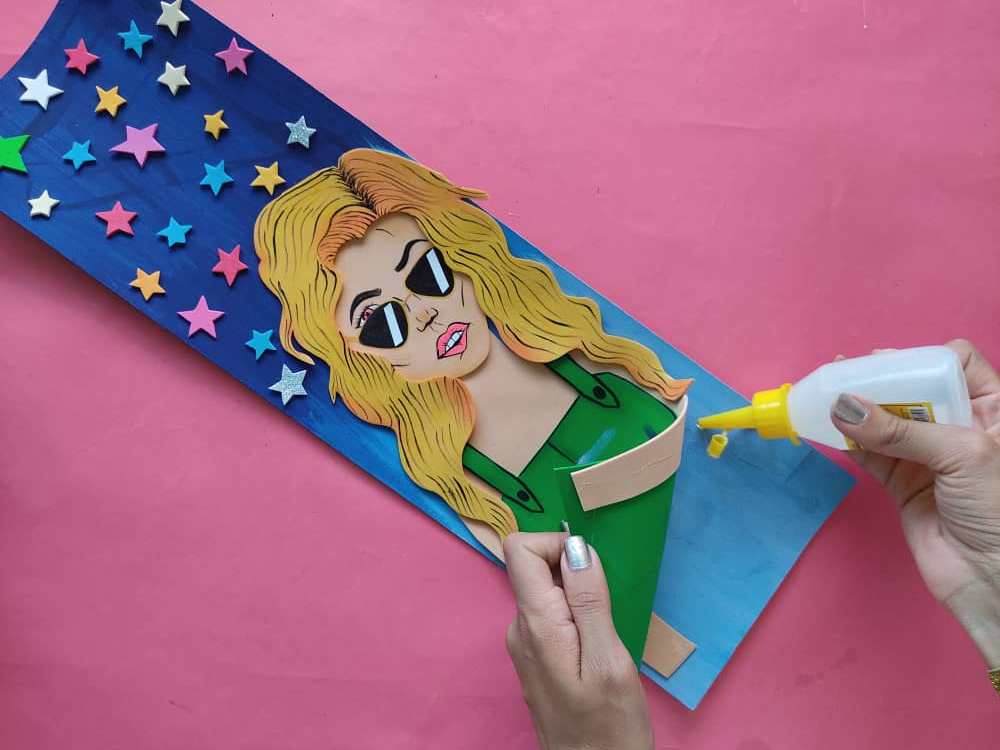
Finalmente, pegamos nuestra rubia a la base ubicándola en el centro, pero articulamos un poco su cabeza para que no tropiece ninguna estrella. XD
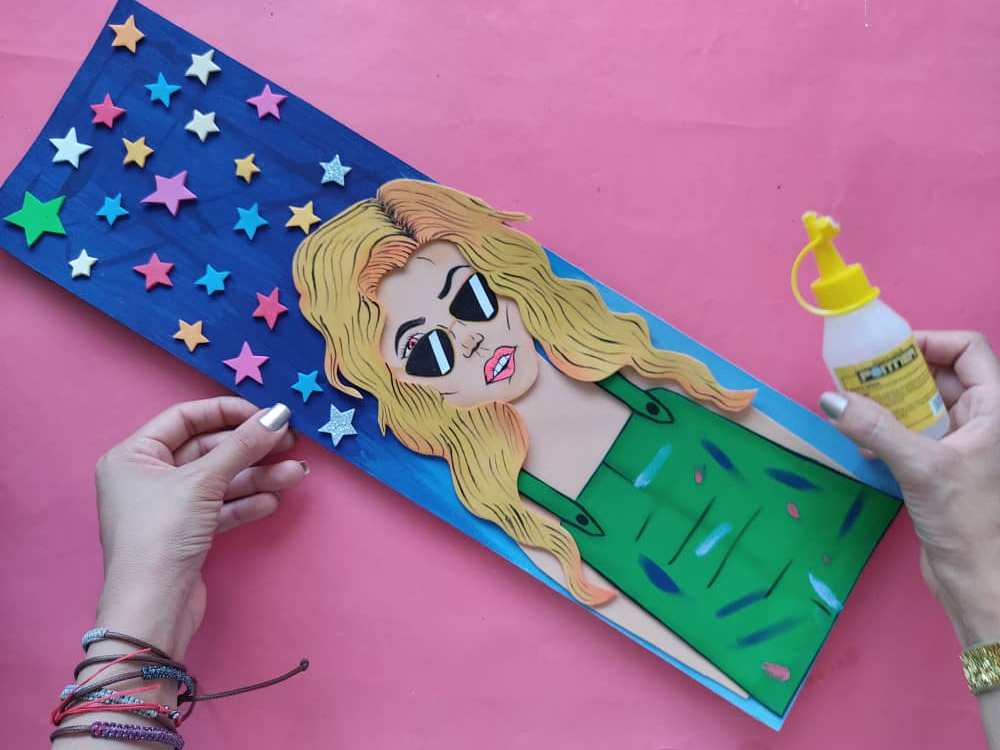
Finally, we glue our blonde to the base, placing it in the center, but we articulate her head a little so that no stars fall. XD
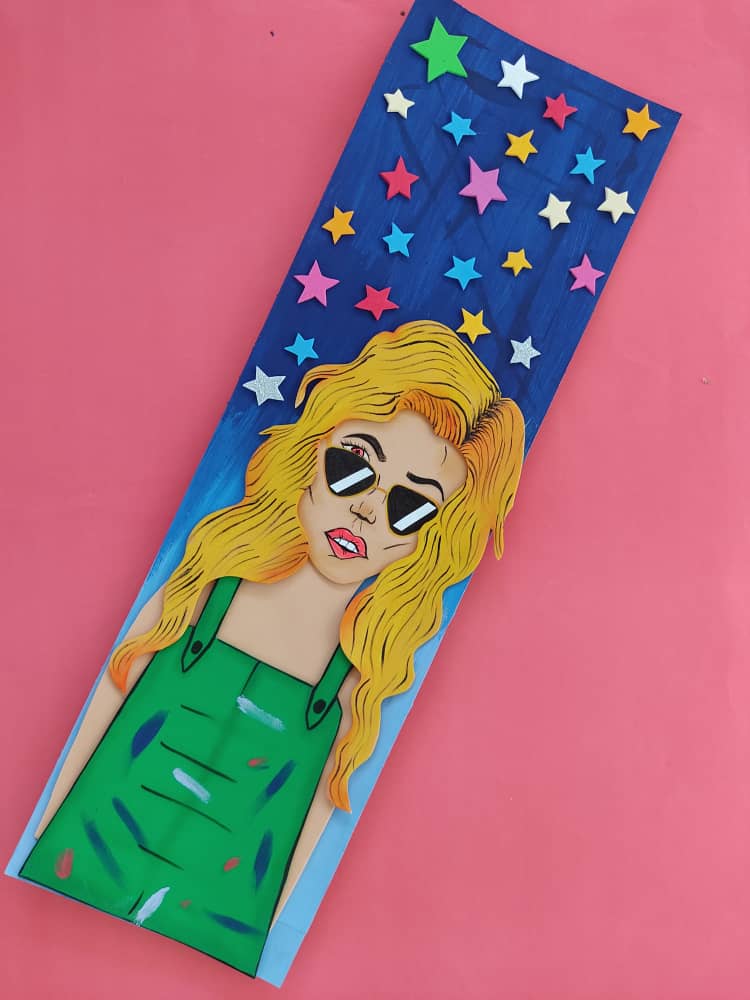
Gracias por acompañarme y espero que lo hayan disfrutado. ❤️
Thanks for joining and I hope you enjoyed it.❤️
.jpeg)
.jpeg)
.jpeg)
.jpeg)
.jpeg)
.jpeg)
.jpeg)
.jpeg)


Congratulations, your post has been upvoted by @dsc-r2cornell, which is the curating account for @R2cornell's Discord Community.
Congratulations @saracampero! You have completed the following achievement on the Hive blockchain and have been rewarded with new badge(s) :
You can view your badges on your board and compare yourself to others in the Ranking
If you no longer want to receive notifications, reply to this comment with the word
STOPCongratulations @saracampero! You received a personal badge!
You can view your badges on your board and compare yourself to others in the Ranking
Check out the last post from @hivebuzz: