.jpeg)

Español
Hola querida familia ❤️ Este nuevo día les traigo un divertido y navideño paso a paso donde aprenderemos a realizar un lindo marco de bienvenida navideño, perfecto para decorar nuestro hogar o lugares favoritos en estas fechas tan especiales y lo mejor de todo es que está hecha con materiales muy económicos y fáciles de conseguir, así que, no esperemos más y démosle la bienvenida a esta navidad.
English
Hello, dear family ❤️ This new day I bring you a fun and Christmas step by step where we will learn to make a nice Christmas welcome frame, perfect to decorate our home or favorite places on these special dates and the best of all is that it is made with very cheap materials and easy to get, so let's not wait any longer and welcome this Christmas.
¿Qué están esperando?
Gracias a este sencillo paso a paso podemos elaborar fácilmente nuestro propio marco de bienvenida navideño, perfecto e ideal para decorar nuestro entorno y darle ese toque creativo a nuestra navidad. Antes de comenzar no olvidemos lavarnos nuestras manos.
What are they waiting for?
Thanks to this simple step by step we can easily make our own Christmas welcome frame, perfect and ideal for decorating our surroundings and giving that creative touch to our Christmas. Before we start, let's not forget to wash our hands.
[Materiales | Materials]
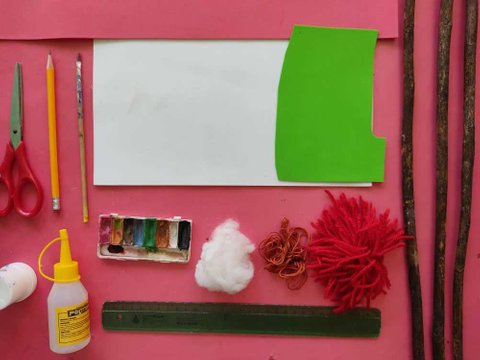
Para realizar esta linda obra necesitaremos:
- Foamy o goma eva.
- Lápiz de grafito.
- Pinturas.
- Pinceles.
- Tijera.
- Ramas de arbol.
- Hilo decorativo.
- Pegamento o silicón liquido.
To make this cute work we will need:
- Foamy or eva foam.
- Graphite pencil.
- Paintings.
- Brushes.
- Scissors.
- Tree branches.
- Decorative thread.
- Glue or liquid silicone.
Procedimiento (paso a paso)
Process (step by step)
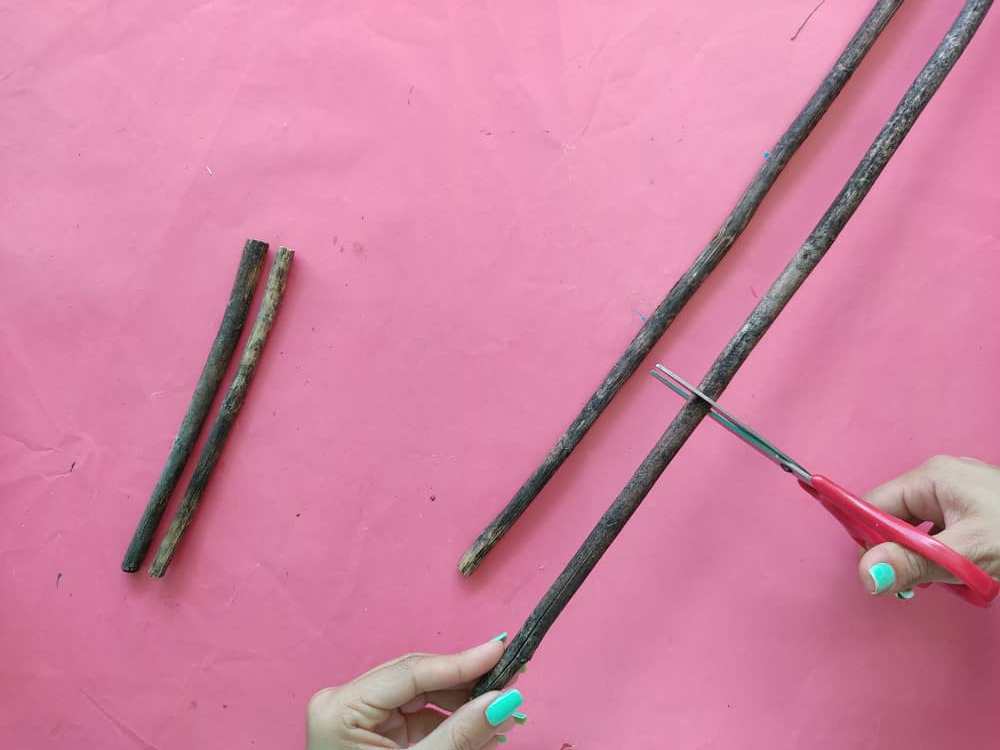
Primero, cortamos las ramas de árbol para obtener 8 ramitas de aproximadamente 15cm.
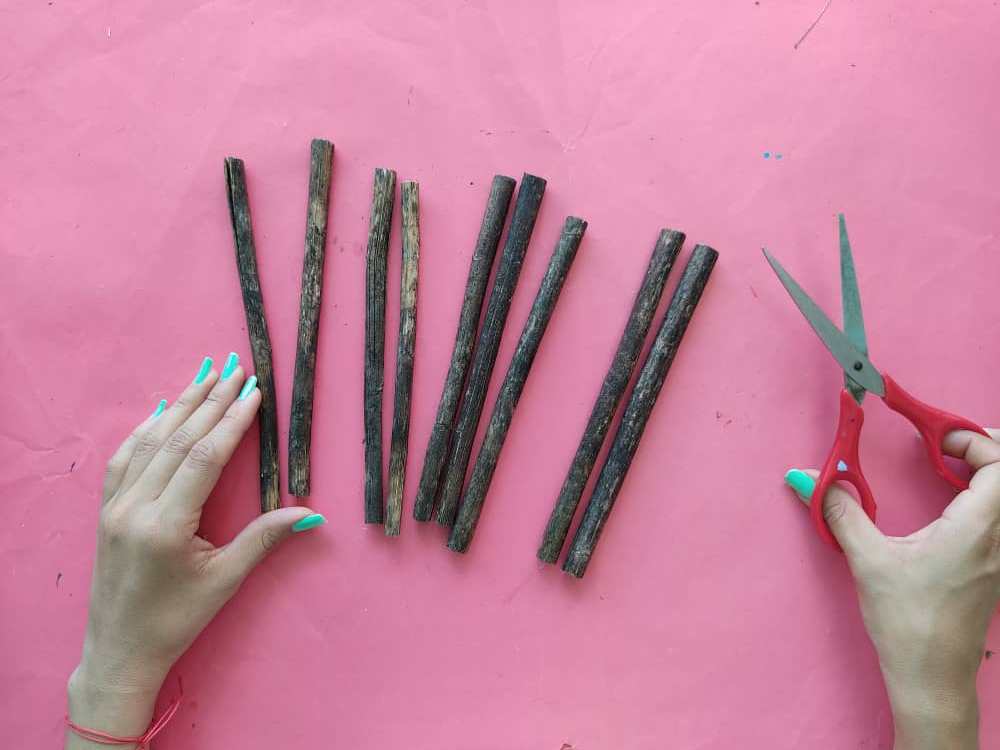
First, we cut the tree branches to obtain 8 twigs of approximately 15cm.
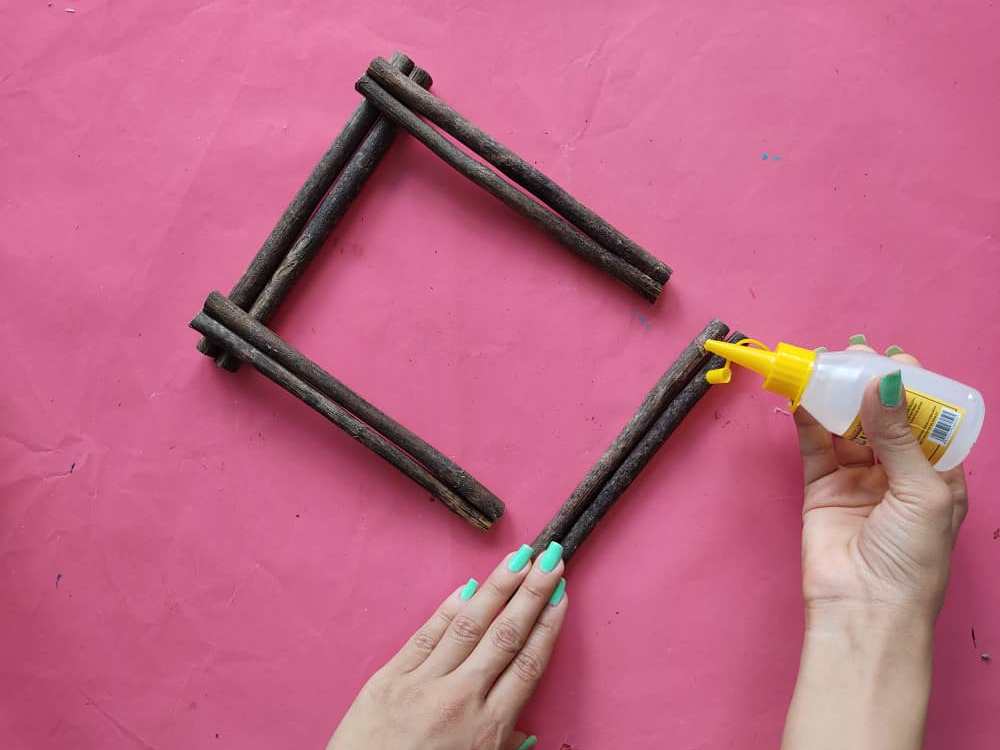
Luego, unimos cuatro pares juntando estás ramas de dos en dos y elaboramos un hermoso marco uniendo los cuatro pares de ramas con silicón frío, y nos aseguramos que todo quede bien pegado.
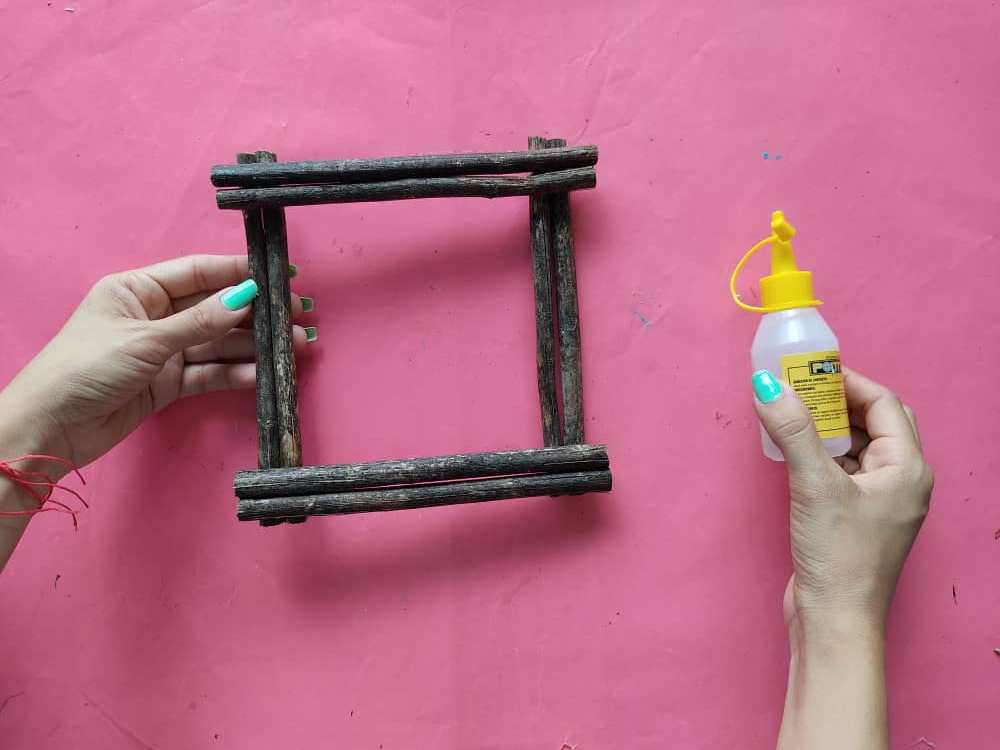
Then, we join four pairs by joining these branches two by two and we make a beautiful frame joining the four pairs of branches with cold silicone, and we make sure that everything is well glued.
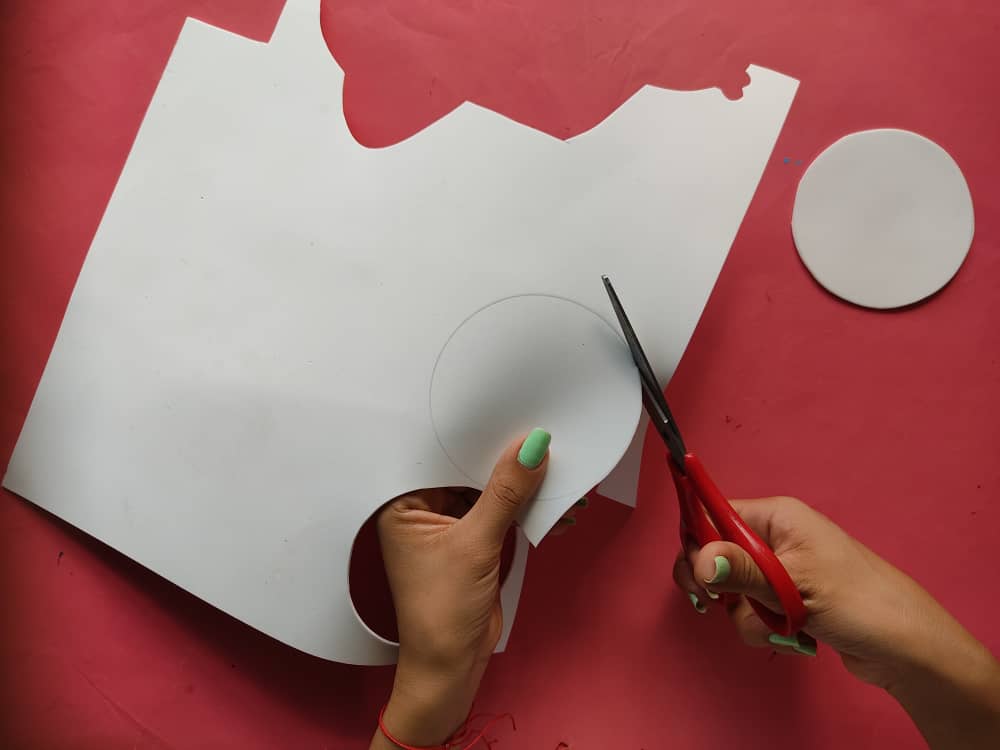
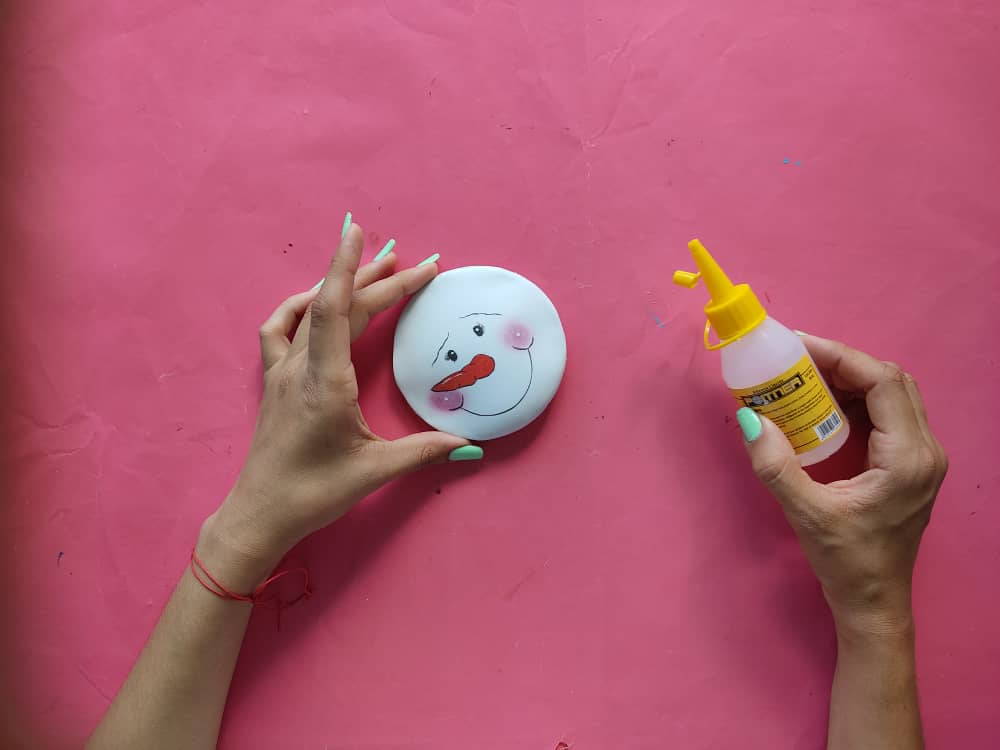
Ahora, elaboramos dos círculos de foamy blanco los cuales formarán la cabeza de un lindo muñeco de nieve.
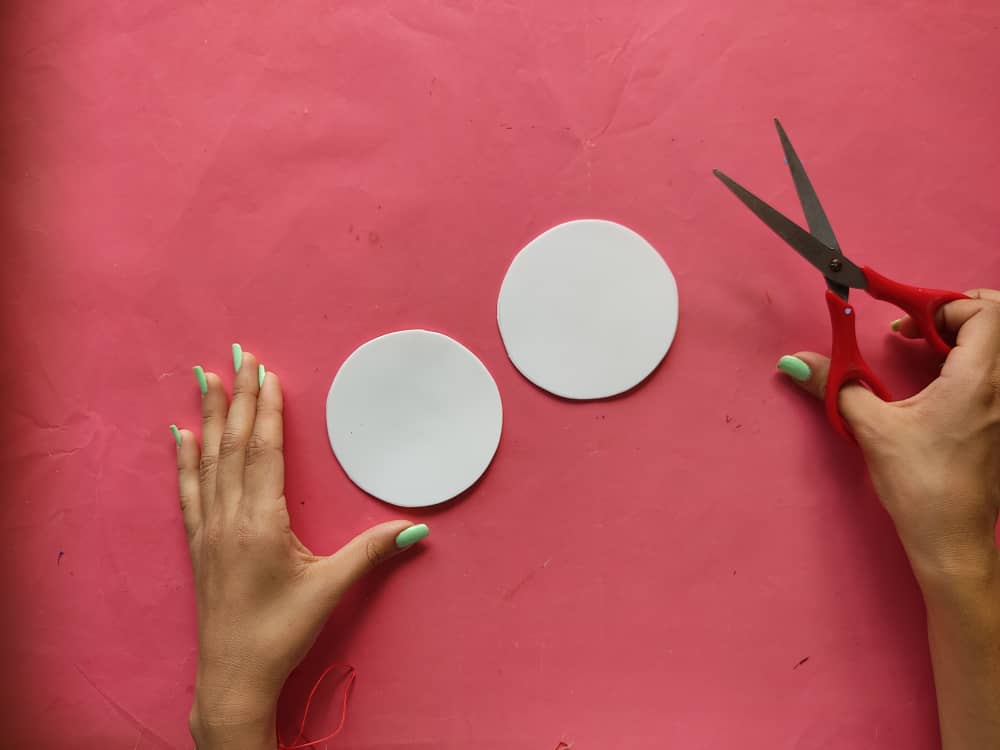
Now, we make two white foamy circles which will form the head of a cute snowman.
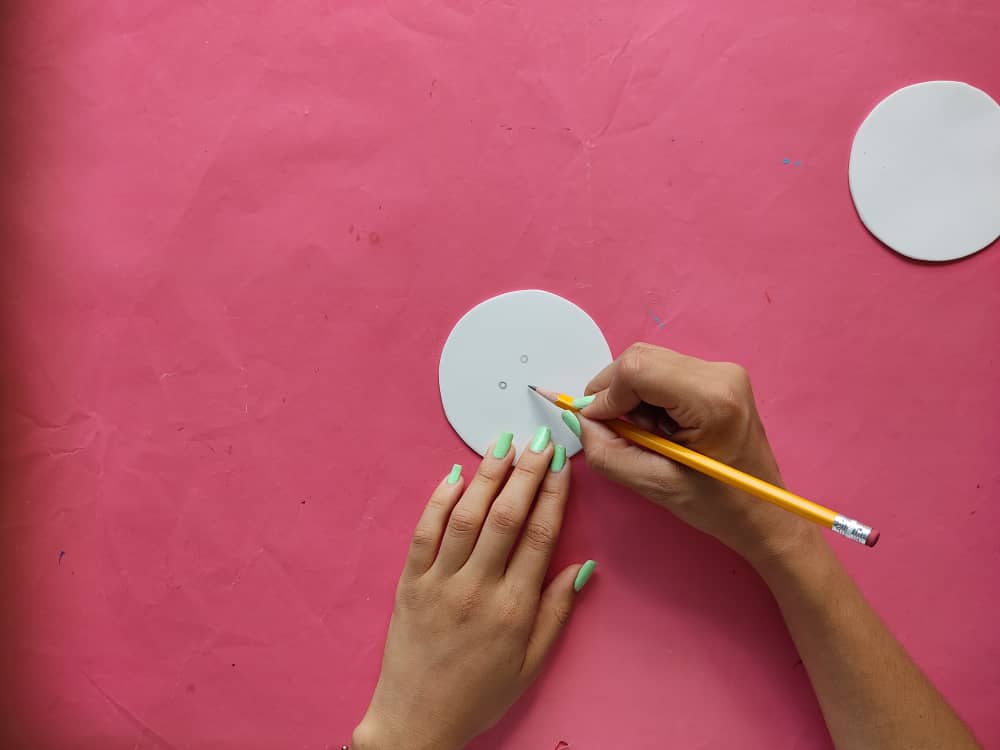
Luego, definimos y pintamos la tierna cara del muñeco de nieve, sus ojos, mejillas sonrojadas, boca y gran nariz de zanahoria.
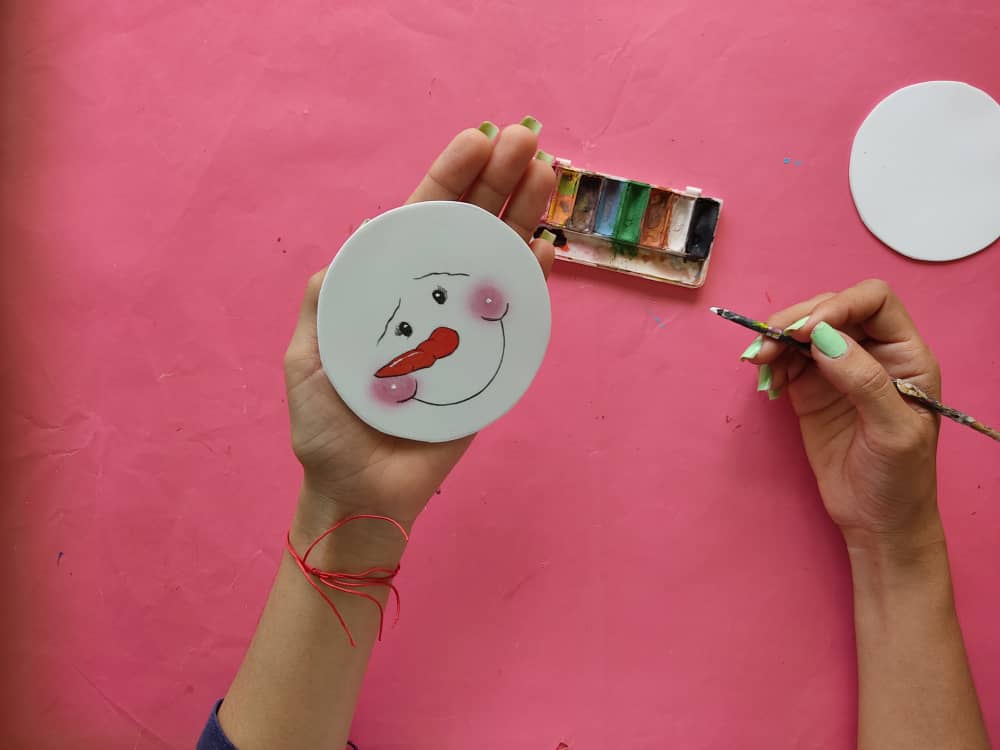
Then, we define and paint the cute face of the snowman, his eyes, flushed cheeks, mouth, and big carrot nose.
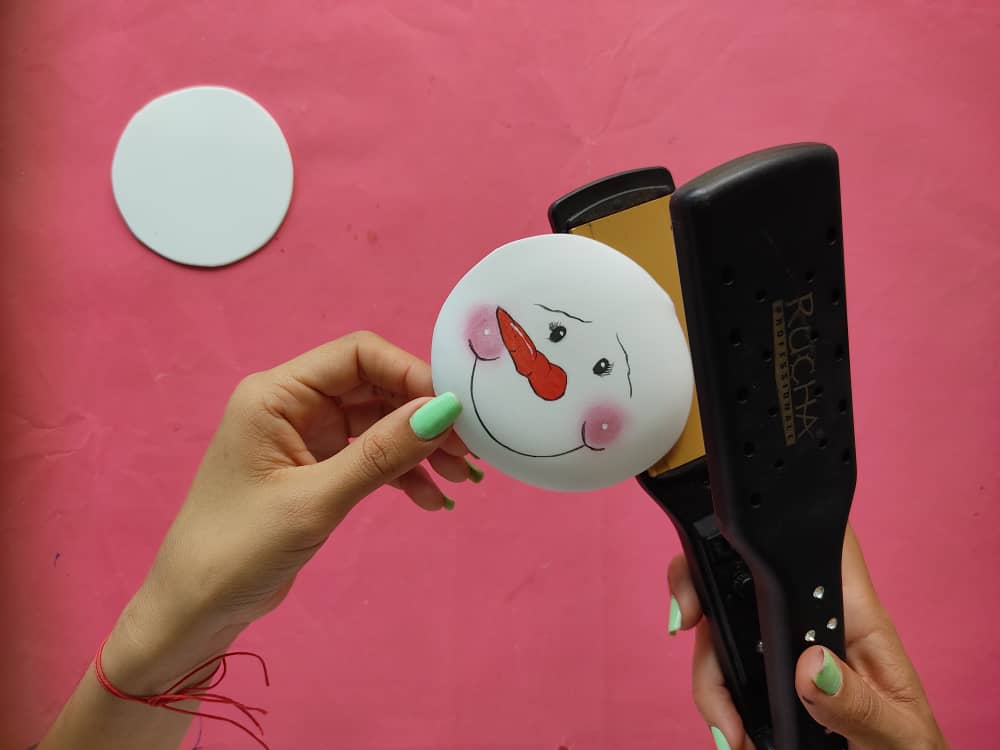
Una vez lista la cara del muñeco, aplicamos la técnica de termoformado a los dos círculos que hemos elaborado.
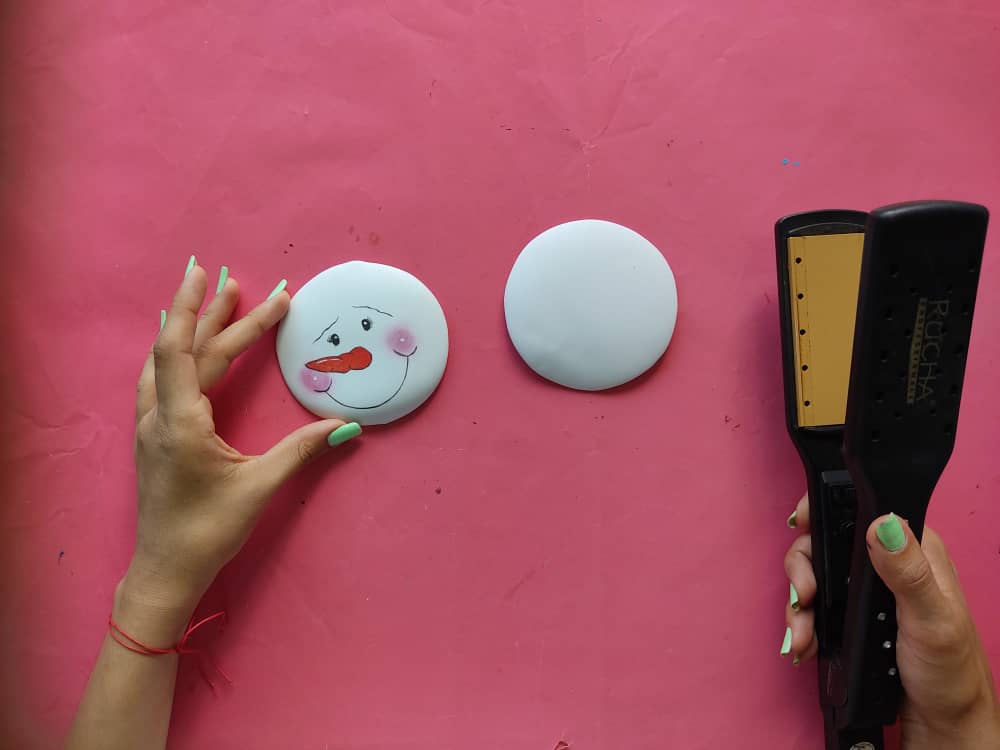
Once the face of the doll is ready, we apply the thermoforming technique to the two circles that we have made.
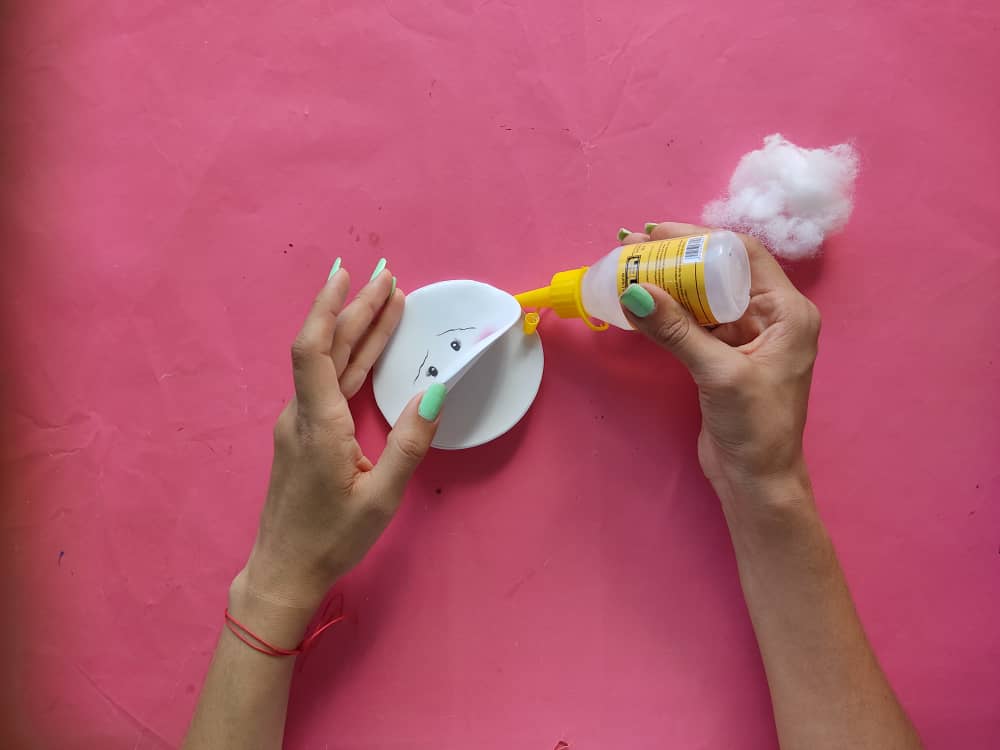
Luego, rellenamos la cabeza del muñeco, y sellamos aplicando silicón frío en los bordes, de manera que tenga un volumen genial y luzca como un verdadero muñeco de nieve.
Then we fill the head of the doll and seal it by applying cold silicone to the edges so that it has a great volume and looks like a real snowman.
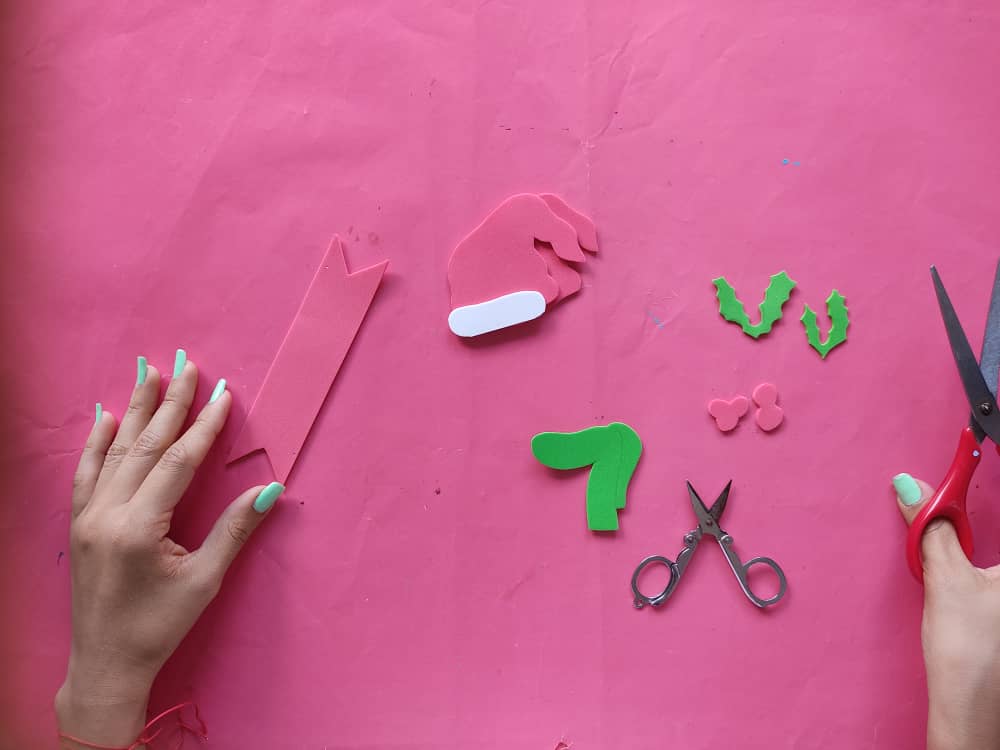
Seguidamente, elaboramos los pequeños detalles como lo son un gorro, bufanda, cartel y cerezas. Y, comenzamos a darle un poco de color a estas pequeñas piezas, y le damos color a cada una de estas partes, sin olvidar remarcar sus bordes para que resalte mucho mas su belleza.
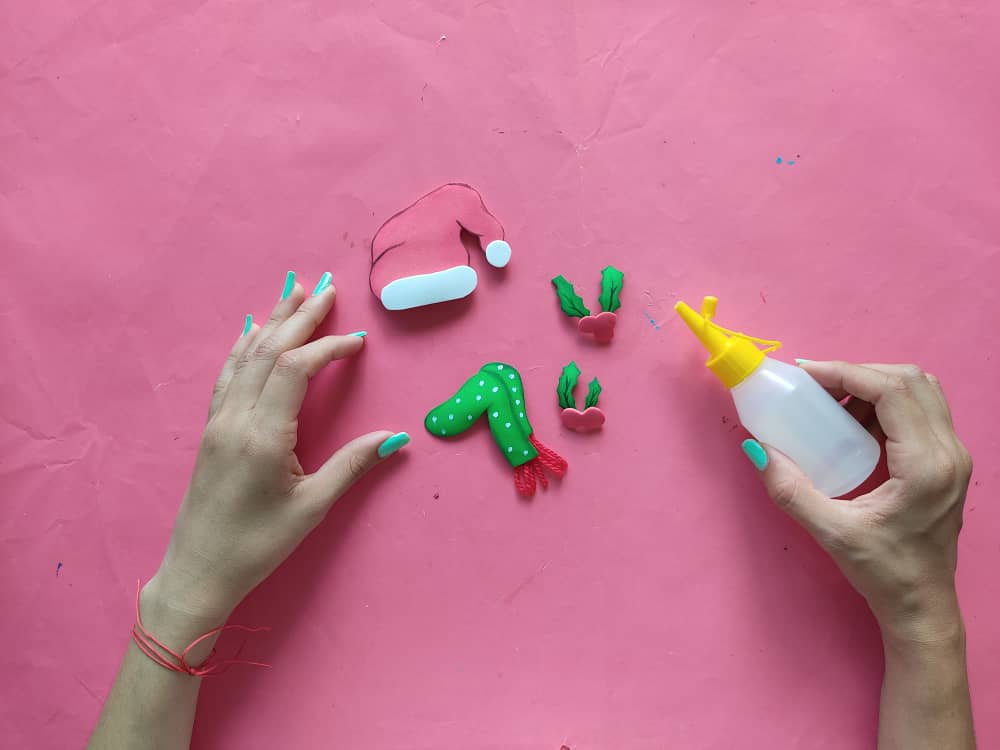
Next, we elaborate on the small details such as a hat, scarf, poster, and cherries. And, we began to give these small pieces a little color, and we color each of these parts, without forgetting to highlight their edges so that their beauty stands out much more.
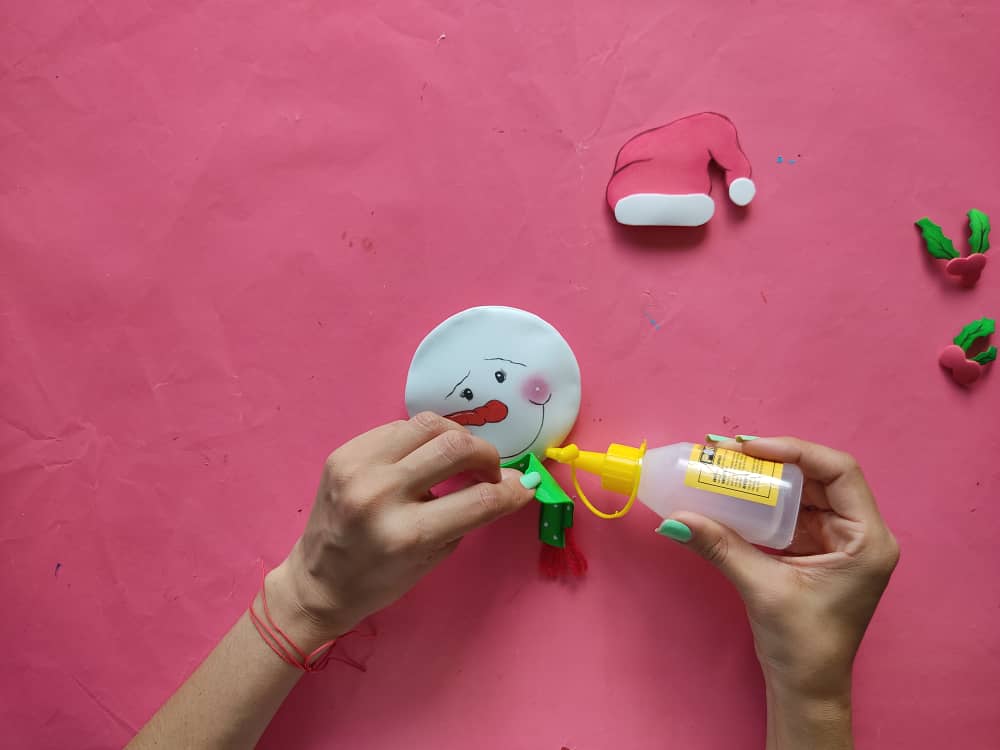
Ahora comenzamos a armar el muñeco, pegando sobre este su sombrero y la bufanda.
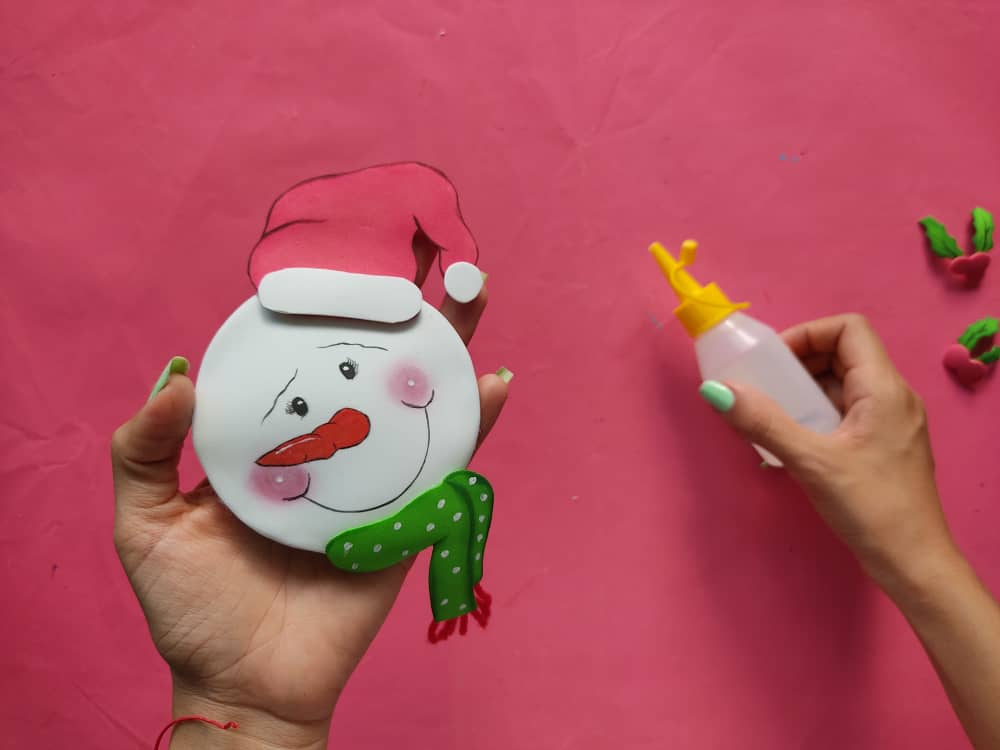
Now we begin to assemble the doll, sticking his hat and scarf on it.
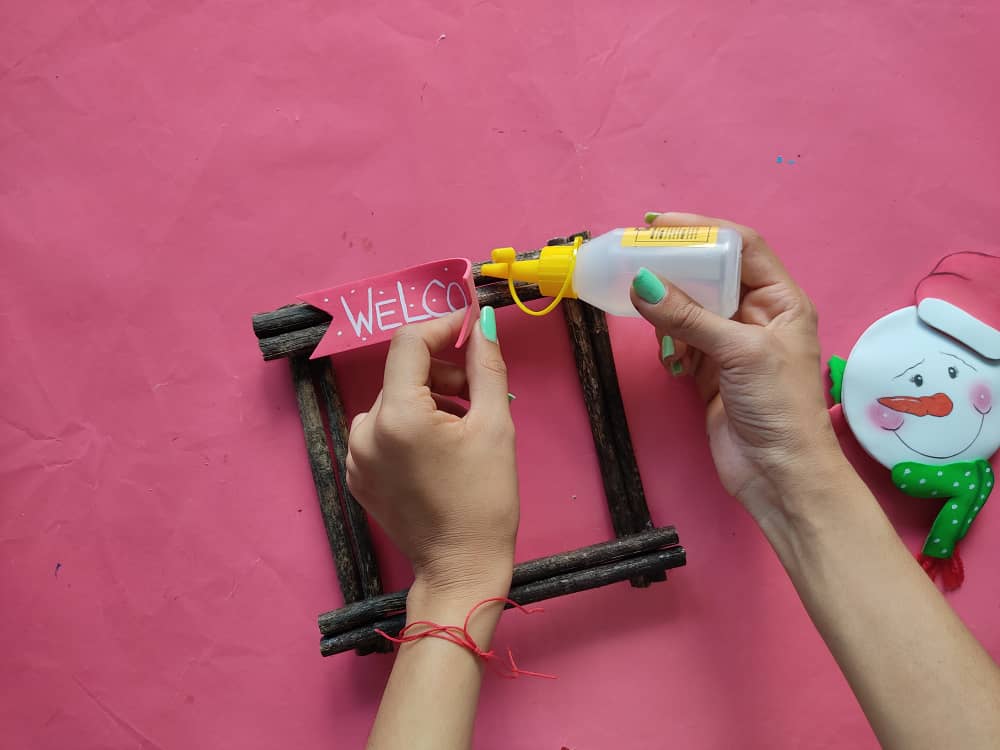
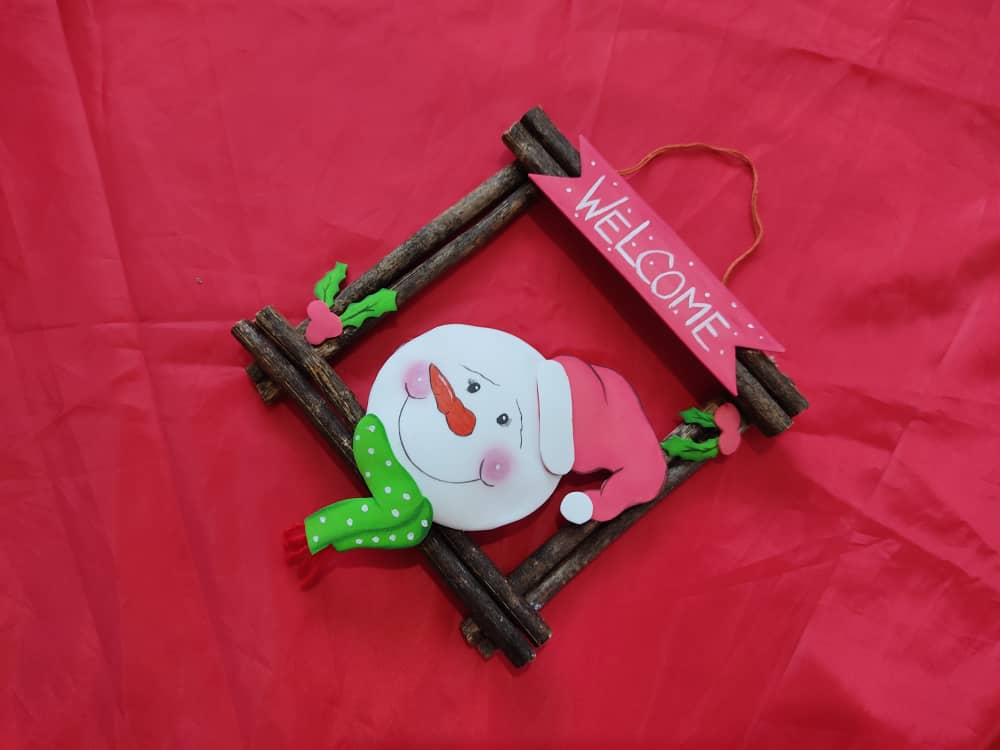
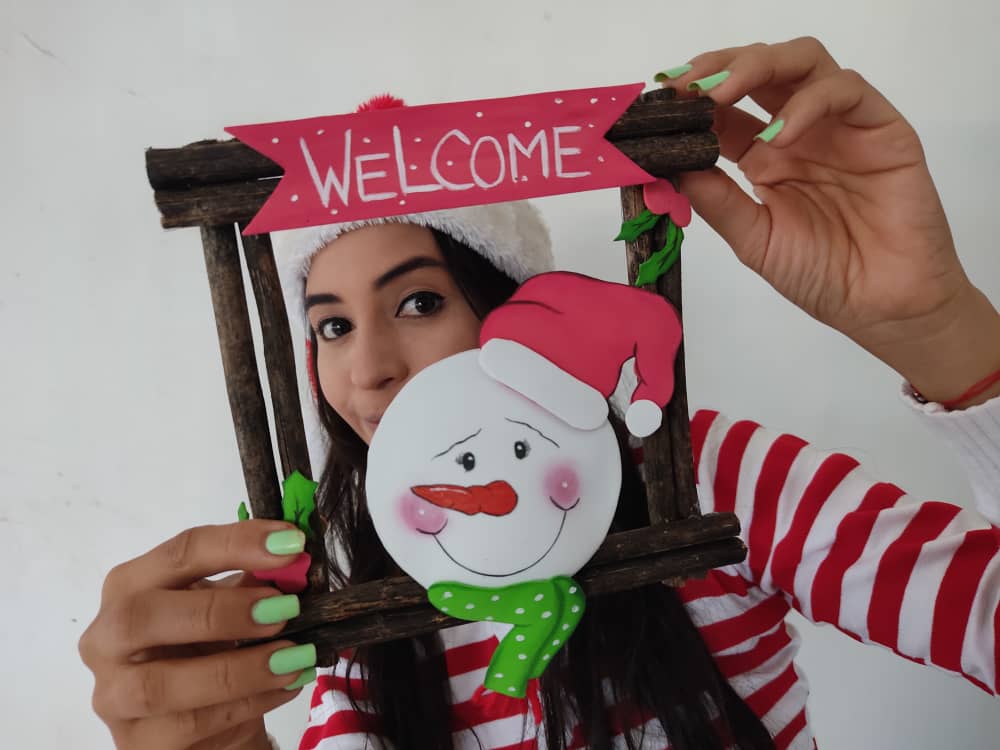
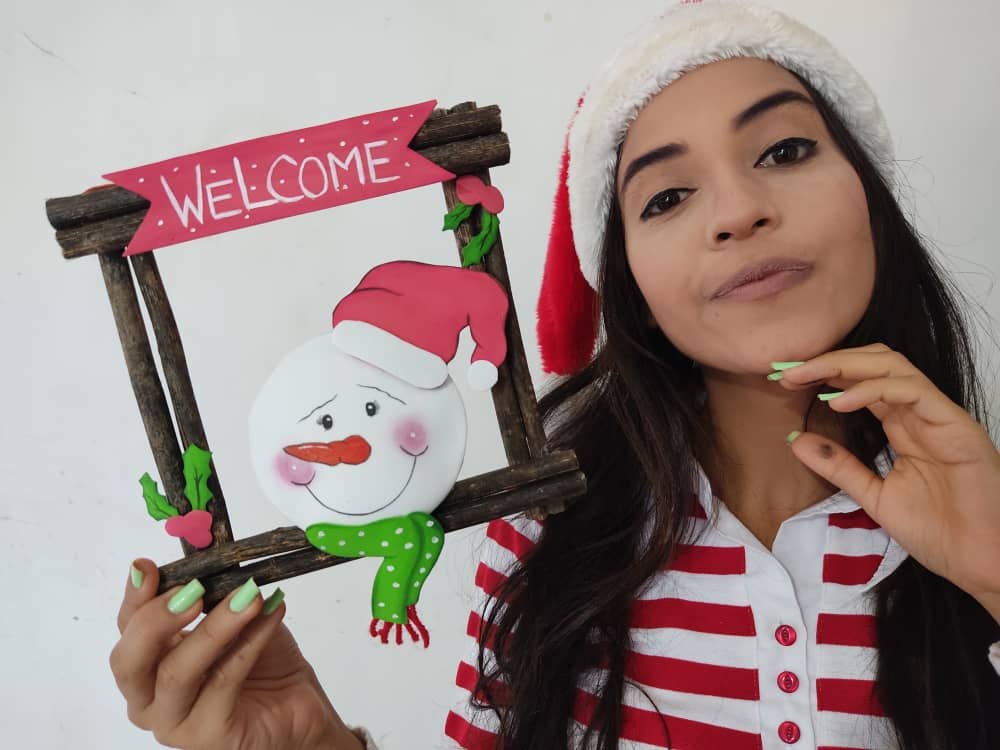
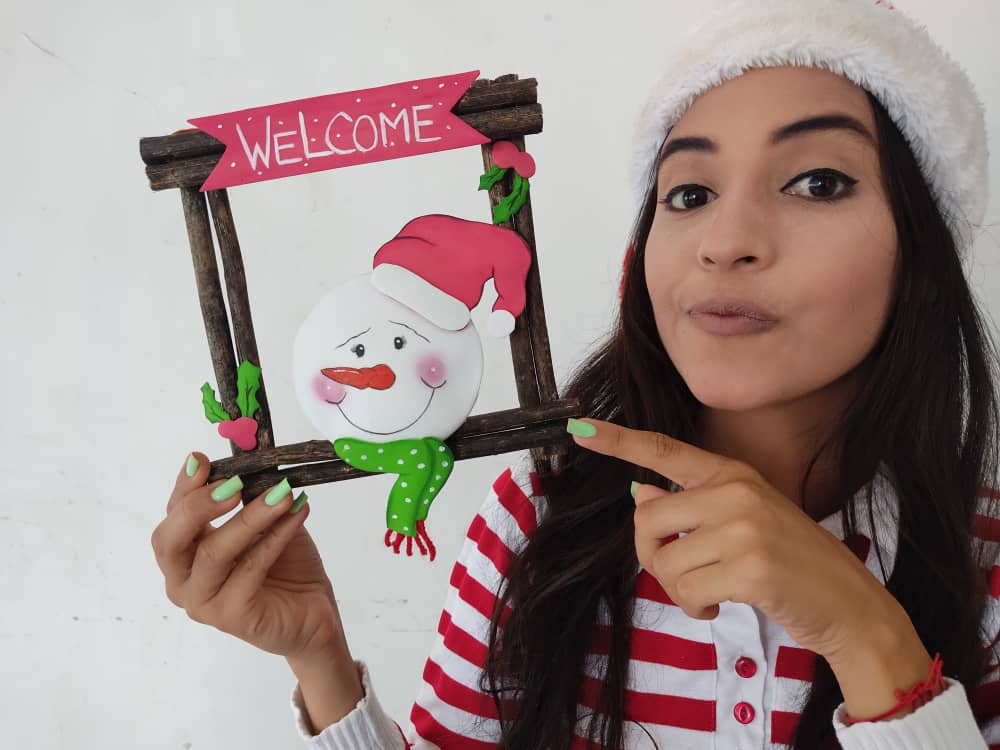
Luego, pegamos el cartel con la palabra welcome en parte superior del marco, y luego pegamos el muñeco en el centro del marco, y en las esquinas pegamos las cerezas.
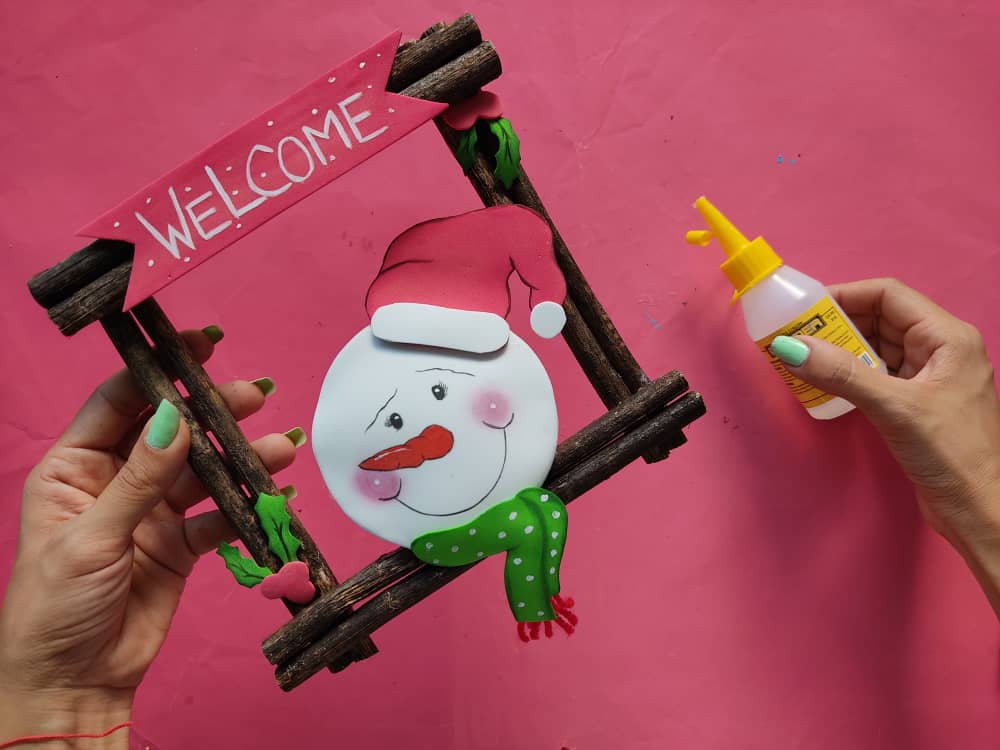
Then, we paste the poster with the word welcome on the top of the frame, and then we paste the doll in the center of the frame, and in the corners, we paste the cherries.
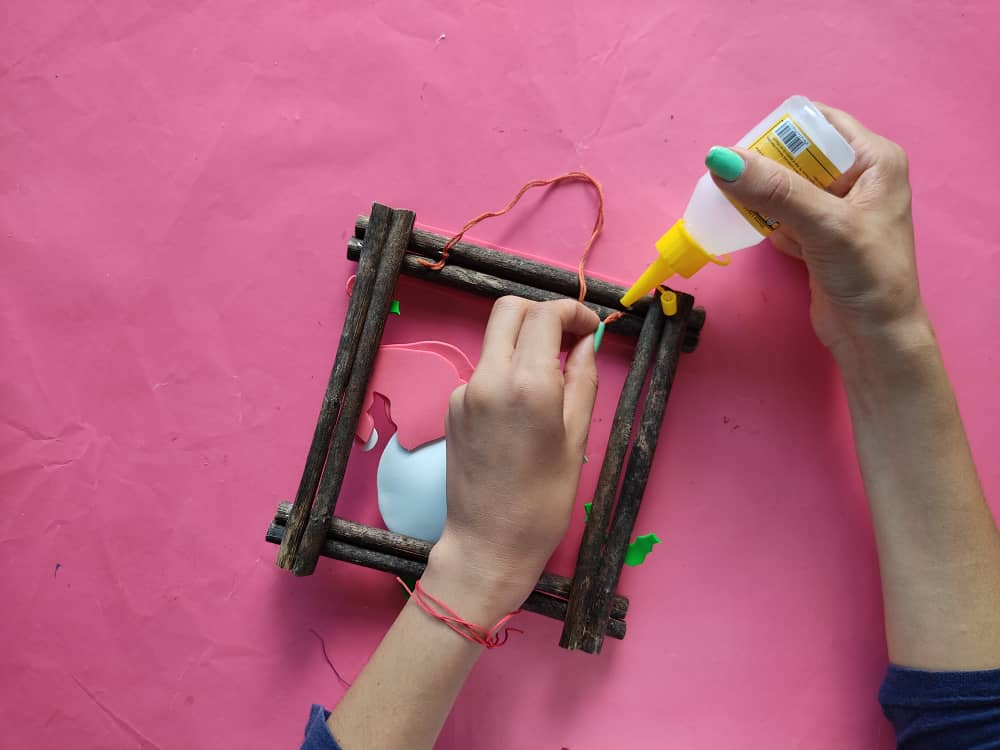
Finalmente, pegamos en la parte trasera del marco un pequeño cordón para colgar este hermoso adorno.
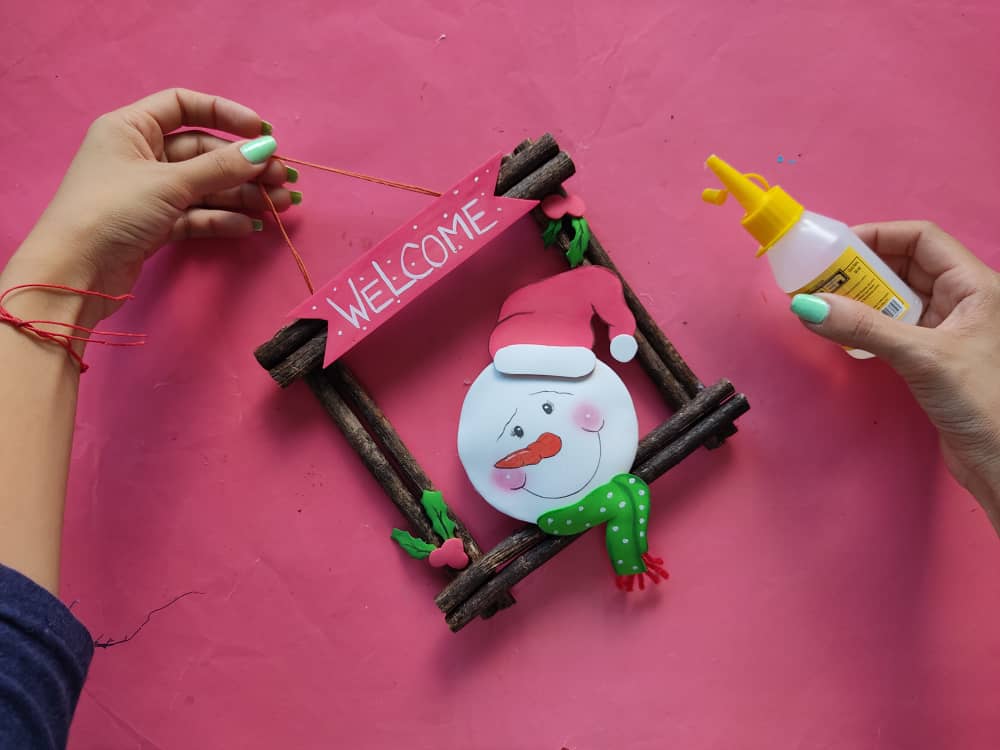
Finally, we glued a small cord to the back of the frame to hang this beautiful ornament.
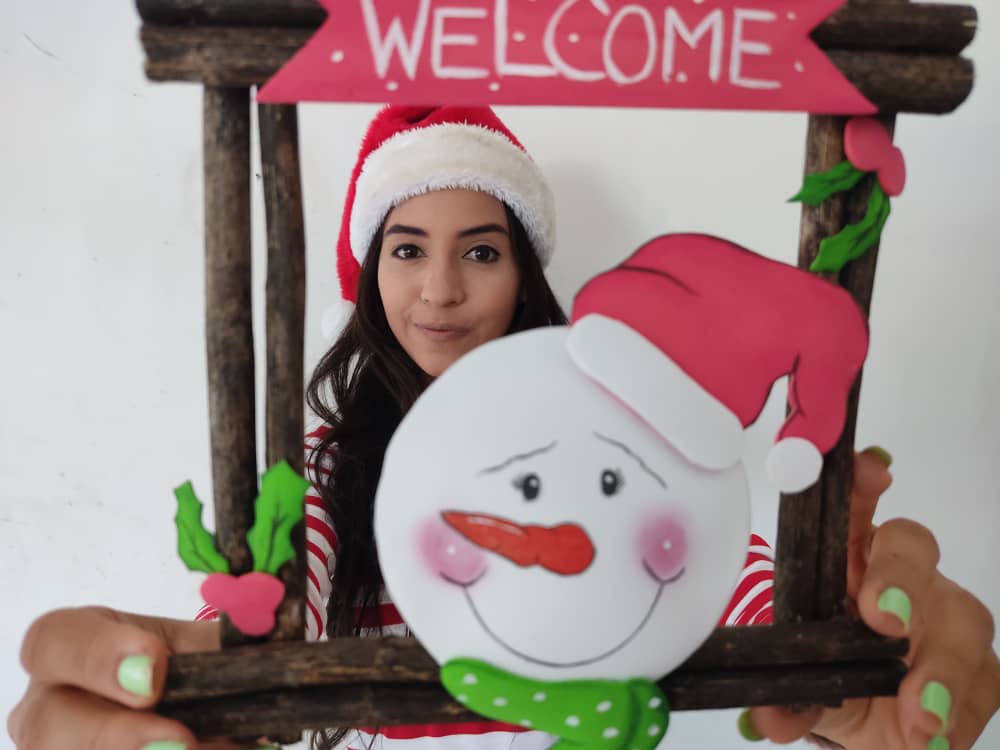
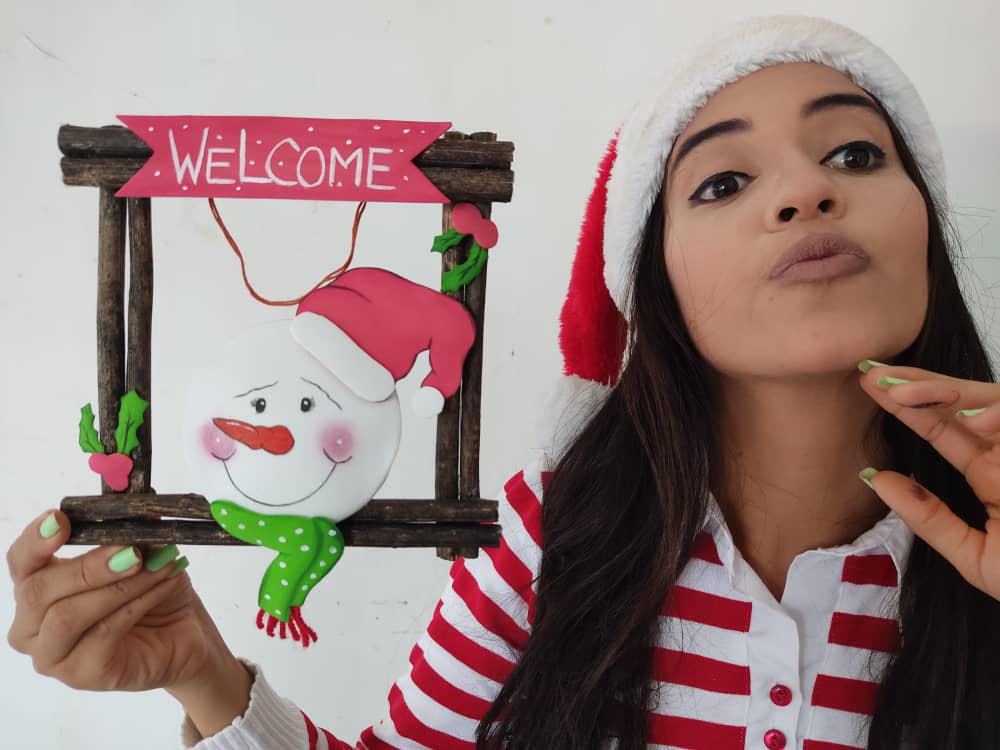
Gracias por acompañarme y espero que lo hayan disfrutado. ❤️
Thanks for joining and I hope you enjoyed it.❤️
.jpg)
.jpeg)
.jpeg)
.jpeg)
.jpeg)
.jpeg)
.jpeg)
.jpeg)


que bonito te quedo adoro tu creatividad @saracampero
Gracias querido amigo.
Nice work and beautiful photos :)
Thank you very much for visiting my publication. I hope to see you again here.
My twt #posh
Your post has been voted as a part of Encouragement program. Keep up the good work!
Try https://ecency.com and Earn Points in every action (being online, posting, commenting, reblog, vote and more).
Boost your earnings, double reward, double fun! 😉
Support Ecency, in our mission:
Ecency: https://ecency.com/proposals/141
Hivesigner: Vote for Proposal
Great Tutorial! re-tweeted!
Thanks for the welcome. Greetings, best wishes to the community.
Congratulations, your post has been upvoted by @dsc-r2cornell, which is the curating account for @R2cornell's Discord Community.
Enhorabuena, su "post" ha sido "up-voted" por @dsc-r2cornell, que es la "cuenta curating" de la Comunidad de la Discordia de @R2cornell.
Super Hot.... Taking the NERDAY NFT coin to the Moon. 🚀 🌙
Great post thank you! 👍👍
Thank you for appreciating my post, I hope to see you here again.