HI THERE! Good morning #HIVE friends, I hope you are well. Today I come to share my creative proposal on the development of a didactic puzzle in the form of an ideal cube for the smallest of the house to develop: their mental skills, motor skills and also recognize shapes and colors. This project turns out to be a 3D didactic game and it is my entry into the contest that this week the #HIVEDIY and @EQUIPODELTA community brings us, in which the challenge consists of making useful objects in 3D. I hope you like my creative proposal and then I show you the step by step on the development of this fun didactic puzzle.
¡HOLA! Muy buenos días amigos de #HIVE, espero se encuentren bien. Hoy les vengo a compartir mi propuesta creativa sobre la elaboración de un rompecabezas didáctico en forma de cubo ideal para que los más pequeños de la casa desarrollen: sus destrezas mentales, habilidades motrices y además reconozcan formas y colores. Este proyecto resulta ser un juego didáctico en tercera dimensión y es mi entrada al concurso que esta semana nos trae la comunidad de #HIVEDIY y el @EQUIPODELTA en la que el desafío consiste en elaborar objetos útiles en 3D. Espero que sea de su agrado mi propuesta creativa y a continuación les muestro el paso a paso sobre la elaboración de este divertido rompecabezas didáctico.
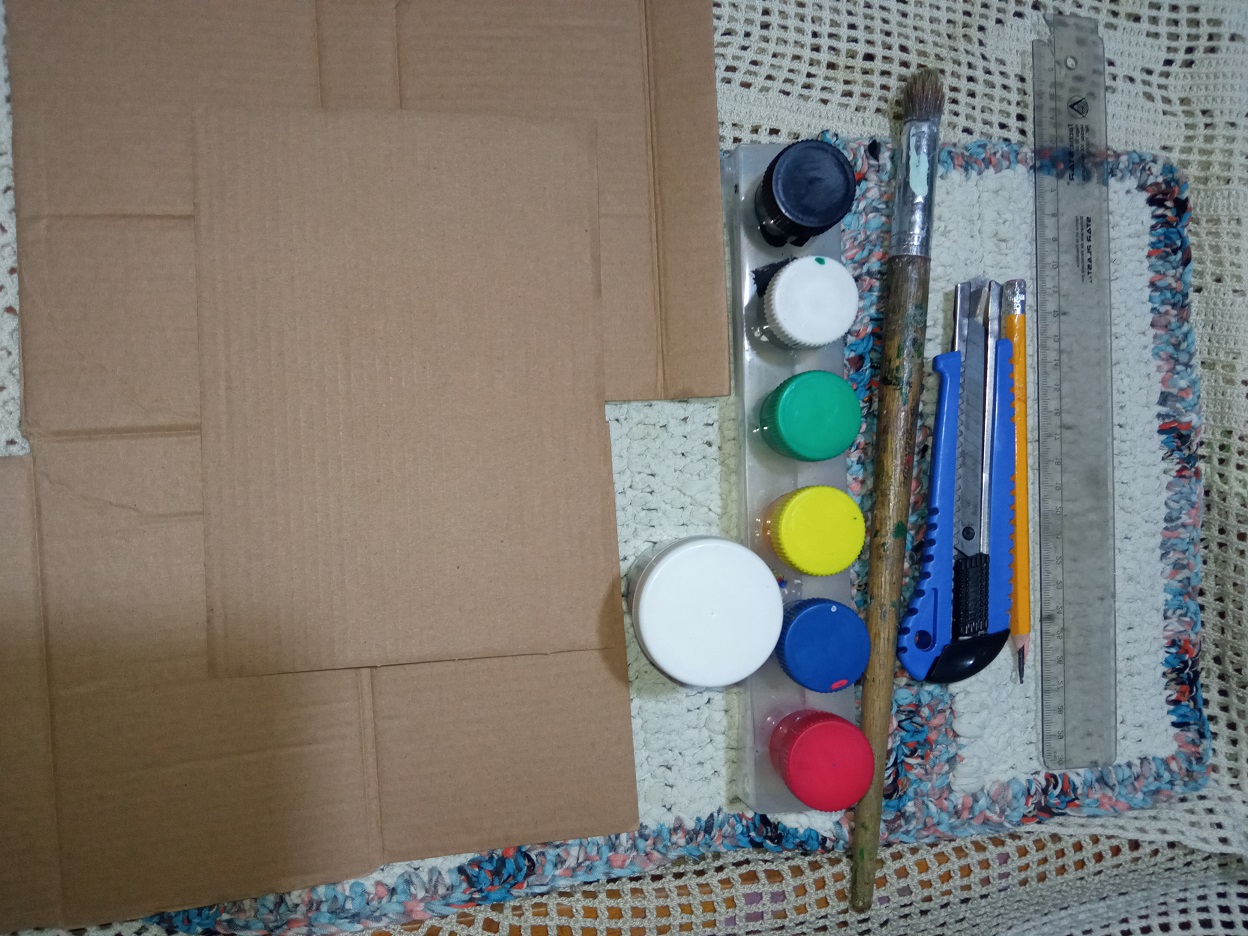
Used materials:
• Paperboard.
• Rule.
• Exact or scalpel.
• Pencil.
• Paints of various colors.
• Thick brush.
Materiales utilizados:
• Cartón.
• Regla.
• Exacto o bisturí.
• Lápiz.
• Pinturas de varios colores.
• Pincel grueso.
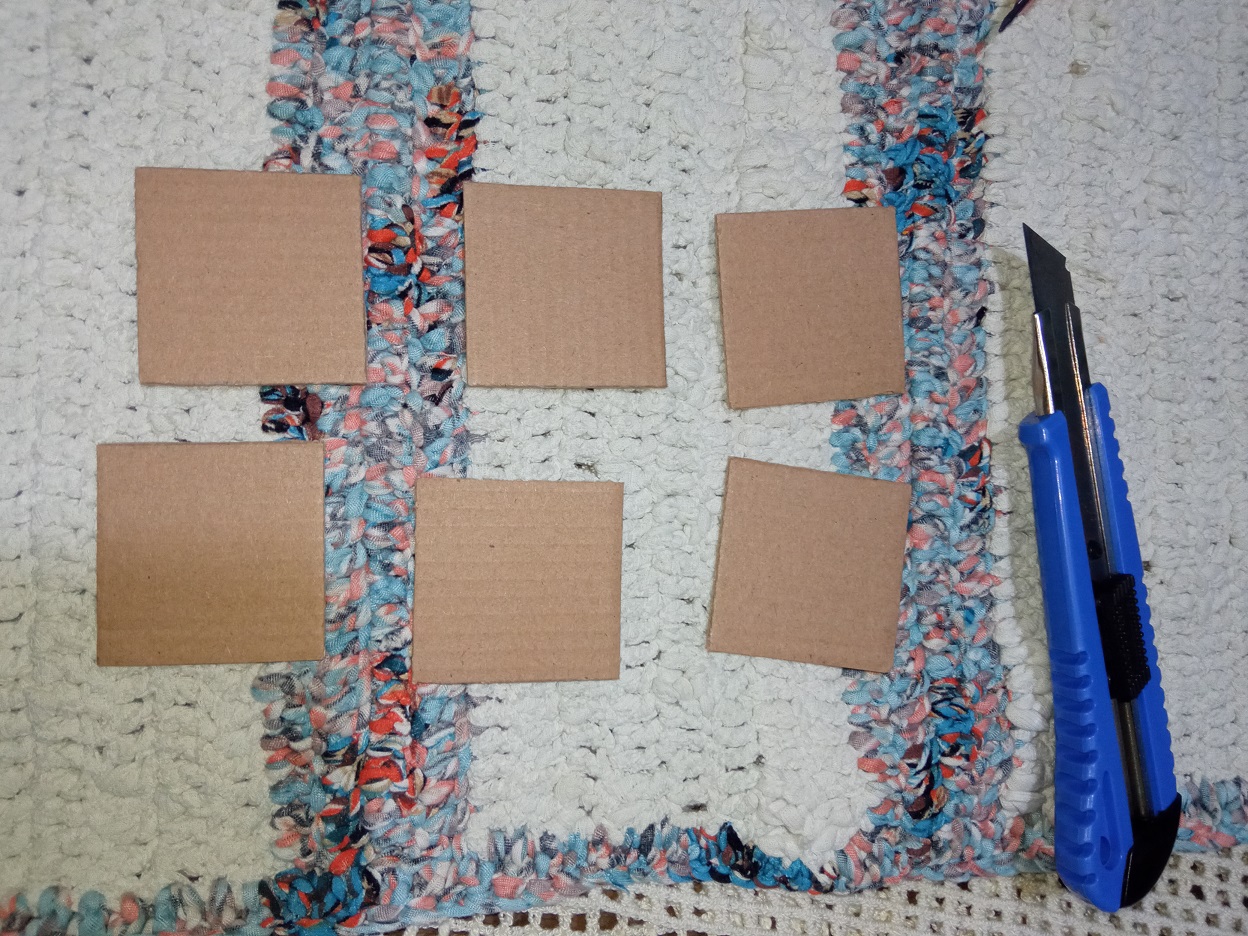
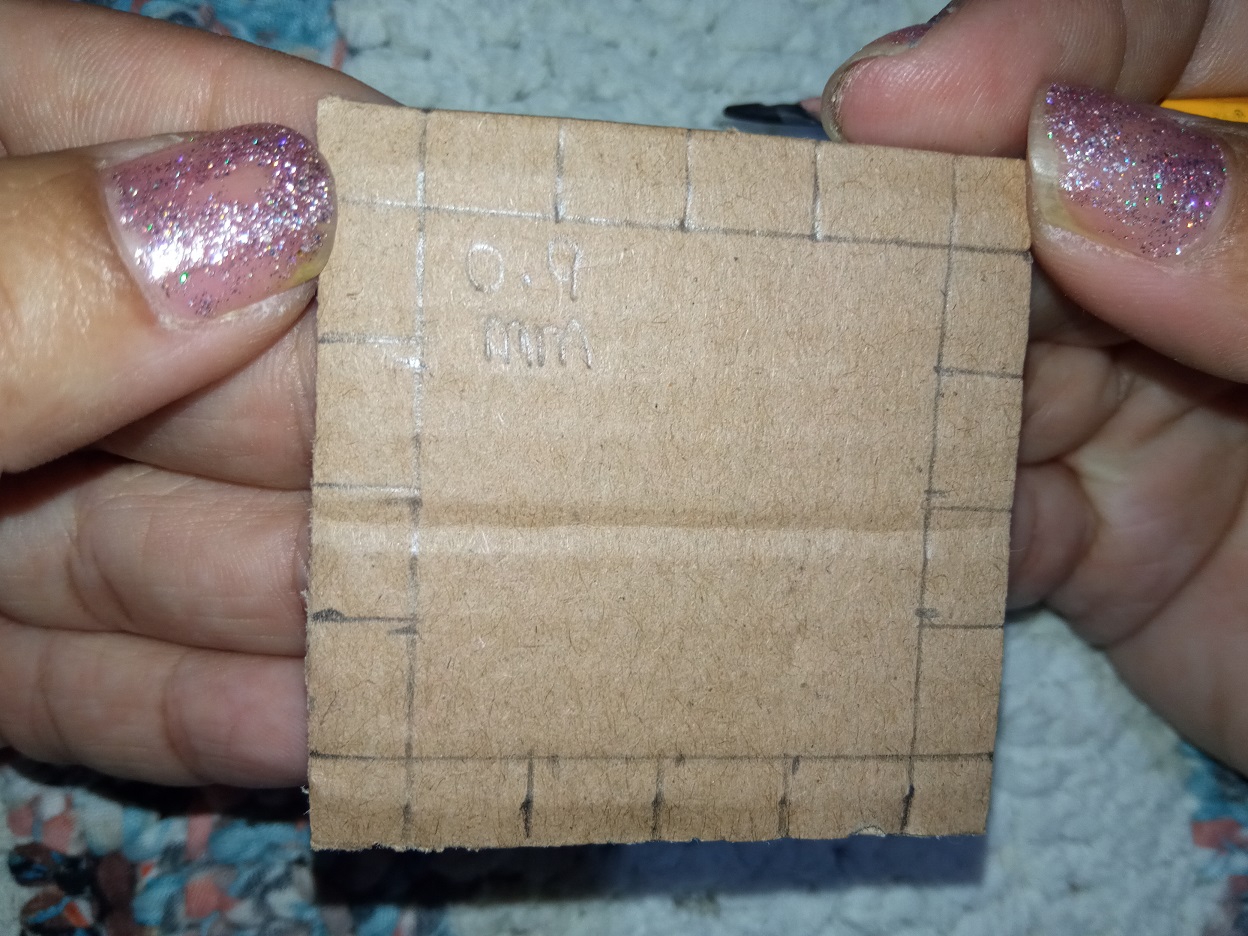
Step 1:
Start by marking with your ruler and your pencil on the cardboard 6 squares of 5cmx5cm and then cut them out with the exact or scalpel.
Paso 1:
Inicia marcando con tu regla y tu lápiz en el cartón 6 cuadrados de 5cmx5cm y luego recórtalos con el exacto o bisturí.

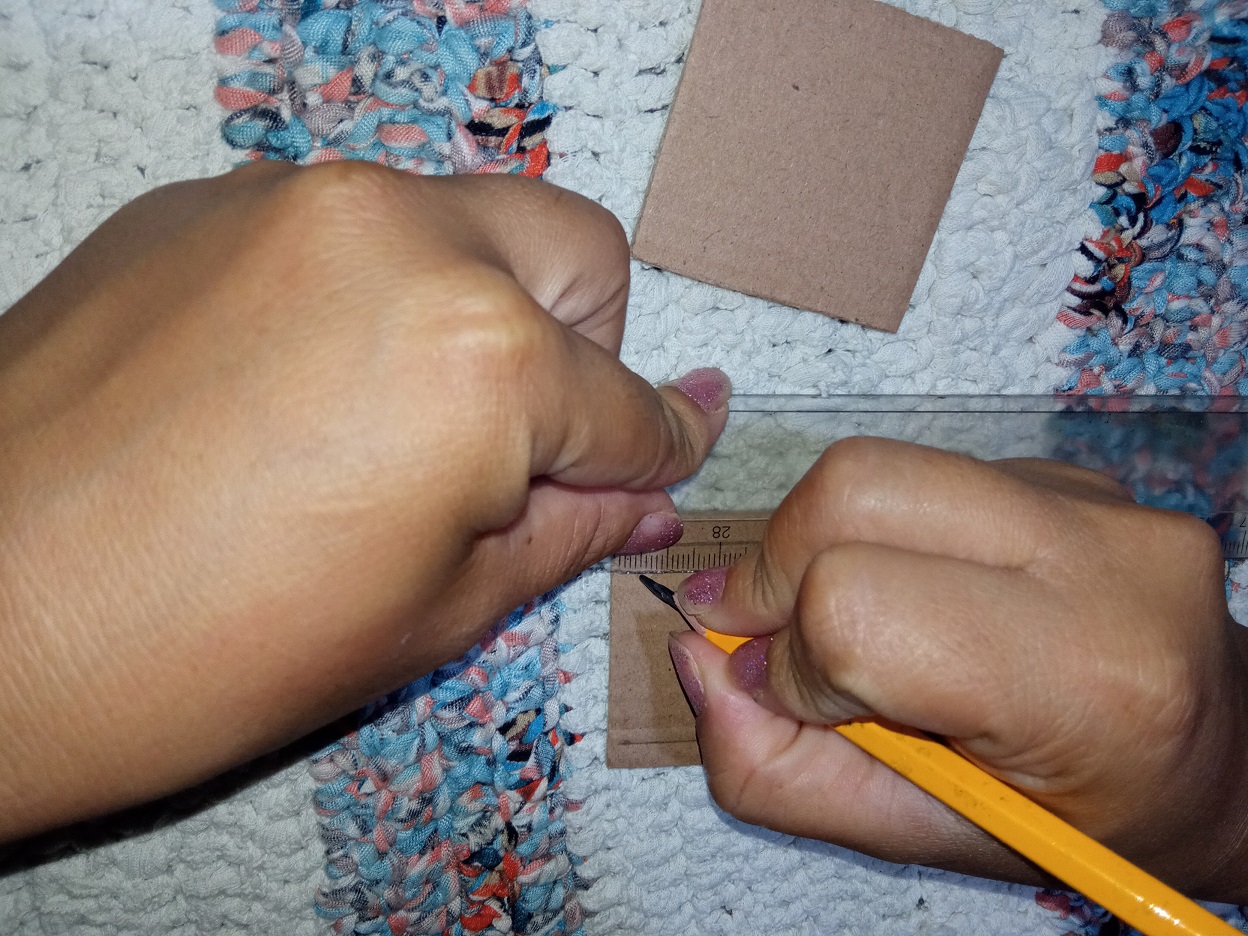
Step 2:
Now measure with your ruler 0.5cm on each side of your square and with your pencil mark the lines to form small tabs.
Paso 2:
Ahora mide con tu regla 0.5cm en cada lado de tu cuadrado y con tu lápiz marca las líneas para formar unas pequeñas pestañas.

Step3:
Internally you have a 4cmx4cm square. Divide that square with your ruler into 4 lines that you must draw with your pencil and your ruler horizontally and vertically without marking the inner square. Now you have 6 tabs marked on its 4 sides in the 5cmx5cm square.
Paso3:
Internamente te ha quedado un cuadrado de 4cmx4cm. Divide ese cuadrado con tu regla en 4 líneas que debes trazar con tu lápiz y tu regla horizontal y verticalmente sin marcar el cuadrado interno. Ahora te ha quedado en el cuadrado de 5cmx5cm 6 pestañas marcadas en sus 4 lados.
Step 4:
With the exact or scalpel, horizontally cut two lower tabs on the right side and then cut two more tabs in the upper corner of the left side of your square, flip your square and repeat this step on the other two marked lines.
Paso 4:
Con el exacto o bisturí recorta en forma horizontal dos pestañas inferiores del lado derecho y luego recorta dos pestañas más en la esquina superior del lado izquierdo de tu cuadrado, voltea tu cuadrado y repite este paso en las otras dos líneas marcadas.
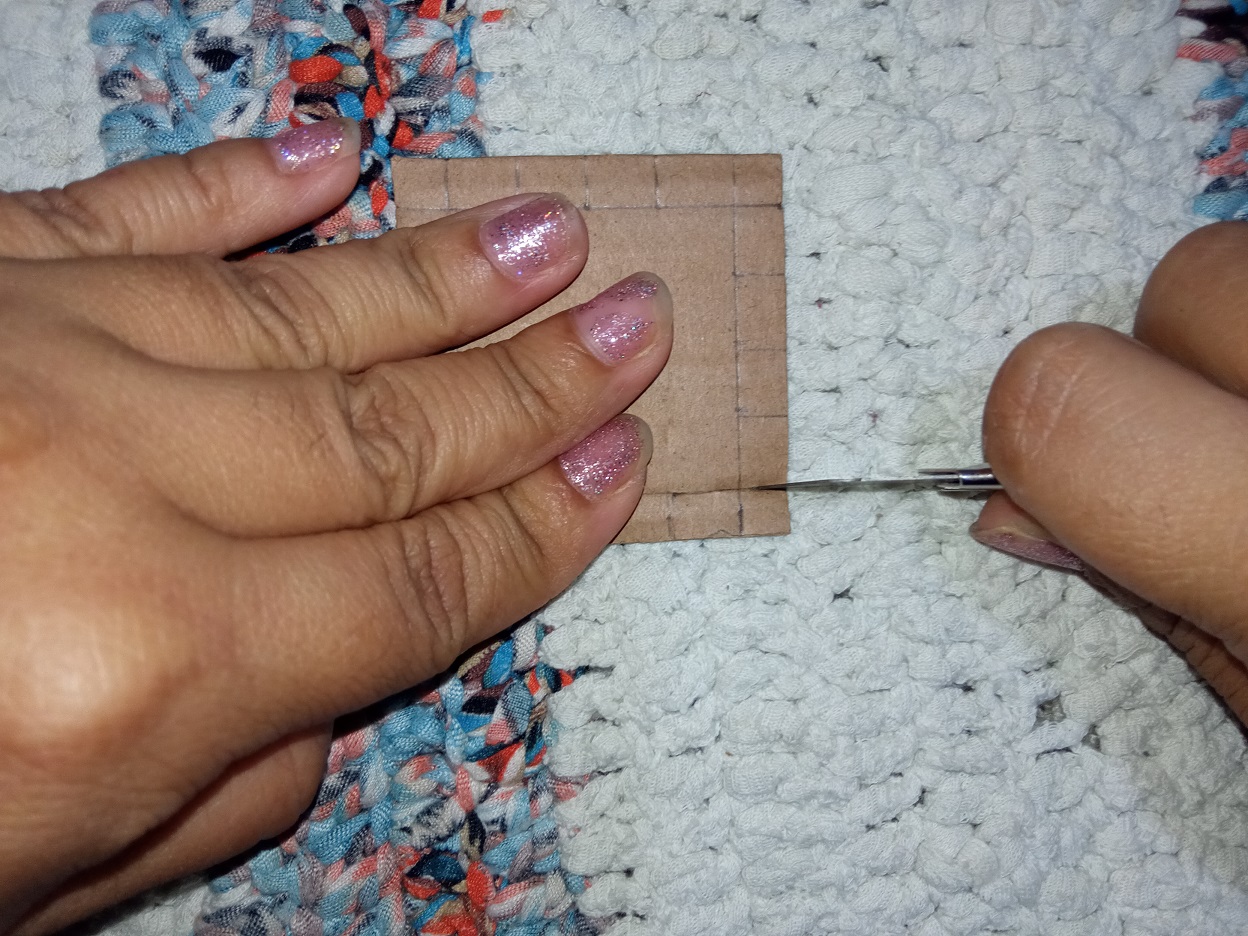
Step 5:
3 tabs have been marked on each side of your square, you must cut out all the central tabs that you have left with your exact or scalpel.
Paso 5:
Te han quedado marcado 3 pestañas en cada lado de tu cuadrado, debes recortar con tu exacto o bisturí todas las pestañas centrales que has dejado.
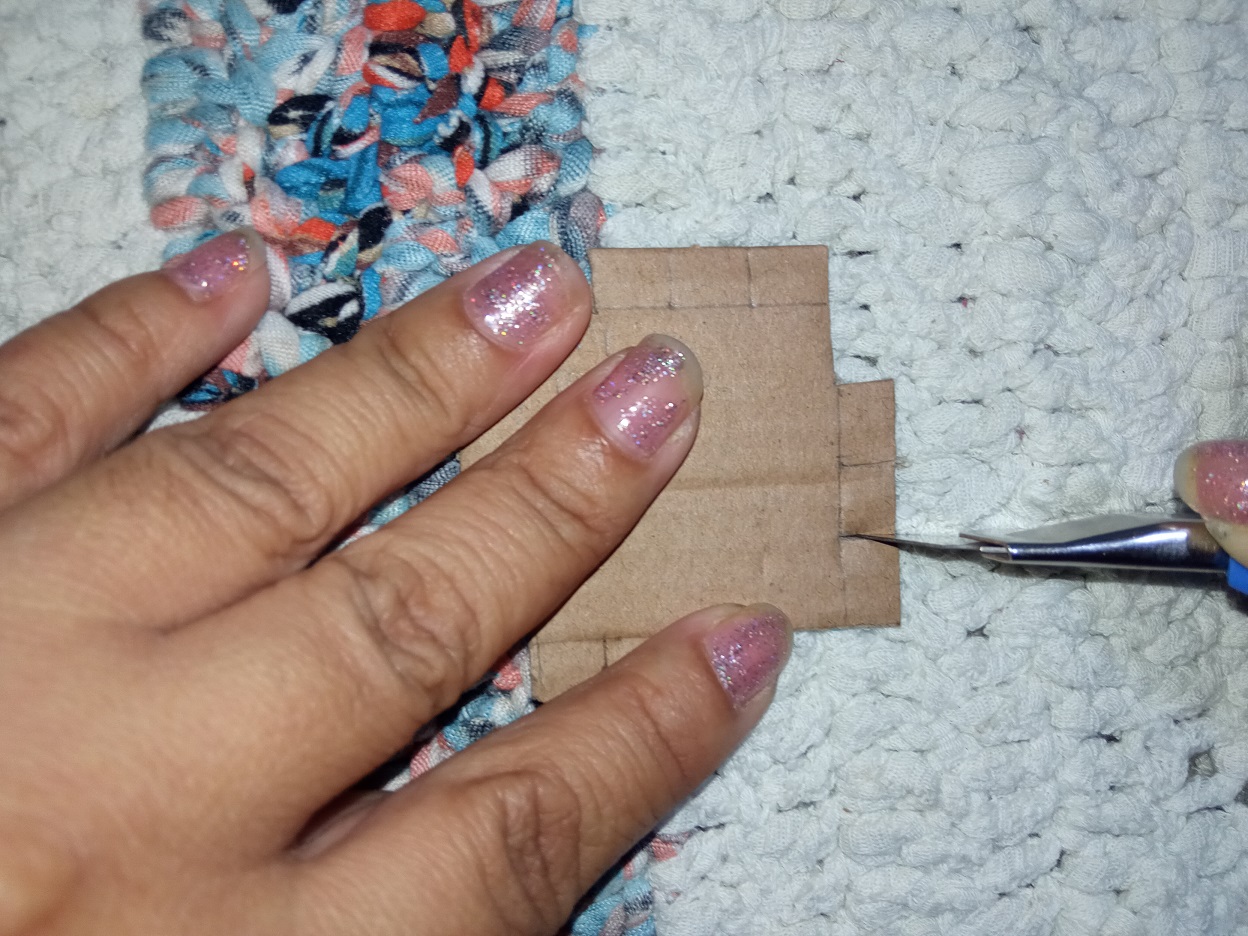

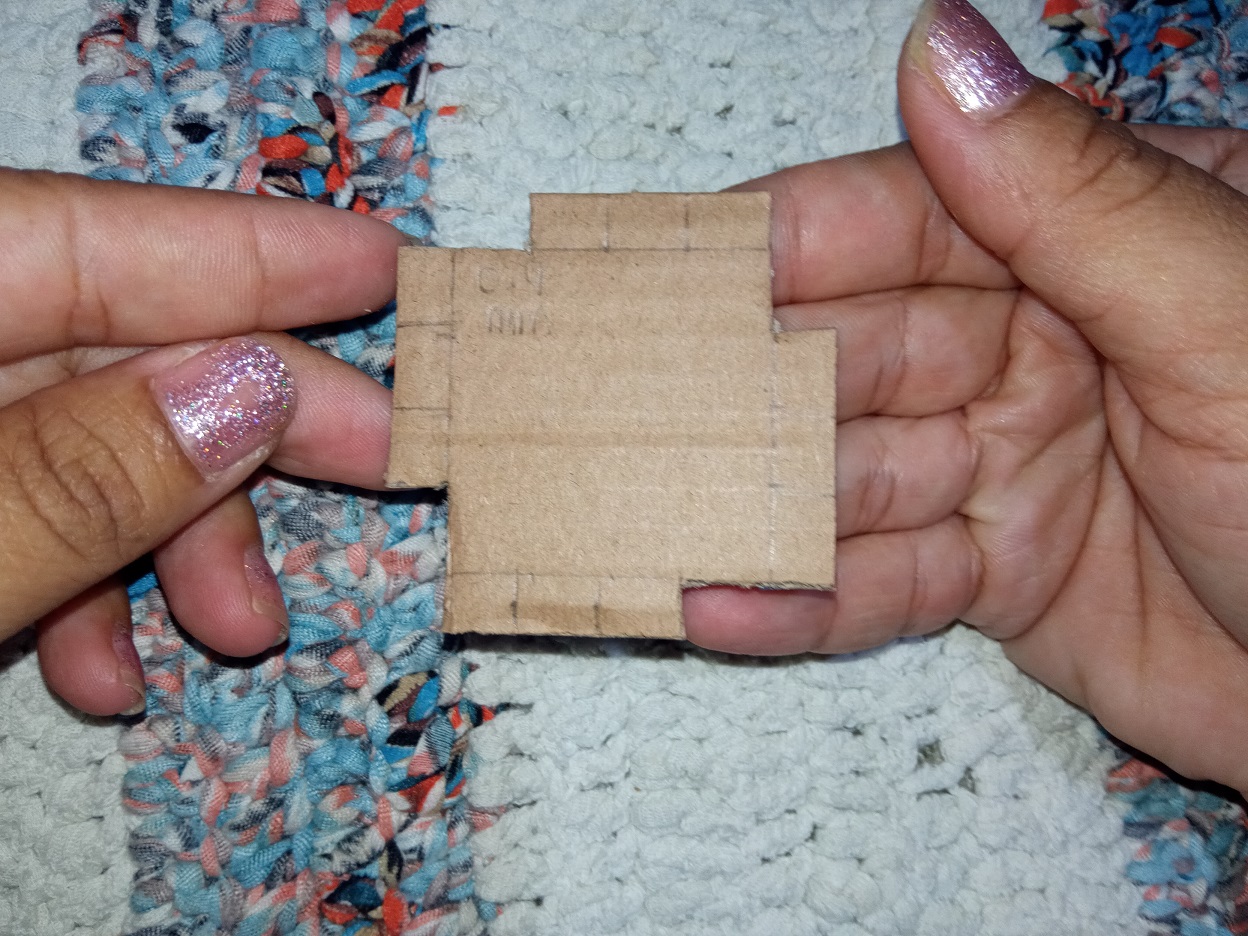
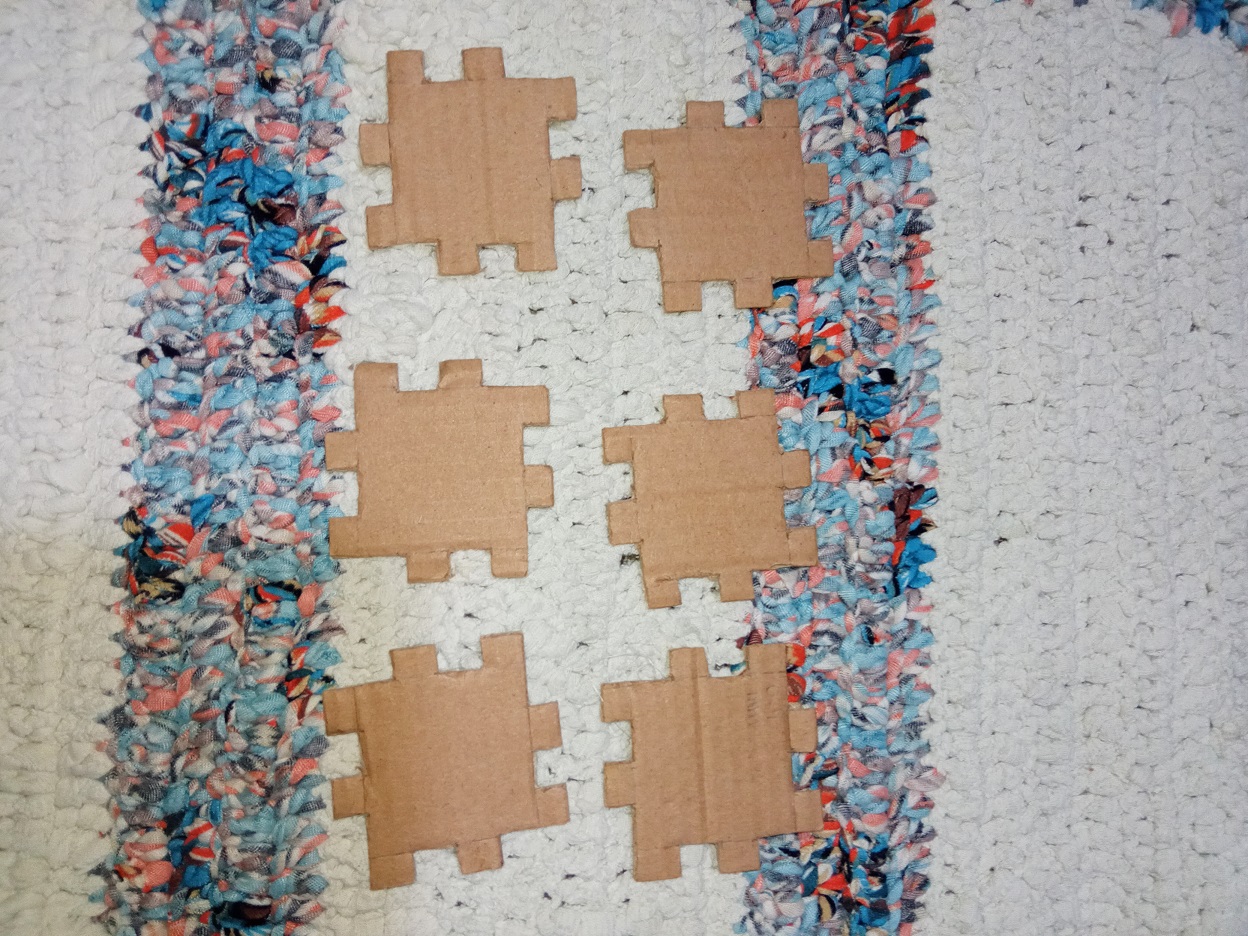
Step 6:
Repeat the previous step with all the squares. And make sure that all the figures mesh with each other in the shape of a cube.
Paso 6:
Repite el paso anterior con todos los cuadrados. Y cerciórate de que todas las figuras engranen entre sí en forma de cubo.
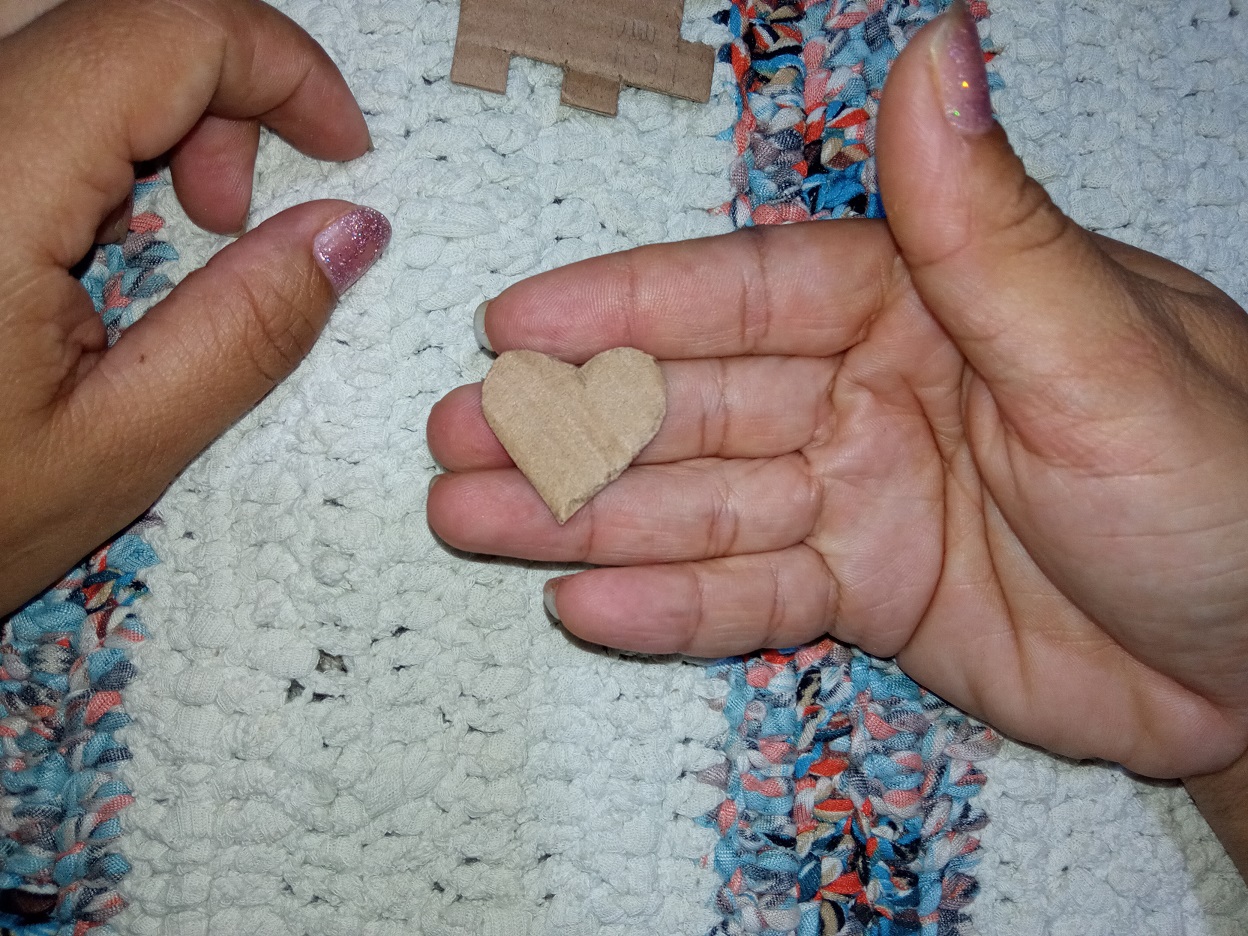
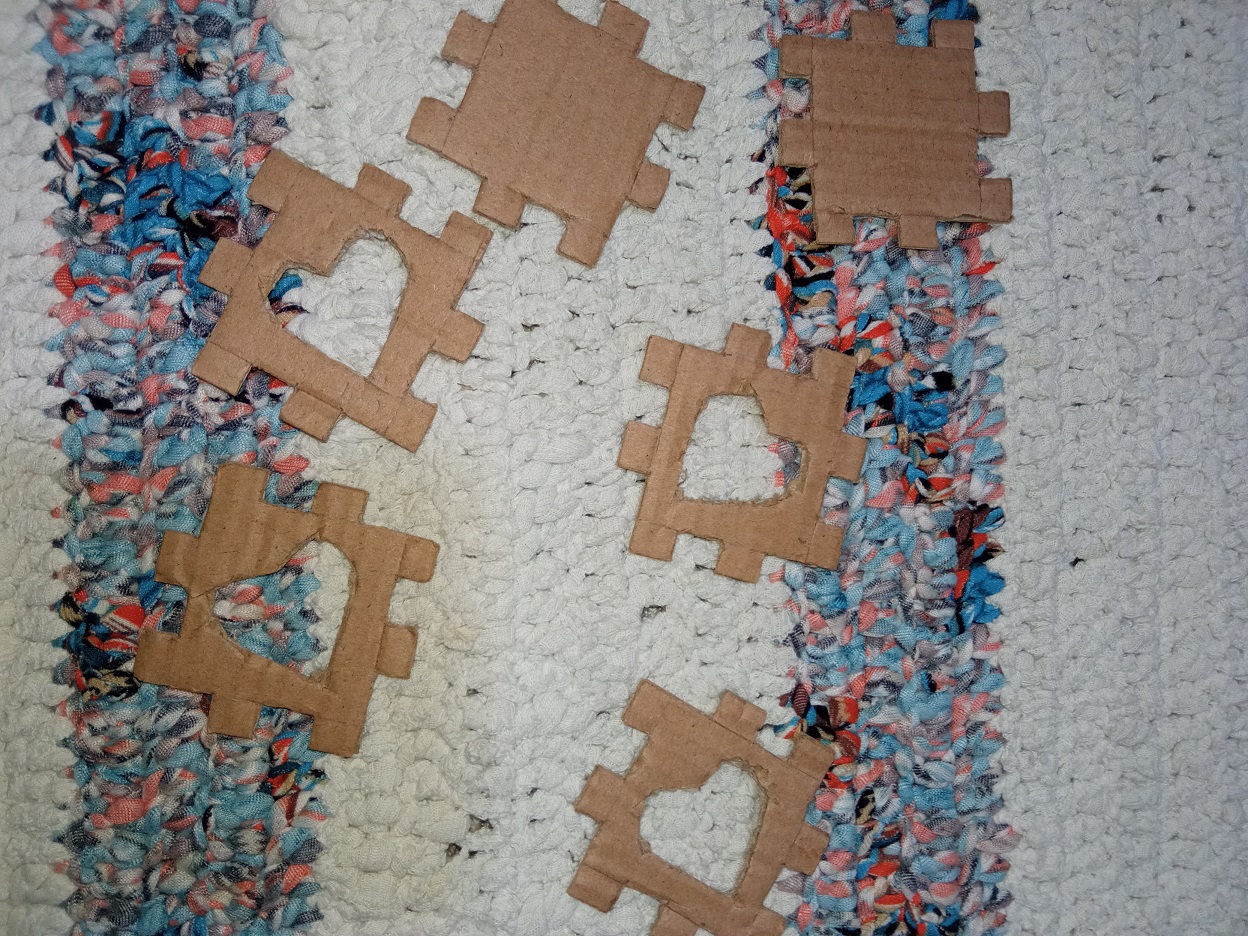
Step 7:
Mark with your pencil on a piece of cardboard the figure of a heart and cut out with the scalpel, then transfer this figure to the center of 4 of your squares and cut out with the exact one.
Paso 7:
Marca con tu lápiz en un pedazo de cartón la figura de un corazón y recorta con el bisturí, luego traspasa esta figura al centro de 4 de tus cuadrados y recorta con el exacto.
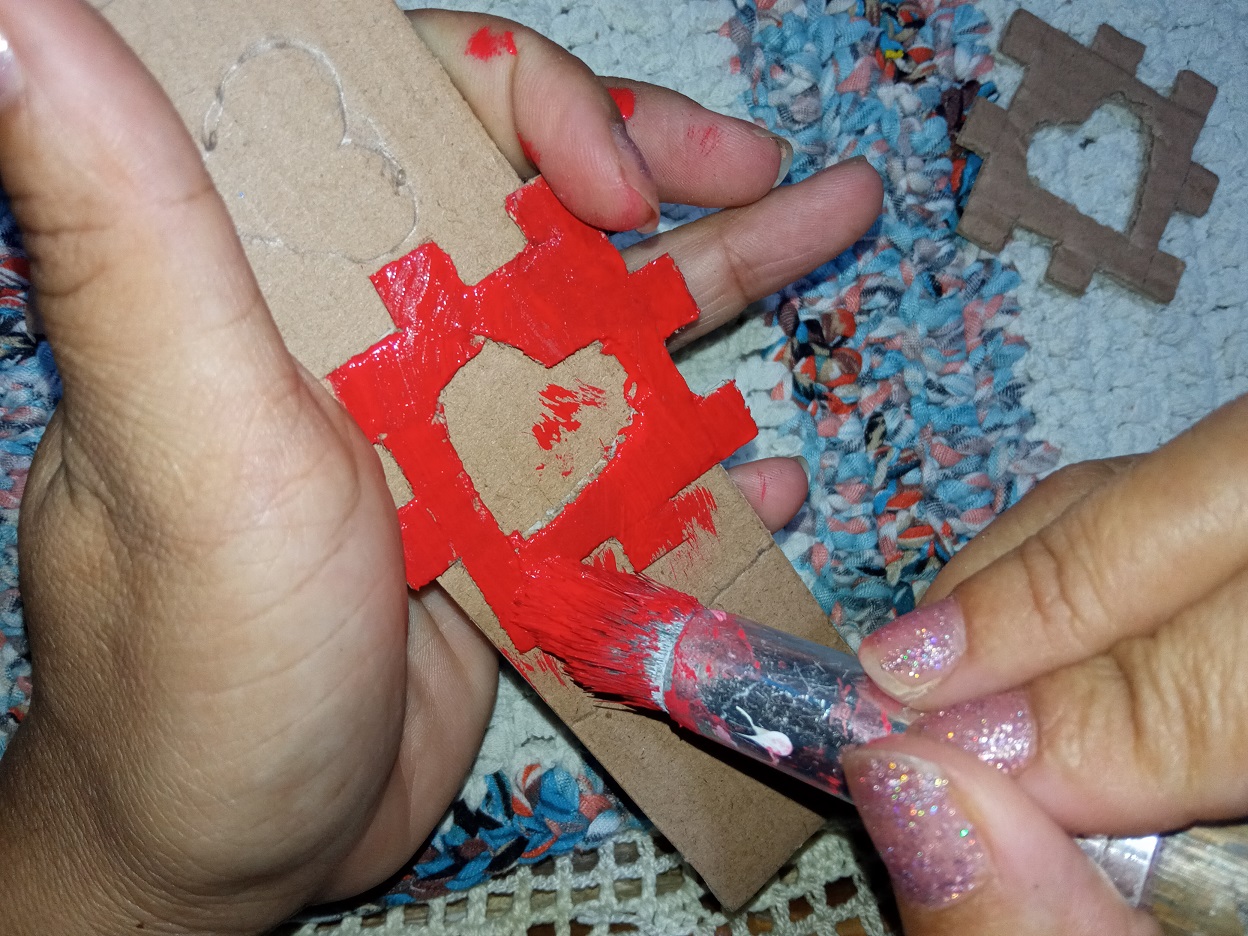
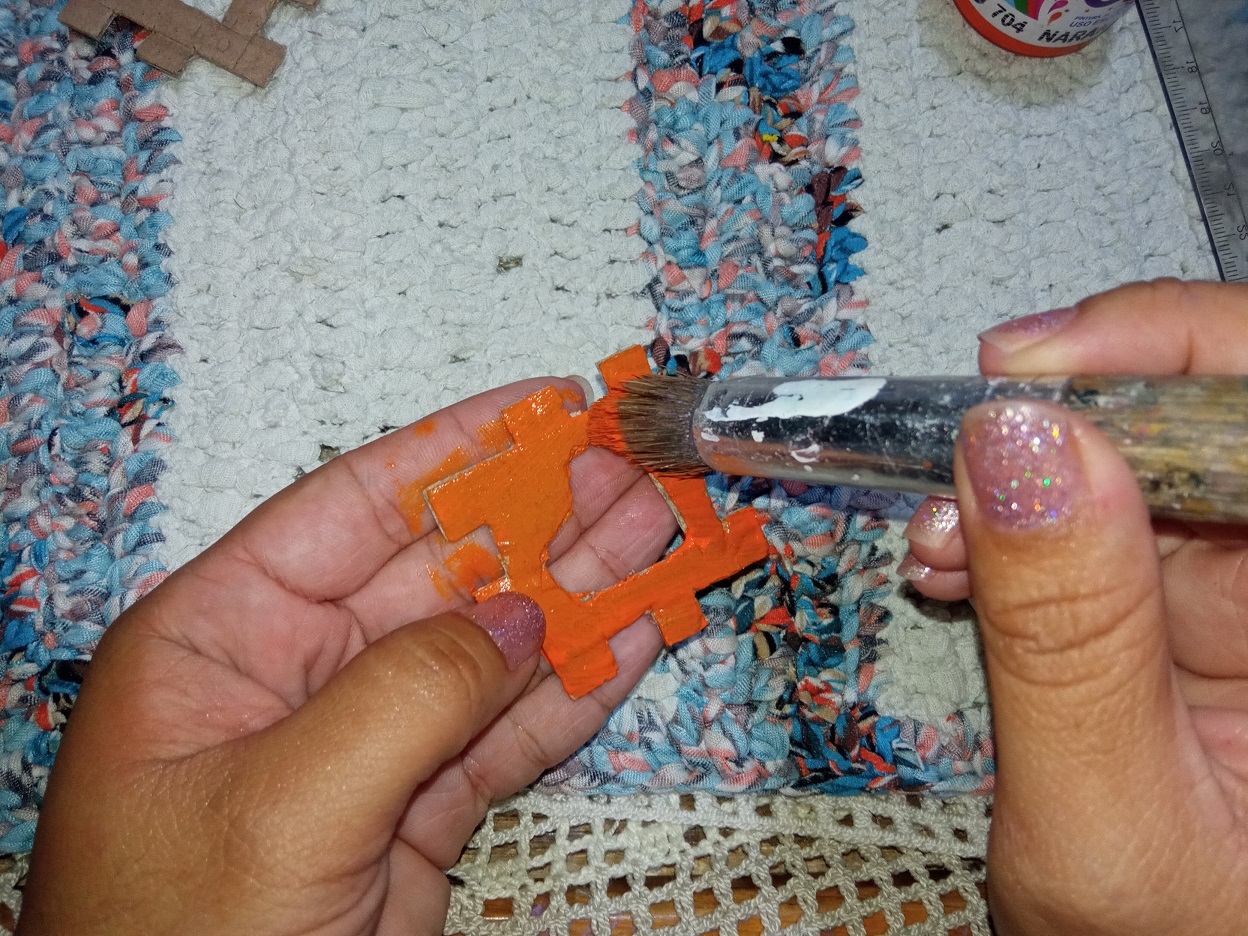
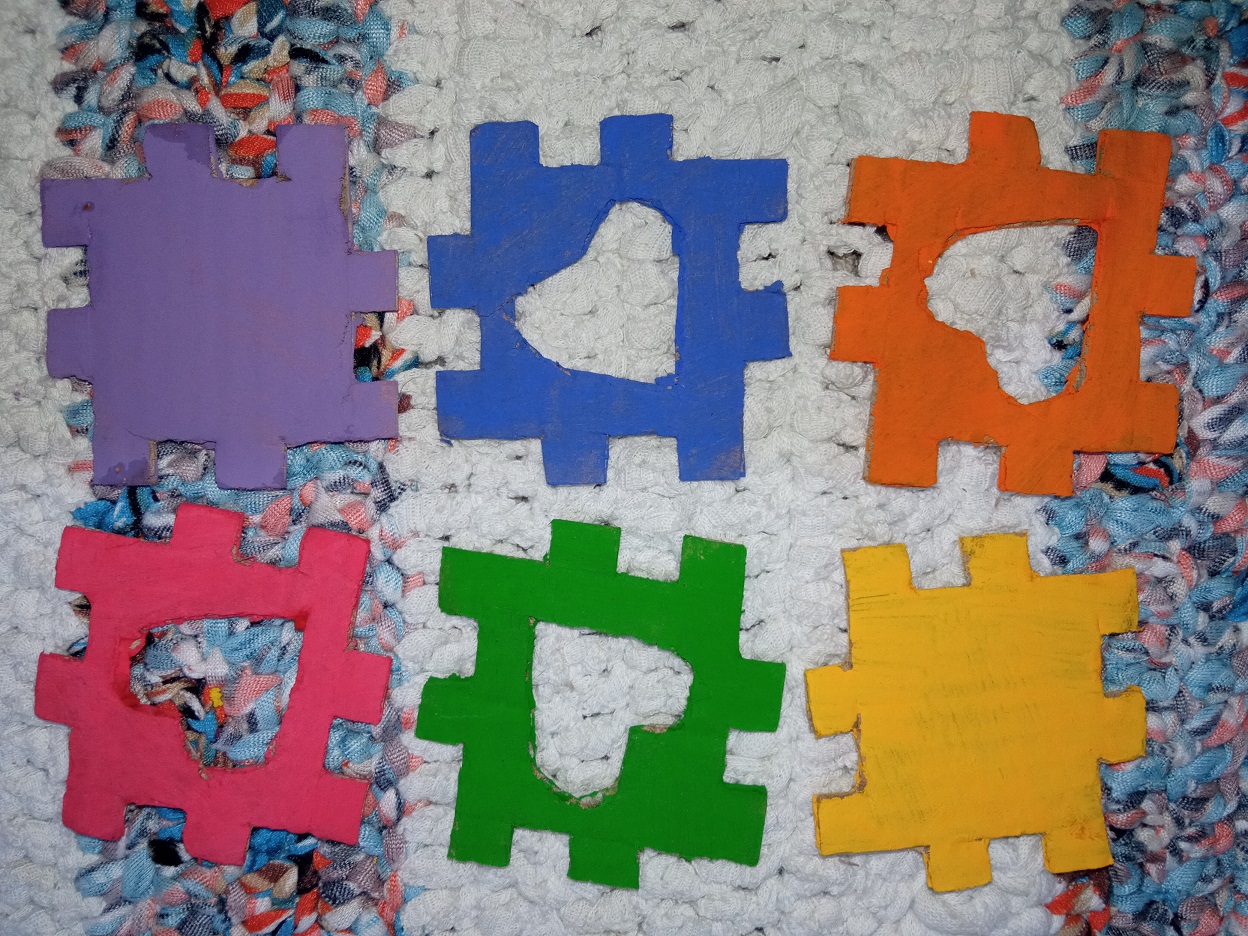
Step 8:
Paint your 6 squares in different colors with striking hues, let them dry and mesh them together to form your puzzle in the shape of a cube.
Paso 8:
Pinta de diferentes colores con tonalidades llamativas tus 6 cuadrados, deja secar y engránalos entre sí para formar tu rompecabezas con forma de cubo.
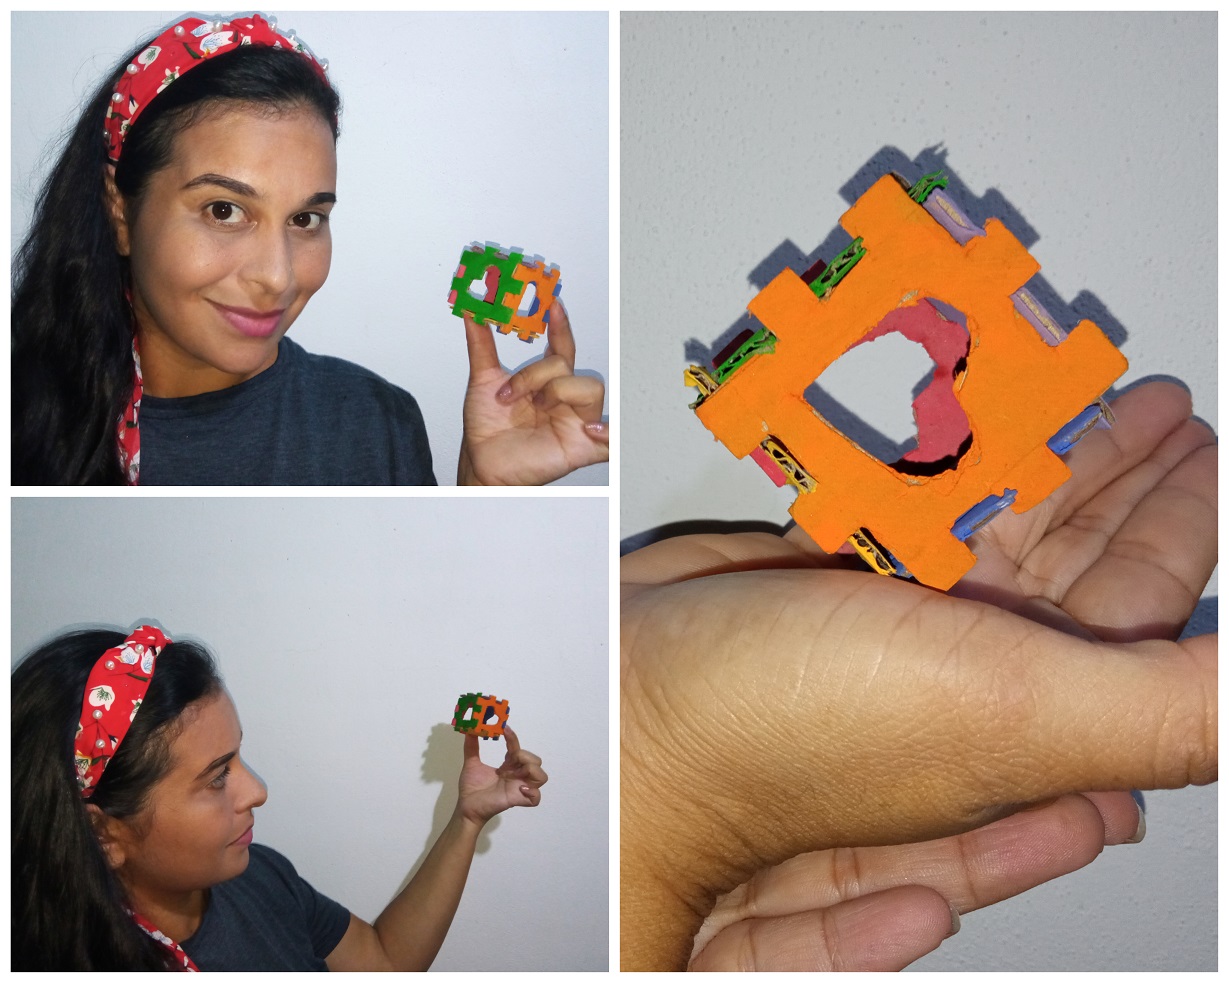
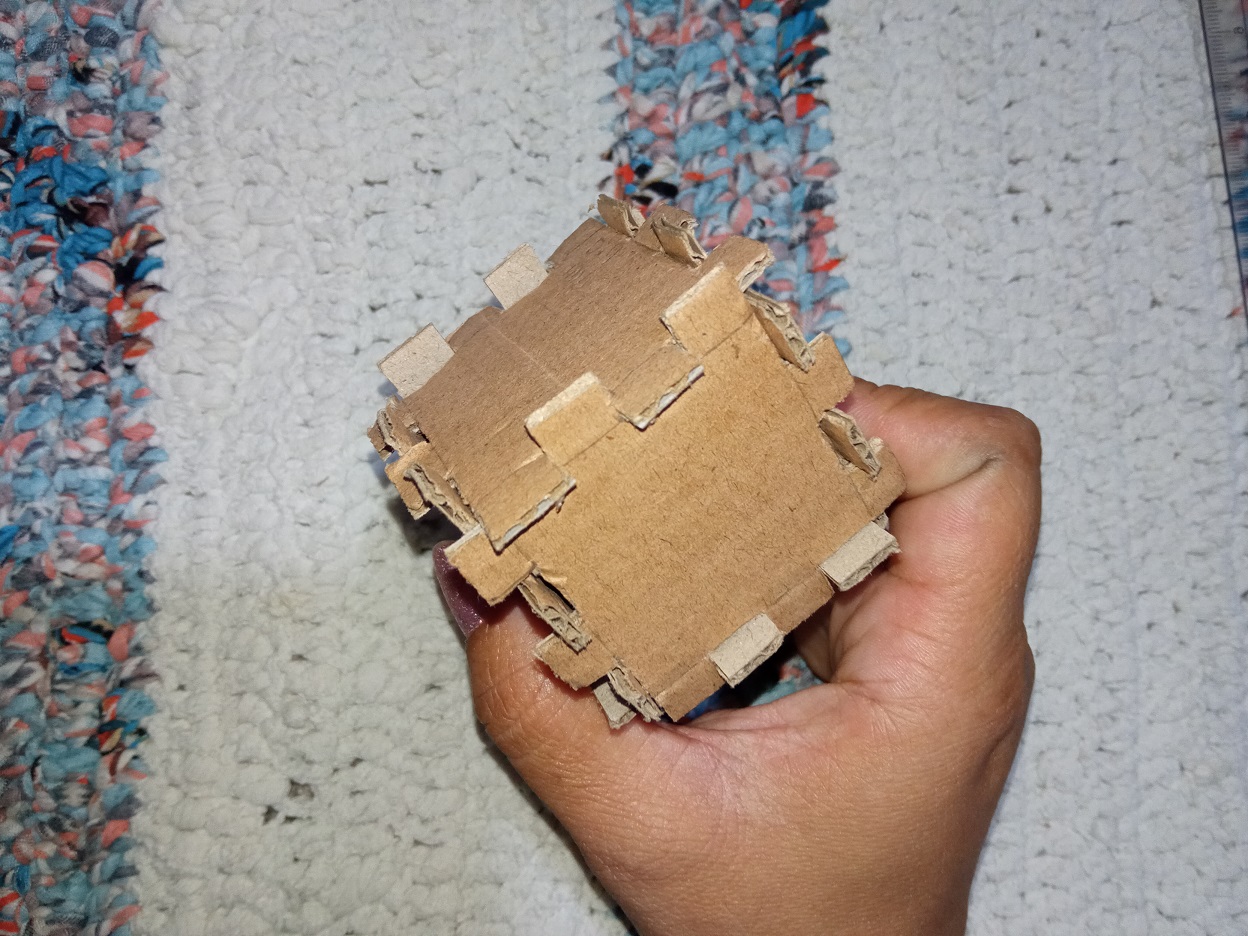
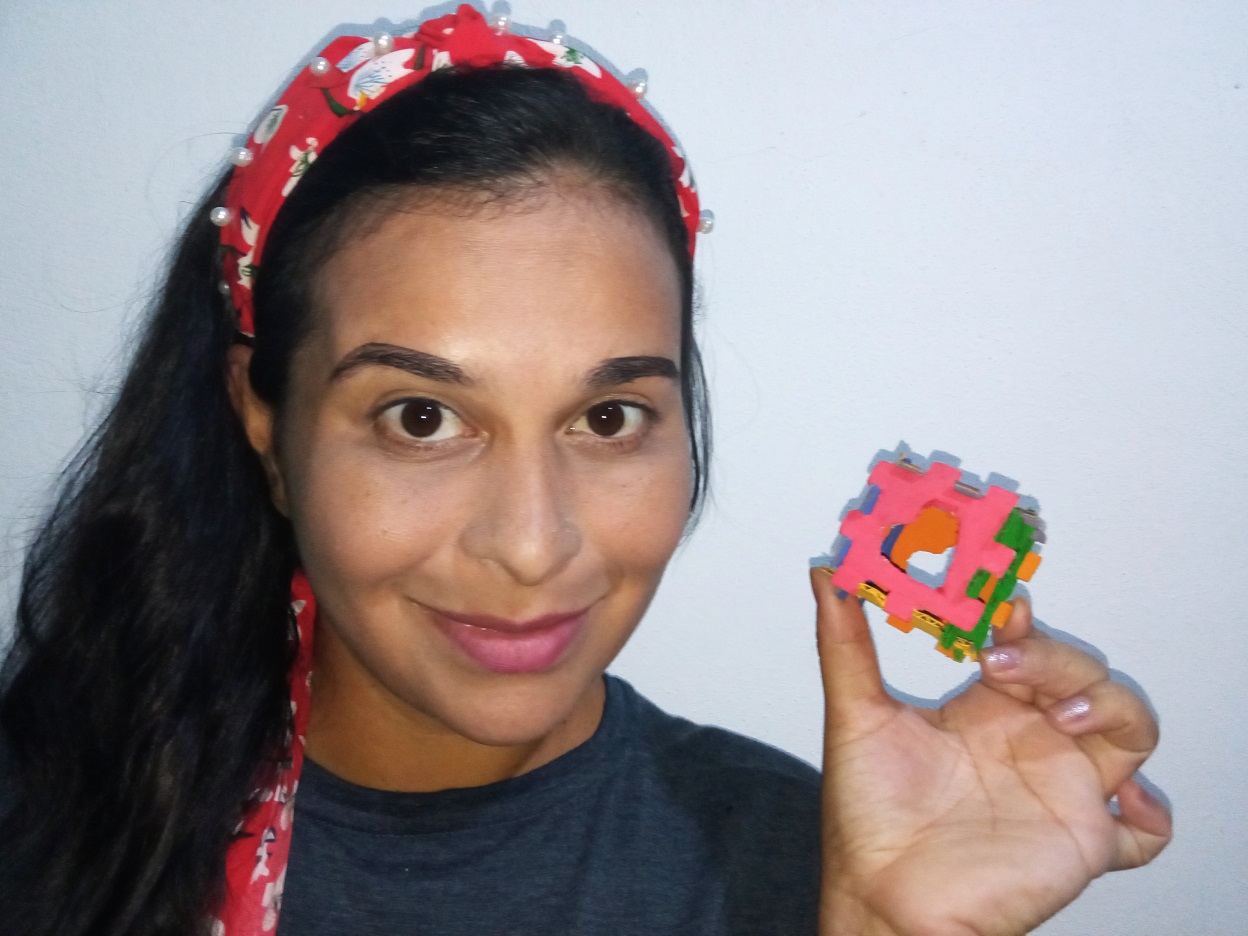
Final result of my creative craft:
Resultado final de mi manualidad creativa:
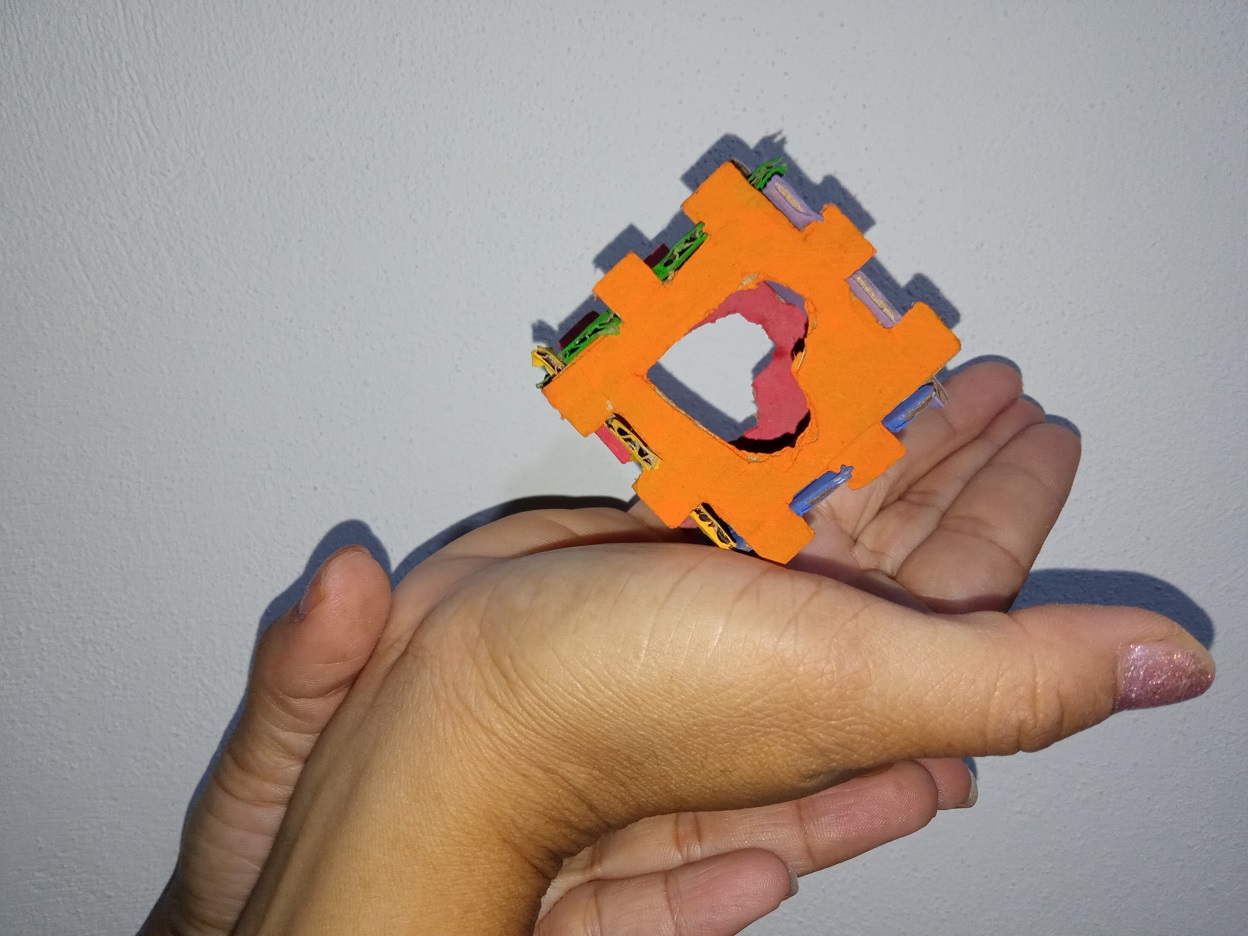
This has been my participation in the 3D contest that this week the #HIVEDIY community brought us, grateful to be able to participate and I invite my great friend and sister-in-law @Yeniriverabello and my brother @israel.art to join this great initiative .
Esta ha sido mi participación en el concurso en 3D que esta semana nos trajo la comunidad de #HIVEDIY, agradecida de poder participar e invito a que se unan a esta genial iniciativa a mi gran amiga y cuñada @Yeniriverabello y a mi hermano @israel.art.
Thanks for dressing me up and reading me, until next time @aksurevm89.
Gracias por vístame y leerme, hasta una próxima ocasión @aksurevm89.
THANKS FOR READING ME // GRACIAS POR LEERME
Translated by: google translator // Traducido por: google traductor
All photos are my property // Todas las fotos son de mi propiedad.
Hi @aksurevm89, Today also you presented another DIY creation using recycling materials. I really believe that every creations you have saved for show to your baby in future. Sure he'll be surpise to watch mom's creativity. Keep going friend. See you more in this blockchain.
Thank you very much dear friend @madushanka.
Qué ingenioso y divertido, es una buena actividad para los niños también, gracia spor participar, mucha suerte.
Muchas gracias @equipodelta es un gusto para mí y disfrute muchísimo realizando este cubo, los niños lo amaran.