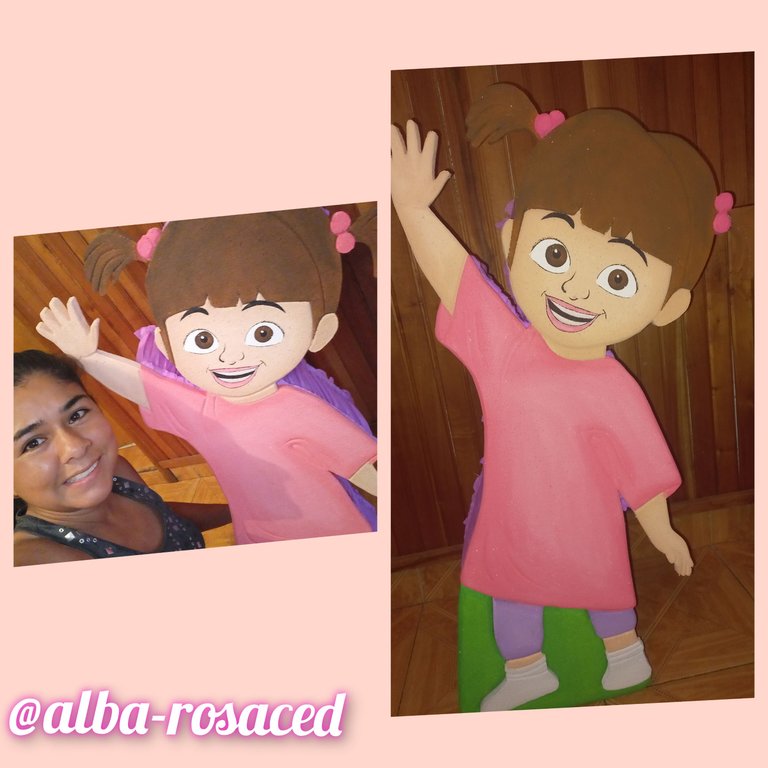
Hello my friends of this wonderful community @hivediy I hope you are well, today I want to show you how to make this beautiful piñata boo of the girl from monsters inc, a movie that captivated quite a few of our children, ah despite having years to see out still draws the attention of our children, so we give life to this wonderful character. Join me to see the realization and above all how easy it is. As long as we have the desire to learn, nothing will be difficult...
hola mis amigos de esta maravillosa comunidad de @hivediy espero se encuentren bien, hoy quiero enseñarles como realizar esta hermosa piñata de boo de la niña de monsters inc, una película que cautivo bastantes a nuestros pequeños,ah pesar de tener años de a ver salido todavía llama la atención de nuestros pequeños, así que le damos vida a este maravilloso personaje. Acompañenme a ver la realización y sobre todo lo fácil que es. Mientras tengamos las ganas de aprender nada se nos hará difícil..
Materials to be used:
-anime.
-carton.
-cuter.
-scissors.
-paper bon.
-pencil.
-cold silicon.
-crepe paper.
-tape.
-brush
-cold paint: black, brown, pink, purple, lilac, flesh.
Materiales a utilizar:
-anime.
-cartón.
-cuter.
-tijera.
-papel bon.
-lápiz.
-silicon frío.
-papel crepe.
-cinta.
-pincel.
-pintura al frio: negro,marrón, rosado, lila, carne.
Step 1
First we paint our boo doll using the pencil and the bon paper. As you can see in the drawing, our doll should look like this, that's why I tell you that this is where it has to look beautiful.
Paso 1
Primero Pintamos nuestra muñeca boo usando el lapiz y el papel bon. Así como ven el dibujo debería de quedar nuestra muñeca por eso les digo q allí es donde tiene que quedar bella .
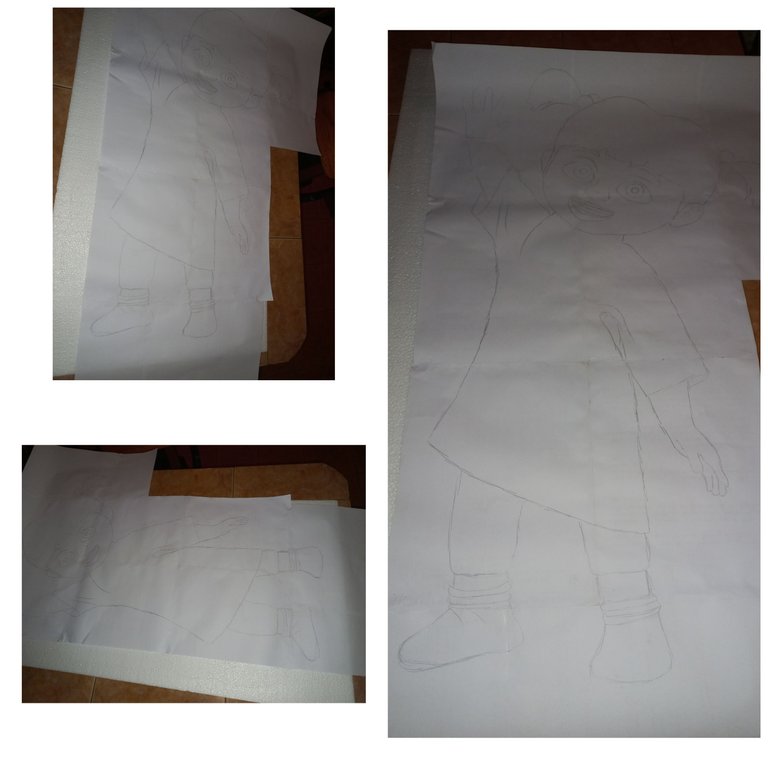
Step 2
Here we cut the doll boo already painted and place it in the Anime, place the needles so that they hold when cutting.
Paso 2
Aquí cortamos la muñeca boo ya pintado y se coloca en el Anime, se coloca las agujas para que se aguanten al momento de cortar .

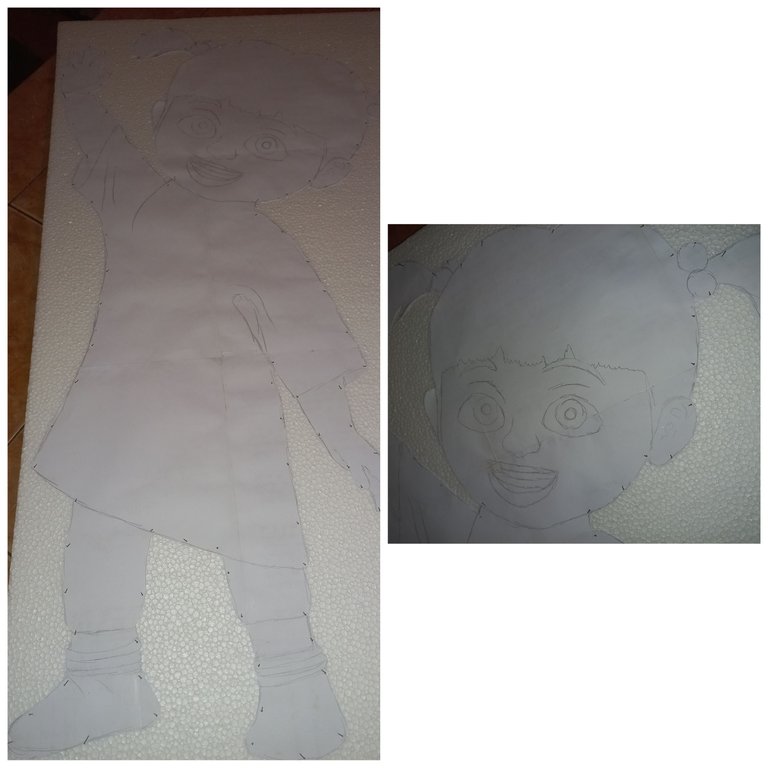
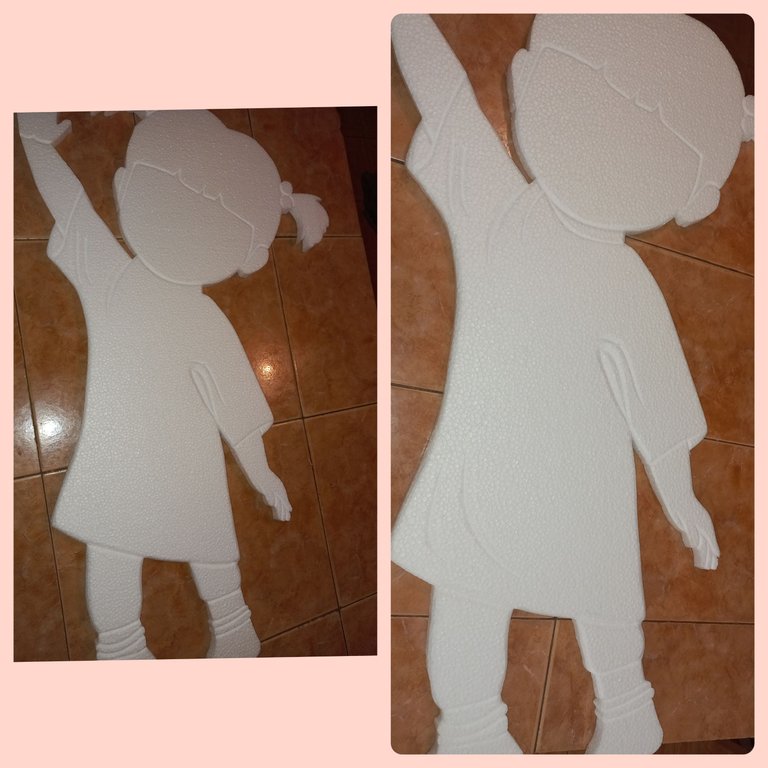
Step 3
We have our cut boo ready to start working.
Paso 3
Tenemos nuestra boo cortada lista para comenzar a trabajar.
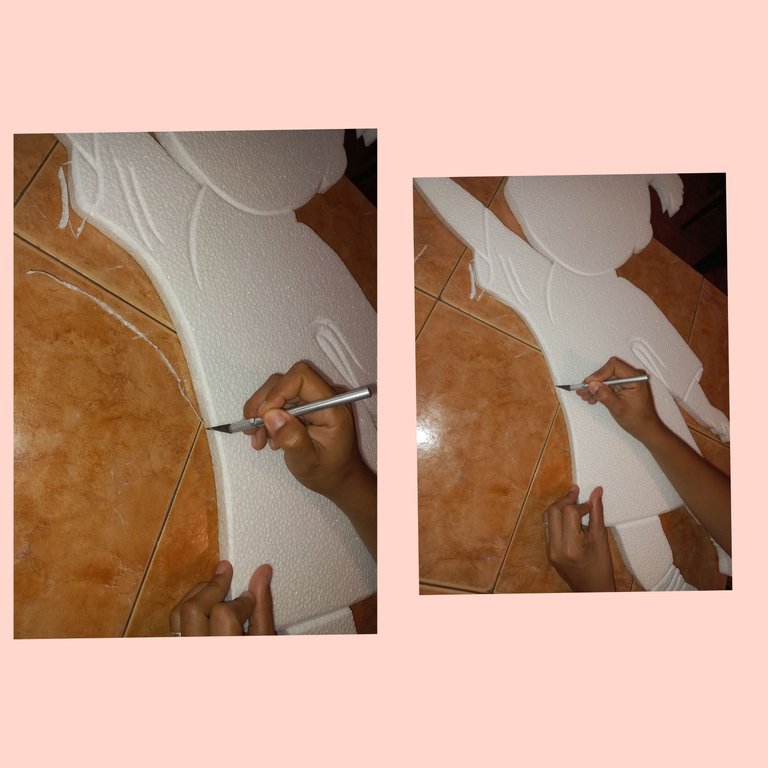
Step 4
With the cutter we start to define the stripes of our boo doll to make it more visible.
Paso 4
Con el cuter comenzamos a definir las rayas de nuestra muñeca boo para que se vea más.
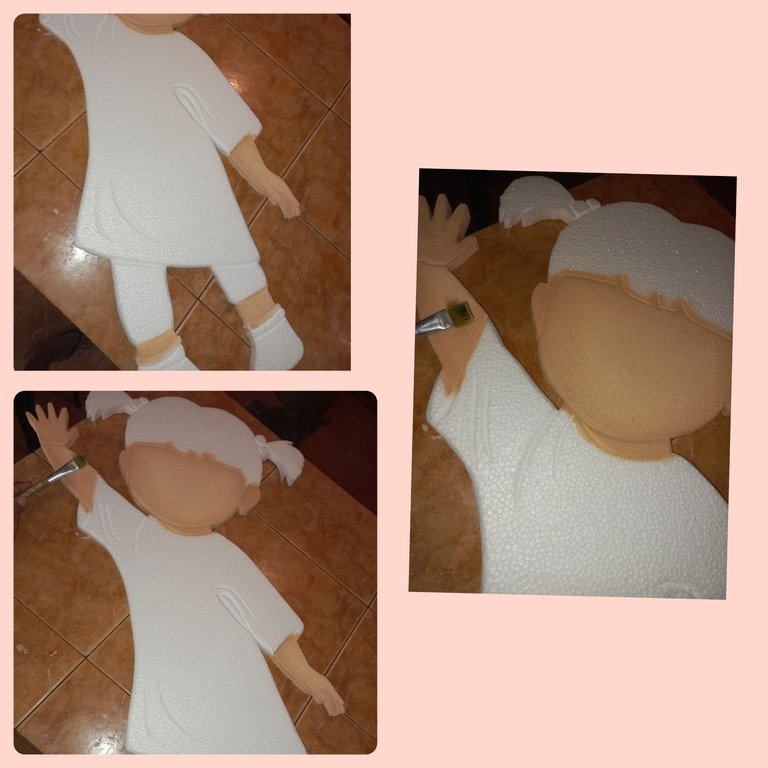
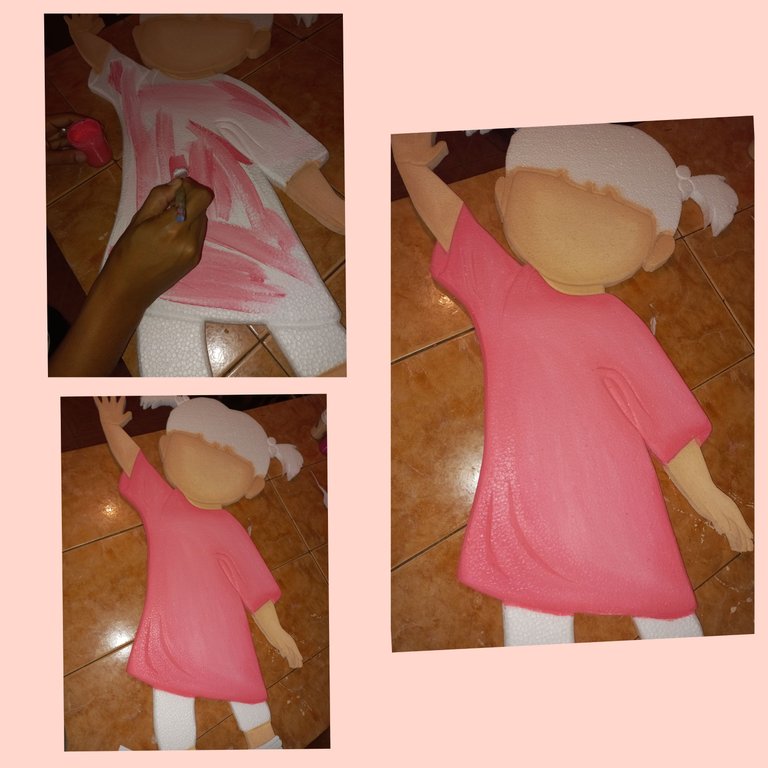
Step 5
We start painting our doll first the flesh color, then the pink color on her dress, the lilac stockings, then the gray shoes and finally the brown hair. Everything slowly so that we don't mess up the rest of what we have painted.
Paso 5
Empezamos a pintar nuestra muñeca primero el color carne,seguimos con el color rosado en su vestido, las medias lila, después los zapatos gris y finalmente el cabello marrón. Todo despacio para que no ensuciemos lo demás que hemos pintado.
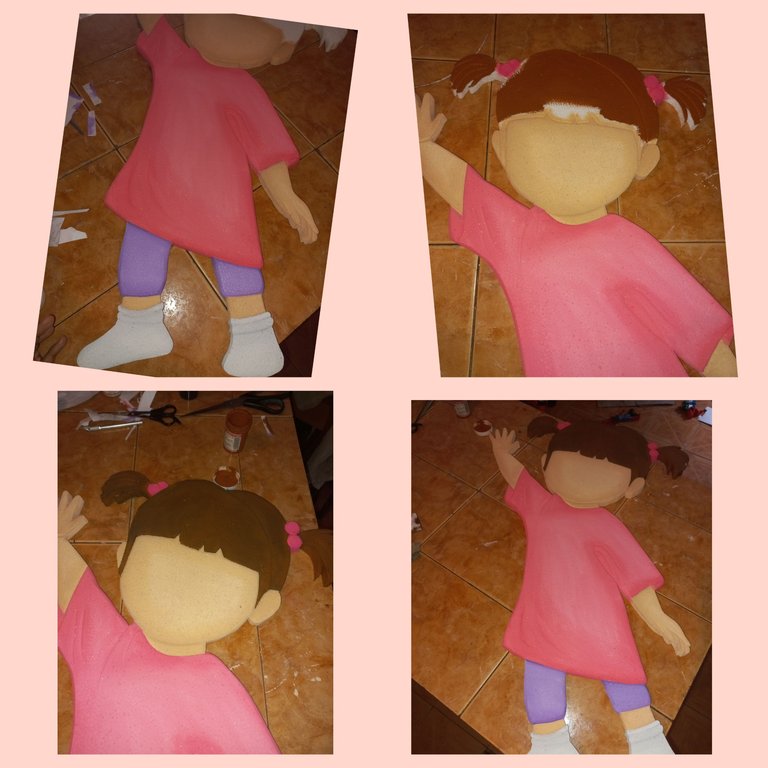
Step 6
Already in this step began to draw our little face, there you have to be very patient and do not walk in a hurry so that we get everything excellent.
Paso 6
Ya en este paso comenzó a dibujar nuetras carita, allí hay que tener mucha paciencia y no andar apurada para que nos salga todo excelente.

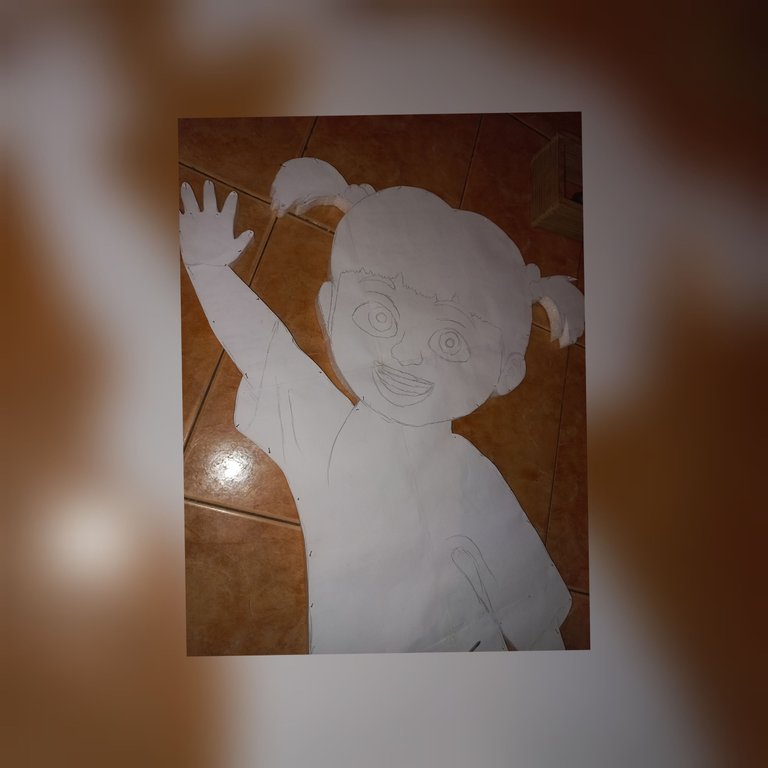
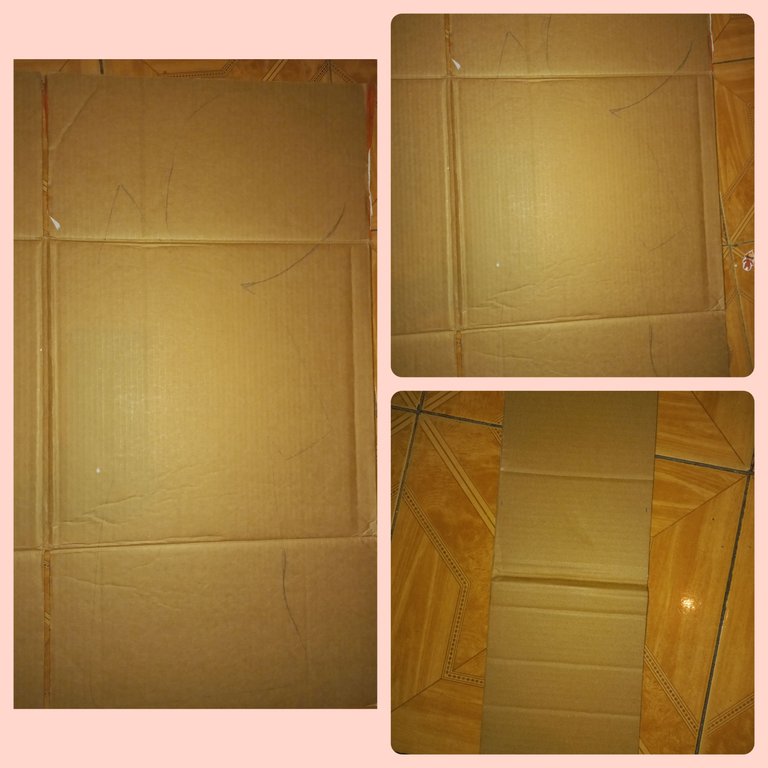
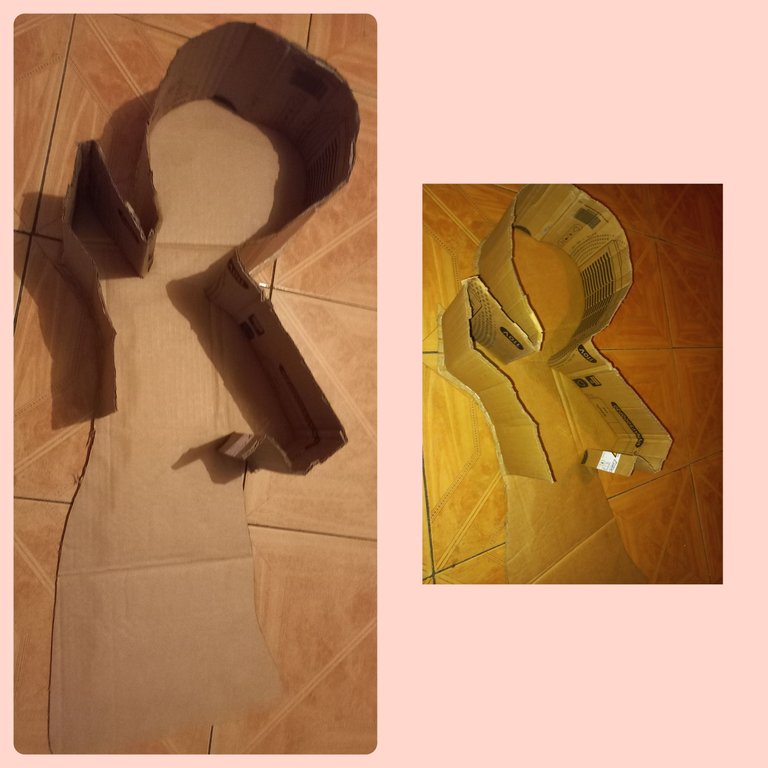
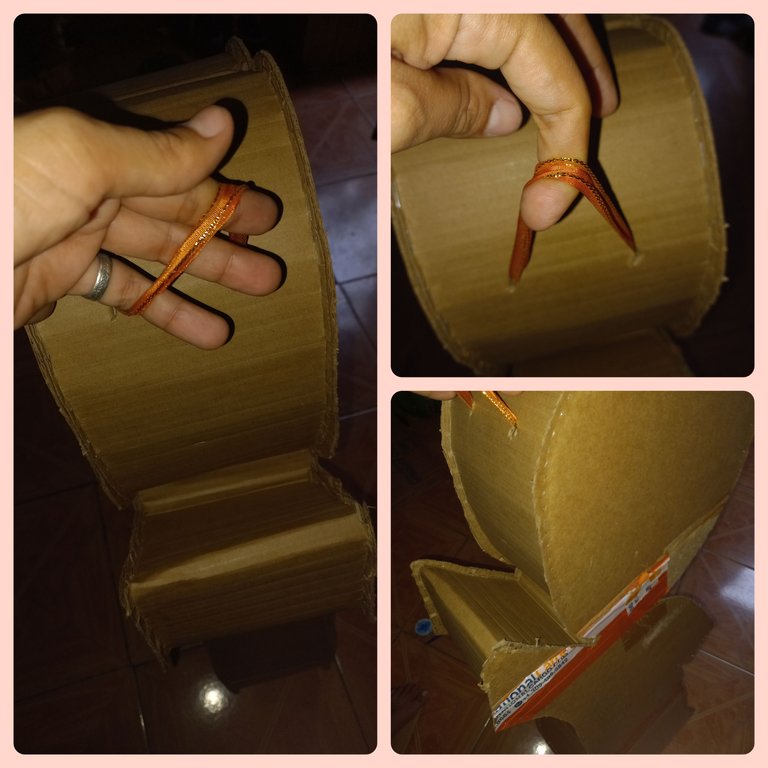
Step 7
Now we start working with the figure of the doll on the cardboard, that is to say, we paint the silhouette of the doll on the box, then we make the strips that we are going to use to assemble our piñata, the measurements are 13cm wide.
Paso 7
Ahora empezamos a trabajar con la figura de la muñeca en el cartón, es decir la Pintamos la silueta de la muñeca en la caja, después hacemos las tiras que vamos a utilizar para armar nuestra piñata las medidas es de 13cm de ancho.
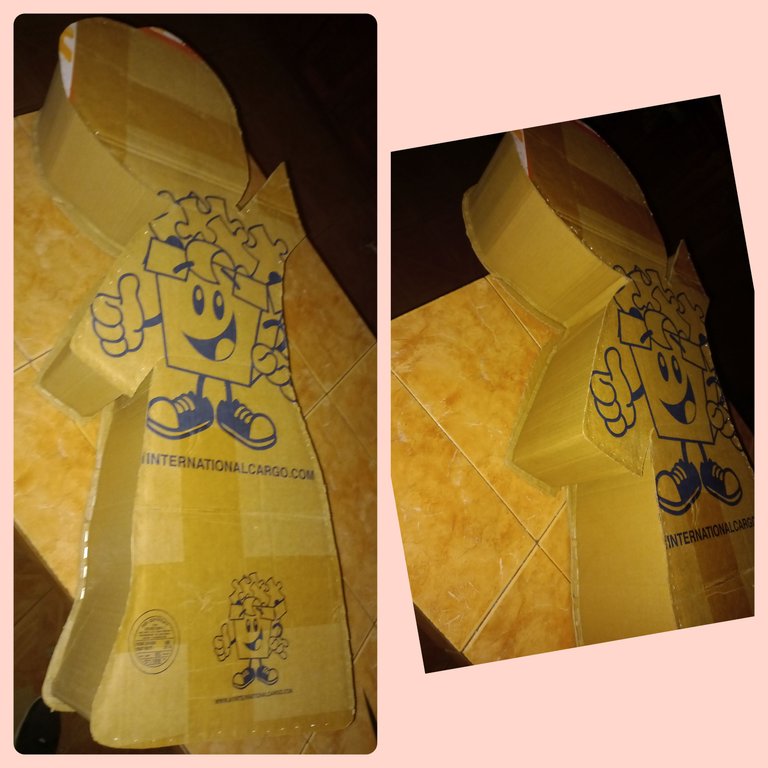
Step 8
Now with the strips and the stapler we start with one of the piñata lids.
Paso 8
Ahora con las tiras y la grapadora empesamos con una de las tapas de la piñata.
Step 9
Here we see that our piñata drum is ready, we can also see the ribbon that was placed to hold it.
Paso 9
Aquí observamos que nuestro tambor de la piñata está listo, también vemos la cinta que se le coloco para poder agarrarla.
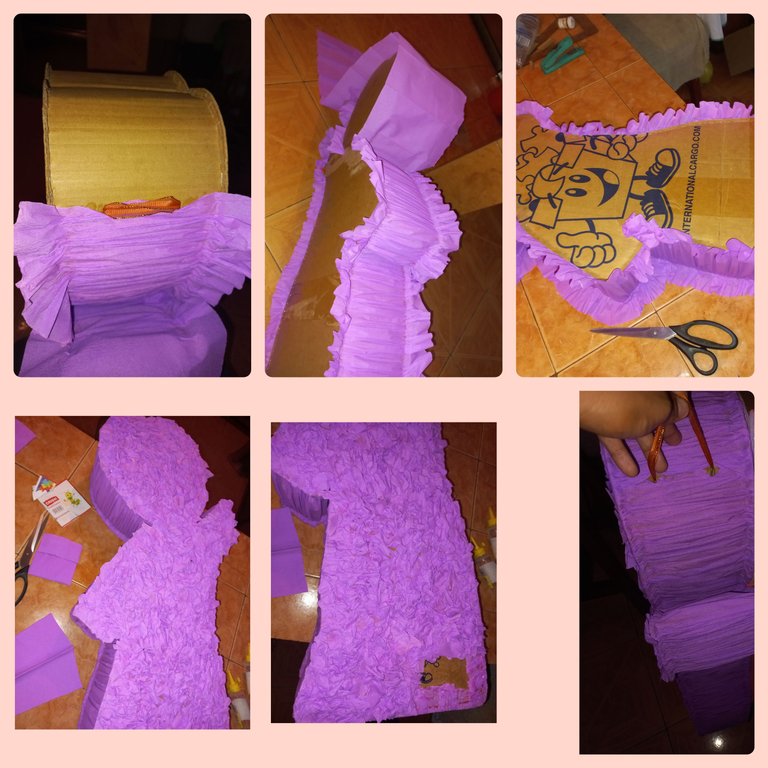
Step 10
Take the crepe paper and the silicone and decorate the whole back of the piñata also on the sides until the whole cardboard is covered.
Paso 10
Agarramos el papel crepe y el silicon y adornamos toda la parte de atrás de la piñata también por los lados.hasta lograr tapar todo el cartón.
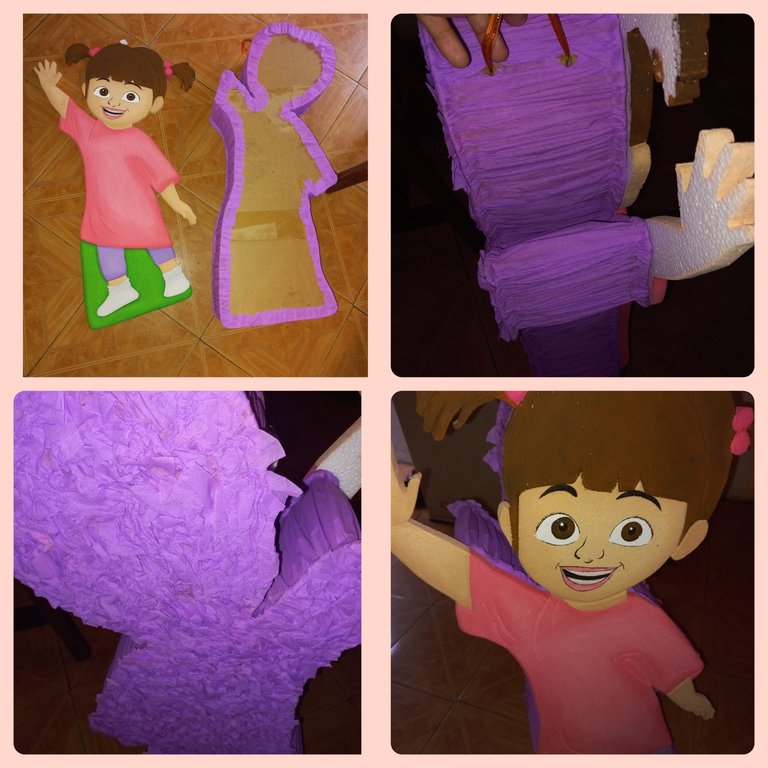
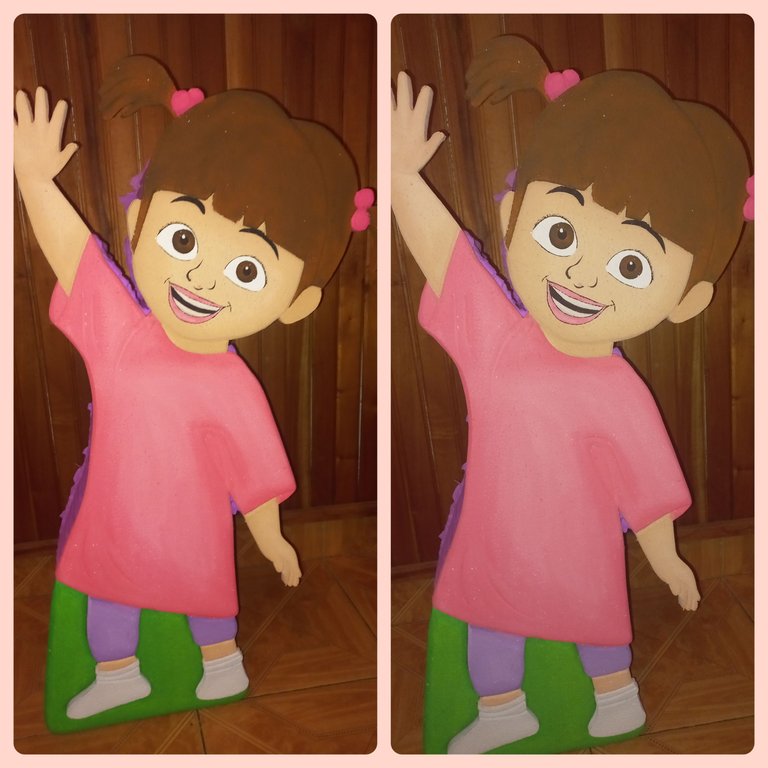
Step 11
We glue our anime doll on the piñata and finally we see the beautiful work of this wonderful monsters inc: Boo theme.
Paso 11
Pegamos nuestra muñeca de anime en la piñata y Finalmente vemos el bello trabajo de esta maravillosa temática de monsters inc: Boo .
RESOURCES USED / RECURSOS UTILIZADOS
• Incollage/ para unir y reducir las fotos.
•Boo doll that I use for painting.//Muñeca boo que utilice para pintar. fuente
• Photos taken by redmi 9. / Fotos tomadas por redmi 9.
• The translator is used www.Deepl.com / Se utiliza el traductor www.Deepl.com
Te ha quedado hermosa ,igual que las otras piñatas
Gracias
Gracias
Thank you for sharing this amazing post on HIVE!
Your content got selected by our fellow curator @rezoanulvibes & you just received a little thank you via an upvote from our non-profit curation initiative!
You will be featured in one of our recurring curation compilations and on our pinterest boards! Both are aiming to offer you a stage to widen your audience within and outside of the DIY scene of hive.
Join the official DIYHub community on HIVE and show us more of your amazing work and feel free to connect with us and other DIYers via our discord server: https://discord.gg/mY5uCfQ !
If you want to support our goal to motivate other DIY/art/music/homesteading/... creators just delegate to us and earn 100% of your curation rewards!
Stay creative & hive on!
Gracias
Me gustó mucho tu trabajo, gracias por compartir.
🎆🎇🎉🎊🌧️💐✨🌾🌱🌹🌙🌿🍃🥀⚡🌺☘️🍀🌈🌷⭐🪴🌵🌸🌟💮🌴🌳💫☀️💮☔🌲🌳🌍🌌🌠☄️🏵️🐝🌻🌼🍄🐞🦋💙☕💜🍍🎆🎇🎉🎊
A la orden.. gracias
Dear @alba-rosaced, we need your help!
The Hivebuzz proposal already got important support from the community. However, it lost its funding a few days ago and only needs a few more HP to get funded again.
May we ask you to support it so our team can continue its work this year?
You can do it on Peakd, ecency,
https://peakd.com/me/proposals/199
Your support would be really helpful and you could make a difference.
Thank you!