Hello my beautiful people of this wonderful community of @HiveDiy, God bless you. Today I want to share with you on this very special date as it is Christmas in any home to enjoy the warmth of our family, I'll show you how to make a beautiful Christmas ornament for our doors of our house, very easy to do just follow me and you will see that it is easy to do it.
Hola mi gente bonita de esta maravillosa comunidad de @HiveDiy, dios los bendiga. Hoy quiero compartir con ustedes en esta fecha muy especial como lo es la navidad en cualquier hogar para disfrutar ese calor decembrino de nuestra familia, les voy a mostrar cómo realizar una bello adorno navideño para nuestras puertas de nuestra casita,muy fácil de hacer solo sígueme y verás que es fácil de realizarlo..
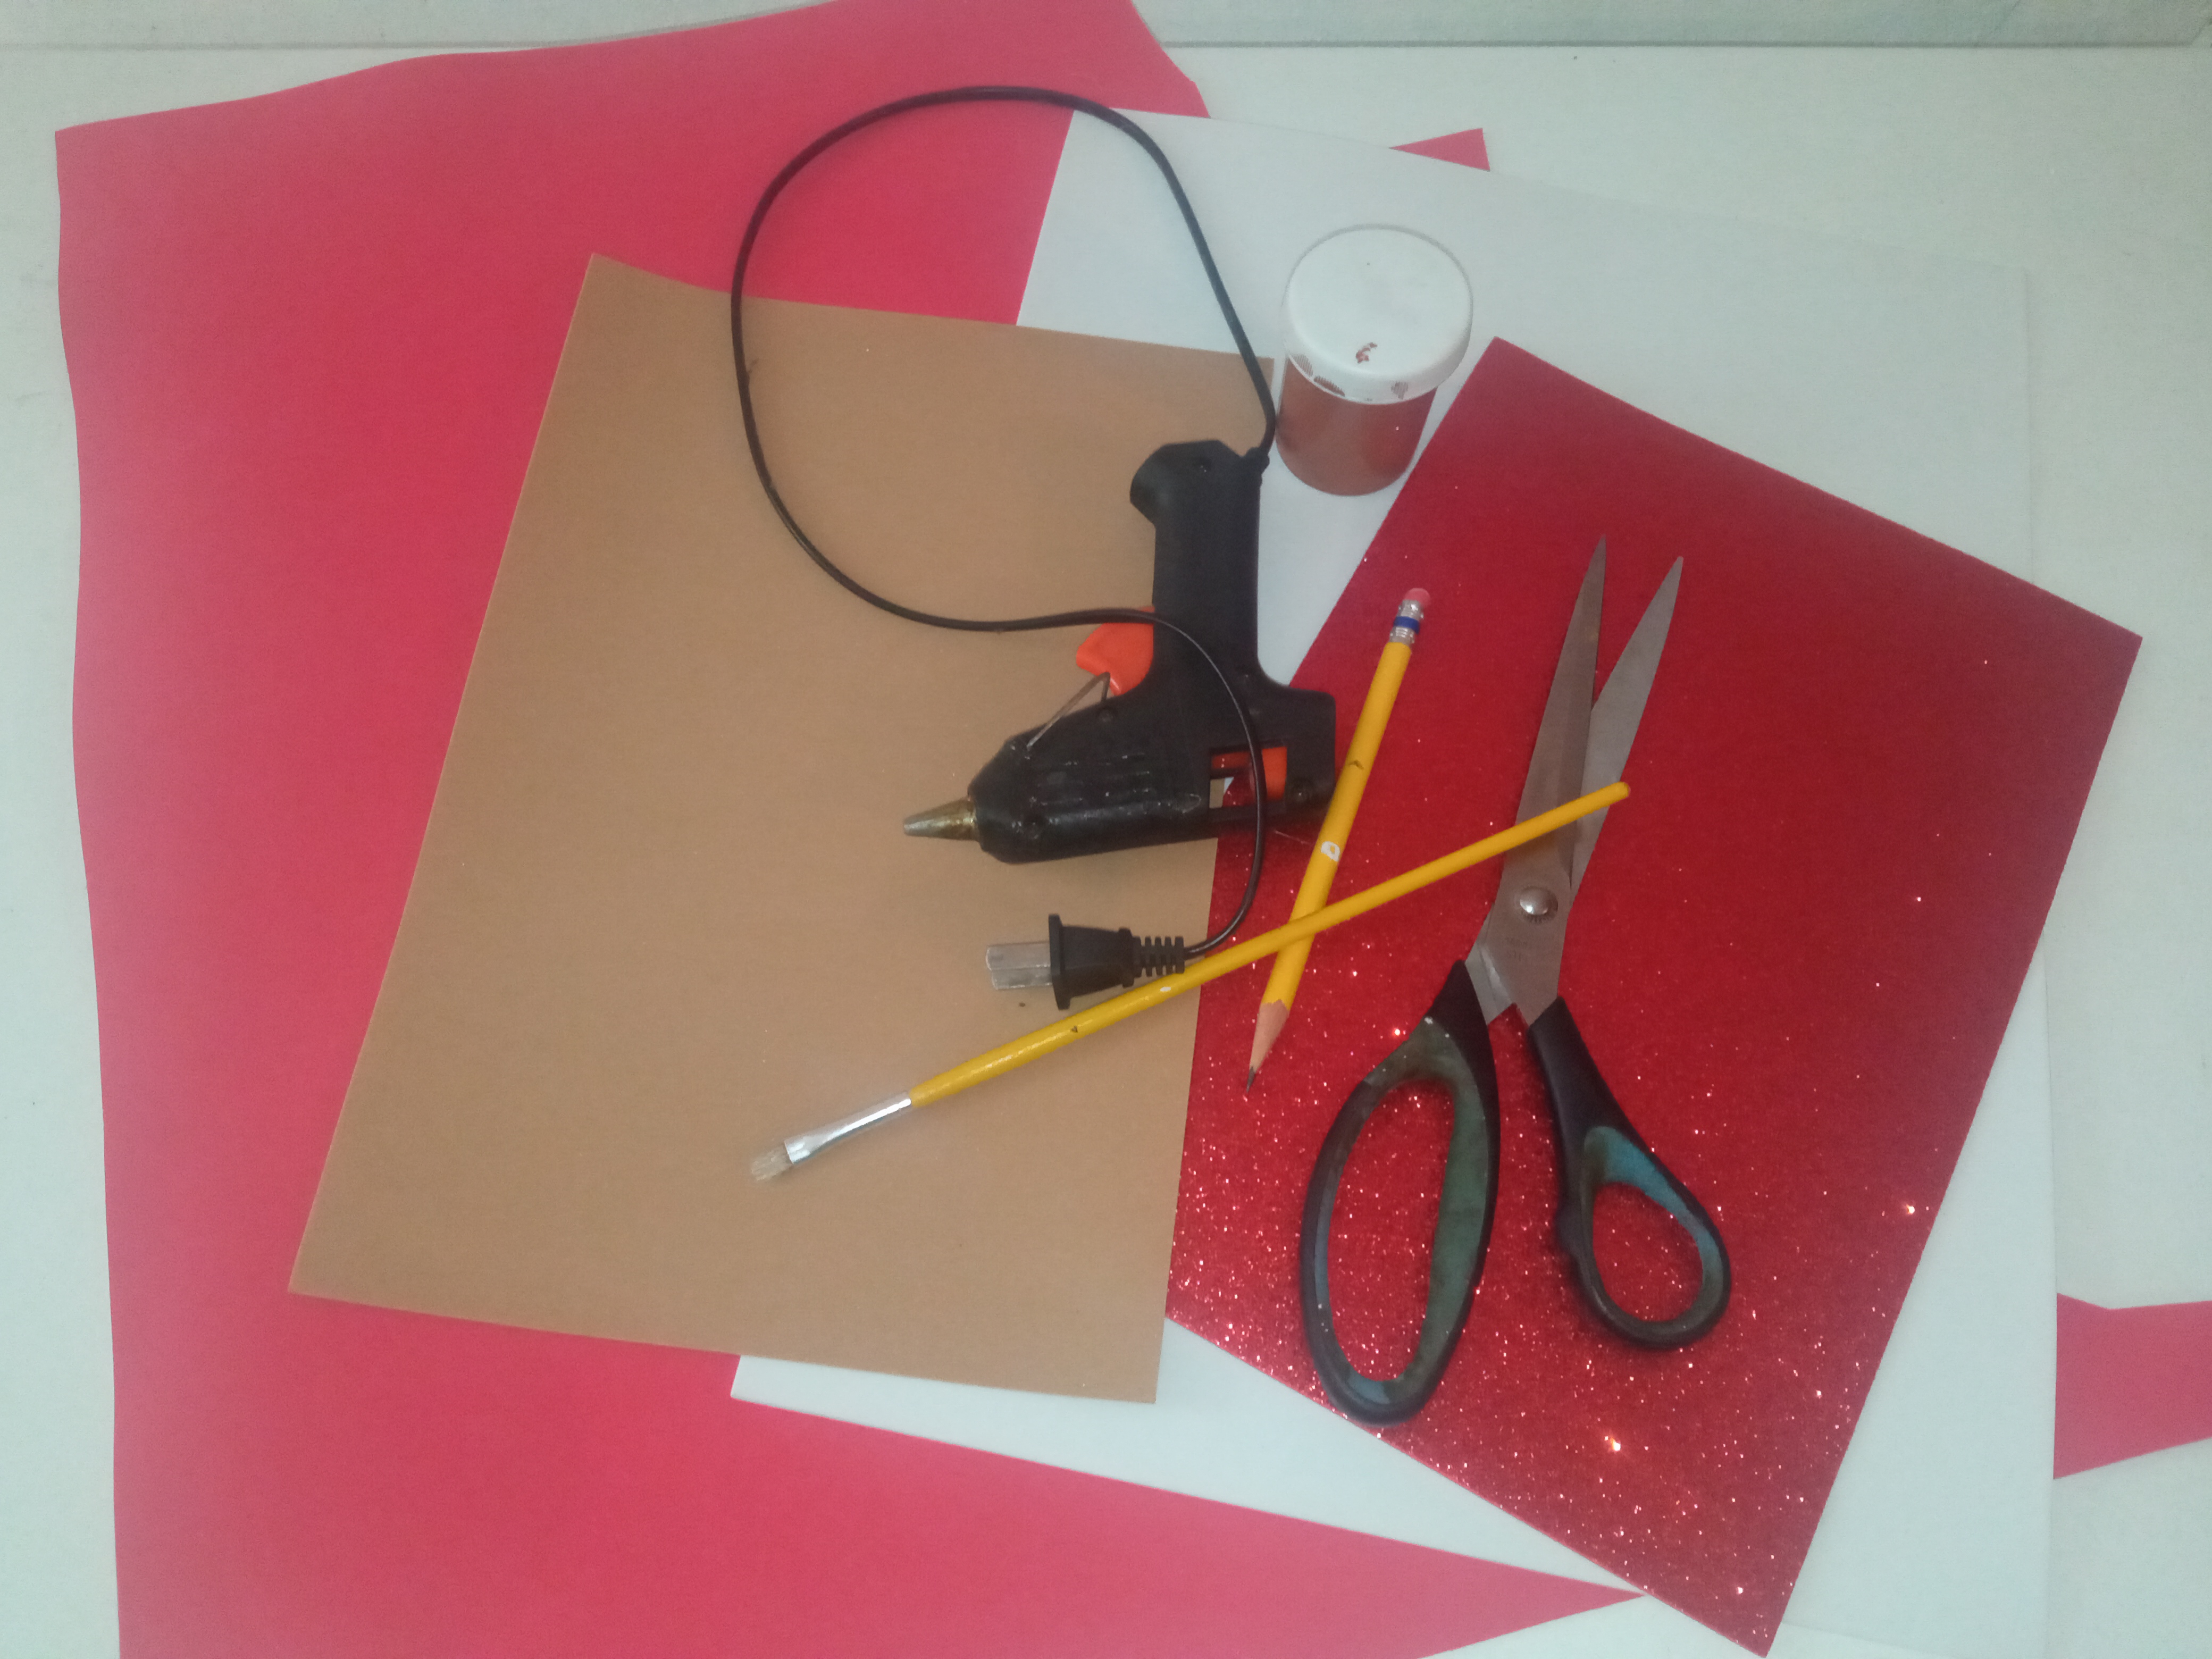
Materiales a utilizar:
-Foami.
-tijera.
-pistola de silicon.
-lápiz.
-papel bon.
-pintura al frío.
-pincel.
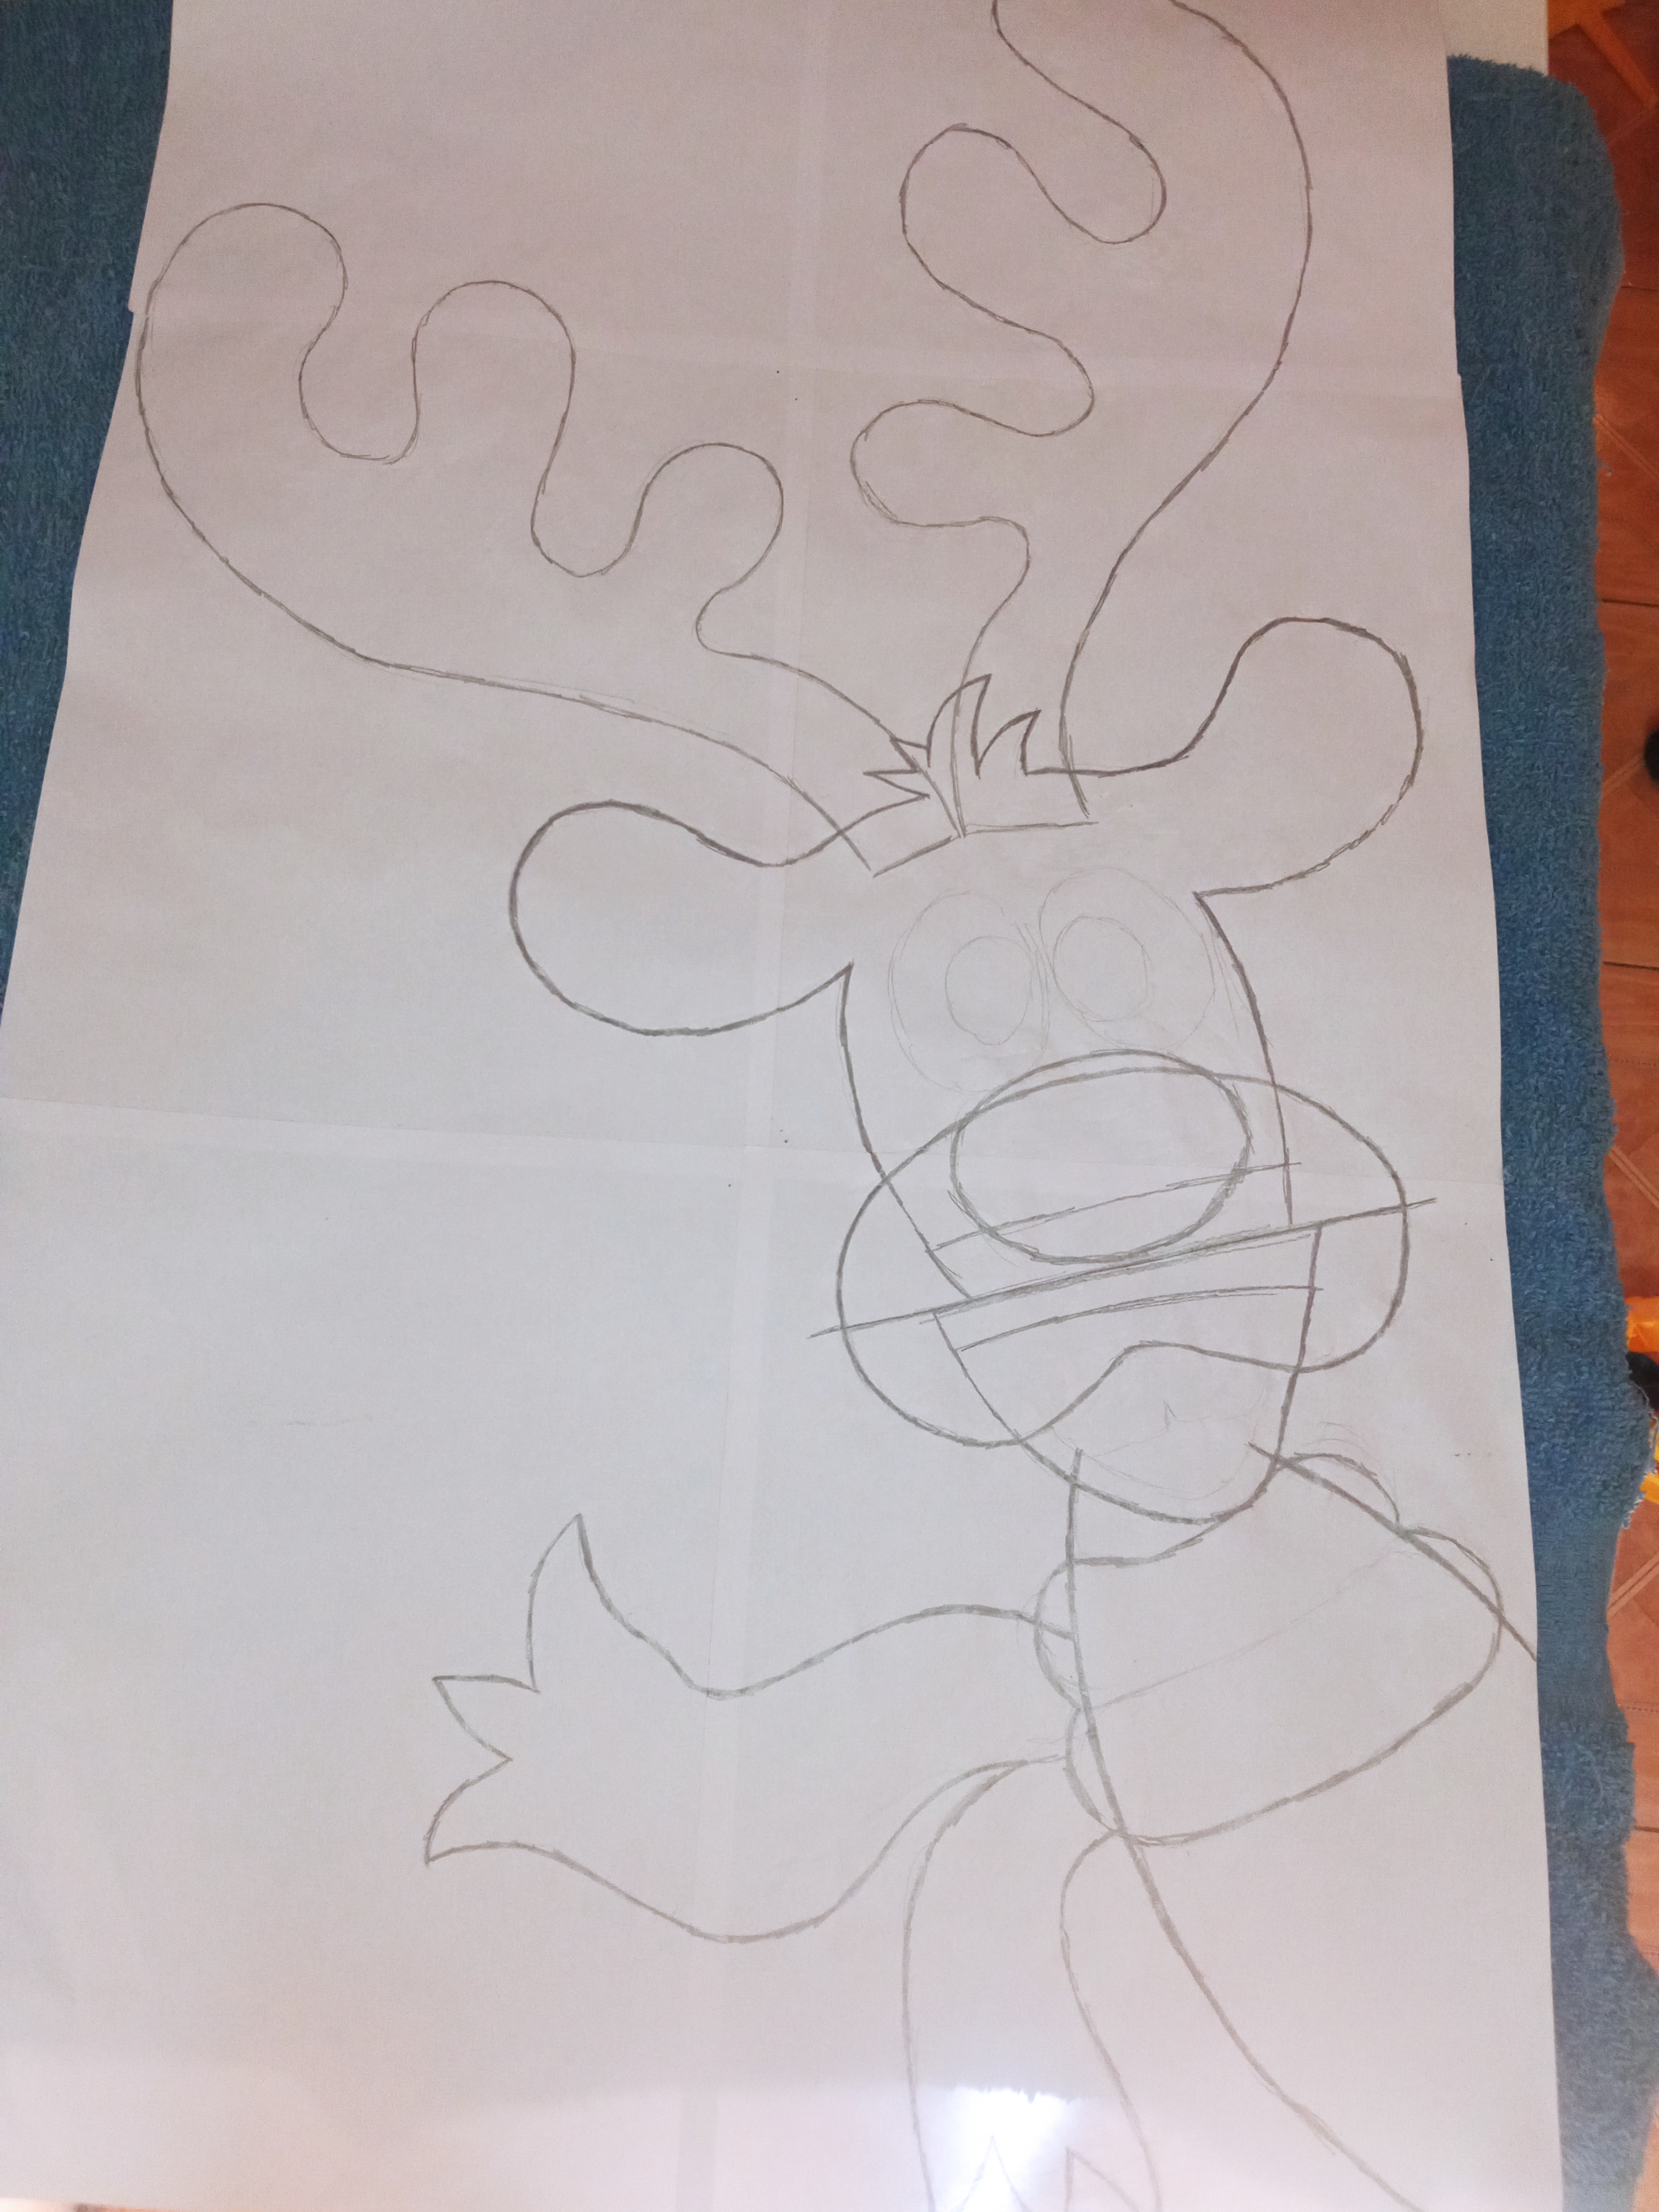
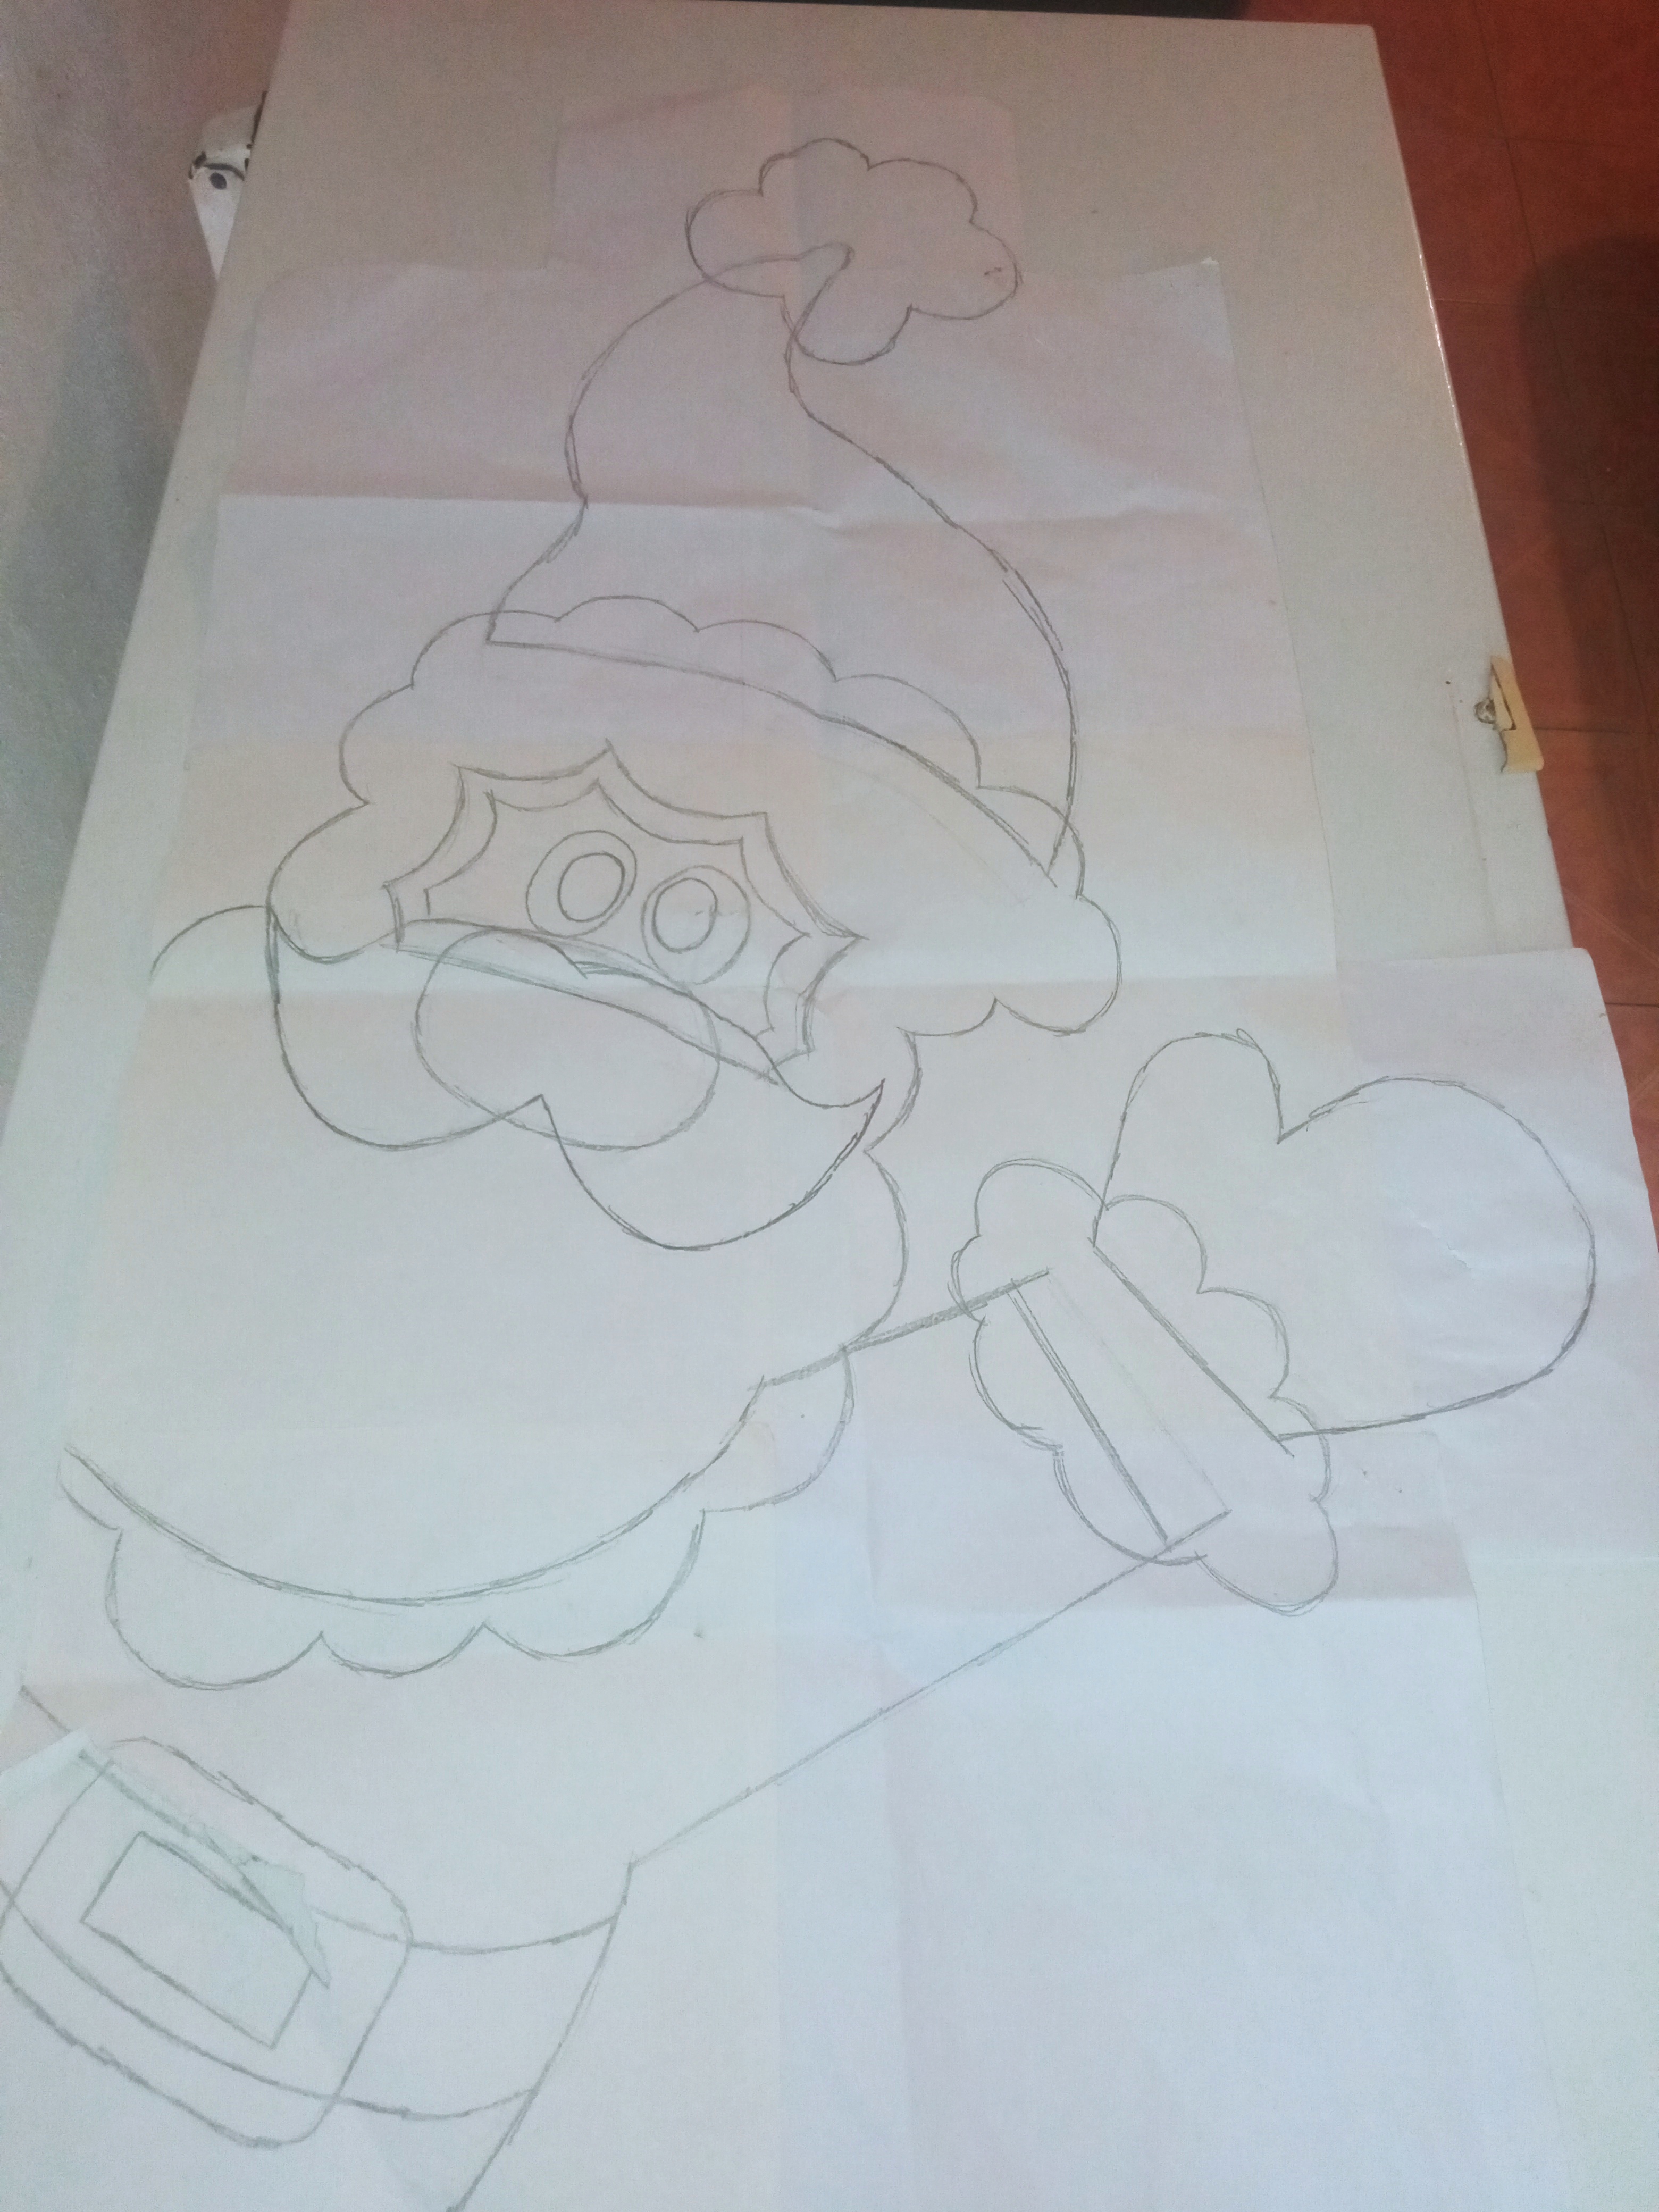
Step 1
We paint our santa and reindeer on the sheet, to have our mold to make these beauties.
Paso 1
Pintamos nuestro santa y reno en la hoja, para tener nuestro molde para realizar estás bellezas .
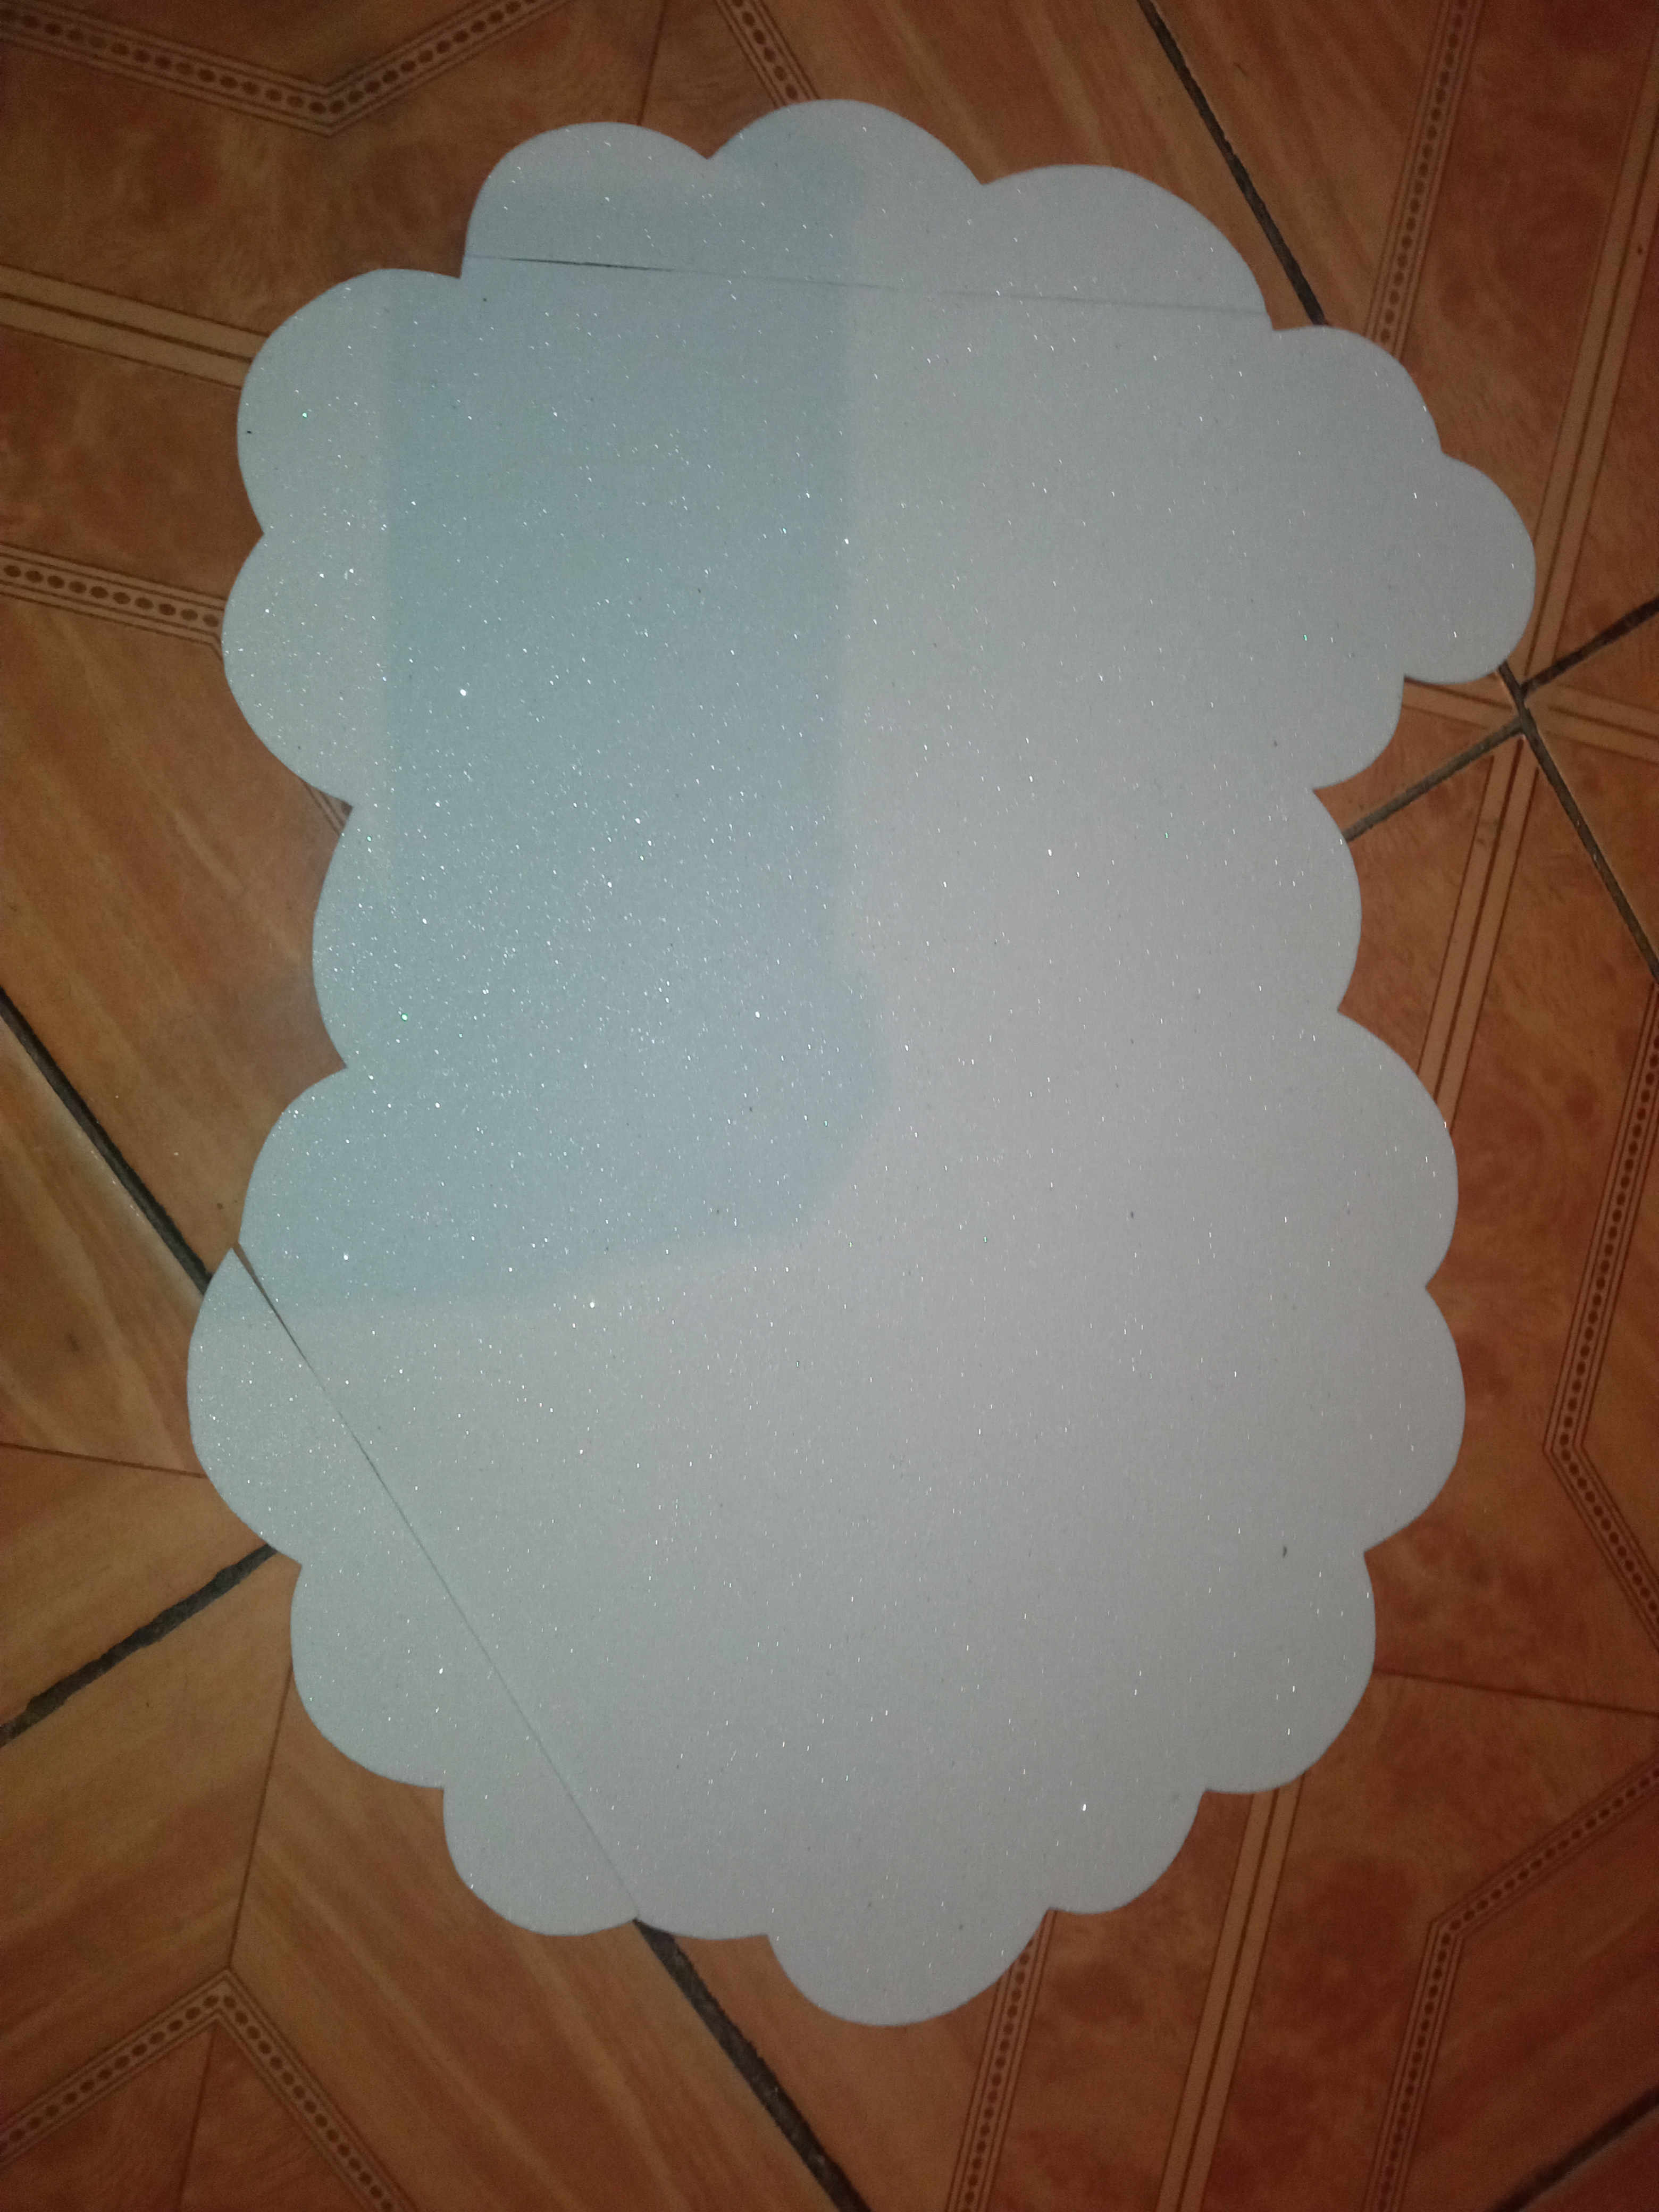
Step 2
We mark the parts of our santa doll on the foami and cut.
Paso 2
Marcamos las partes de nuestro muñeco de santa en el foami y cortamos.
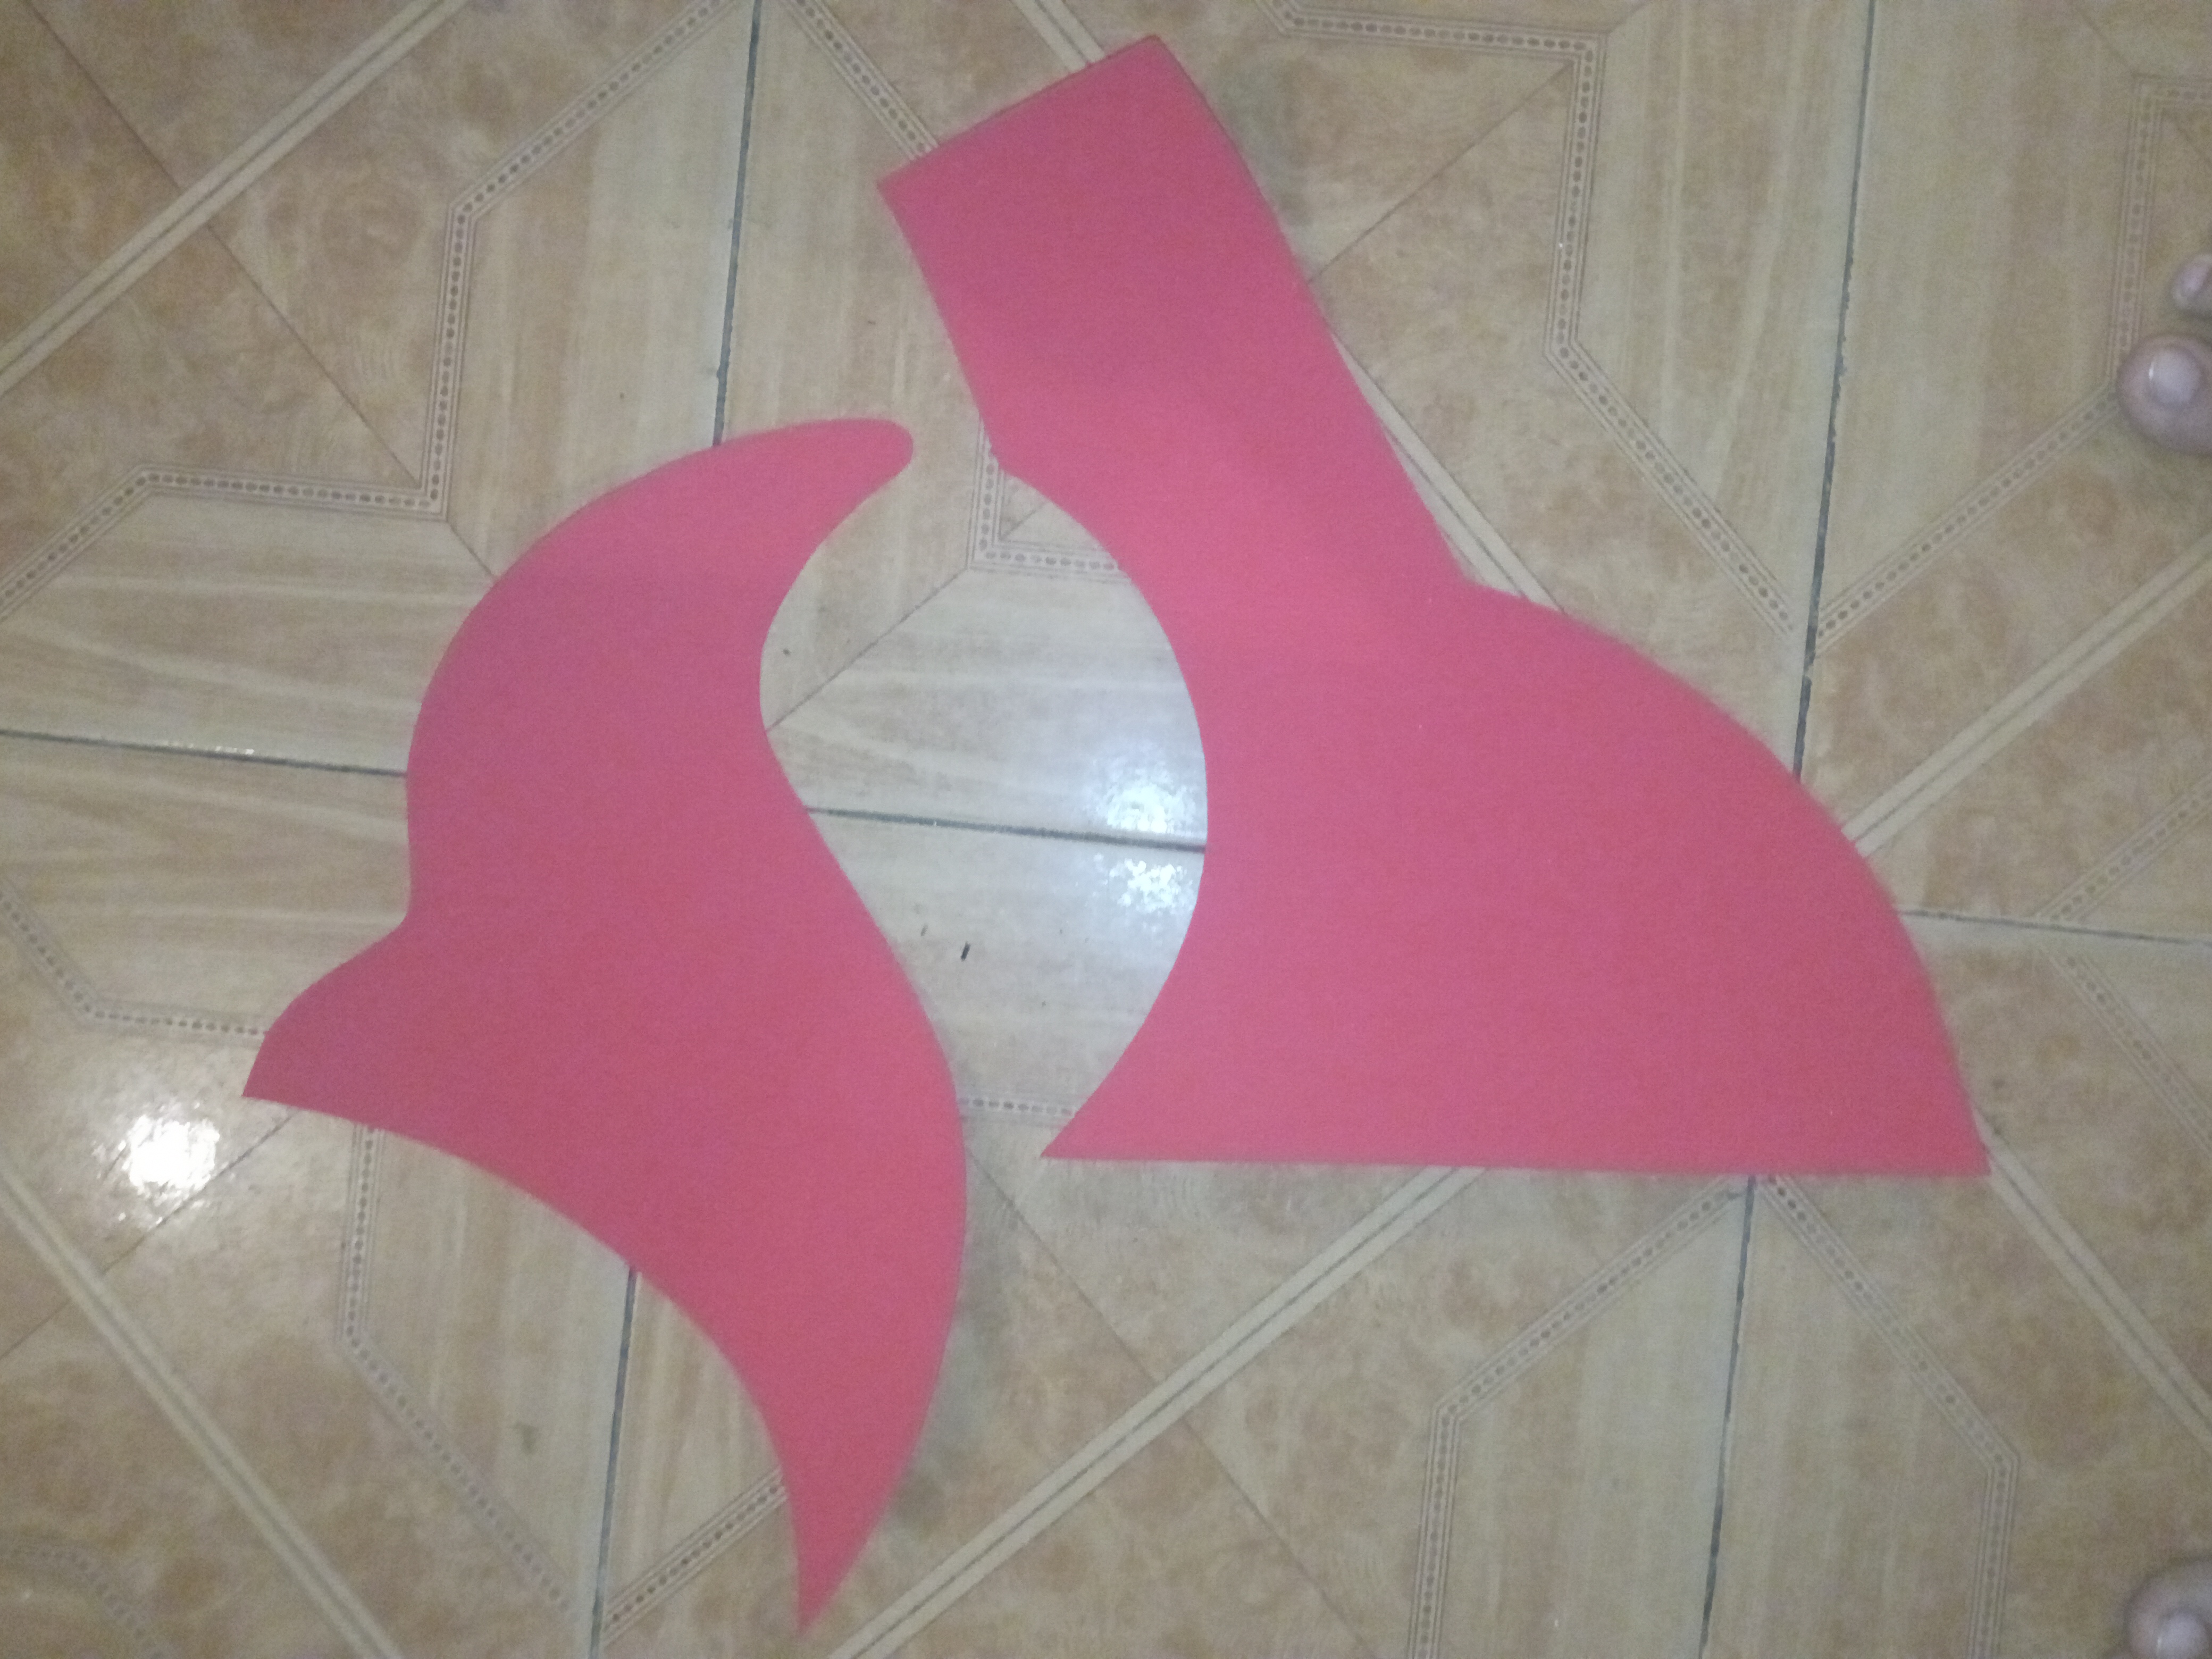
Step 3
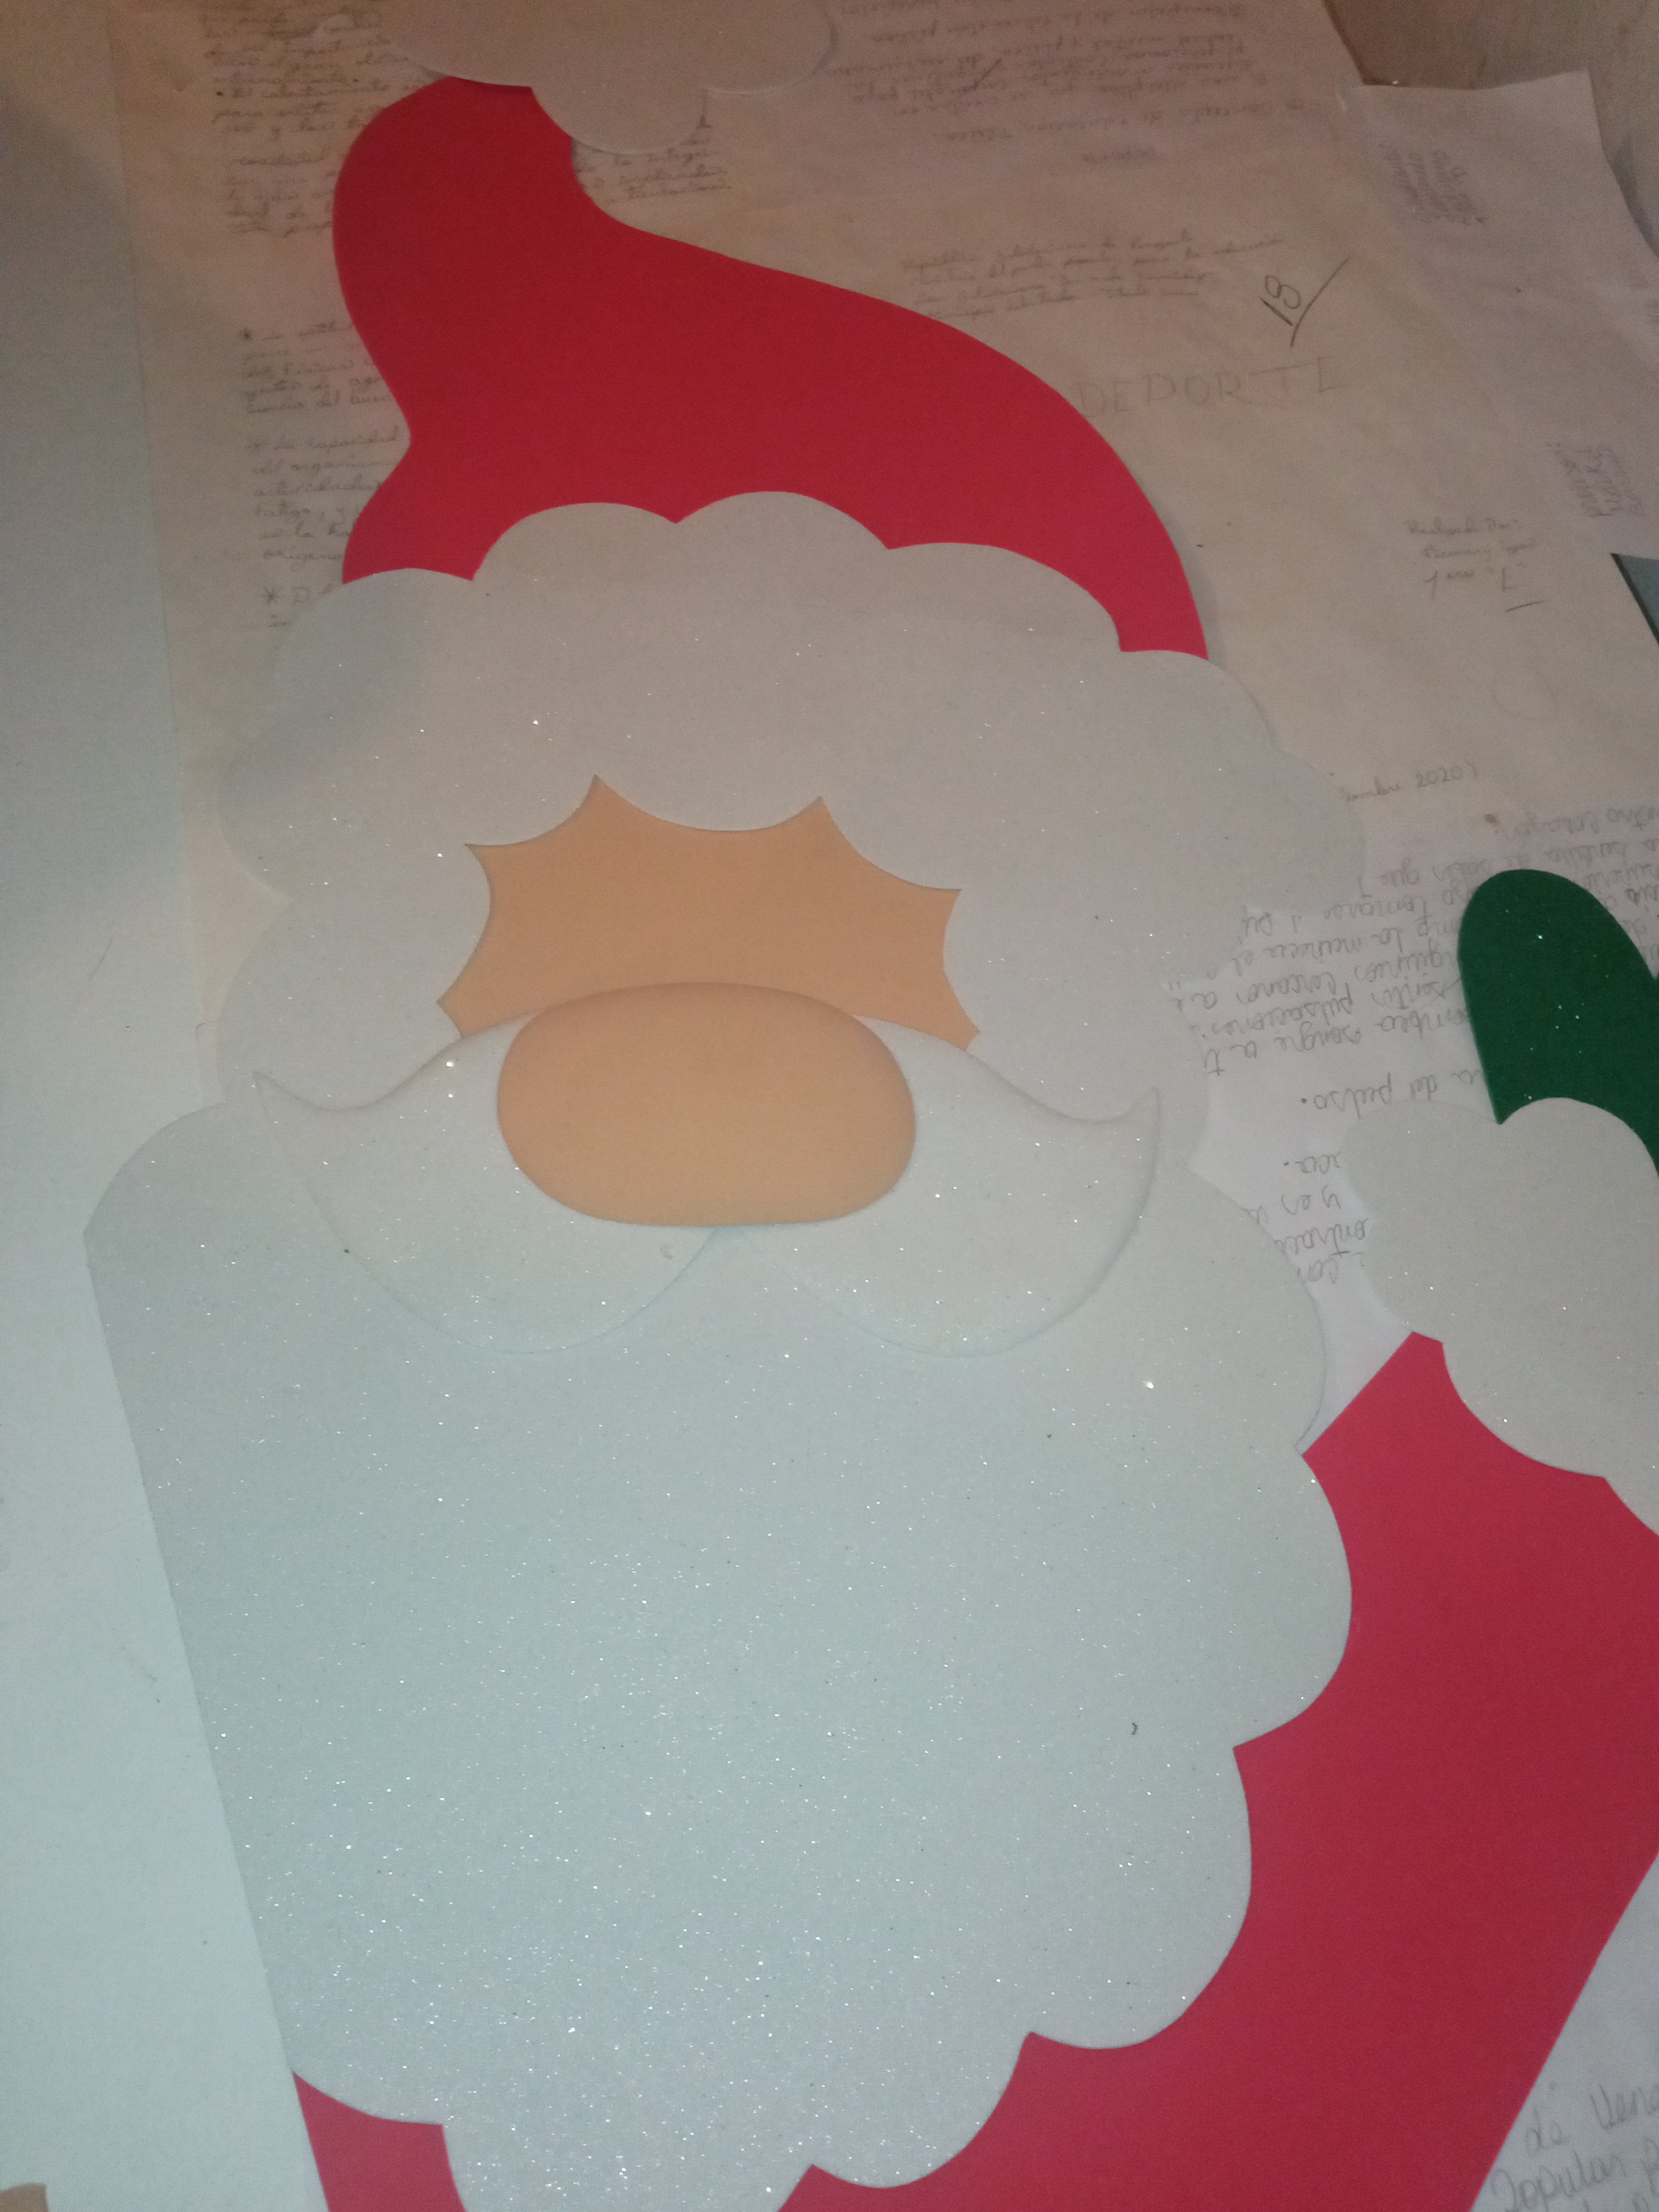
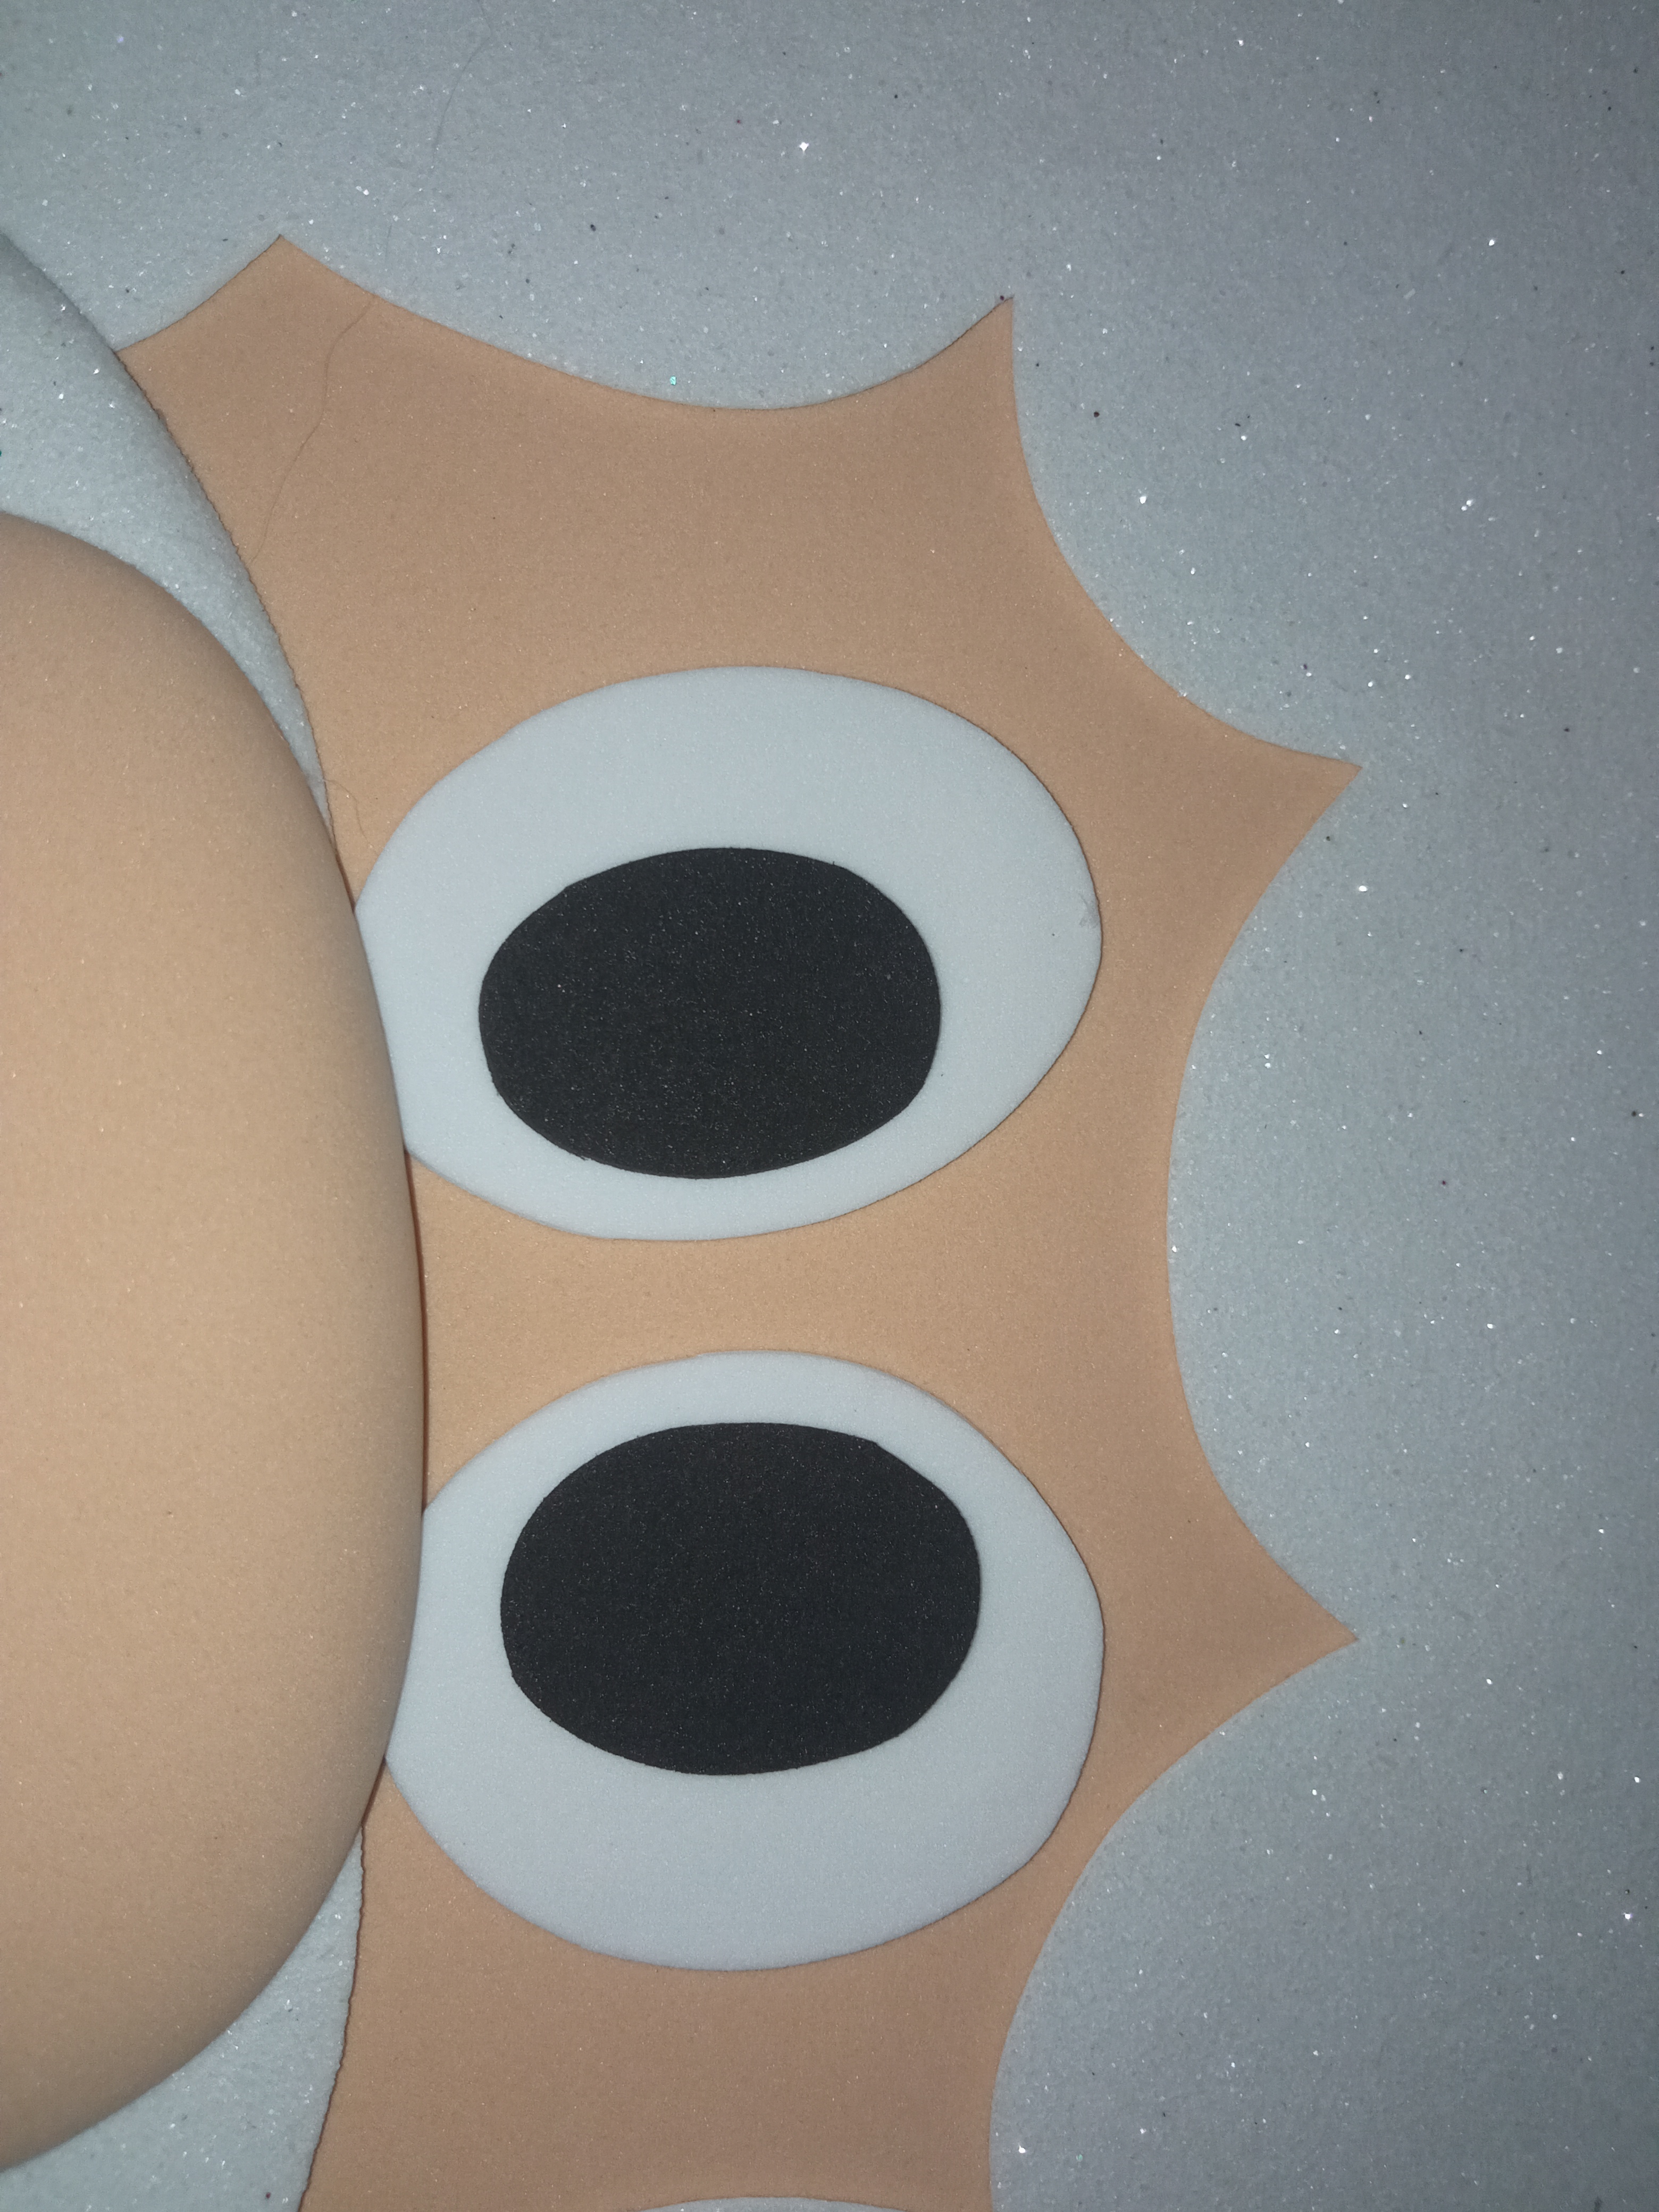
After cutting all the pieces, we start gluing the whole body, the face and the eyes.
Paso 3
Después de cortar todas las piezas, comenzamos a pegar todo el cuerpo, la cara y hacerle los ojos .


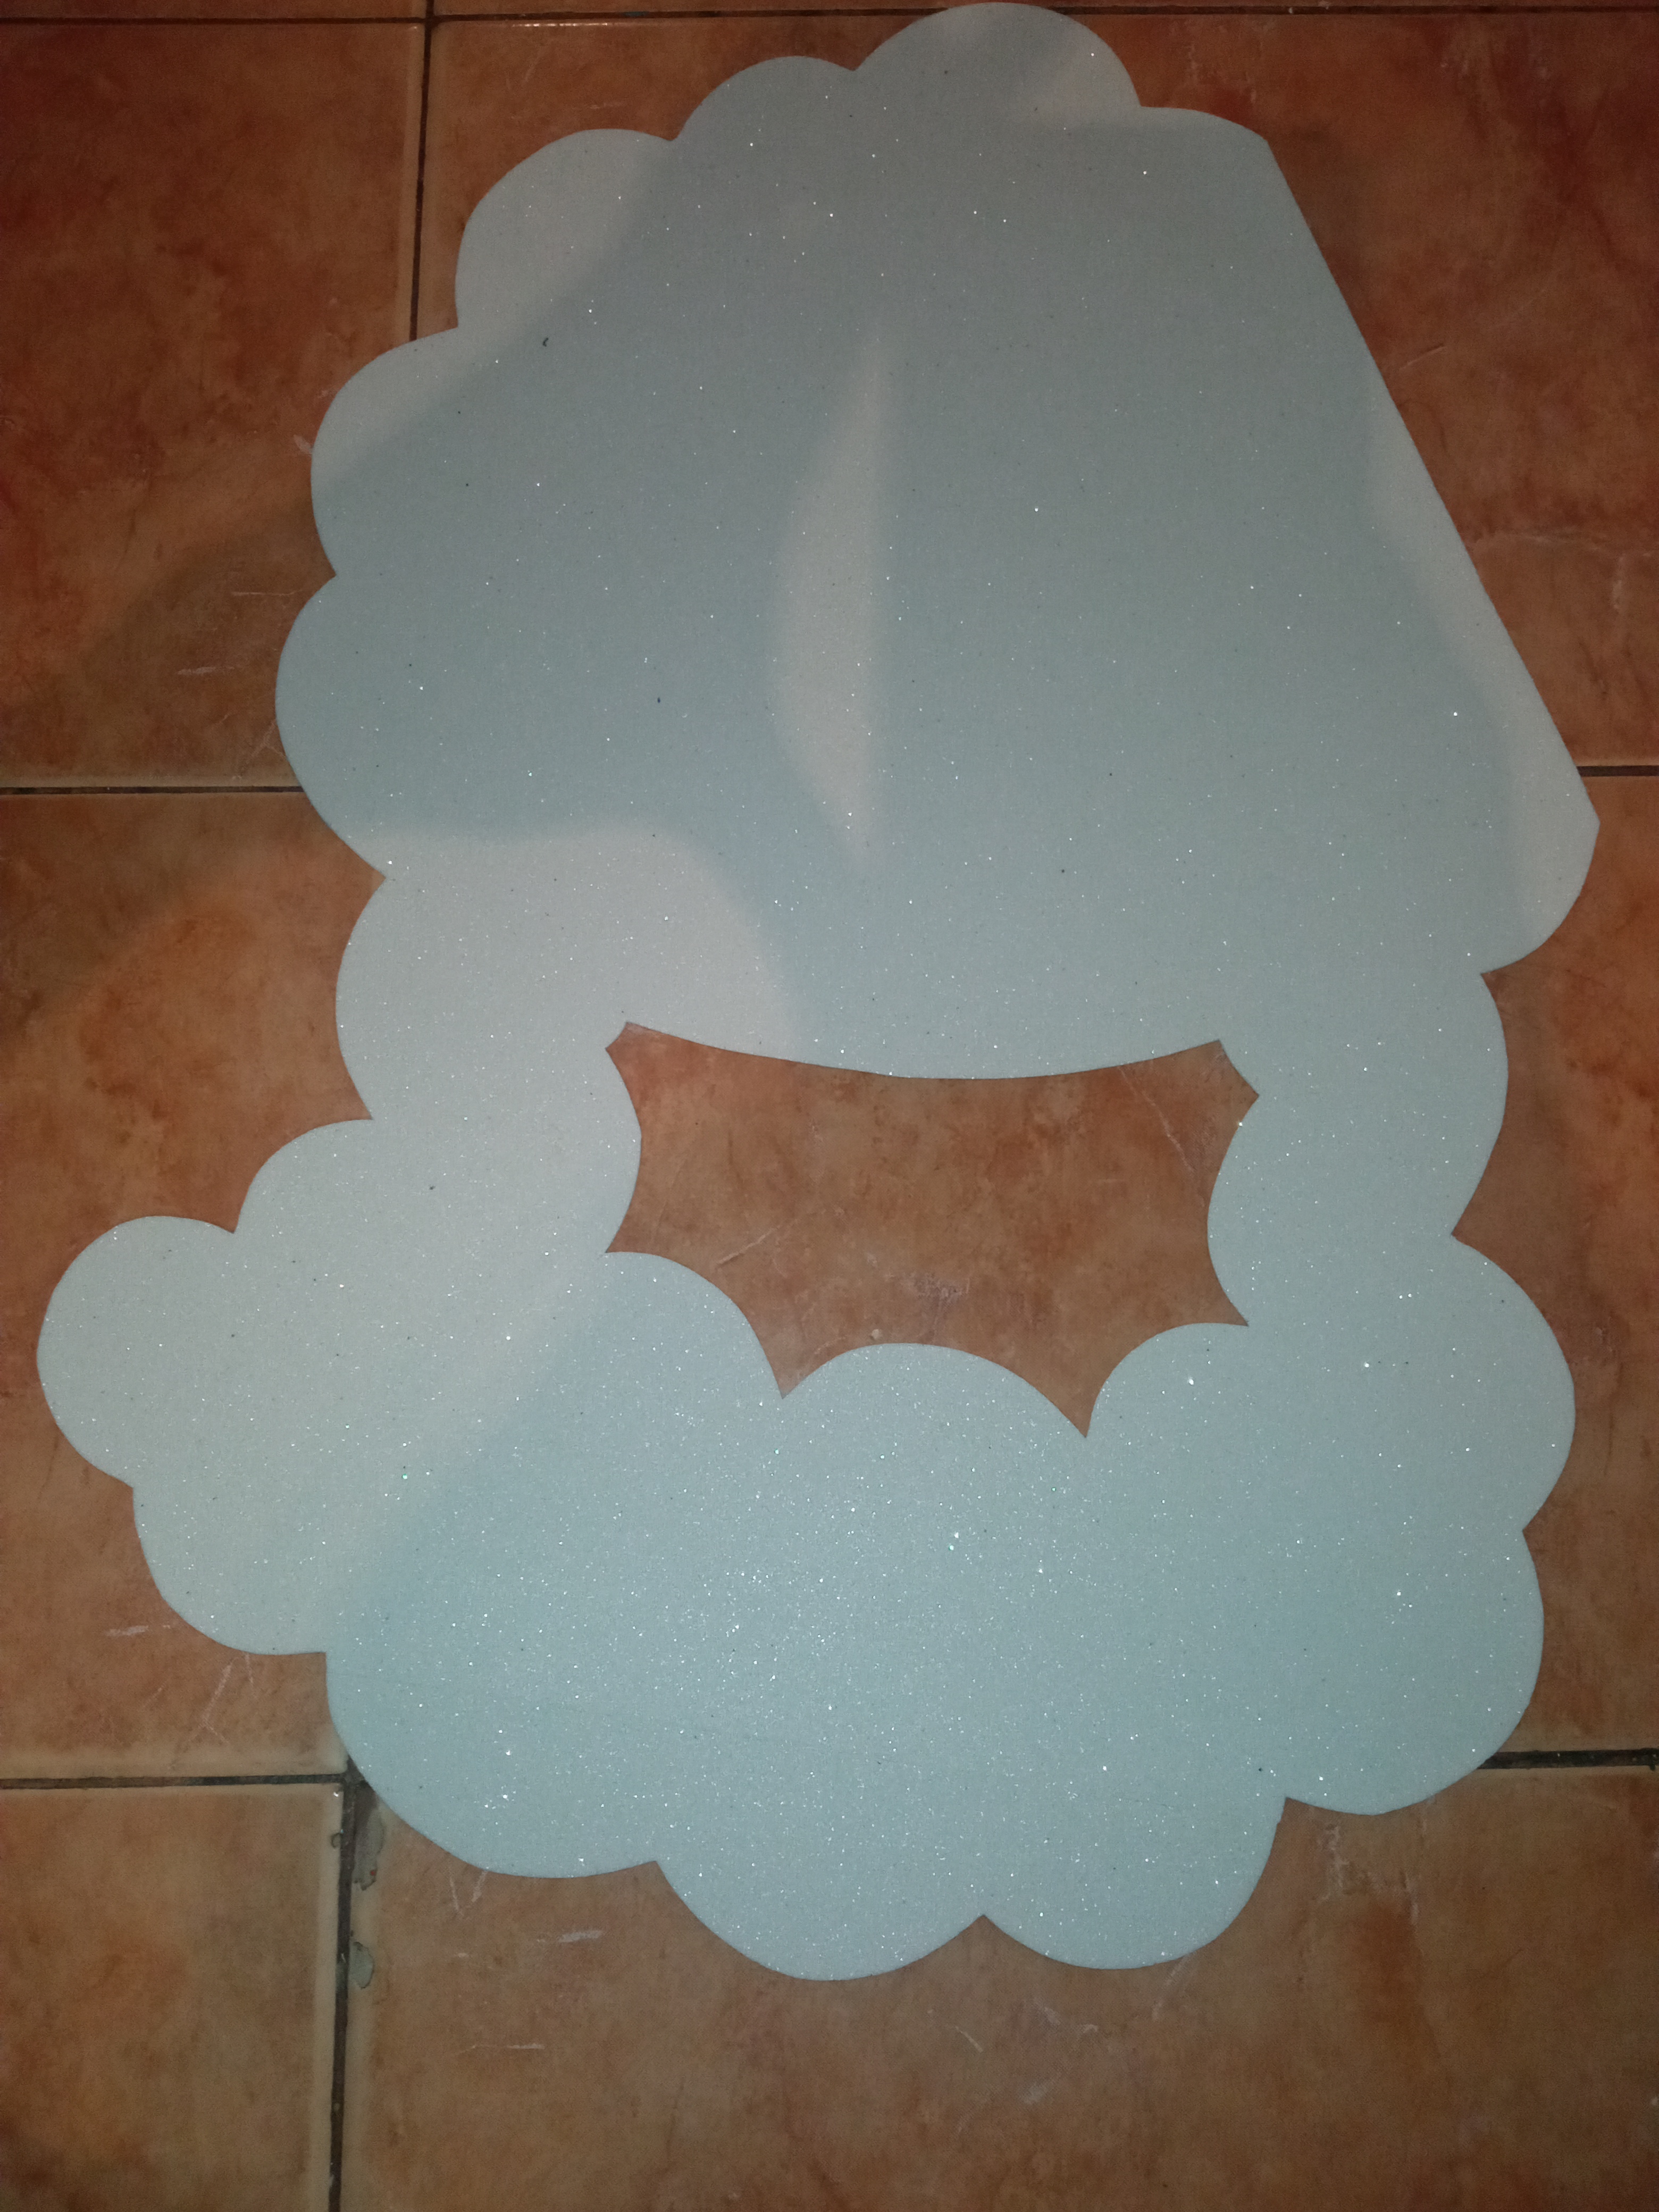
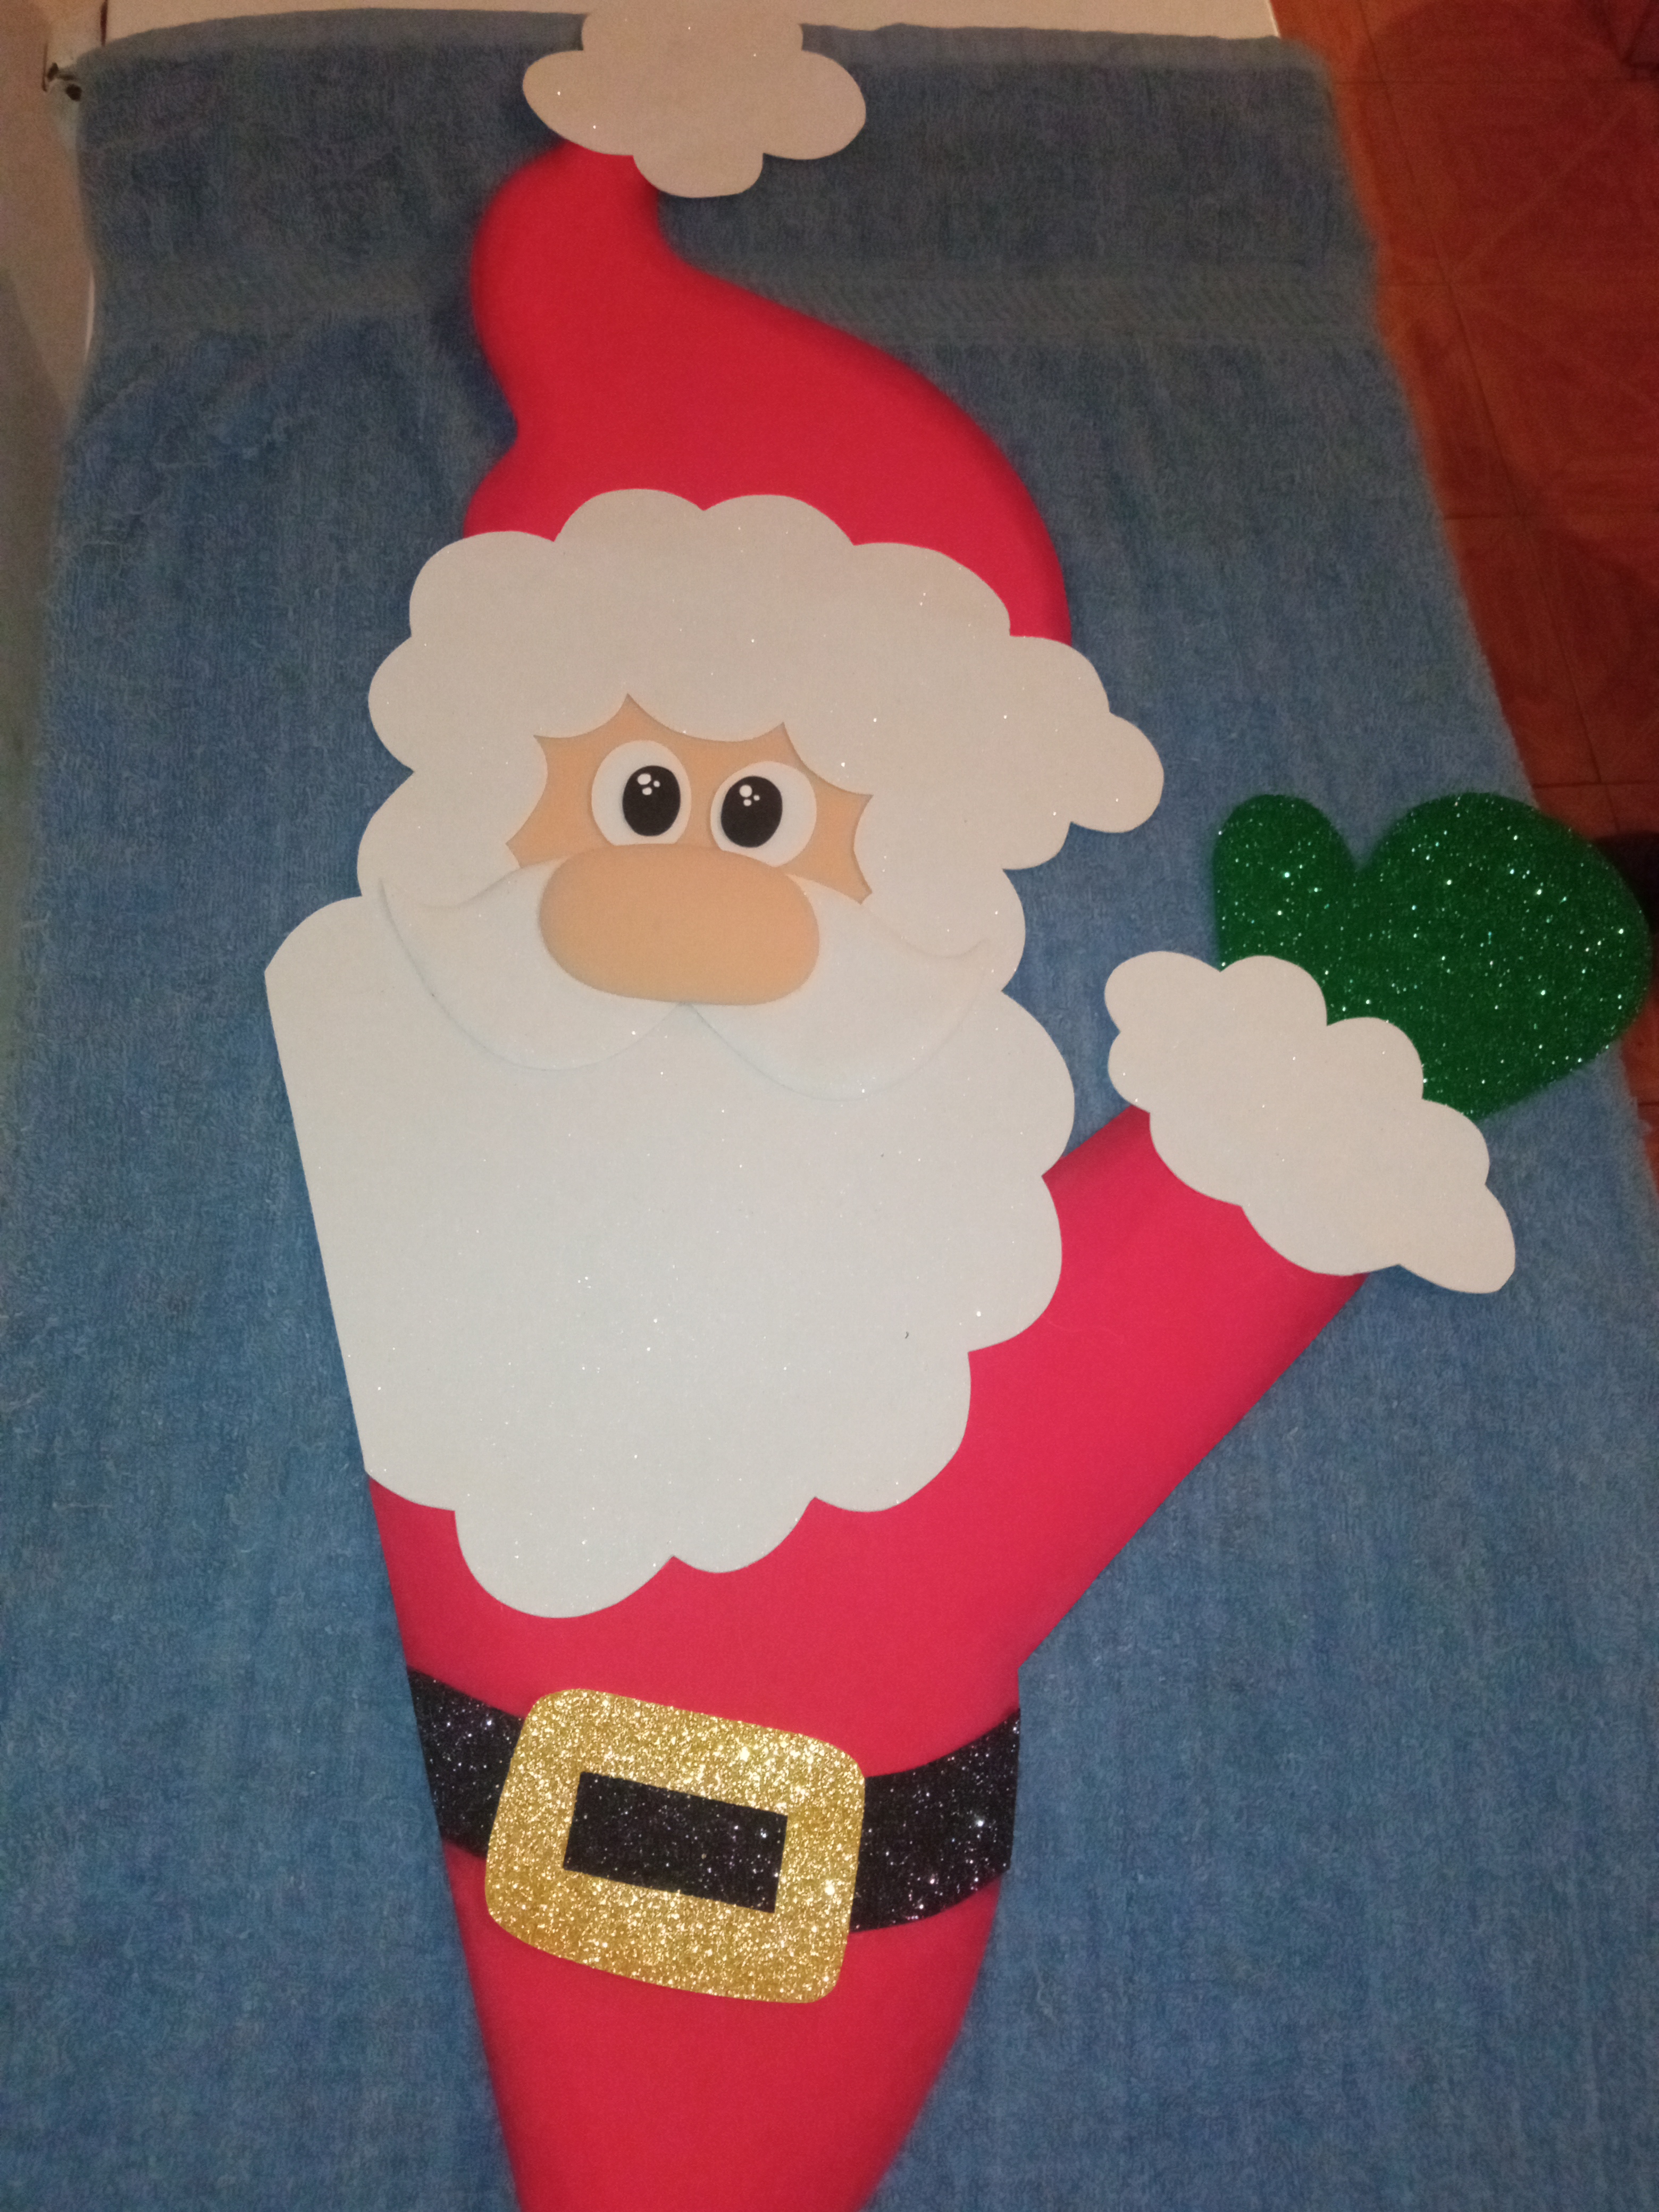
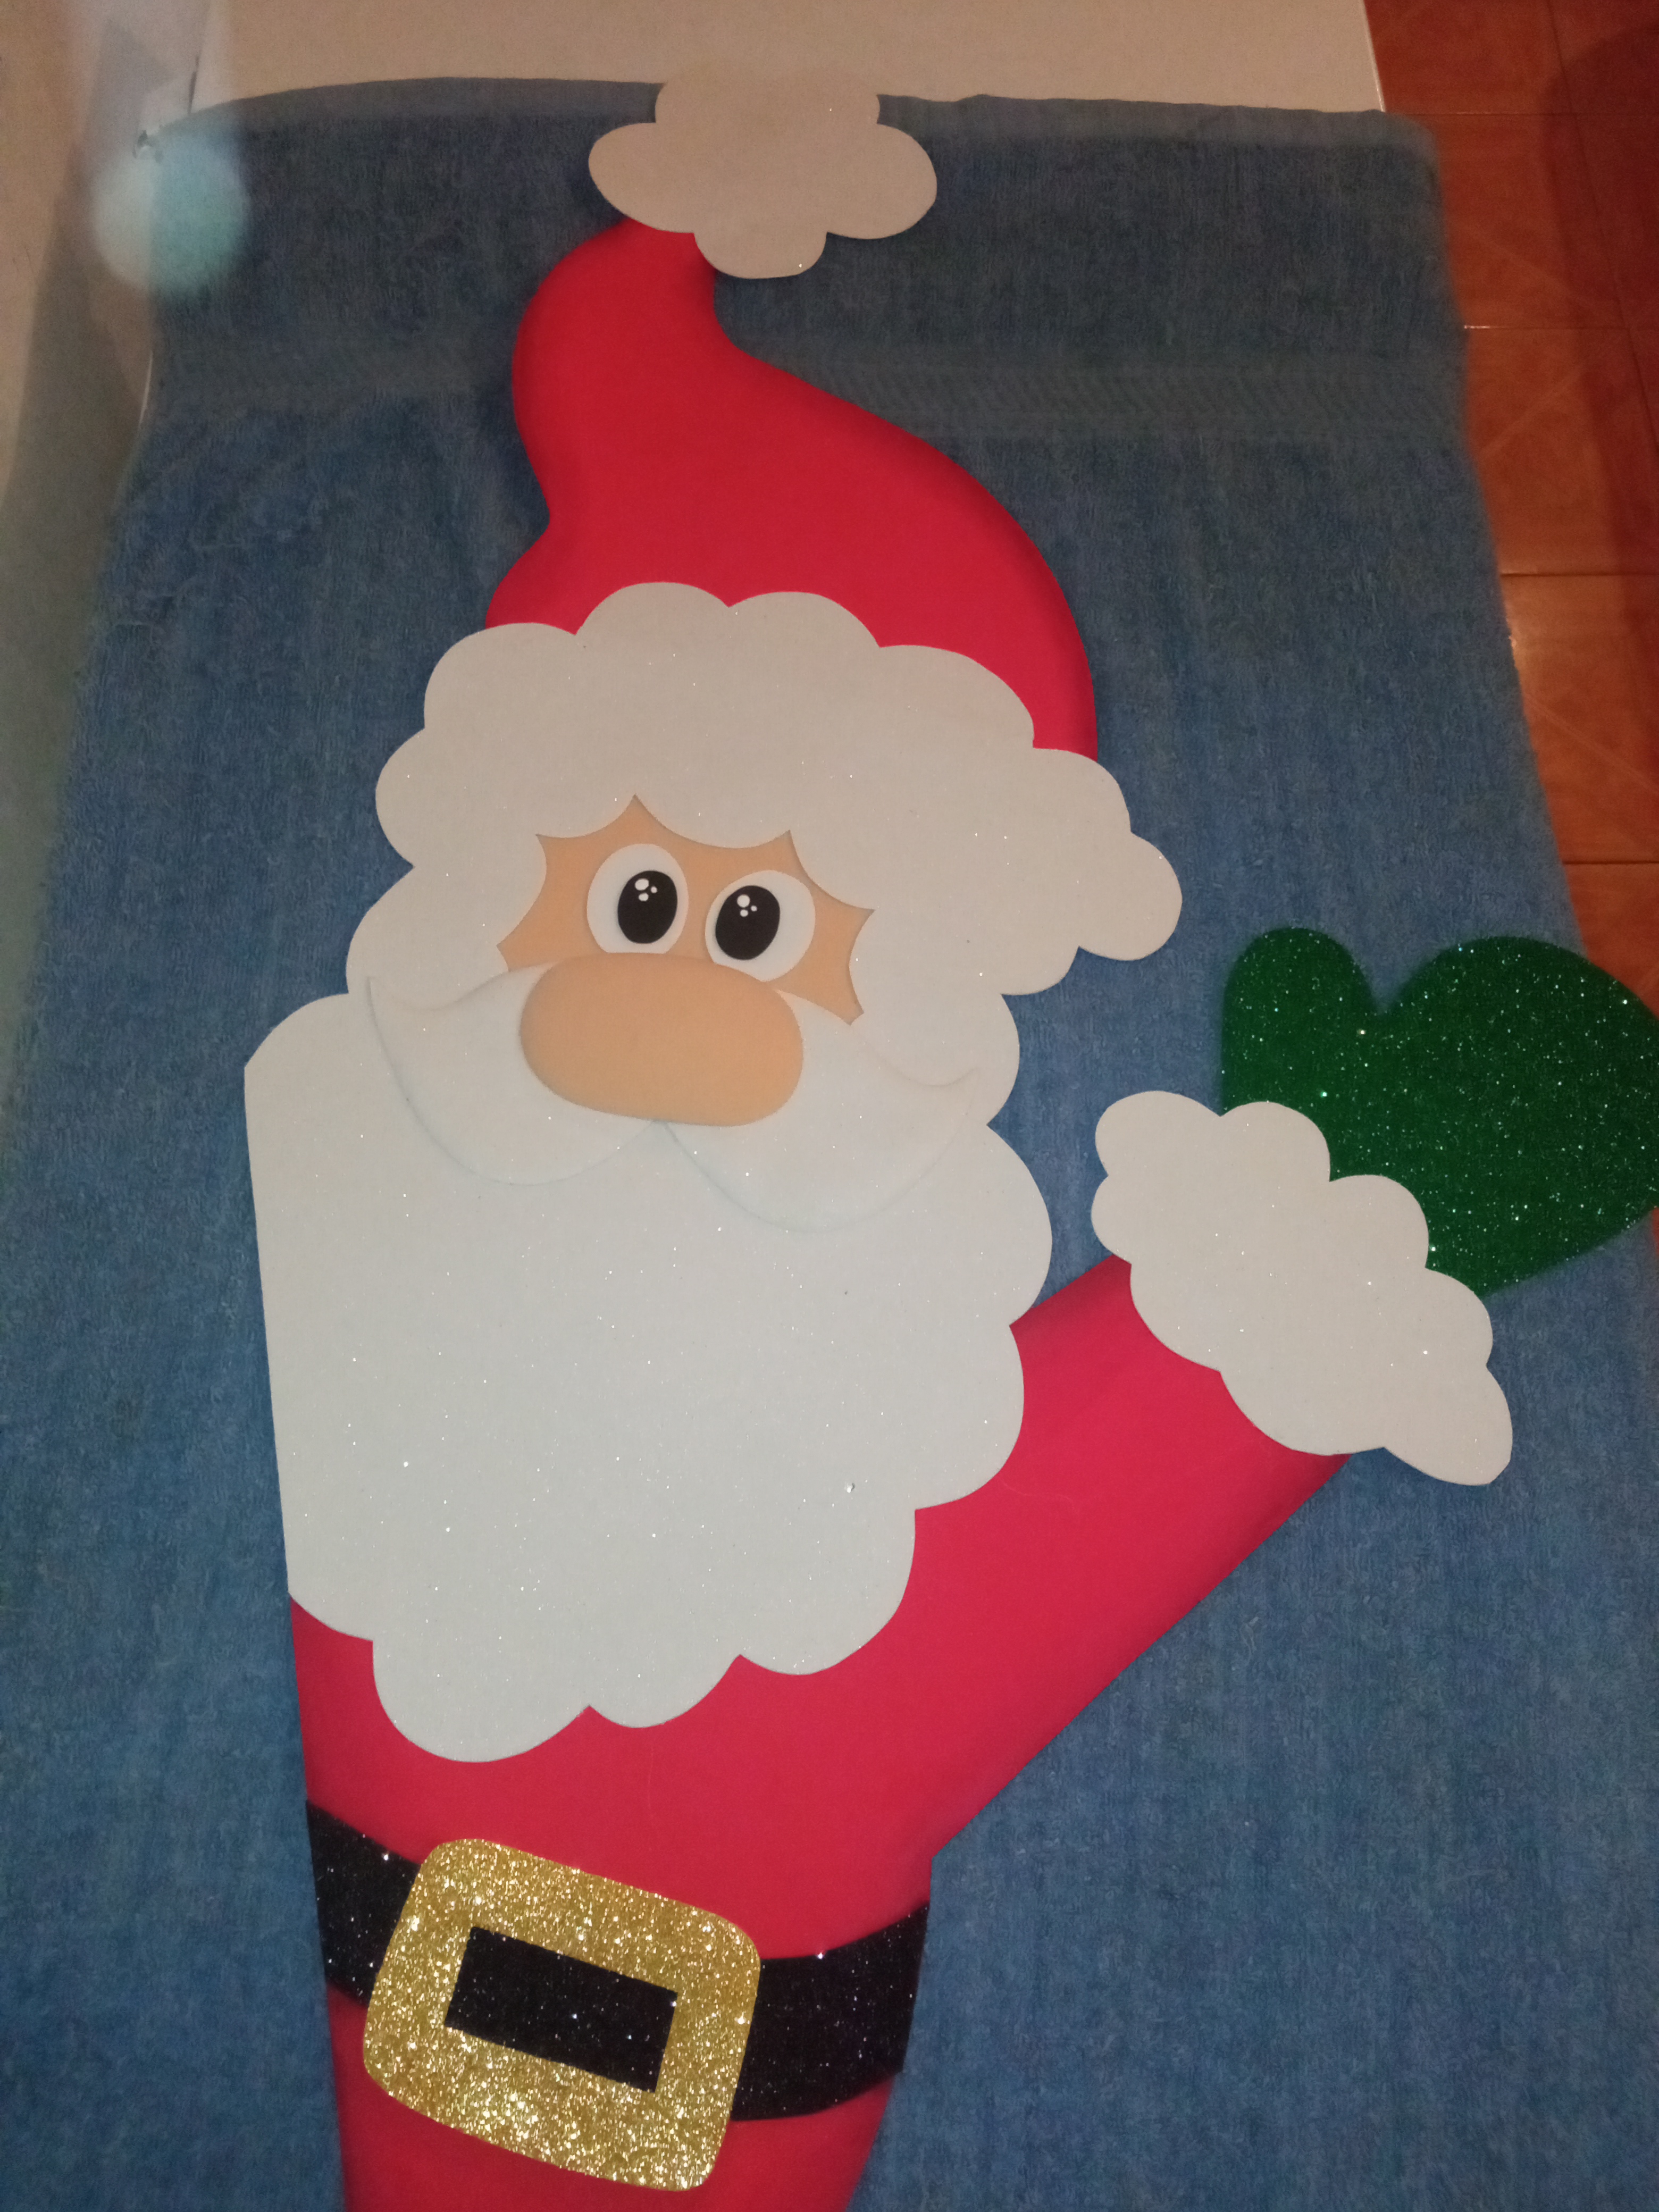
Step 4
We finish placing the Santa's eyes and now we have our beautiful doll ready.
Paso 4
Terminamos de colocar los ojos del santa y ya así tenemos listo nuestro bello muñeco.
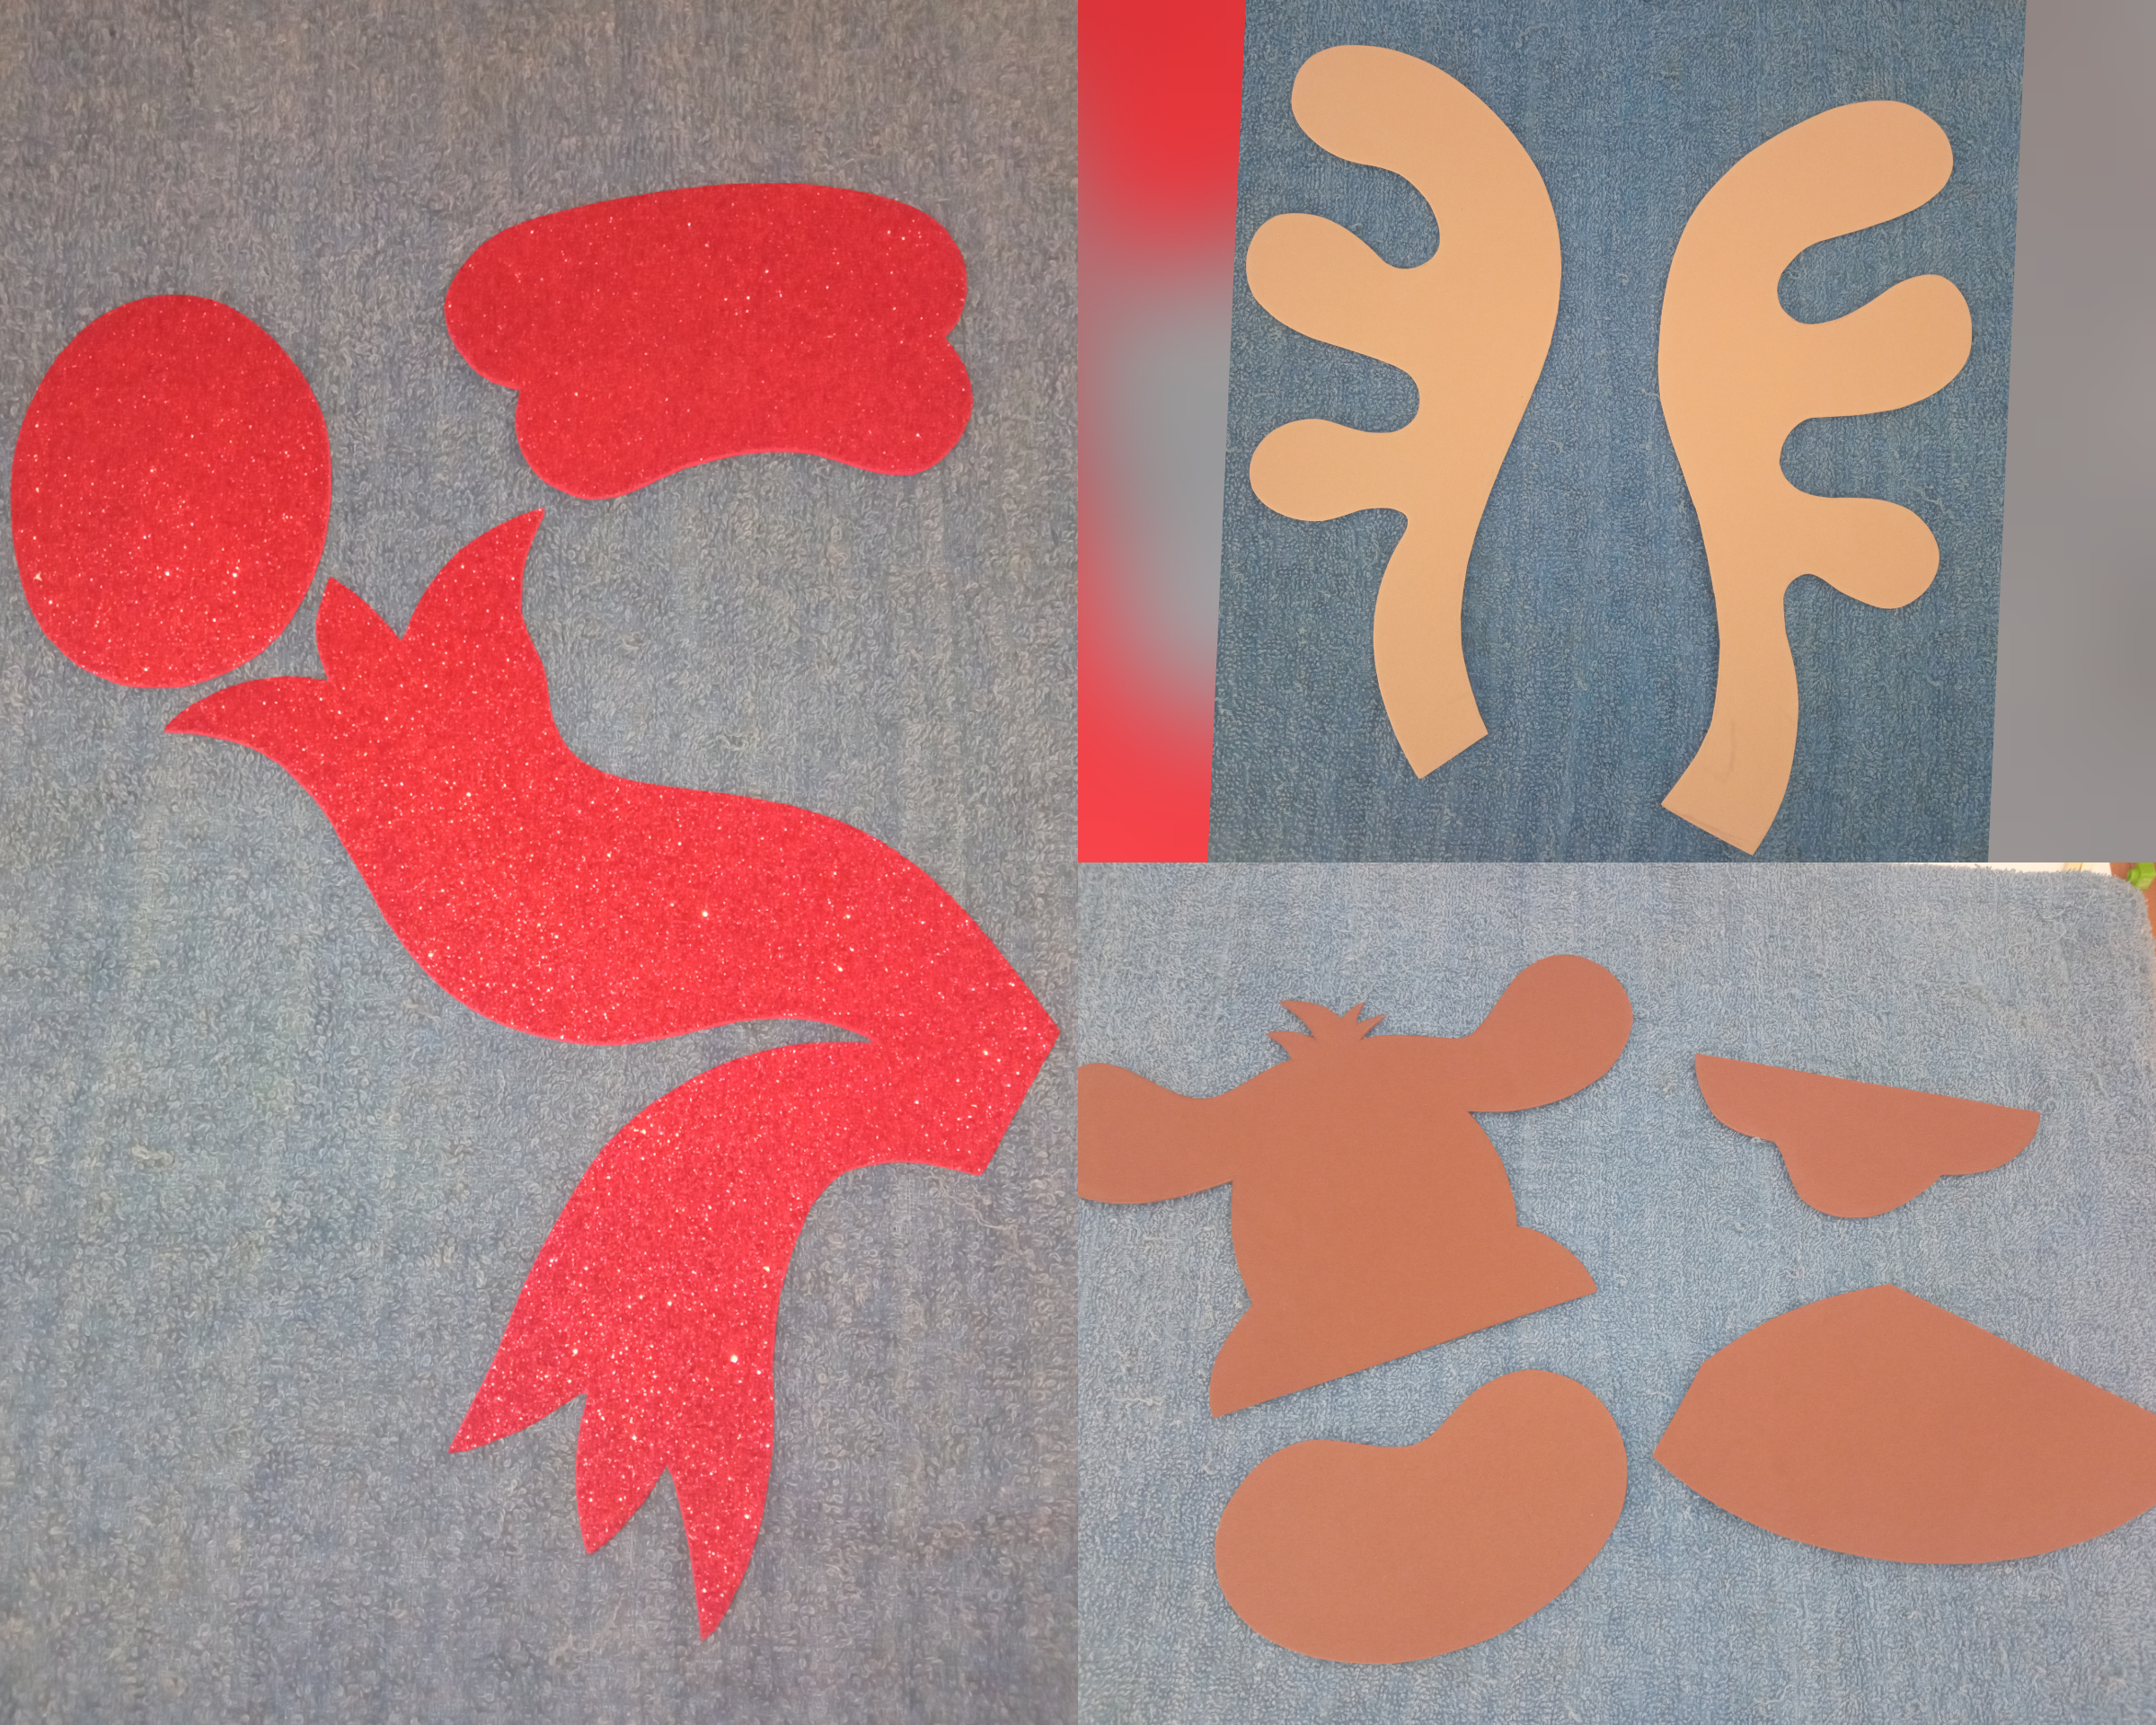
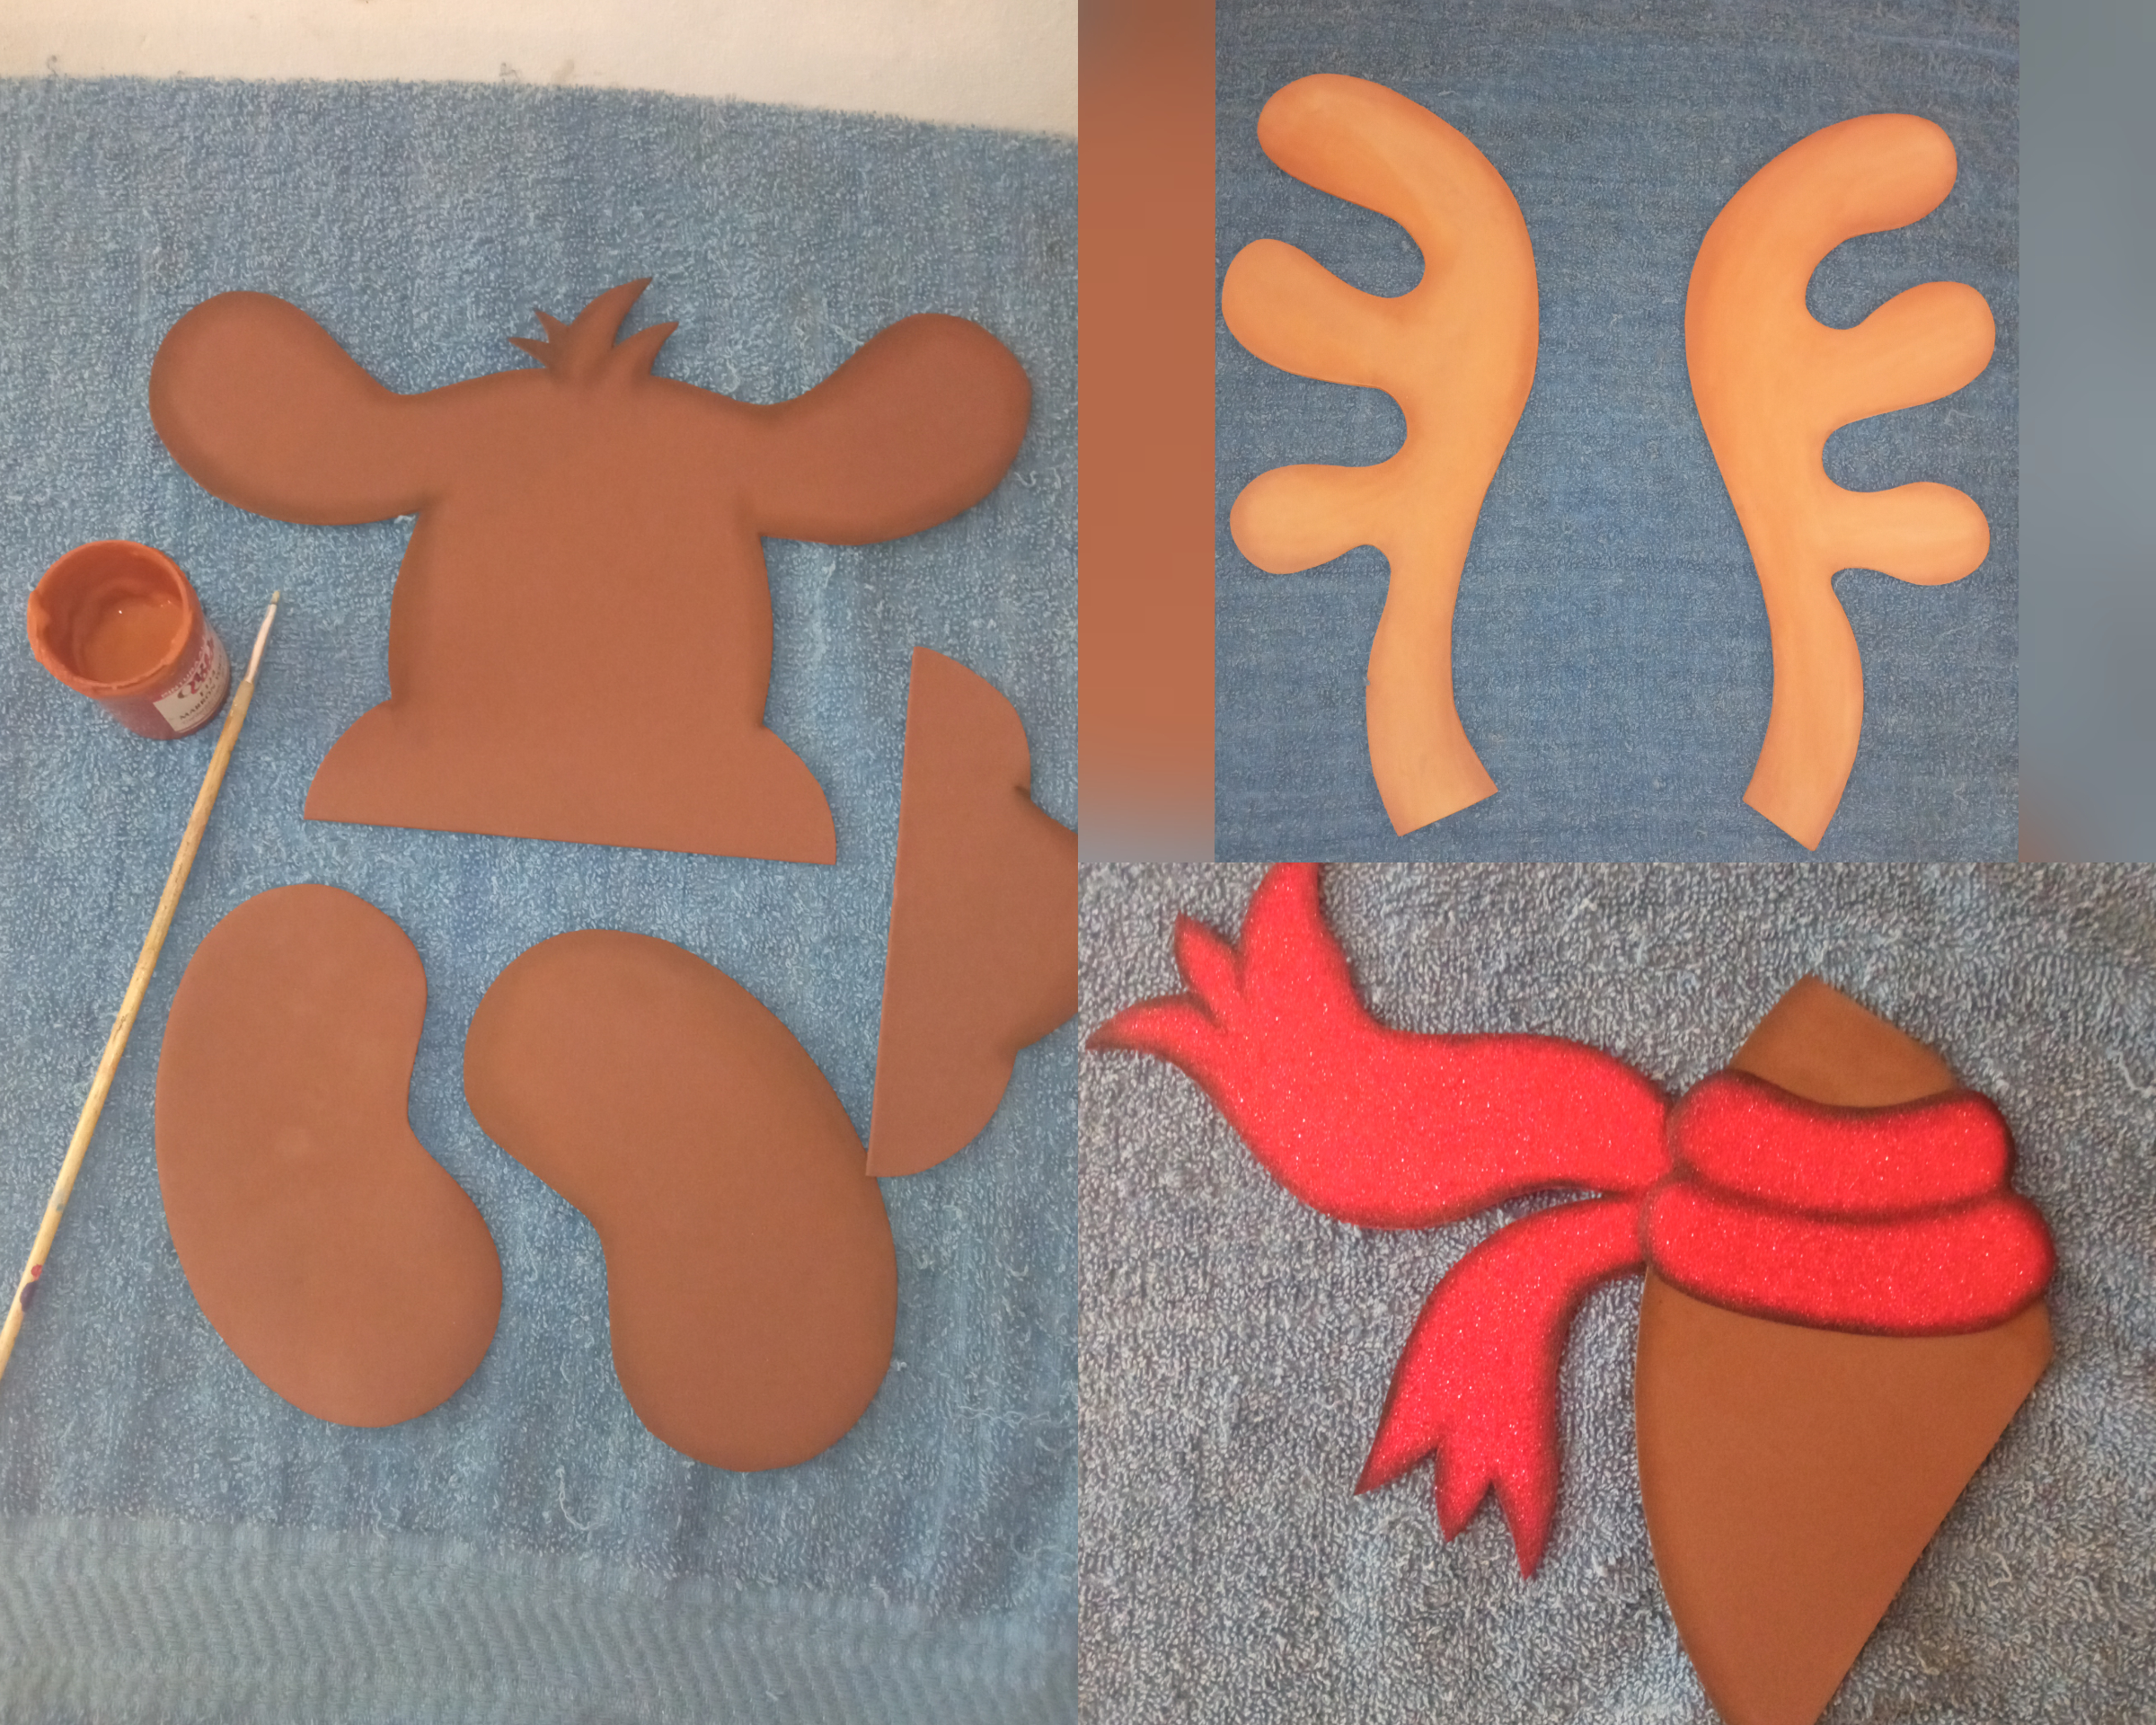
Step 5
Paint the parts of the deer on the foami and cut them out.
Paso 5
Pintamos en el foami las partes del venado y se cortan.

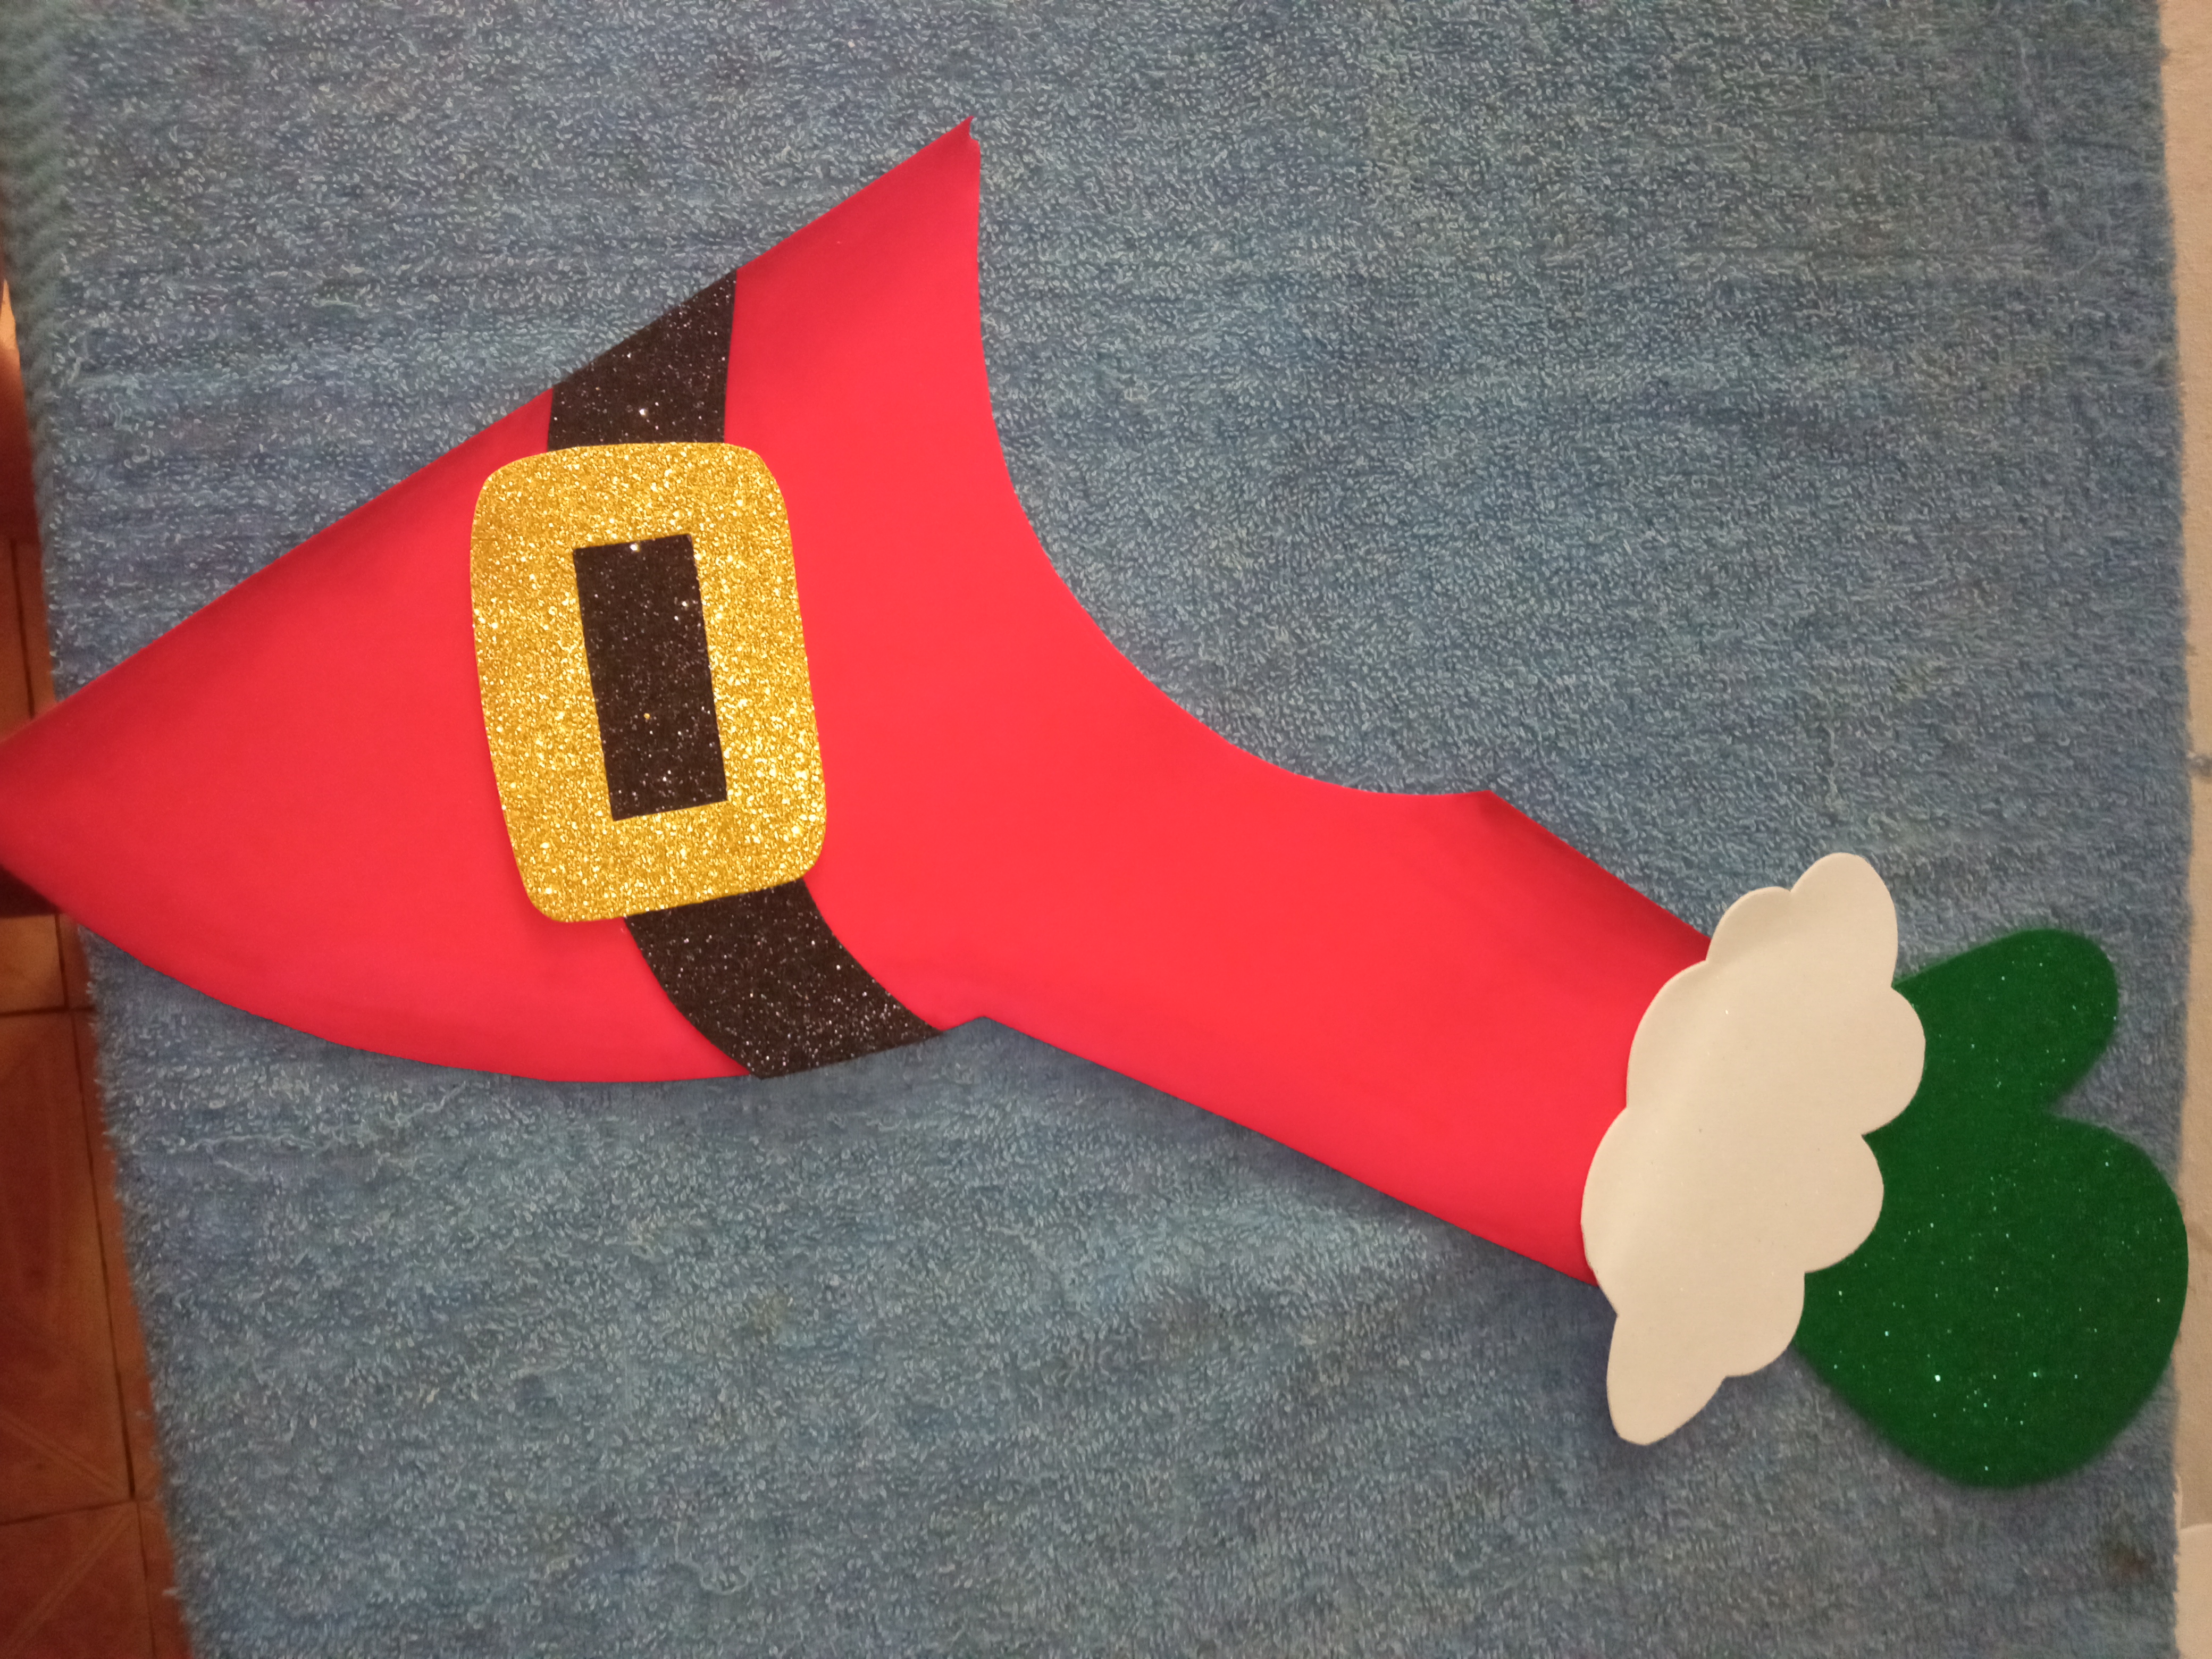
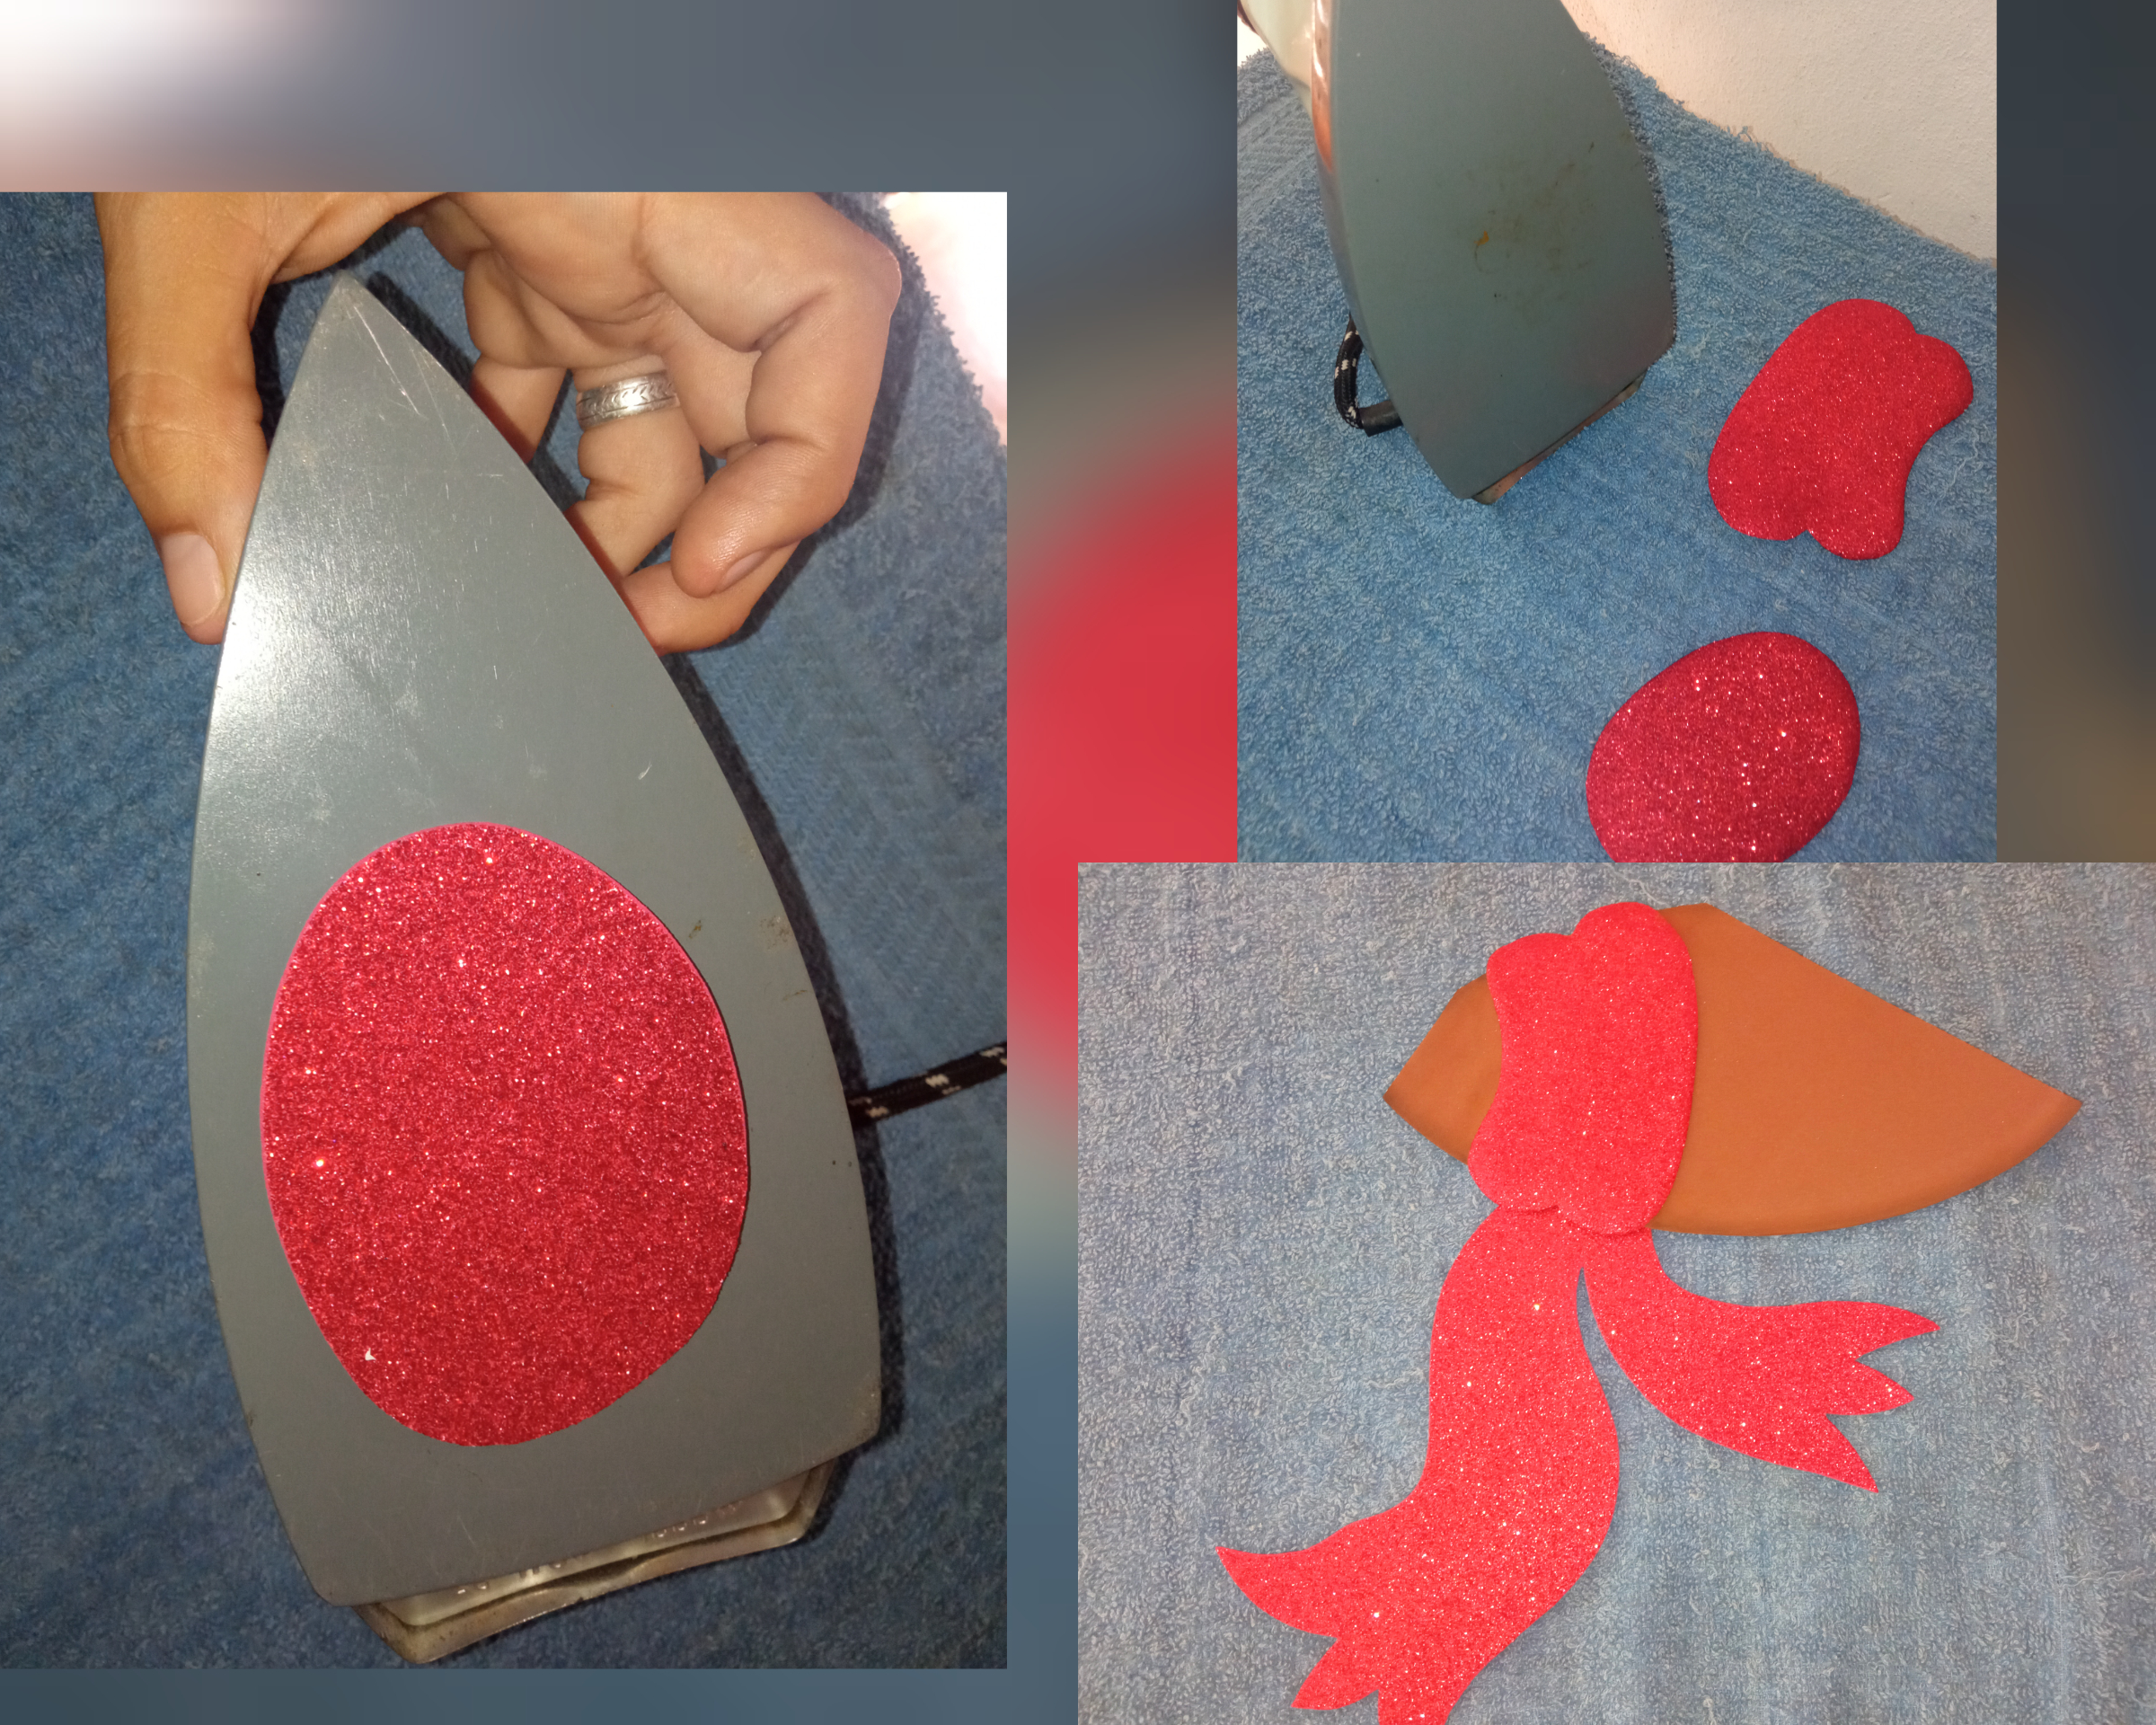
Step 6
We put the nose on the iron to make it look better, as you can see in the picture, we glue the scarf part of the reindeer and we shade with the cold paint the parts of the reindeer that you see there, the horns, the face part...
Paso 6
Colocamos la nariz en la plancha para abombarla y se vea mejor,como pueden ver en la foto, pegamos la parte de la bufanda del reno y sombreamos con la pintura al frío las partes del reno que ven allí lo q es los cachos, la parte de la cara..
Step 7
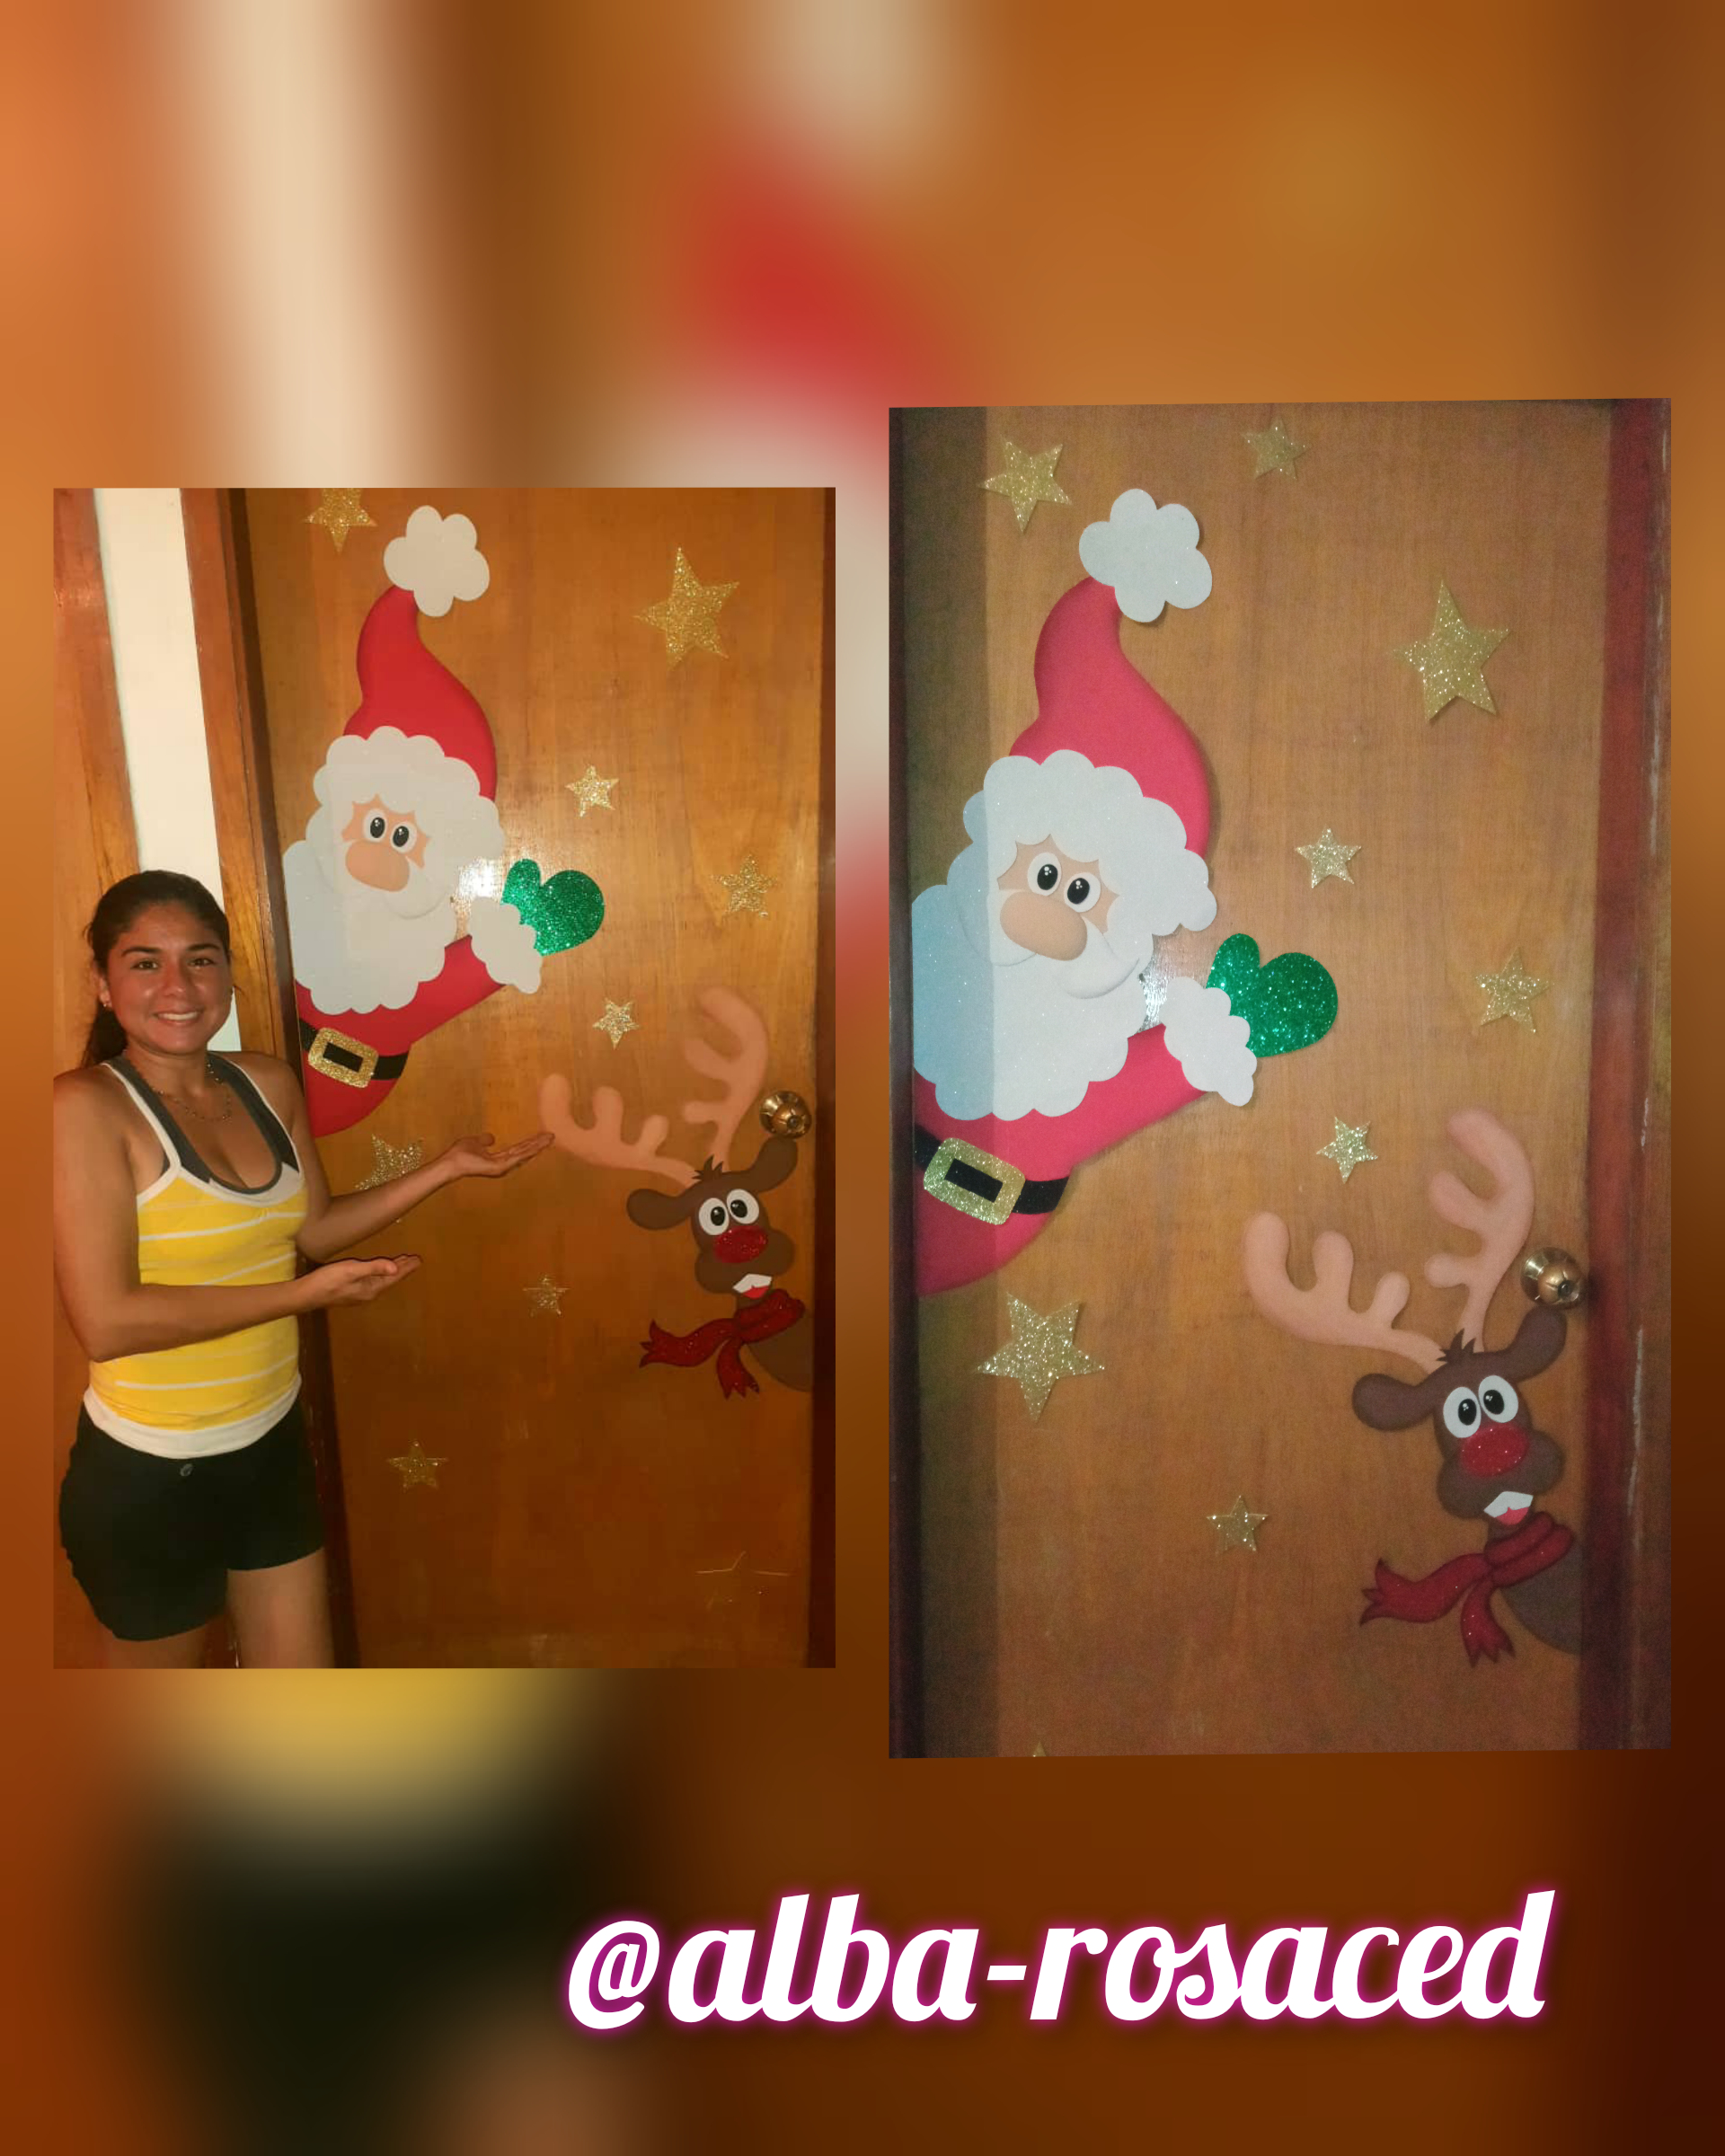
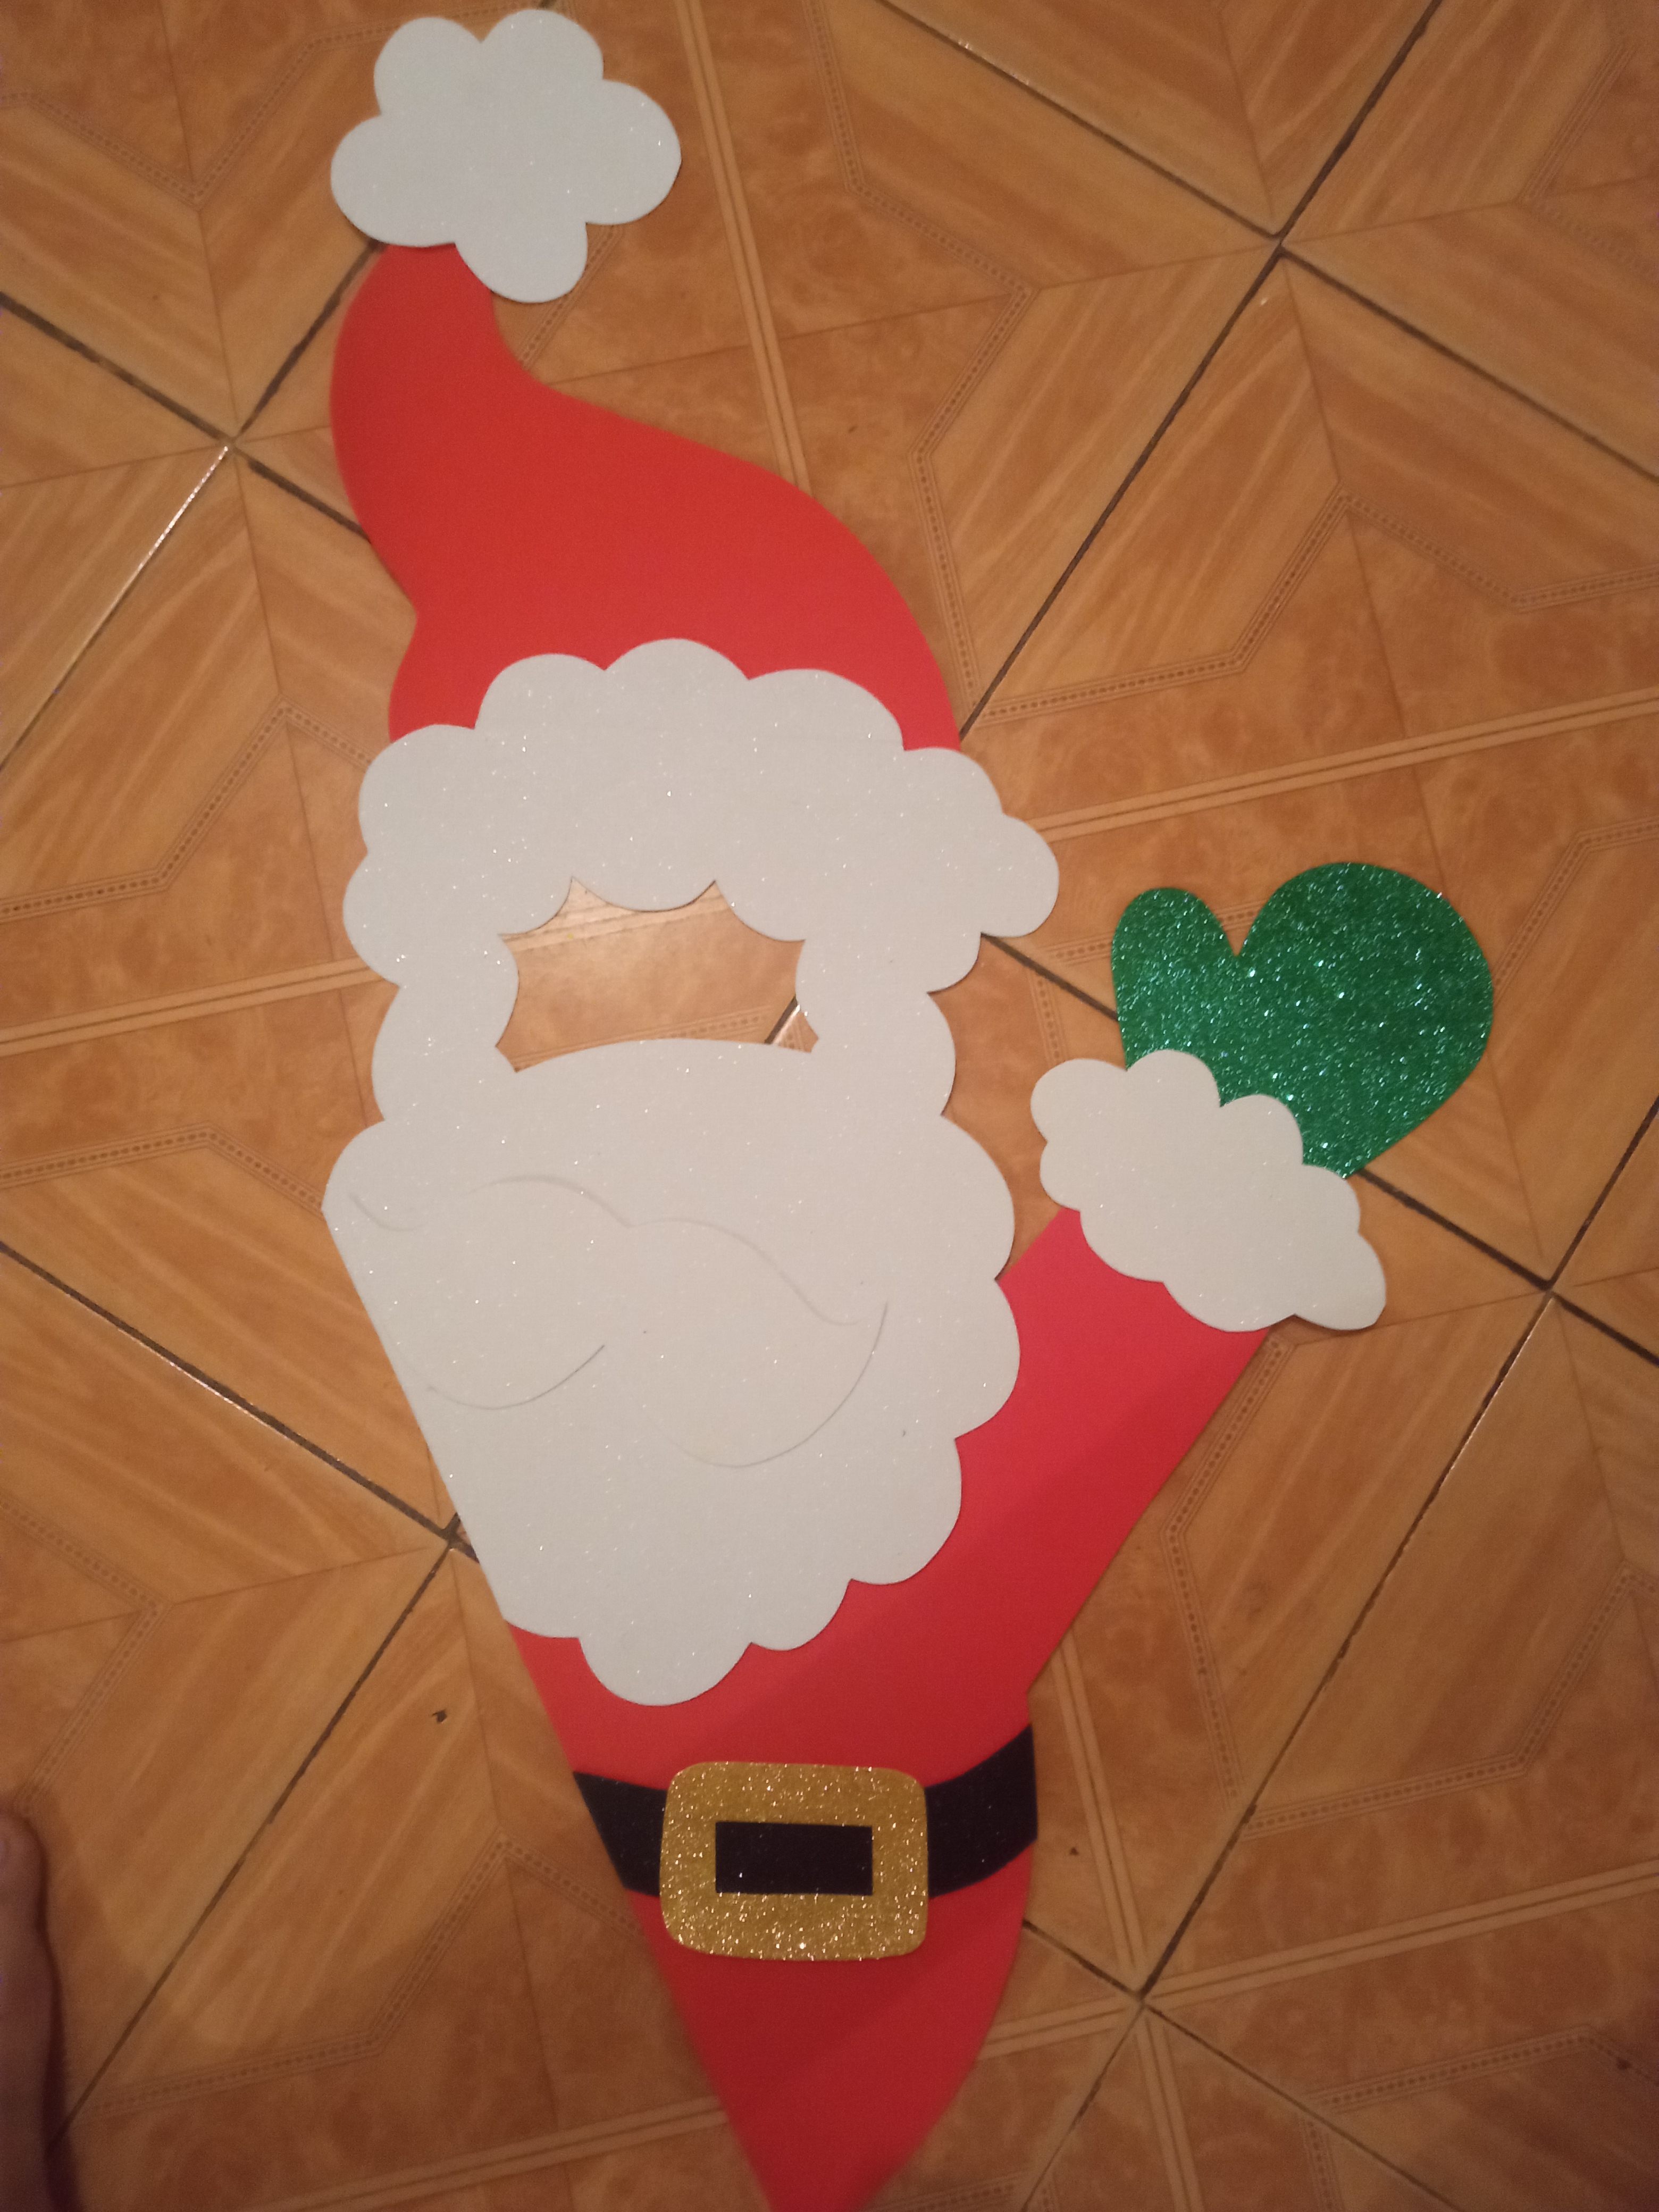
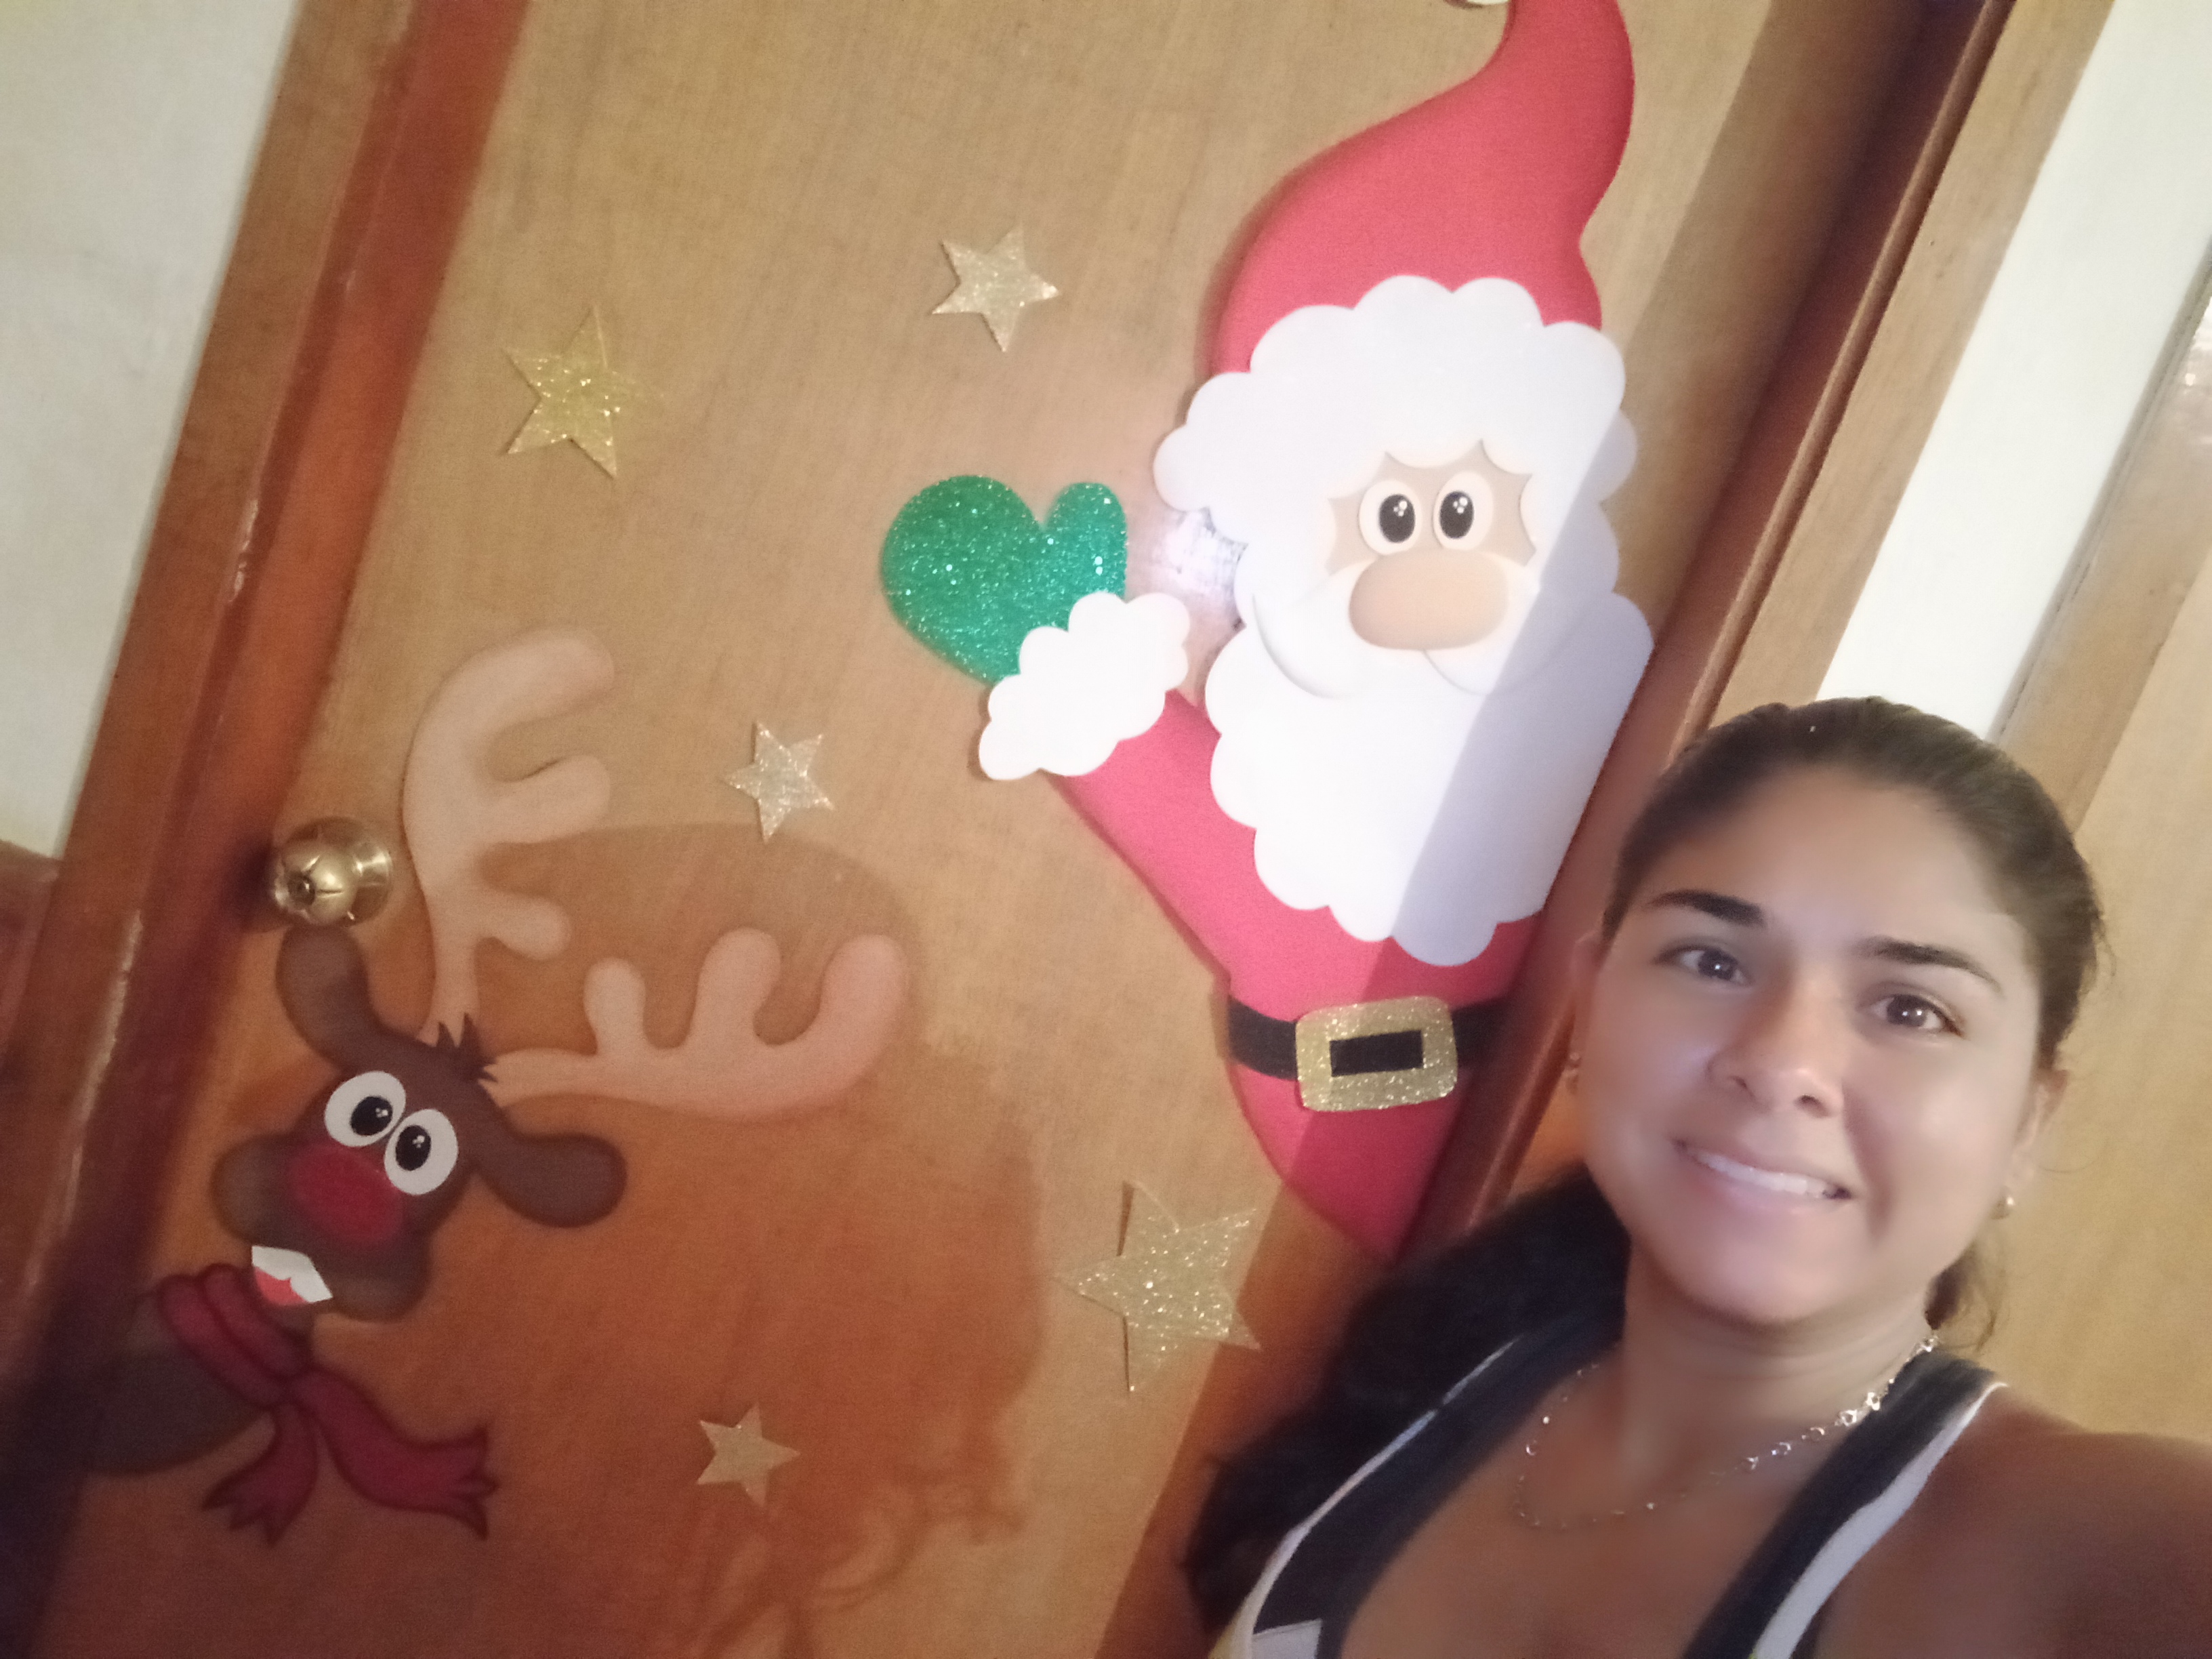
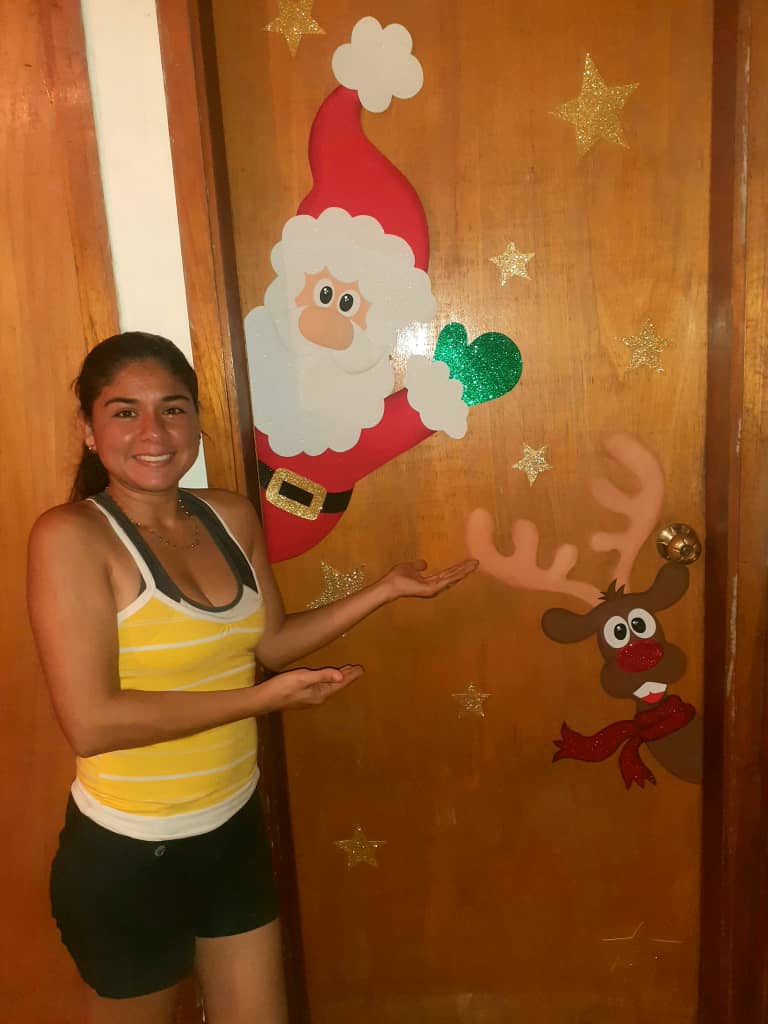
We continue gluing the parts of the reindeer, finally we have here our reindeer and Santa to decorate the door of our house this Christmas.
Paso 7
Continuamos pegando las partes del reno, finalmente tenemos aquí nuestro reno y santa para adornar la puerta de nuestra casa en esta navidad.


RESOURCES USED / RECURSOS UTILIZADOS
•The image used in the santa and reindeer ./La imagen utilizada en el santa y el reno . fuente
• Incollage/ para unir y reducir las fotos.
• Photos taken by redmi 9. / Fotos tomadas por redmi 9.
• The translator is used www.Deepl.com / Se utiliza el traductor www.Deepl.com

Muy bonito tu santa, Felicidades excelente post. Que tengas un feliz y bendecido día 🙏
Gracias amigo..
Muy bonito tu Santa amiga.
Gracias amiga..