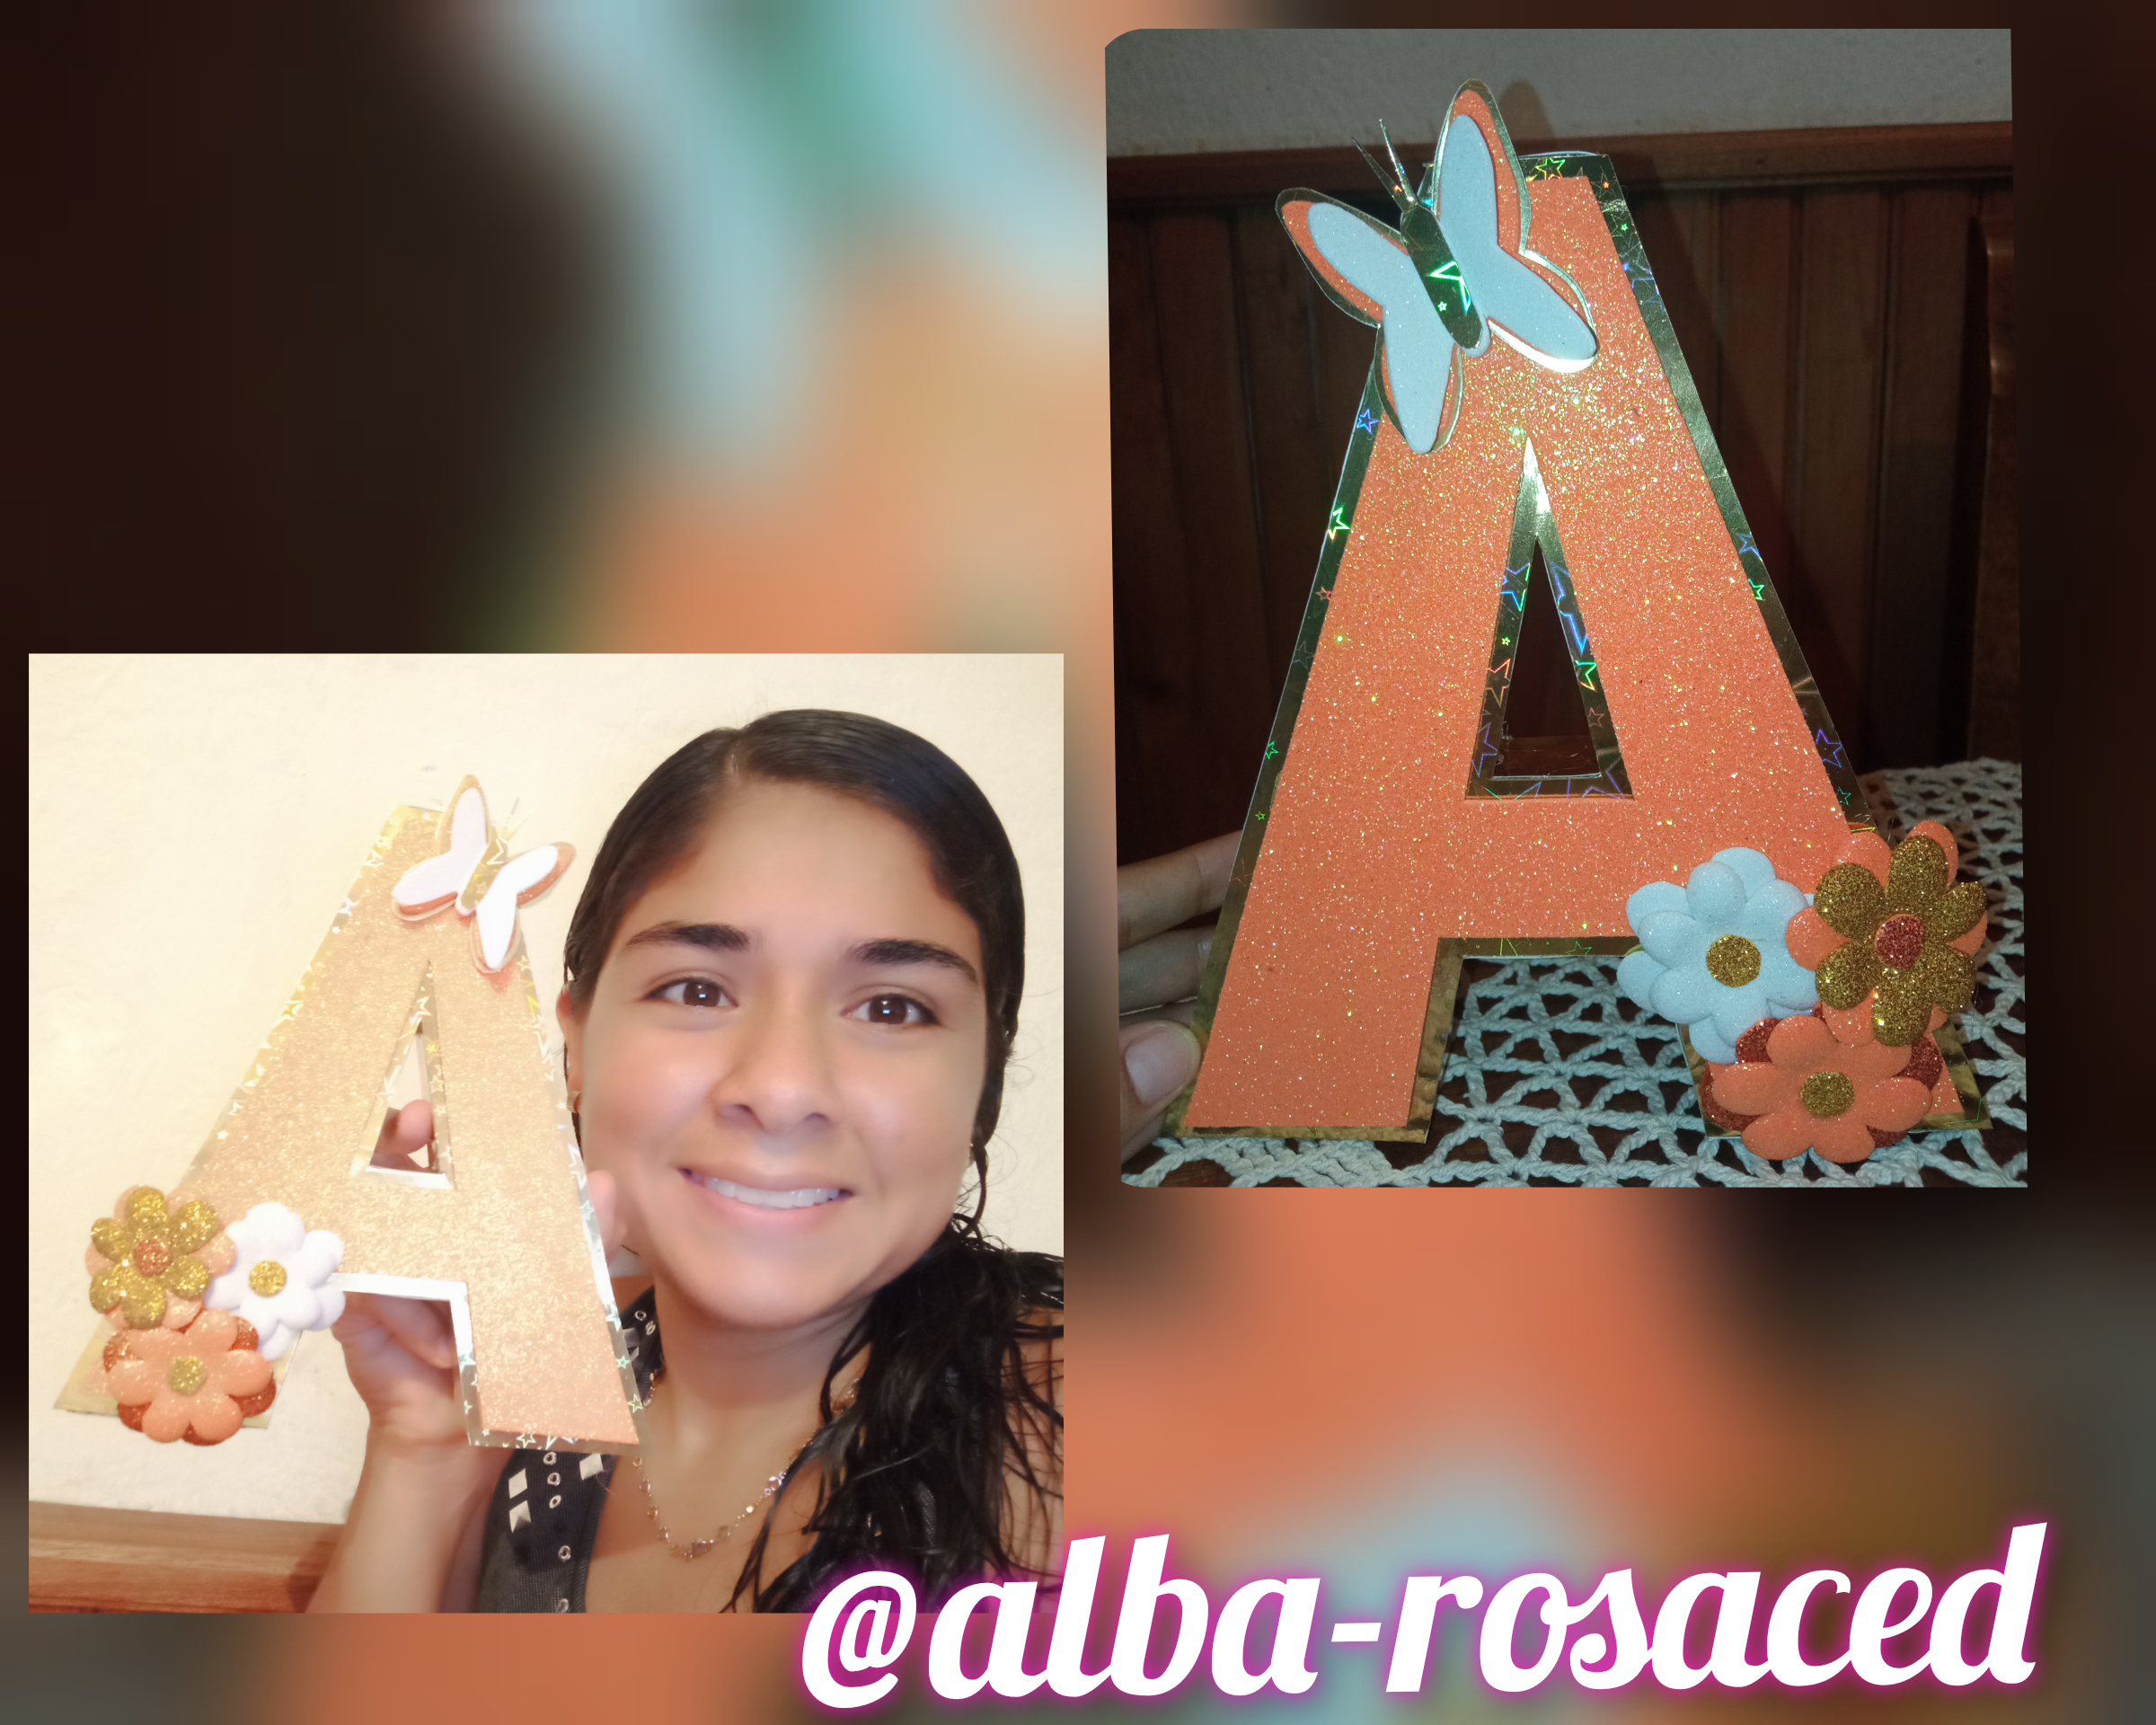
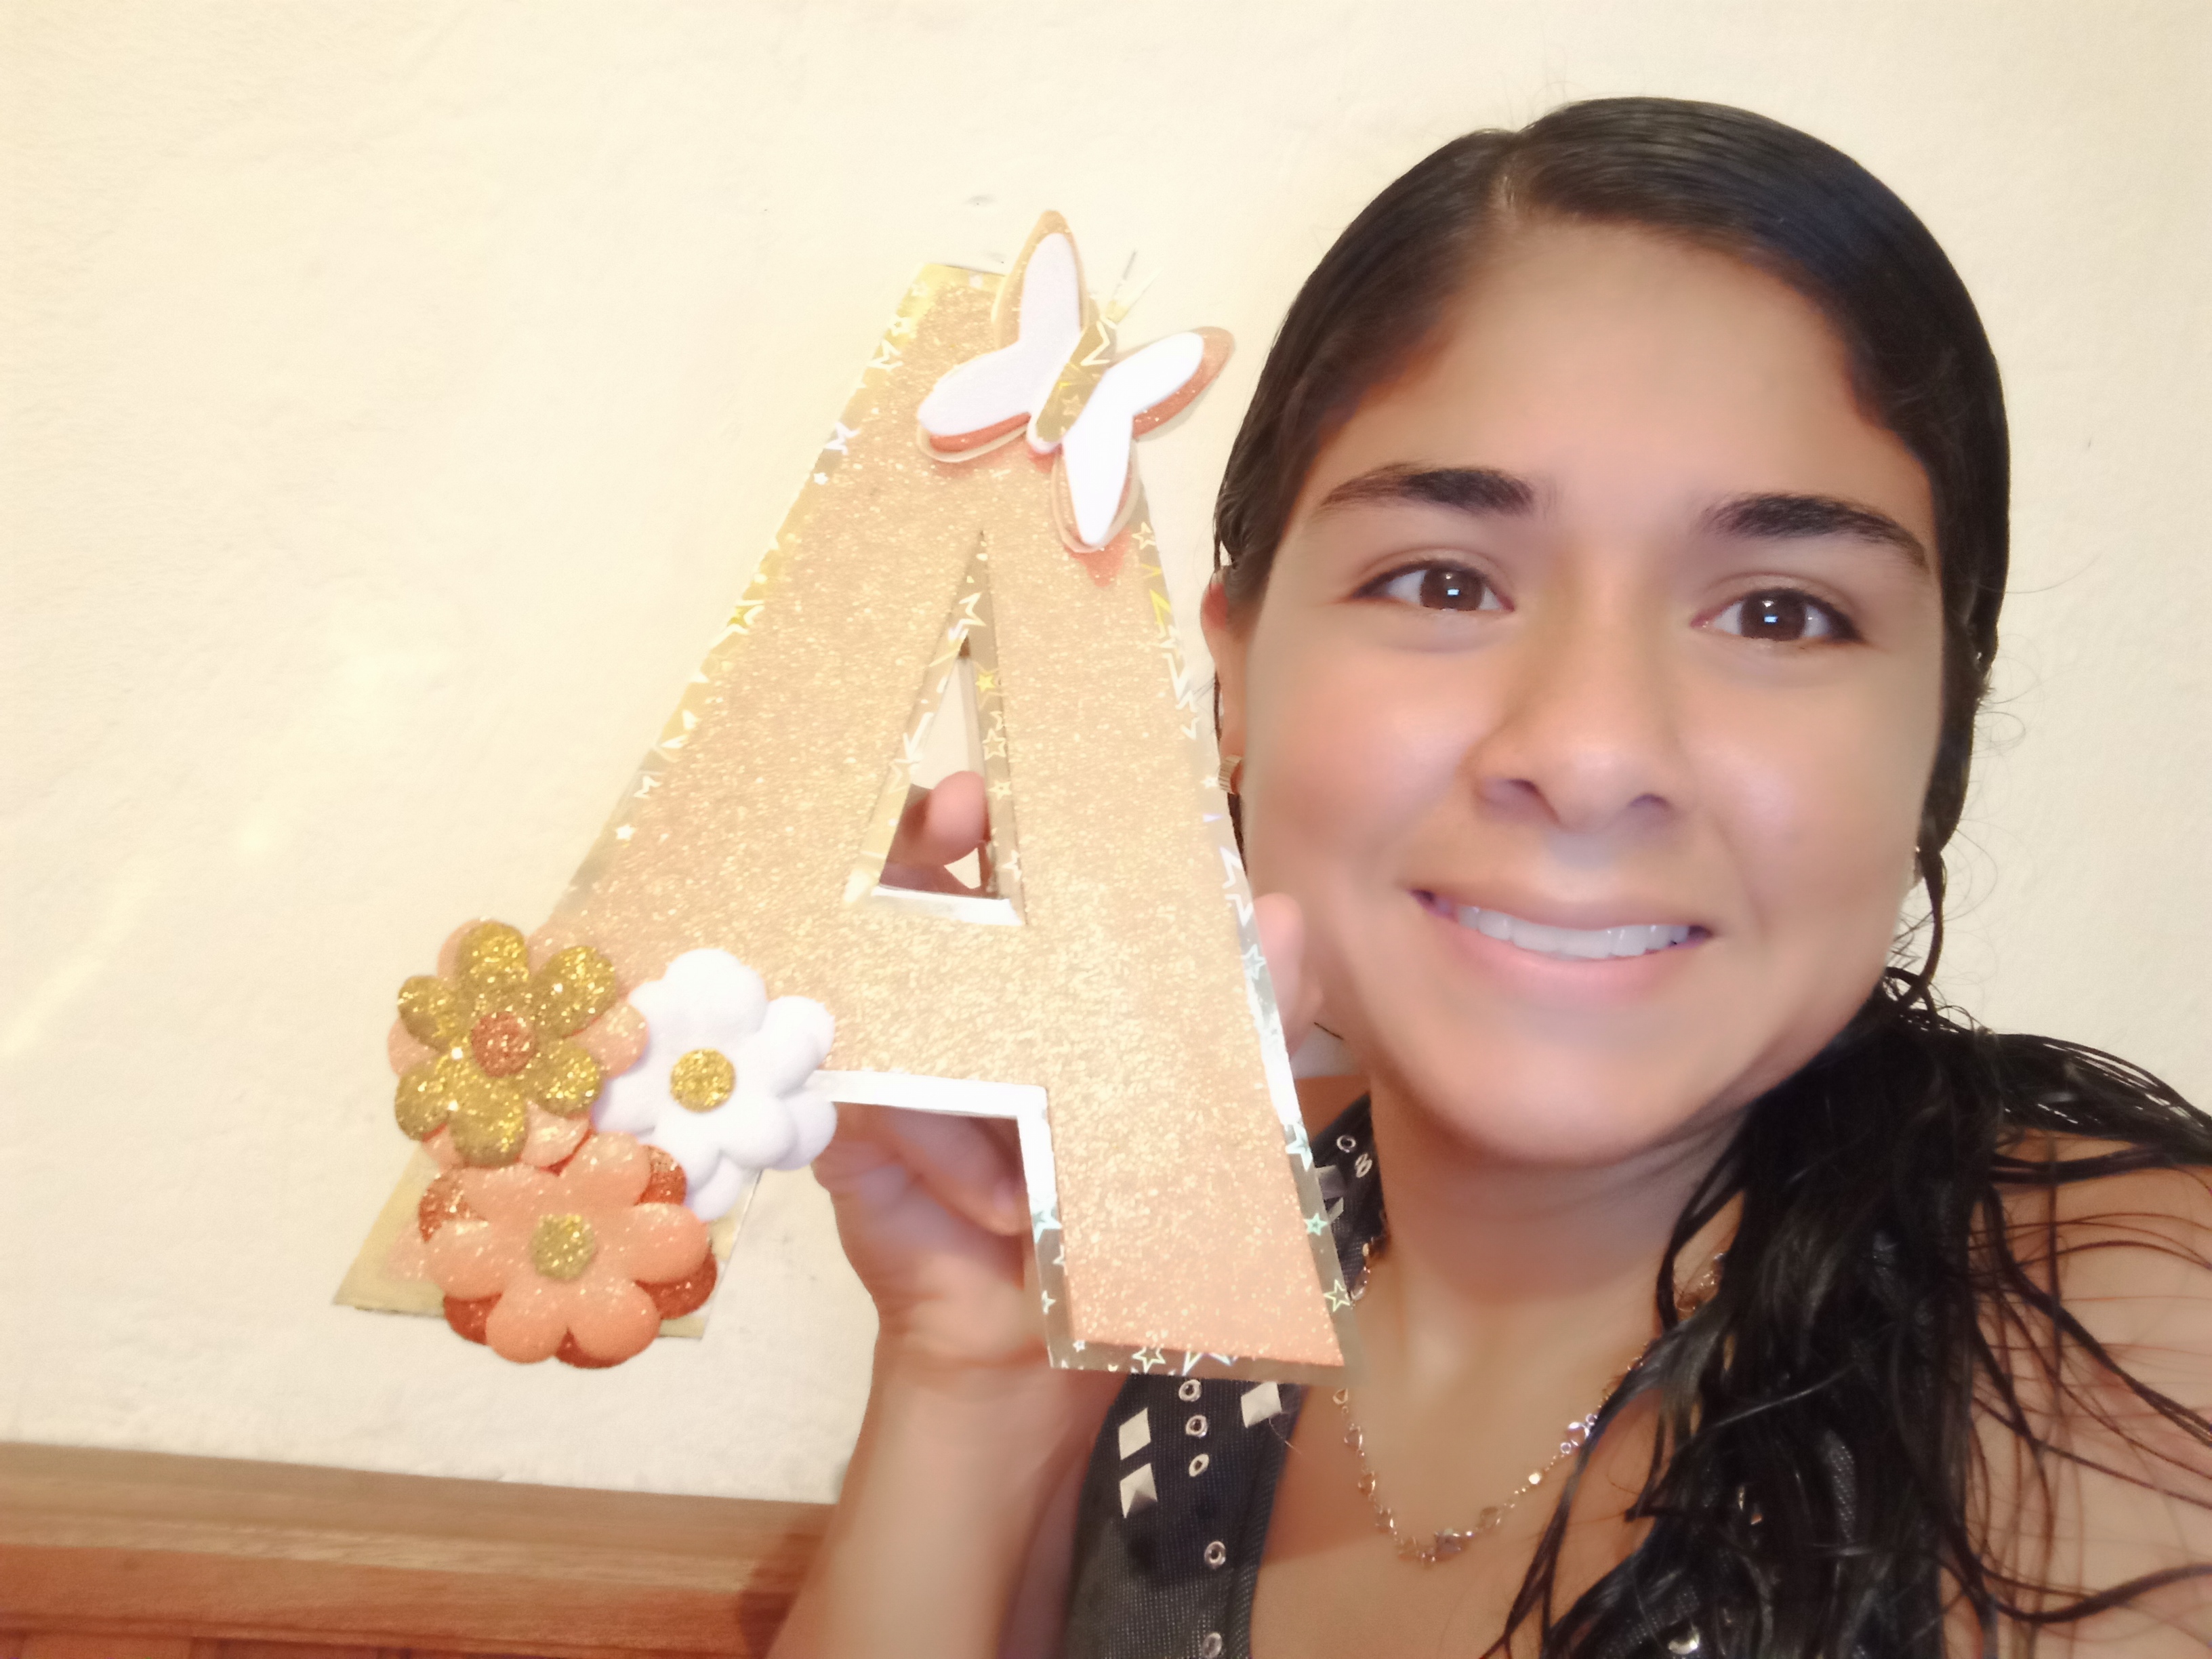
Hello my beautiful community of #hivediy I hope you had a nice weekend with your families, today I was motivated to participate in the contest of letters decorated by the friends of @equipodelta, in my case I took the letter "A" because it is the letter of my first name and as expected I love it, it is very easy to make the 3D letter, I worked with useful material (cardboard).I invite my friend @soyalex to participate and share with us her favorite beautiful lyrics. just follow the following steps.
Hola mi hermosa comunidad de #hivediy espero allá pasado un lindo fin de semana, al lado de su familias, hoy me motive en participar en el concurso de Letras decoradas por los amigos de @equipodelta, en mi caso tome la letra "A" ya que es la letra de mi primer nombre y como es de esperarse me encanta, es muy fácil de realizar la letra 3D, trabaje con material de provecho (cartón) . Invito a mi amiga @soyalex a participar y compartir con nosotros su bella letra favorita. solo sigue los siguientes pasos .
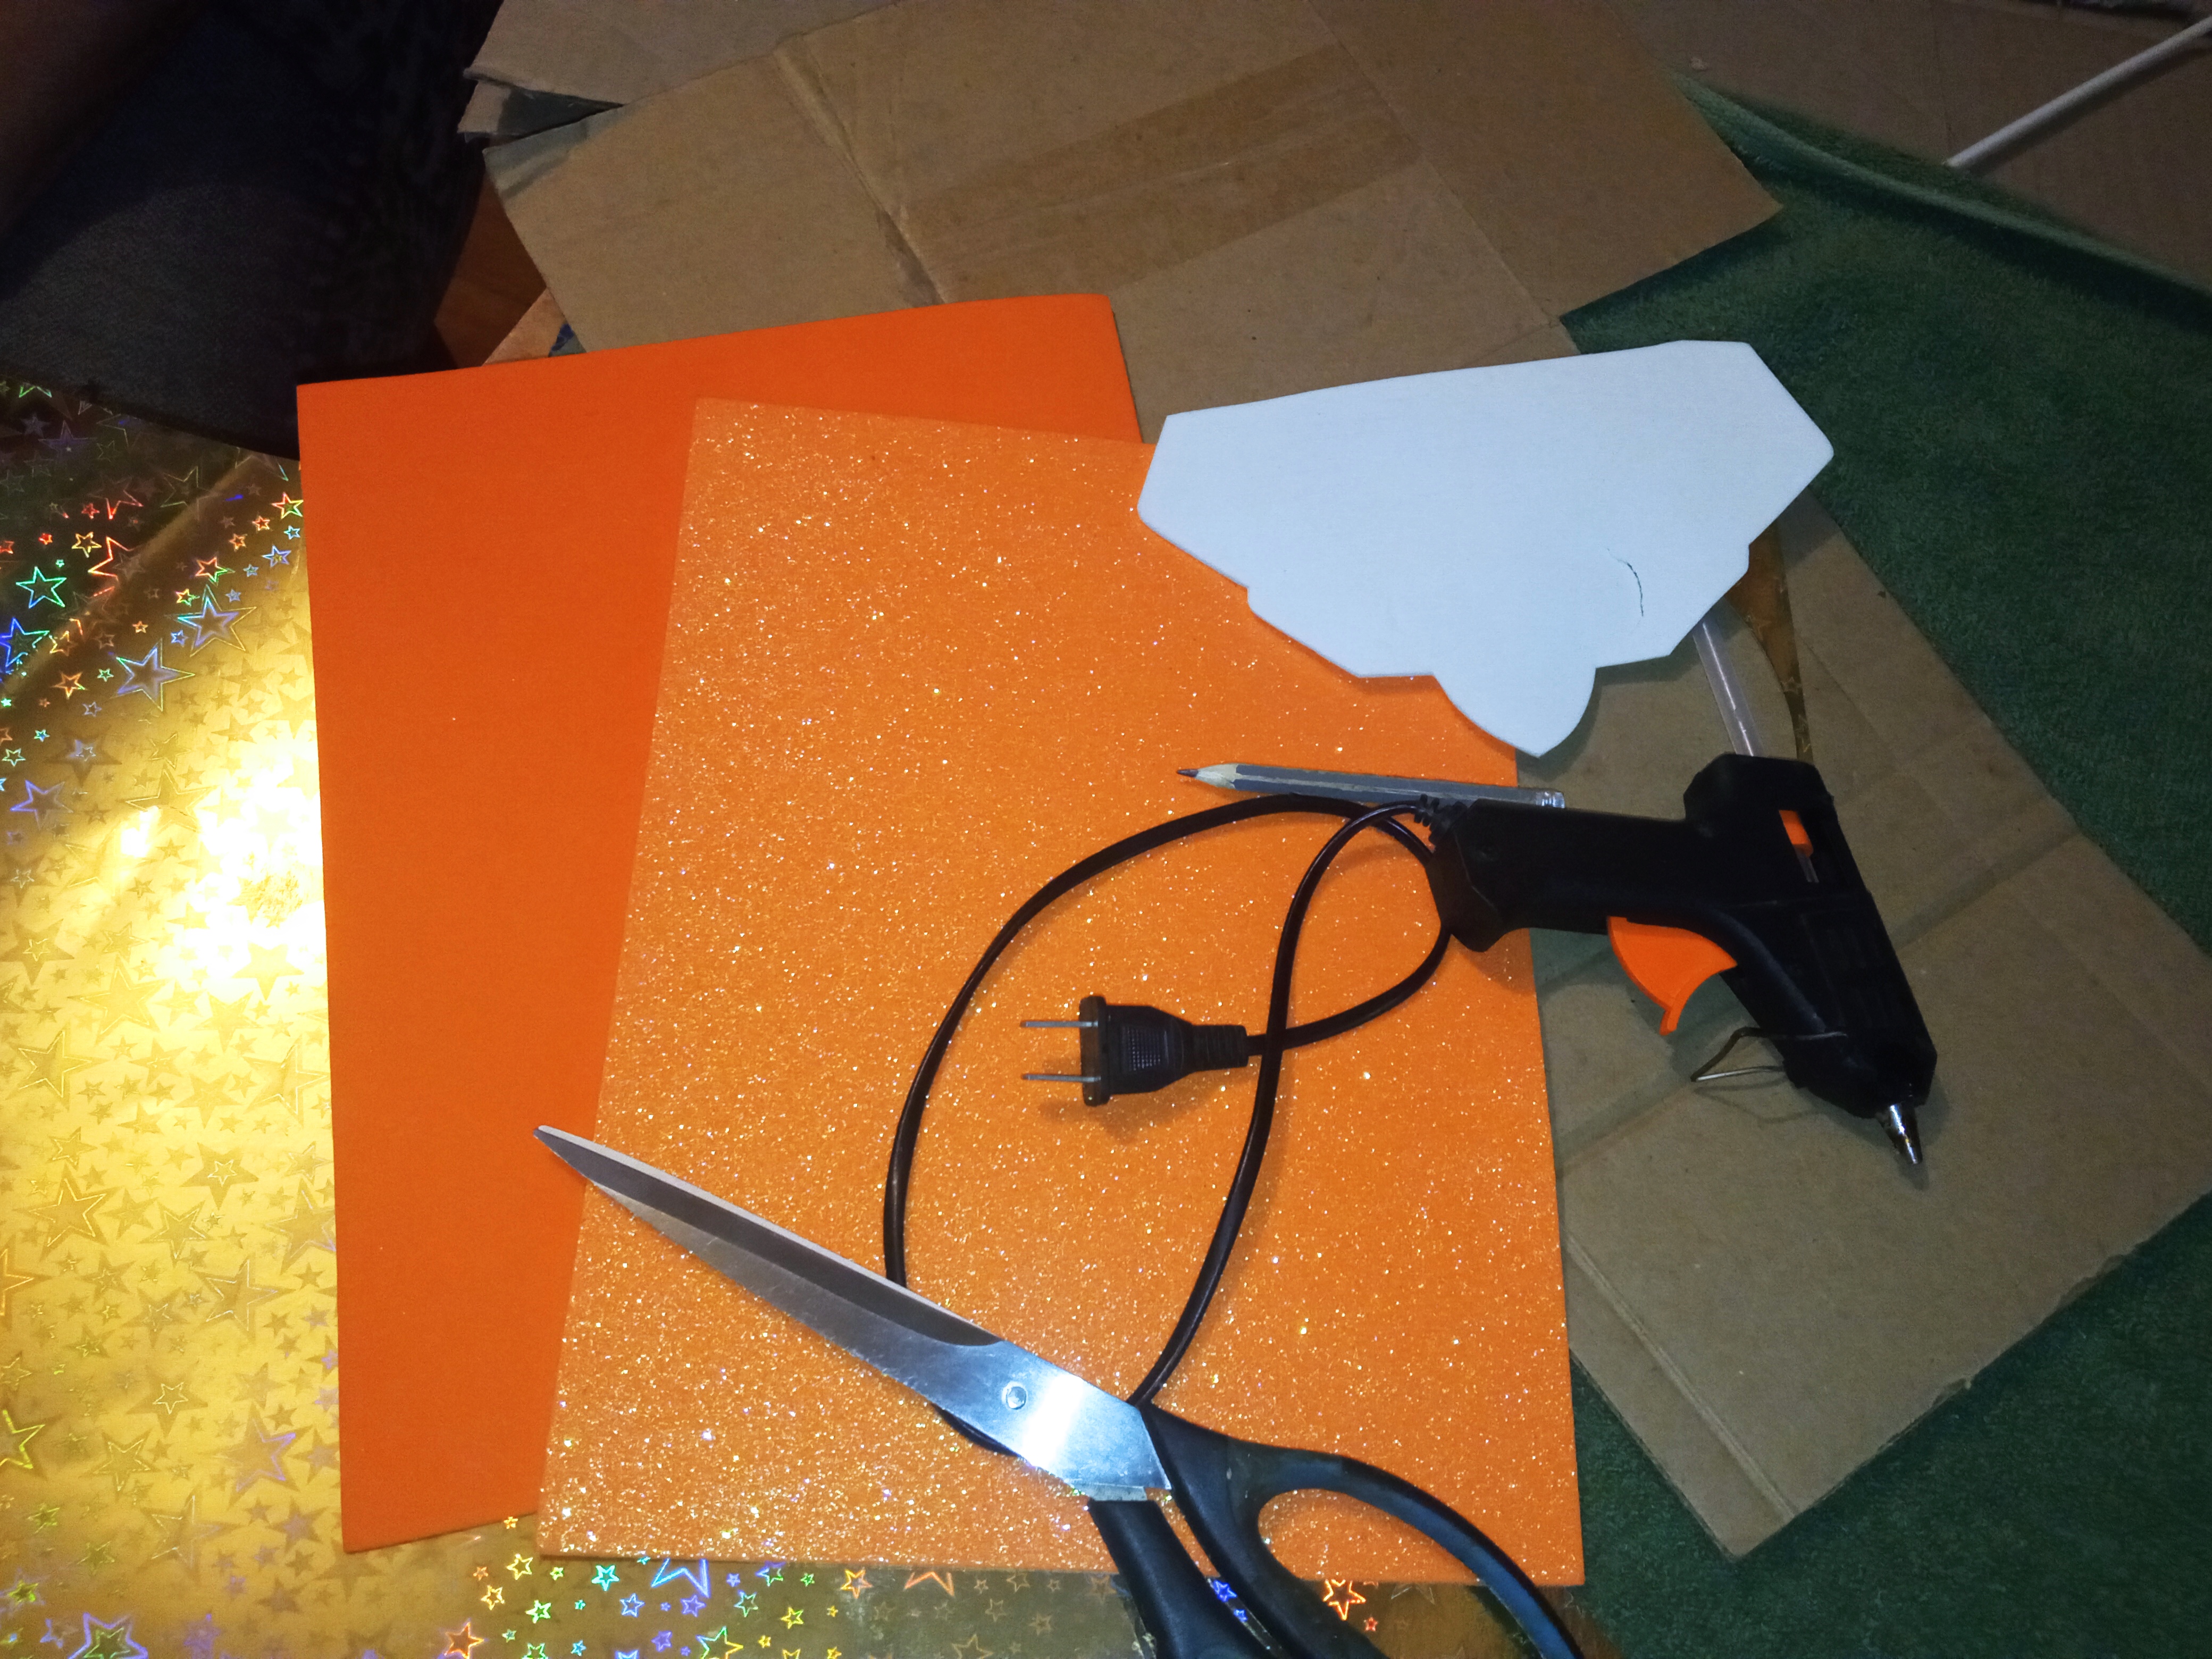
What I will use :
-scissors.
-carton.
-foami.
-ruler
-pencil.
-golden cardboard.
-Iron
Que utilizaré :
-tijera.
-carton.
-foami.
-regla
-lápiz.
-cartulina dorada.
-Plancha
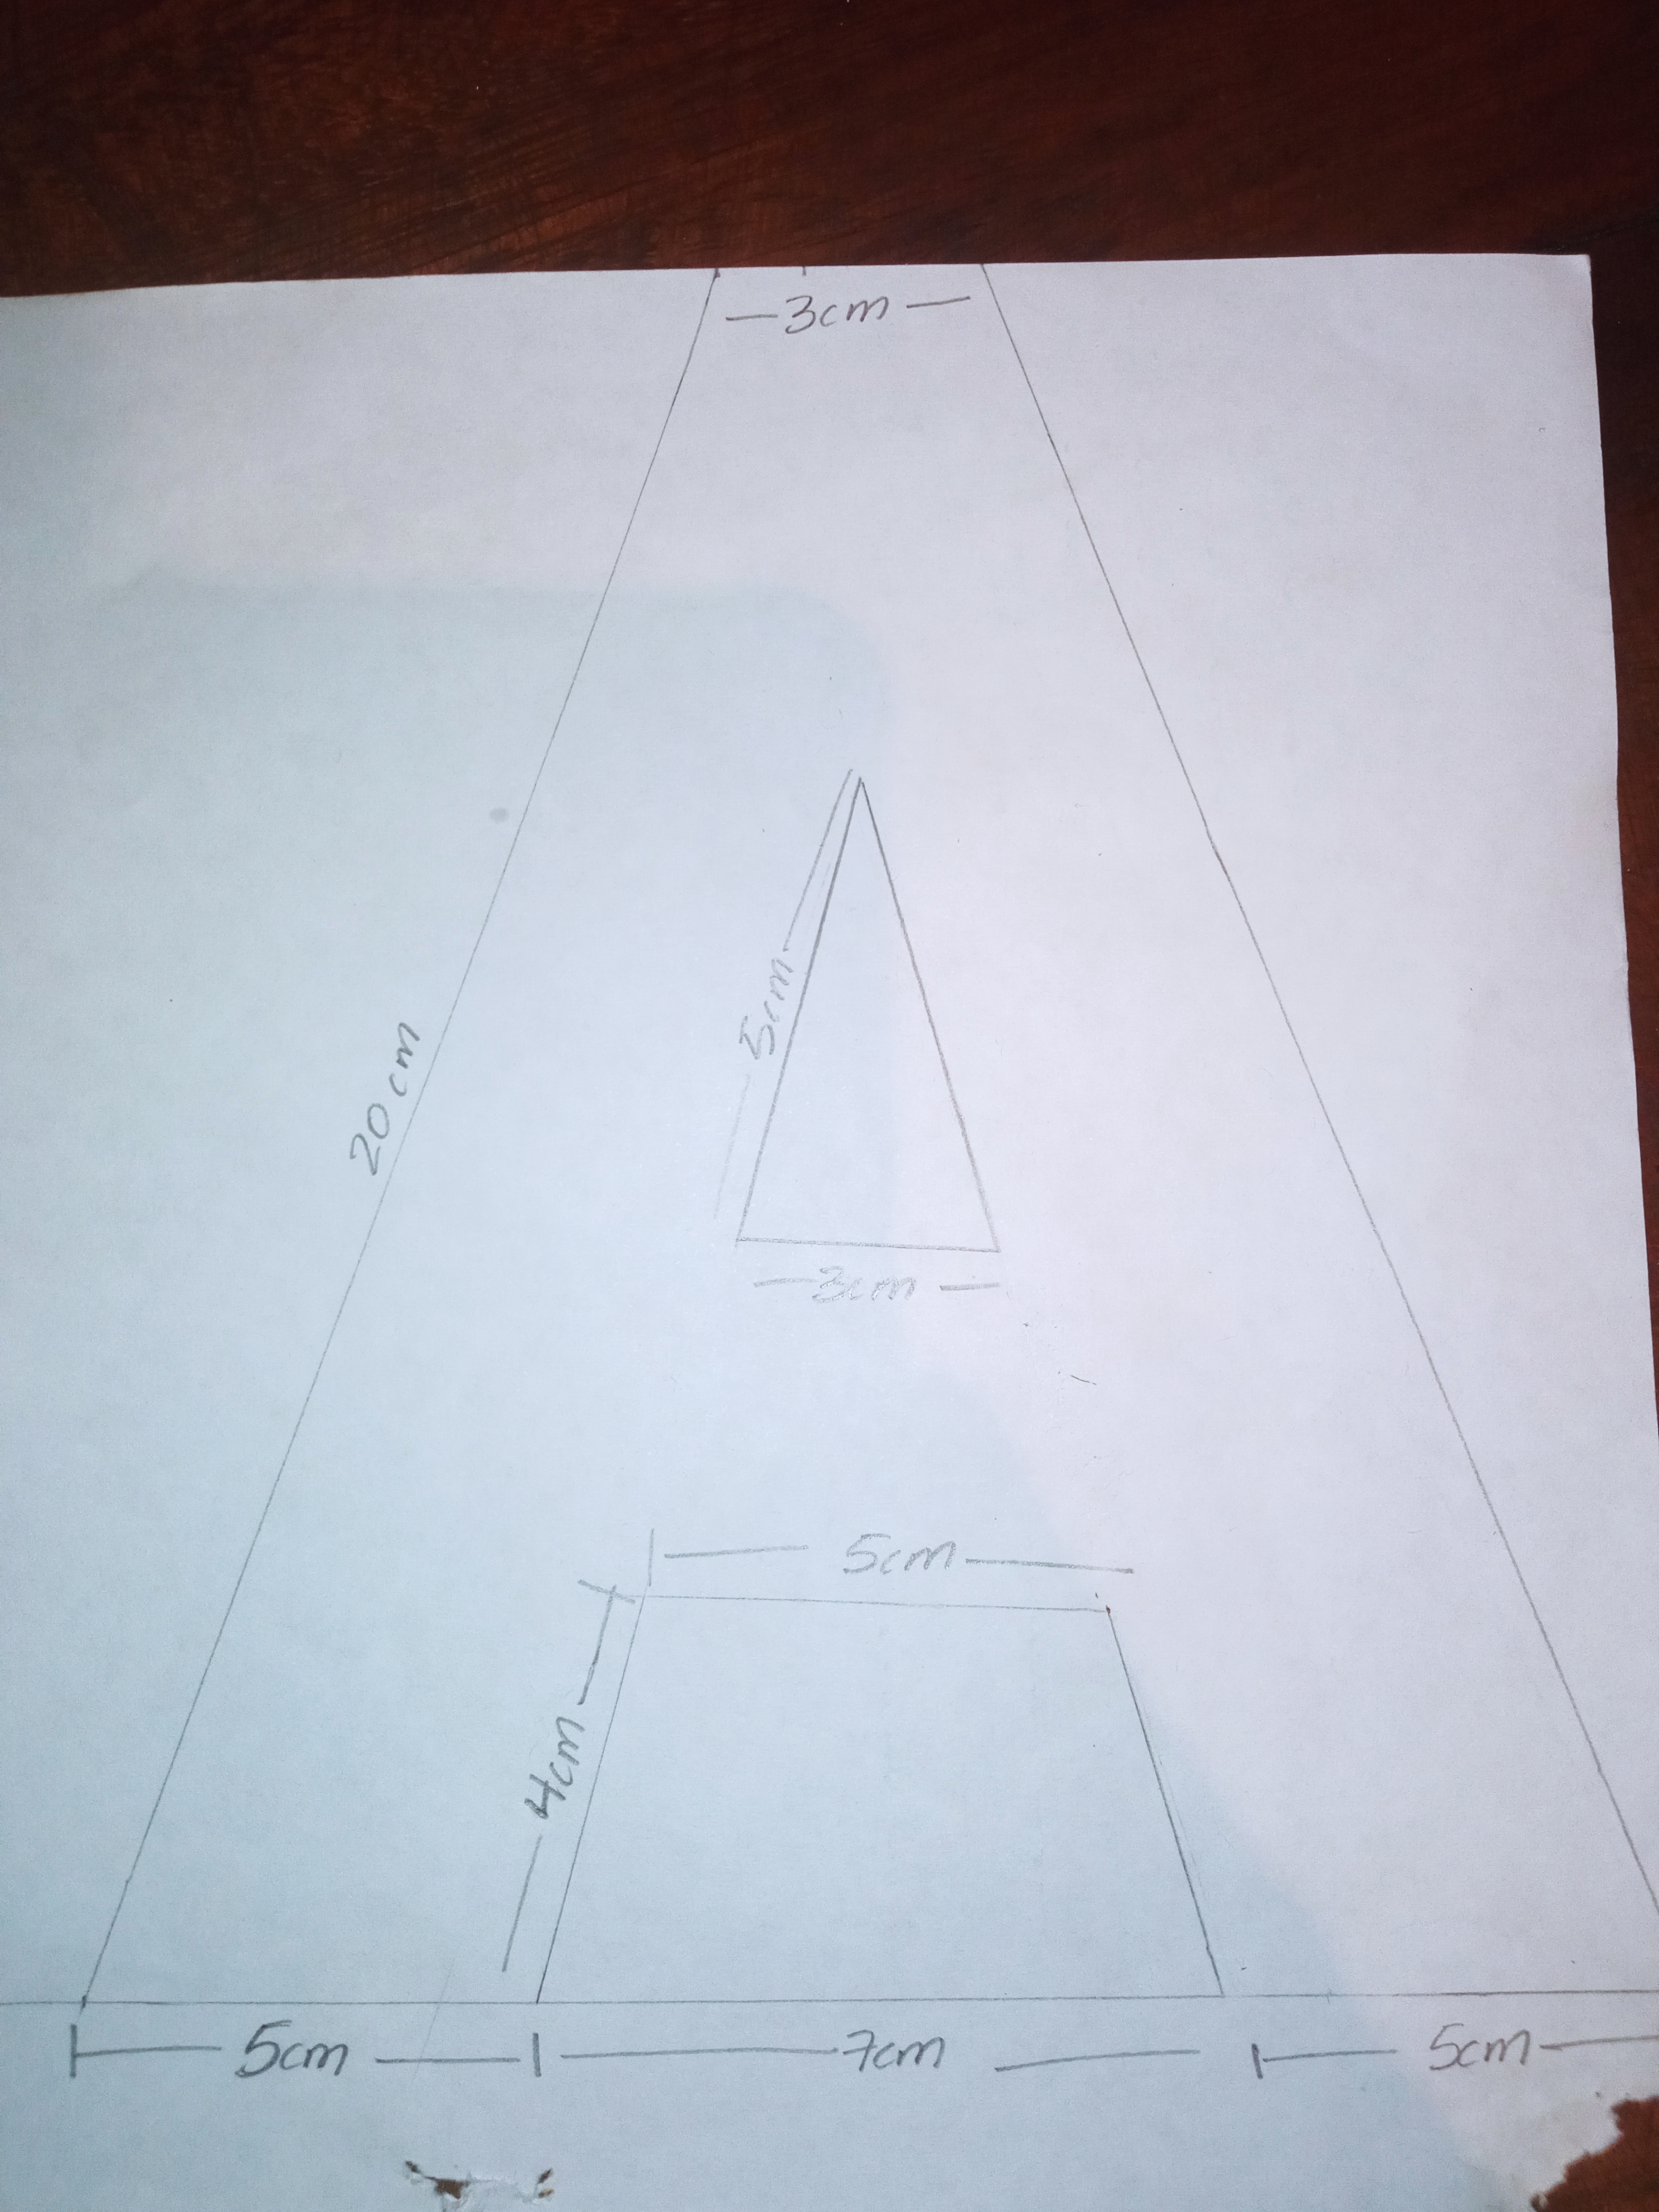
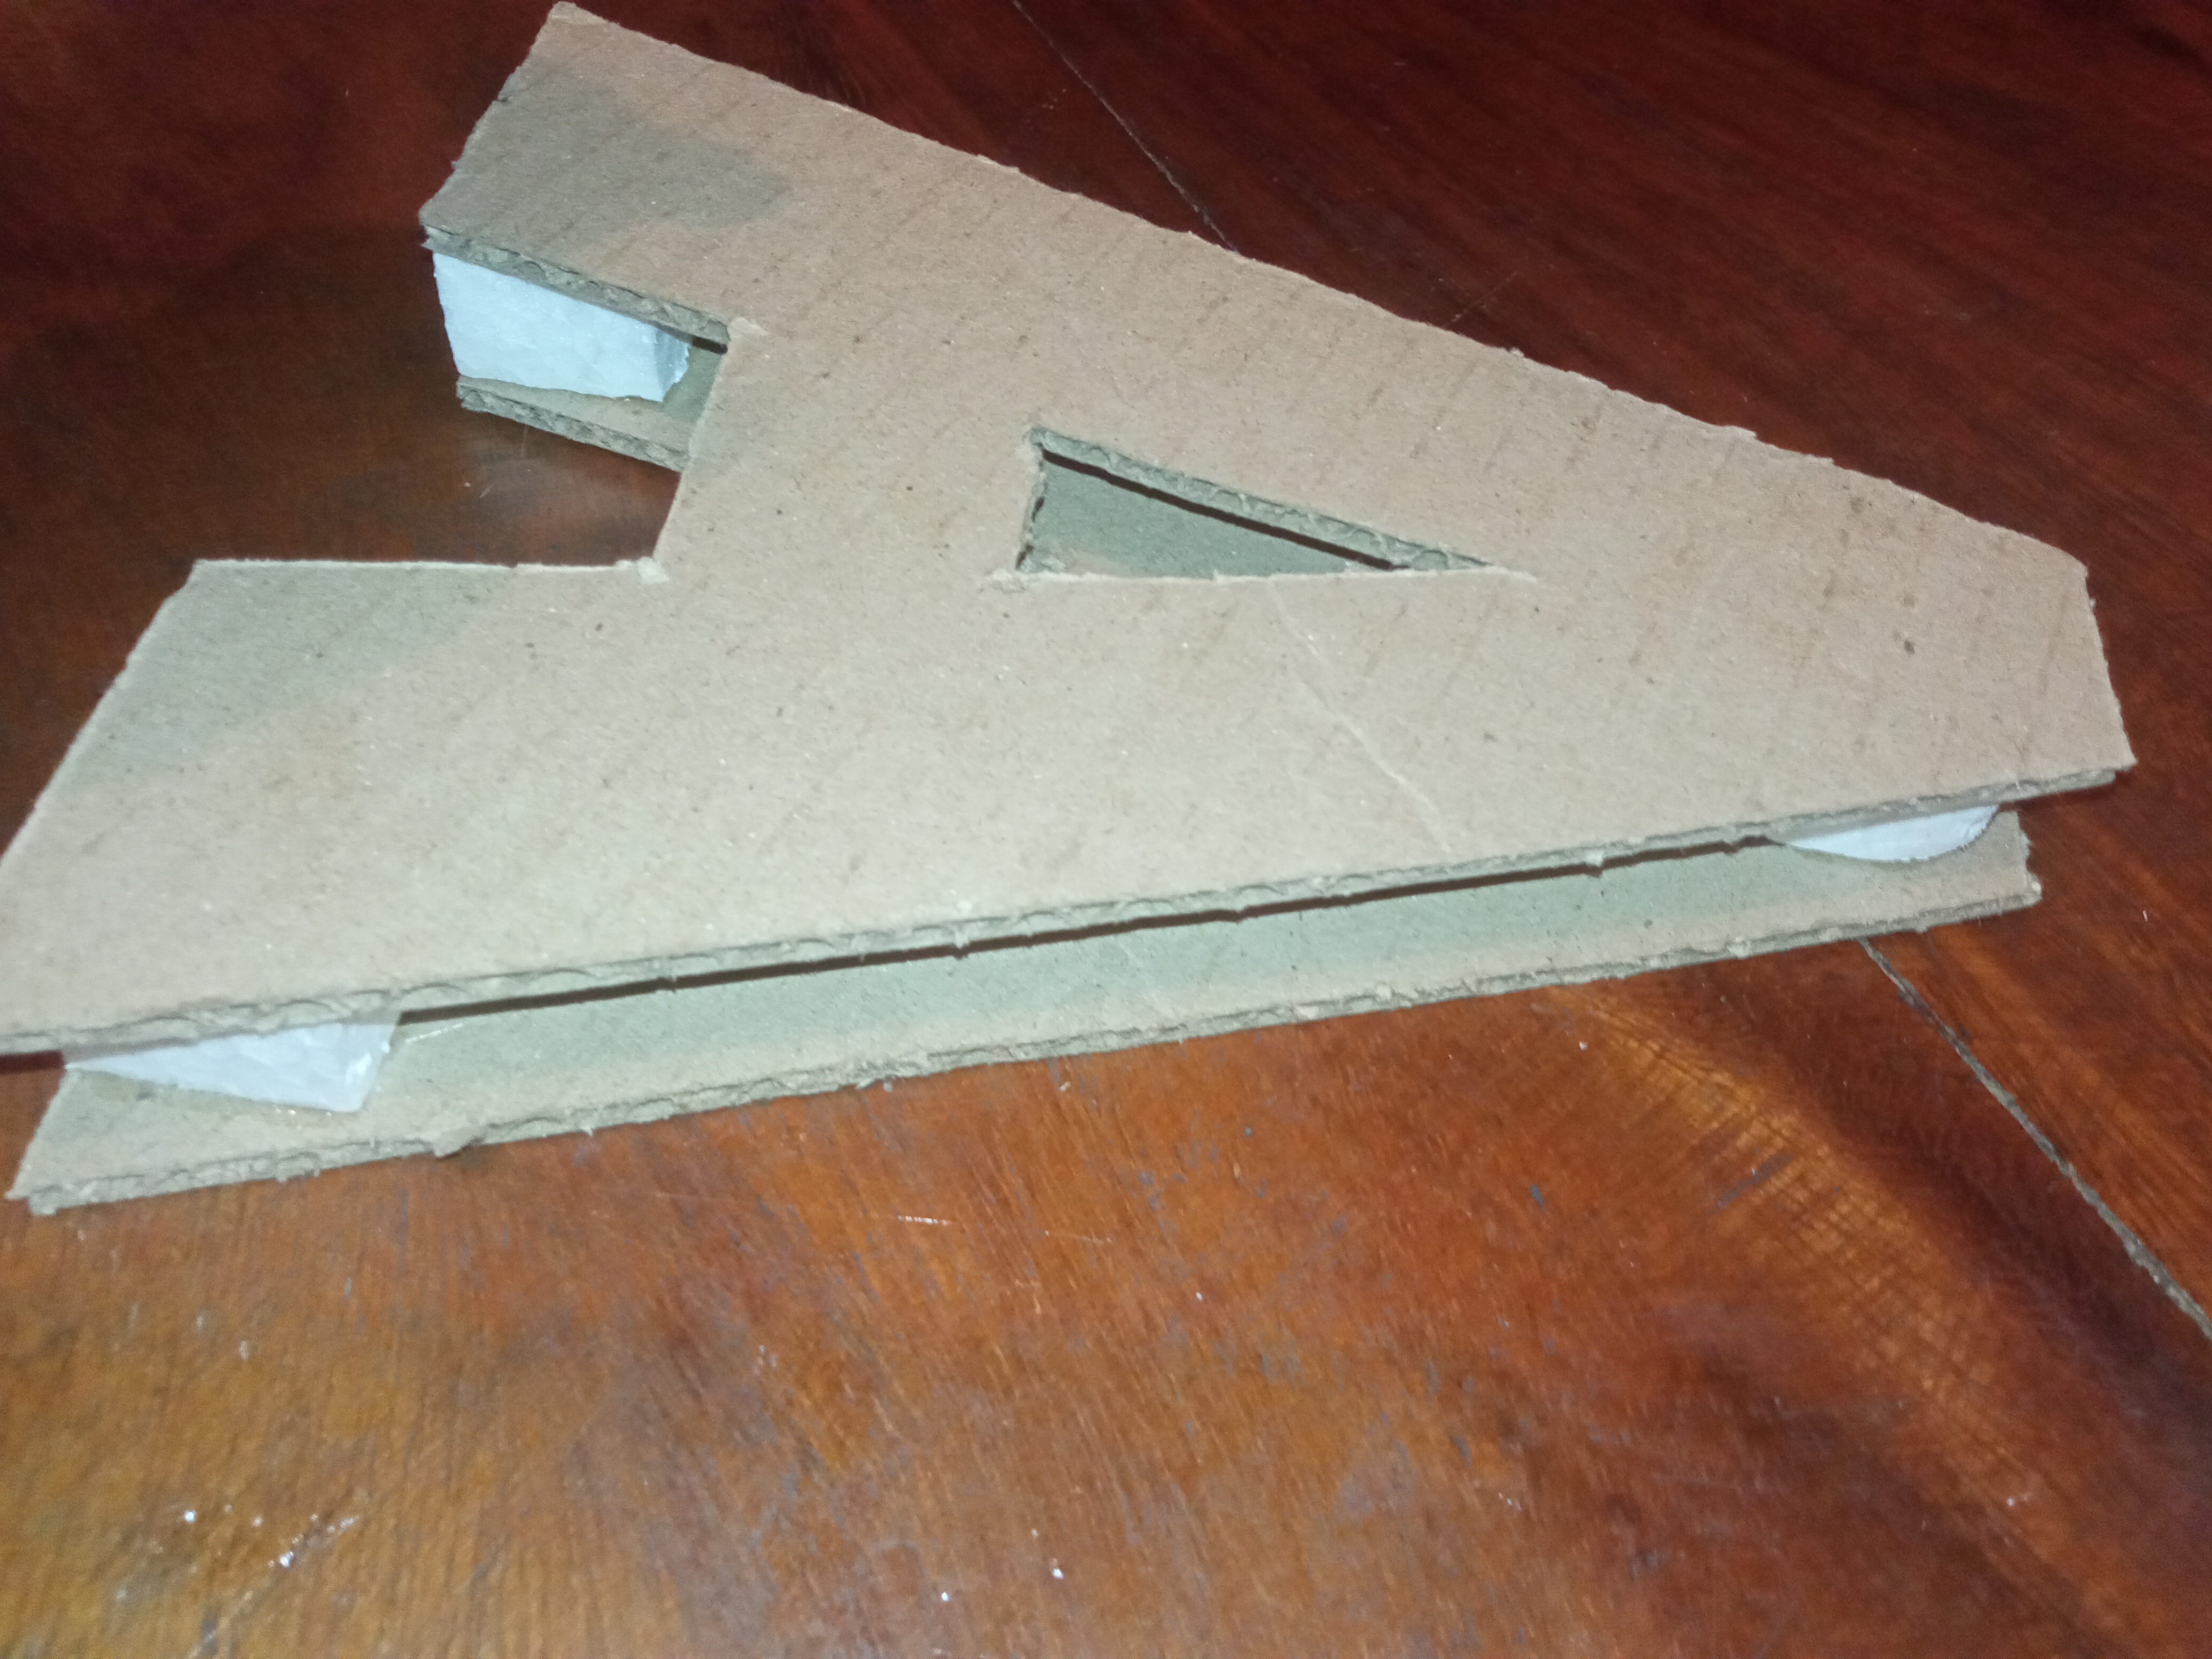
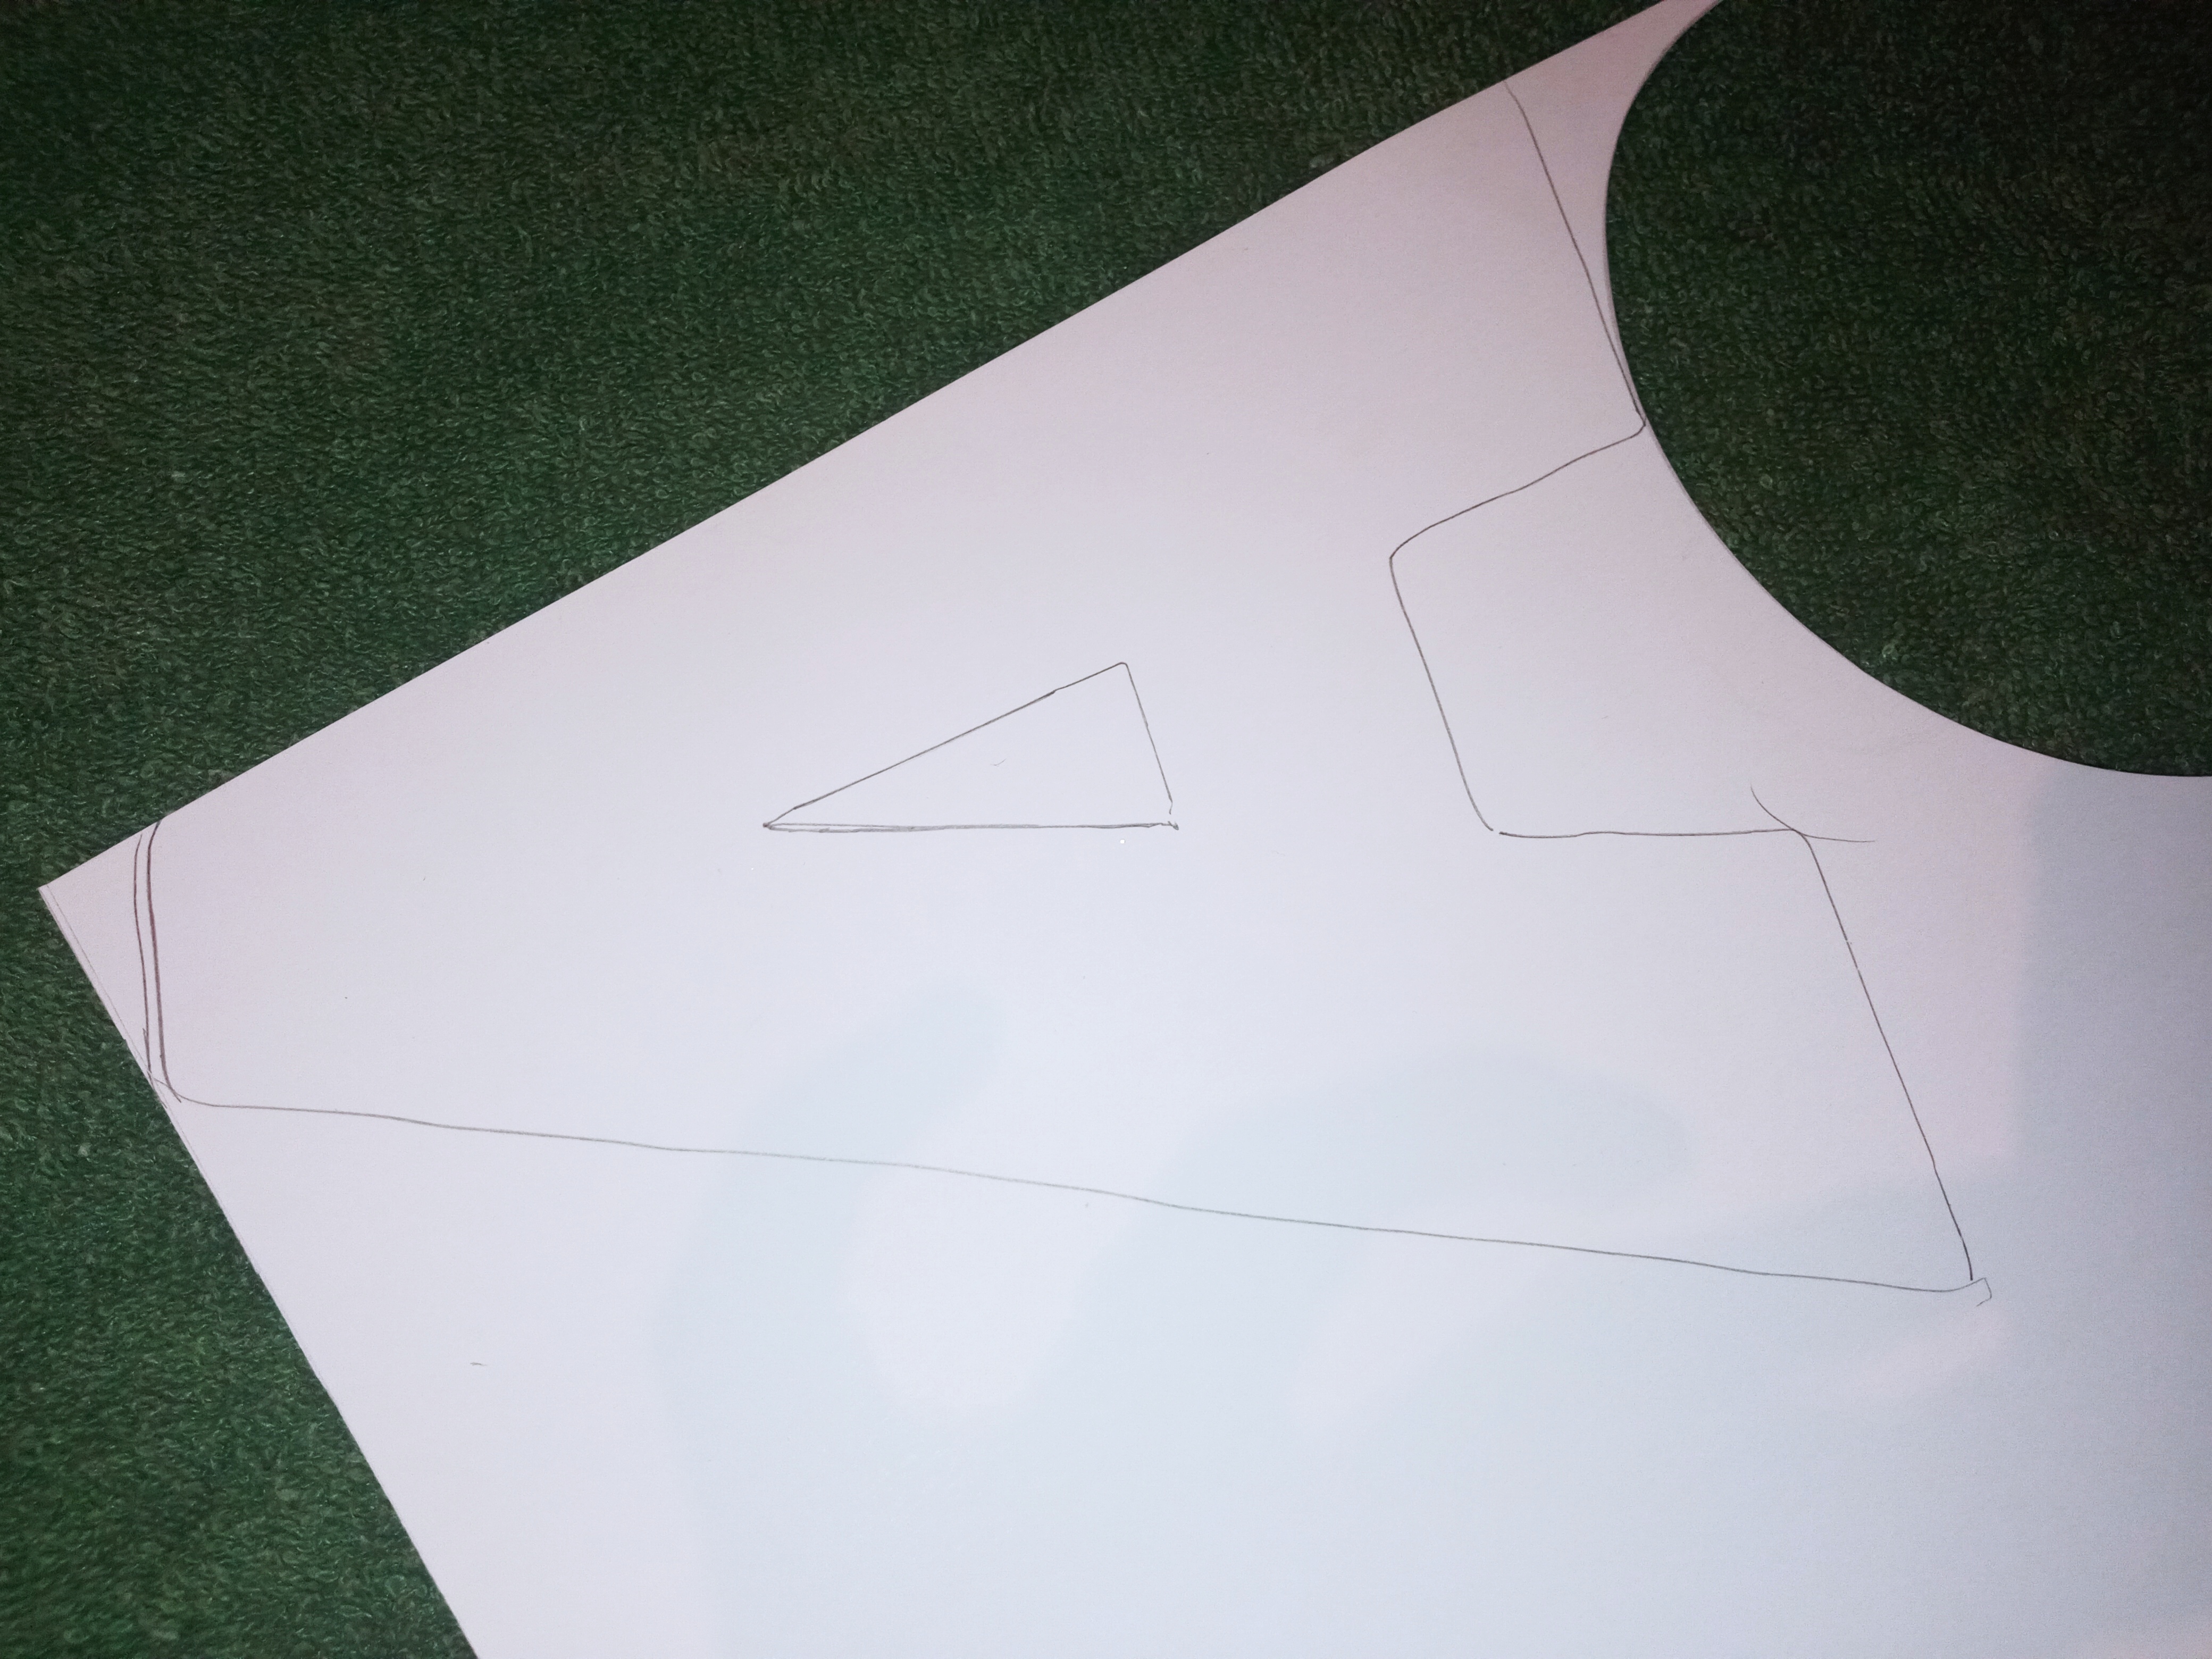
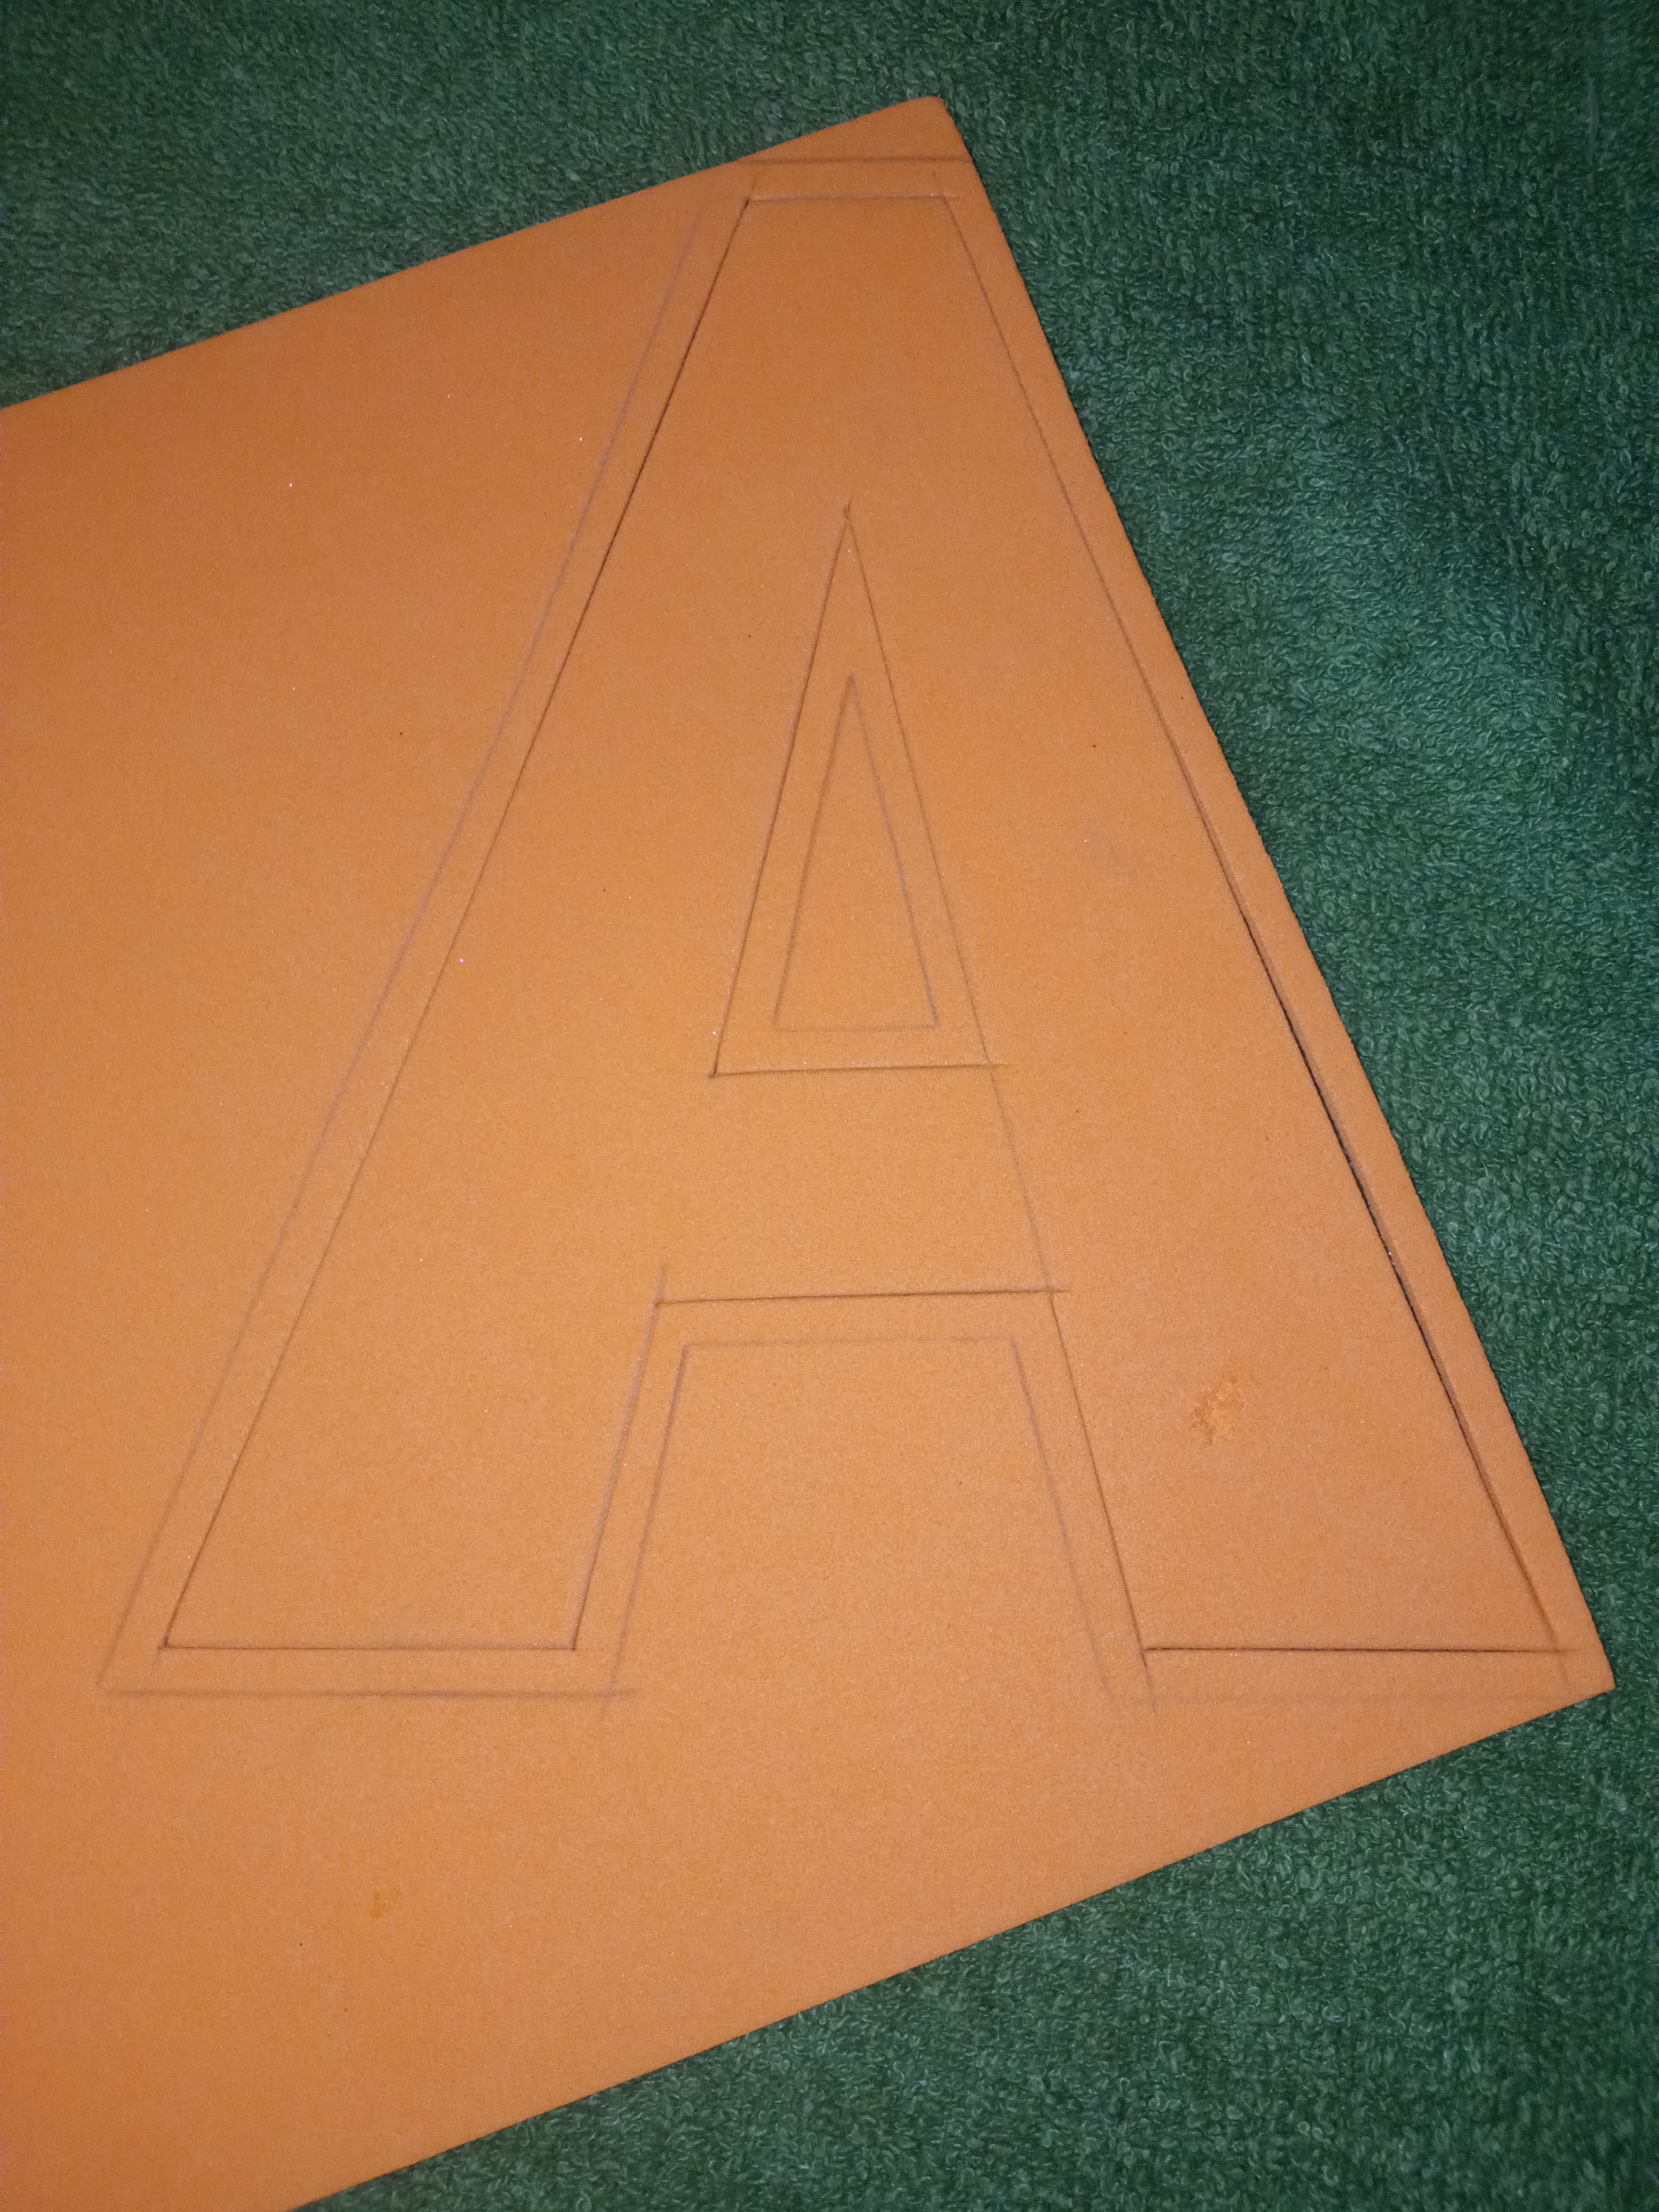
Step 1
We start by painting the letter on the sheet and then we paint it on the cardboard that we are going to make the letter.
Paso 1
Comenzamos pintando la letra en la hoja y después la pintamos en el cartón que vamos hacer la letra.

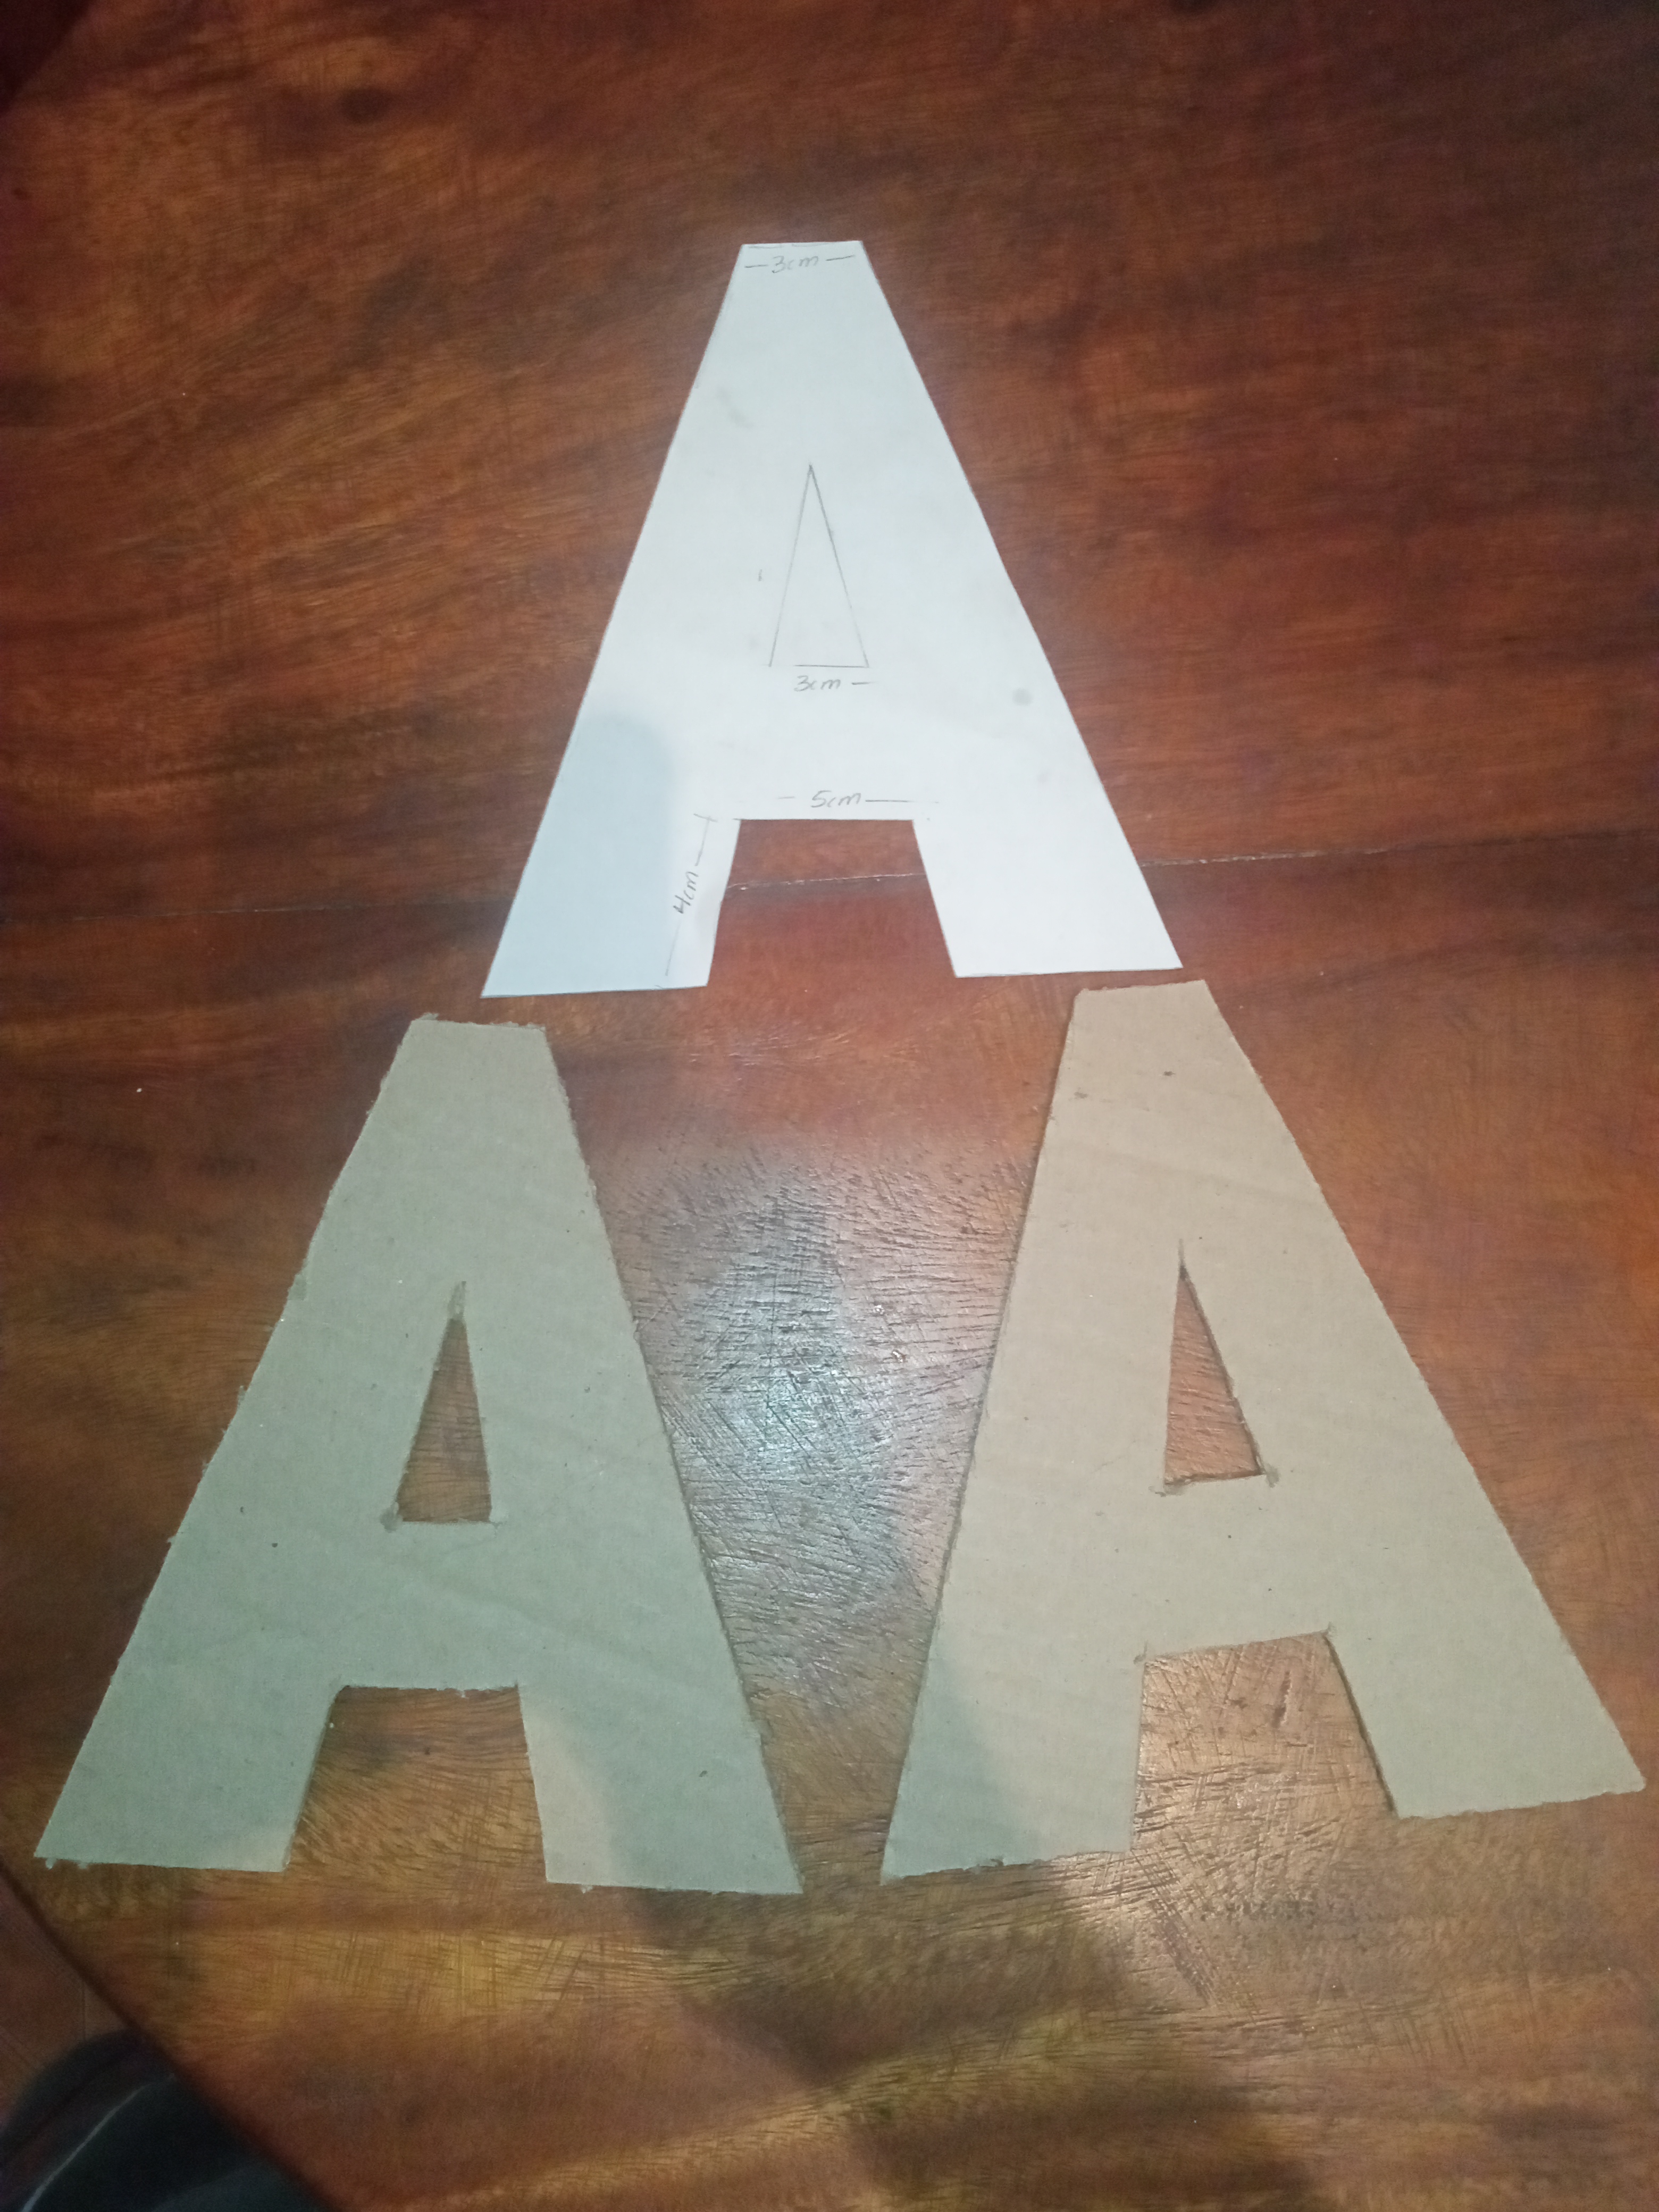
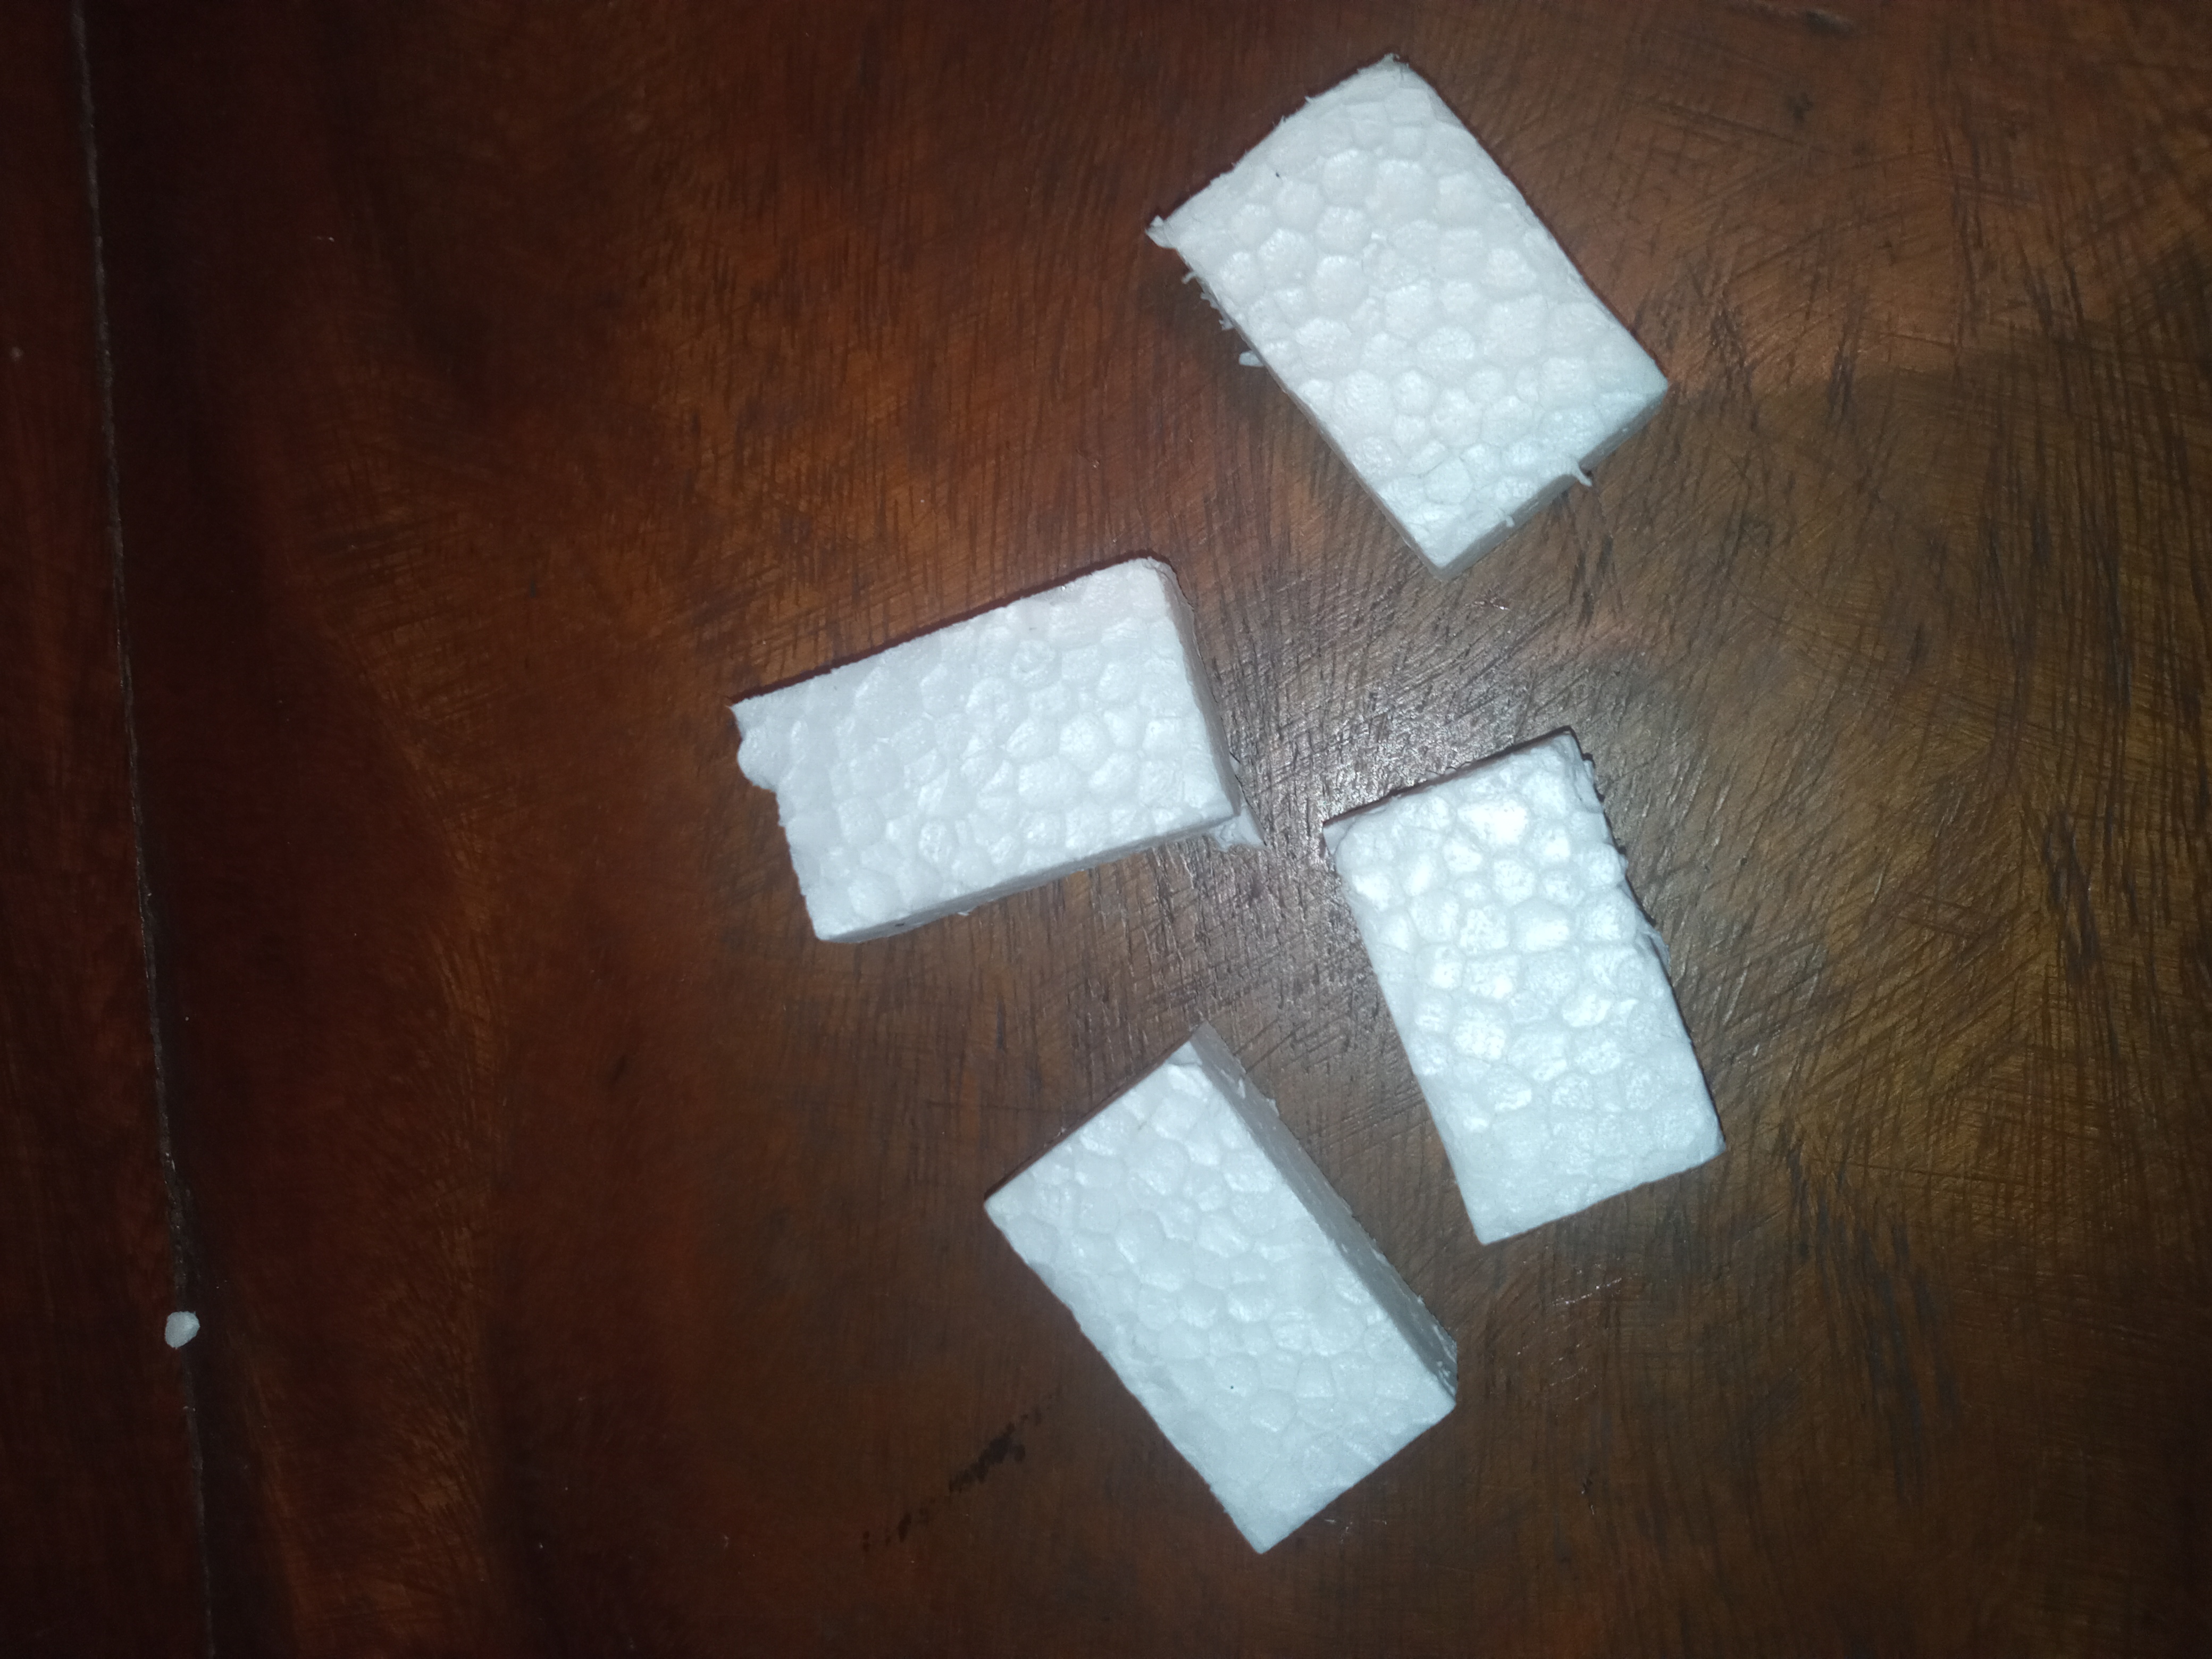
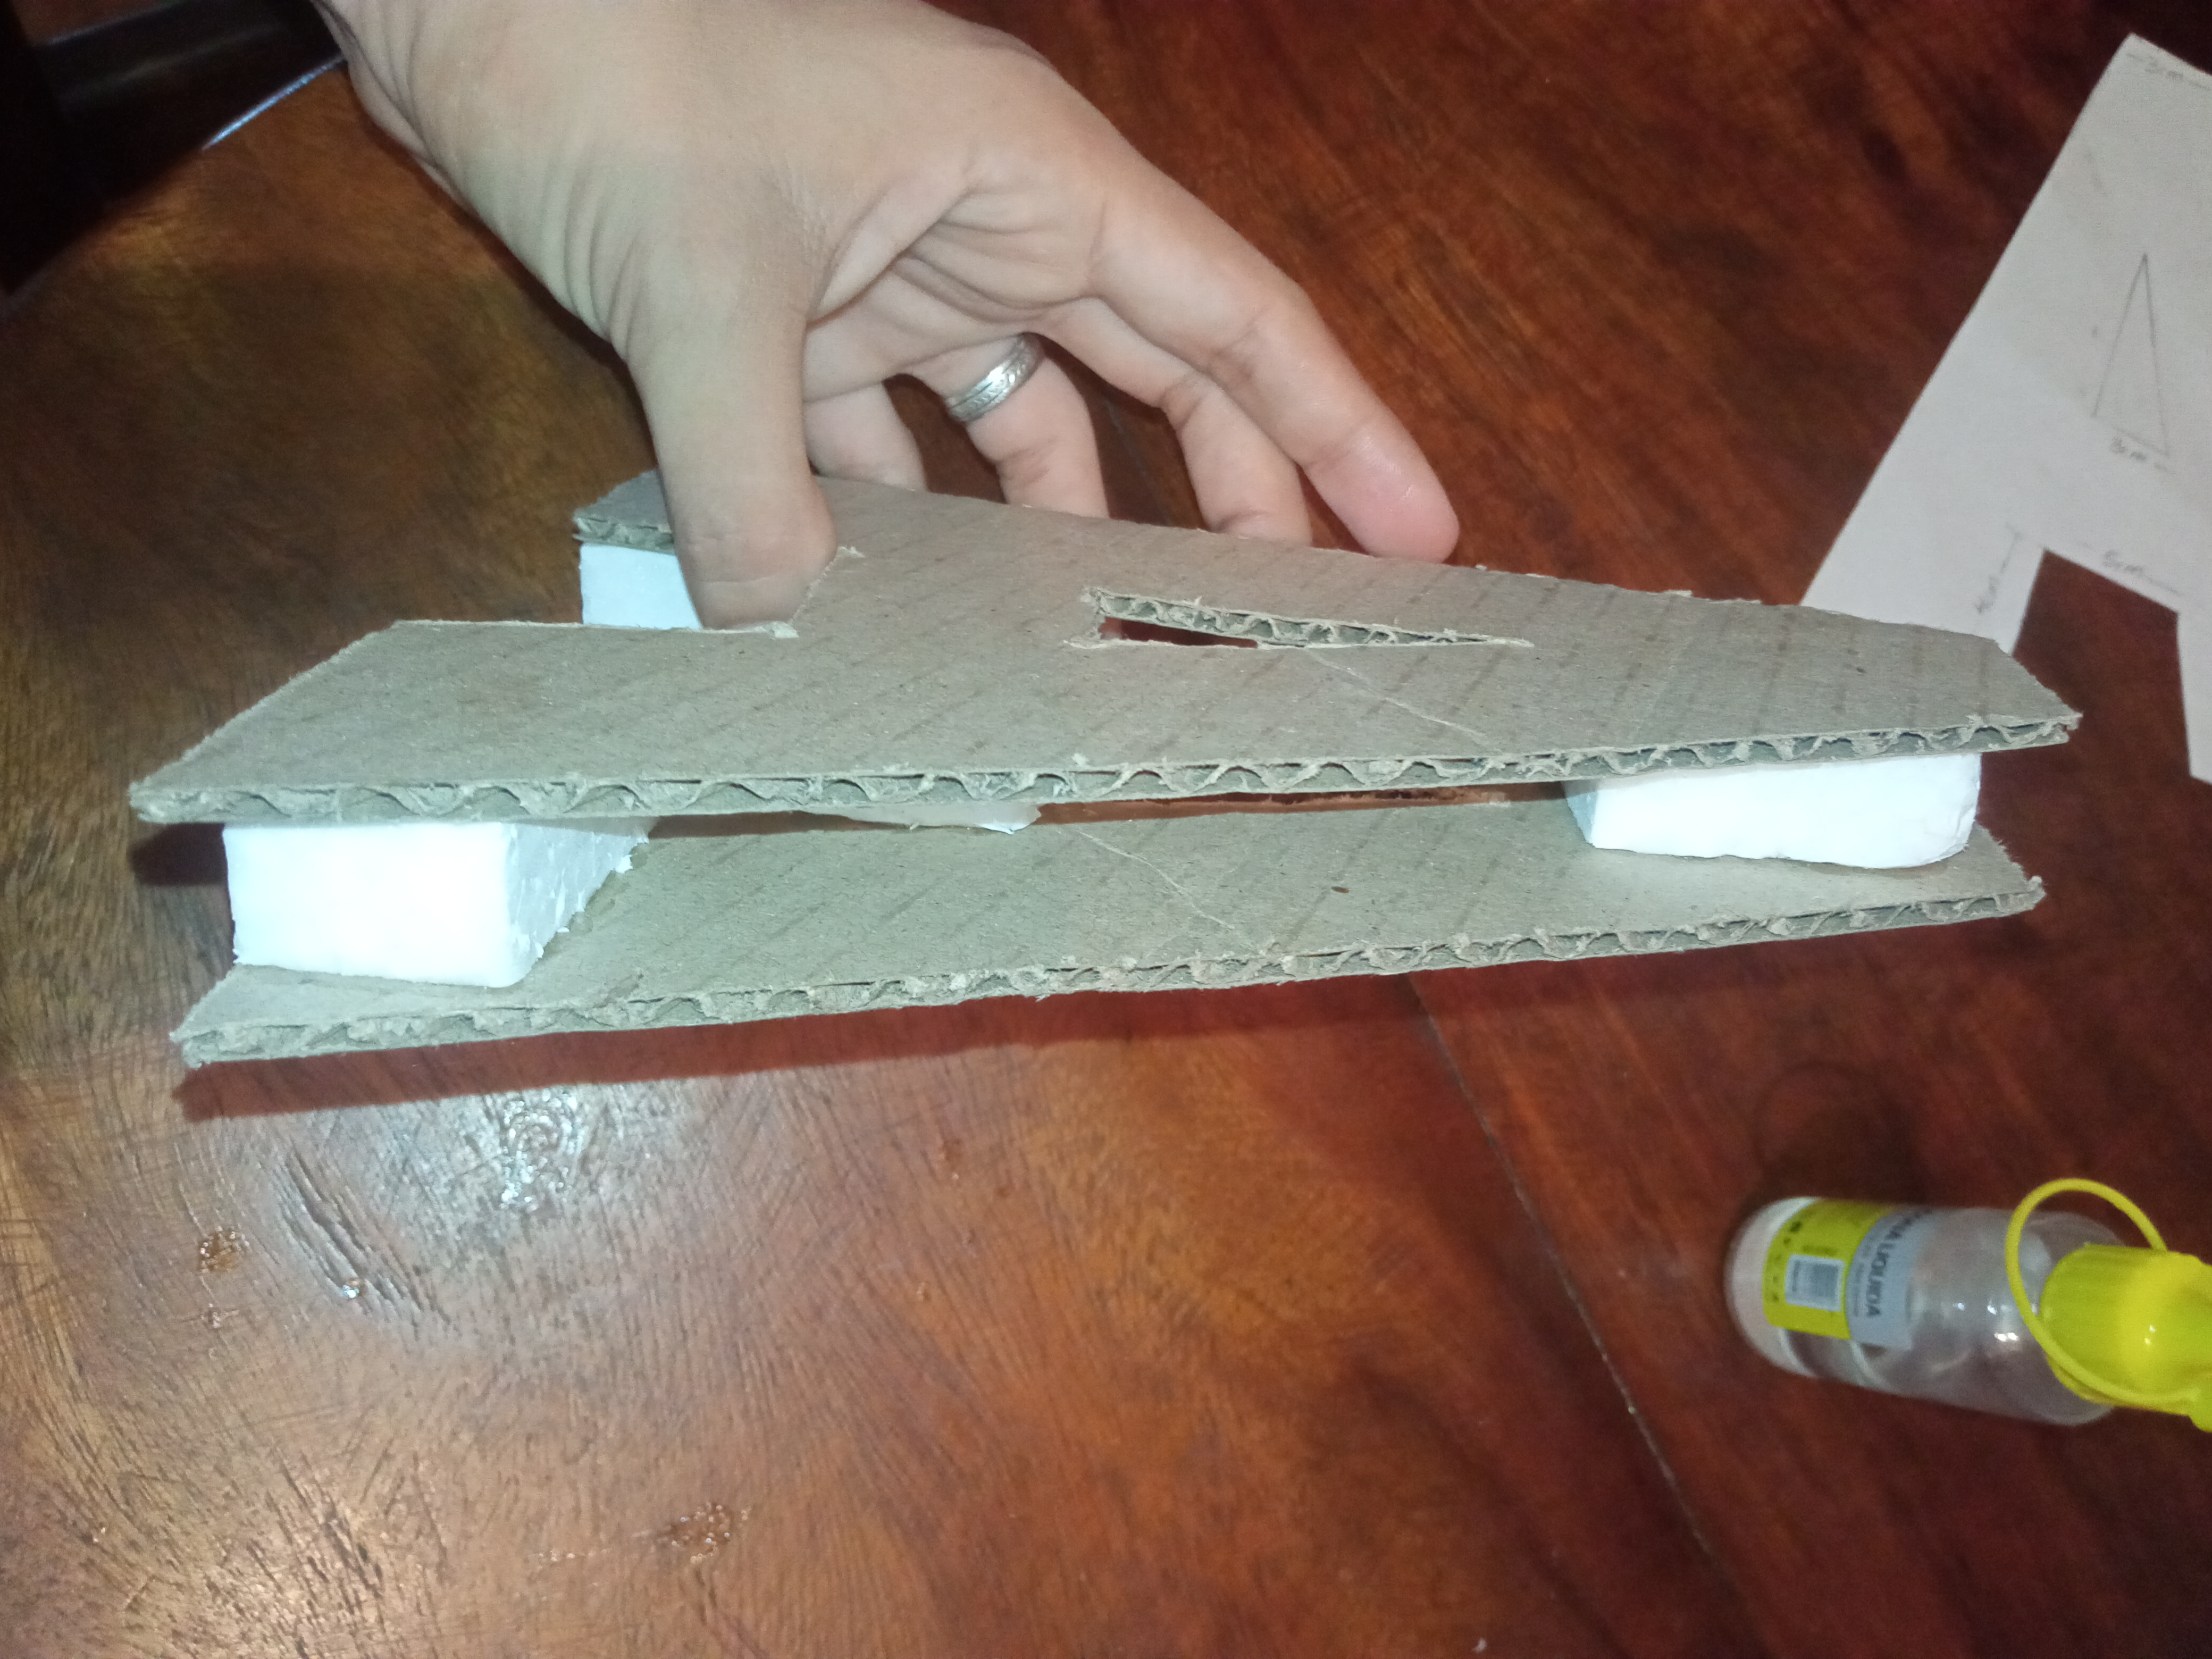
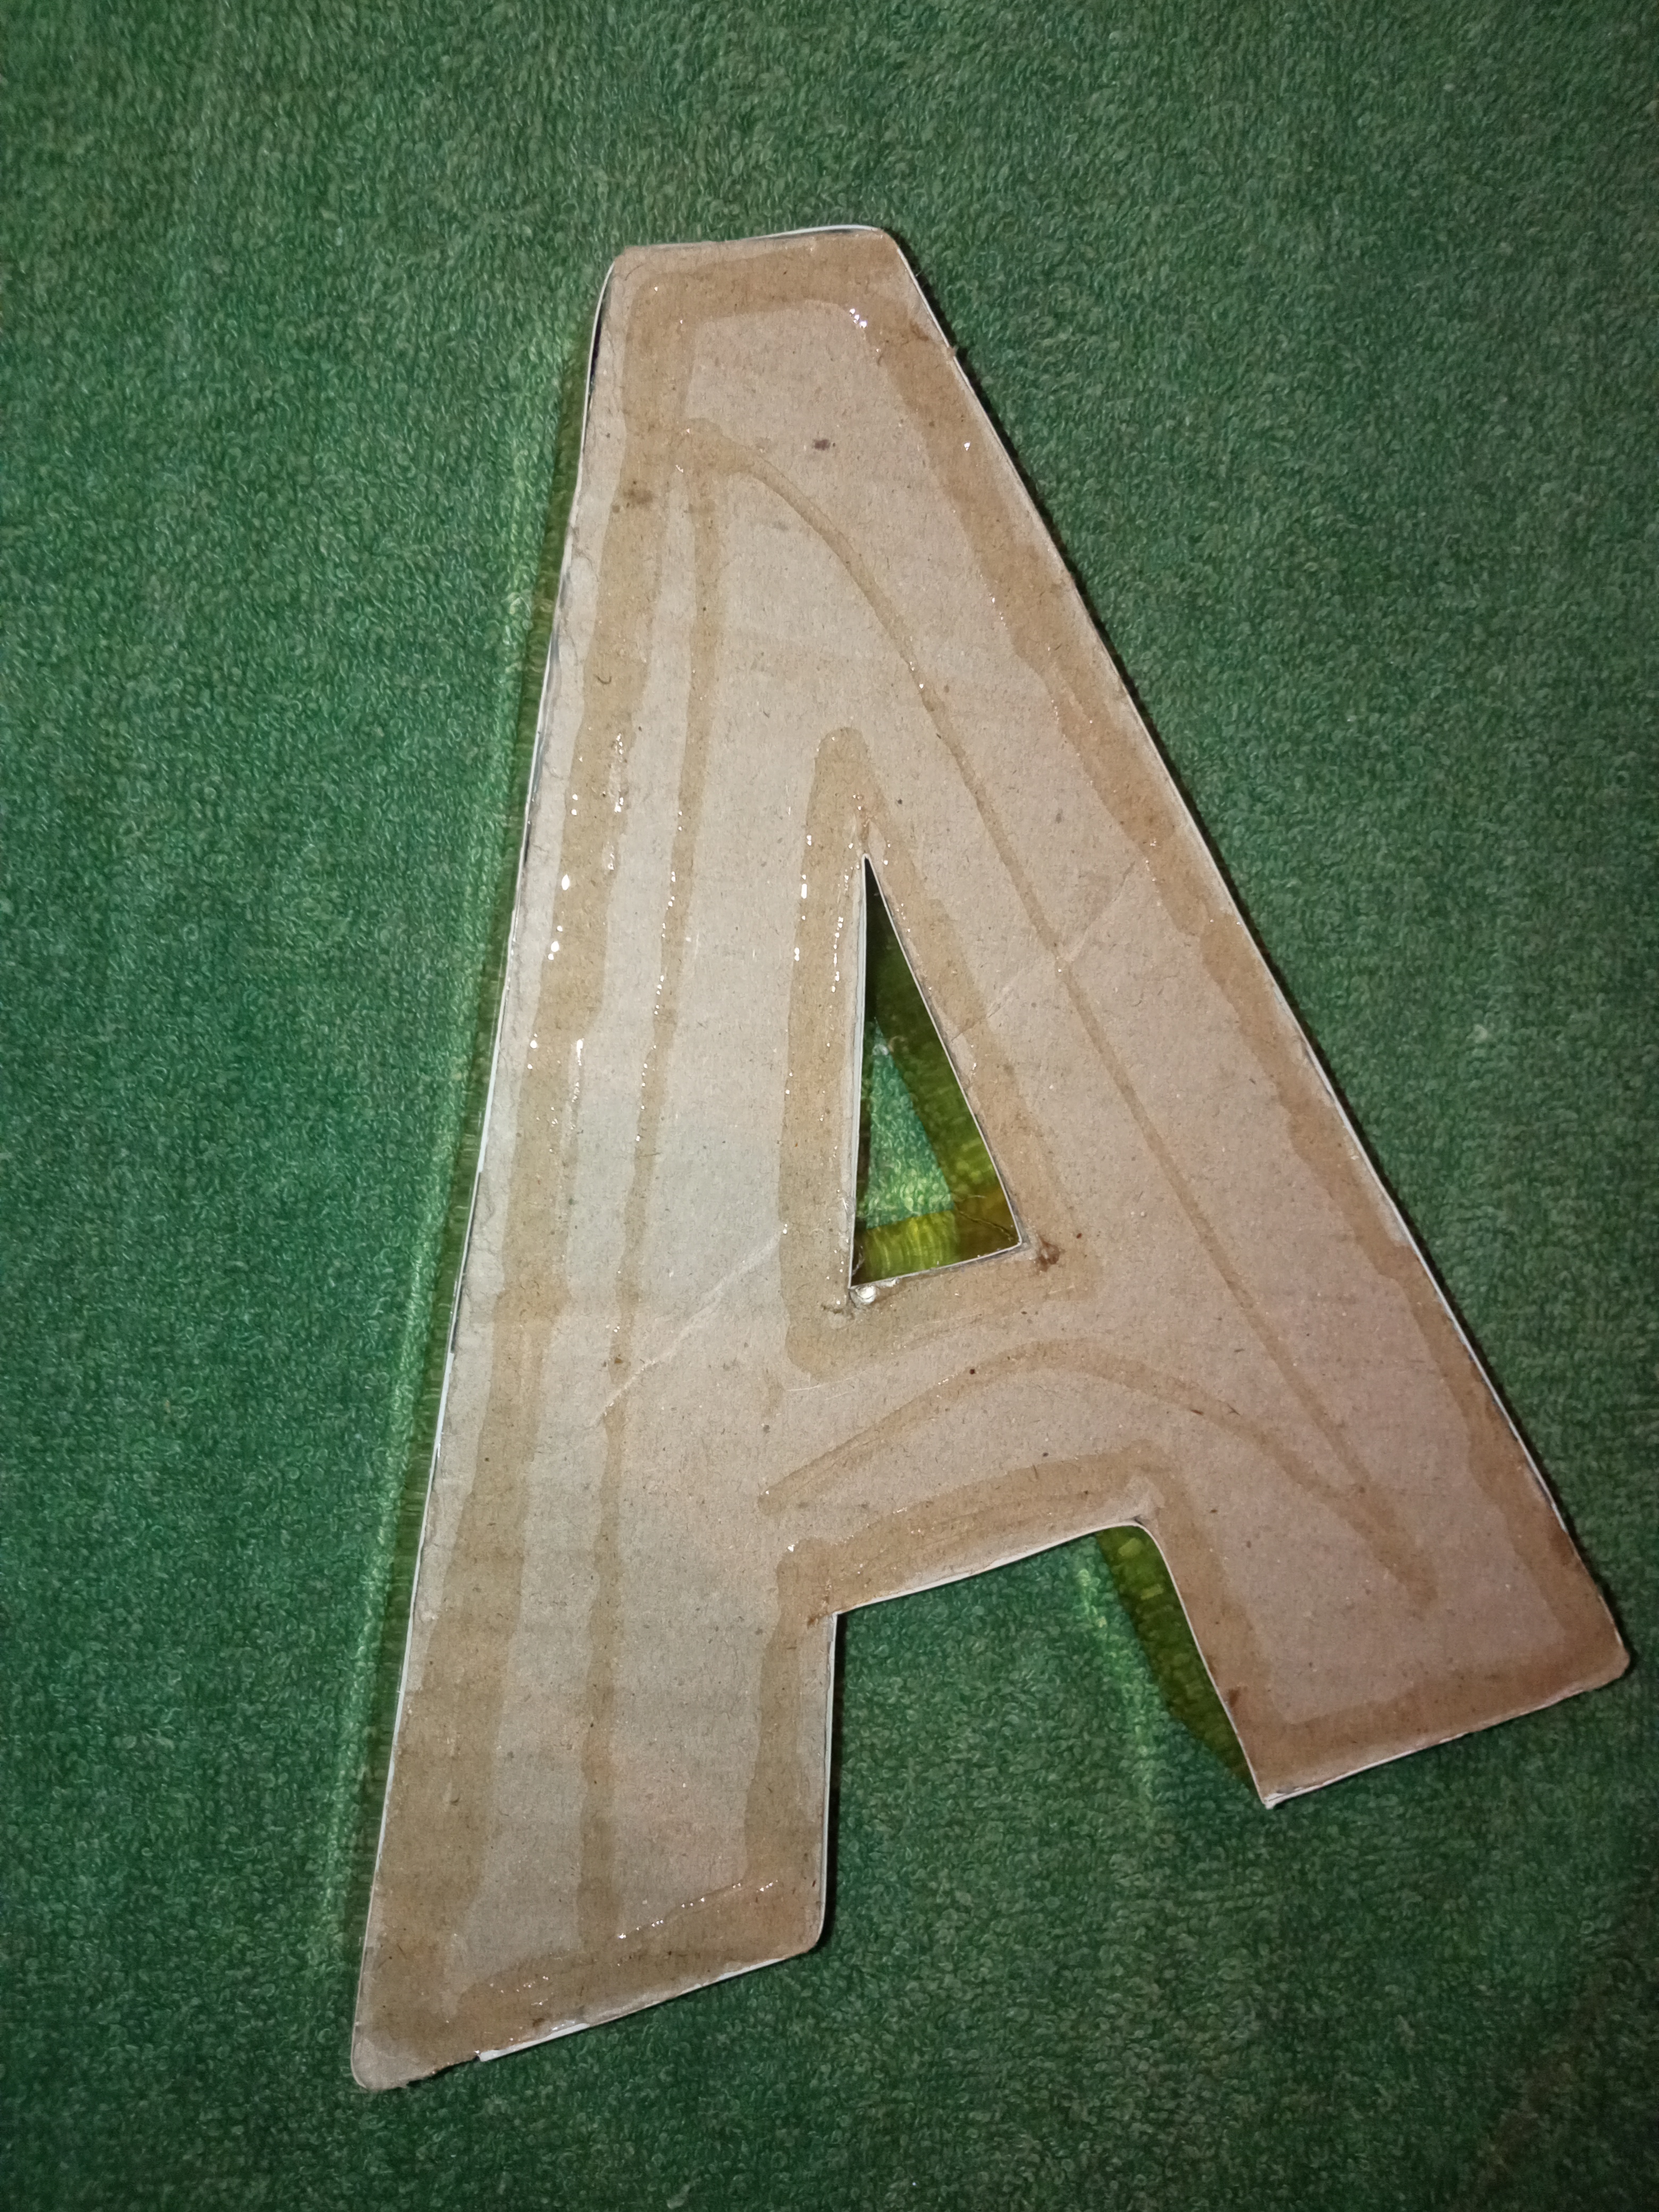
Step 2
We cut some pieces of anime and glued it on one of the letters and then glued the other cover of the letter A and there was our 3D cardboard letter.
Paso 2
Cortamos unos pedacitos de anime y la pegamos en unas de las letras para luego pegar la otra tapa de la letra A y allí quedó nuestra letra de cartón 3D.

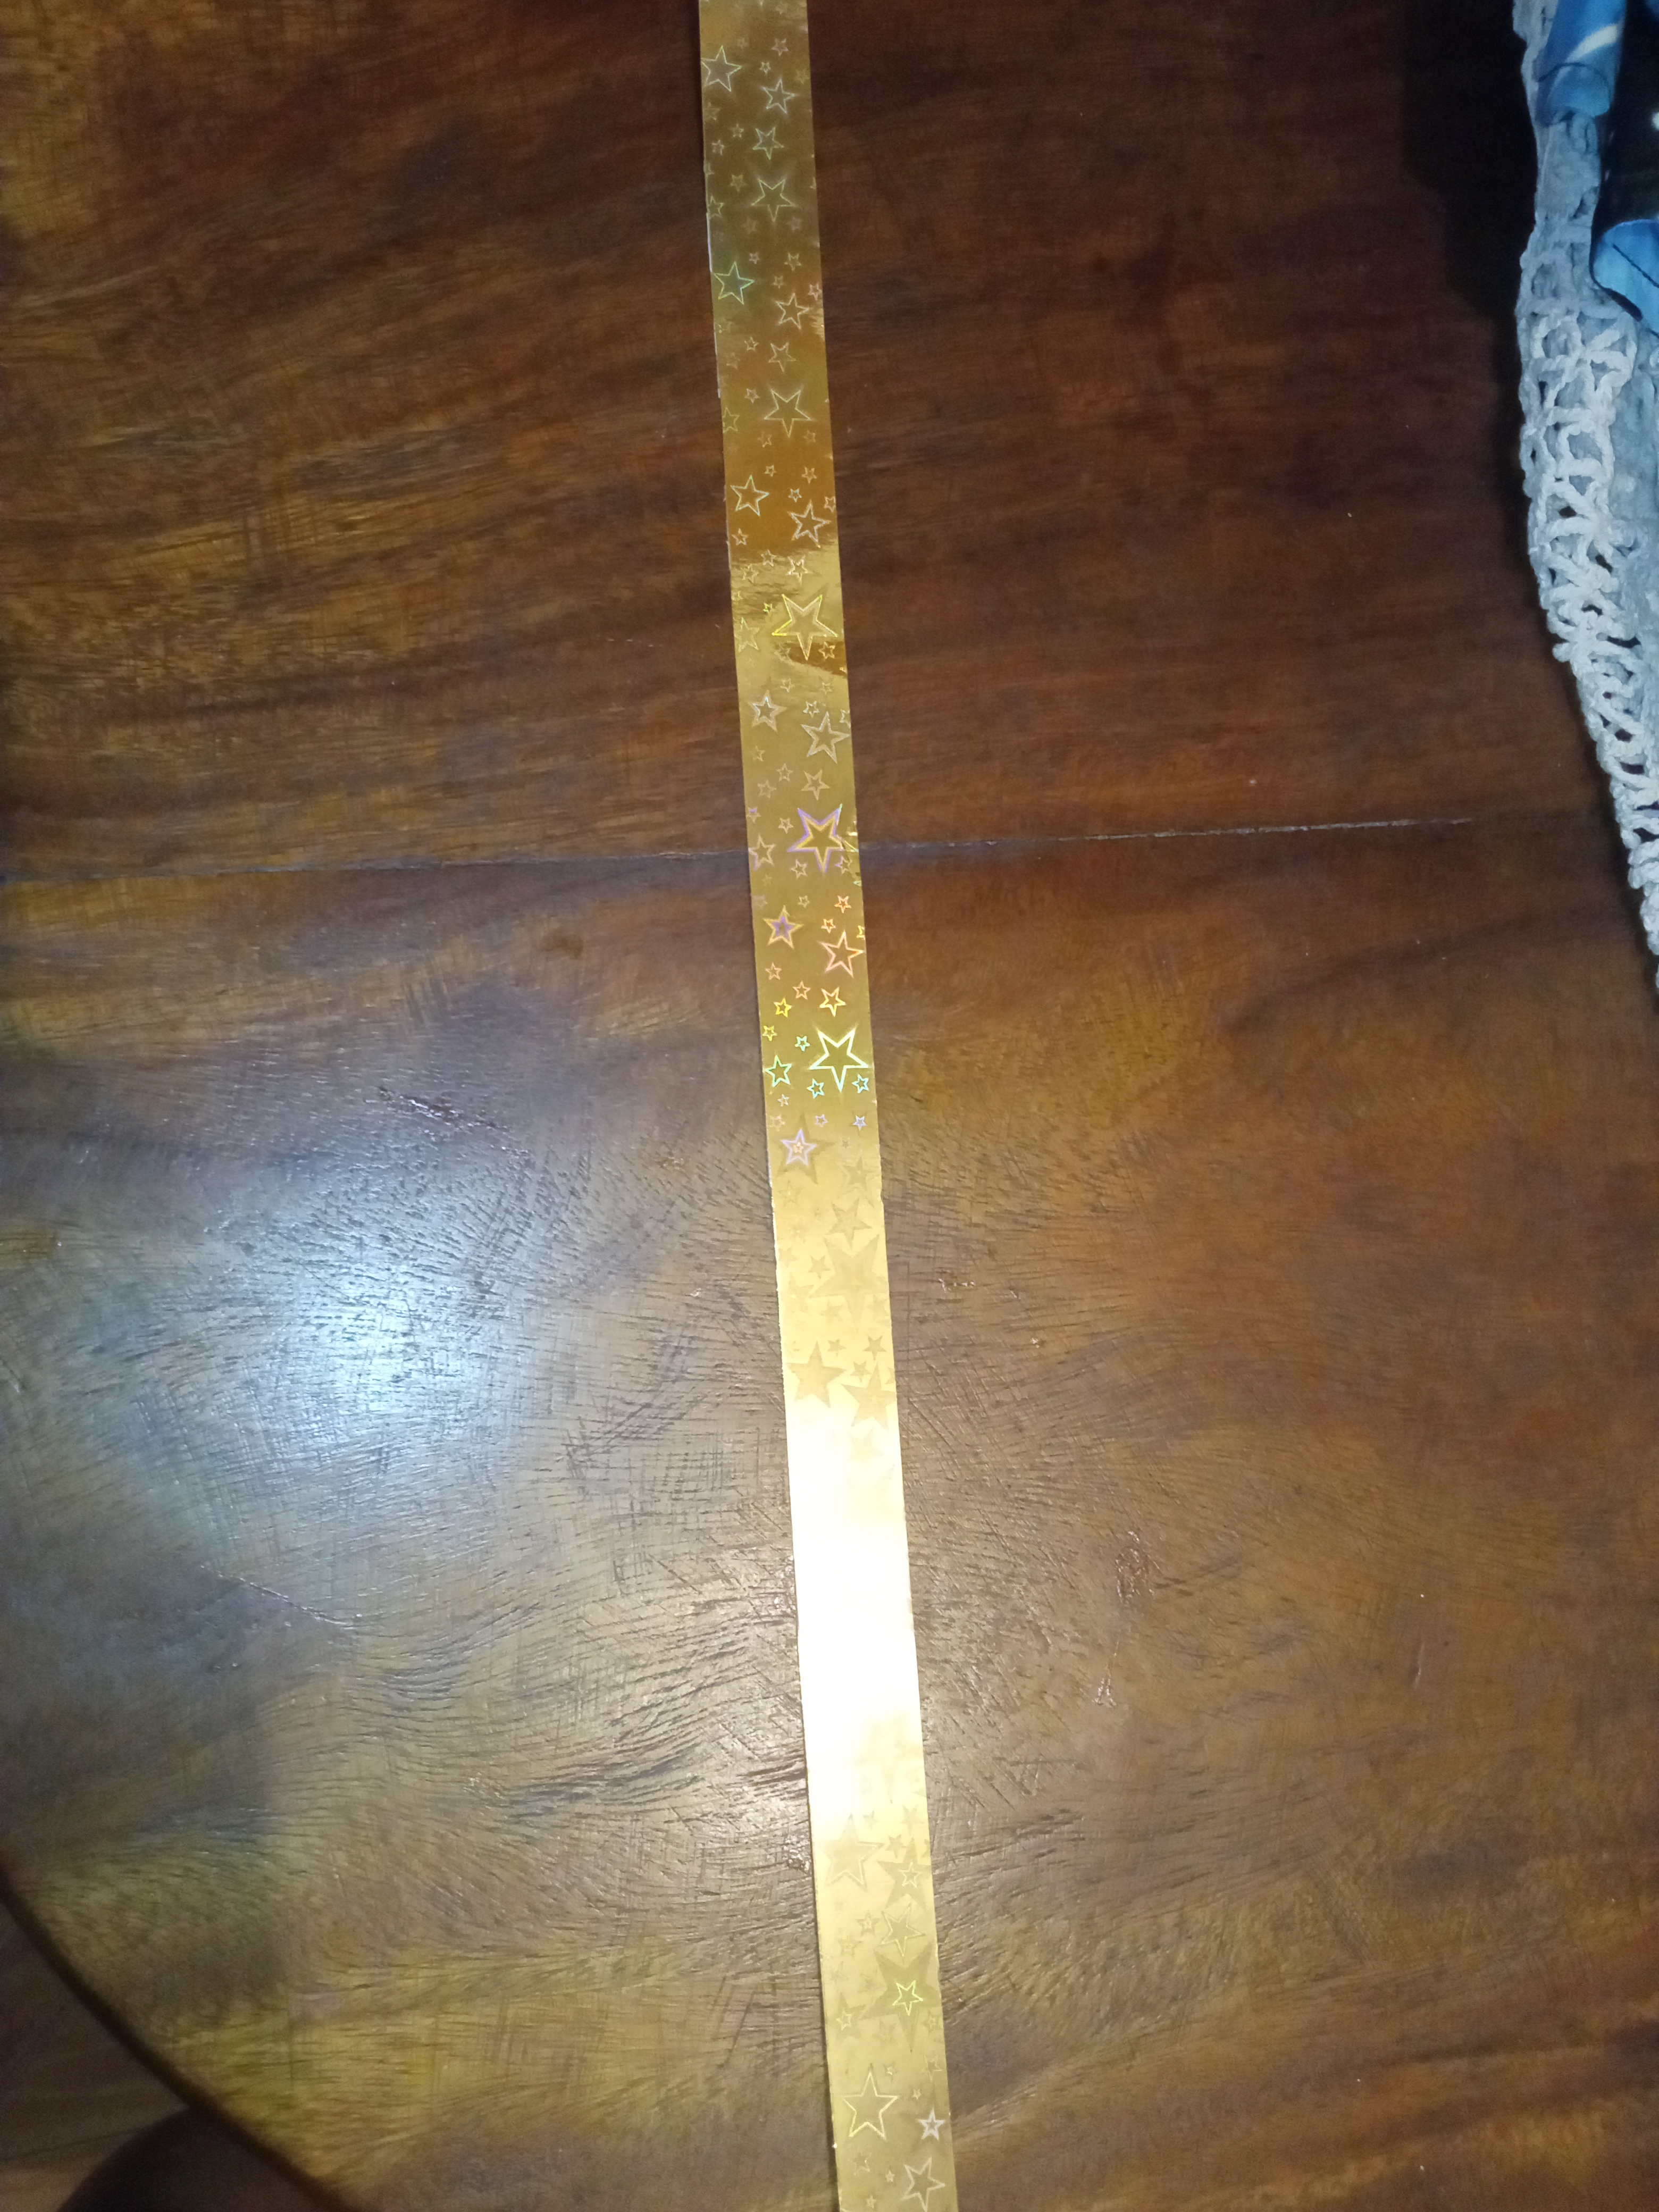
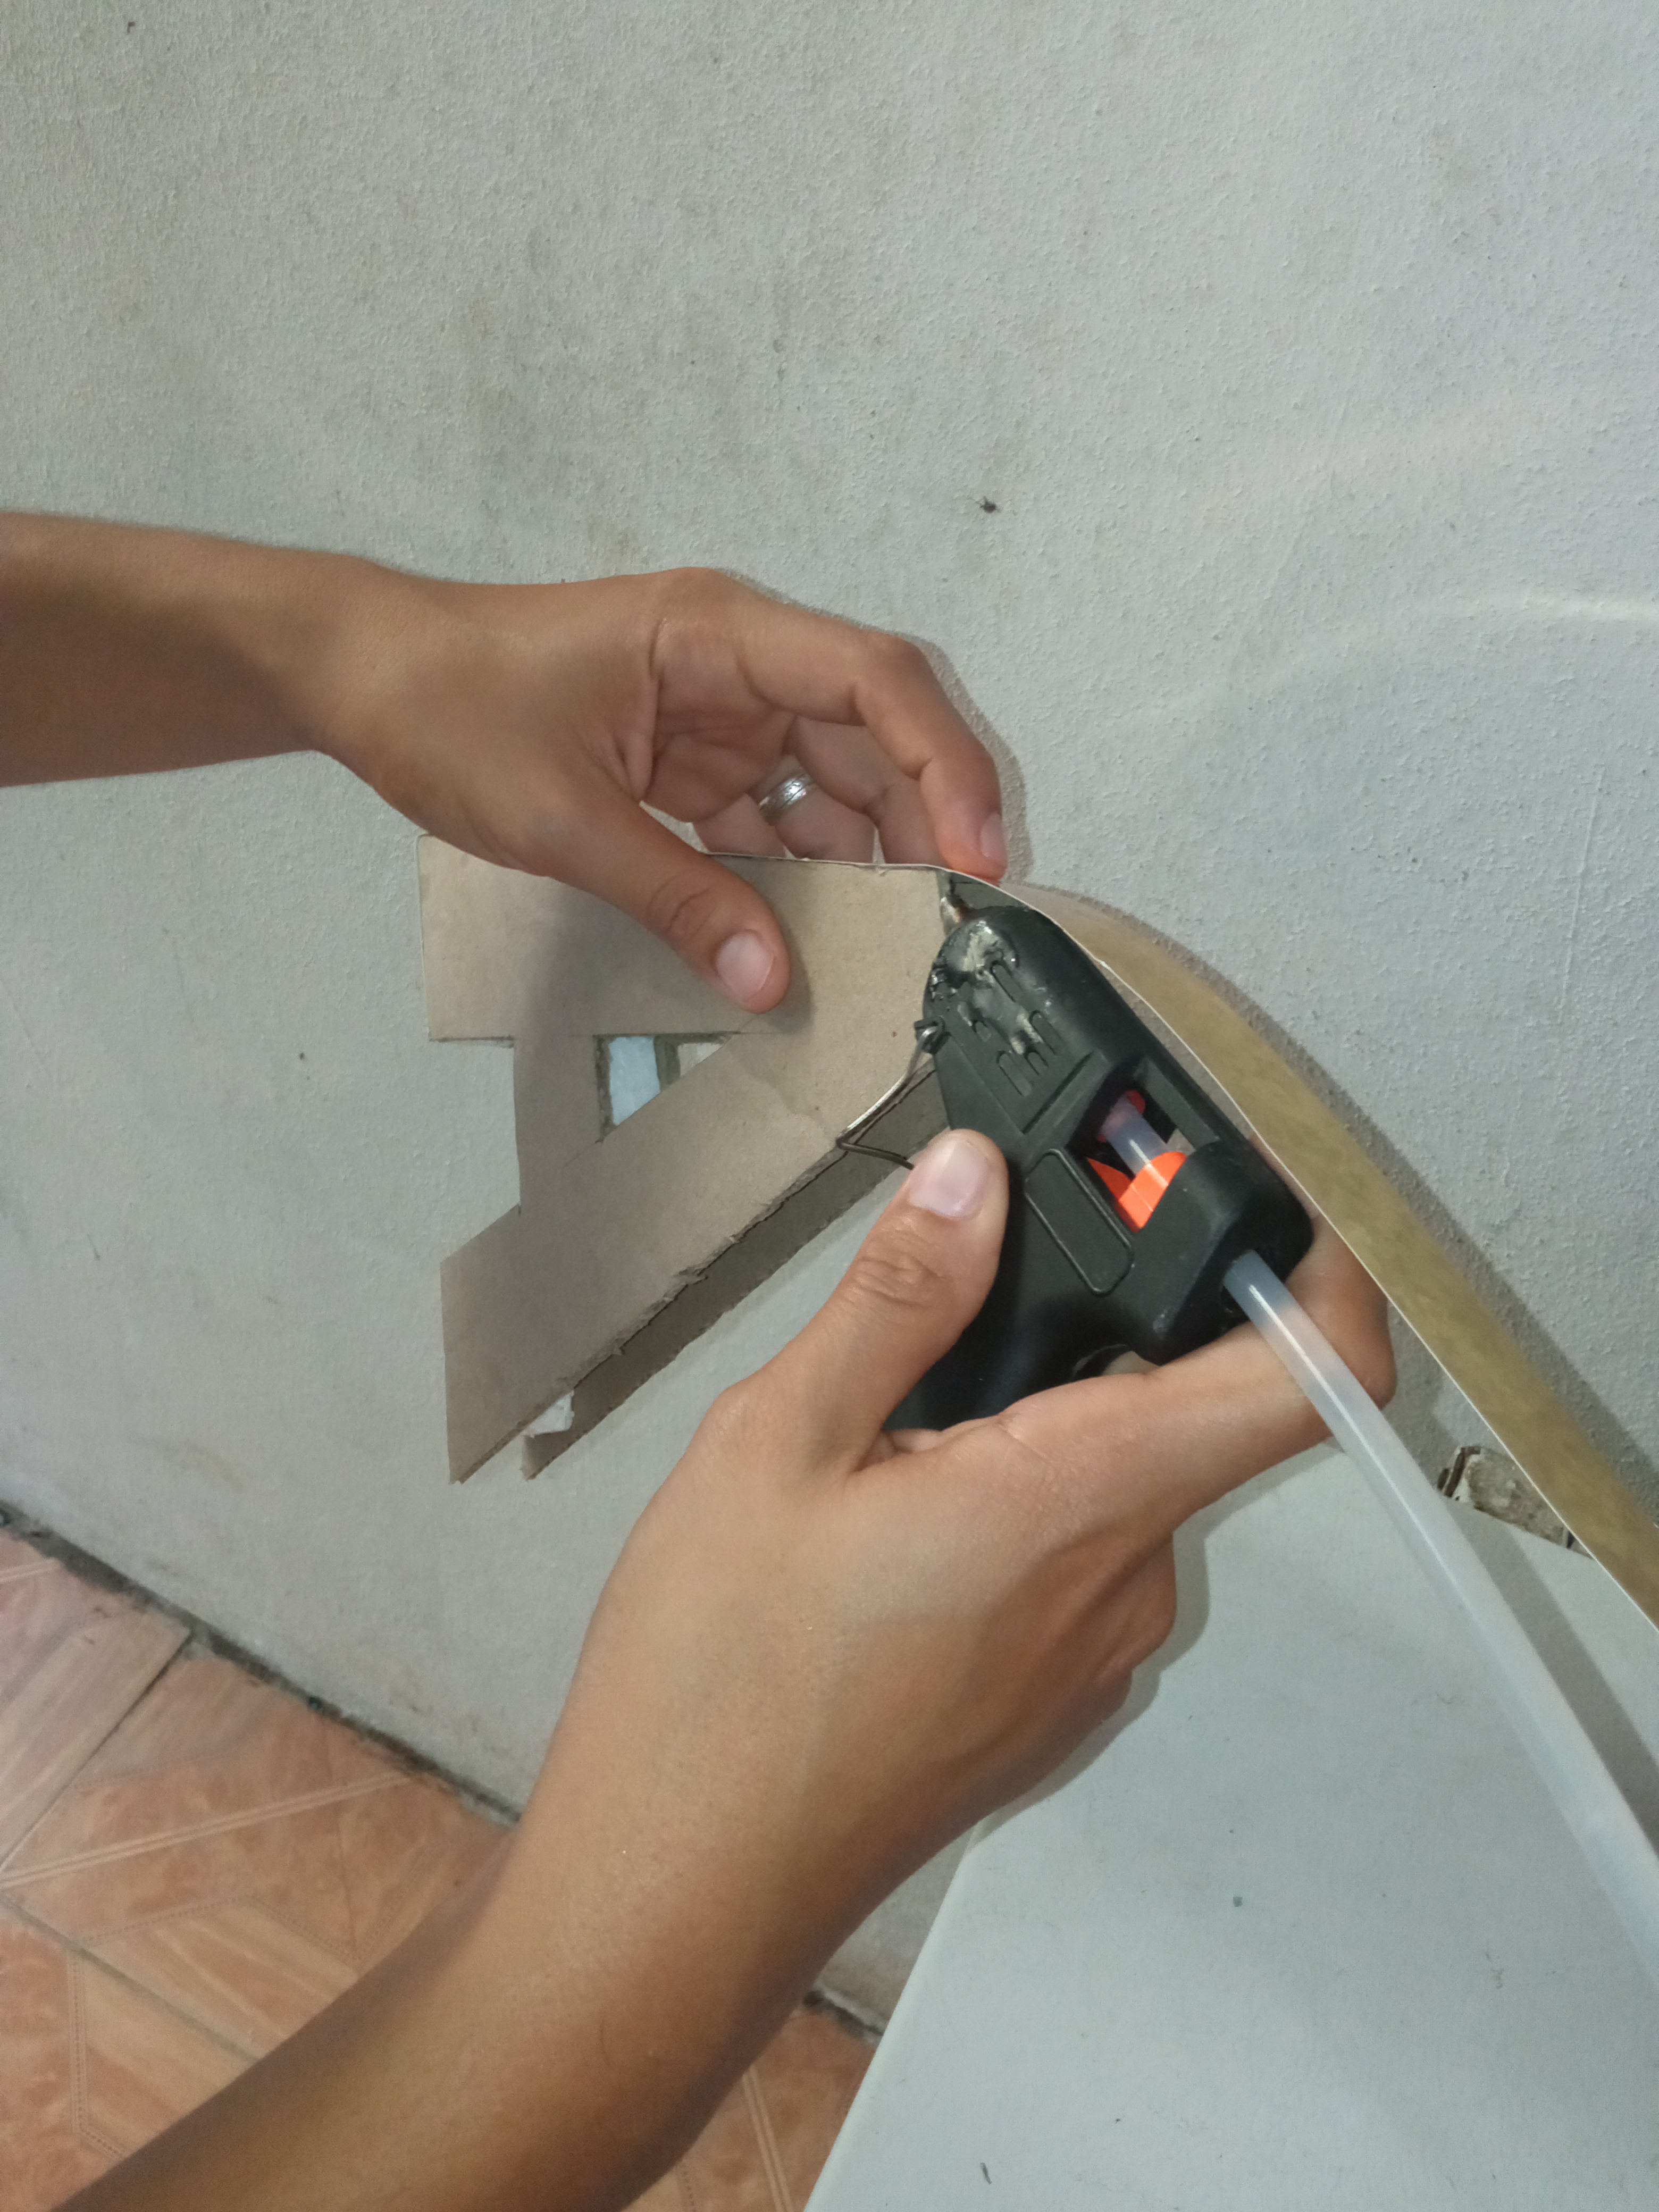
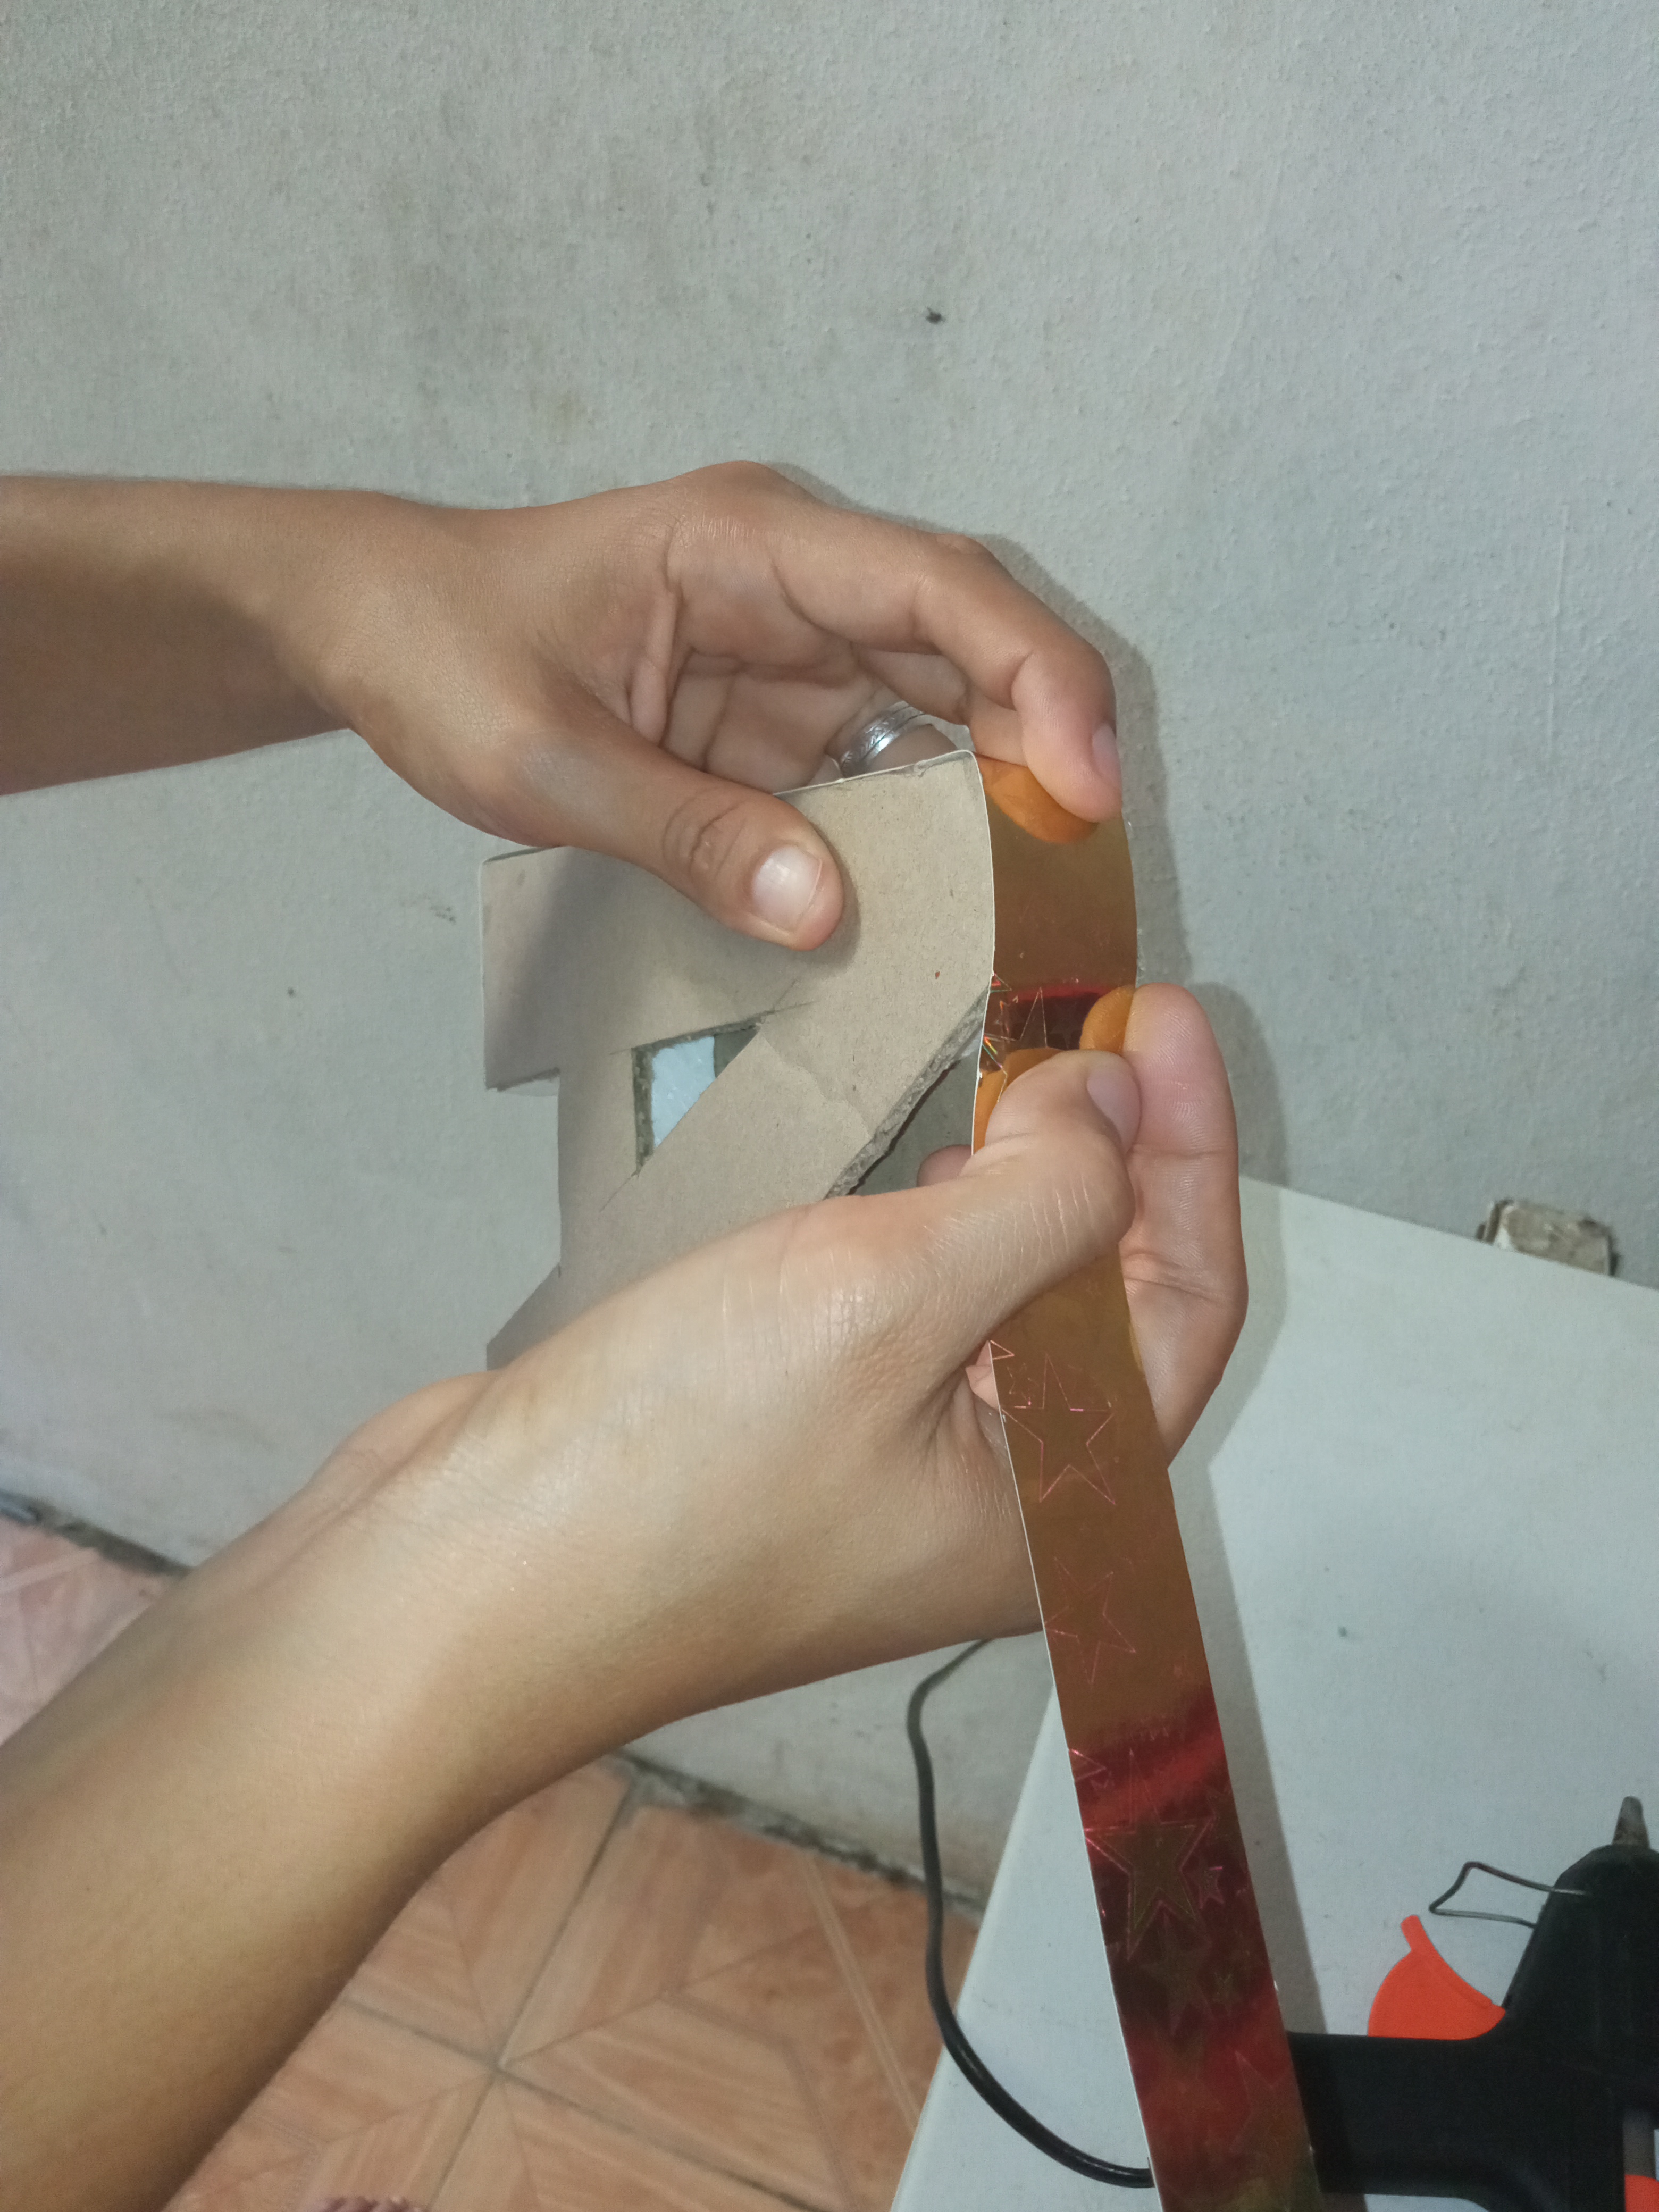
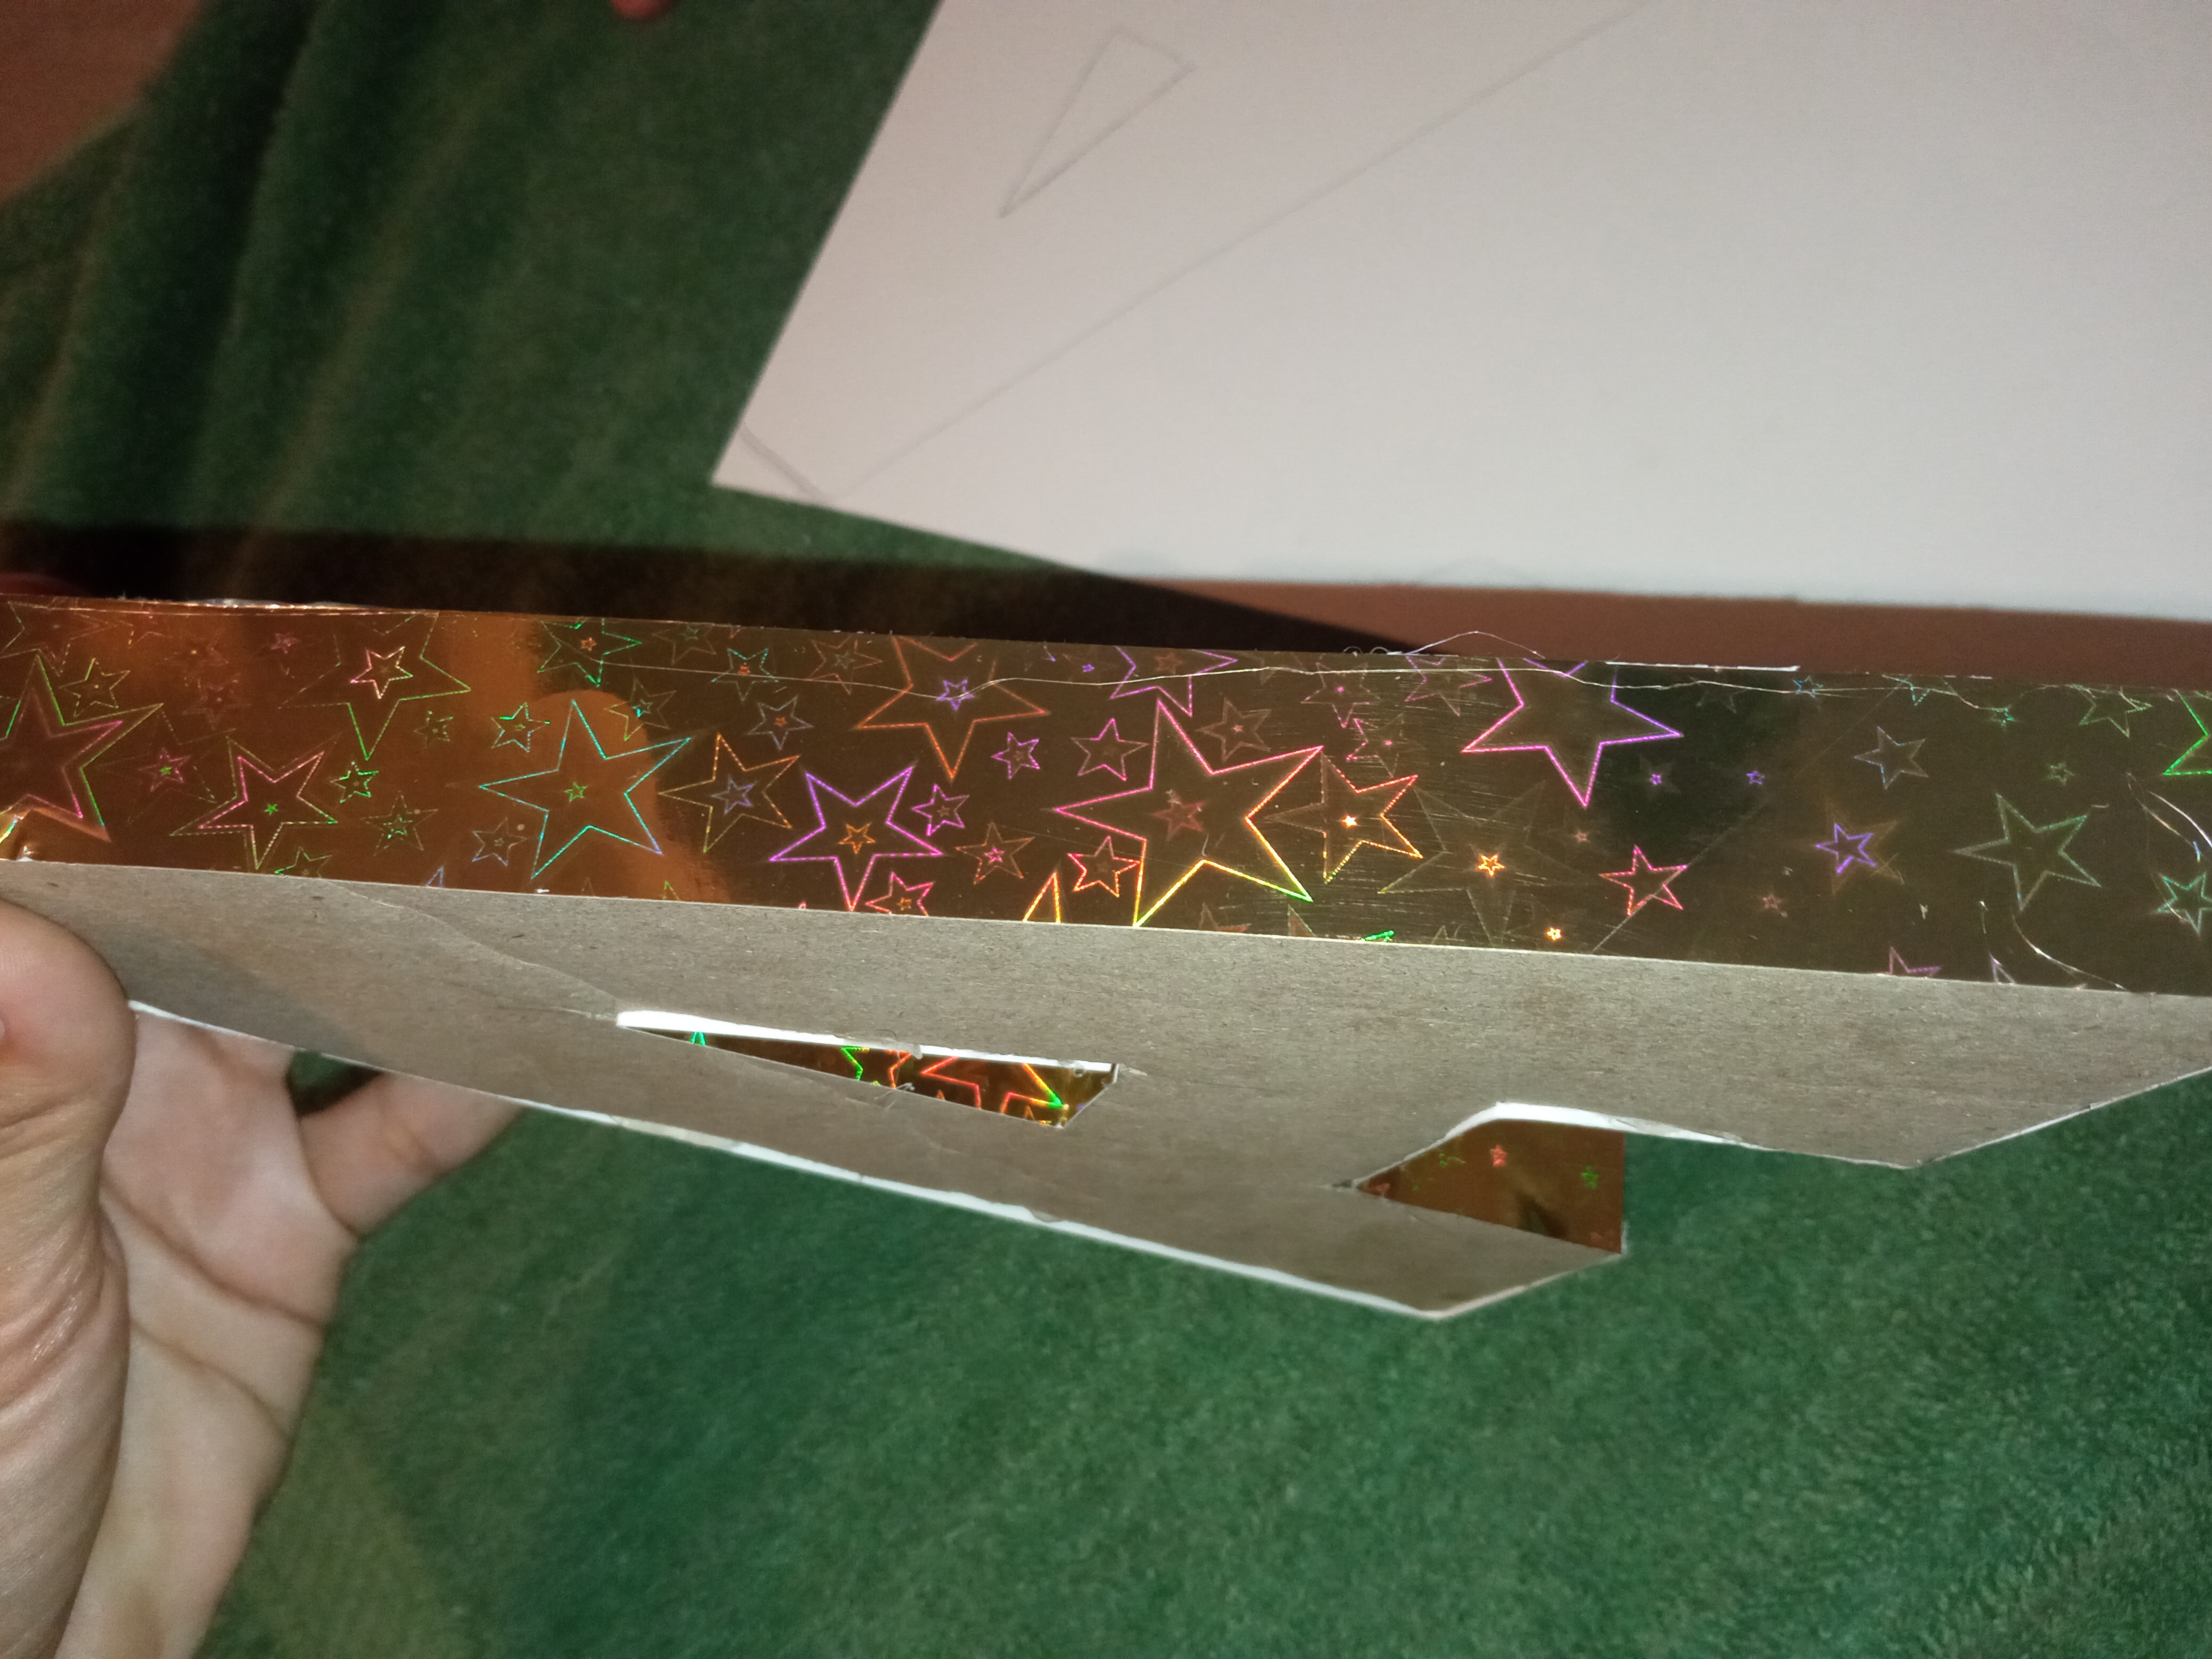
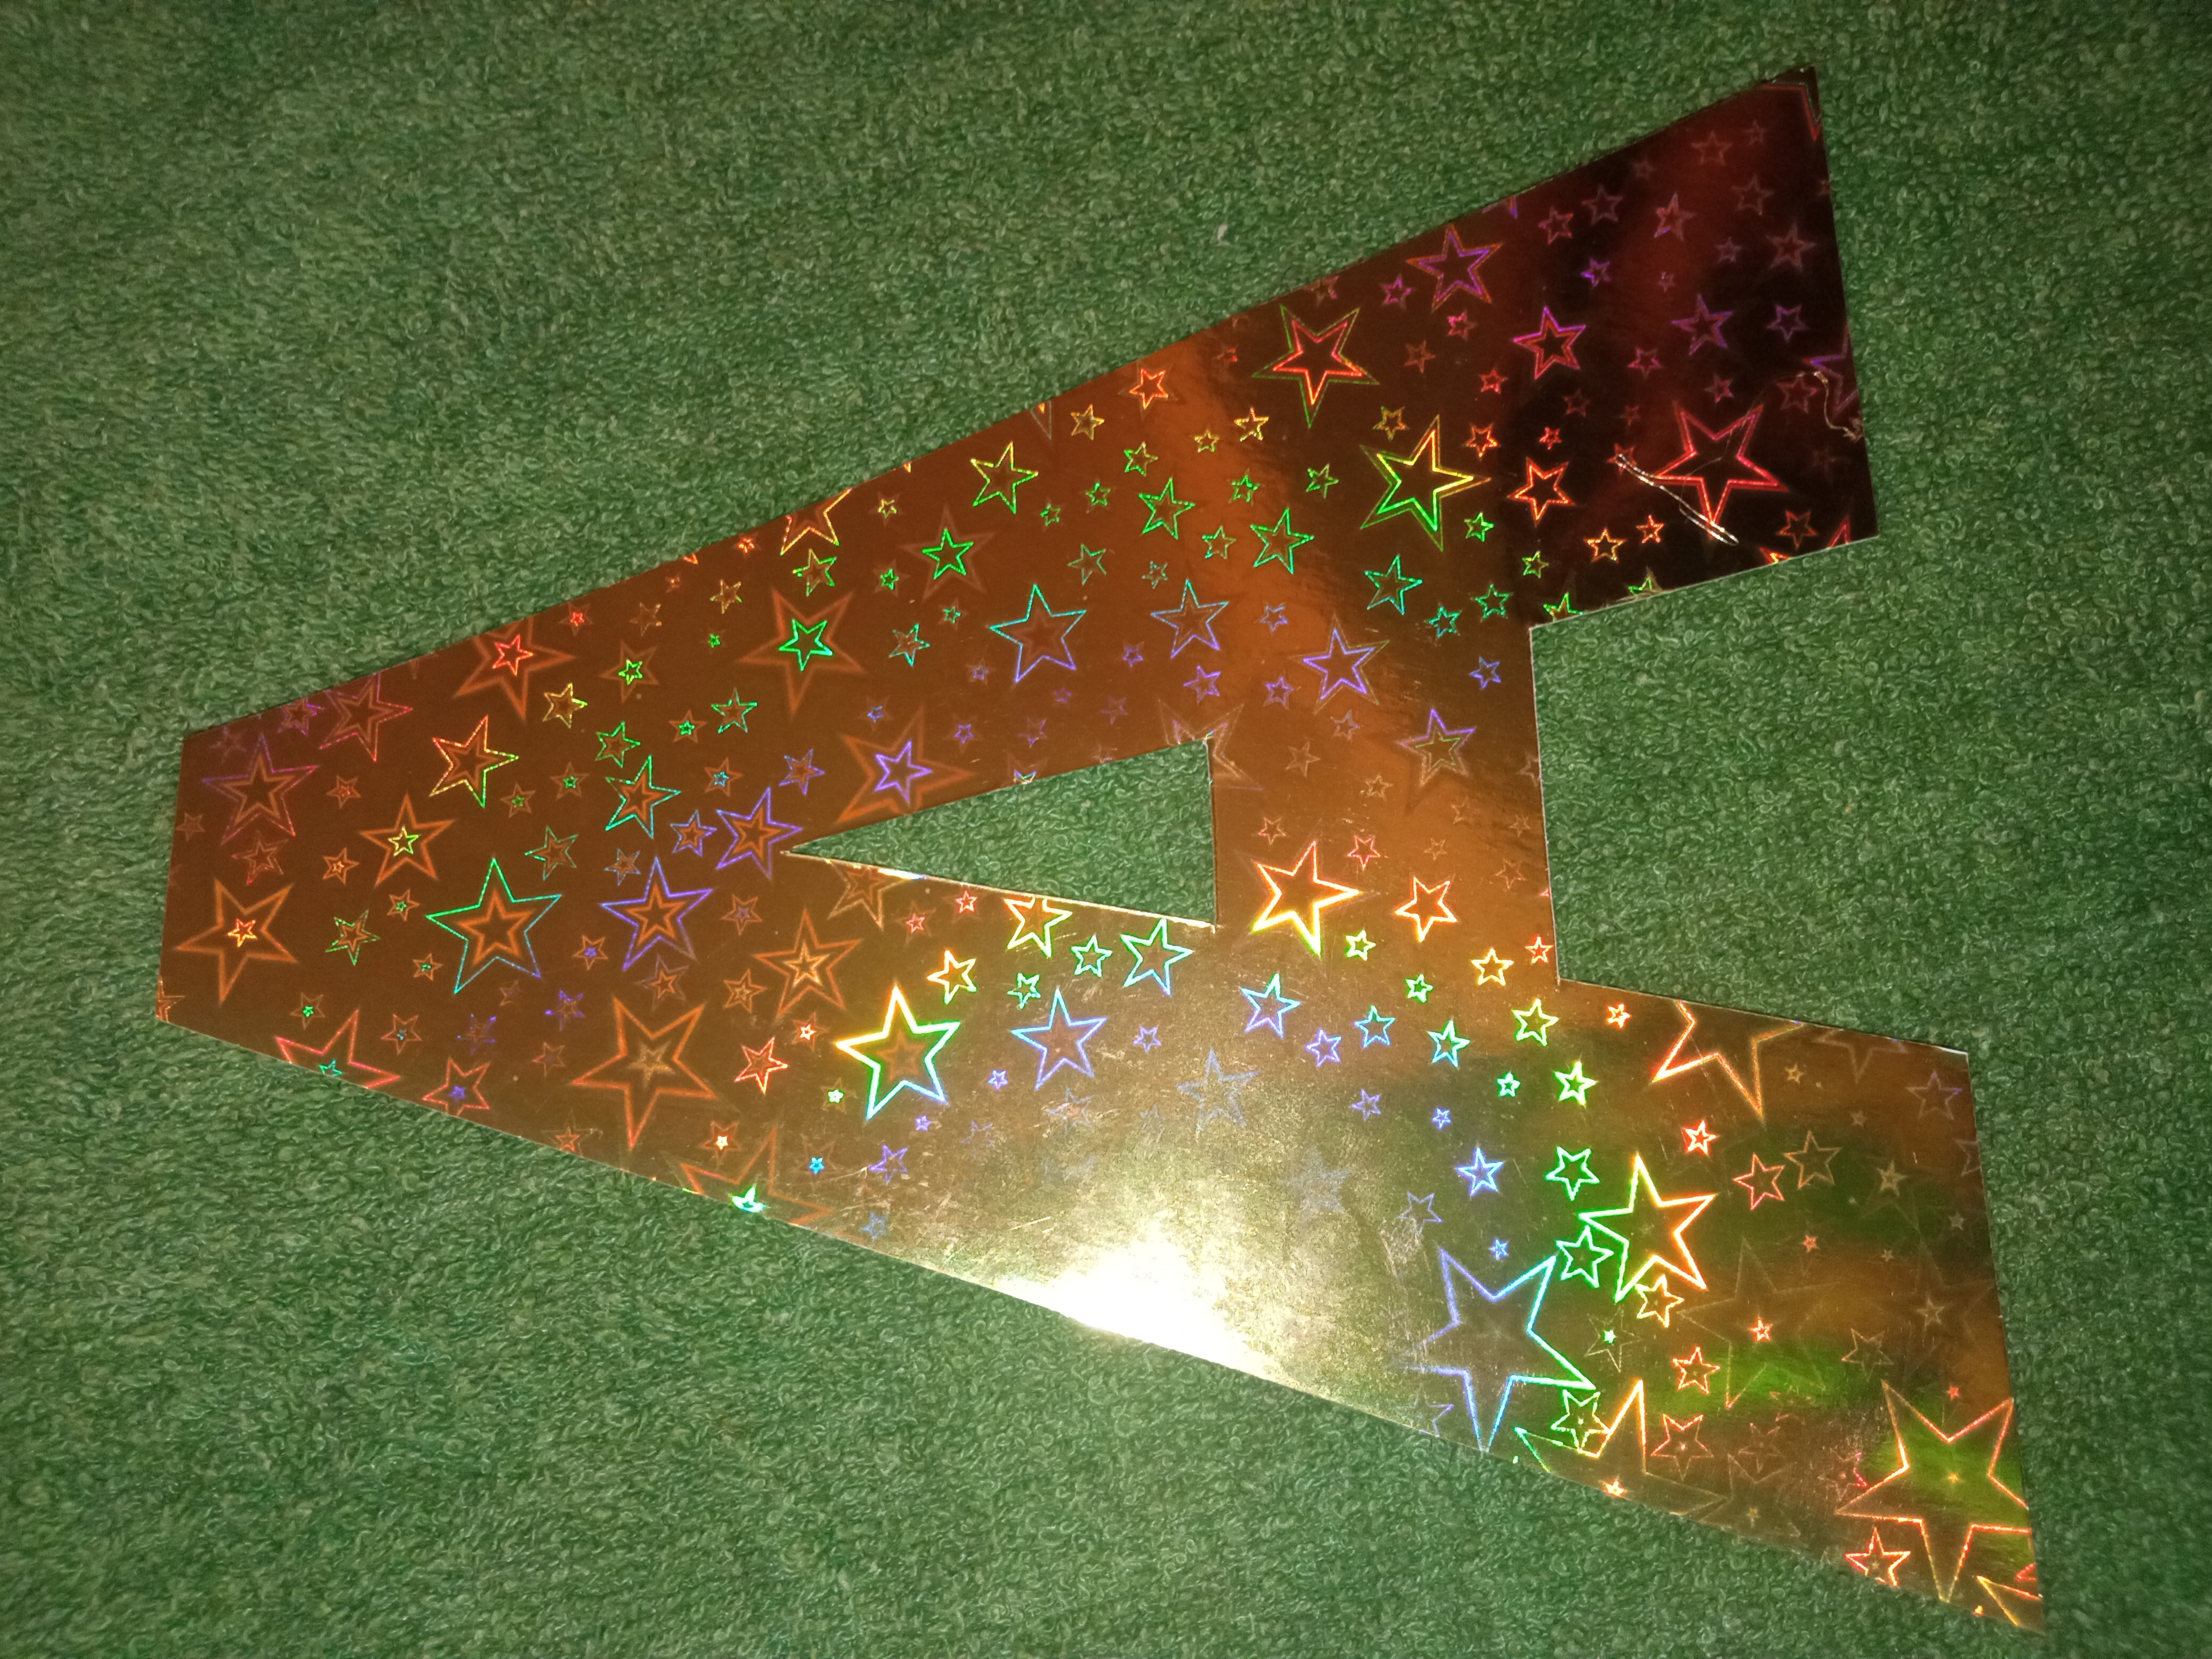
Step 3
Cut a small ribbon with the gold cardboard and glue it around the letter A, then paint the letter on the cardboard, cut it and glue it on top of the letter A as well.
Paso 3
Cortamos un pequeños listón con la cartulina dorada y se pega alrededor de la letra A, después pintamos la letra en la cartulina, se corta y se pega también arriba de la A.

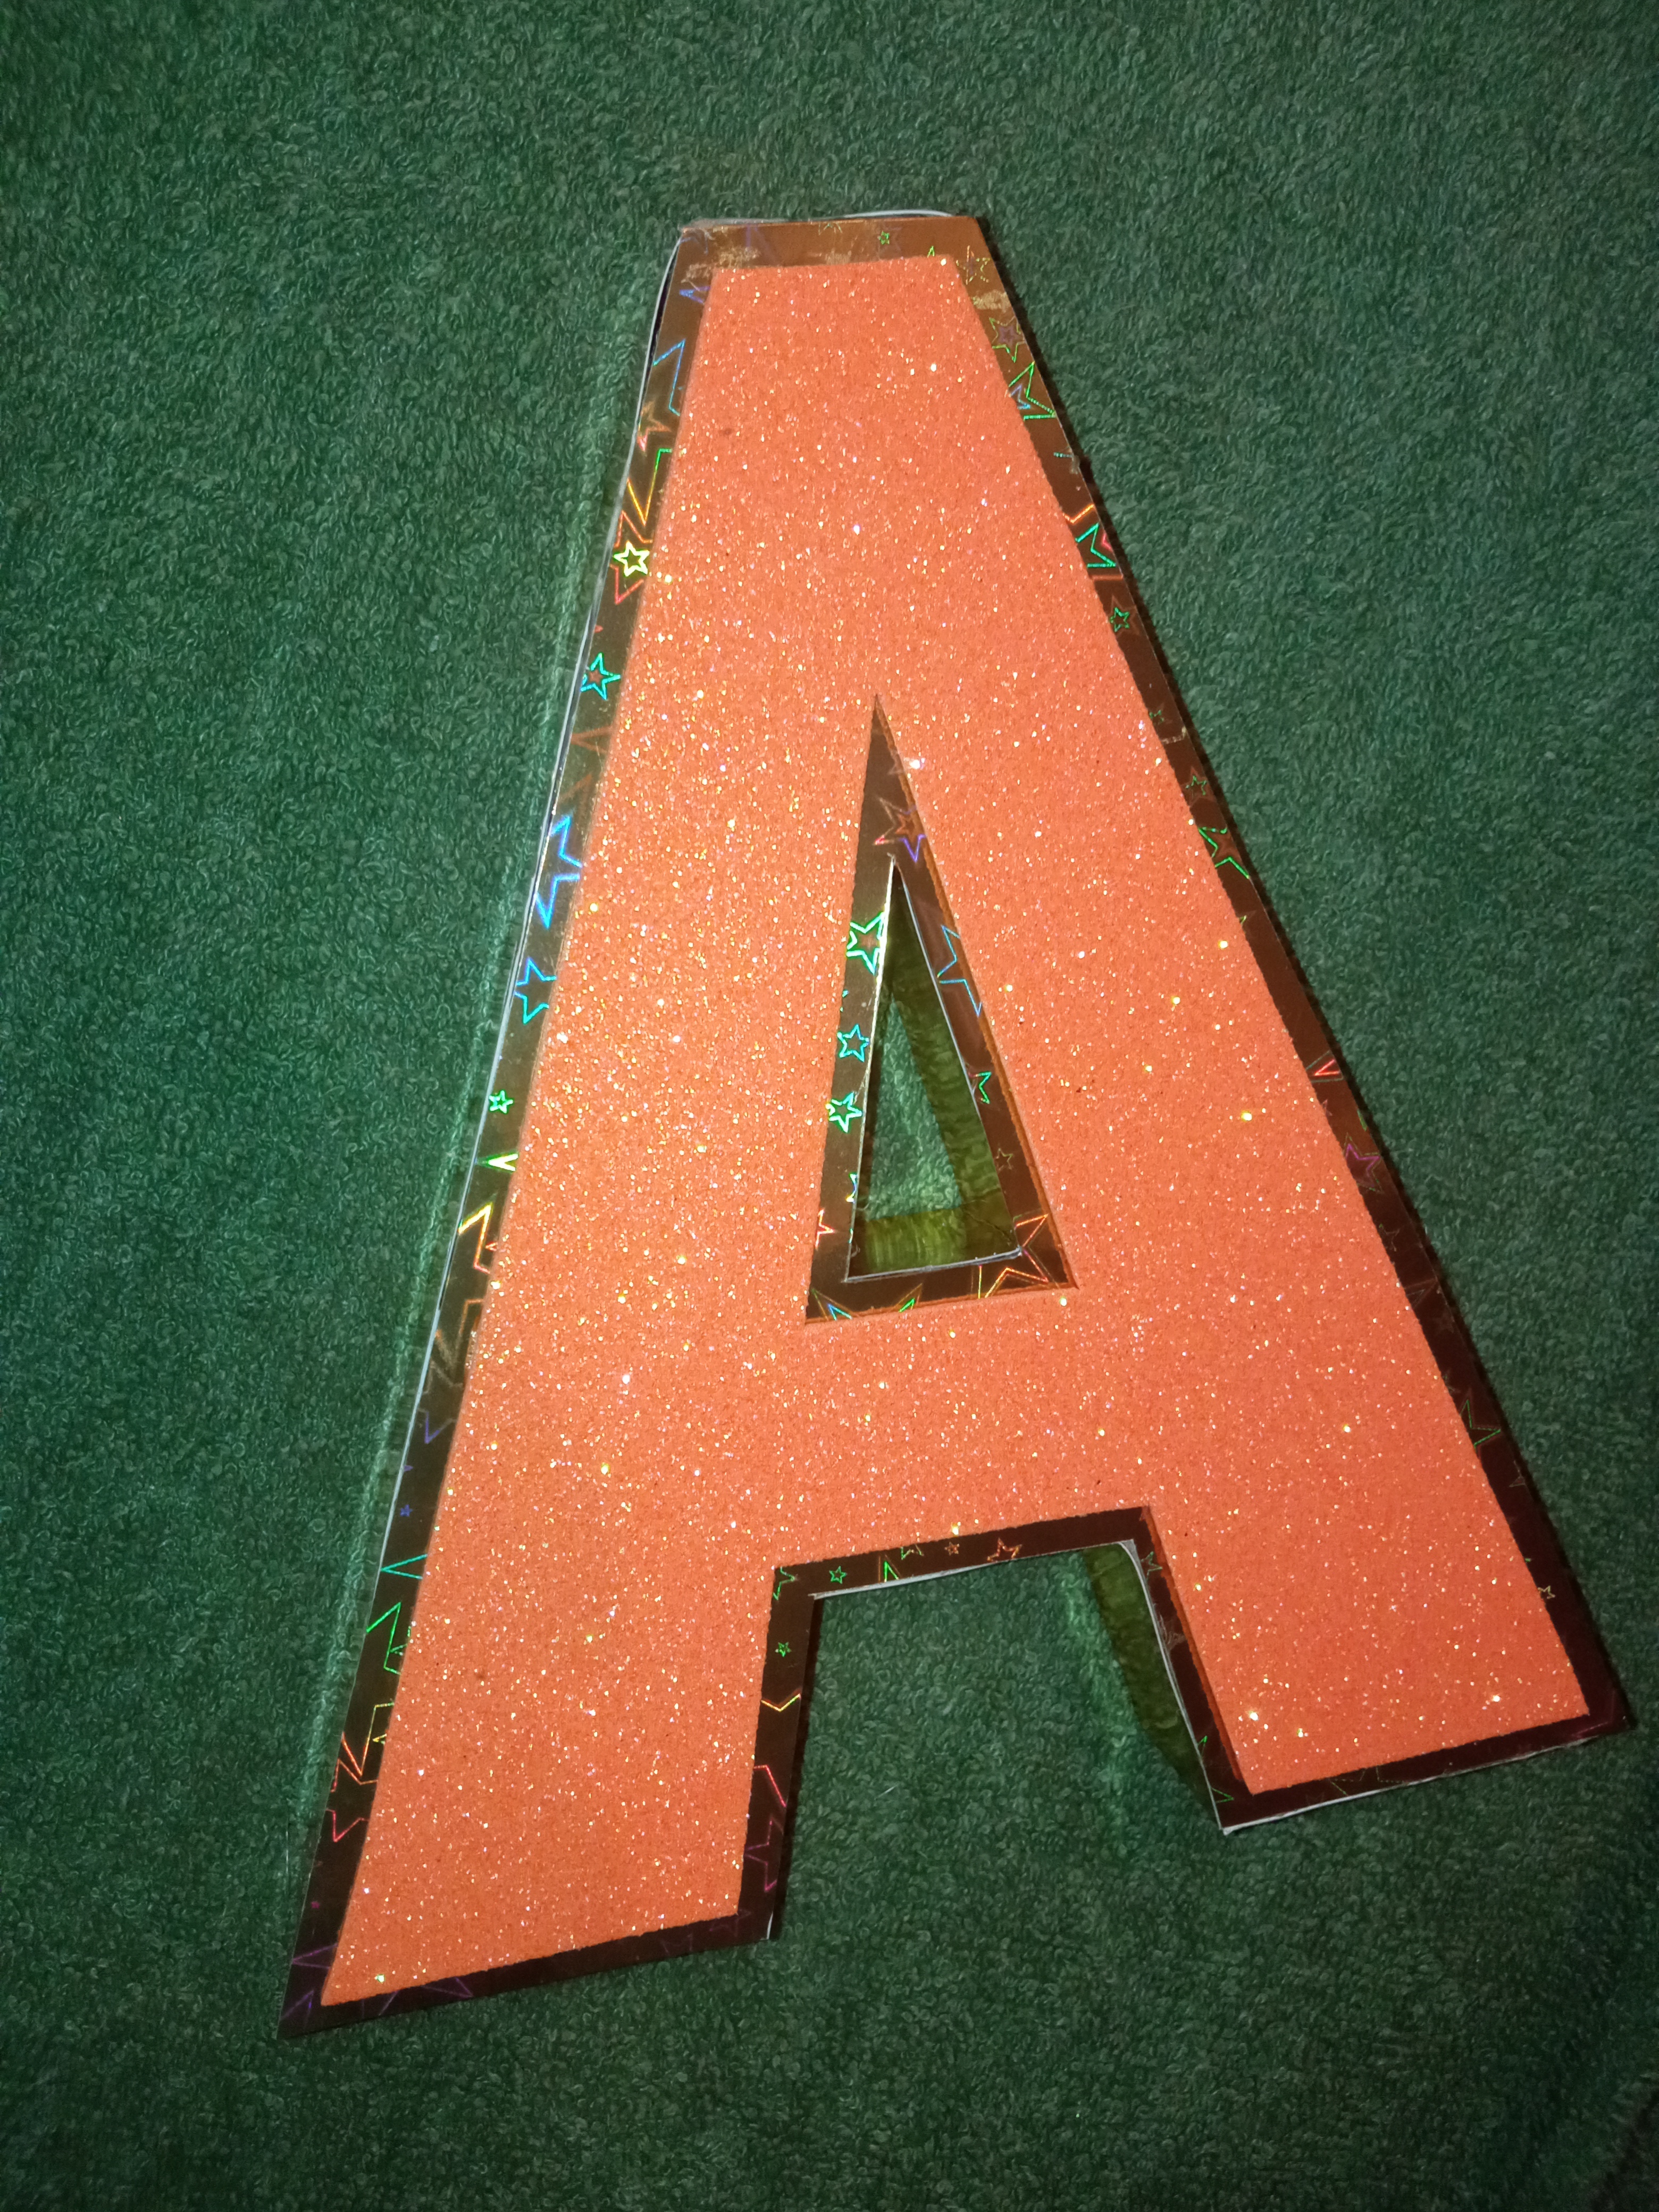
Step 4
Continue painting the smaller letter A on the foami, cut it out and glue it on top of the letter.
Paso 4
Seguimos pintando la letra A más pequeña en el foami, se corta y se pega arriba de la letra.
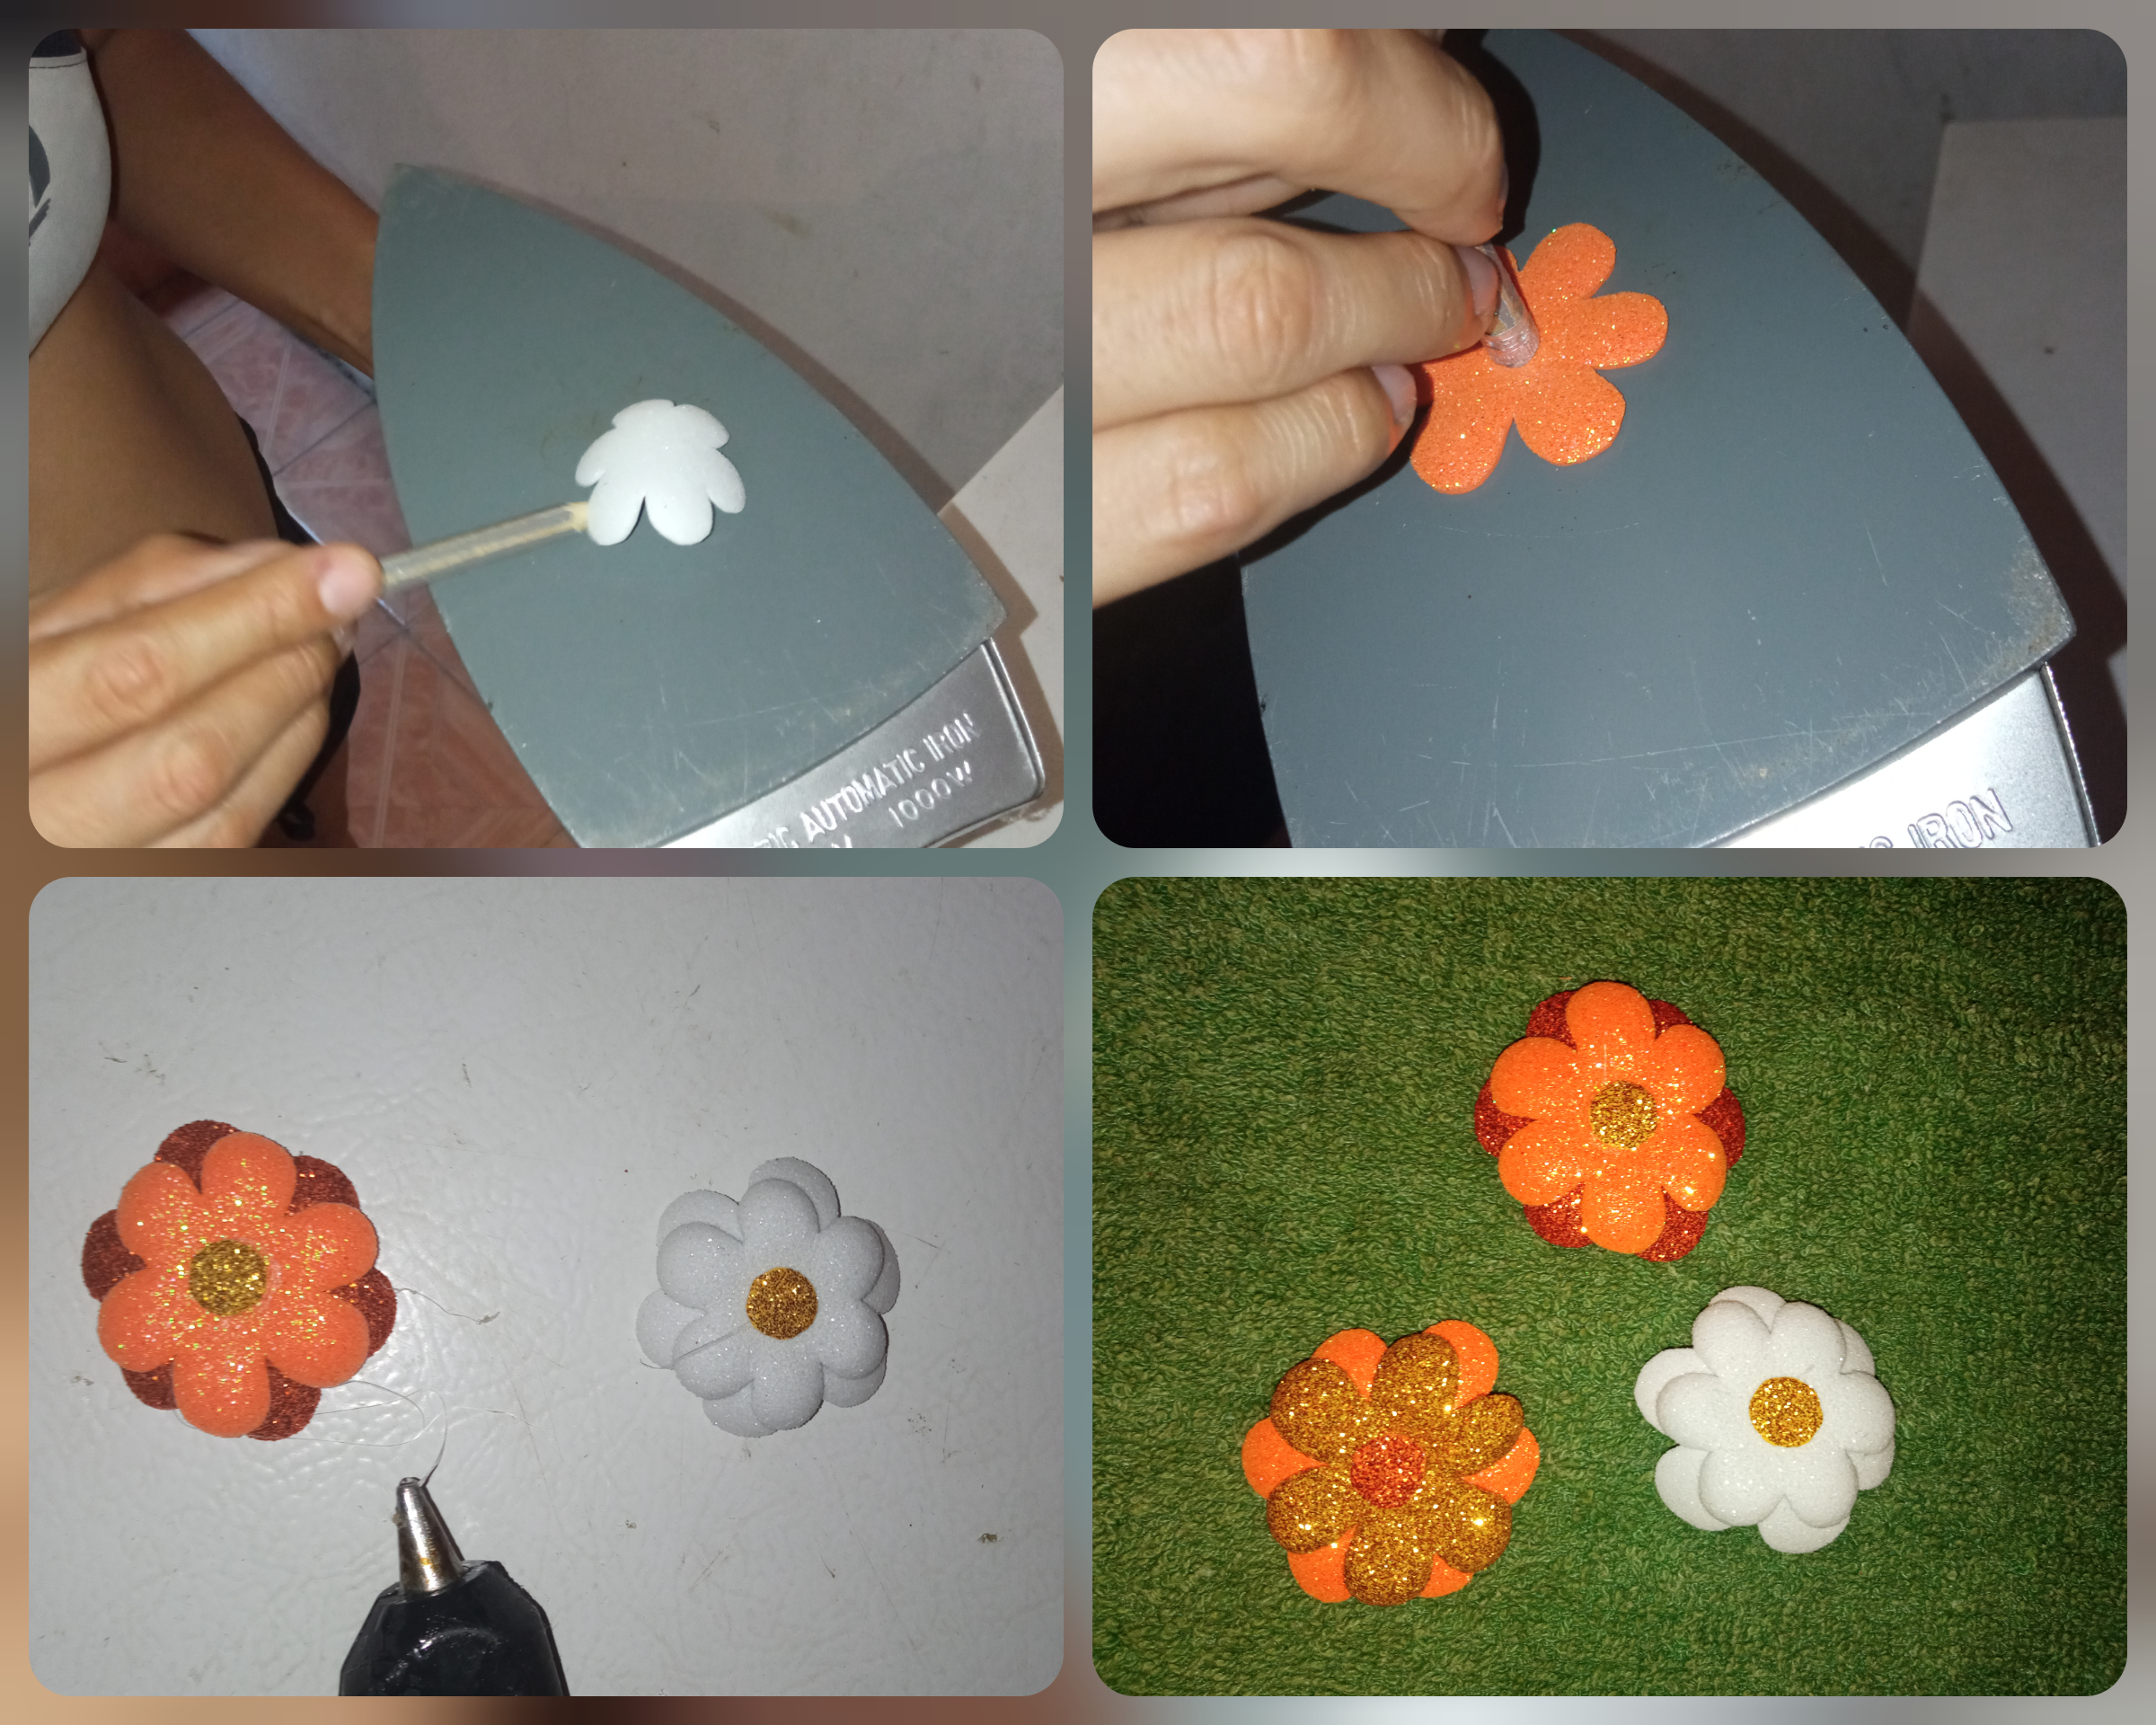
Step 5
Paint the flower on the sheet, cut it out and then transfer it to the foami and cut it.
Paso 5
Pintamos la flor en la hoja se recorta y después la pasamos al foami y se corta .

Step 6
With an iron we place the foami flower and let it warm up for a while, then they are smaller but inflated very nice, so we glue them as you can see in the pictures.
Paso 6
Con una plancha colocamos la flor de foami y dejamos un rato que caliente, luego quedan más pequeñas pero infladas bien bonitas, así las pegamos como observan en las fotos .
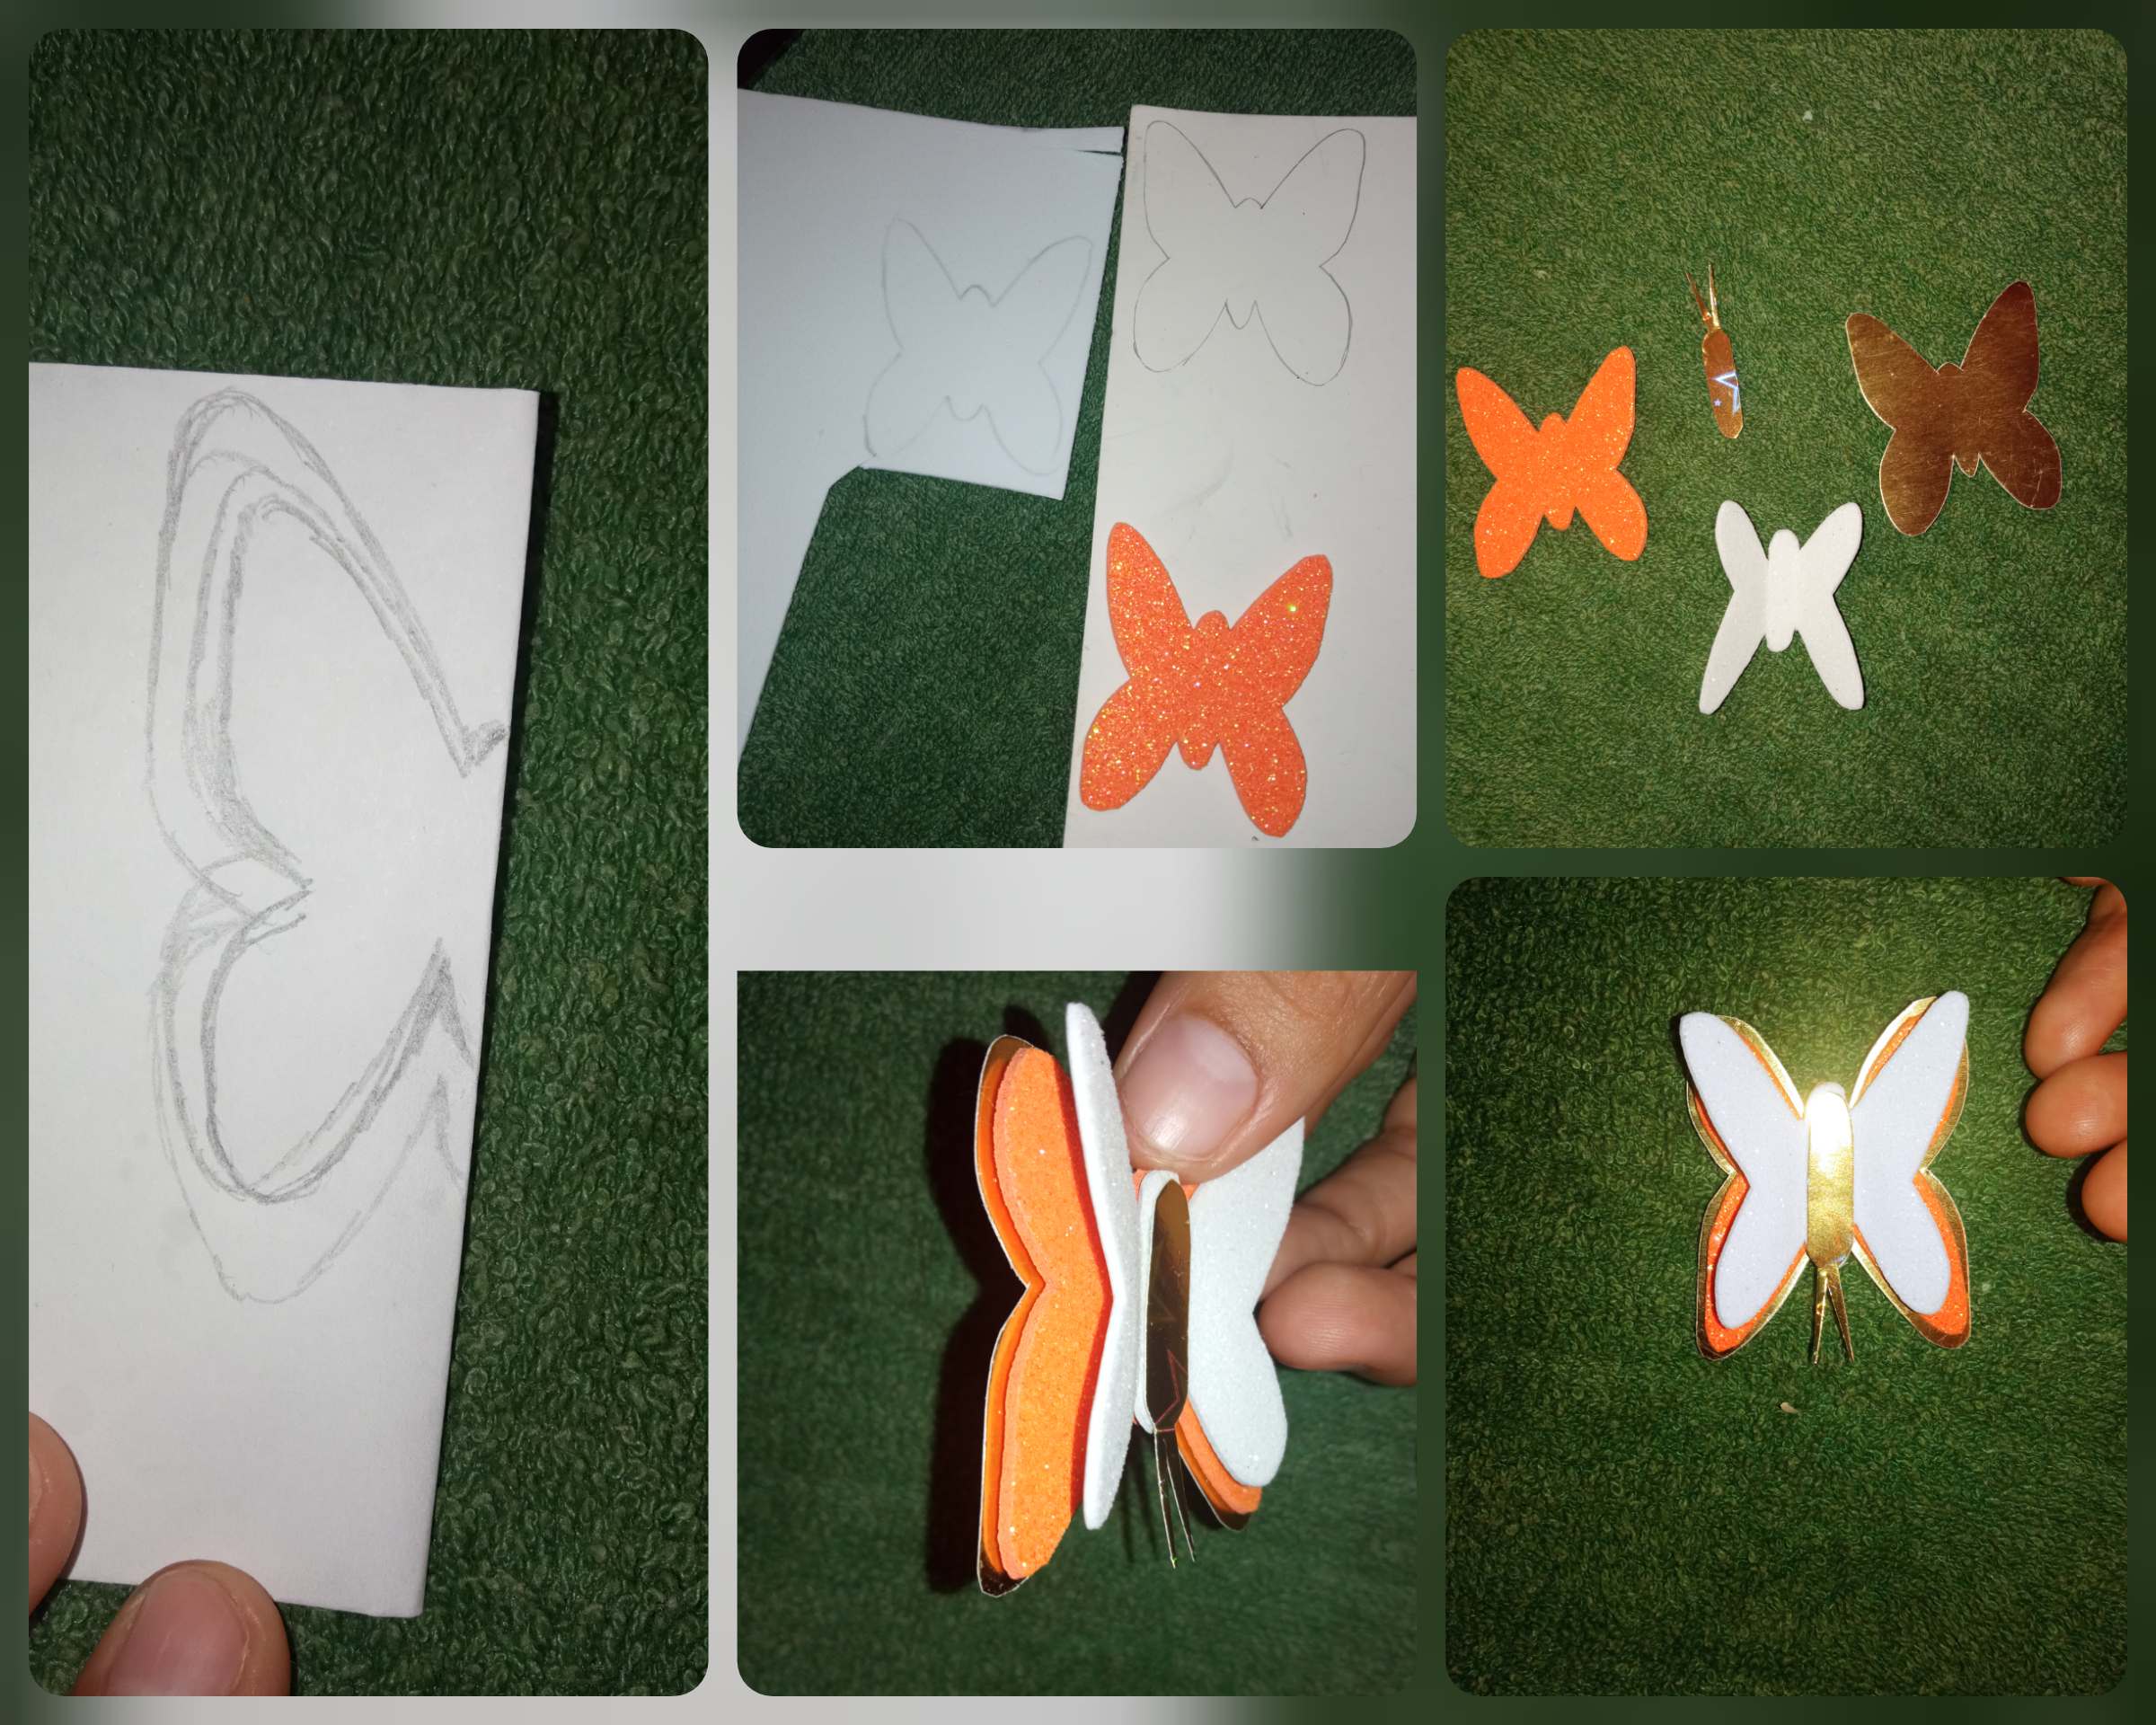
Step 7
The butterfly is painted on the sheet to be placed on the foami and the cardboard is cut and glued. Ready to glue it on the initial "A".
Paso 7
Se pinta la mariposa en la hoja para luego pasarla en el foami y la cartulina la cortamos y se pega. Lista para pegarla en la inicial "A".
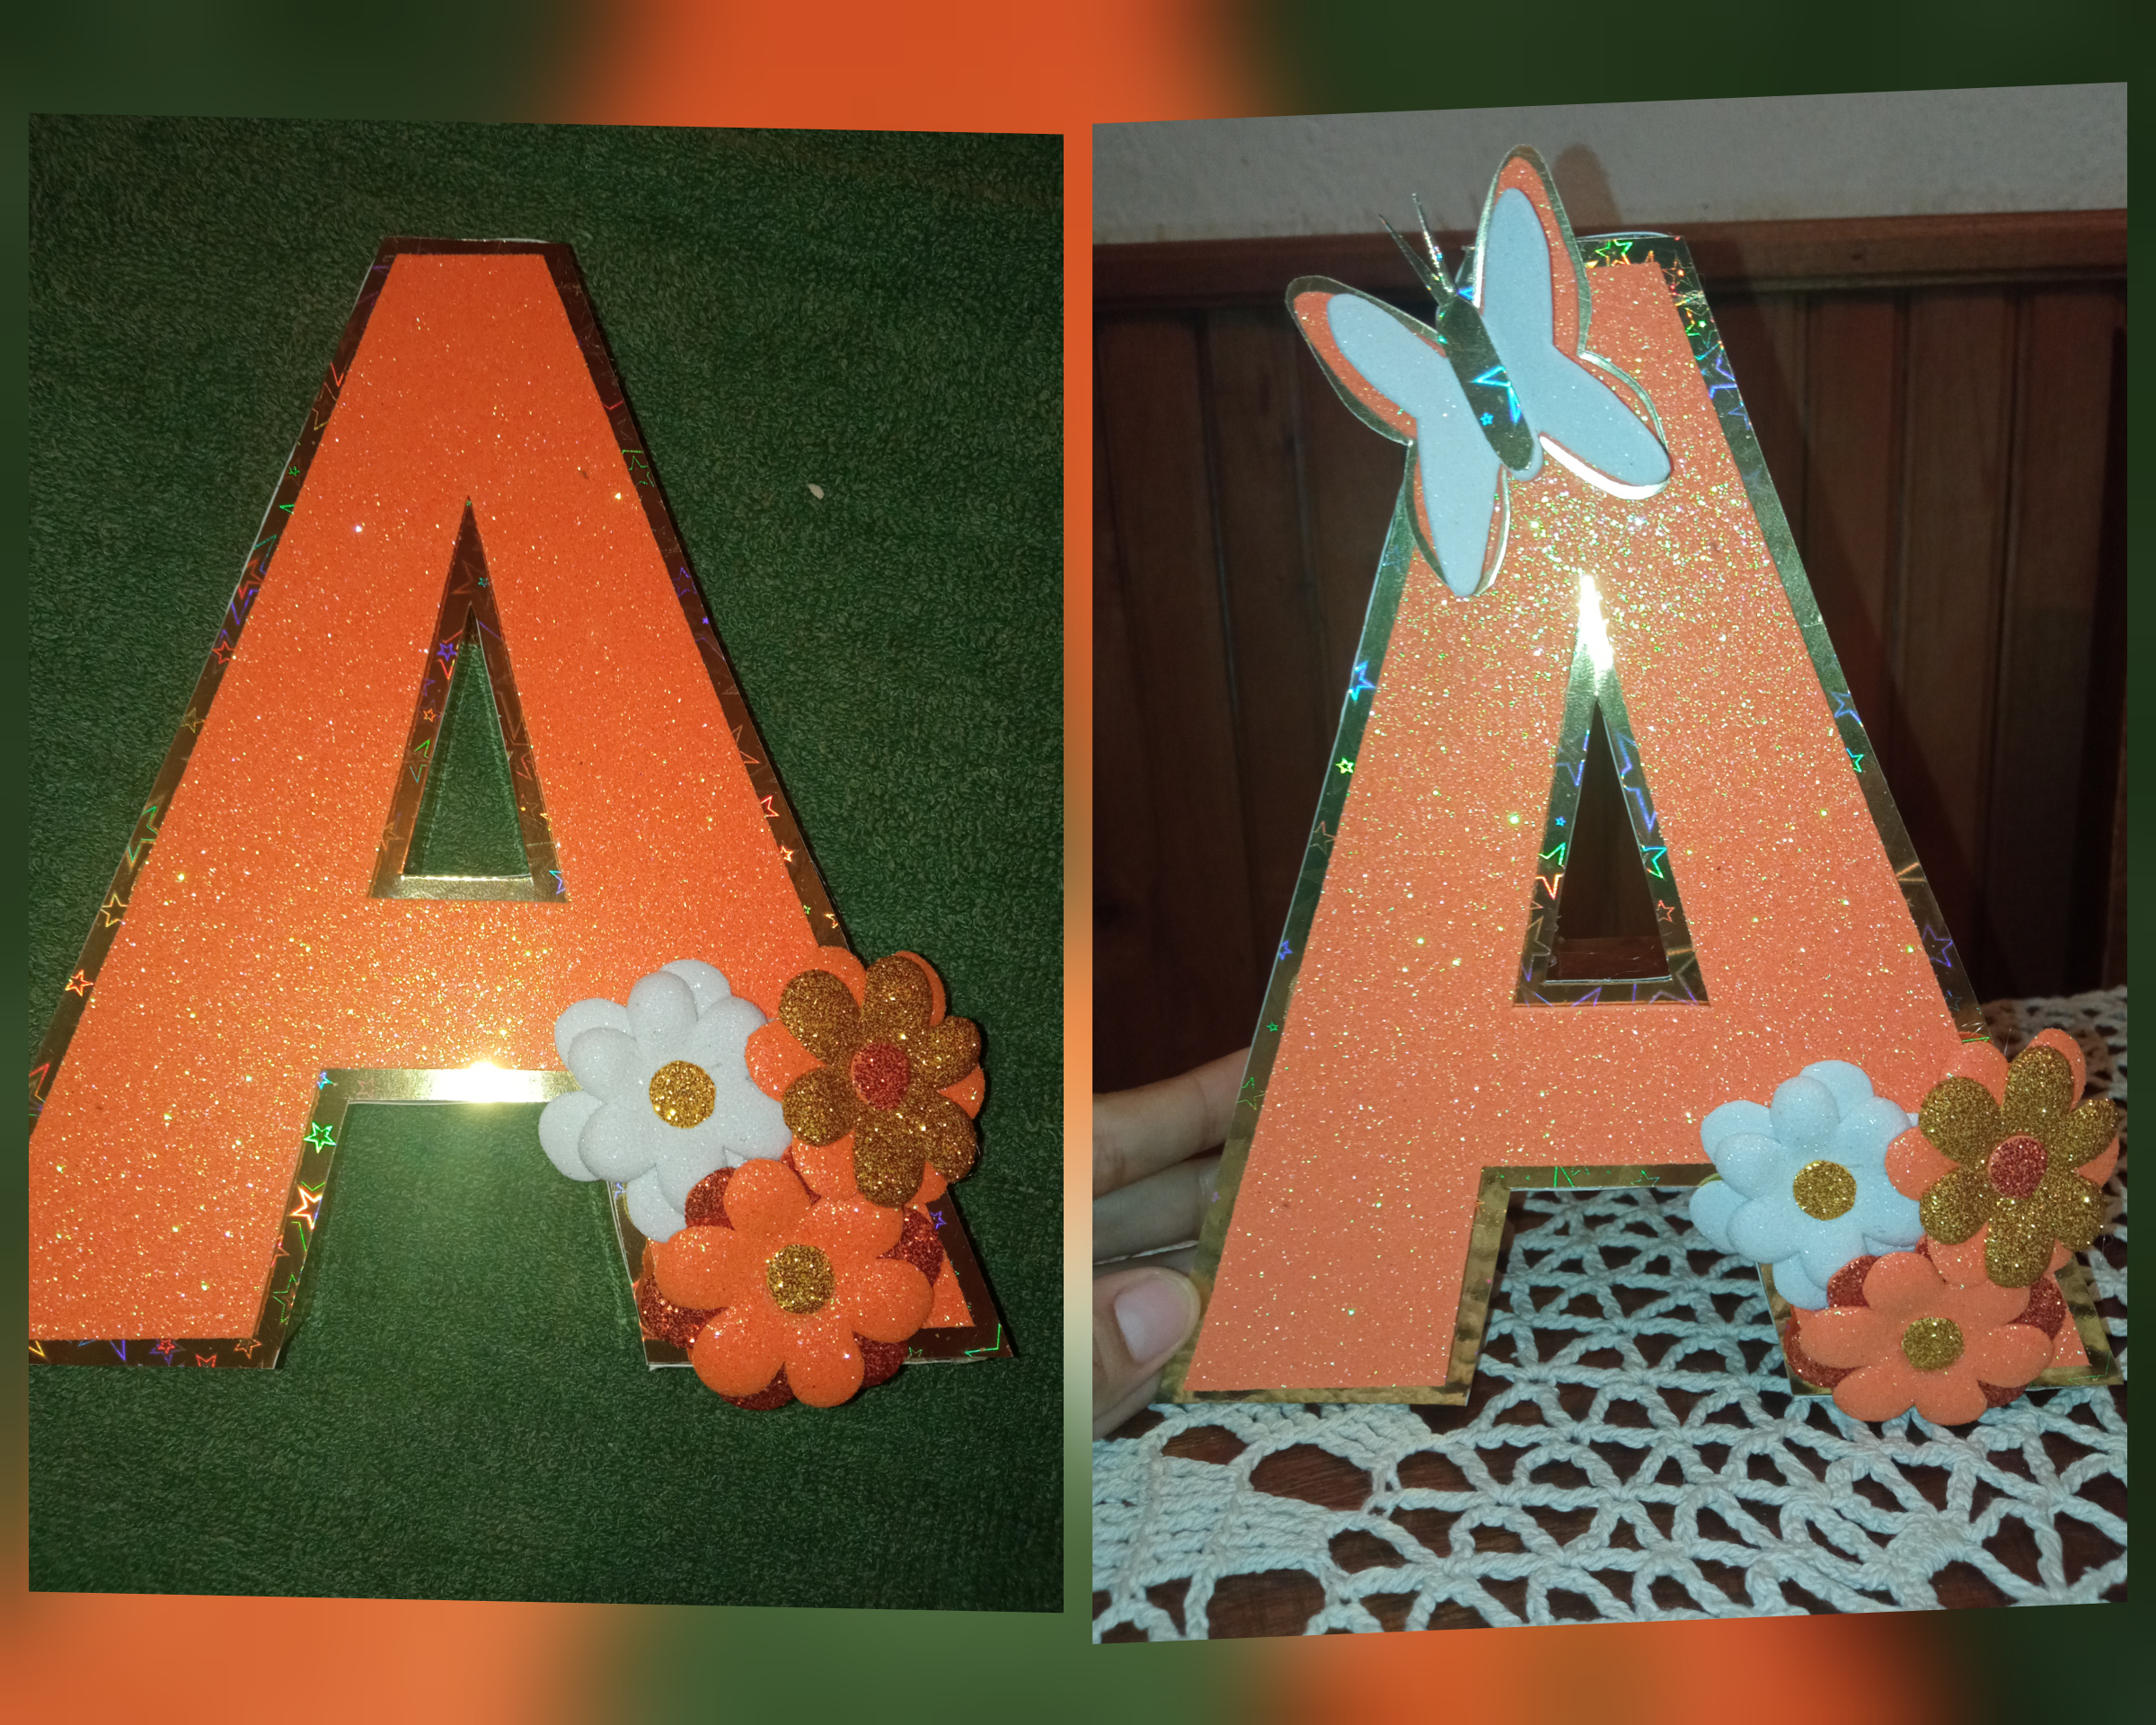
Step 8
Finally we glued our beautiful flowers and then the butterfly. It was super cute and the initial "A" was super cute.
Paso 8
Finalmente pegamos nuestras bellas flores y después la mariposa . Quedó super tierno y linda la inicial "A".
RESOURCES USED / RECURSOS UTILIZADOS
• Incollage/ para unir y reducir las fotos.
• Photos taken by redmi 9. / Fotos tomadas por redmi 9.
• The translator is used www.Deepl.com / Se utiliza el traductor www.Deepl.com
la inicial de tu nombre ha quedado hermosa y excelentemente lograda. Me encantó la cartulina que usaste y la combinación de colores, fantástico. Gracias por participar. Mucha suerte en el concurso.
Recuerda rebloguear y votar siempre las publicaciones de los concursos de esa manera validamos la participación, aun tienes chance.
Me alegra q les guste.. gracias por el apoyo