💕 Welcome to my Blog! 💕
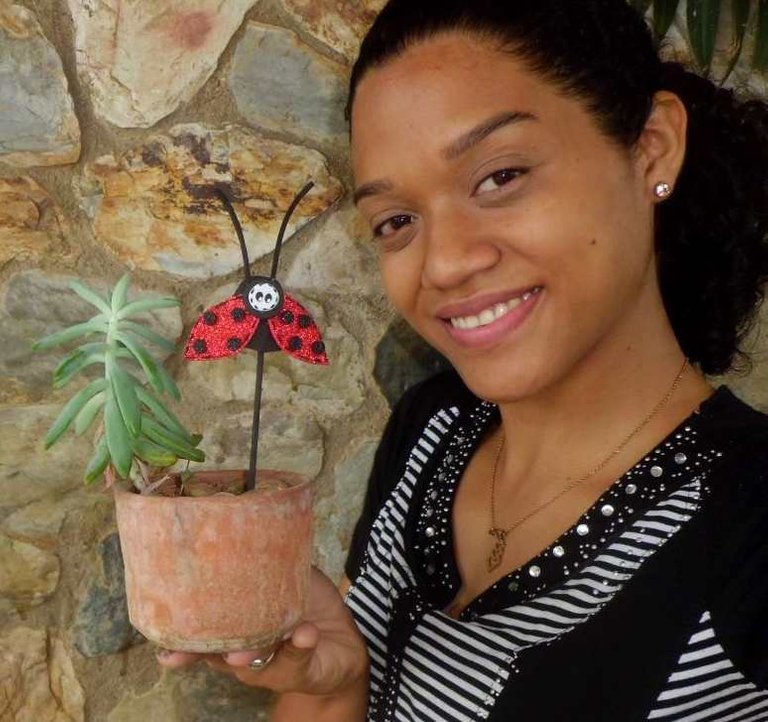
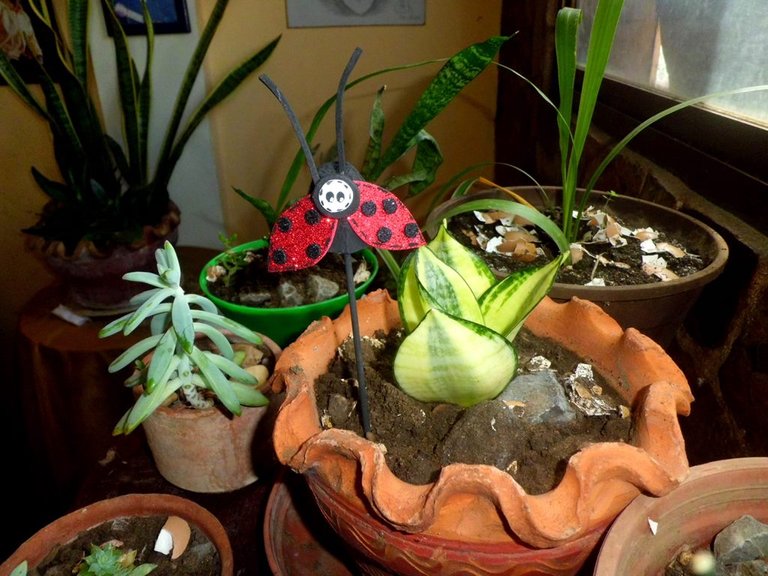
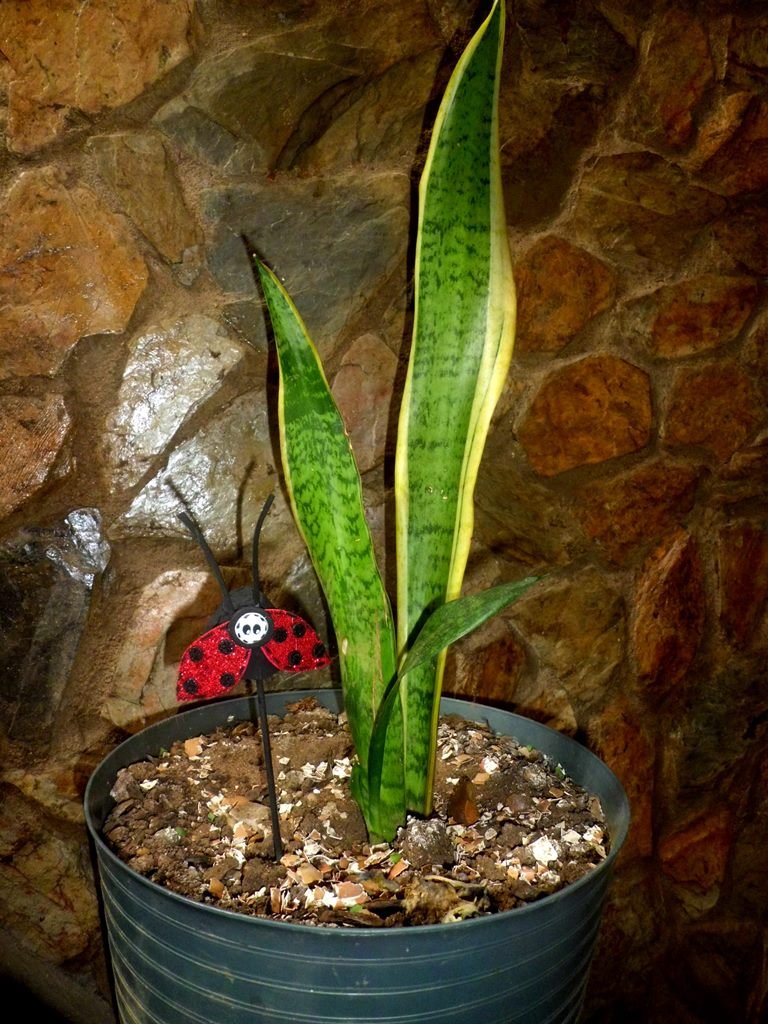
Hello friends of this beautiful creative community, God bless you, looking at an egg carton I realized that you can do thousands of things with it, just put a little imagination, so I came up with a cute ladybug (Coccinellidae). It can be used to decorate the plants or to play with our children.
Hola amigos de esta hermosa comunidad creativa, Dios me los bendiga, observando un cartón de huevo me di cuenta que se pueden hacer miles de cosas con eso, solo ay que ponerle un poco de imaginación, así que se me ocurrió elaborar una linda mariquita (Coccinellidae). Se puede utilizar para decorar las plantas de o bien para jugar con nuestros niños.

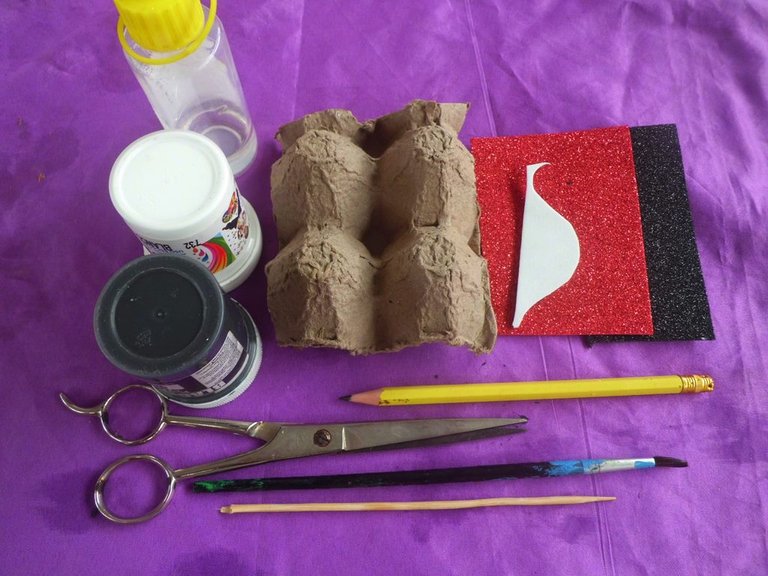
We will need:
• egg carton
• brush
• black and white paint
• scissors
• cold silicone
• pencil
• 1 height stick
• red, black and white foami
Necesitaremos:
• cartón de huevo
• pincel
• pintura blanca y negro
• tijera
• silicón al frio
• lápiz
• 1 palo de altura
• pedacito de foami rojo, negro y blanco.
Process:
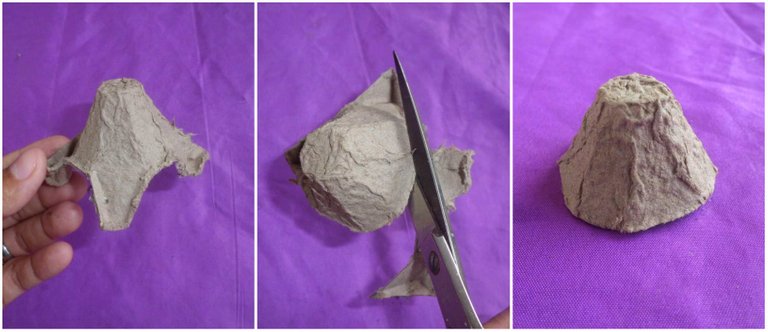
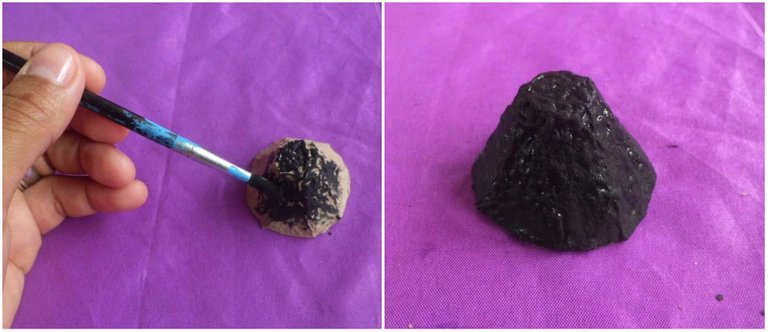
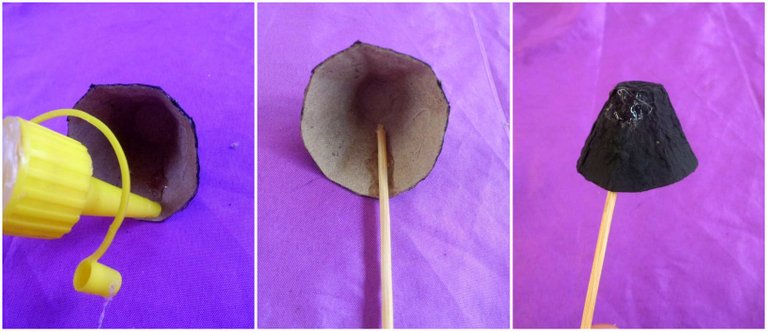
Step 1: we are going to take the egg carton and cut out one of its parts where the egg is placed, and paint it black.
Proceso:
Paso 1: vamos a tomar el cartón de huevo y recortaremos una de sus partes donde se coloca el huevo, y lo pintaremos de color negro.
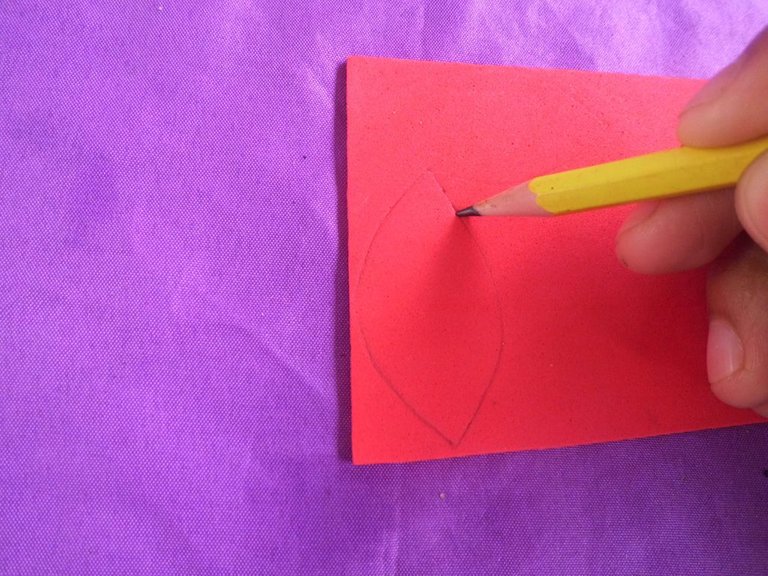
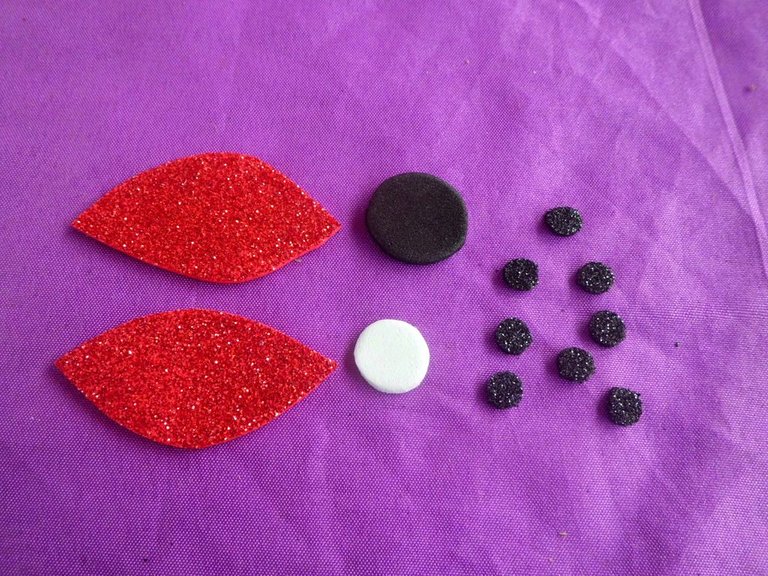
Step 2: On the red foami we will draw the wings, as you can see in the following images, on the white one we will draw a circle, and on the black one we will draw a circle a little bigger than the white one and 8 small black circles.
Paso 2: En el foami rojo dibujaremos las alas, como se puede ver en las siguientes imágenes, en el blanco dibujaremos un circulo, y el negro un circulo un poco más grande que el blanco y 8 círculos pequeños negros.
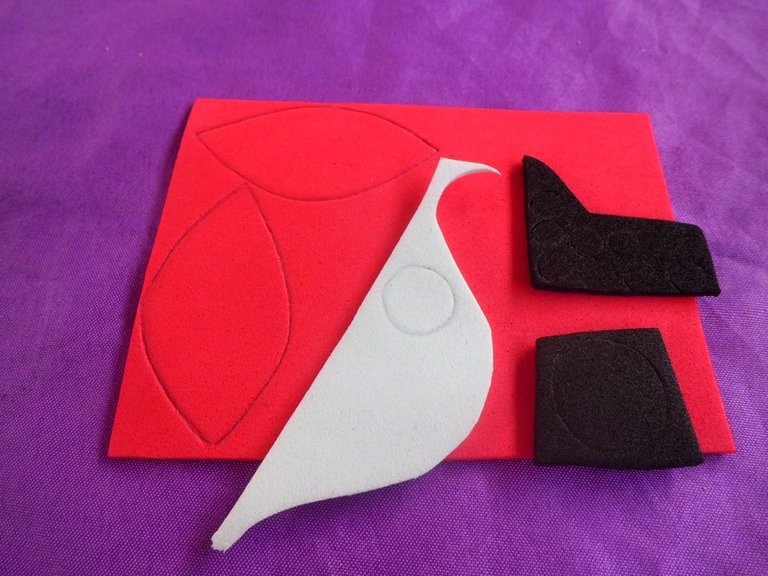
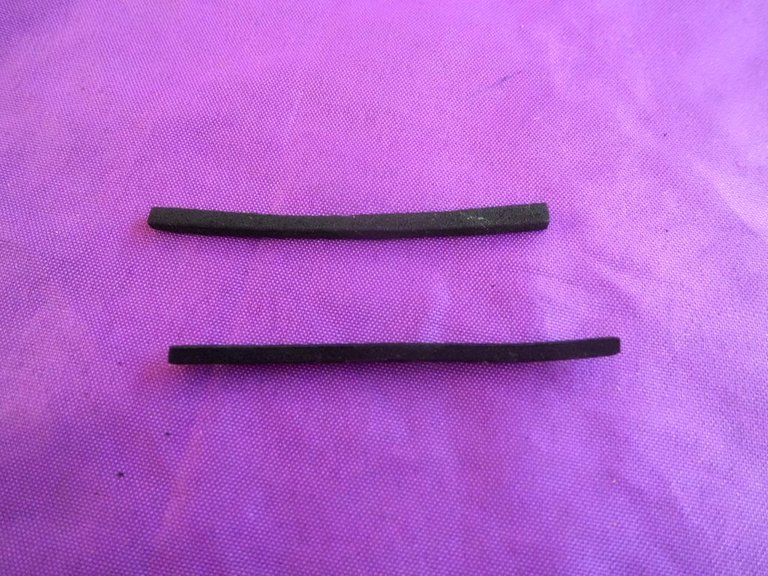
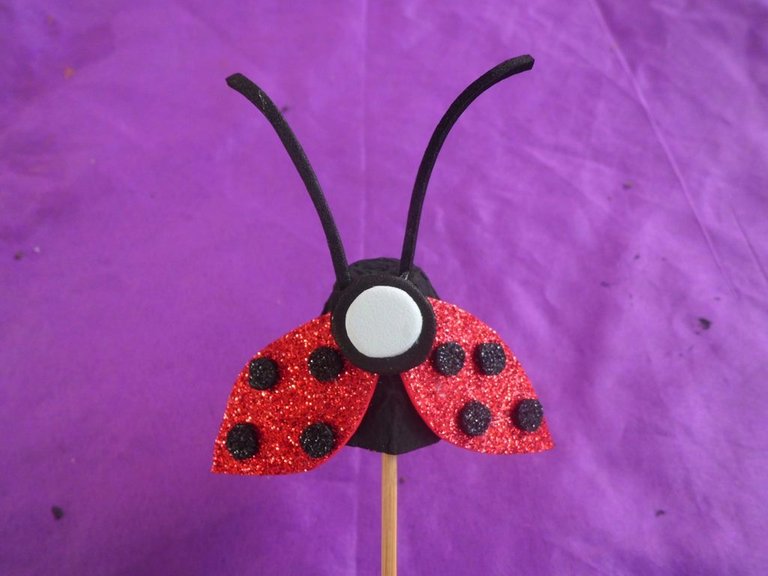
Step 3: Cut out everything with the scissors, and cut two black strips for the antennas.
Paso 3: Recortaremos todo con la tijera, y picaremos dos tiras en negro para las antenas.
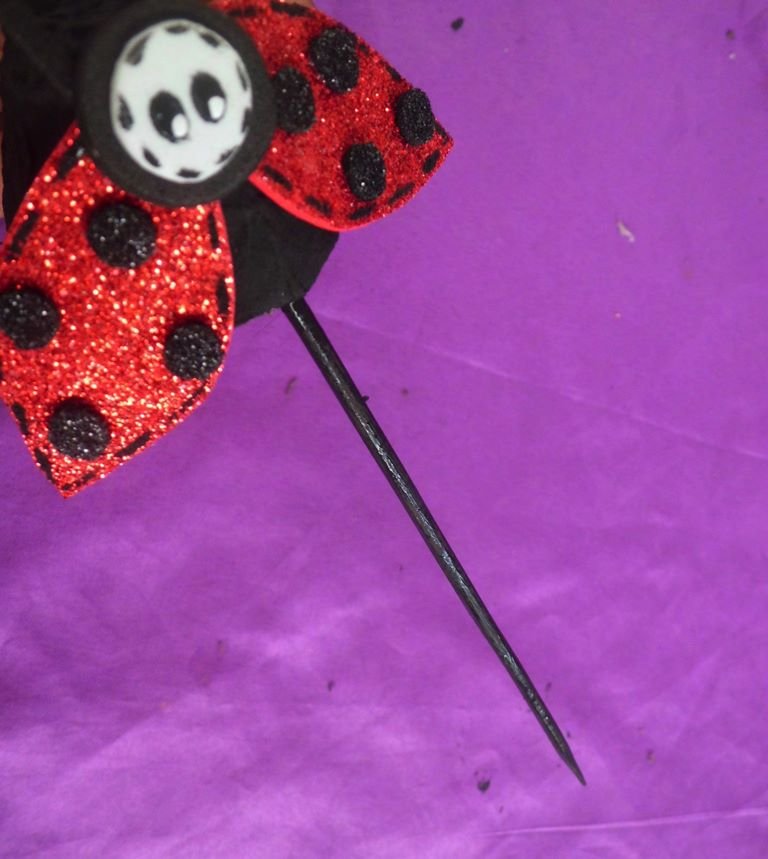
Step 4: Before assembling our ladybug, we first glue the stick in height for convenience.
Paso 4: Antes de armar nuestra mariquita, primero pegamos el palo en altura para más comodidad.
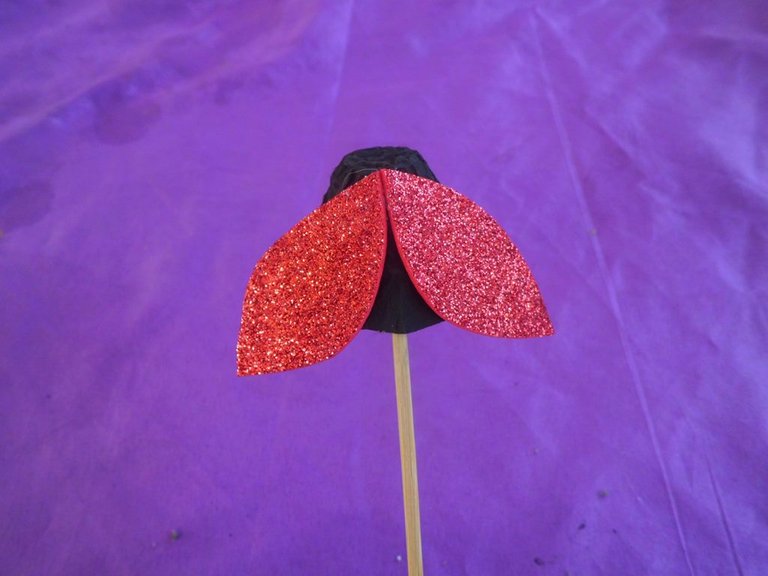
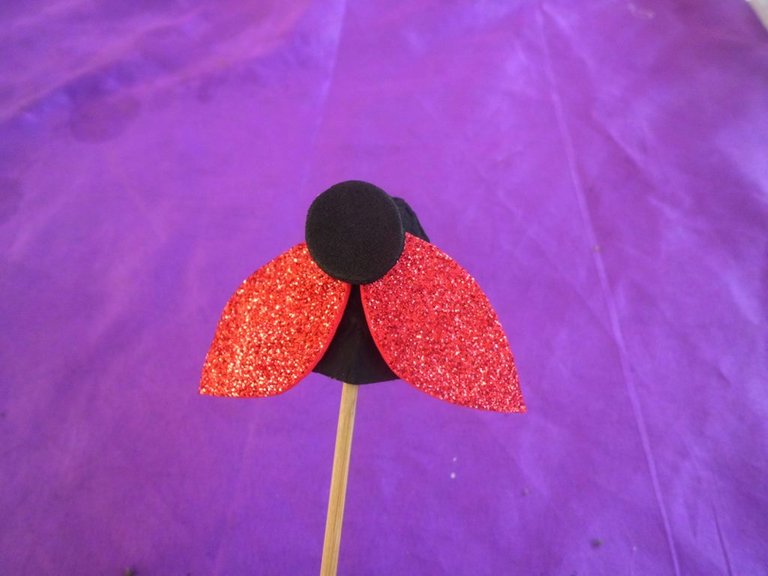
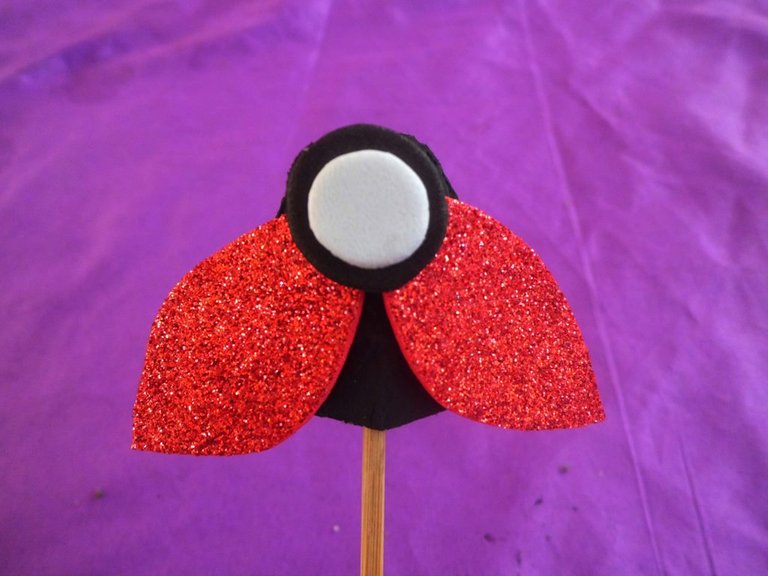
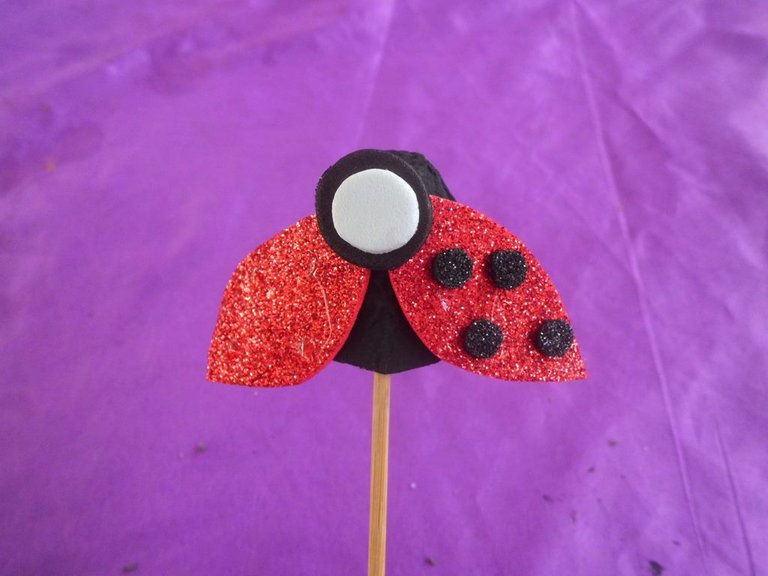
Step 5: Next we glue the wings, the two black and white circles for the head.
Paso 5: Seguidamente pegaremos las alas, los dos círculos el negro y blanco para la cabeza.
Paso 6: Pegamos los círculos pequeños en las alas 4 y 4.
Paso 6: Pegamos los círculos pequeños en las alas 4 y 4.
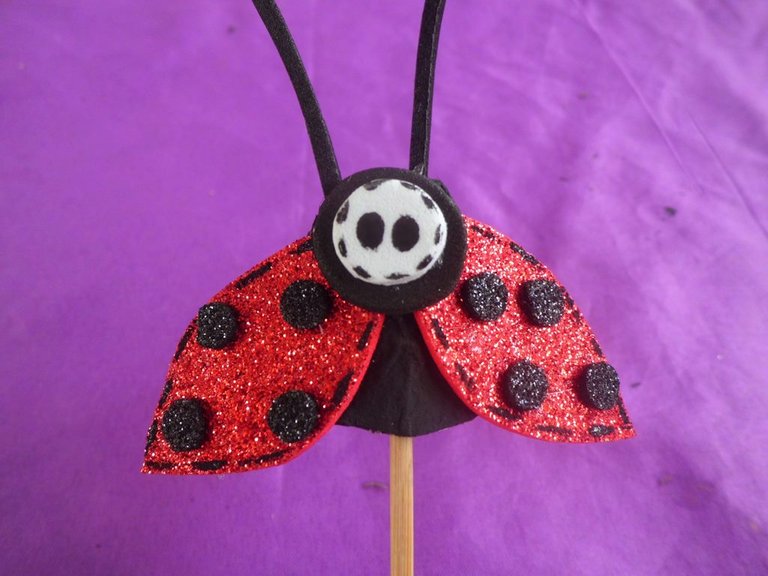
Step 7: Paint the details with black paint and the eyes and finish by painting the height stick in black.
Paso 7: Pintamos los detallitos con pintura negra y los ojos y finalizamos pintando el palo de altura de negro.

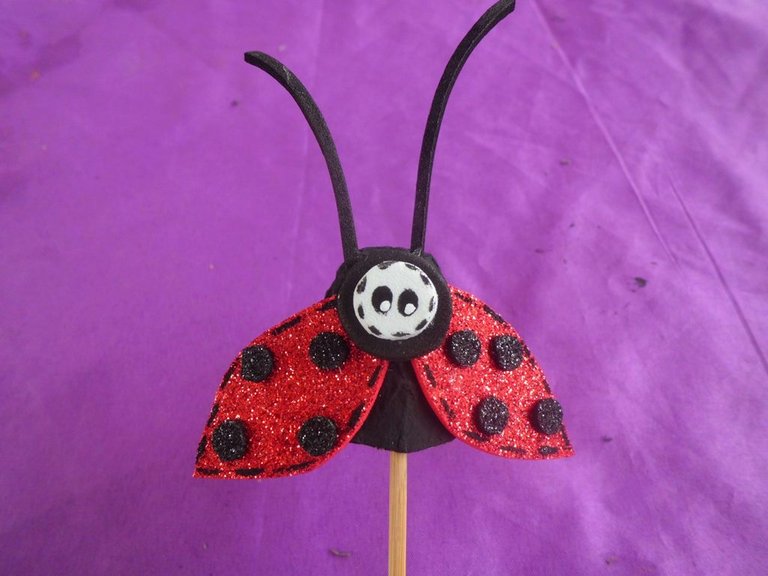
And that's all my friend, an easy and simple but cute tutorial, I hope you liked it, thank you very much for reading me.
Y eso es todo mi amigo, un tutorial fácil y sencillo pero lindo, espero les haya gustado, muchas gracias por leerme.
Pictures of my property camara Casio Exilim.
Translated with www.DeepL.com/Translator (free version)
Image edited in canva
Hola @albanygomez96, me encanta como te quedó la mariquita, es un toque especial para nuestras plantas.
Feliz jueves.
Un abrazo. 🤗
Hola, gracias me alegra mucho que te haya gustado, igualmente, saludos
Quedó muy hermosa, para dar colorido a un jardín, me gusta.
Saludos cordiales
Me alegra que te haya gustado, gracias por la visita. Saludos
Thank you for sharing this amazing post on HIVE!
Your content got selected by our fellow curator @rezoanulvibes & you just received a little thank you via an upvote from our non-profit curation initiative!
You will be featured in one of our recurring curation compilations and on our pinterest boards! Both are aiming to offer you a stage to widen your audience within and outside of the DIY scene of hive.
Join the official DIYHub community on HIVE and show us more of your amazing work and feel free to connect with us and other DIYers via our discord server: https://discord.gg/mY5uCfQ !
If you want to support our goal to motivate other DIY/art/music/homesteading/... creators just delegate to us and earn 100% of your curation rewards!
Stay creative & hive on!