✨HOLA HIVER✨
Hoy quiero compartir con ustedes un delantal escolar que le hice a mi hijo, de los delantales que son para evitar se manchen el uniforme en preescolar.
La verdad desde hace tiempo tenía pendiente este proyecto, pero entre que las clases estaban siendo desde casa por la cuestión del COVID-19, luego comenzó a asistir solo una vez por semana y un par de horas, la verdad no nos habían pedido el delantal, así que lo fui dejando para luego y más luego, periodo, siempre hay un pero verdad jejeje, la maestra ayer nos escribió por el grupo de WhatsApp, que los niños tenían una actividad especial y que debían llevar el delantal porque iban a trabajar con pintura.
Se podrán imaginar mi cara al leer el mensaje 😱, pues ni modo tocaba dejar todo lo que estaba haciendo y ponerme a fabricar o confeccionar el delantal que tanto estuve evitando hacer 😋 (porque a parte a las pobres maestras les avisaron después de la jornada de clases de la tarde y por ende nos avisaron a los representantes a eso de las 3 de la tarde).
En fin, tome mis materiales, saque la máquina de cocer y me puse manos a la obra.
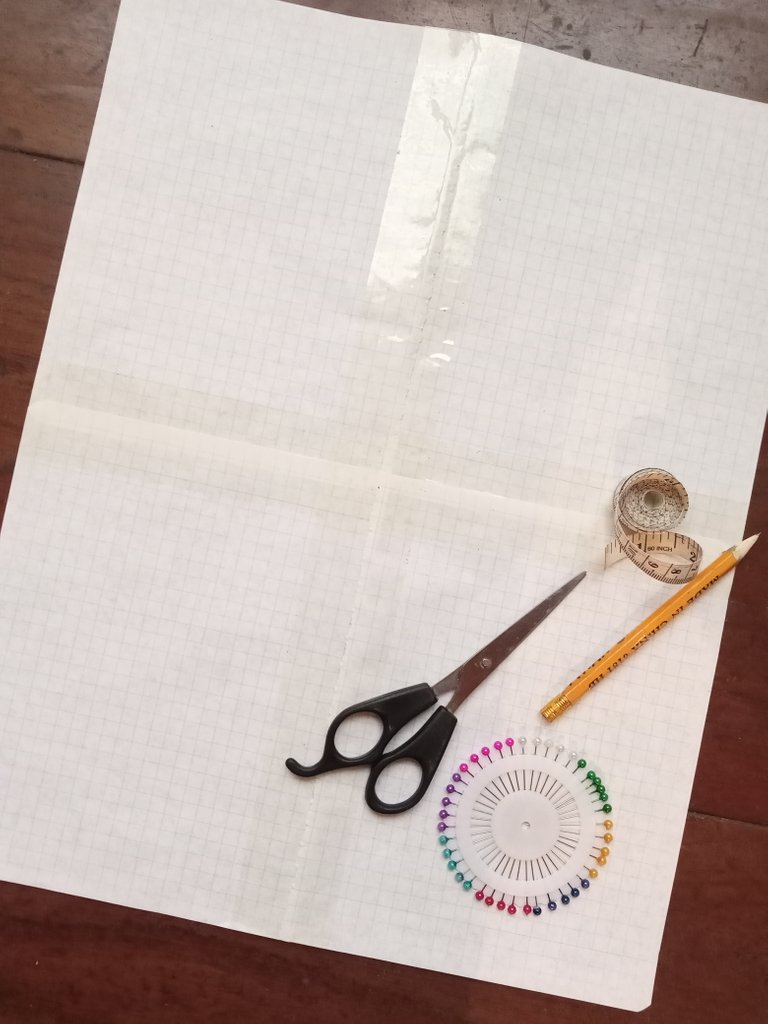
✂️MATERIALES✂️
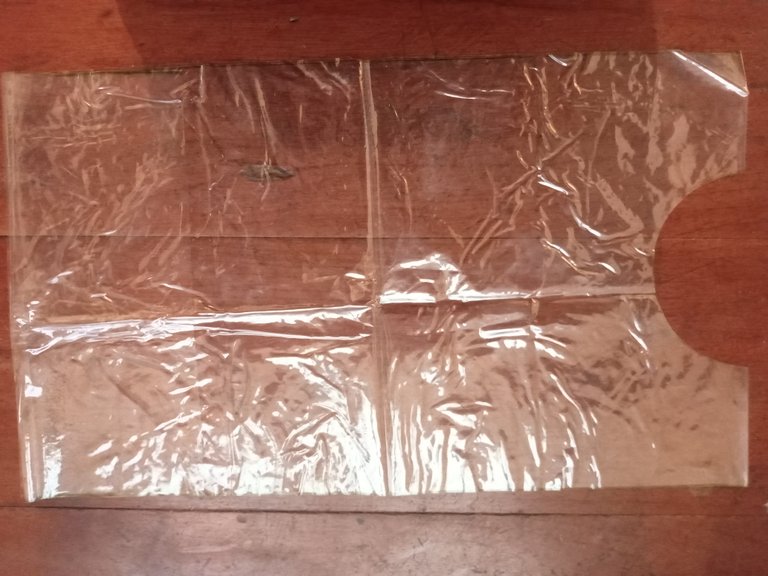
• Metro y medio de plástico transparente
• Tijera
• Papel bond u hojas blancas
• Cinta métrica
• Lápiz
• Alfileres
• Cesgo o tela del color preferido
• Hilo del color de la tela
• 2 Botones de presión
✍🏻 ELABORACIÓN ✍🏻
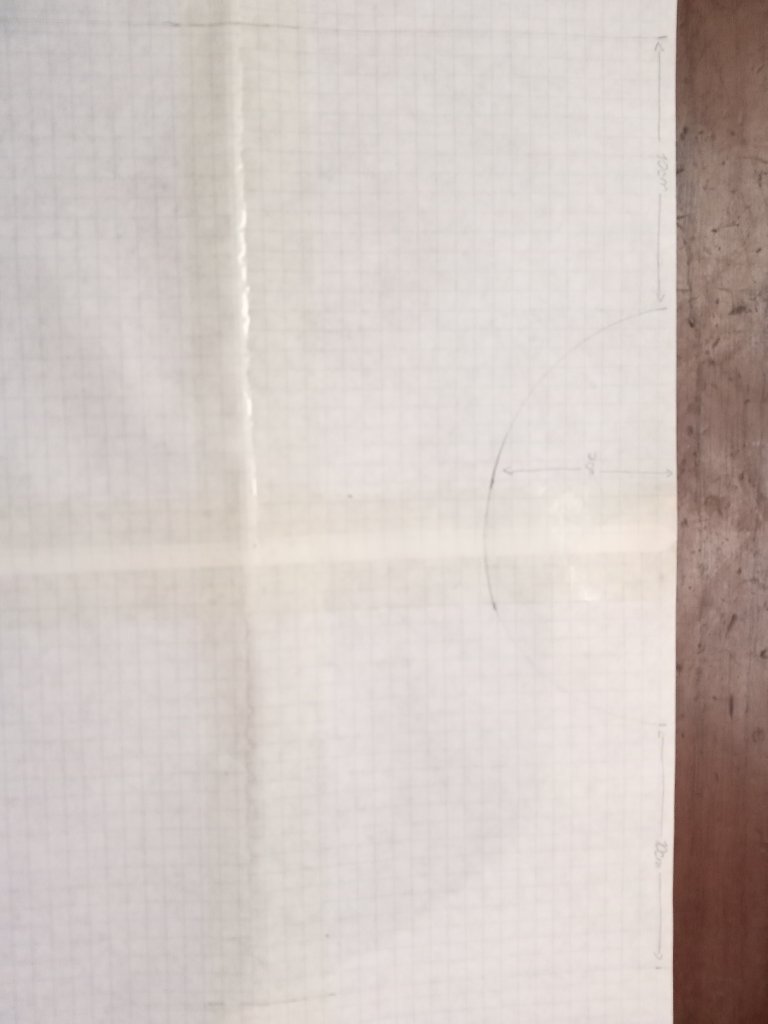
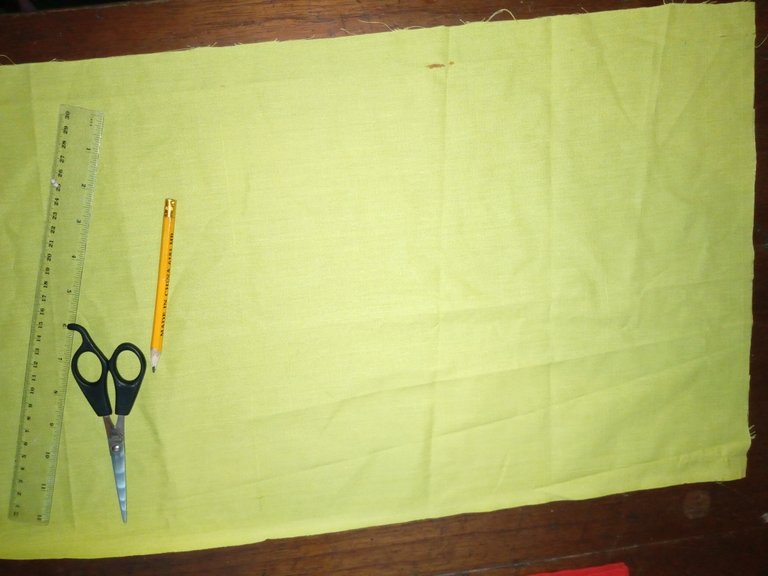
Primero hice el patrón, o algo por el estilo 😋.
Con la cinta métrica tome la medida del lago del hombro de una franela de mi hijo, la cual me dio unos 10 cm de largo, luego medi la distancia del cuello, es decir, la distancia entre hombros que tenía la franela, la cual me dio unos 16 cm y unos 7 cm de alto.
Después de tener todas estas medidas procedí a hacer una especie de patrón, el cual sinceramente les confieso fue una improvisación total, y cuando mi mamá se entere me va a matar ya que ella fue una estupenda modista perooo en su momento cuando ella quiso enseñarme las artes de la costura yo tenía otros interese jejeje y bueno ahora que tengo un hijo al cual podría hacerle muchas cosas me toca prender a través de tutoriales de YouTube porque mi mamá lamentablemente presenta una condición de salud que no le permite enseñarme 😔. En fin continuemos con el paso a paso que ya me desvíe del tema.
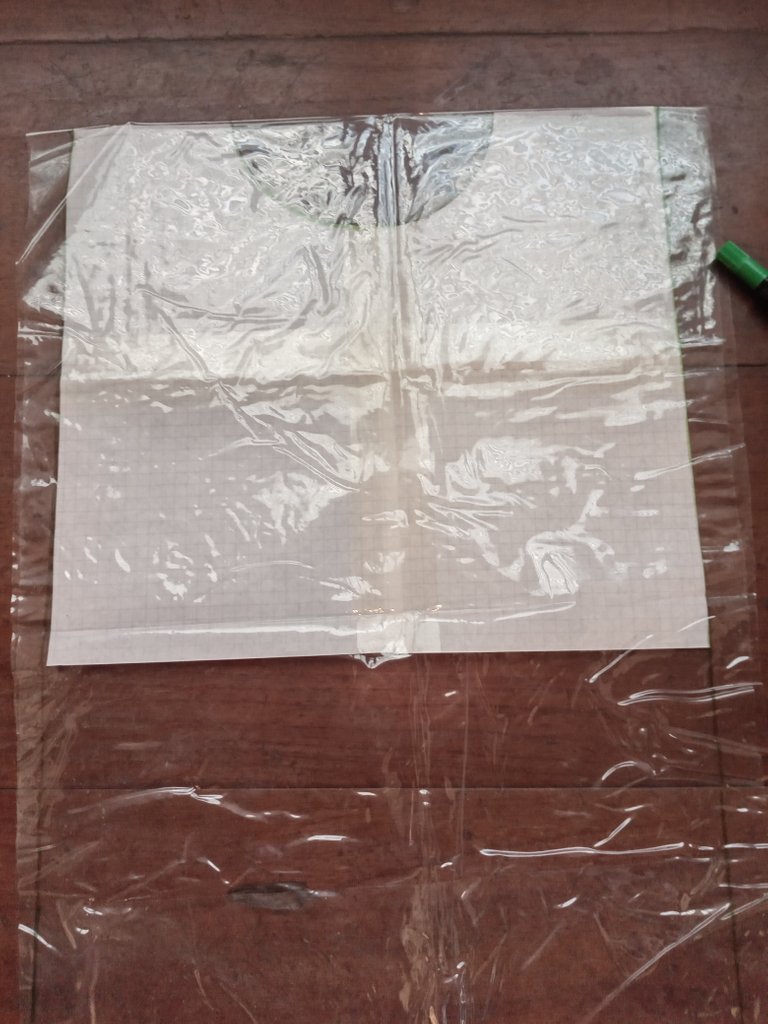
Para hacer el patrón solo coloque en la hoja las medidas que había tomado de la franela. Después de tenerlo listo lo coloque entre las dos capas de plástico y con un marcador dibuje la forma por donde debía cortar.
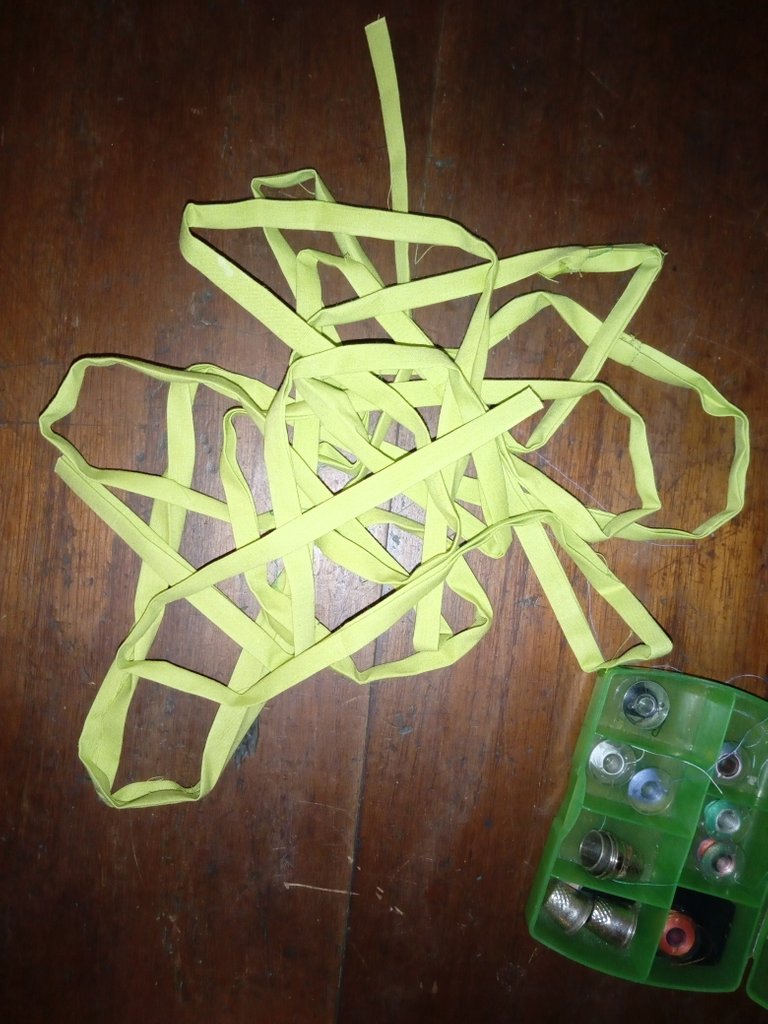
El paso siguiente sería colocar el Cesgo al rededor del plástico pero en mi caso no lo había comprado aún, así que improvise cortando unas 6 tiras de tela color verde que tenía guardada, de unos 4 cm de ancho y nos 36 cm de largo, luego las coci unas con otras en las esquinas para que quedara una sola tira. Las planche a la moral y luego las volví a planchar colocando los bordes hacia adentro (para que quedara como un Cesgo).
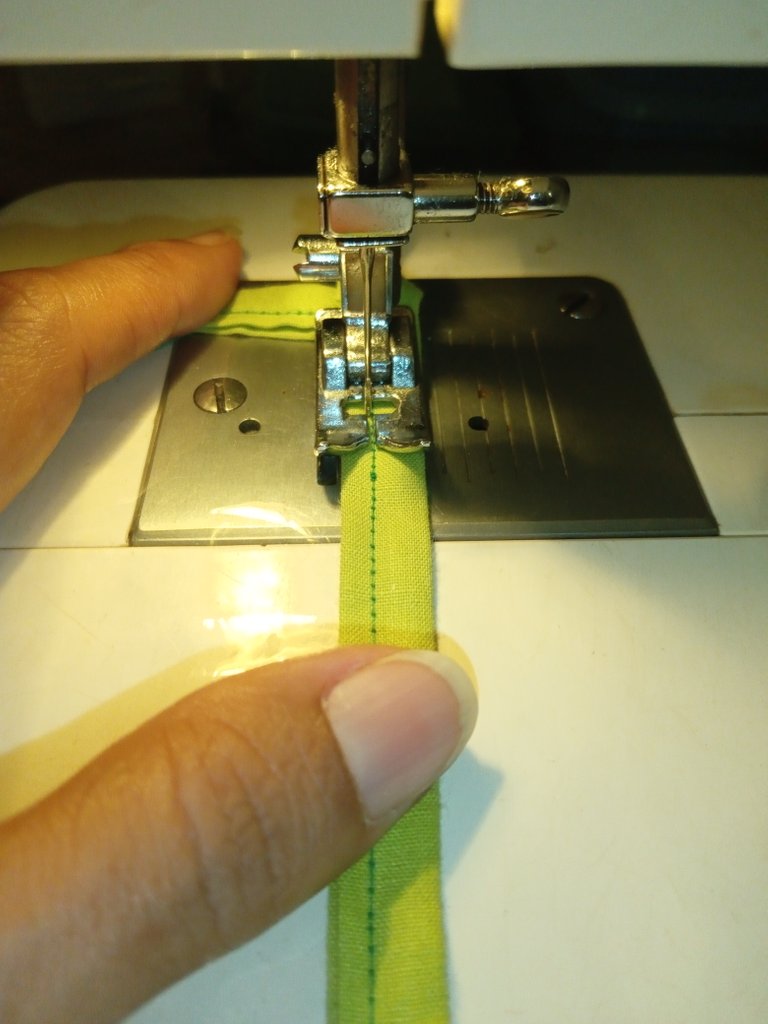
Luego procedí a colocarlo en los bordes de todo el plástico, el cual corte también el uno de los largos de hombro para que se lo pueda colocar sin problemas y a cocer!
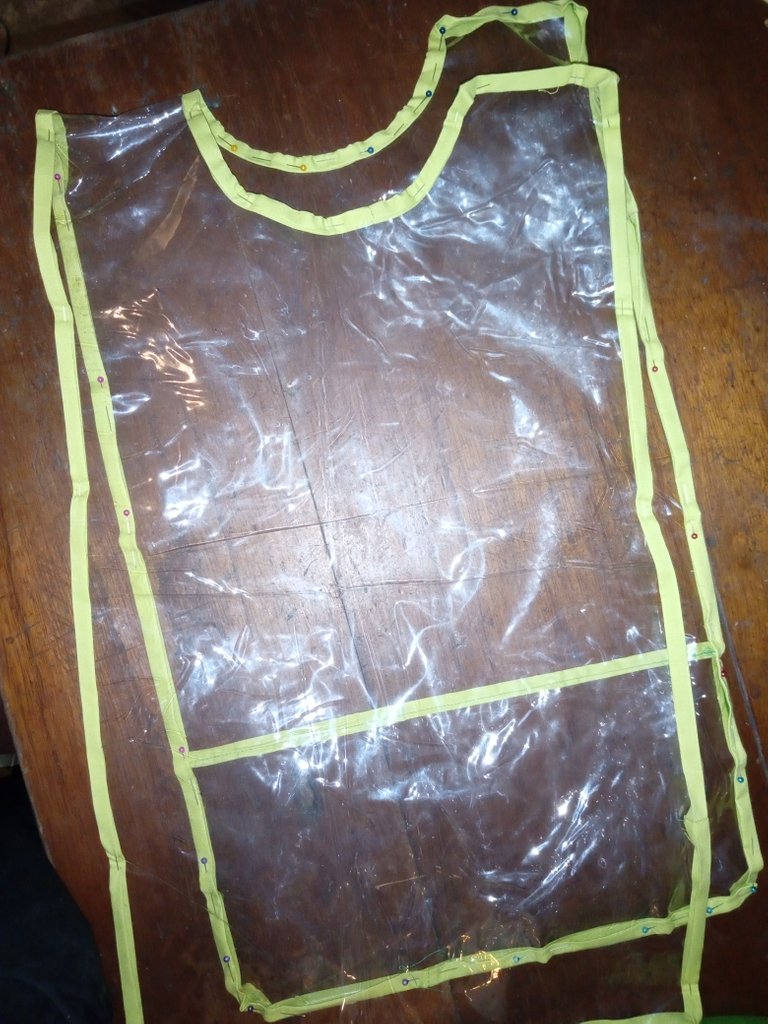
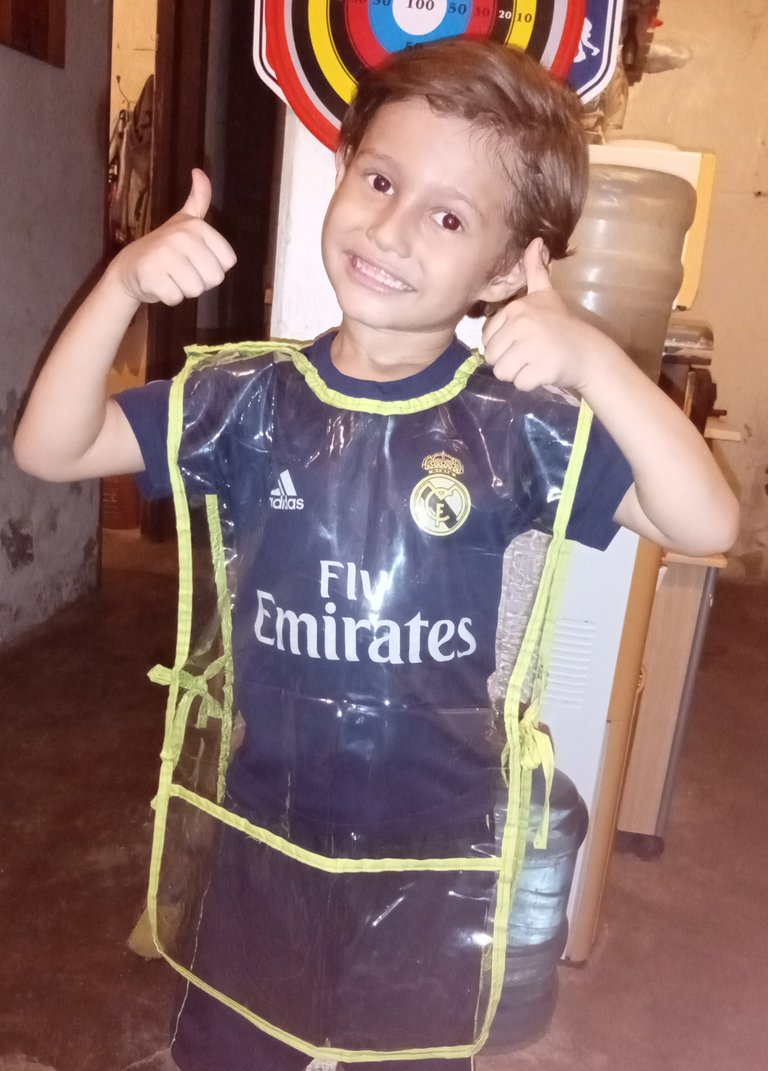
✨RESULTADO FINAL✨
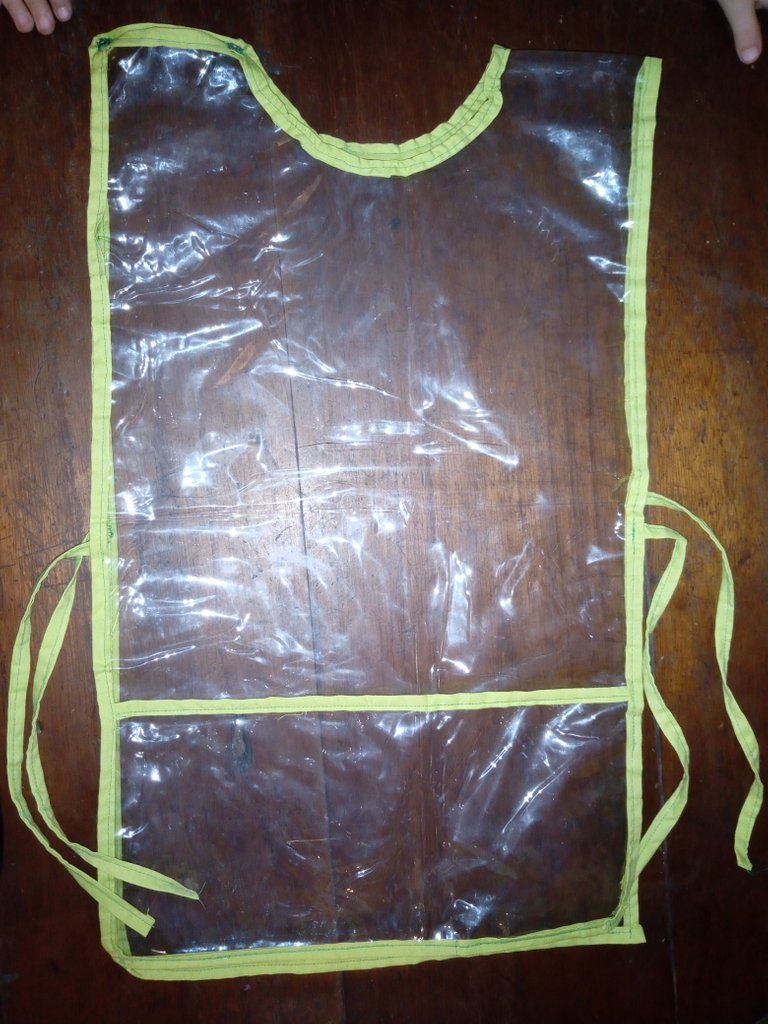
Espero les gustar este pequeño proyecto improvisado que realice con mucho cariño para mi hijo (a pesar que las costuras quedaron un poco chuecas 😋) y que los inspire a realizarlo para sus peques o algún ser querido.
Me despido deseándoles lo mejor y esperando verlos en el próximo post. Con cariño Alvac.art💋

✨HELLO HIVER✨
Today I want to share with you a school apron that I made for my son, one of the aprons that are used to avoid staining the uniform in preschool.
The truth is that this project had been pending for a long time, but between the fact that the classes were being held from home due to the COVID-19 issue, then he began to attend only once a week and for a couple of hours, the truth was that they had not asked us for the apron , so I was leaving it for later and later, period, there is always a but true hehehe, the teacher wrote us yesterday through the WhatsApp group, that the children had a special activity and that they had to wear the apron because they were going to work with paintwork.
You can imagine my face when I read the message 😱, because there was no way I had to leave everything I was doing and start making or making the apron that I had been avoiding doing so much 😋 (because the poor teachers were told after the day of afternoon classes and therefore we were notified by the representatives at about 3 in the afternoon).
Anyway, I took my materials, took out the sewing machine and got down to work.
✂️MATERIALS✂️
• Meter and a half of transparent plastic
• Scissors
• Bond paper or white sheets
• Measuring tape
• Pencil
• Pins
• String or fabric of the preferred color
• Fabric color thread
• 2 pressure buttons
✍🏻 PROCESSING ✍🏻
First I made the pattern, or something like that 😋.
With the tape measure I took the measurement of the shoulder lake of a flannel of my son, which gave me about 10 cm long, then I measured the distance of the neck, that is, the distance between the shoulders that the flannel had, which I gave about 16 cm and about 7 cm high.
After having all these measurements, I proceeded to make a kind of pattern, which I honestly confess was a total improvisation, and when my mom finds out she will kill me since she was a great seamstress but at the time when she wanted to show me the sewing arts I had other interests hehehe and well now that I have a son to whom I could do many things I have to learn through YouTube tutorials because unfortunately my mother has a health condition that does not allow her to teach me 😔. Anyway let's continue with the step by step that I already deviated from the subject.
To make the pattern, just place the measurements you had taken from the flannel on the sheet. After having it ready, place it between the two layers of plastic and with a marker draw the shape where it should be cut.
The next step would be to place the Cesgo around the plastic but in my case I had not bought it yet, so I improvised by cutting about 6 strips of green cloth that I had saved, about 4 cm wide and 36 cm long, then I sewed them together at the corners so that there was only one strip left. I ironed them to the moral and then I ironed them again placing the edges inwards (so that it would look like a Cesgo).
Then I proceeded to place it on the edges of all the plastic, which I also cut one of the shoulder lengths so that it can be placed without problems and to cook!
✨FINAL RESULT✨
I hope you like this little improvised project that I made with love for my son (even though the seams were a bit crooked 😋) and that it inspires you to do it for your little ones or a loved one.
I say goodbye wishing you the best and hoping to see you in the next post. With love Alvac.art💋
Hola lindo delantal y muy útil para los pequeños de la casa.
Así es, y nos libra a las mamás de lidiar con manchas de pintura en la ropa
Muy bonito y útil delantar para los niños😍
Amiga que bello tu galán con su delantal 😊🤩 su sonrisa lo dice todo😊😊 Felicidades quedó excelente. 👍
Congratulations @alvac.art! You have completed the following achievement on the Hive blockchain and have been rewarded with new badge(s):
Your next target is to reach 1750 upvotes.
You can view your badges on your board and compare yourself to others in the Ranking
If you no longer want to receive notifications, reply to this comment with the word
STOPCheck out the last post from @hivebuzz:
Support the HiveBuzz project. Vote for our proposal!
Te quedó buenísimo, ahora te toca el de Nani🤣
Ay dios mío, vamos a ver qué tal sale ese jajajaja