Happy and blessed afternoon to all!🌲
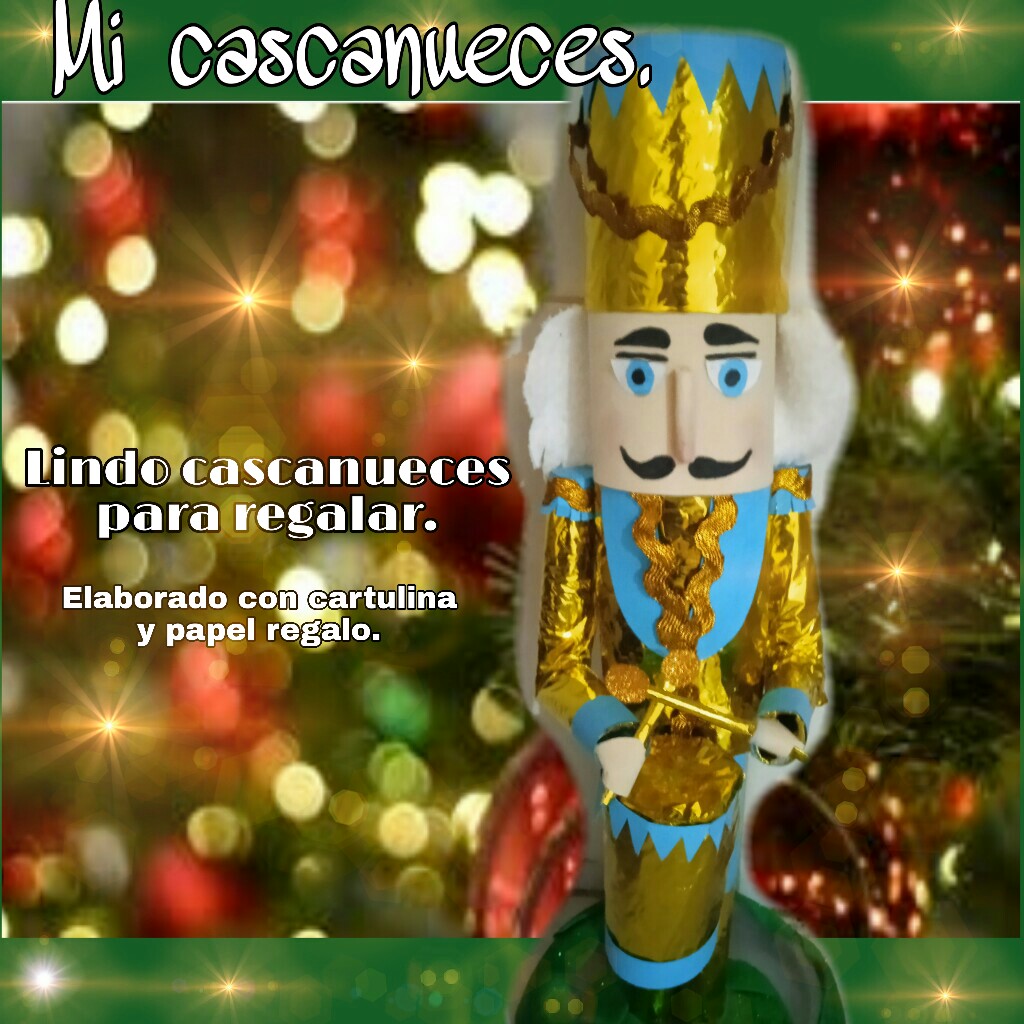

It is always a pleasure for me to be able to greet you and even more so on this beautiful date that everyone has been waiting for. I wish you a beautiful and blessed day, I hope you are feeling very well, full of great joy. Today I join this cute contest inspired by one of the Christmas characters, such as those cute nutcrackers, which gives that Christmas touch to our home. These nutcrackers are ideal for decorating the foot of the tree or any other surface. I am super happy to be able to participate and show you this craft today. A few days ago I had shown you my first Christmas project, which coincidentally was a cute nutcracker made with foam. This one that made what I did with cardboard and gift wrapping paper, I had never used these materials. Below I show you the procedure, come with me.
Materiales.
- Cartulina color azul y demás colores.
- Silicon en barra o frío.
- Algunos crayones.
- Tijera.
- Un trozo de foami color piel.
- Papel para envolver regalos.
- Cinta encaje dorada.
- Un poco de tela de felpa color blanco.
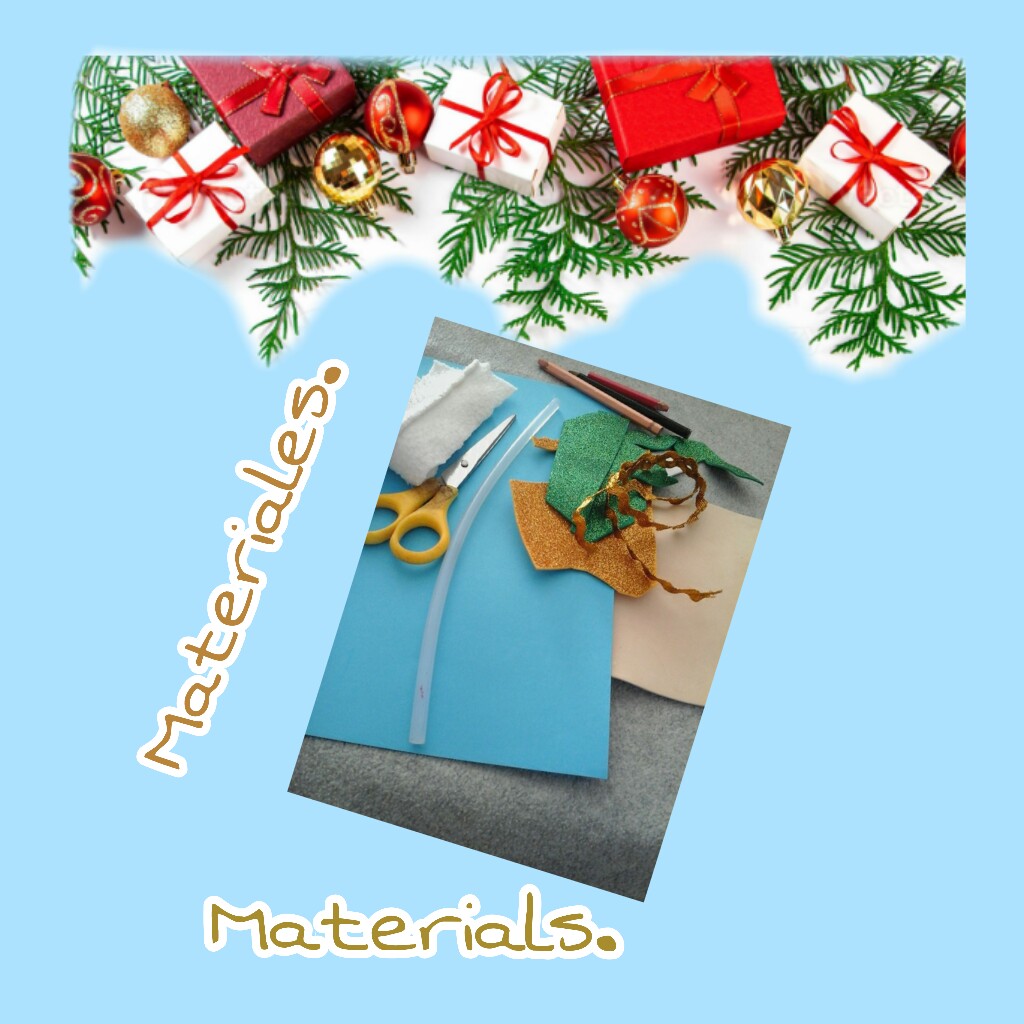
Materials.
- Blue cardboard and other colors.
- Silicon in bar or cold.
- Some crayons.
- Scissors.
- A piece of skin-colored foam.
- Gift wrapping paper.
- Golden lace ribbon.
- Some white plush fabric.
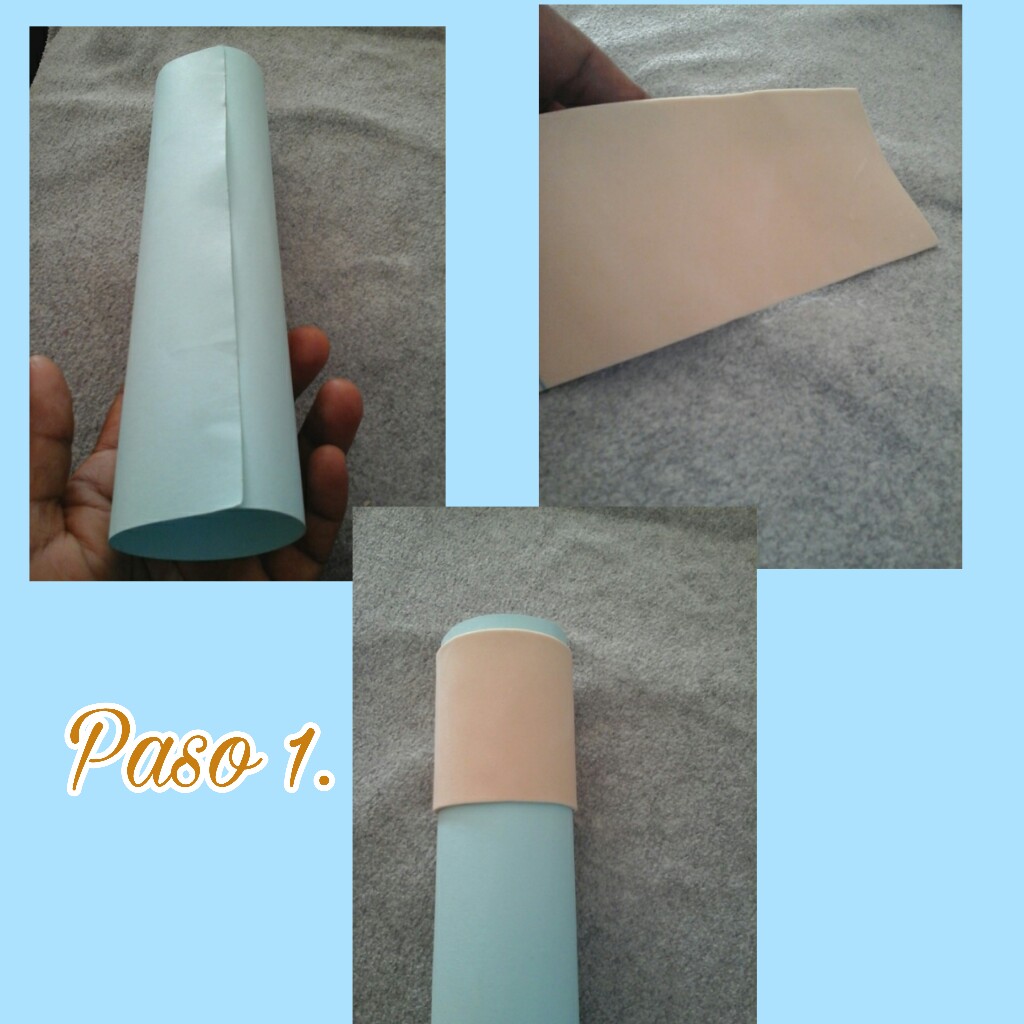
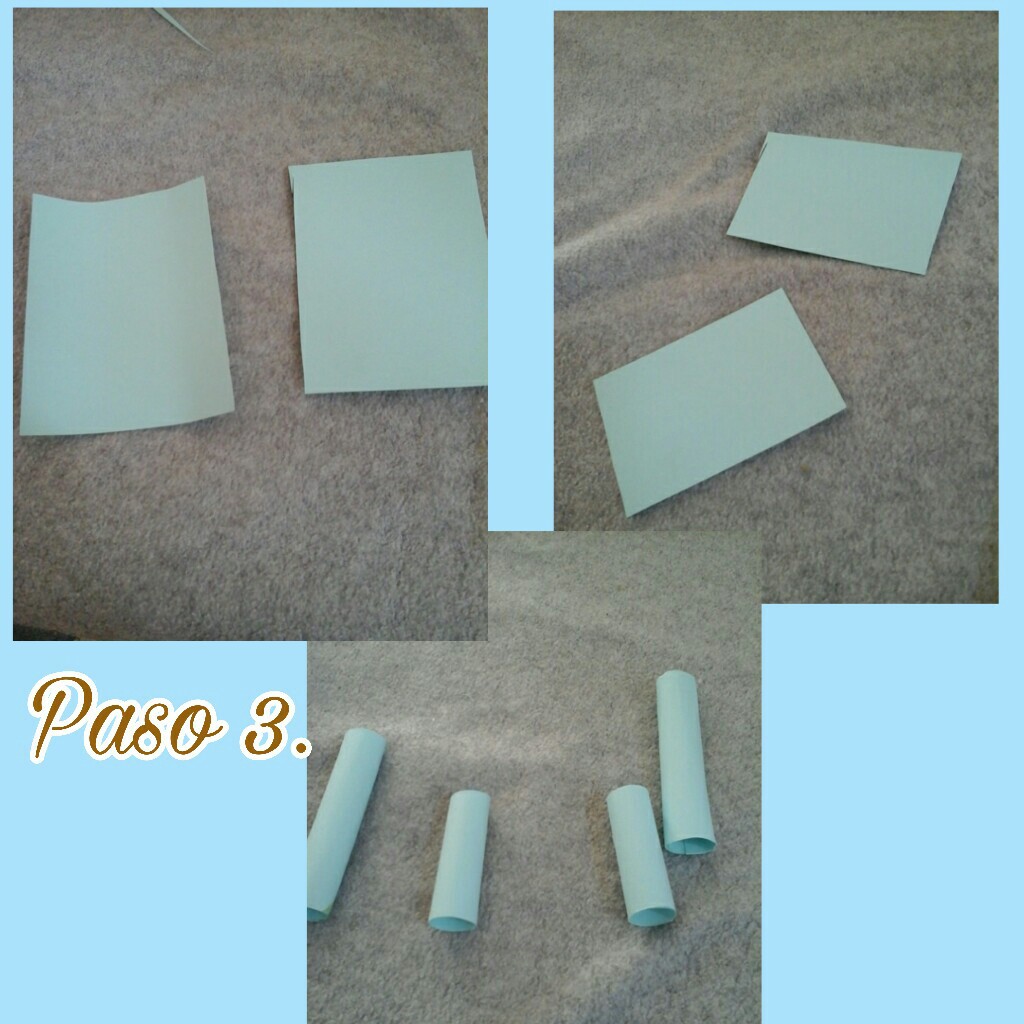
Friends, let's start making this cute nutcracker, this time I used cardboard to start with the body. Cut out a rectangle of approximately 18cm x 10cm, now I am going to roll it into a cylinder and glue it with silicone. Next, cut a piece of skin-colored foam and glue it on top to make the face.
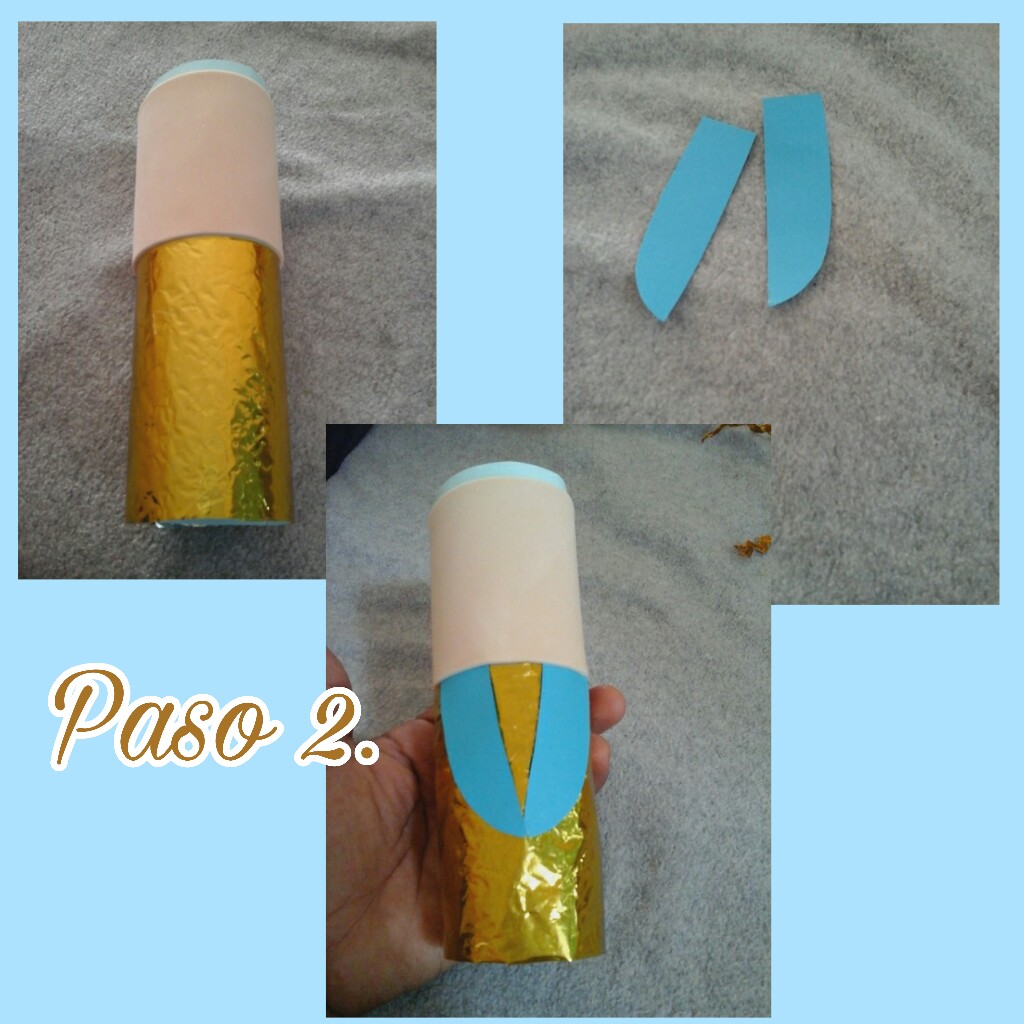
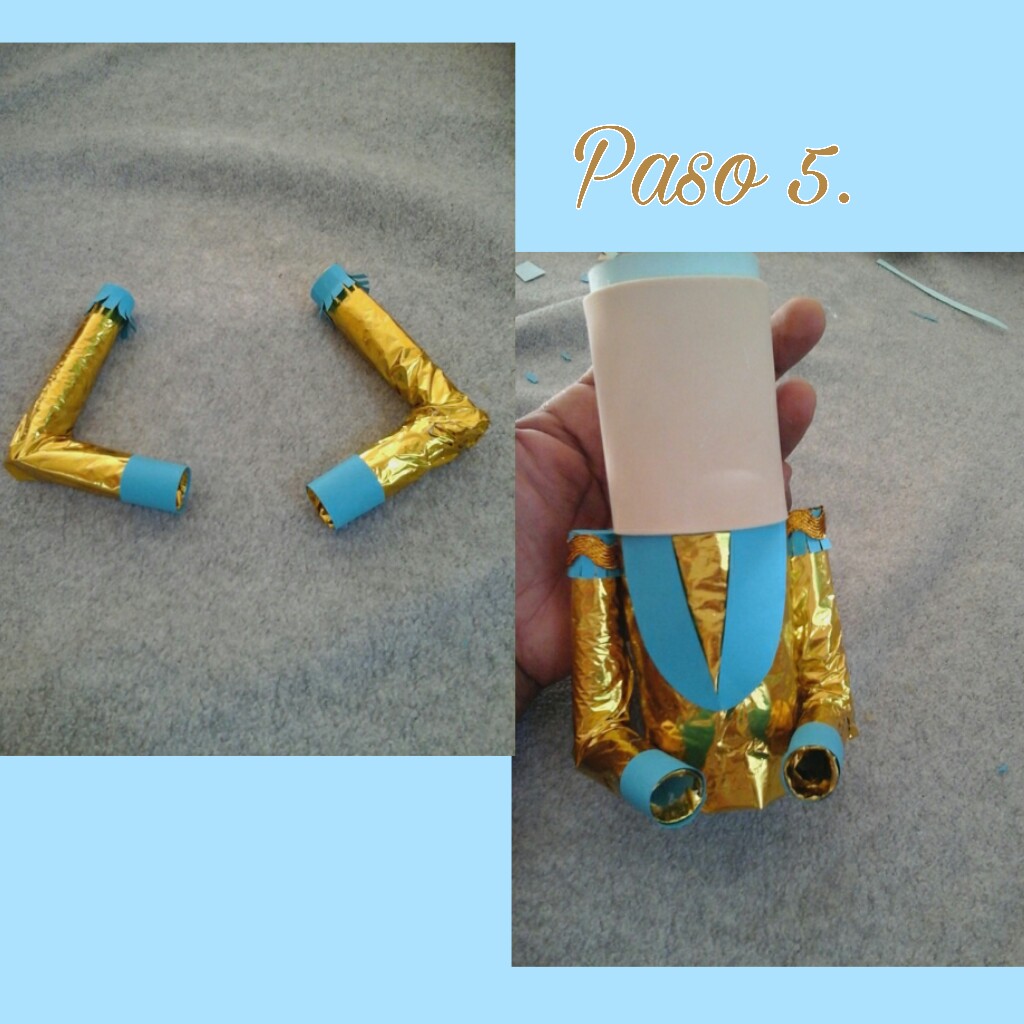
In this second step, I covered the bottom of the cylinder, using gold wrapping paper, adding a little silicone so that it would stick well. To finish the suit, cut out some small pieces as wings to glue them to the front of the suit and this way it will look like a jacket.
I will make the arms, I cut out some pieces of cardboard measuring approximately 5cm x 6.5cm, then I divided these little squares, obtaining four. Now what I will do is roll it up to create some little tubes, glue it with a little silicone and make a couple small ones and some big ones.
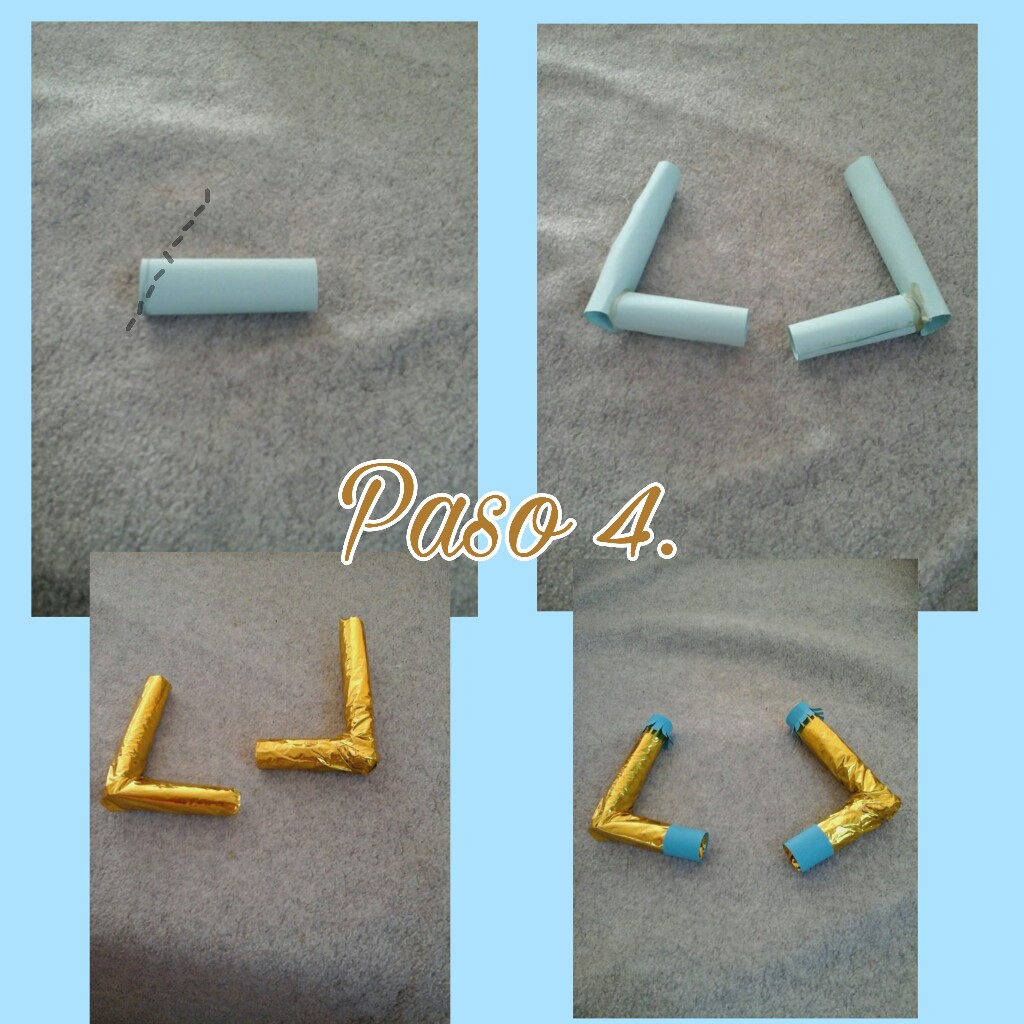
I made a diagonal cut in these little tubes so that when you glue them to each other, it will fit together. Now I'm going to glue these to the larger ones, look at the picture. Once I finished gluing, it will look like an L, finally I covered it with wrapping paper and attached some blue cardboard accessories.
This time I proceed to glue the arms to the sides of the body so that it takes shape.
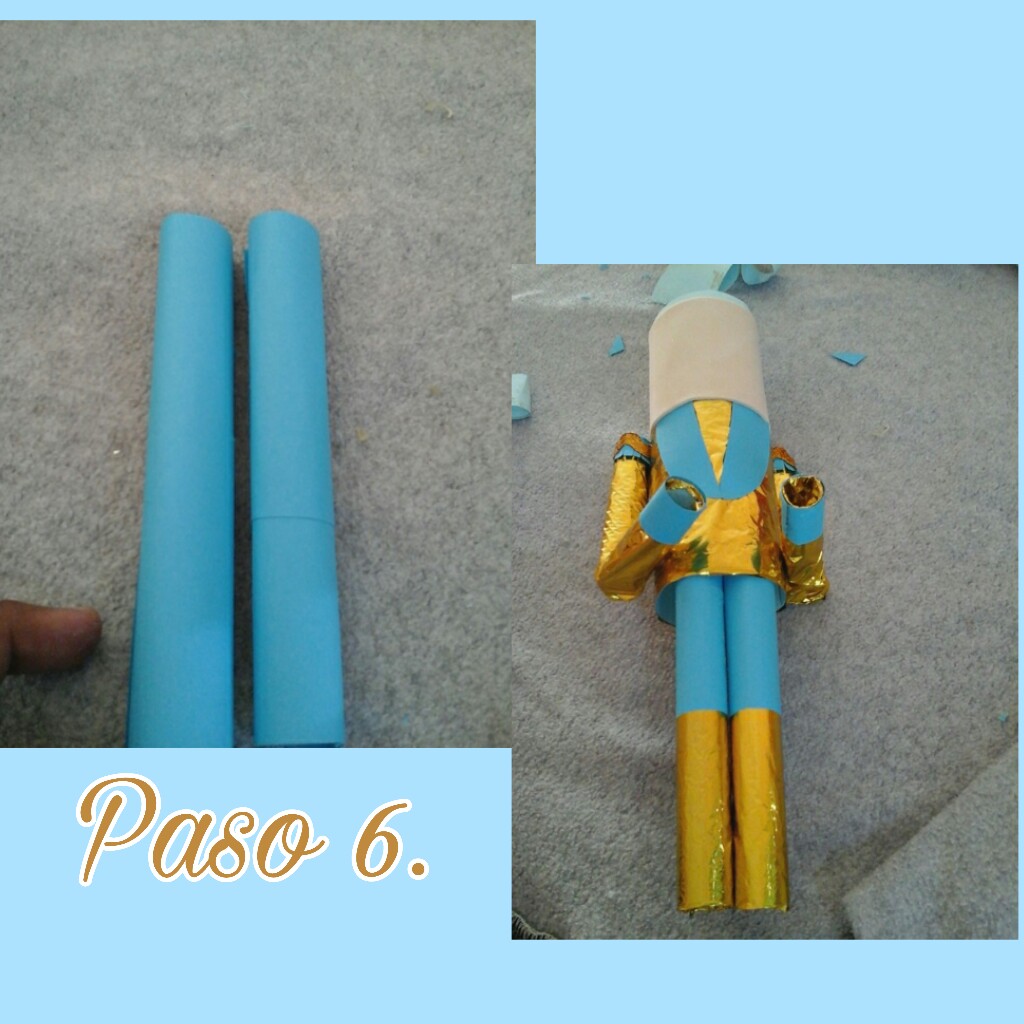
To make the legs, cut out some rectangles of blue cardboard, roll these also to form longer tubes that will be the legs and glue them with silicone. I also made some boots with wrapping paper, which is the material I have used the most.
In this step and before making the hat, I placed the nutcracker's hair, for this I used white plush fabric. Next I glued a few more centimeters of cardboard to make the hat, covered with metallic paper and placed gold lace ribbon.
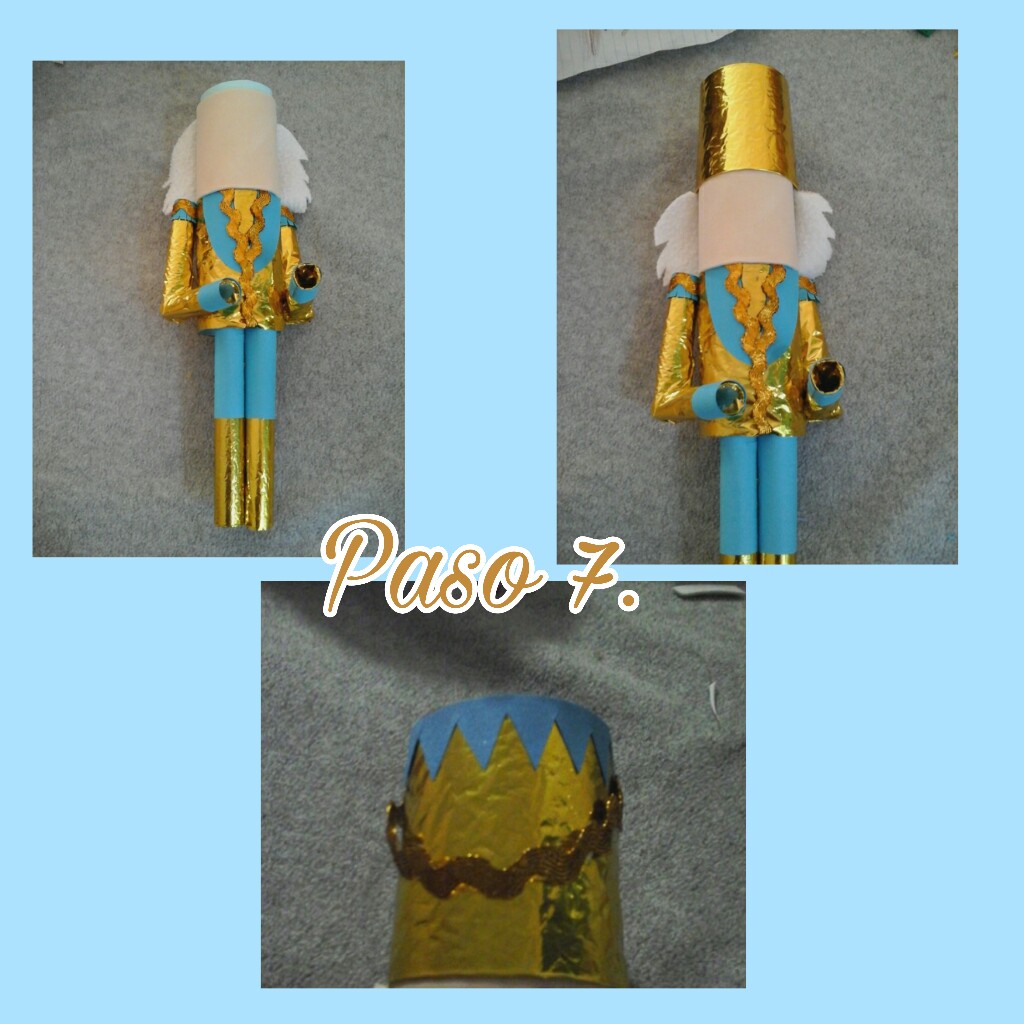
To finish, paint the eyes and the eyebrows and mustaches with a black crayon. I also wanted to make a nose with foam and glue it to make it more real. To take advantage of the position of the arms I made a drum and placed it.


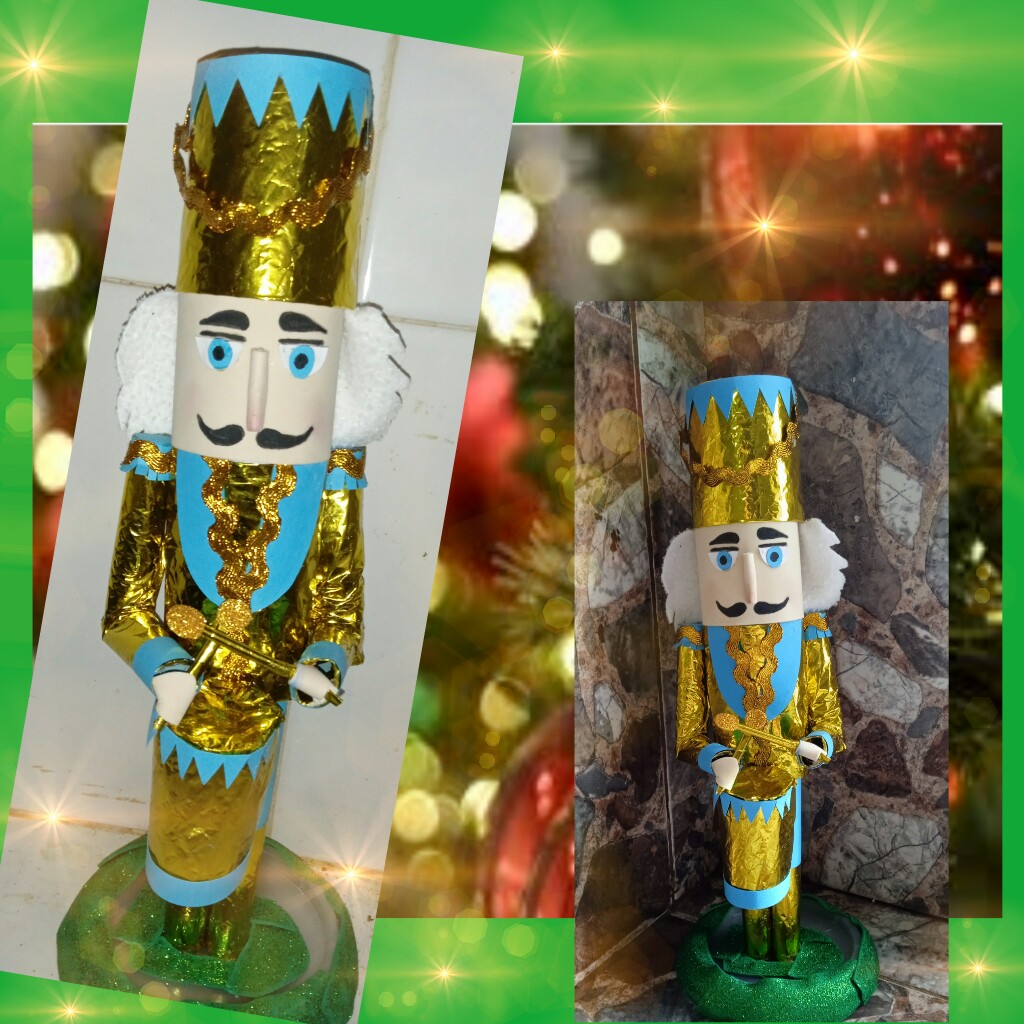
Friends, I am very happy to be able to finish this beautiful Christmas craft. I hope you like this work, without further ado I say goodbye wishing you a beautiful afternoon, have a good time I love you.
Invito a mis amigas @razielmorales y a @sergimarmartinez a participar en este motivador y lindo concurso.
I invite my friends @razielmorales and @sergimarmartinez to participate in this motivating and beautiful contest.
Todo el contenido es de mi autoría.
Algunas fotos fueron capturadas por mi tablet Samsung Galaxy y editadas por Picsart.
Foto de portada tomada por Redmi 9A.
Traductor Google.com.
Banner de portada y demás fueron elaborados por mi editor picsart.
Fondo de portada y separadores tomada de internet. Fuente
All content is my authorship.
Some photos were captured by my Samsung Galaxy tablet and edited by Picsart.
Cover photo taken by Redmi 9A.
Google.com Translator.
Cover banner and others were made by my picsart editor.
Cover background and dividers taken from the internet. Fuente
Gracias por el apoyo.👍☺️
Te quedó muy lindo 😍 me gustó mucho la combinación del colores 😁👍
Muchas gracias, la verdad tenía duda de la combinación, pero al final me gustó. Gracias por apoyar feliz día!
😁👍🎄
Ana, es un estupendo trabajo, me encantó tu cascanueces, para proximos trabajos quisiera que tomaras en cuenta la forma de presentar las fuentes, debe ser la pagina de alojamiento de la misma y procurando sean libre de derechos como pixabay o pexels.
Feliz día! Muchas gracias ☺️ lo tomaré en cuenta.
Está precioso!!