💙Hola, hola! Feliz día mis apreciados amigos de hive diy. Un gusto saludarles y desearles una preciosa tarde, repleta de muchas bendiciones de Dios. Bienvenidos a mi blog💙.
💙Hello, hello! Happy day my dear friends from hive diy. It is a pleasure to greet you and wish you a beautiful afternoon, full of many blessings from God. Welcome to my blog💙.
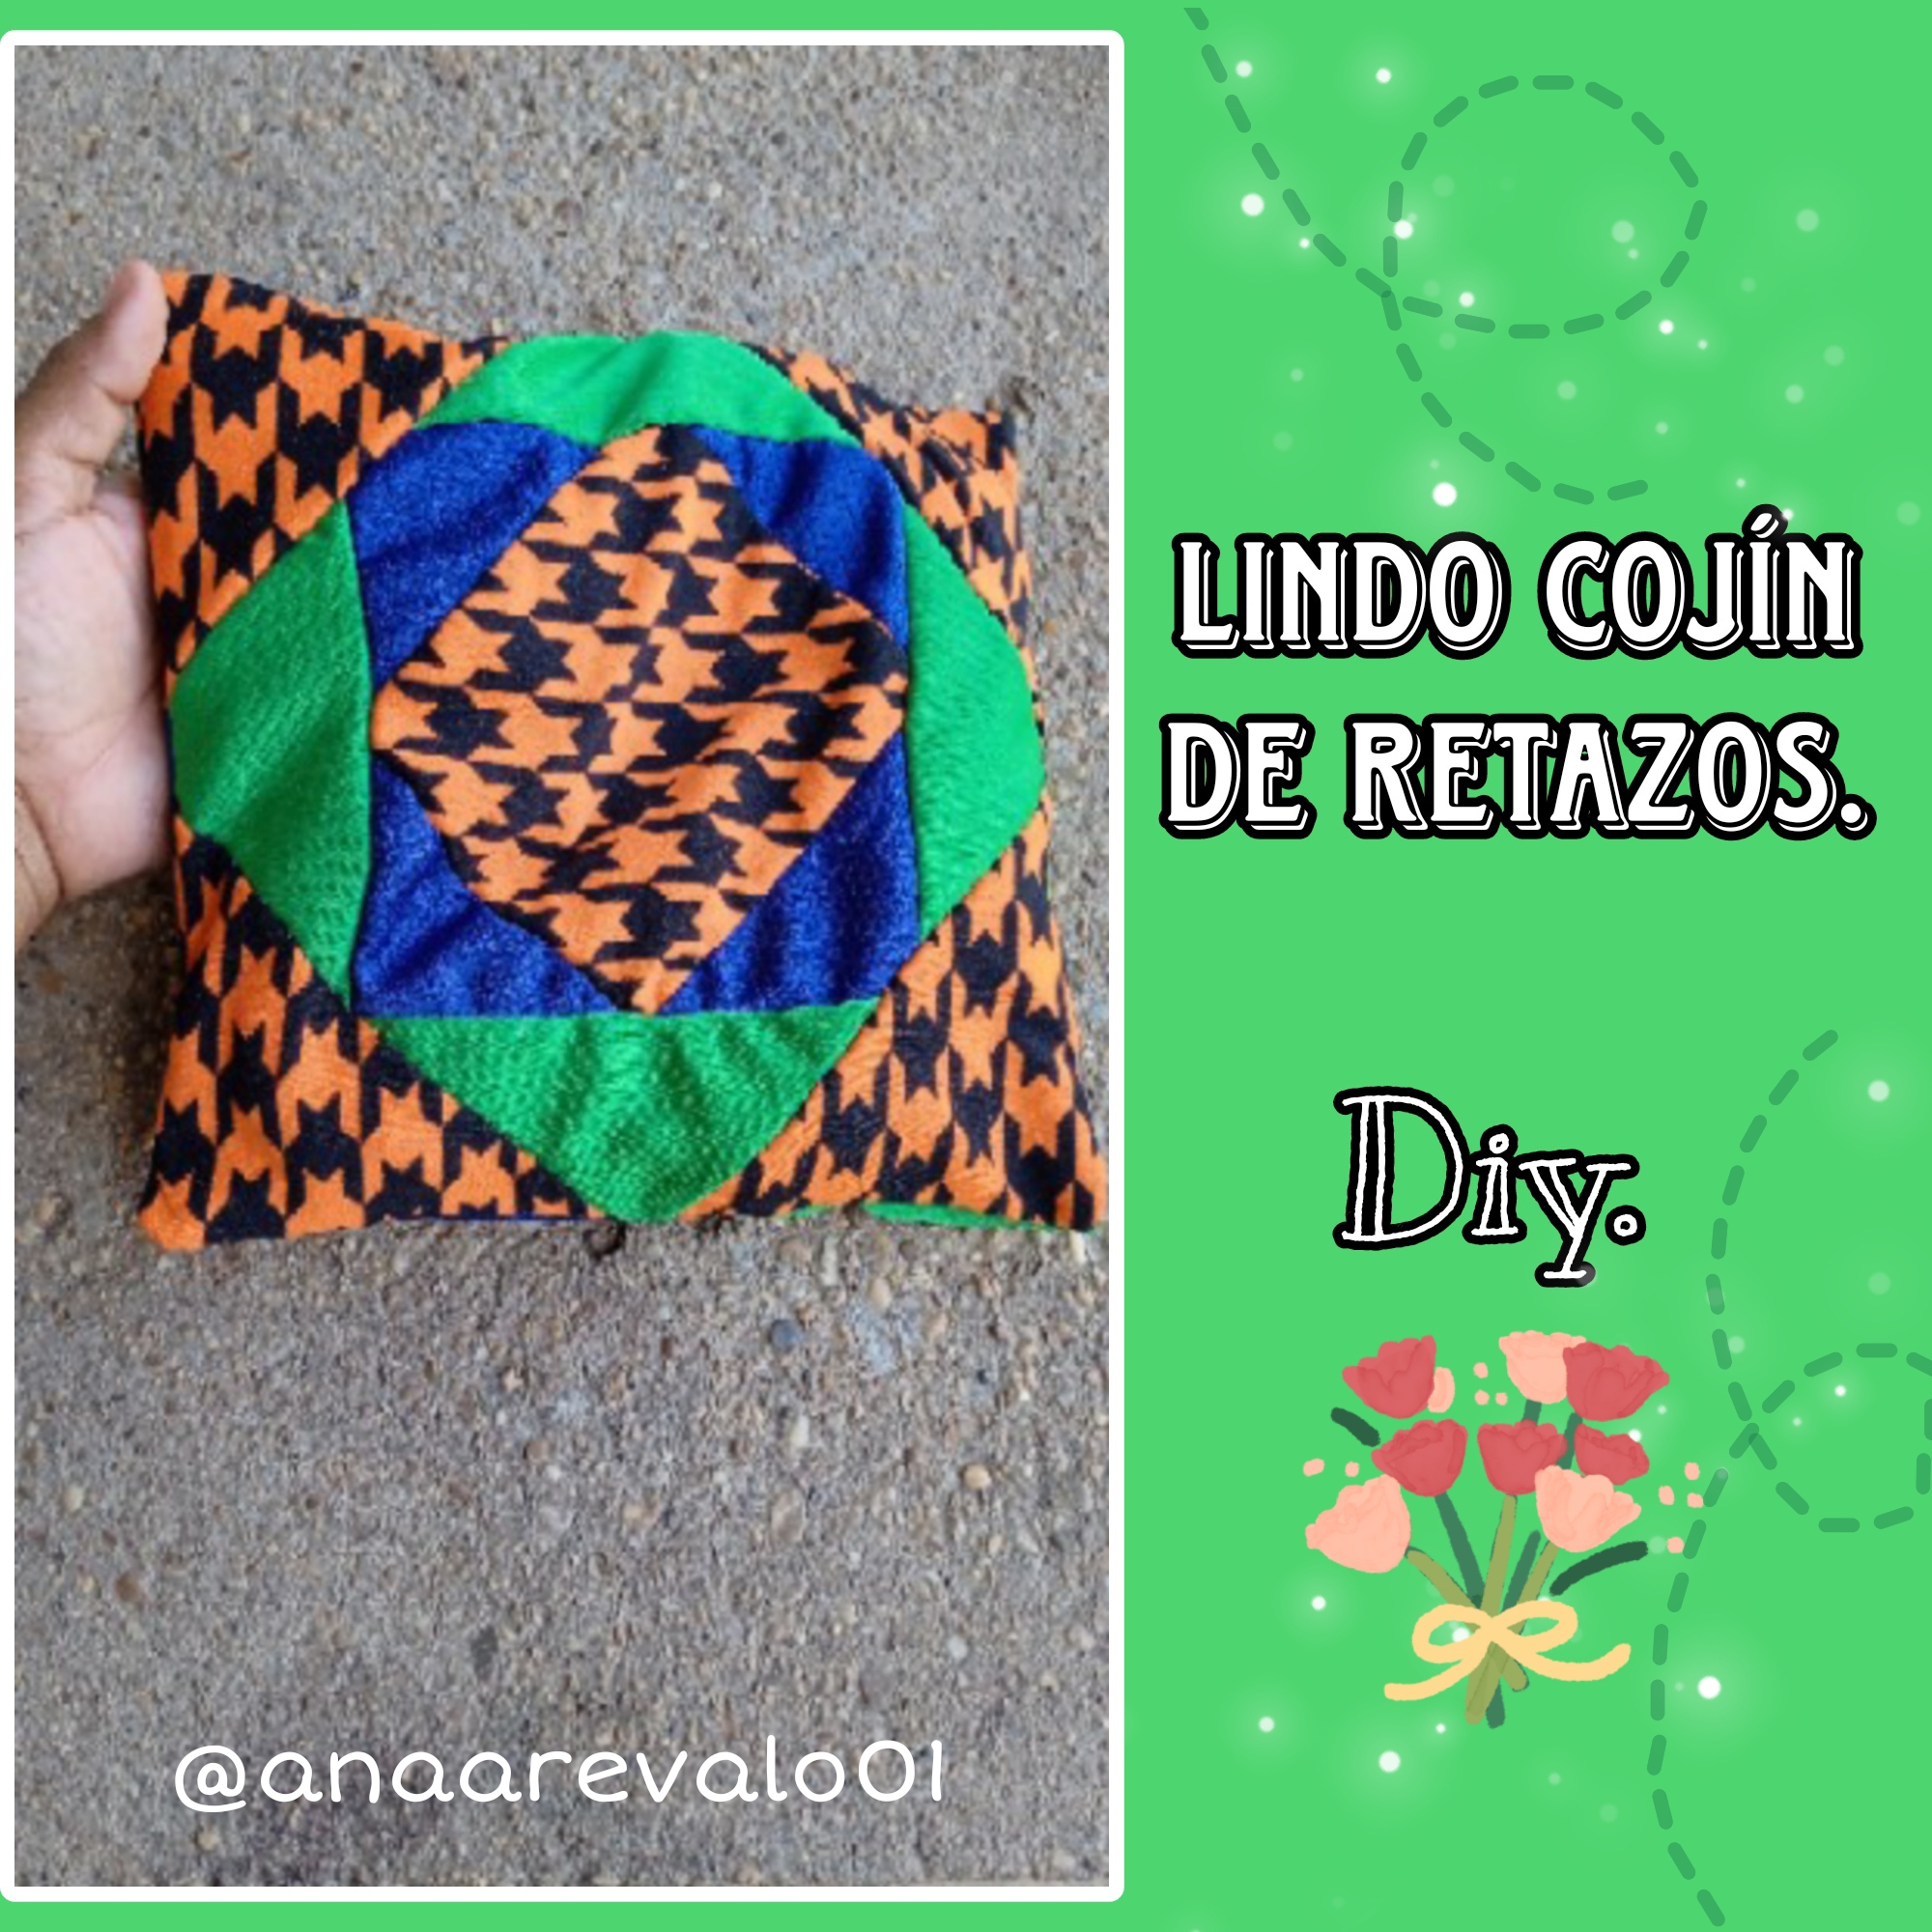
It's been a long time since I shared a project with all of you, but I've always been aware of each project that you share through this ingenious community. I can say that I learn new things from each one of you, so I also want to take the opportunity to show you a nice homemade craft, and with much love for all of you. It's about making a small cushion with scraps of fabric and a new design based on small squares. This is not a simple cushion where we cut fabric, sew and that's it, but it has a very easy technique to make it. We can do it without being experts in the subject of sewing, just follow the steps and you will see that it is very easy. Let's do it.
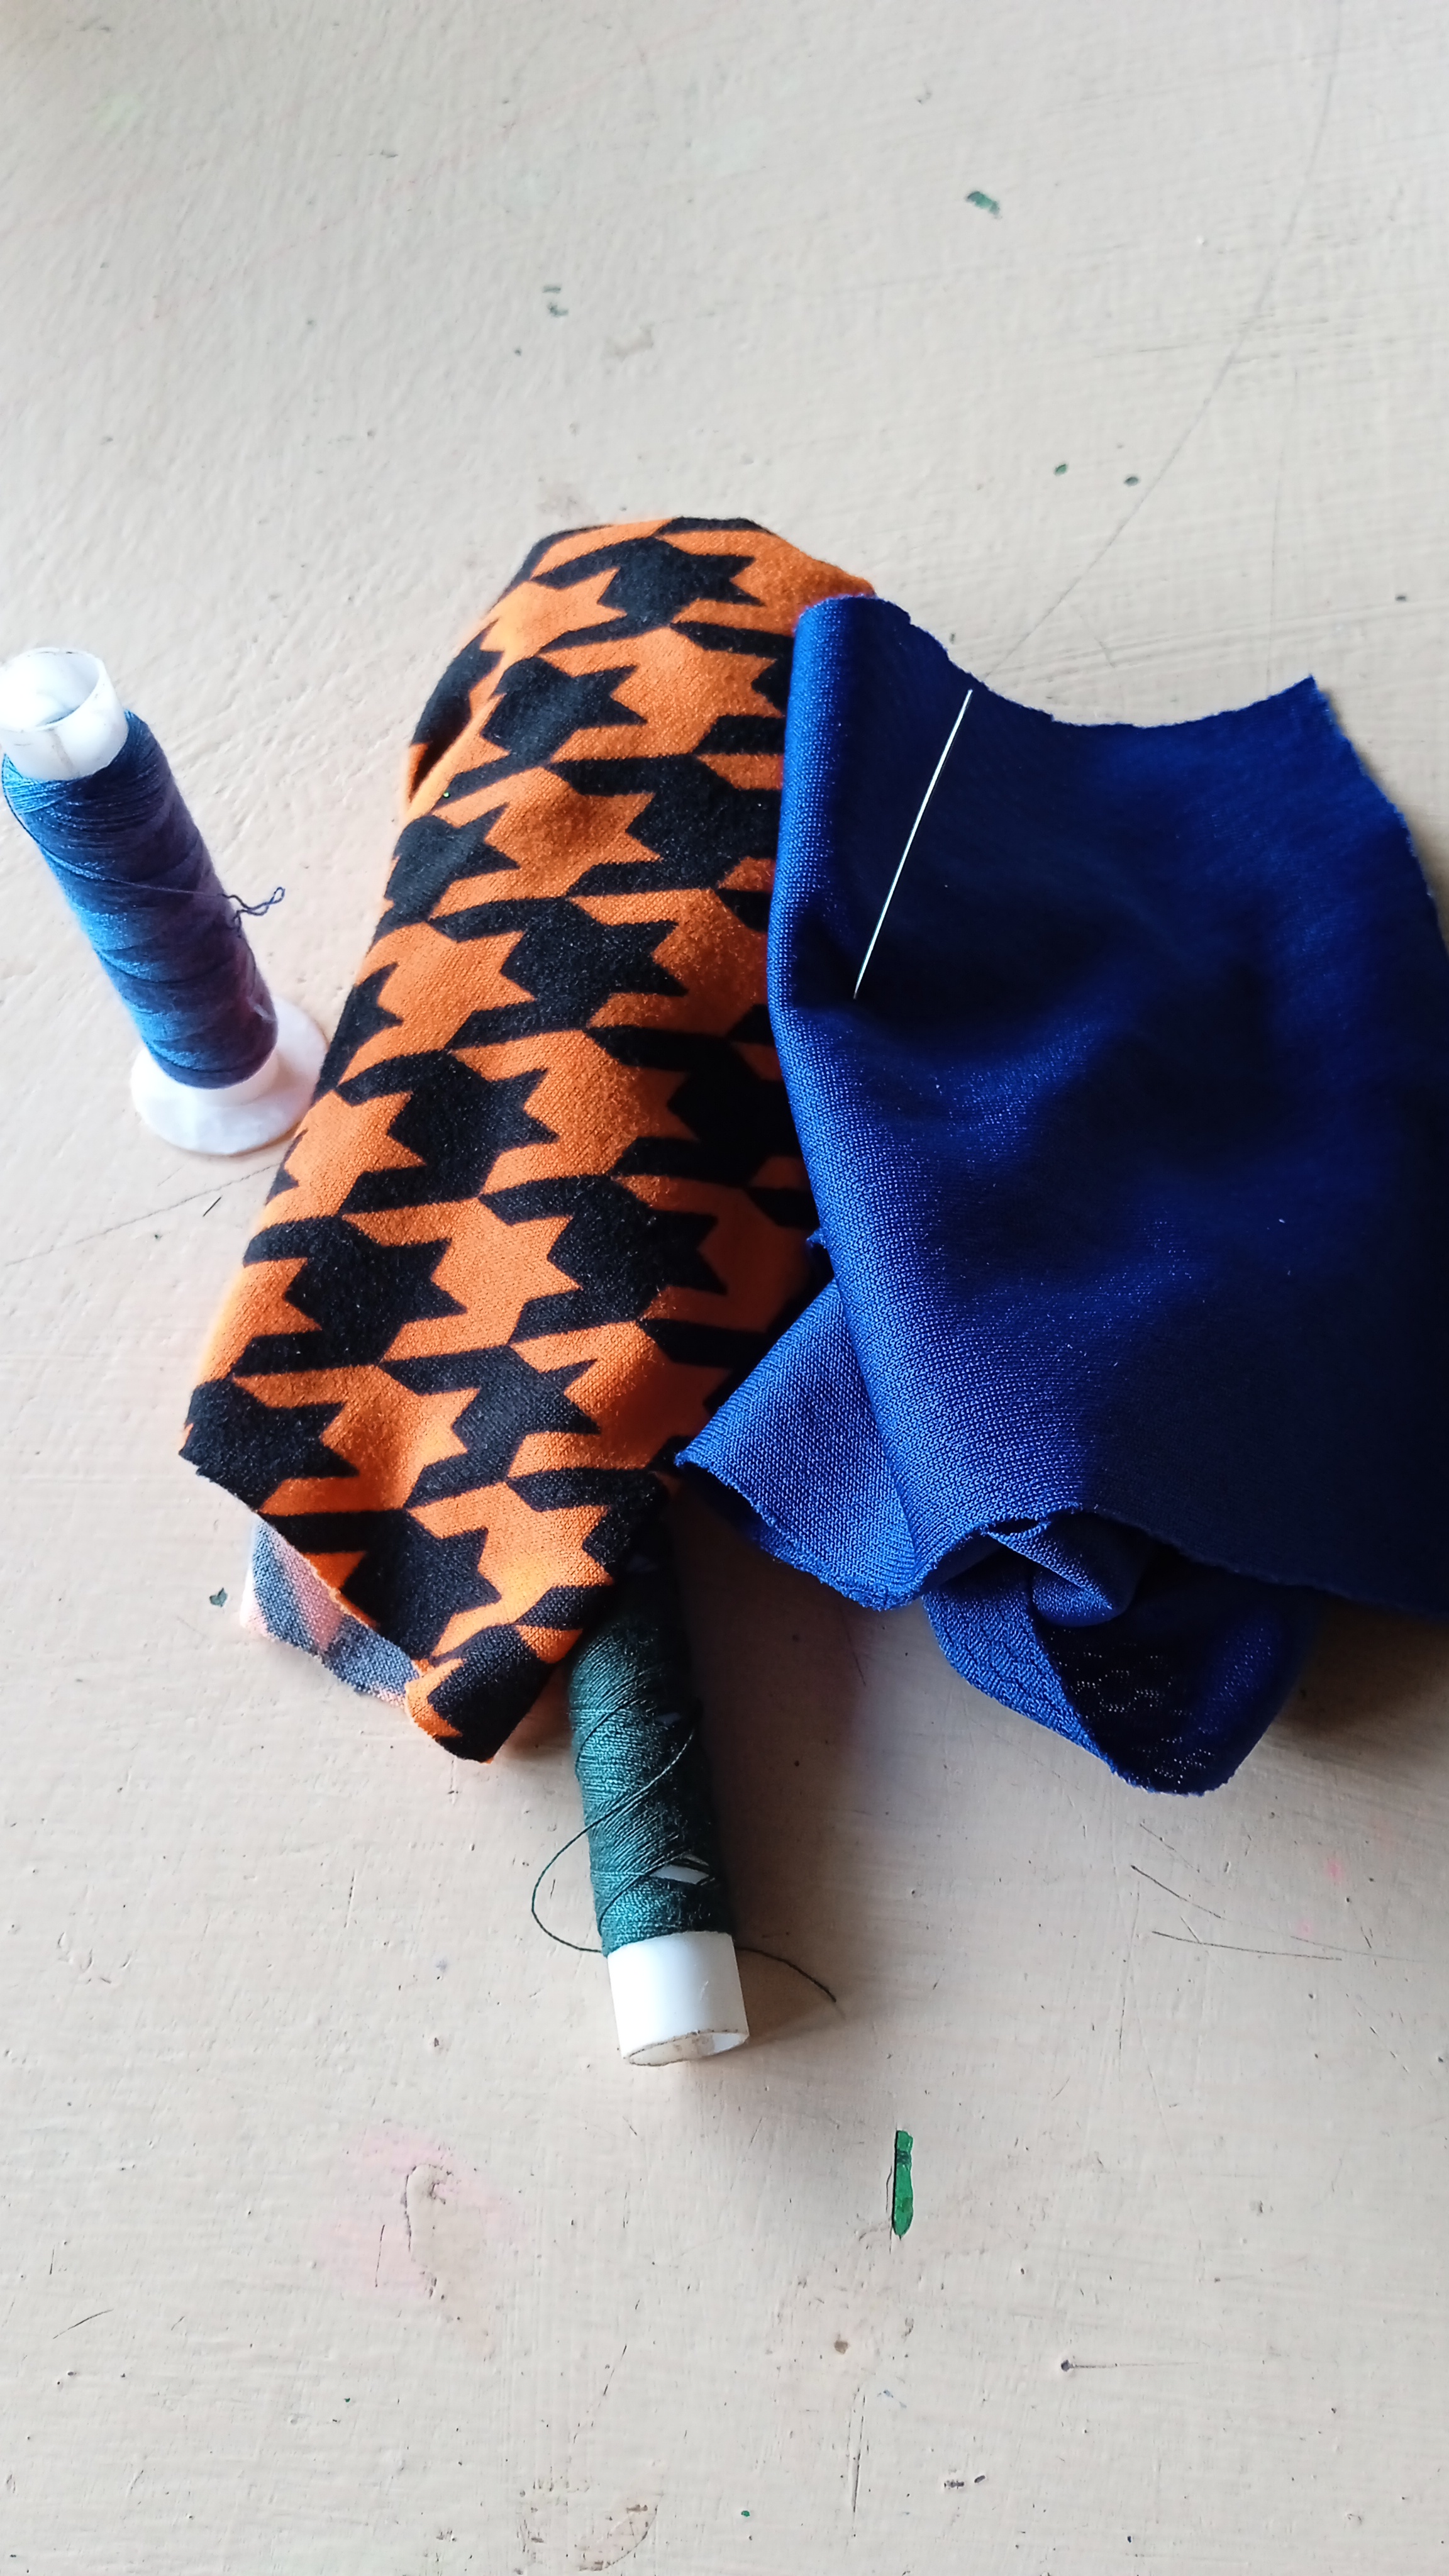
Materiales.
- Retazos de tela de los colores que más te guste.
- Tijera.
- Hilo y aguja.
- Una regla y lápiz.
Materials.
- Scraps of fabric in the colors you like best.
- Scissors.
- Thread and needle.
- A ruler and pencil.
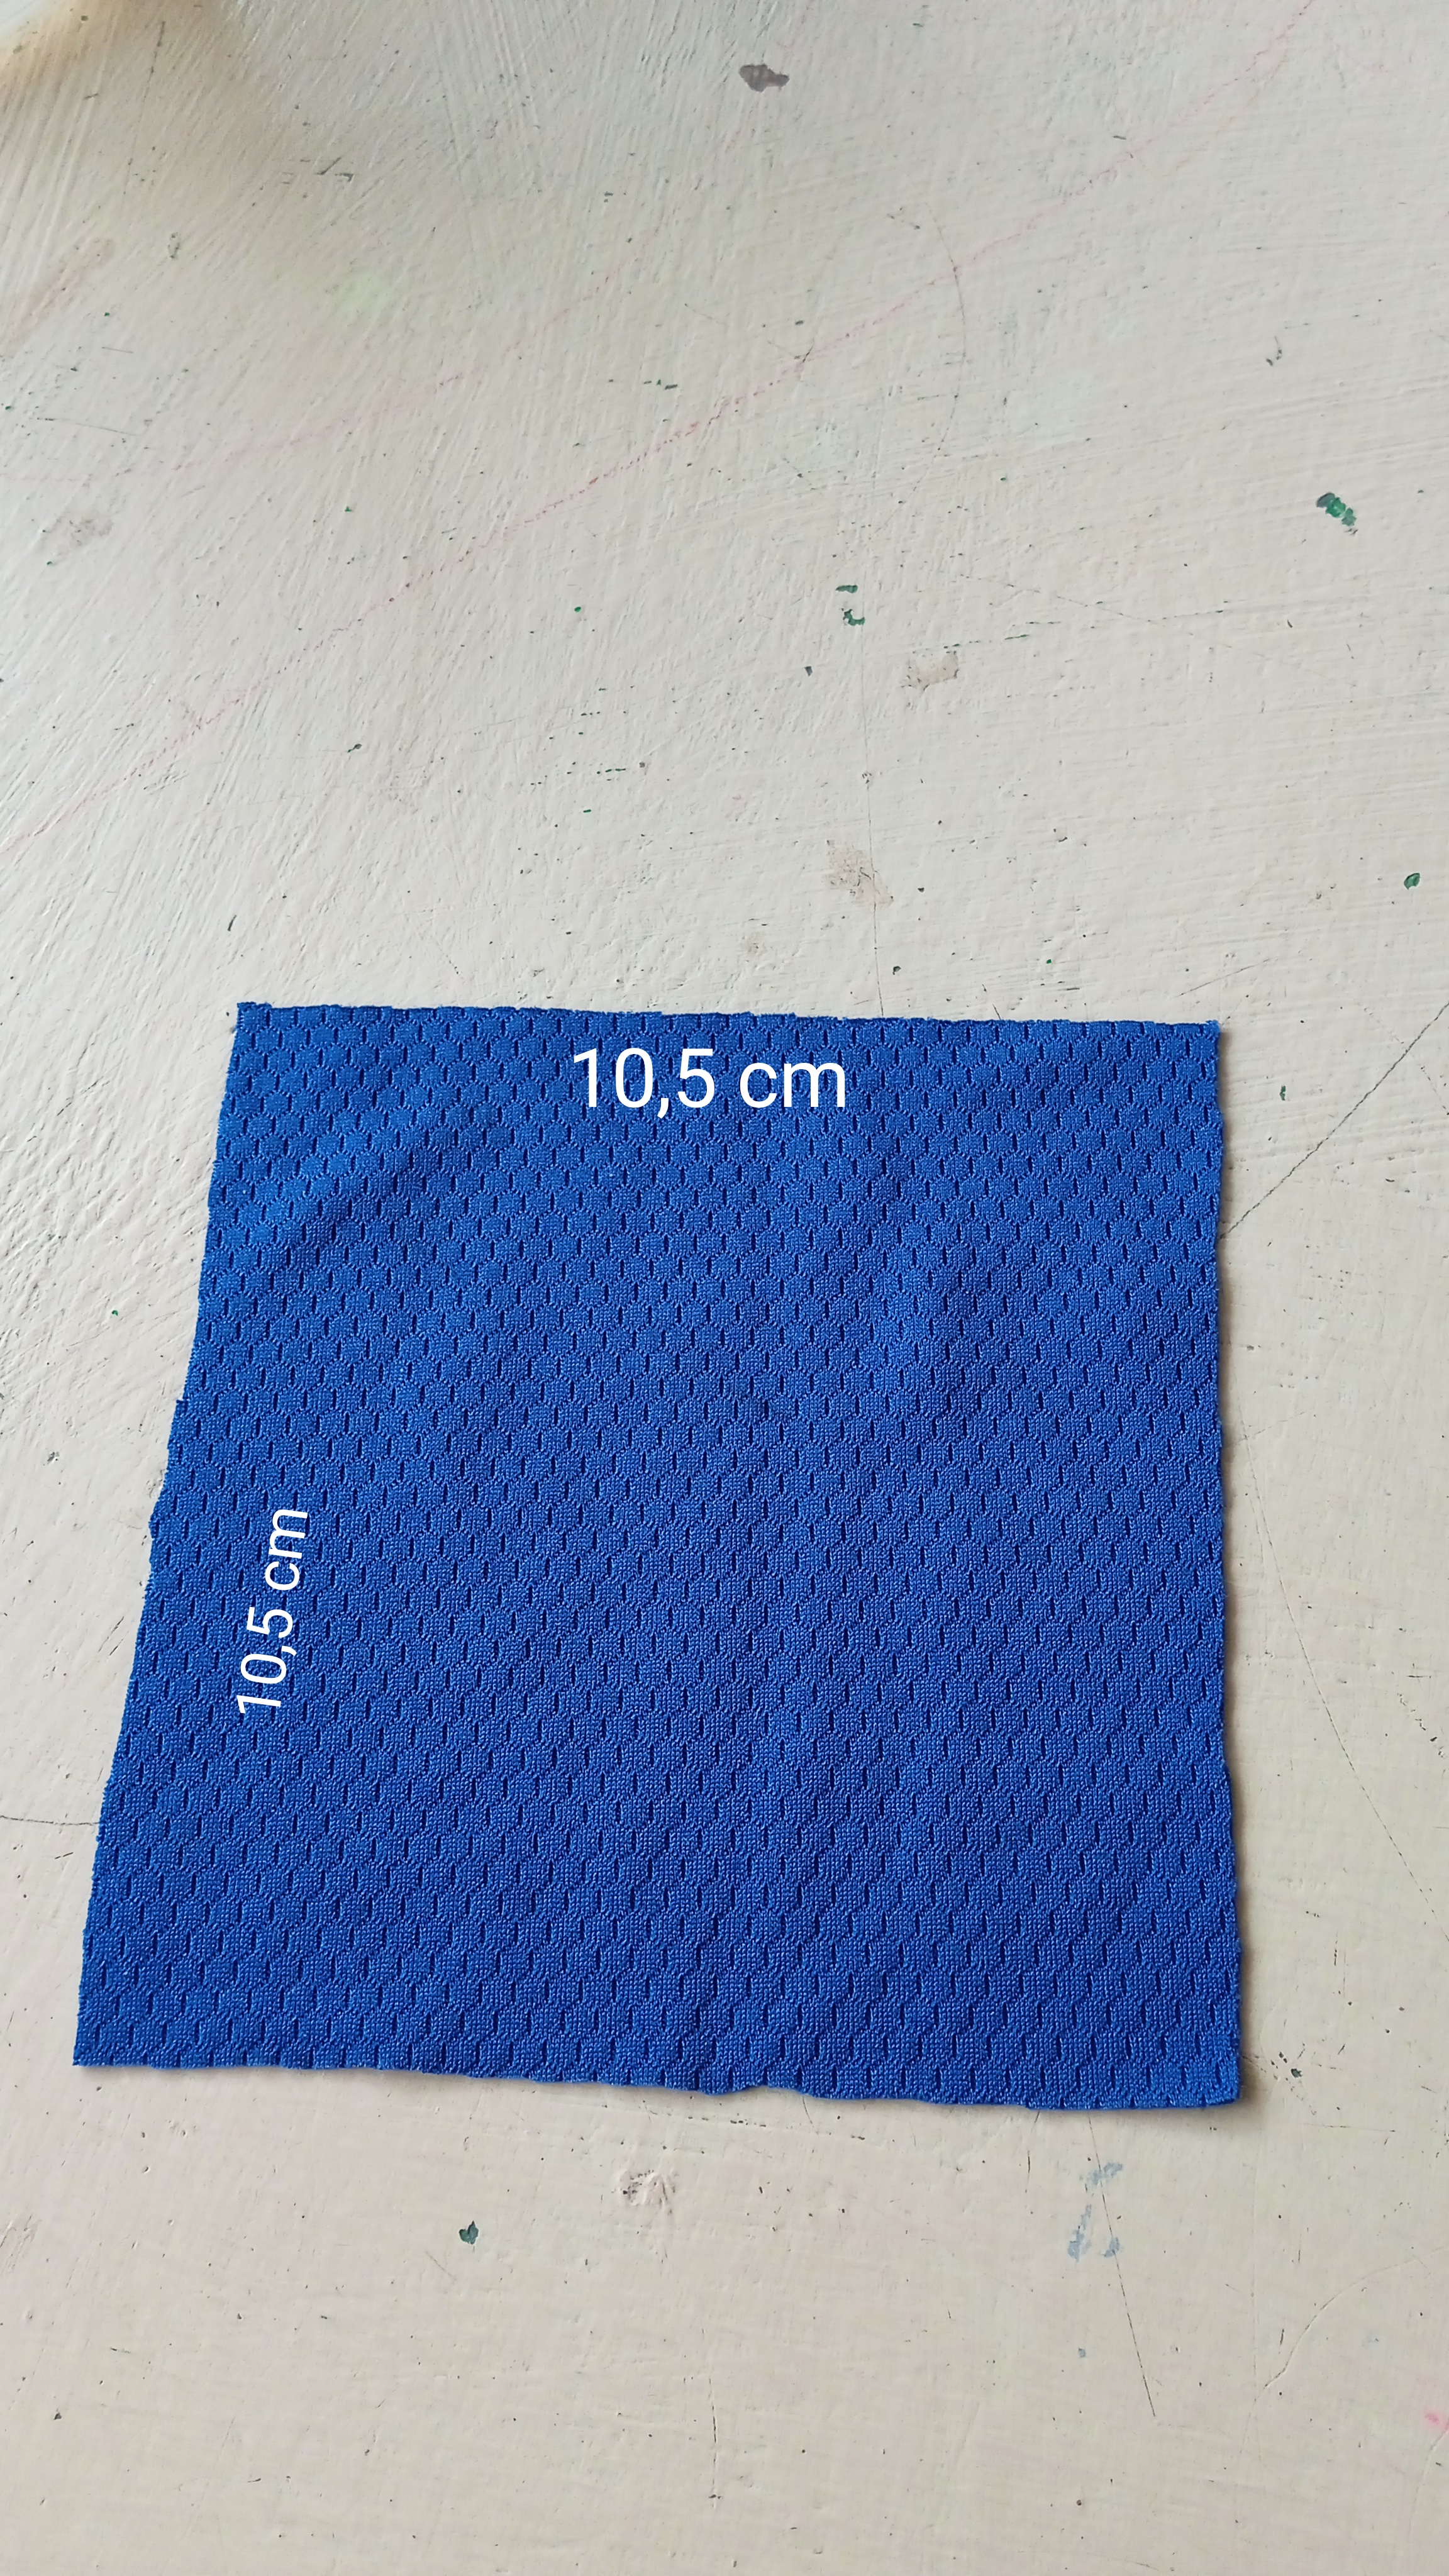
Paso 1.
Step 1.
Once we have the materials ready, we proceed to make the base of the cushion. We will start cutting out a 10.5cm square.
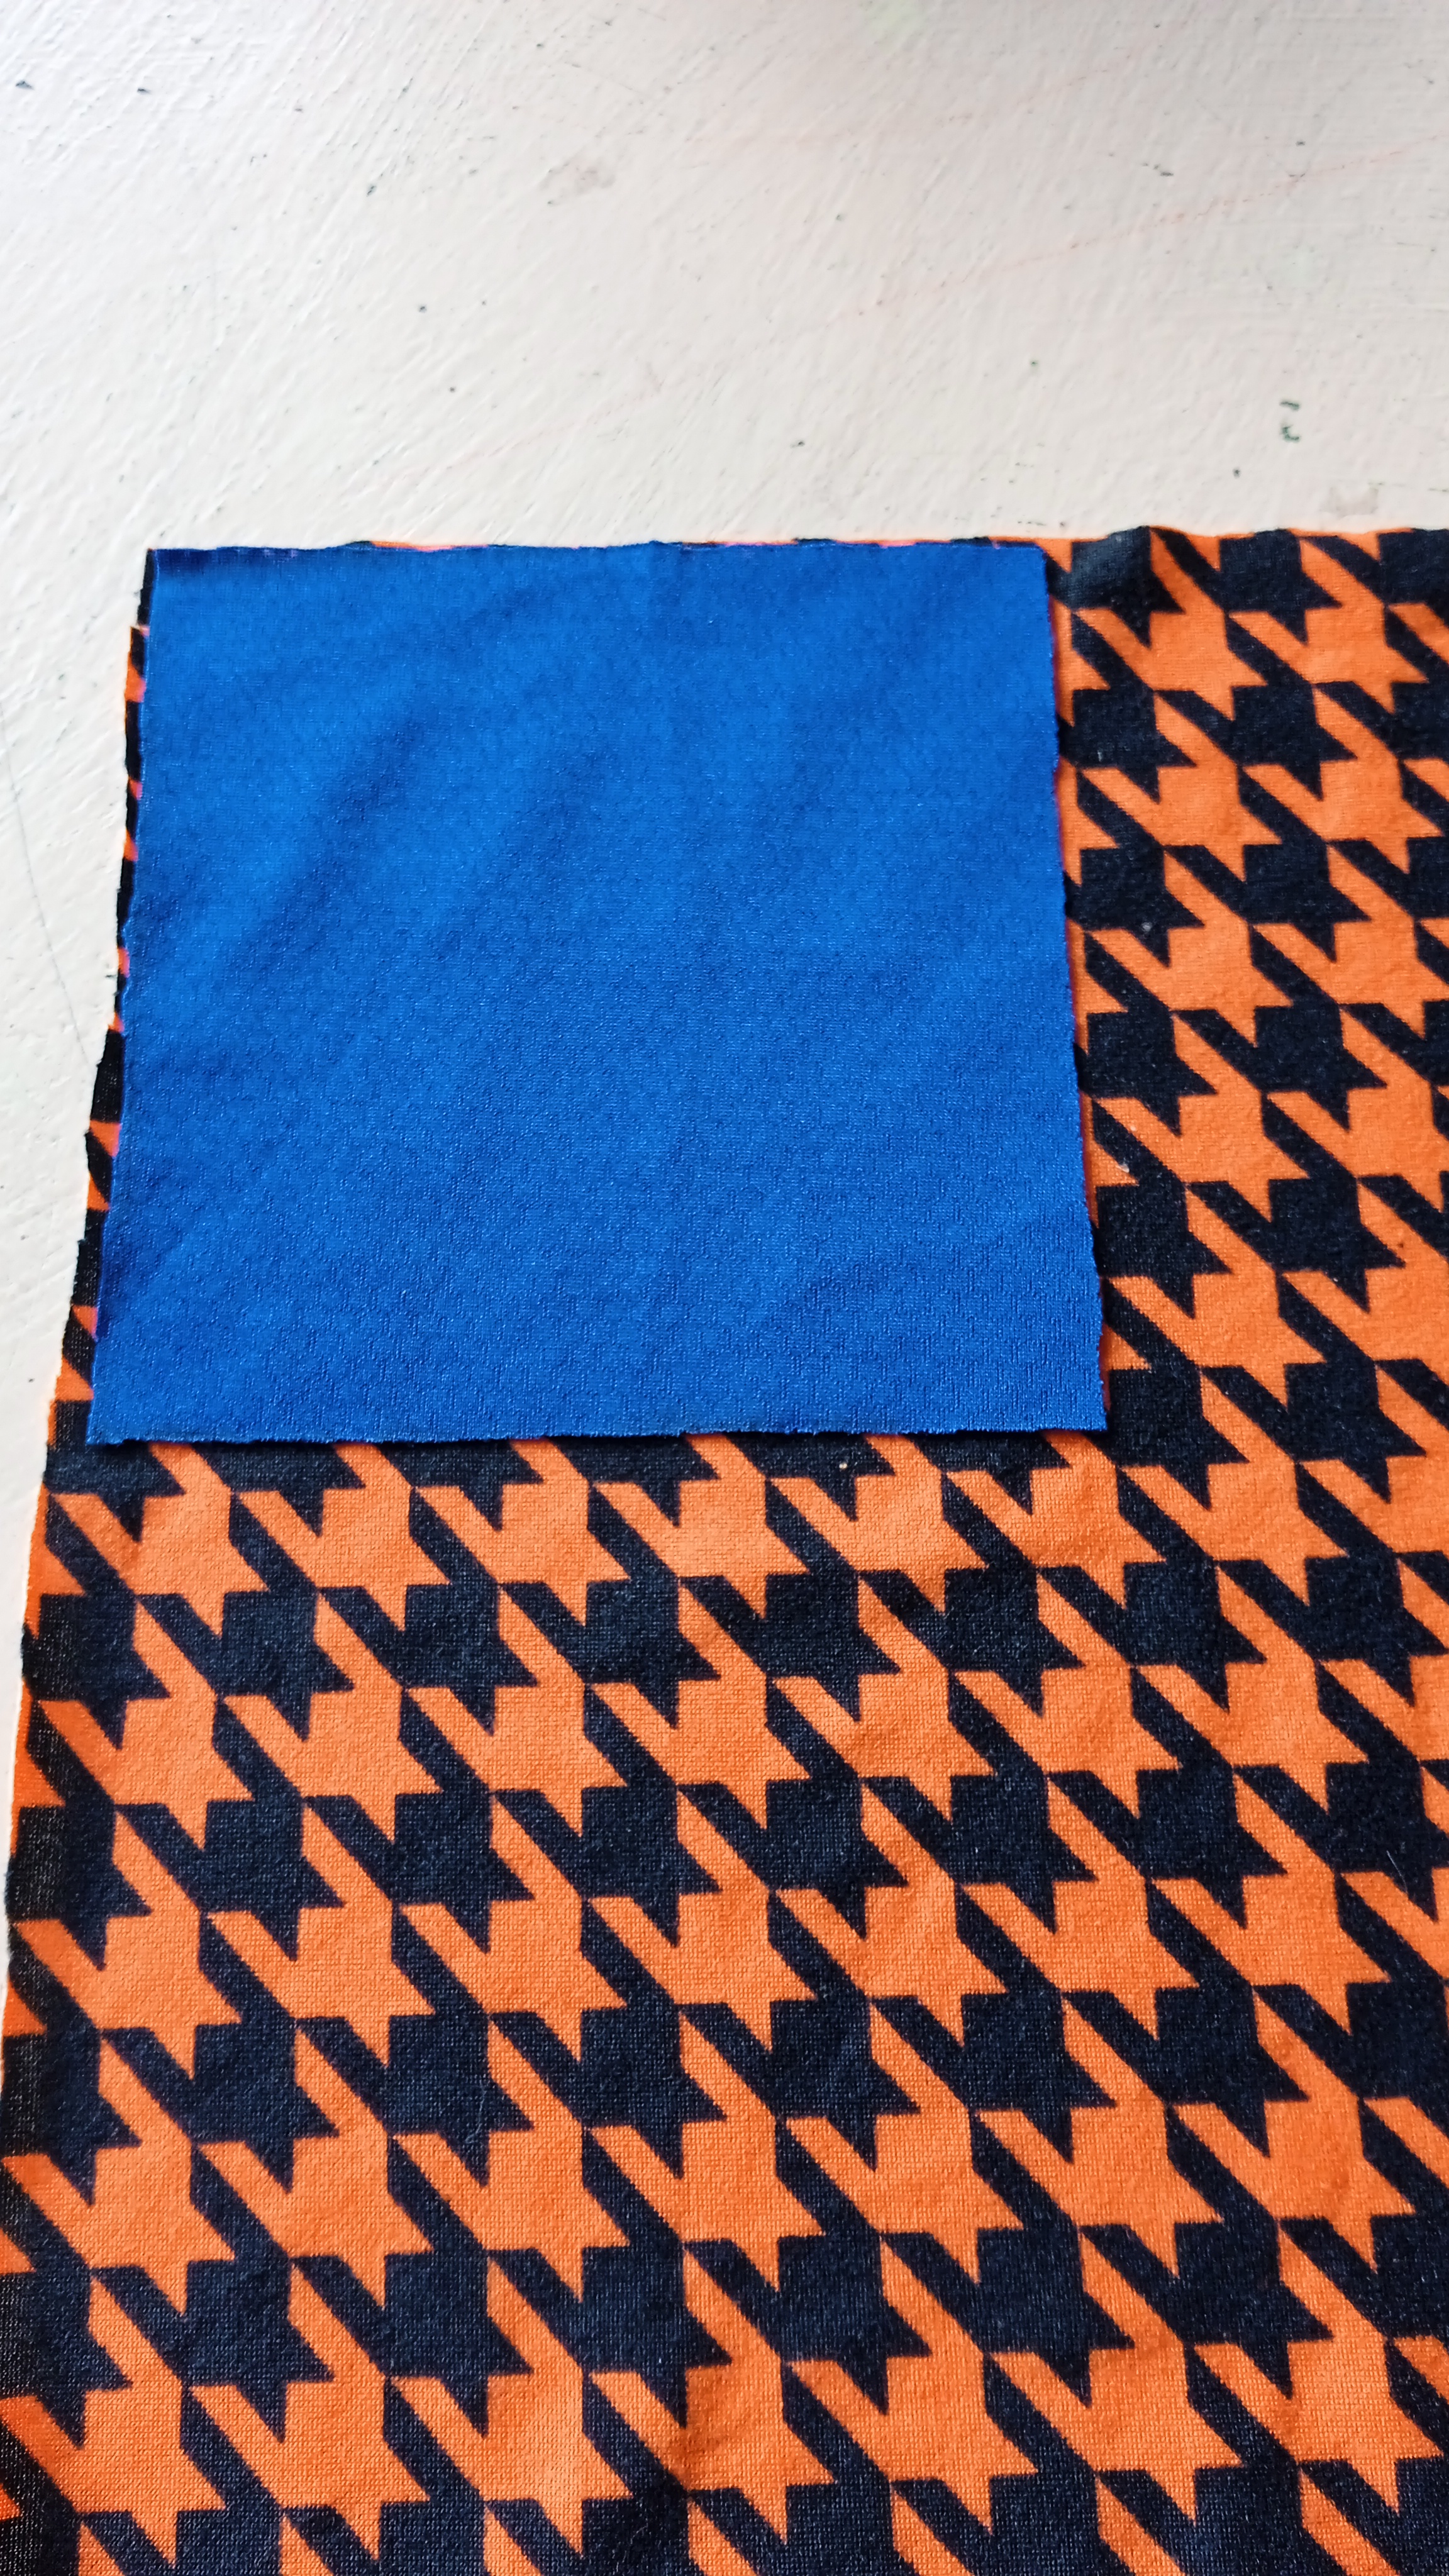
Paso 2.
Step 2.
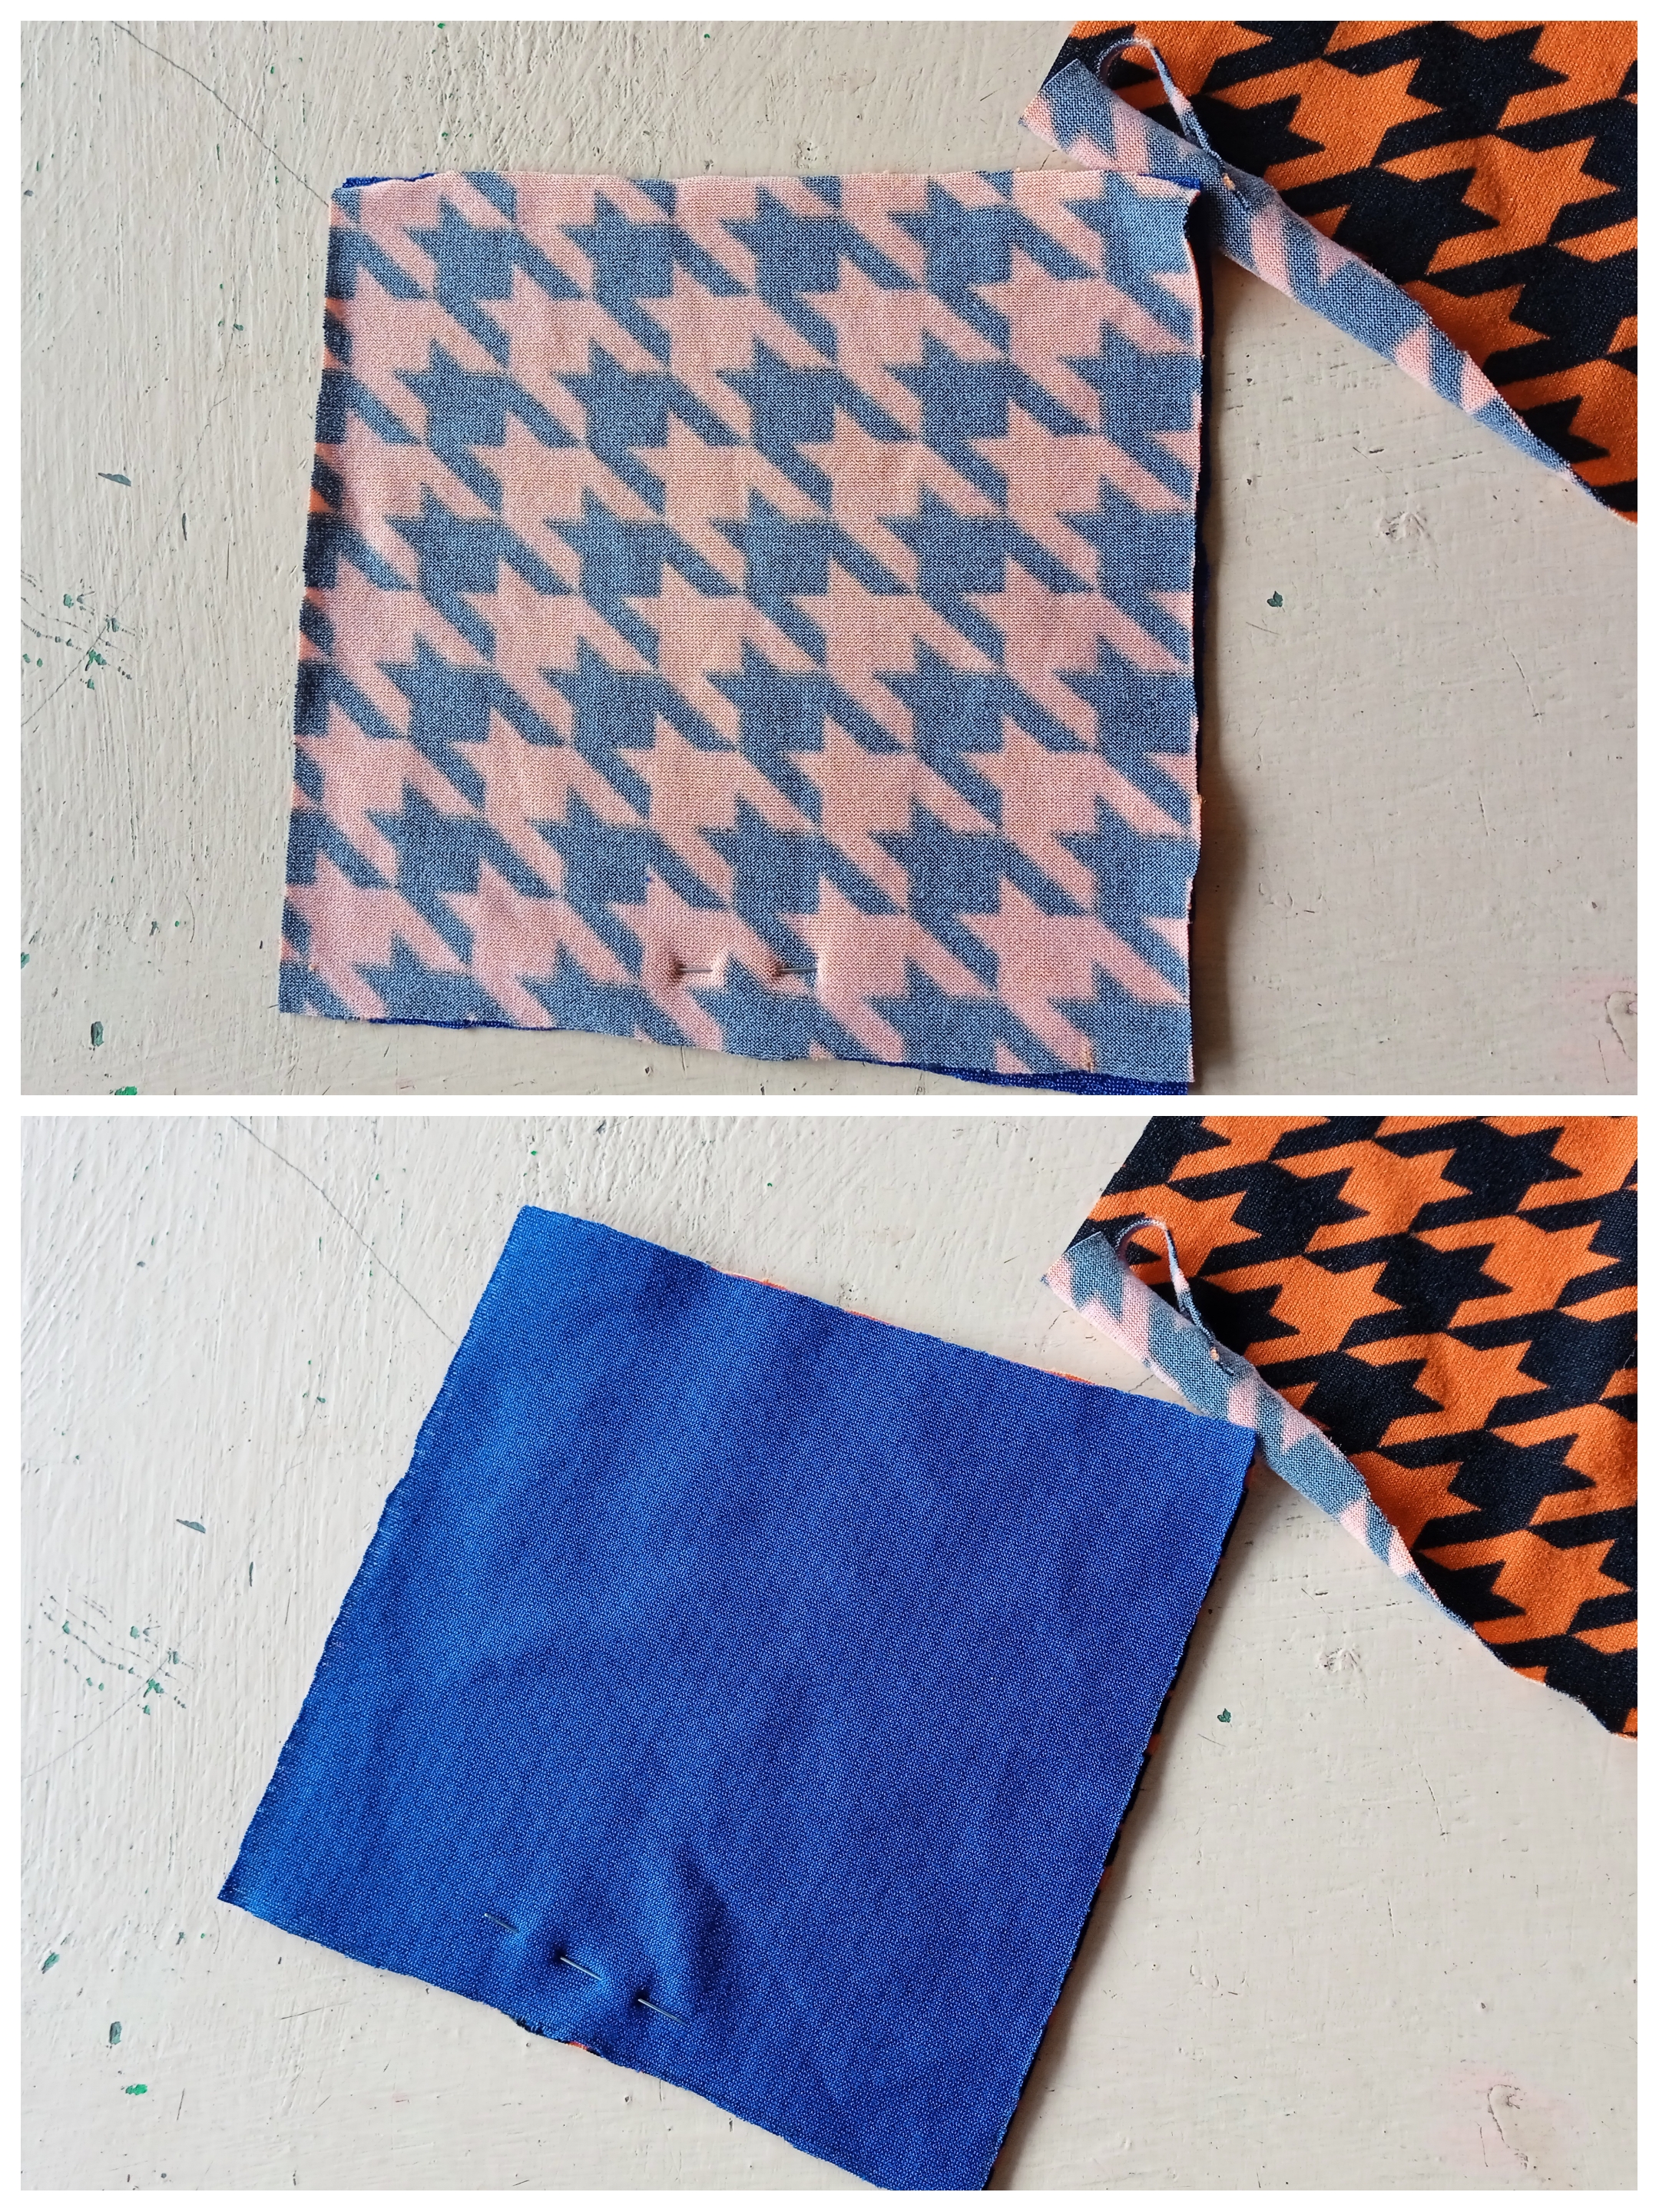
Now we are going to place the first square on another piece of fabric in the color of your choice. Always combine them to give more shine to our cushion. Once we have placed fabric on fabric, we hold and mark the edges.
Paso 3.
Step 3.
Now we are going to cut out this piece to get a pair of squares. We should always use a variety of colors or prints to be able to appreciate the design.
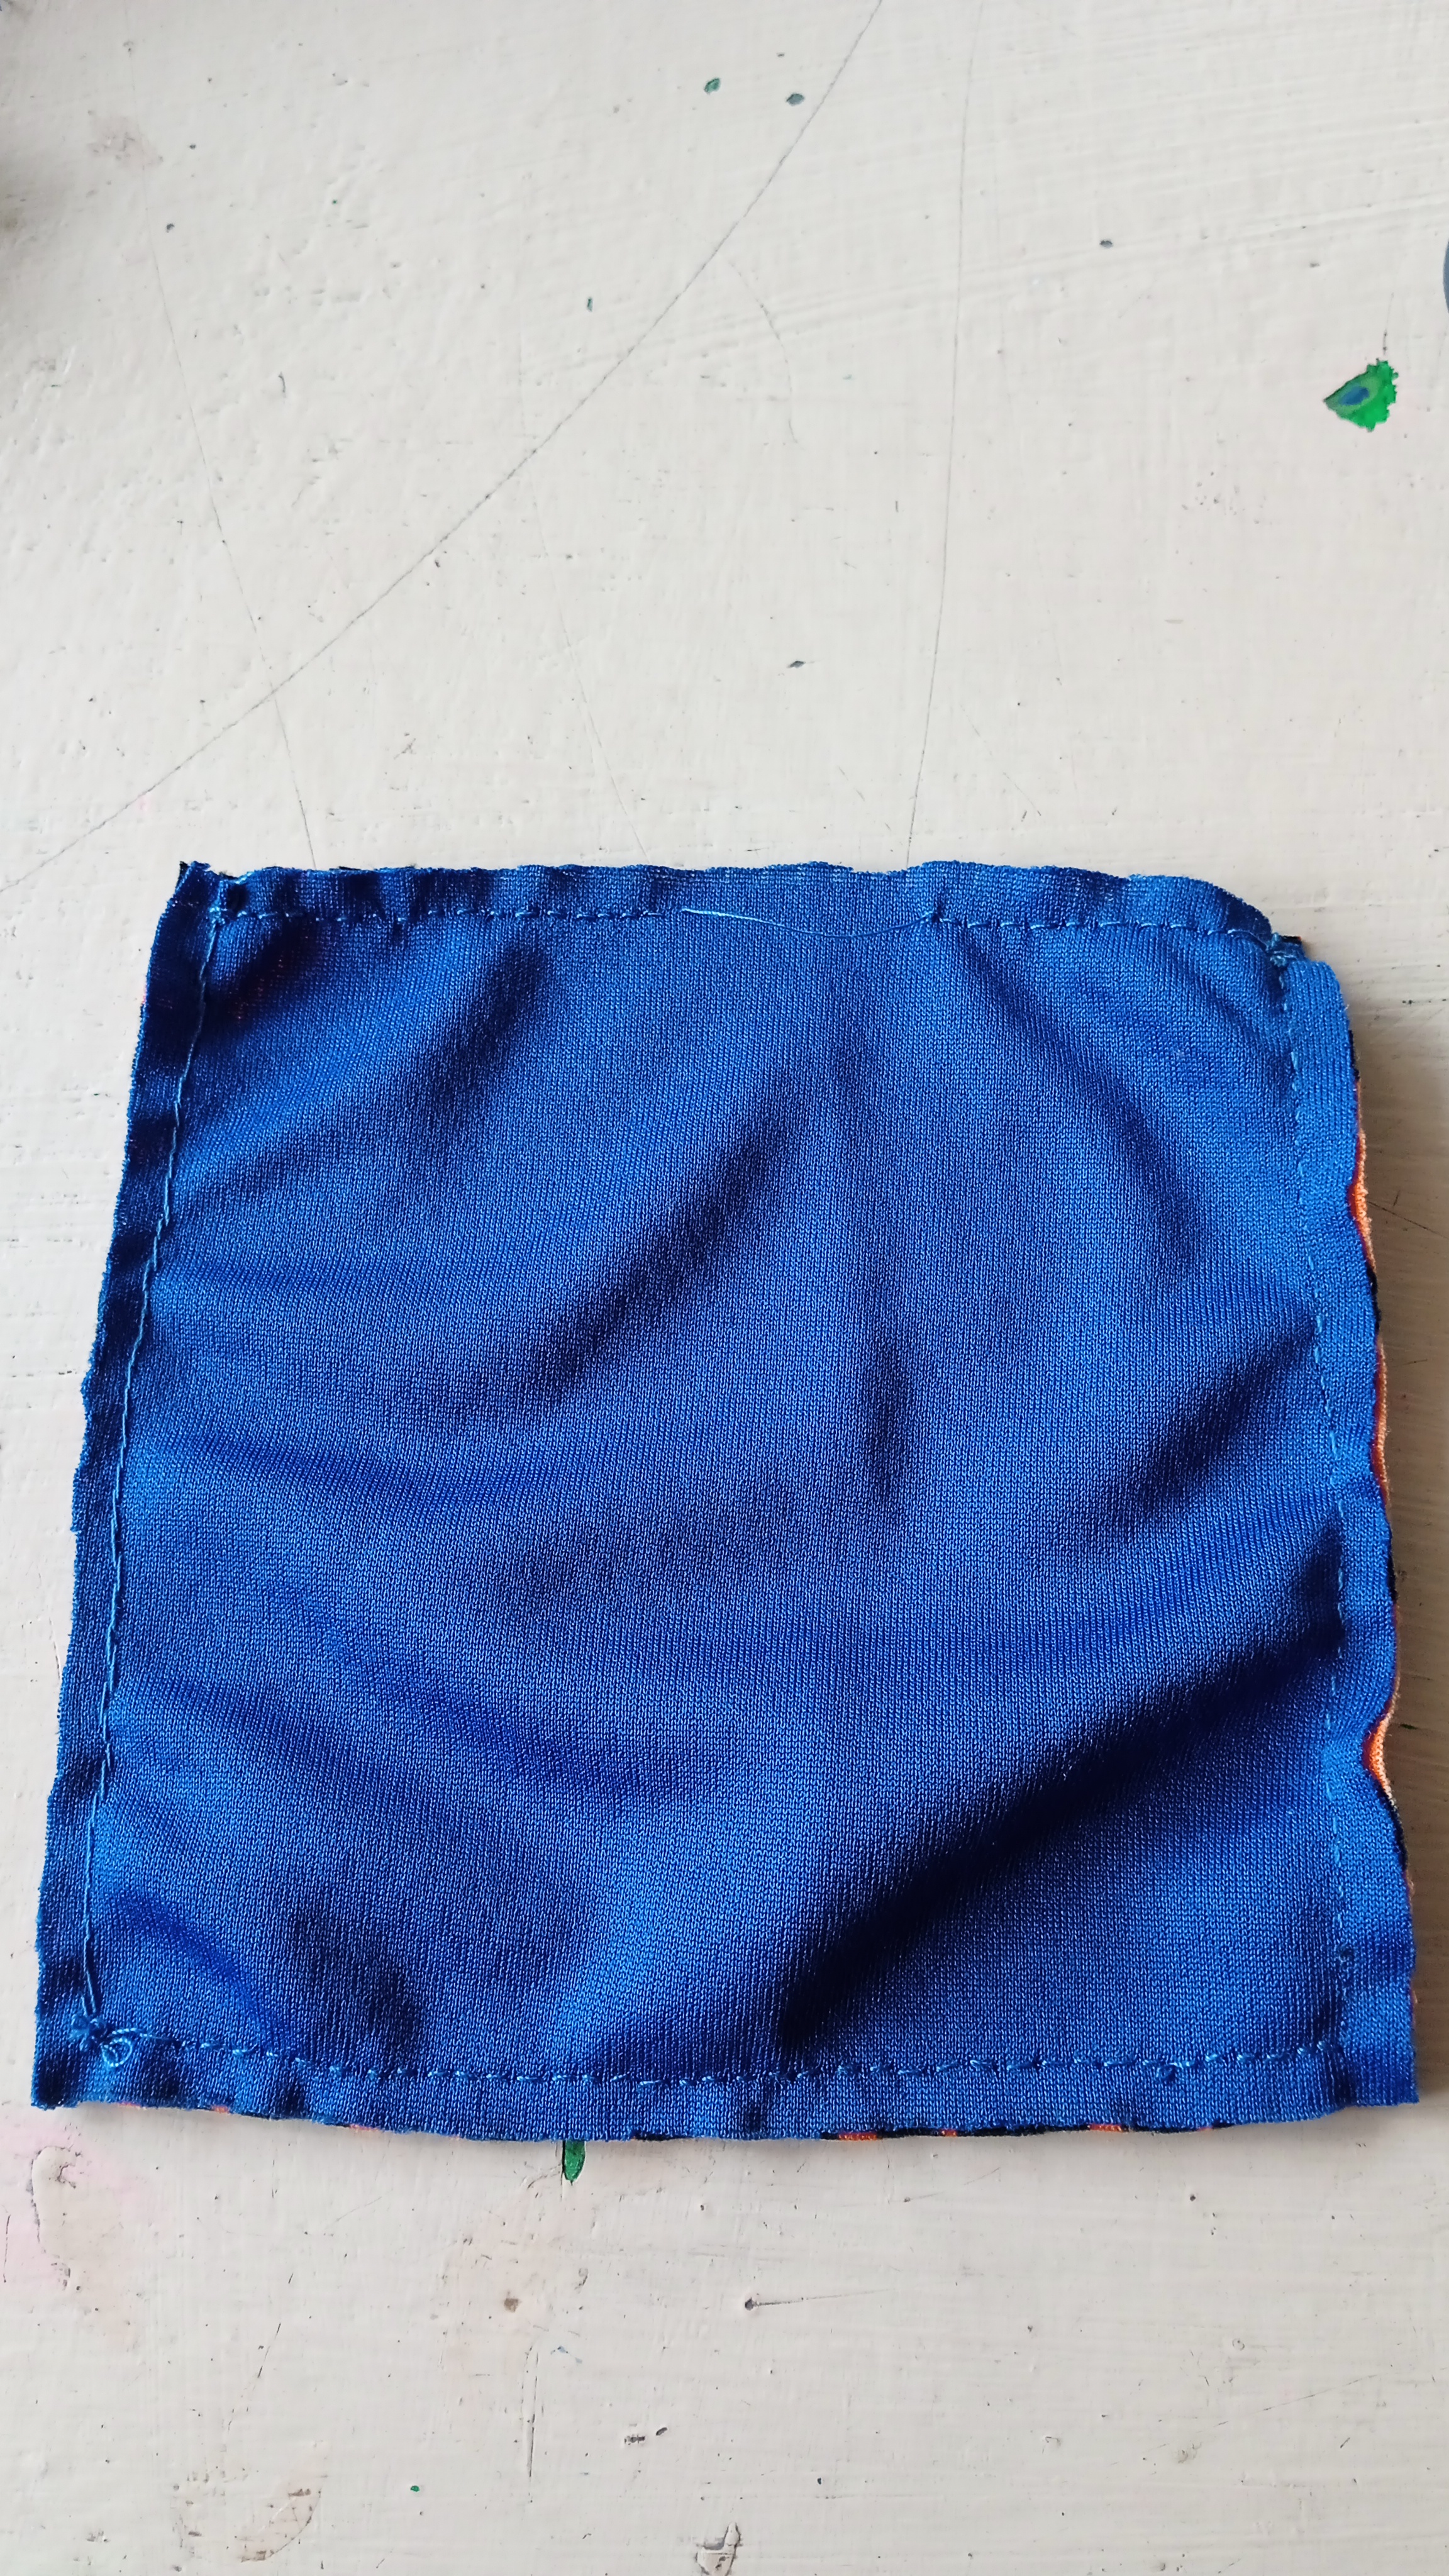
Paso 4.
Step 4.
In this step we are going to join the squares one on top of the other and sew them on the wrong side of the fabric without leaving any openings.
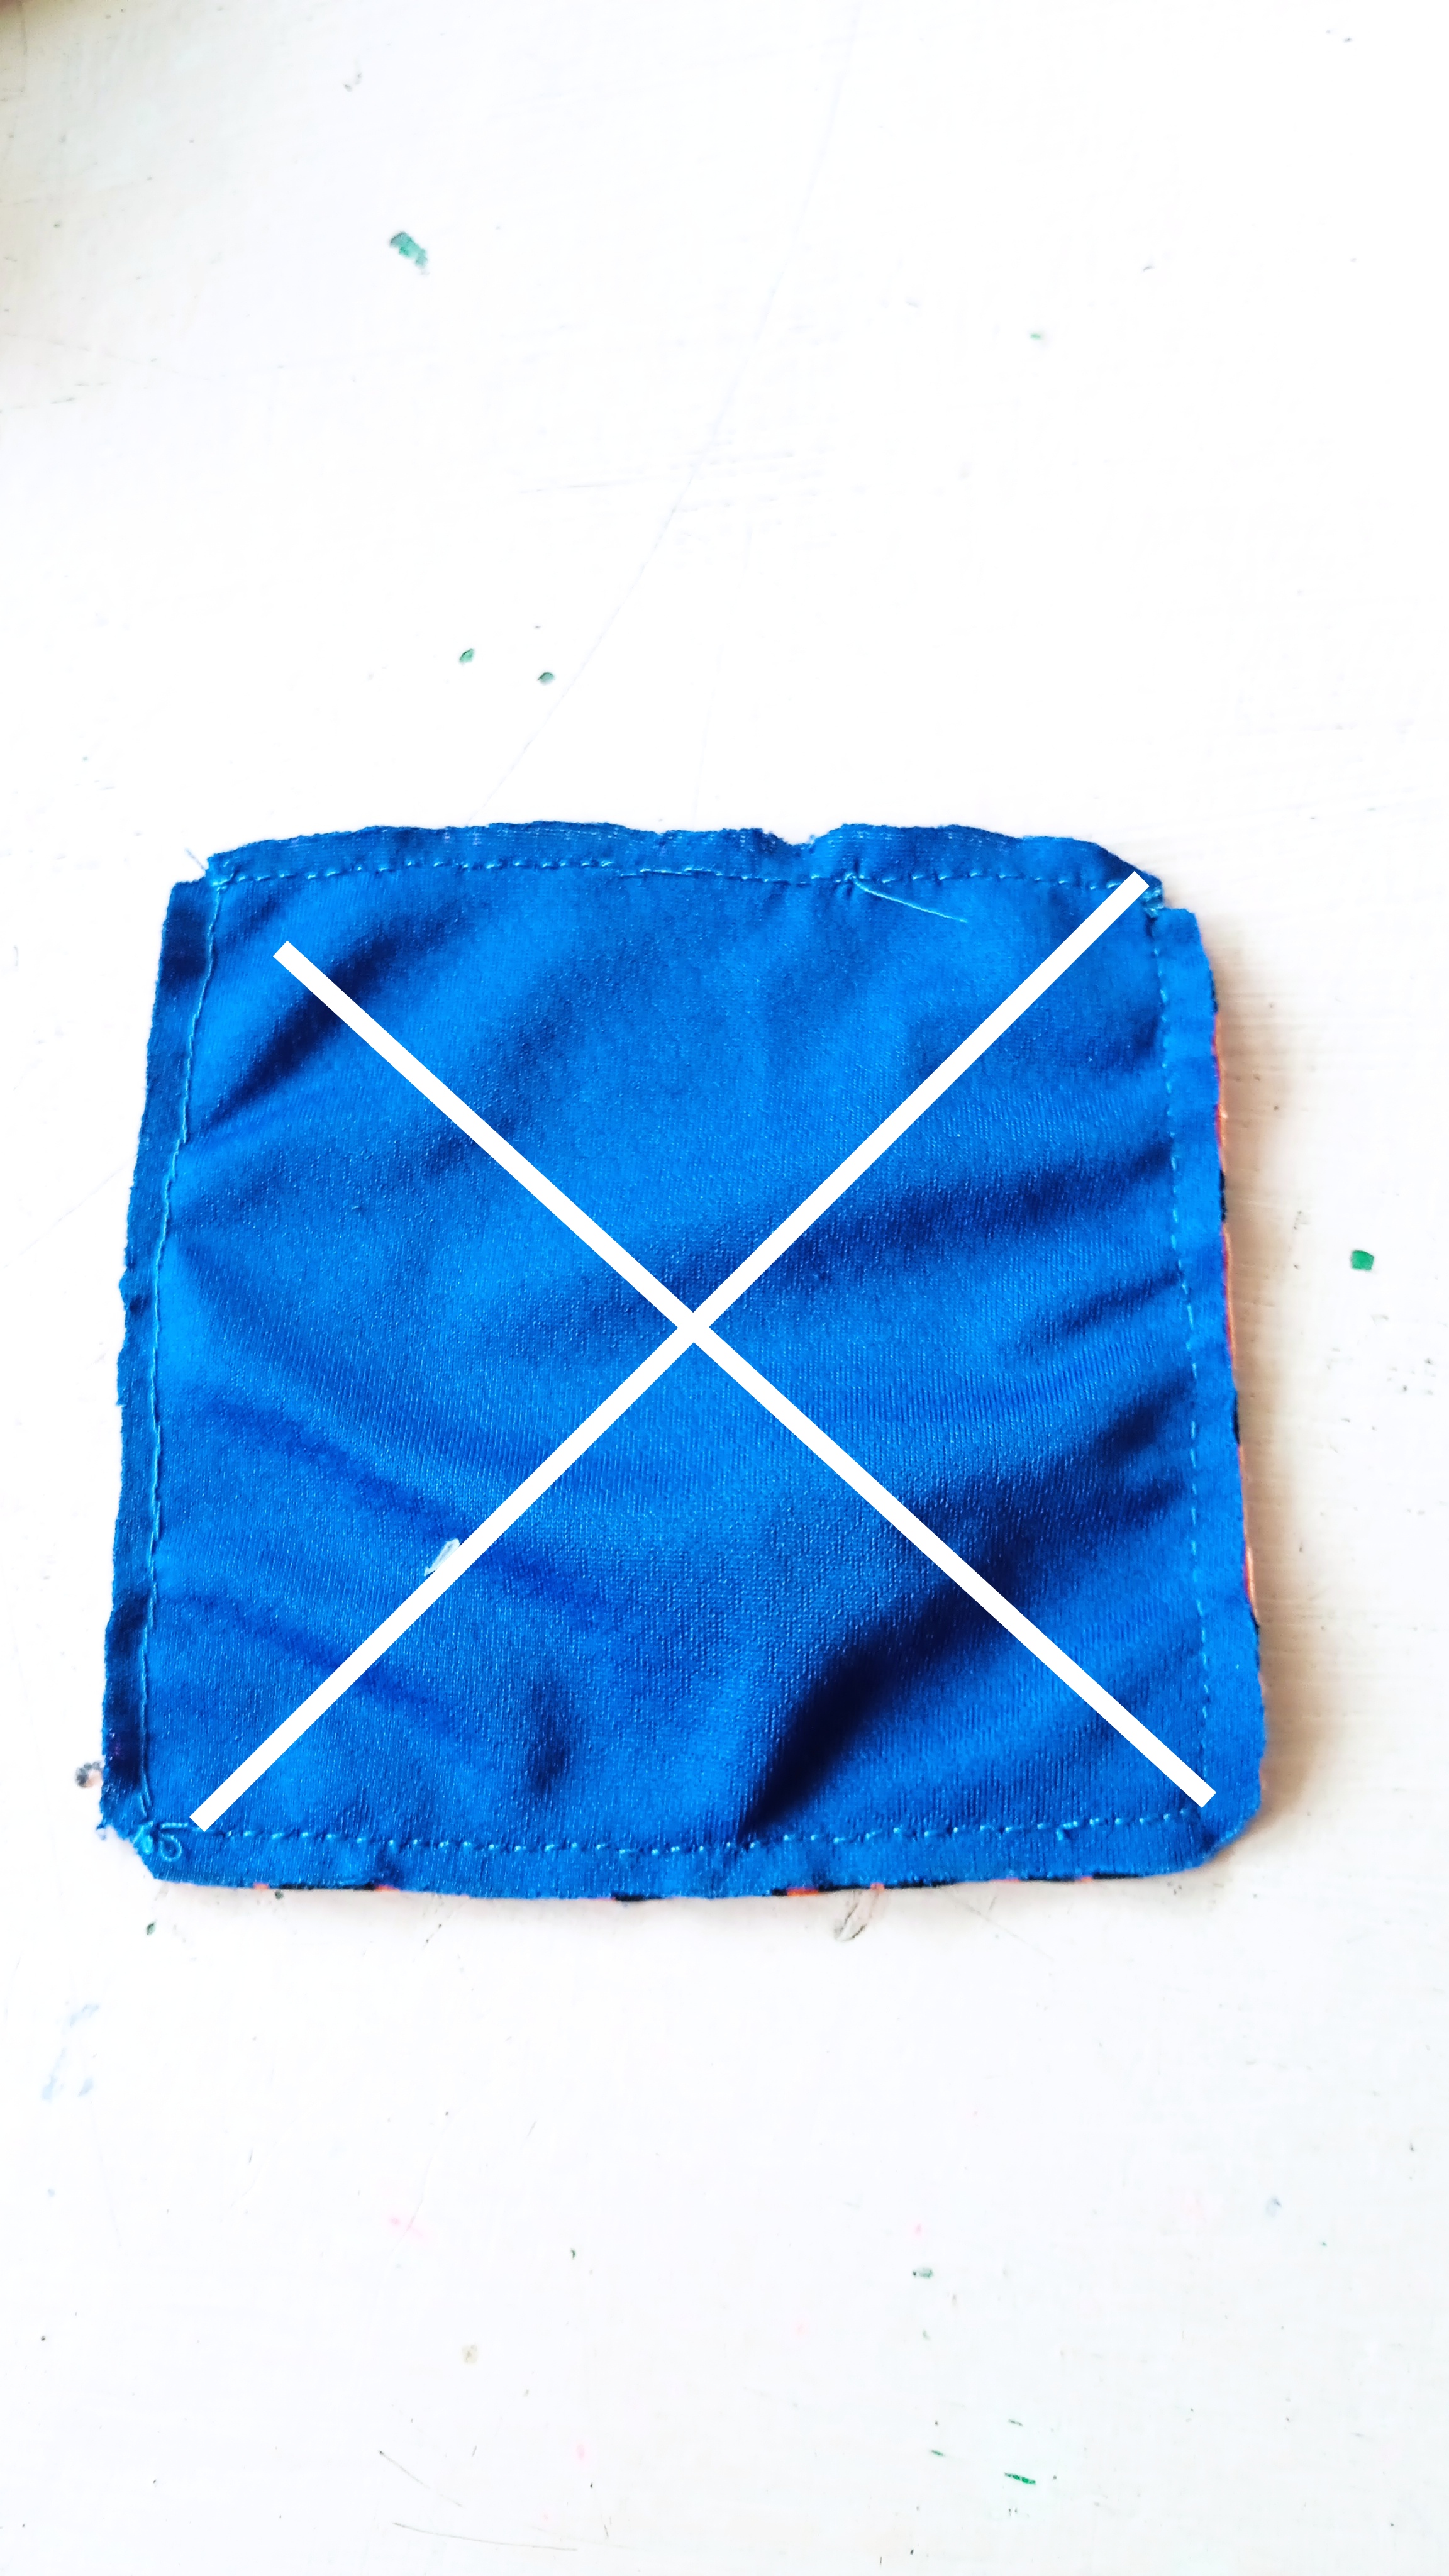
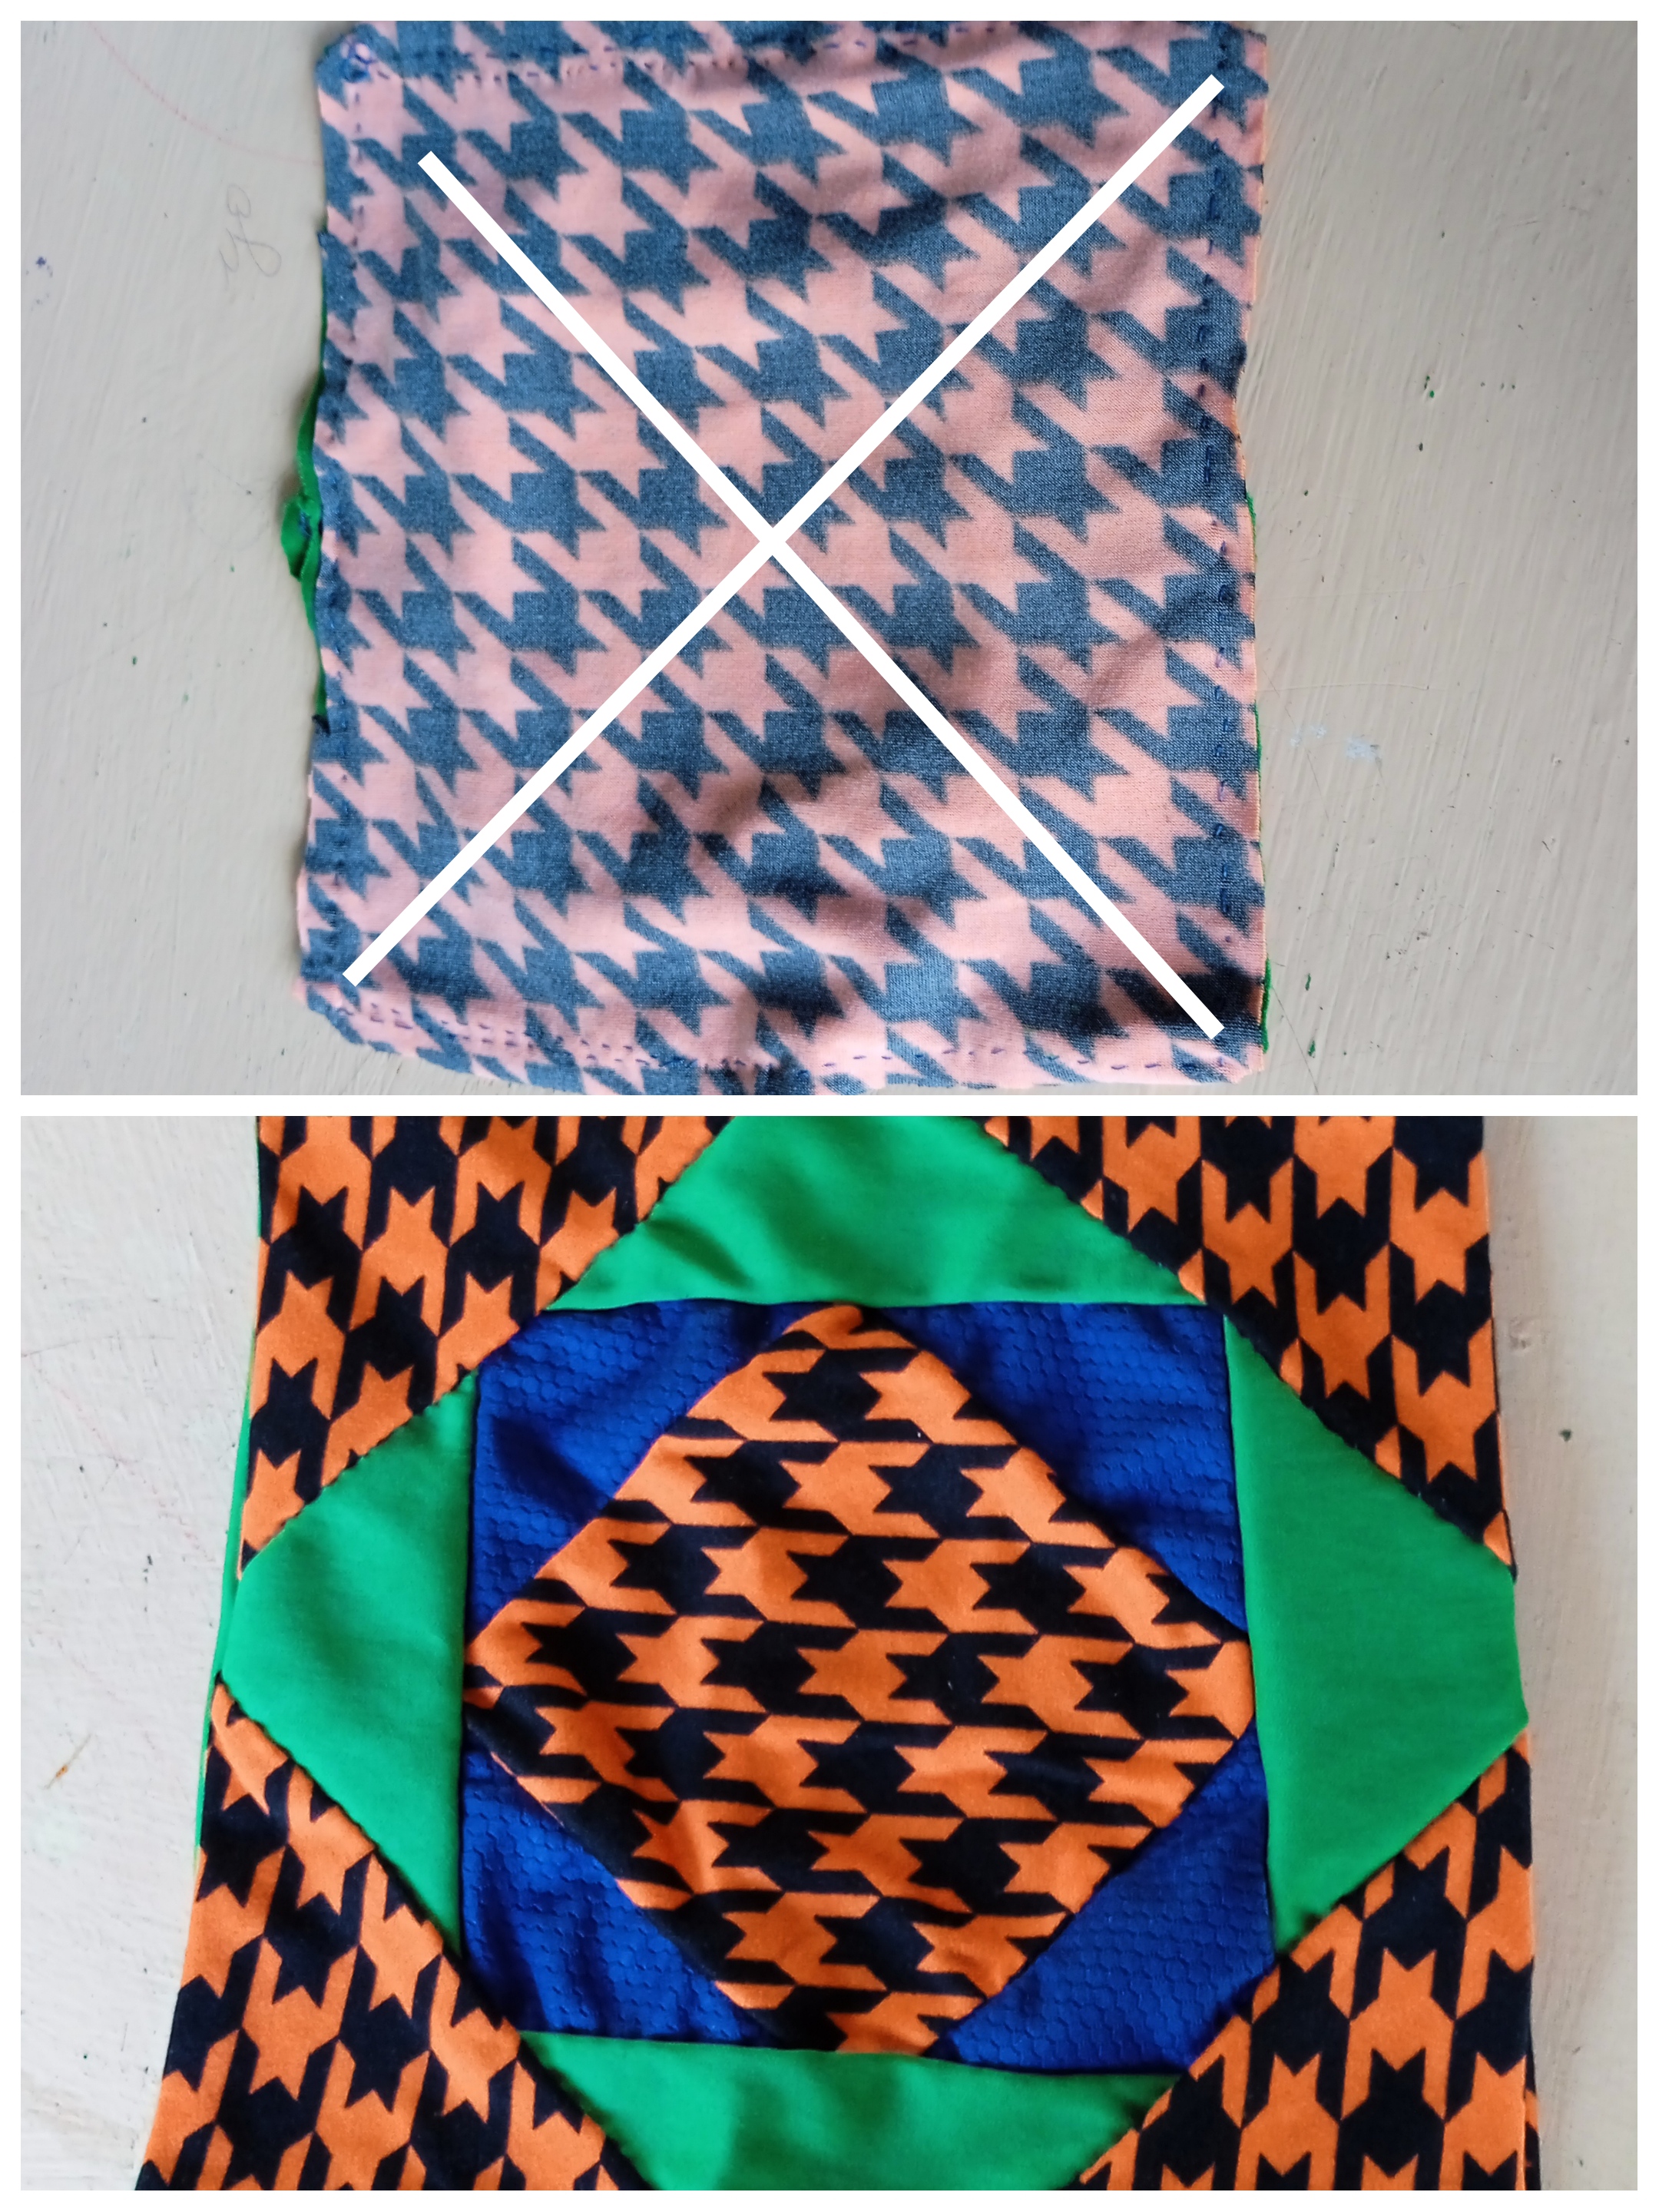
Paso 5.
Con una regla marcamos unas línea formando una x. Así podemos guiarnos y hacer un buen corte.
Step 5.
Using a ruler, we mark some lines forming an X. This will help us guide ourselves and make a good cut.
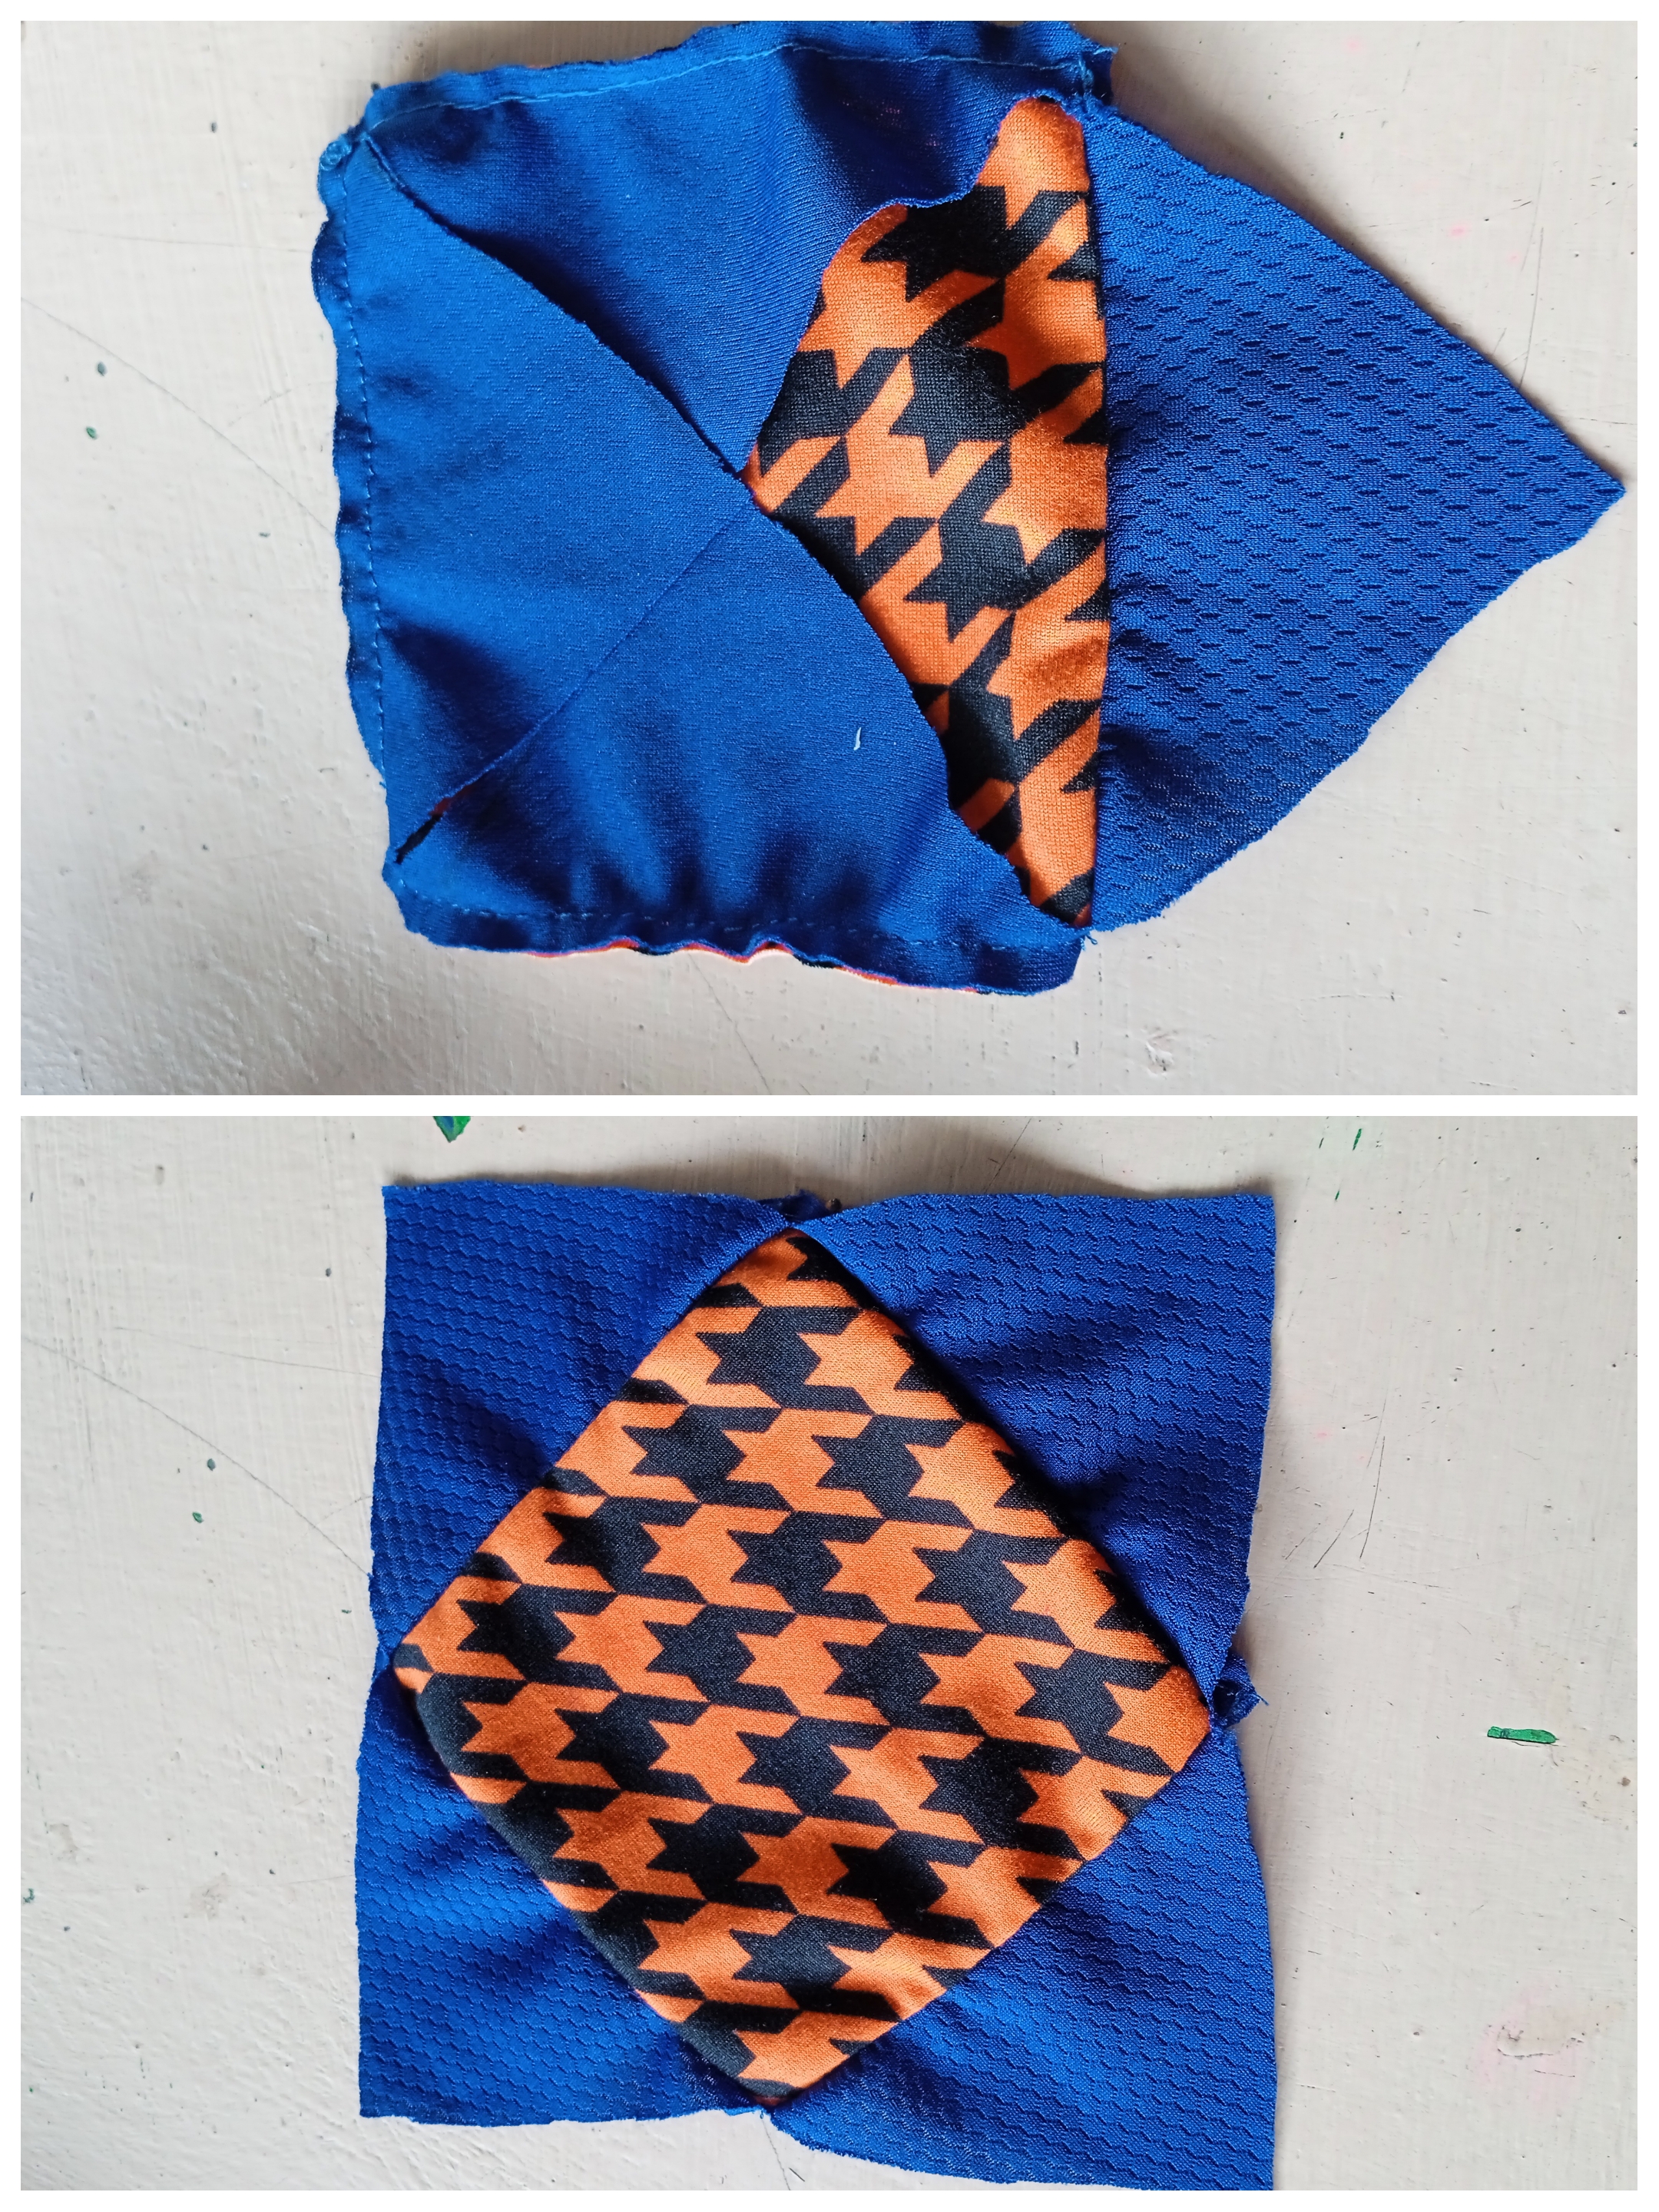
Paso 6.
Step 6.
We cut along the drawn lines, this is how our piece should look. We open each part and we can iron at a moderate temperature, depending on the type of fabric we use.
Paso 7.
Step 7.
Place the blue and orange pieces on the green fabric and pin them in place. Then cut along the edges to make a larger square. As you place one on top of the other, the piece will get bigger. Sew around and repeat the same procedure, marking some lines in the center and cutting.
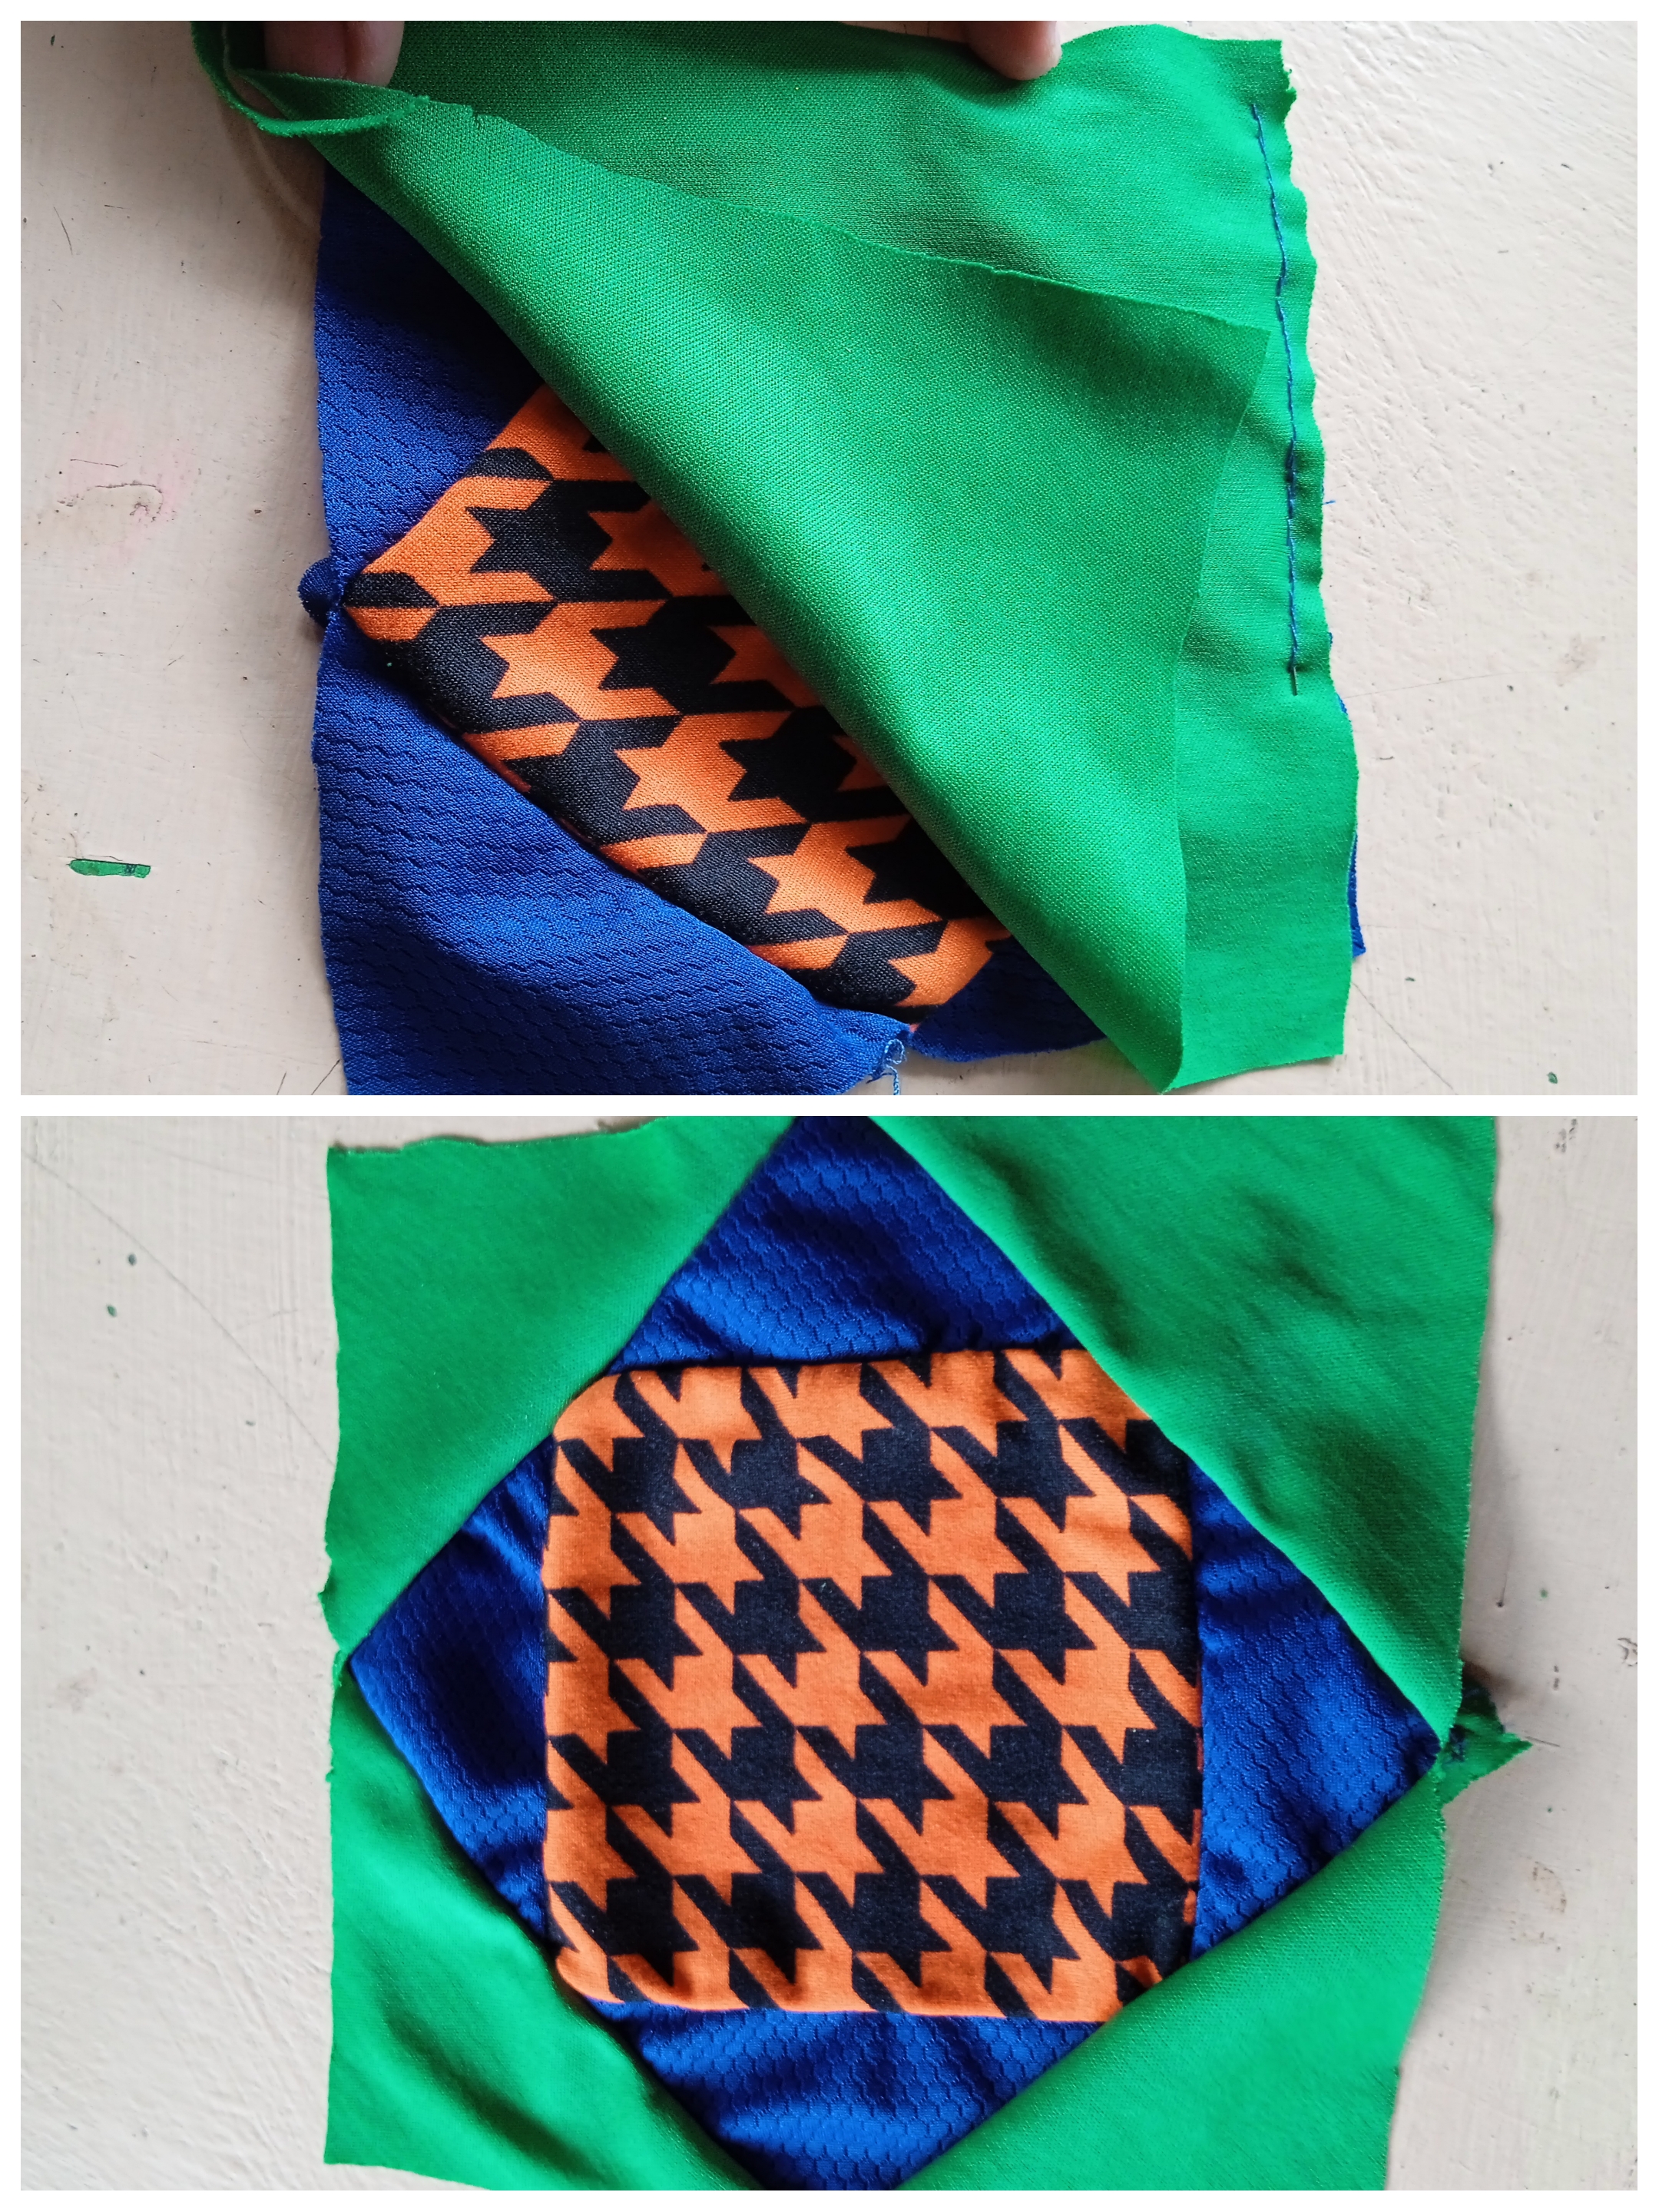
Paso 8.
Step 8.
We are almost done, we place the piece on the printed fabric and do the same, we mark, cut another square and make the lines in an X shape, then we cut along the lines. The procedure will be the same, even increasing the size if you wish.
Paso 9.
Step 9.
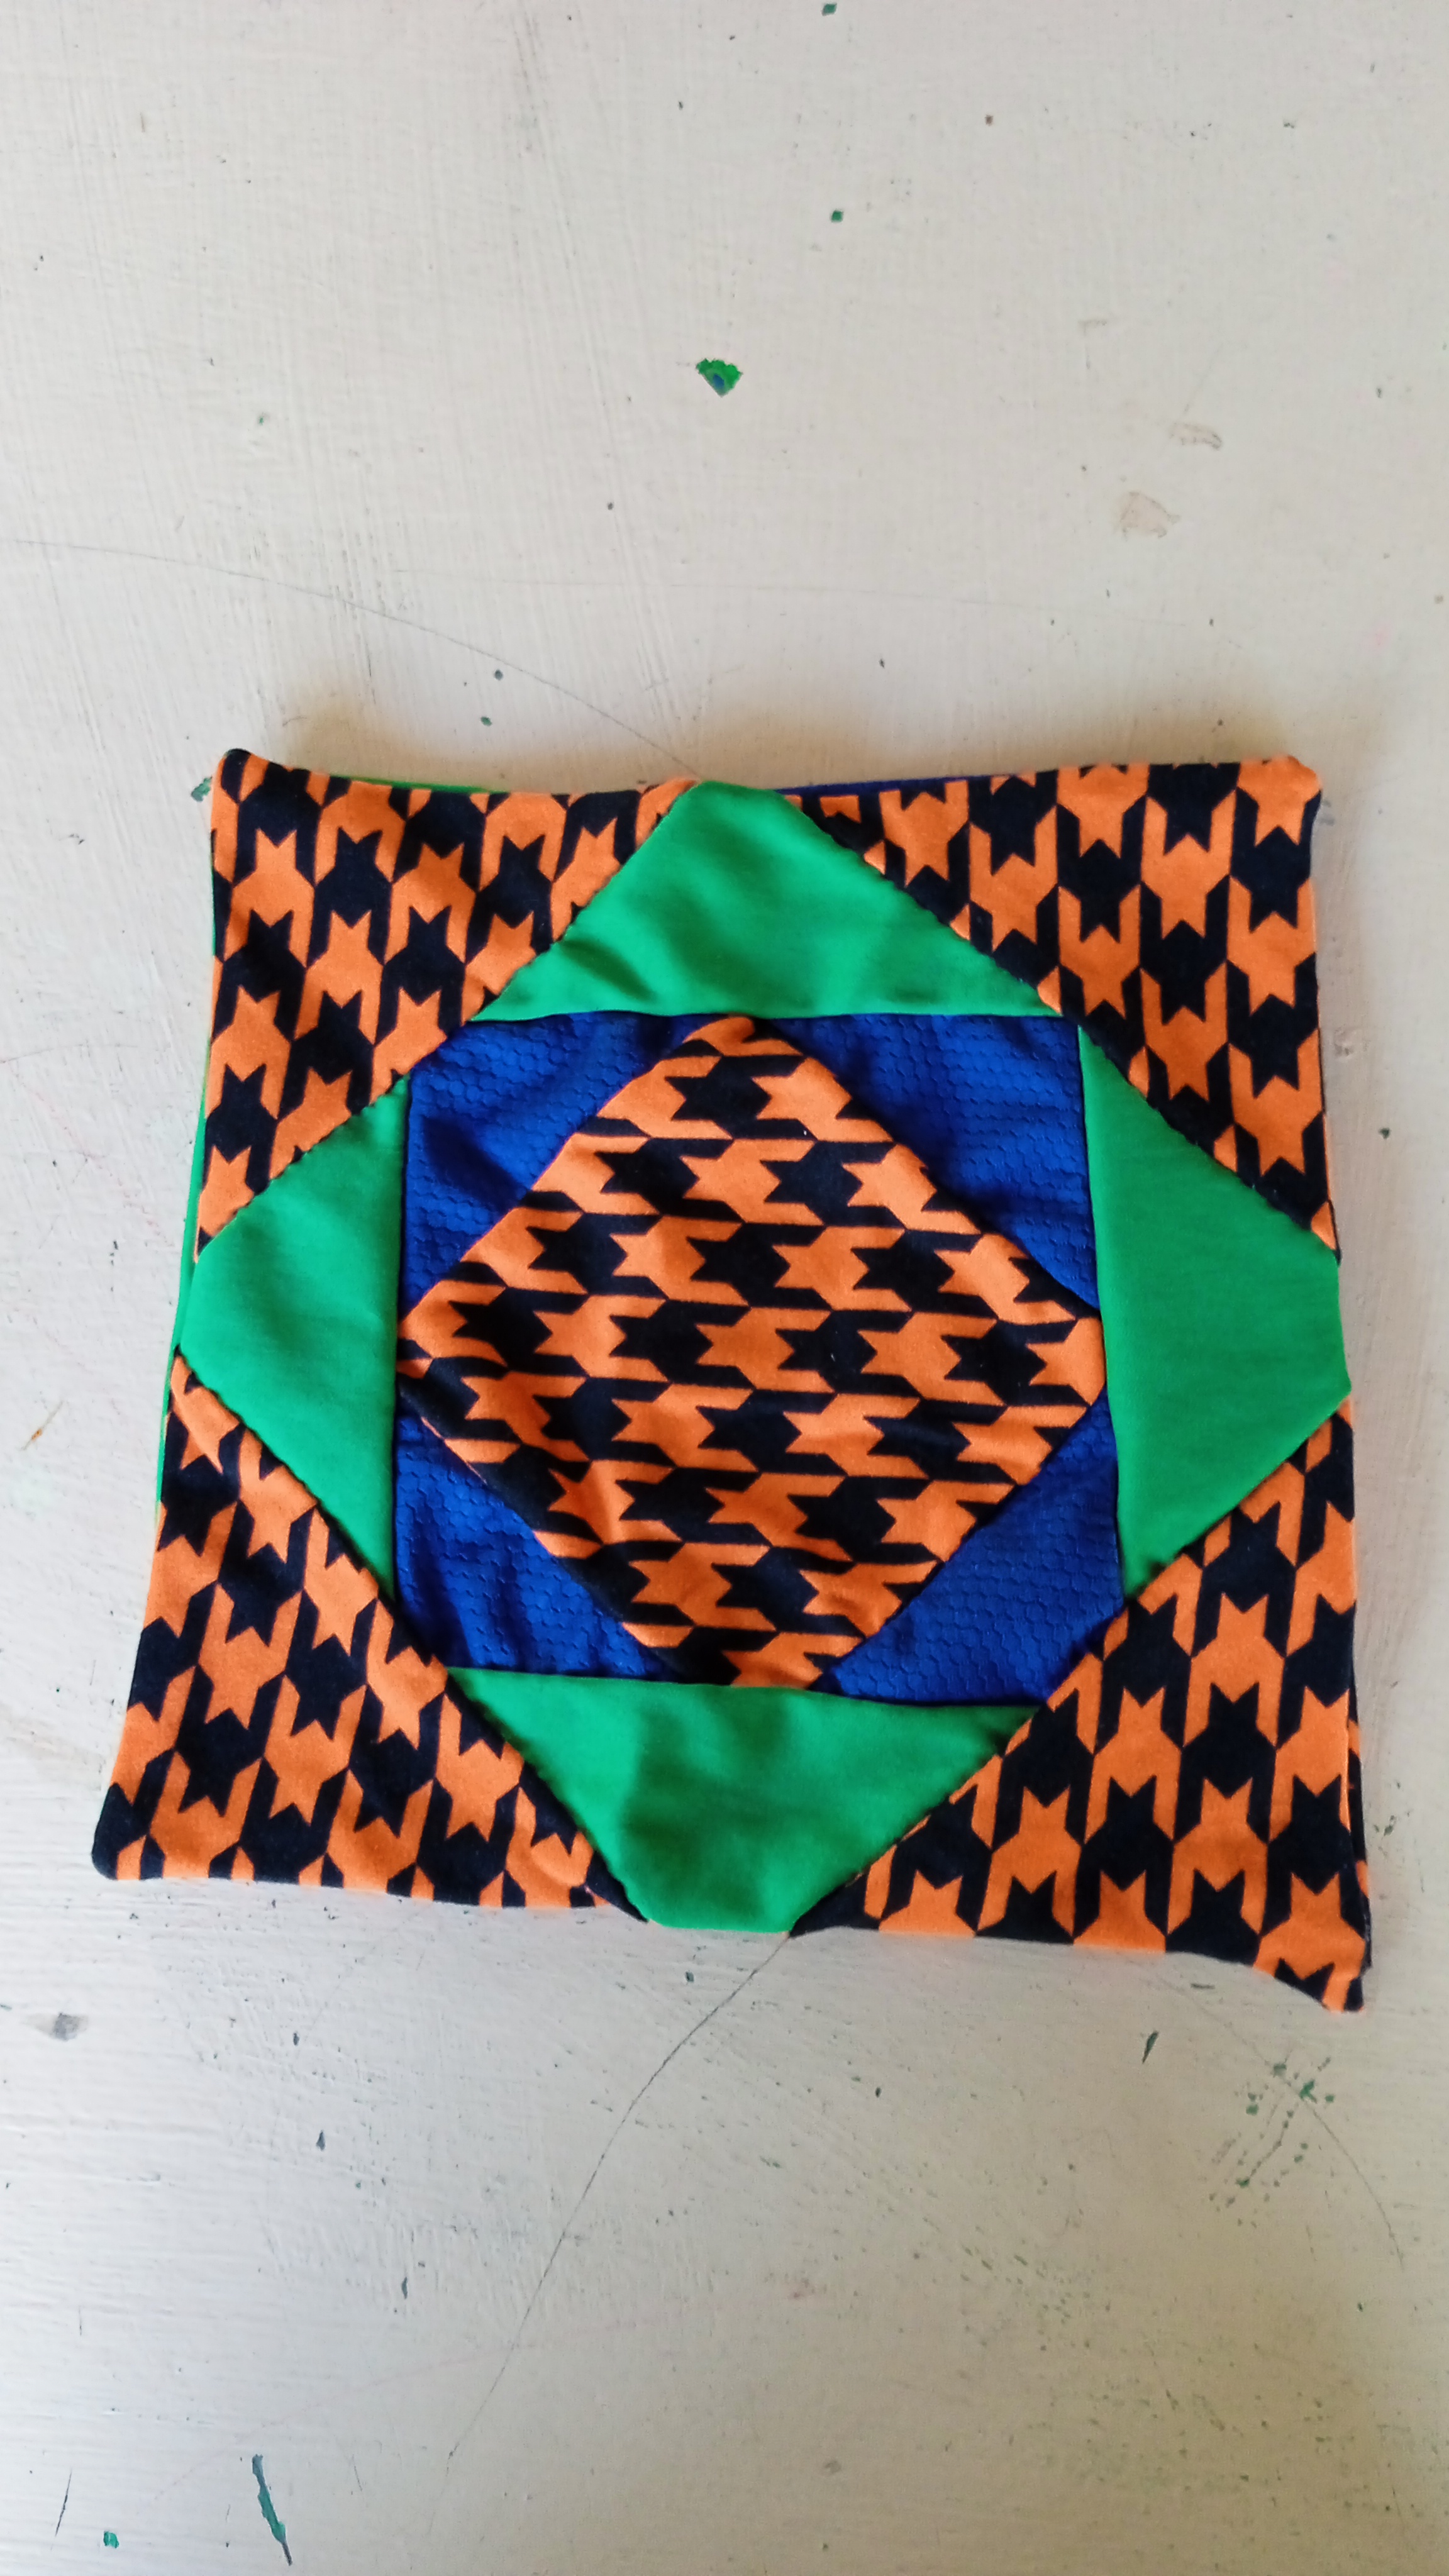
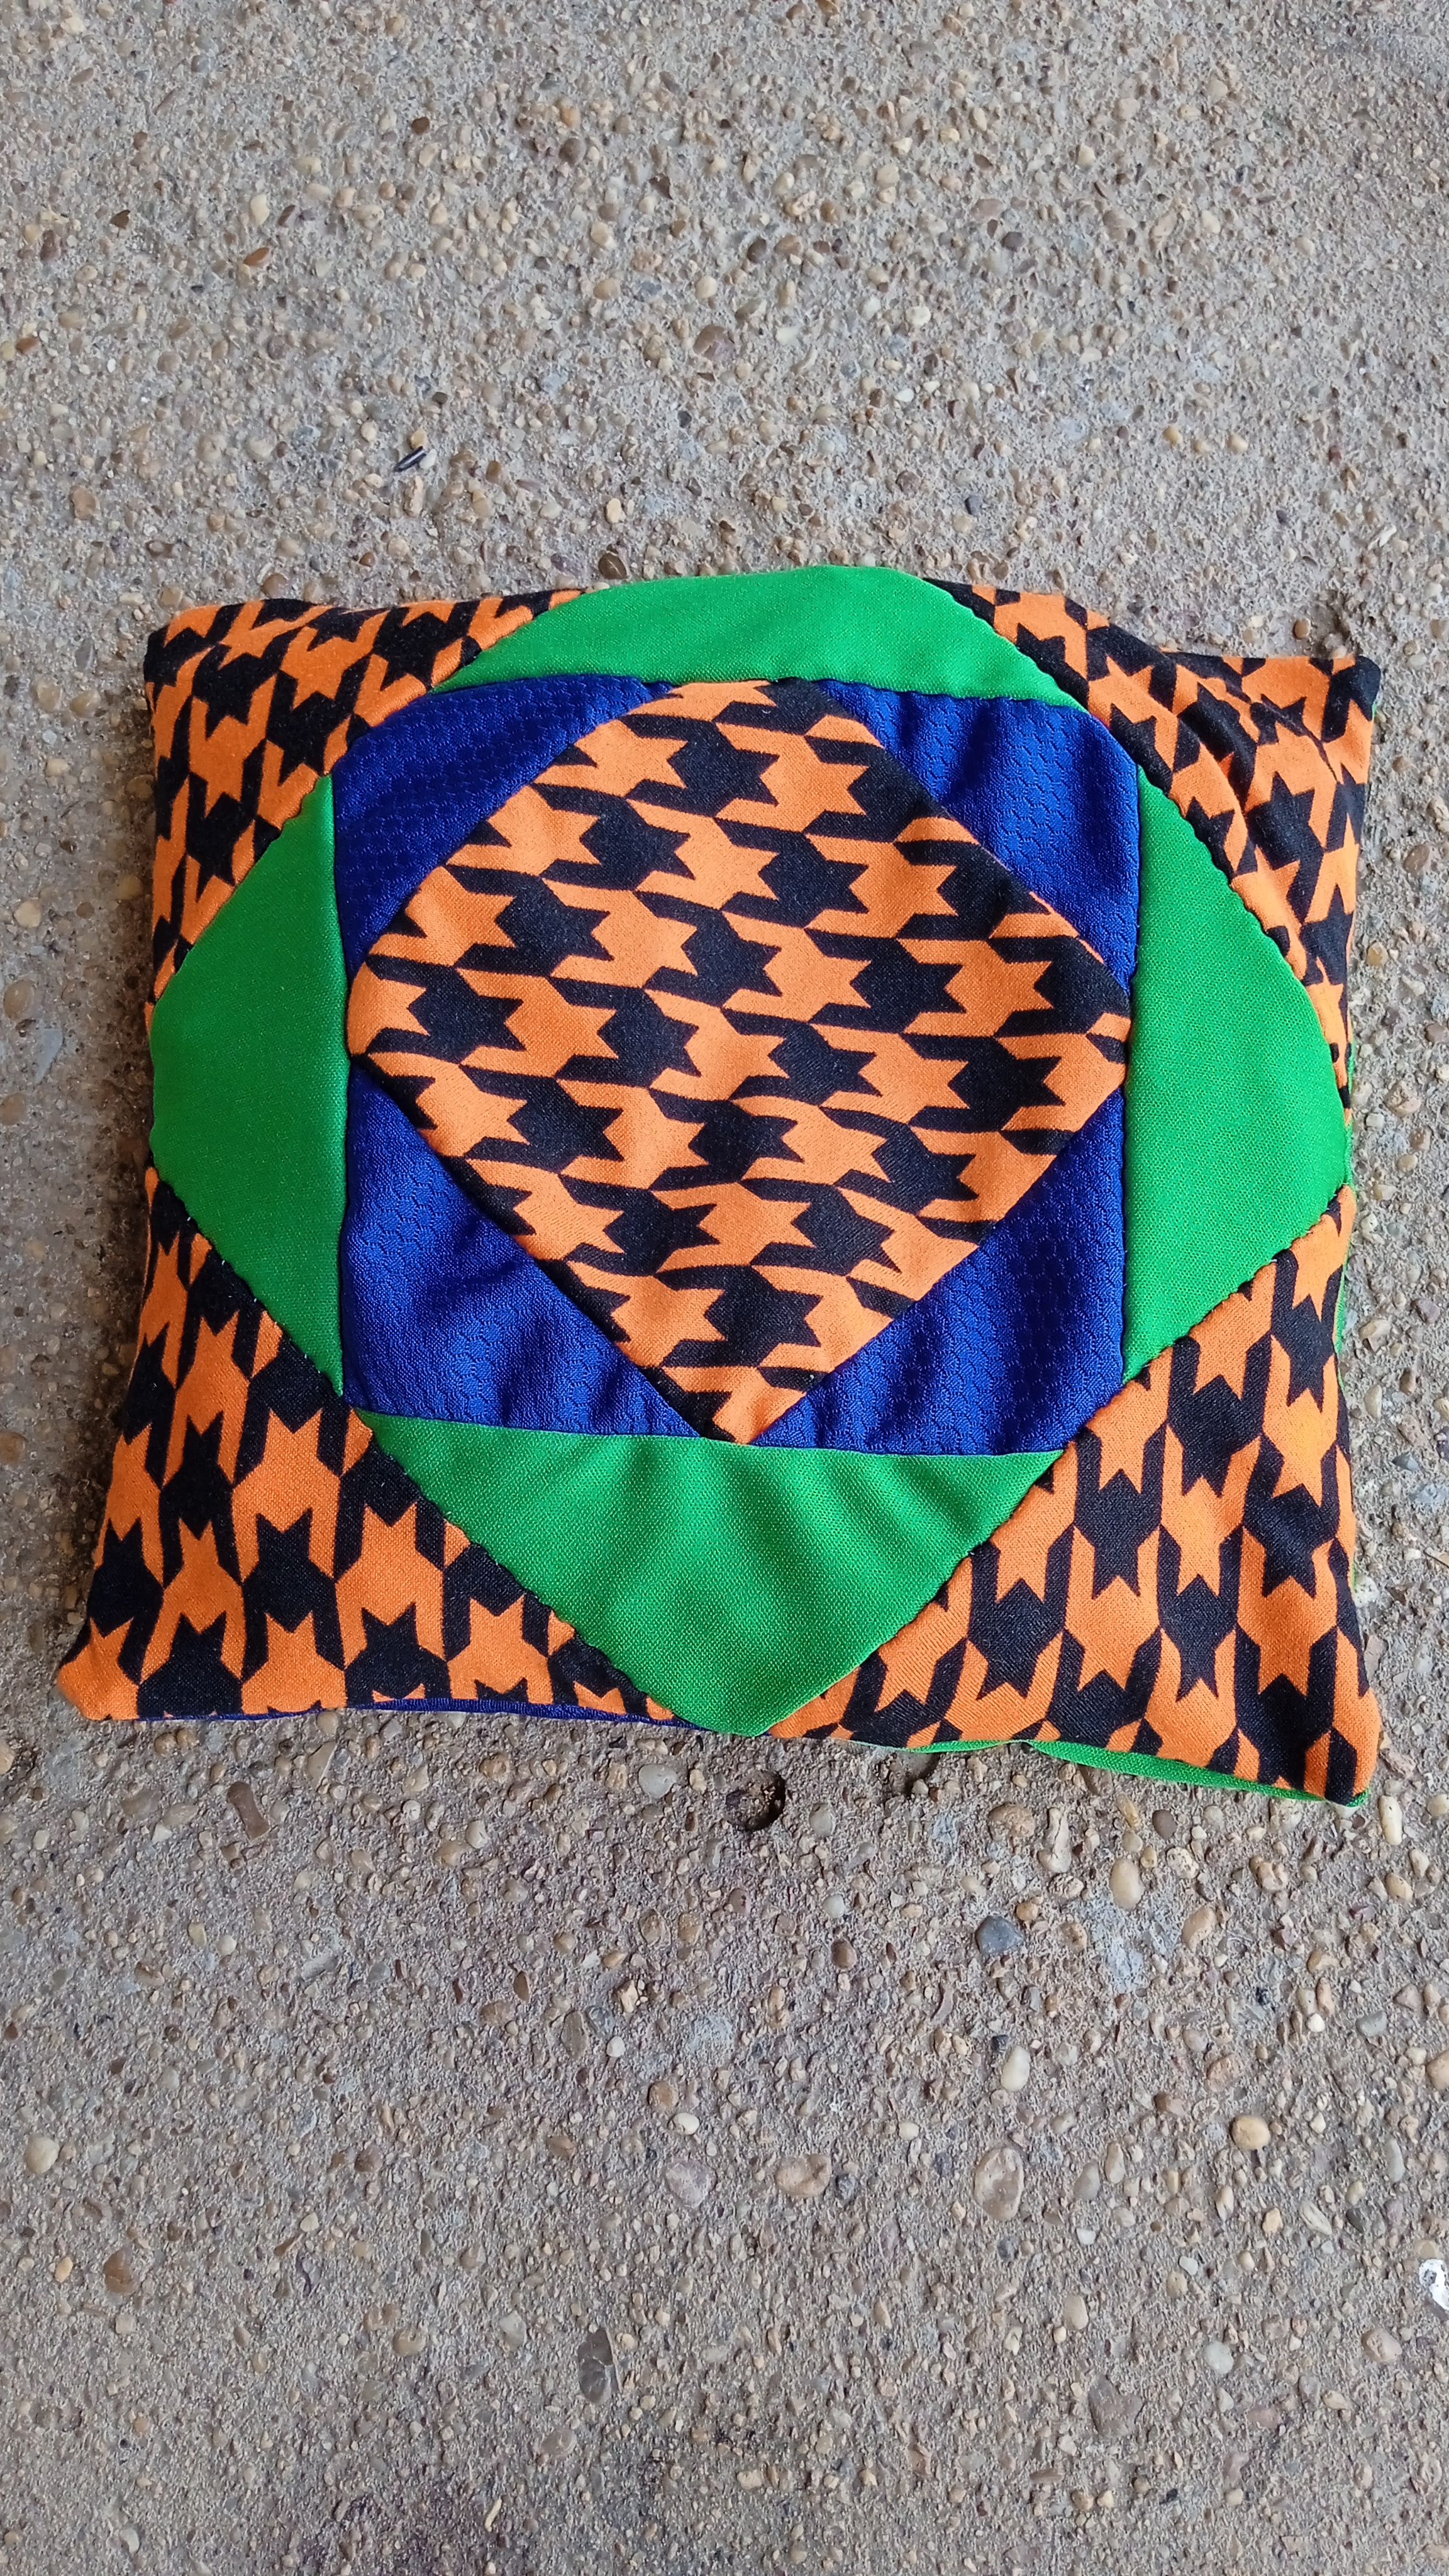
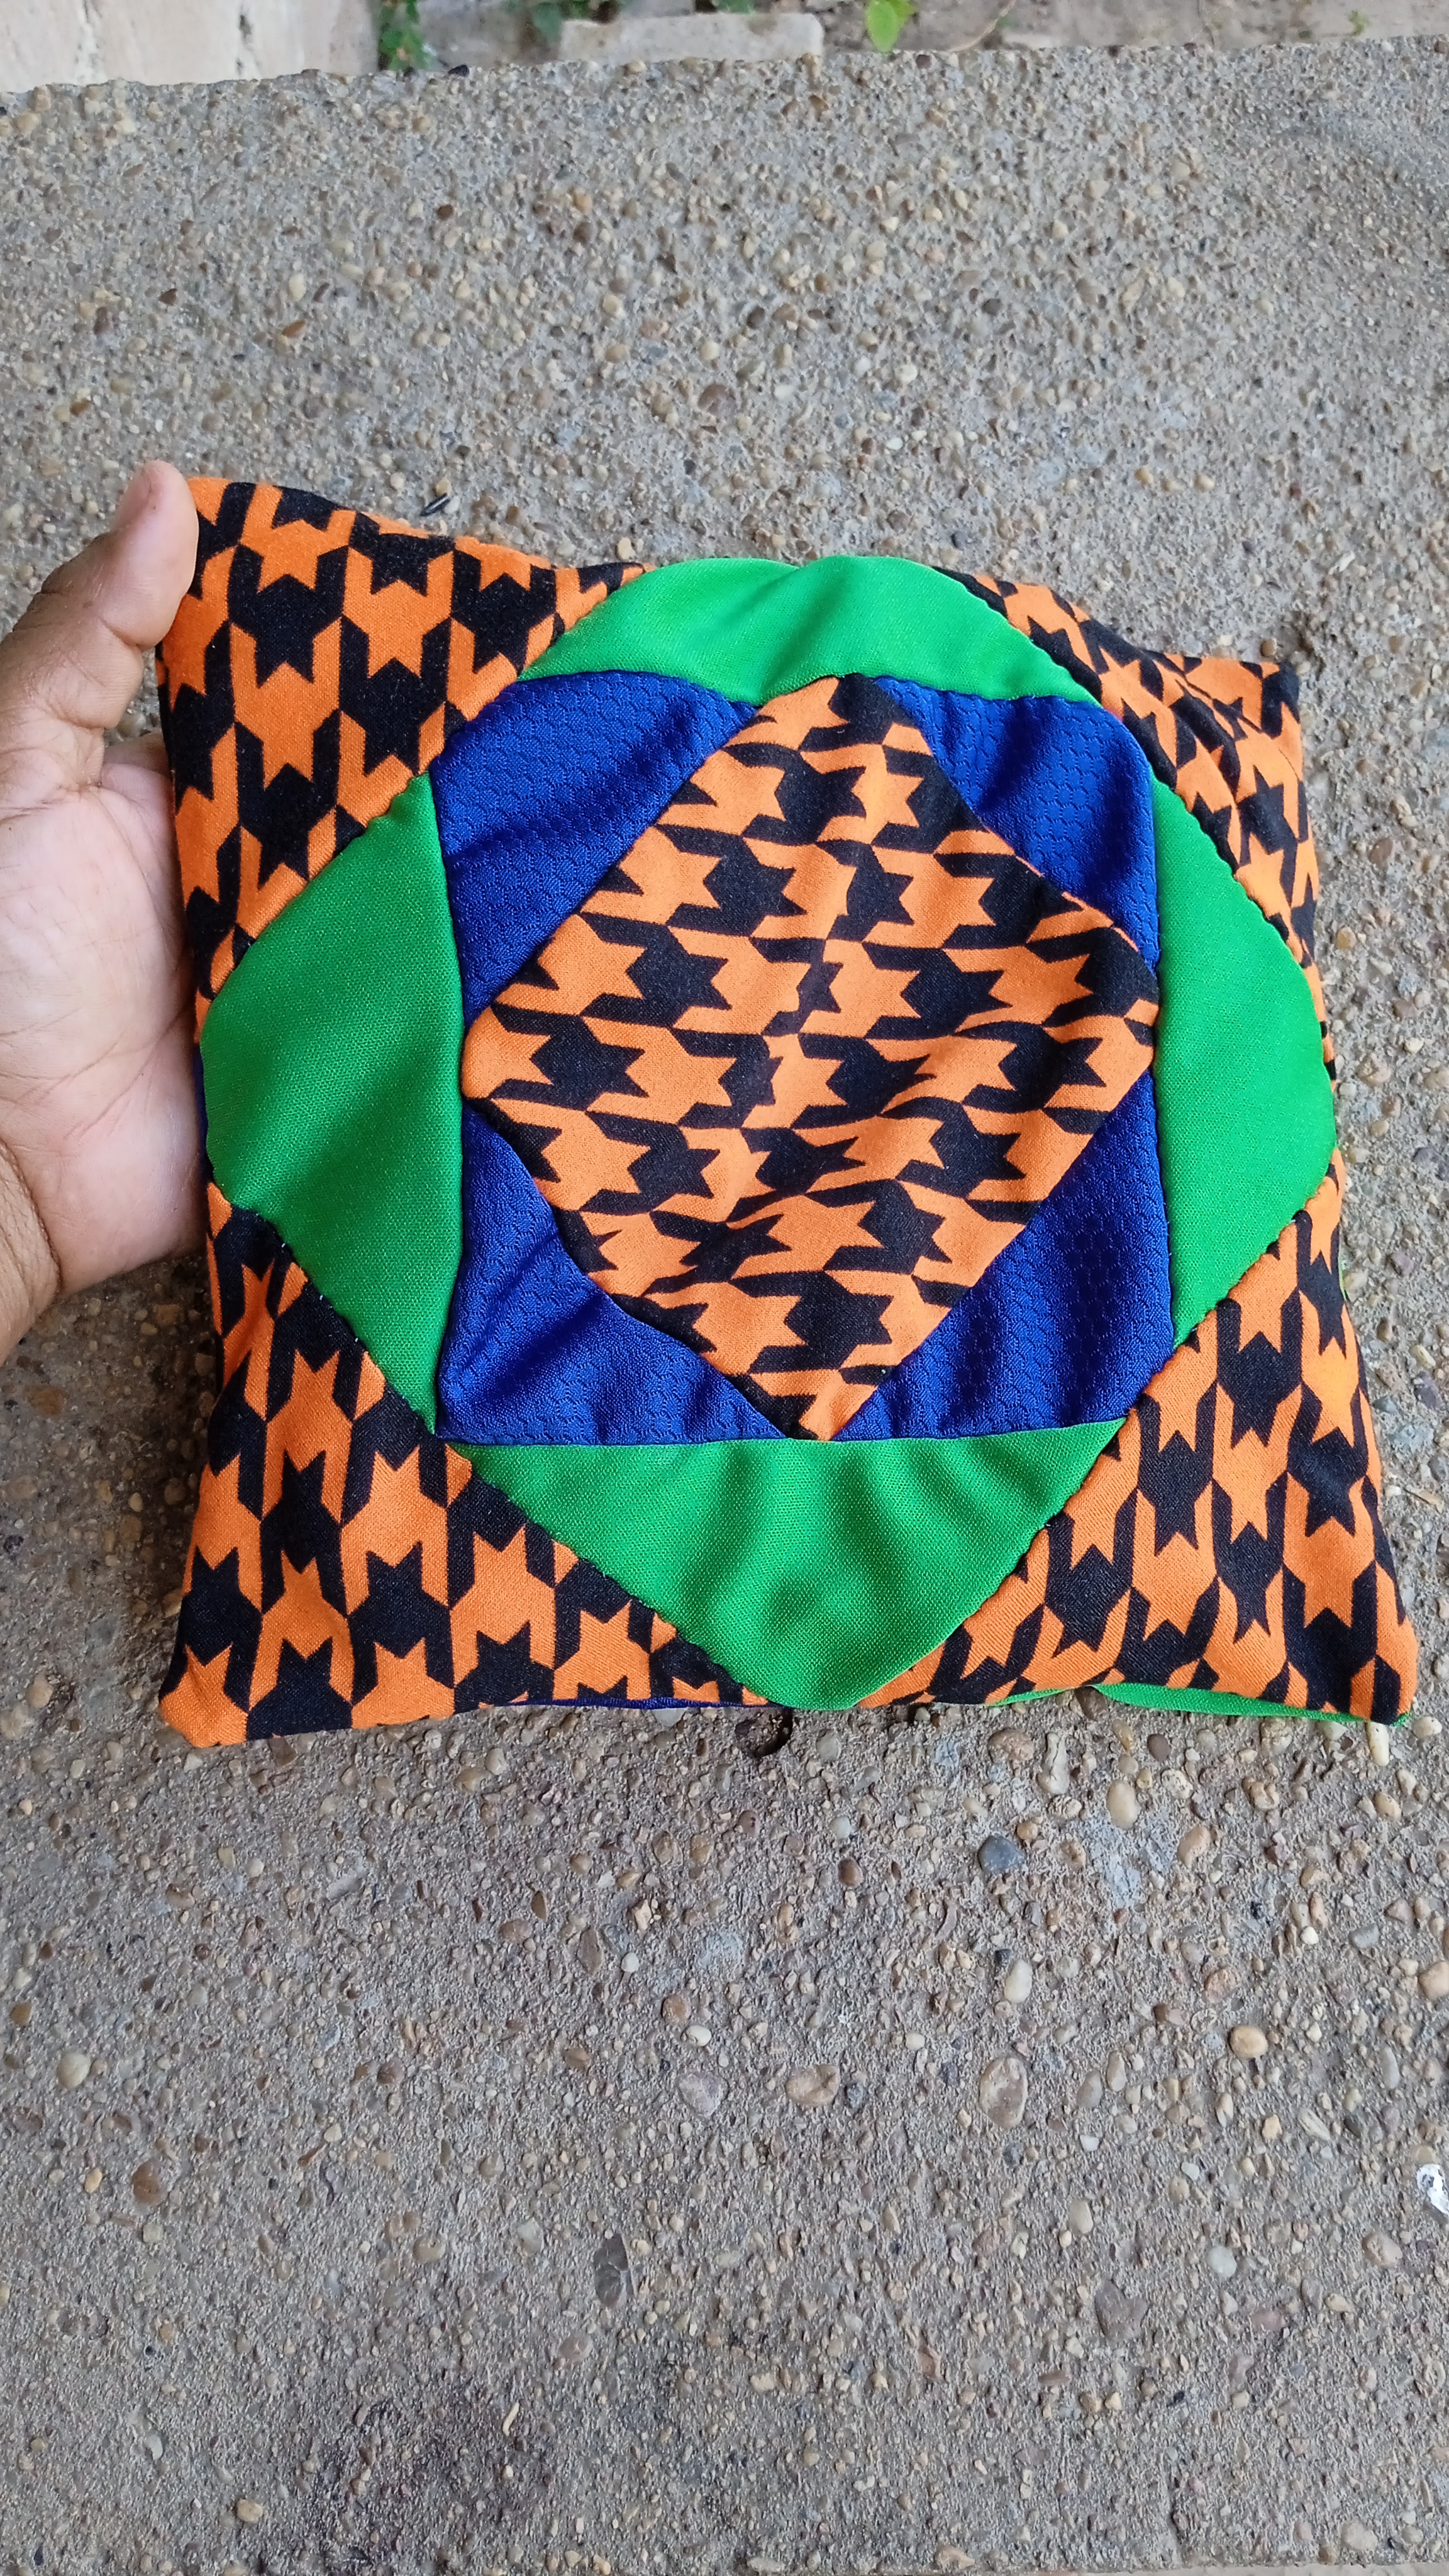
Here I placed this beautiful finished piece on a plain green fabric to continue combining, I sewed on the wrong side, when finished I introduced a little synthetic filling and that's it, the work is finished.
This is a nice craft that we can do without spending a lot of money, thank God that He gives us the knowledge and new strategies to save a little and at the same time beautify every corner of our home. The good thing about making things with scraps is that you can use any type of fabric from floral prints to plain fabrics, as long as we combine them the result will be beautiful.
I enjoyed it to the fullest, because in each project I put my best for all of you. I hope to return soon with a new project. Have a nice afternoon, have a good time, we love you very much🌼.
Contenido de mi propiedad.
Cámara: Xiaomi A10
Editor: PicsArt
Traductor: Google.com
Content owned by me.
Camera: Xiaomi A10
Editor: PicsArt
Translator: Google.com