Hola mis apreciados amigos artesanos, es un placer poder estar visitando esta hermosa y creativa comunidad de diy. Espero que estén bien, recibiendo muchas bendiciones de Dios.
Hello my appreciated artisan friends, it is a pleasure to be visiting this beautiful and creative DIY community. I hope you are well, receiving many blessings from God.
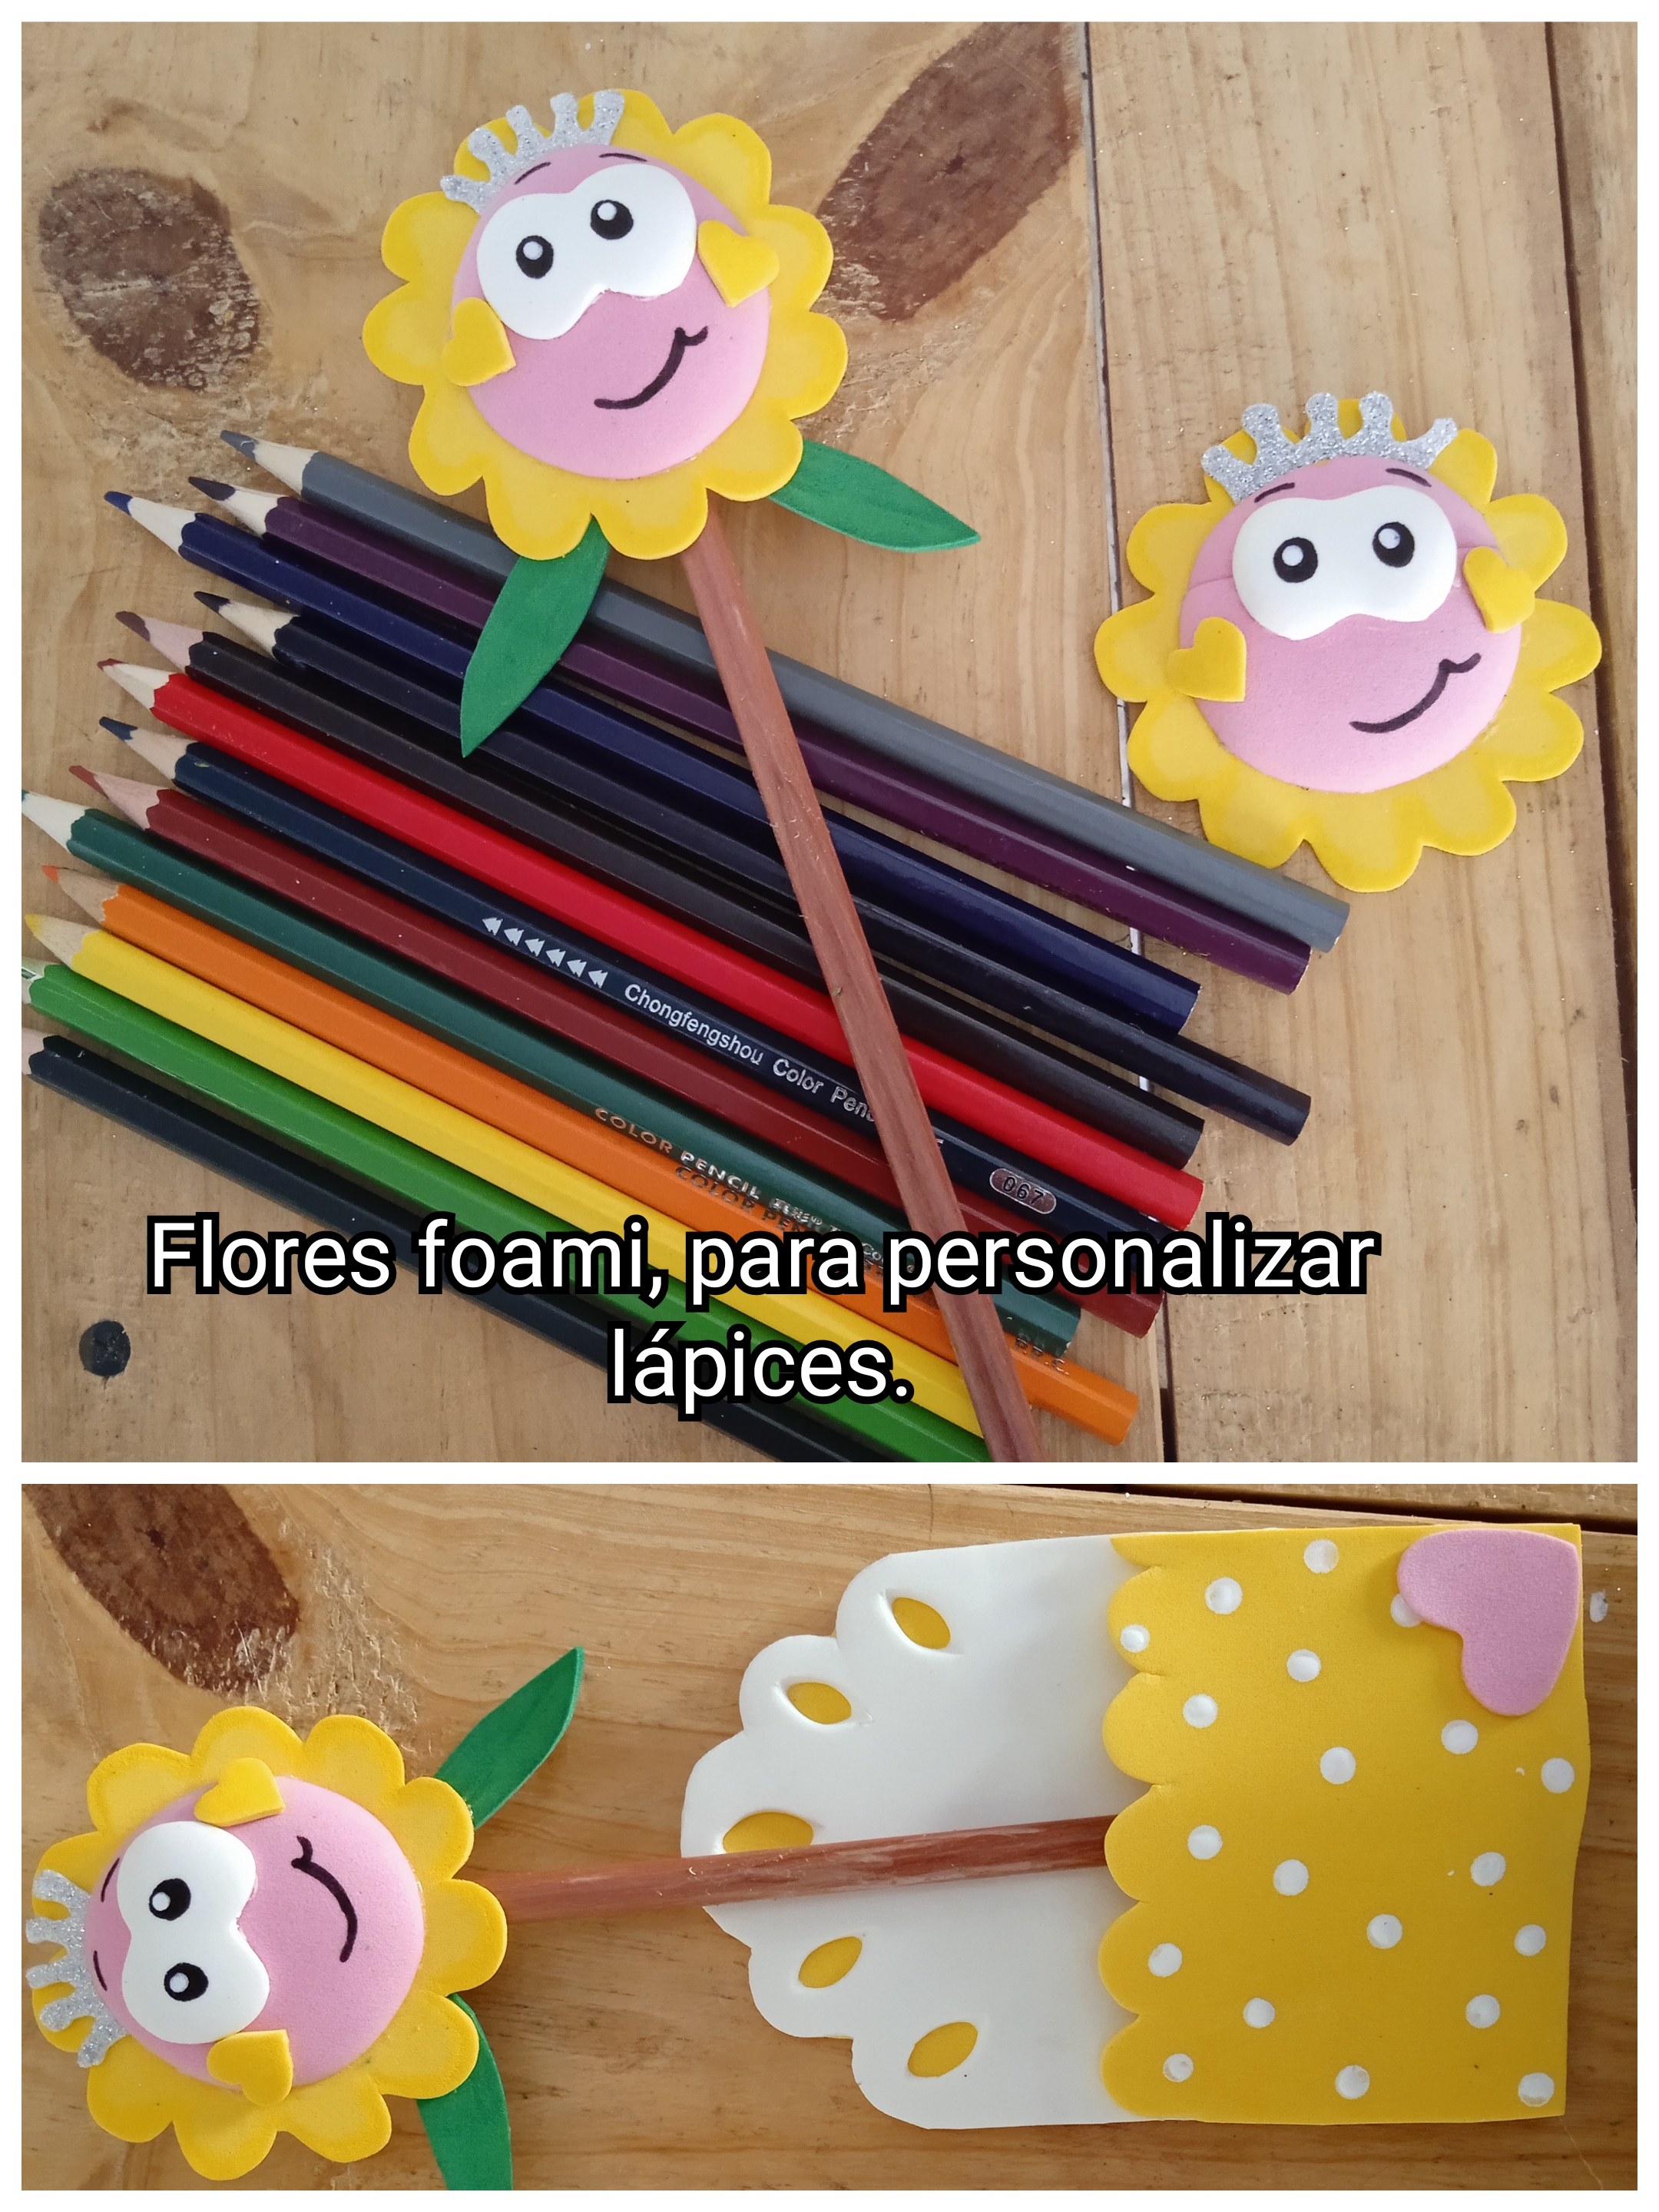
Hace mucho que no compartía un lindo proyecto con todos ustedes ya que el trabajo fuera de casa siempre nos limita. Siempre estaba llena de muchos deseos y esperanzas de volver a compartir con todos ustedes y se me cumplió el deseo gracias a Dios. Así que, quiero aprovechar la oportunidad para mostrarles una linda manualidad hecha con muchísimo cariño para todos, en especial para las mas pequeñas de la casa quienes ya regresaron a clases con mucha alegría. Estos son unos lindos adornos para personalizar los lápices, crayones y más. También quise aprovechar la oportunidad para hacer un bolsillo del mismo material para guardar los lápices y tenerlos en orden. Si les gusta este proyecto te invito a que me sigas hasta el final, acompañame.
It has been a long time since I shared a nice project with all of you since work outside the home always limits us. But I was always full of many desires and hopes to share with all of you again and my wish was granted, thank God. So, I want to take the opportunity to show you a beautiful craft made with great love for everyone, especially for the little ones in the house who have already returned to school with great joy. These are cute decorations to personalize pencils, crayons and more. I also wanted to take the opportunity to make a pocket out of the same material to store the pencils and keep them in order. If you like this project, they invite you to follow me until the end, join me.
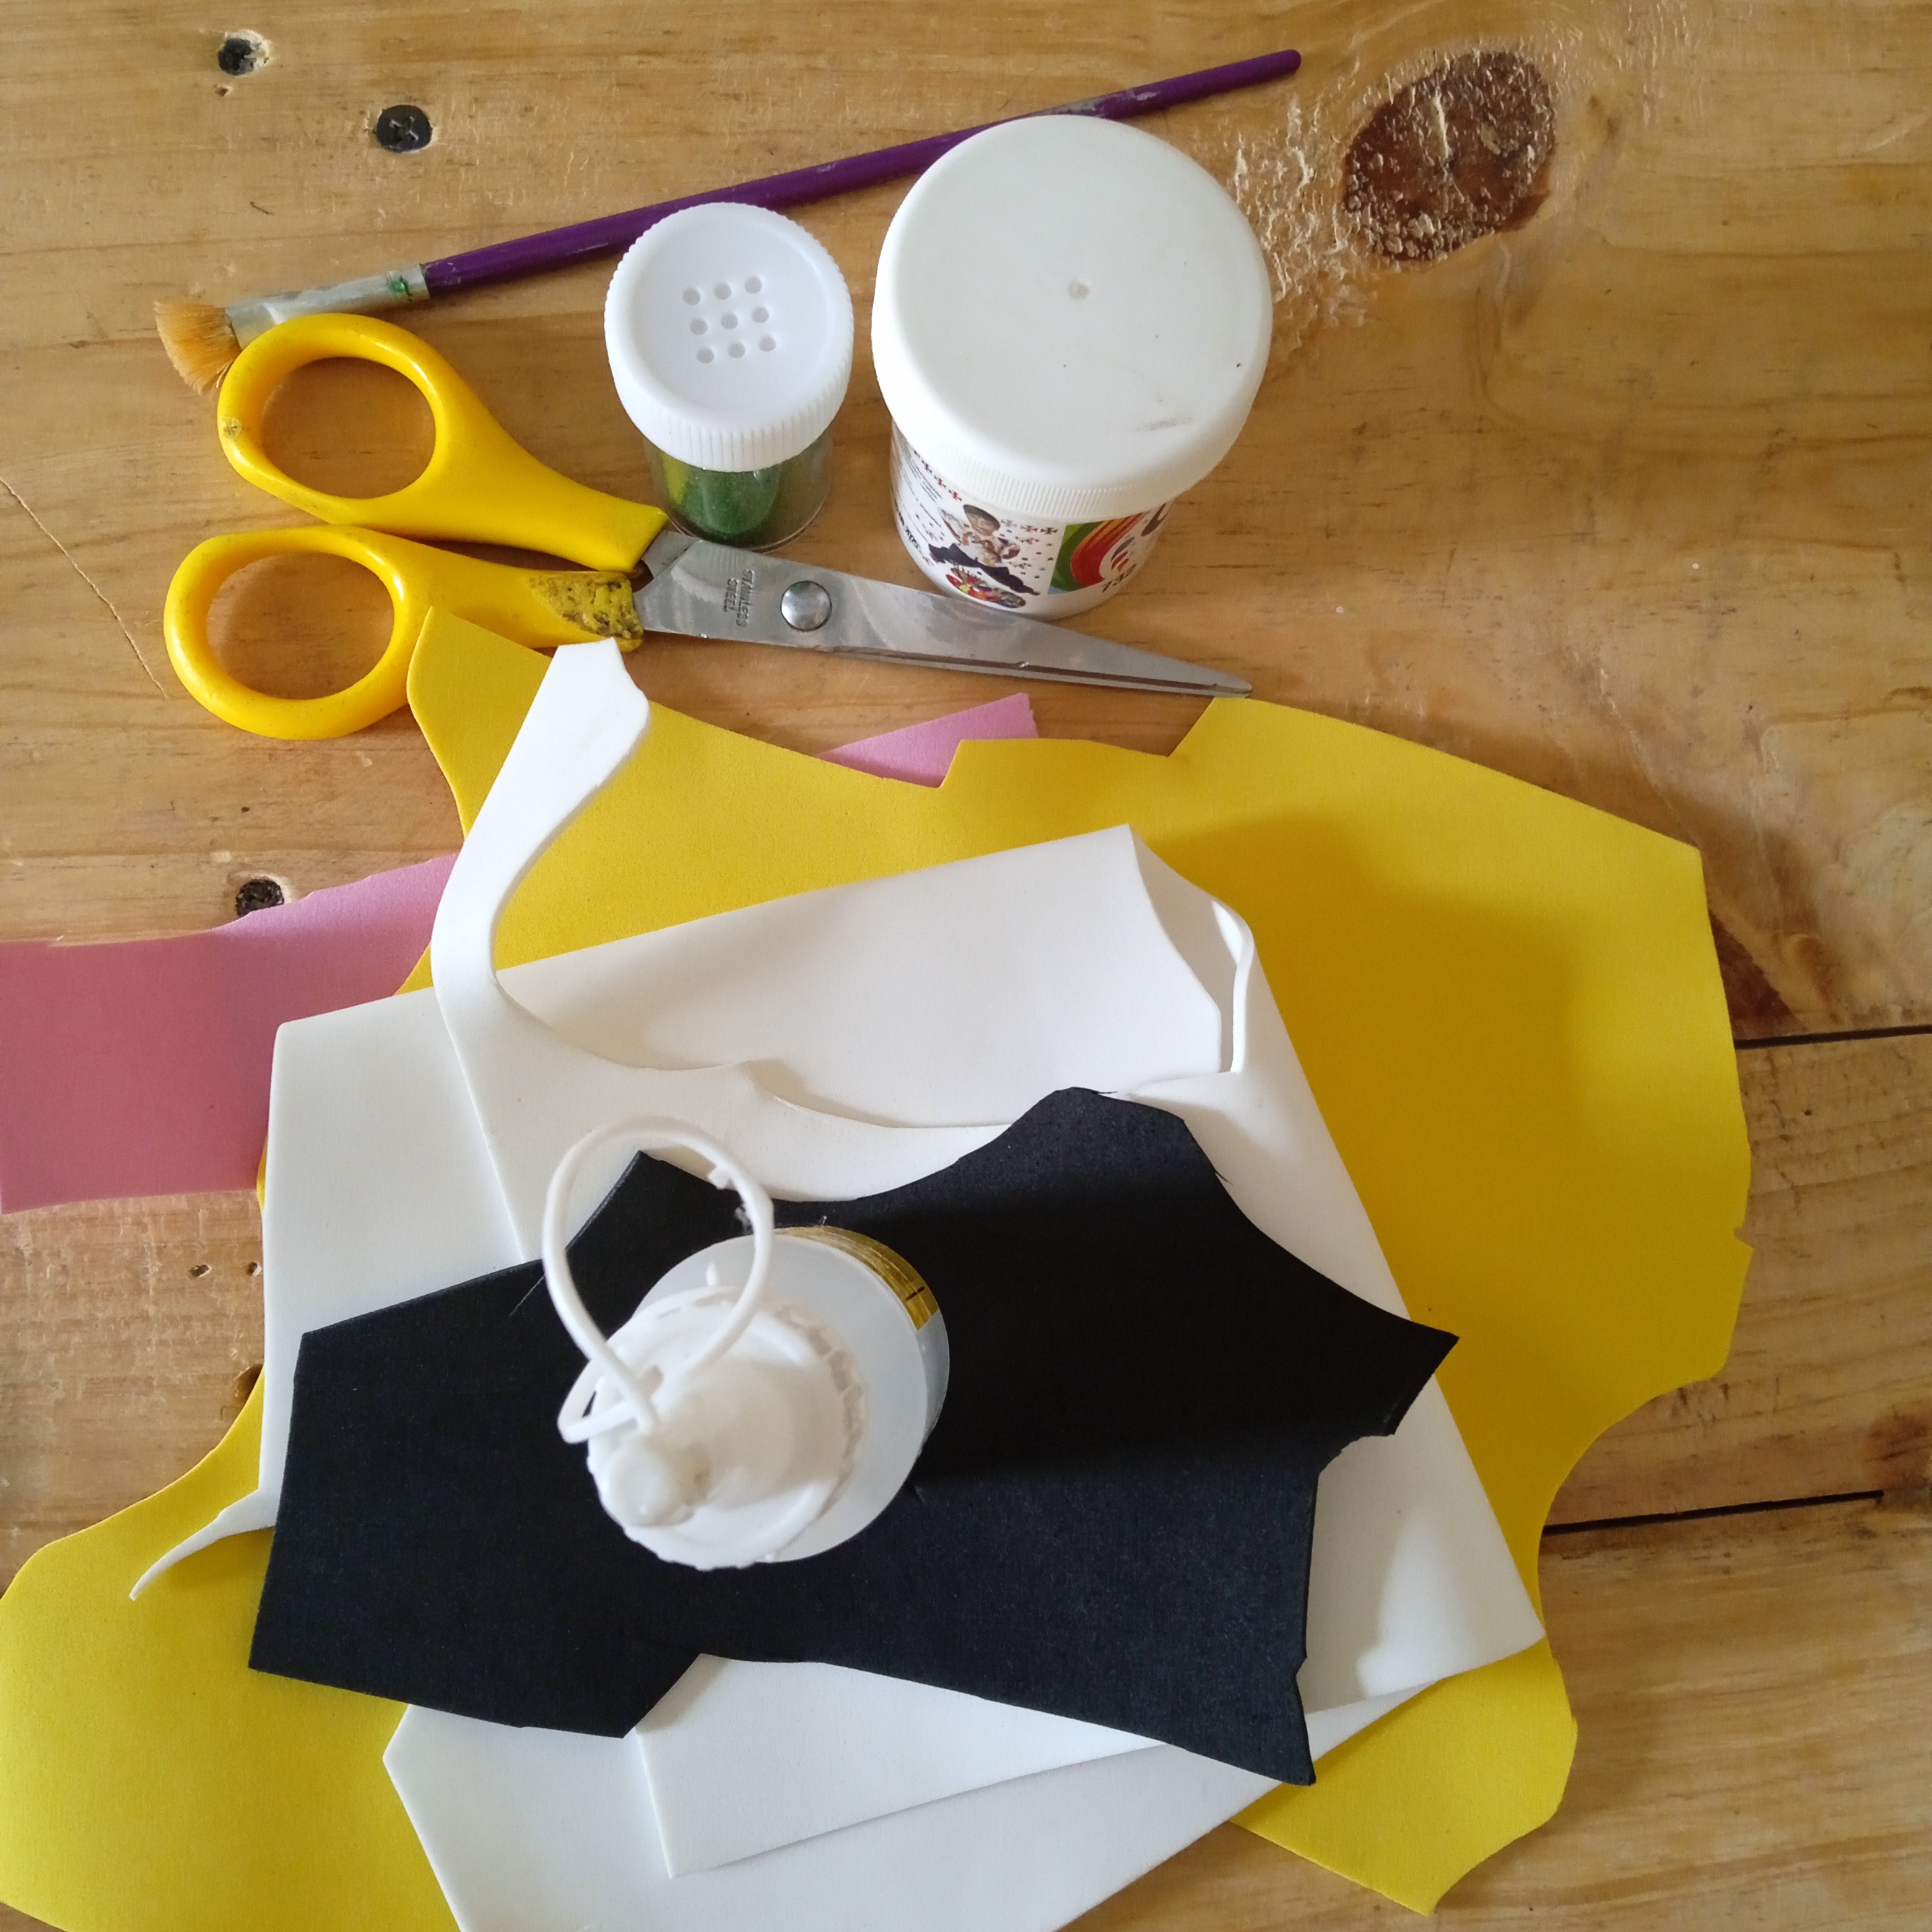
Los materiales que necesitamos.
- Tijera.
- Foami.
- Silicona liquida.
- Un vaso.
- Pincel
- Pintura blanca.
The materials we need.
- Scissors.
- Foam.
- Liquid silicone.
- A glass.
- Brush.
- White paint.
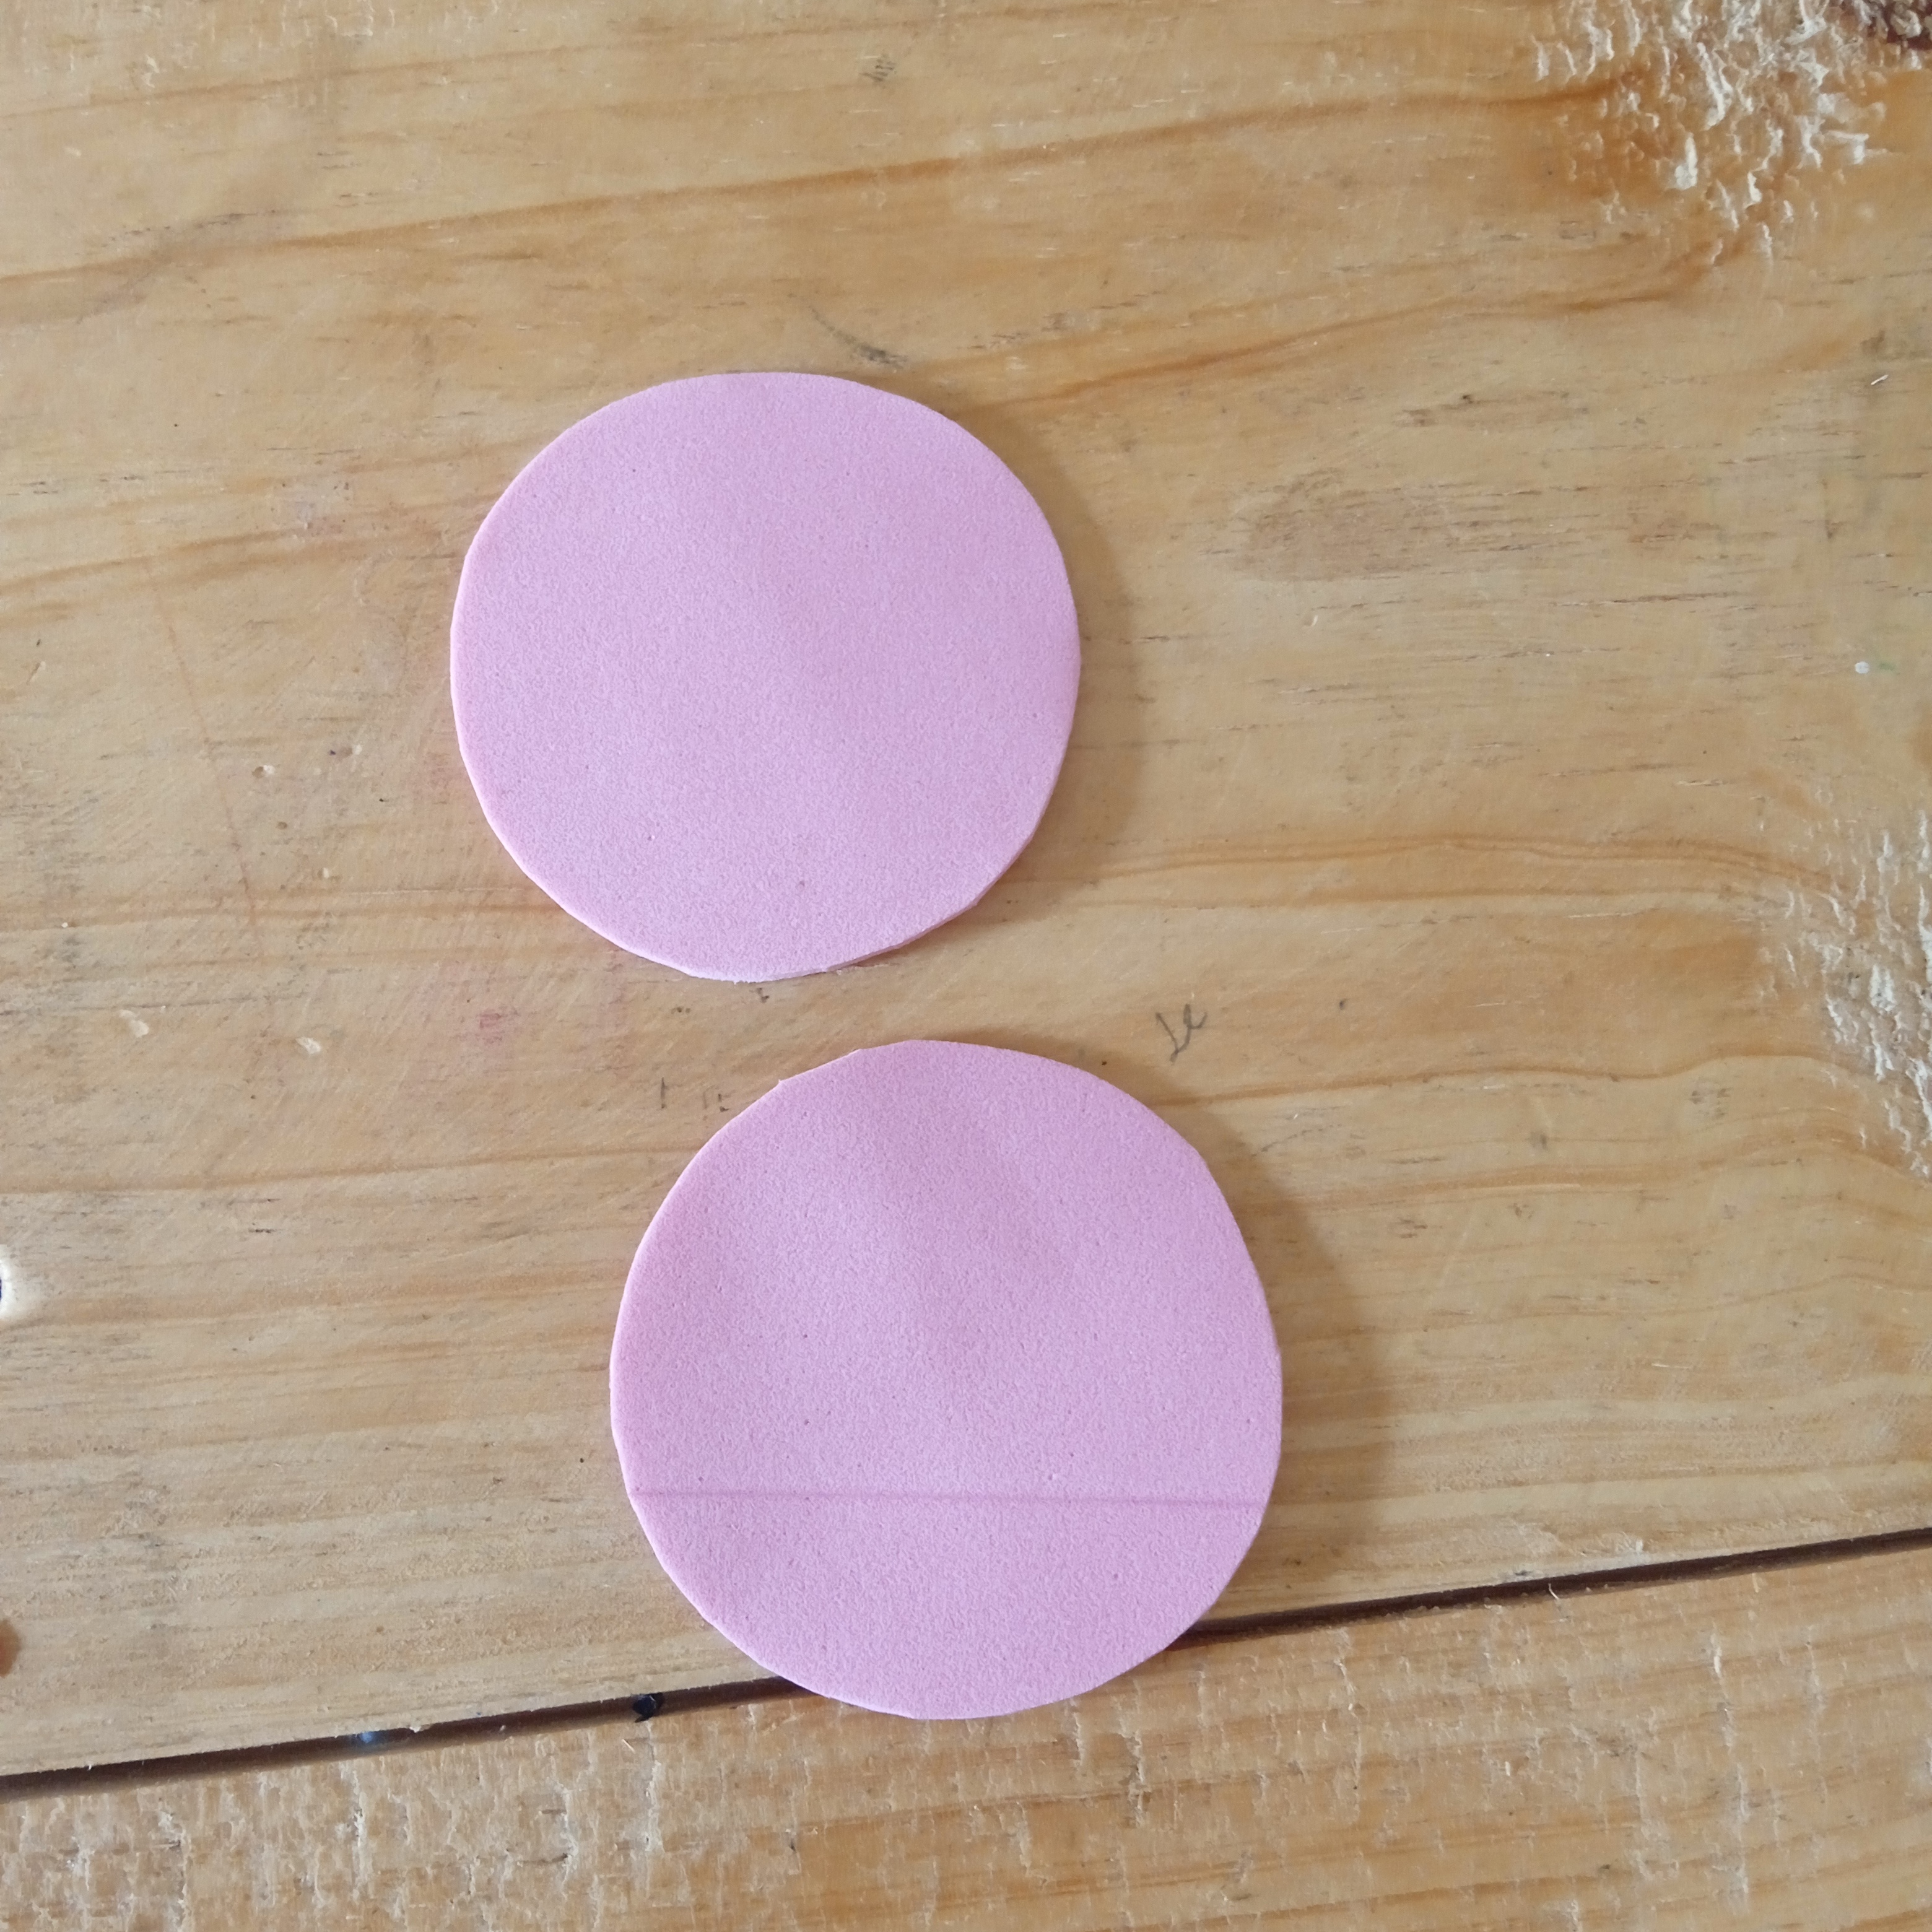
Paso 1.
Amigos de diy, empecemos con la elaboración, vamos a recortar el foami rosado tomando la tapa de la pintura como molde. Estos círculos serán pequeños.
Step 1.
DIY friends, let's start with the preparation, we are going to cut out the pink foam using the paint cap as a mold. These circles will be small.
Paso 2.
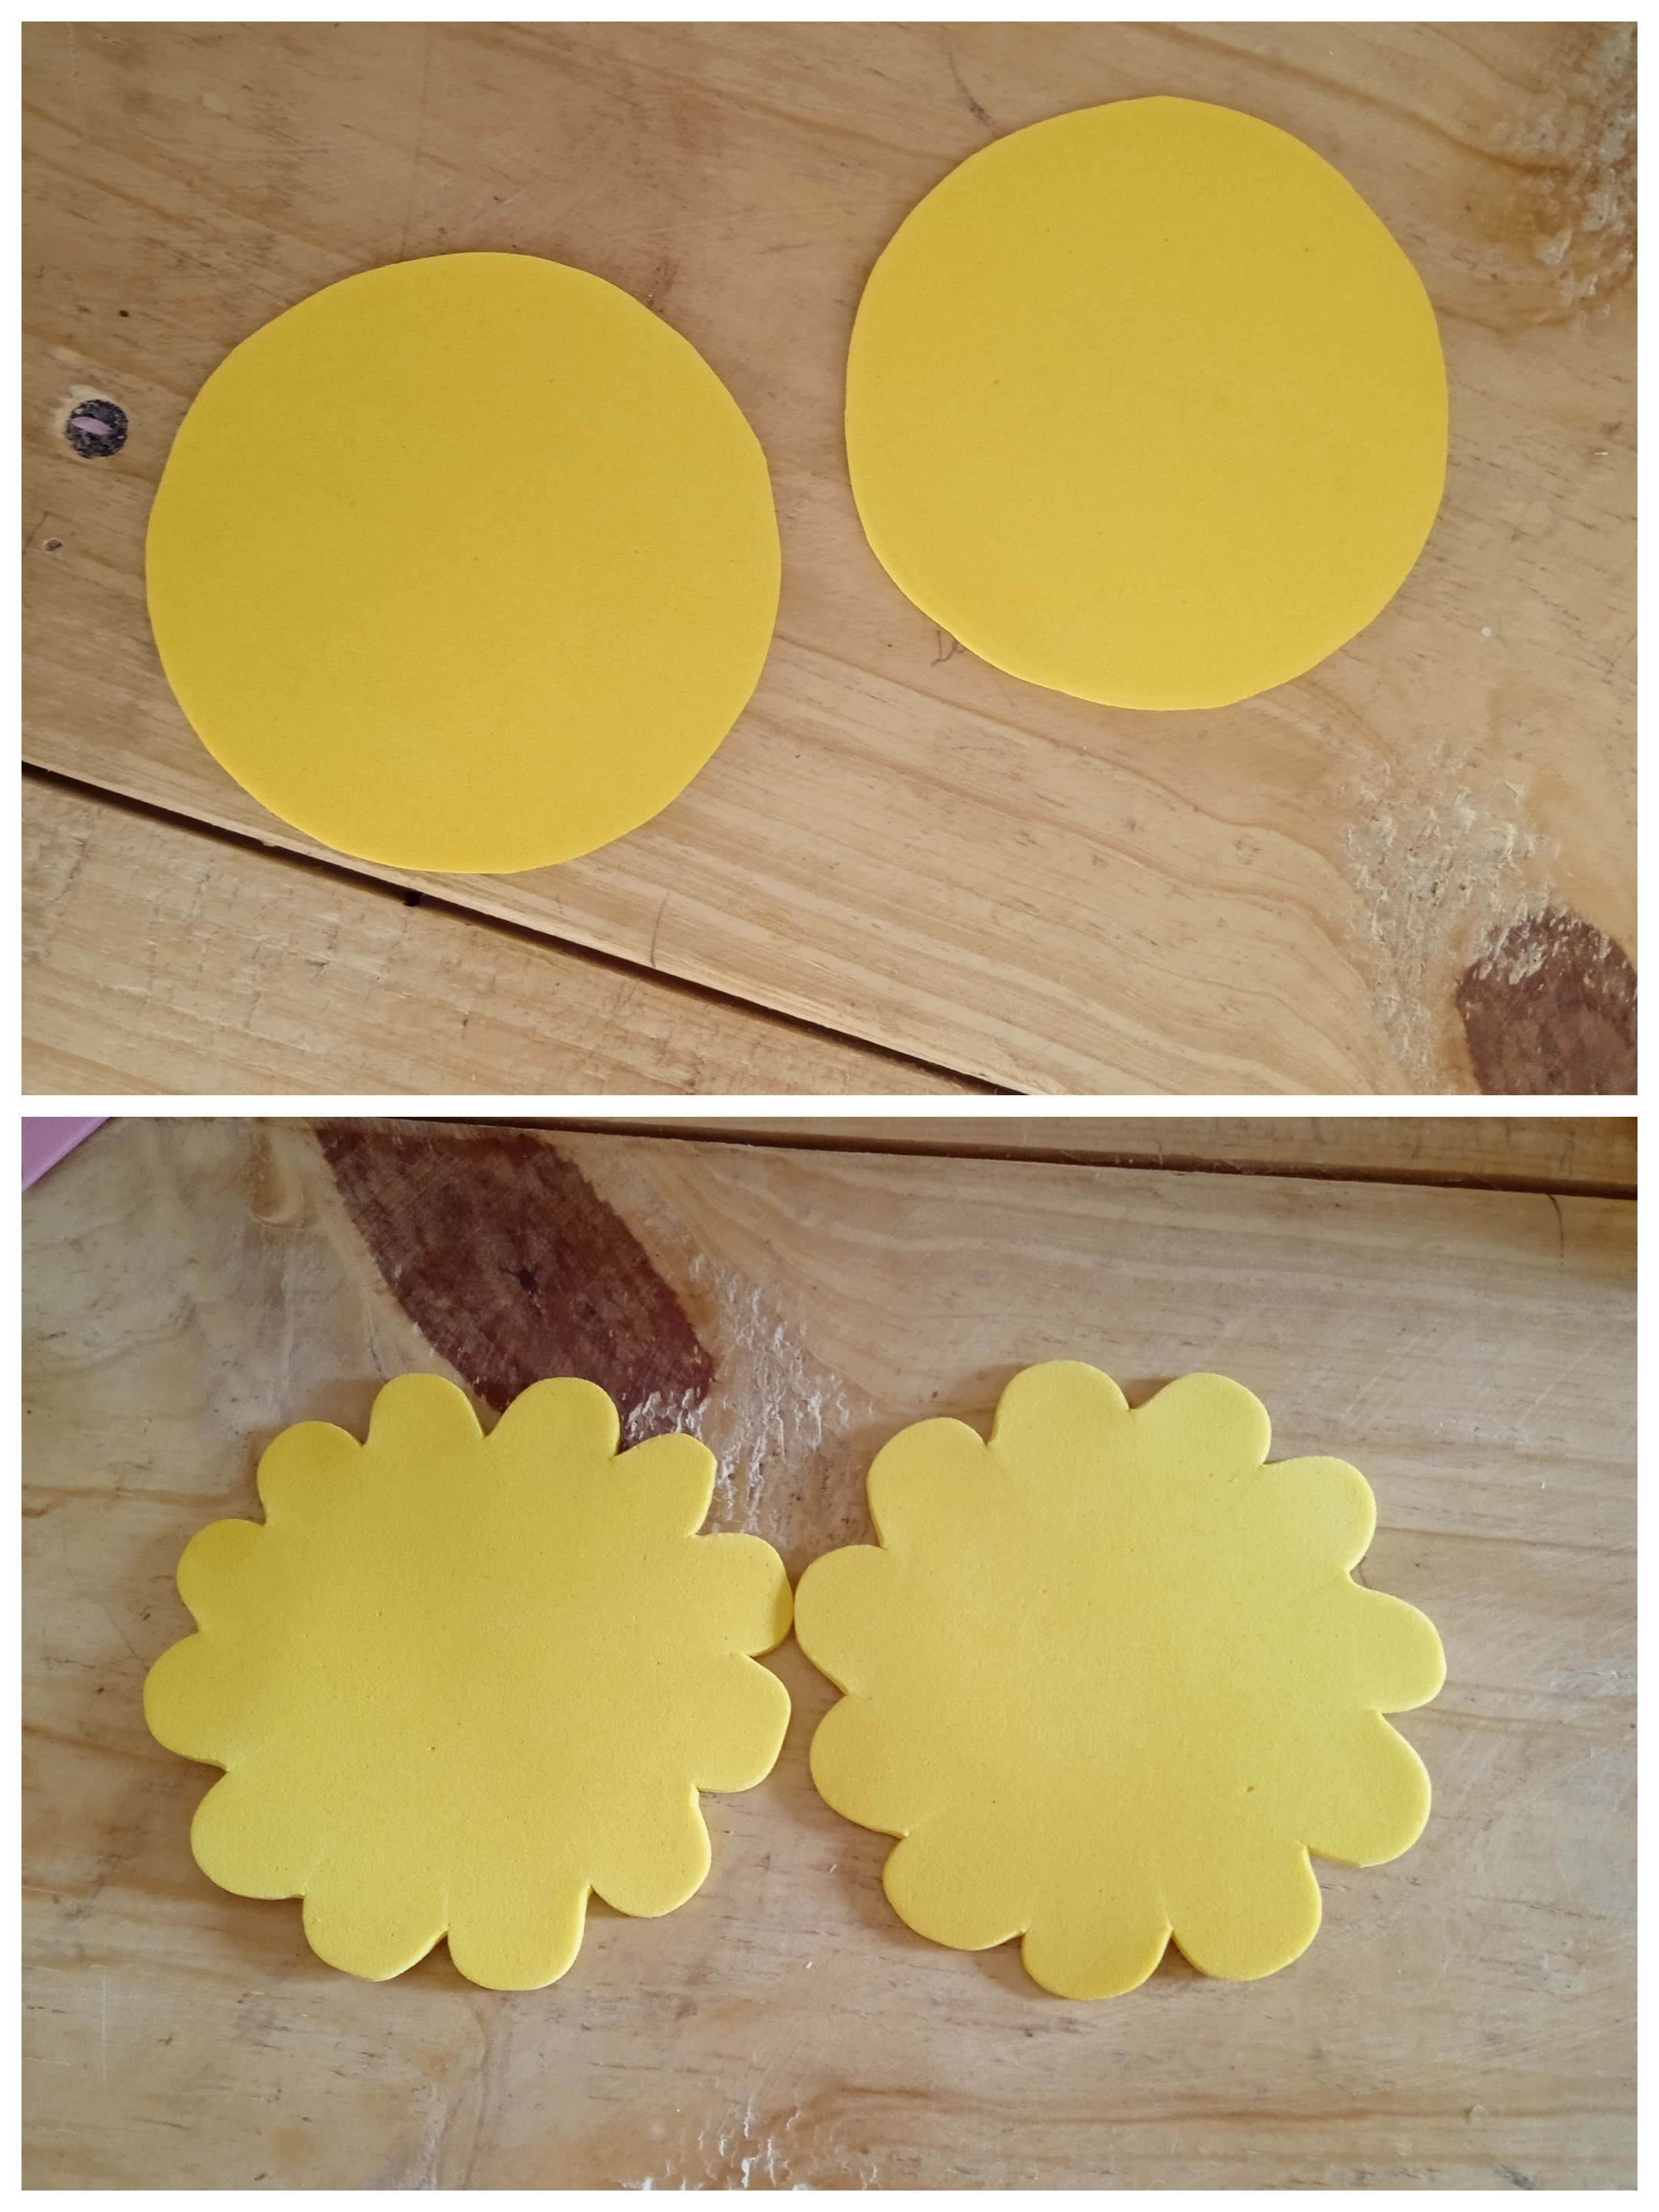
Seguidamente vamos a tomar un vaso para marcar la forma en el foami amarillo. En estos círculos amarillo haremos los pétalos, dejando los rosados en el centro.
Step 2.
Next we are going to take a glass to mark the shape on the yellow foam. In these yellow circles we will make the petals, leaving the pink ones in the center.
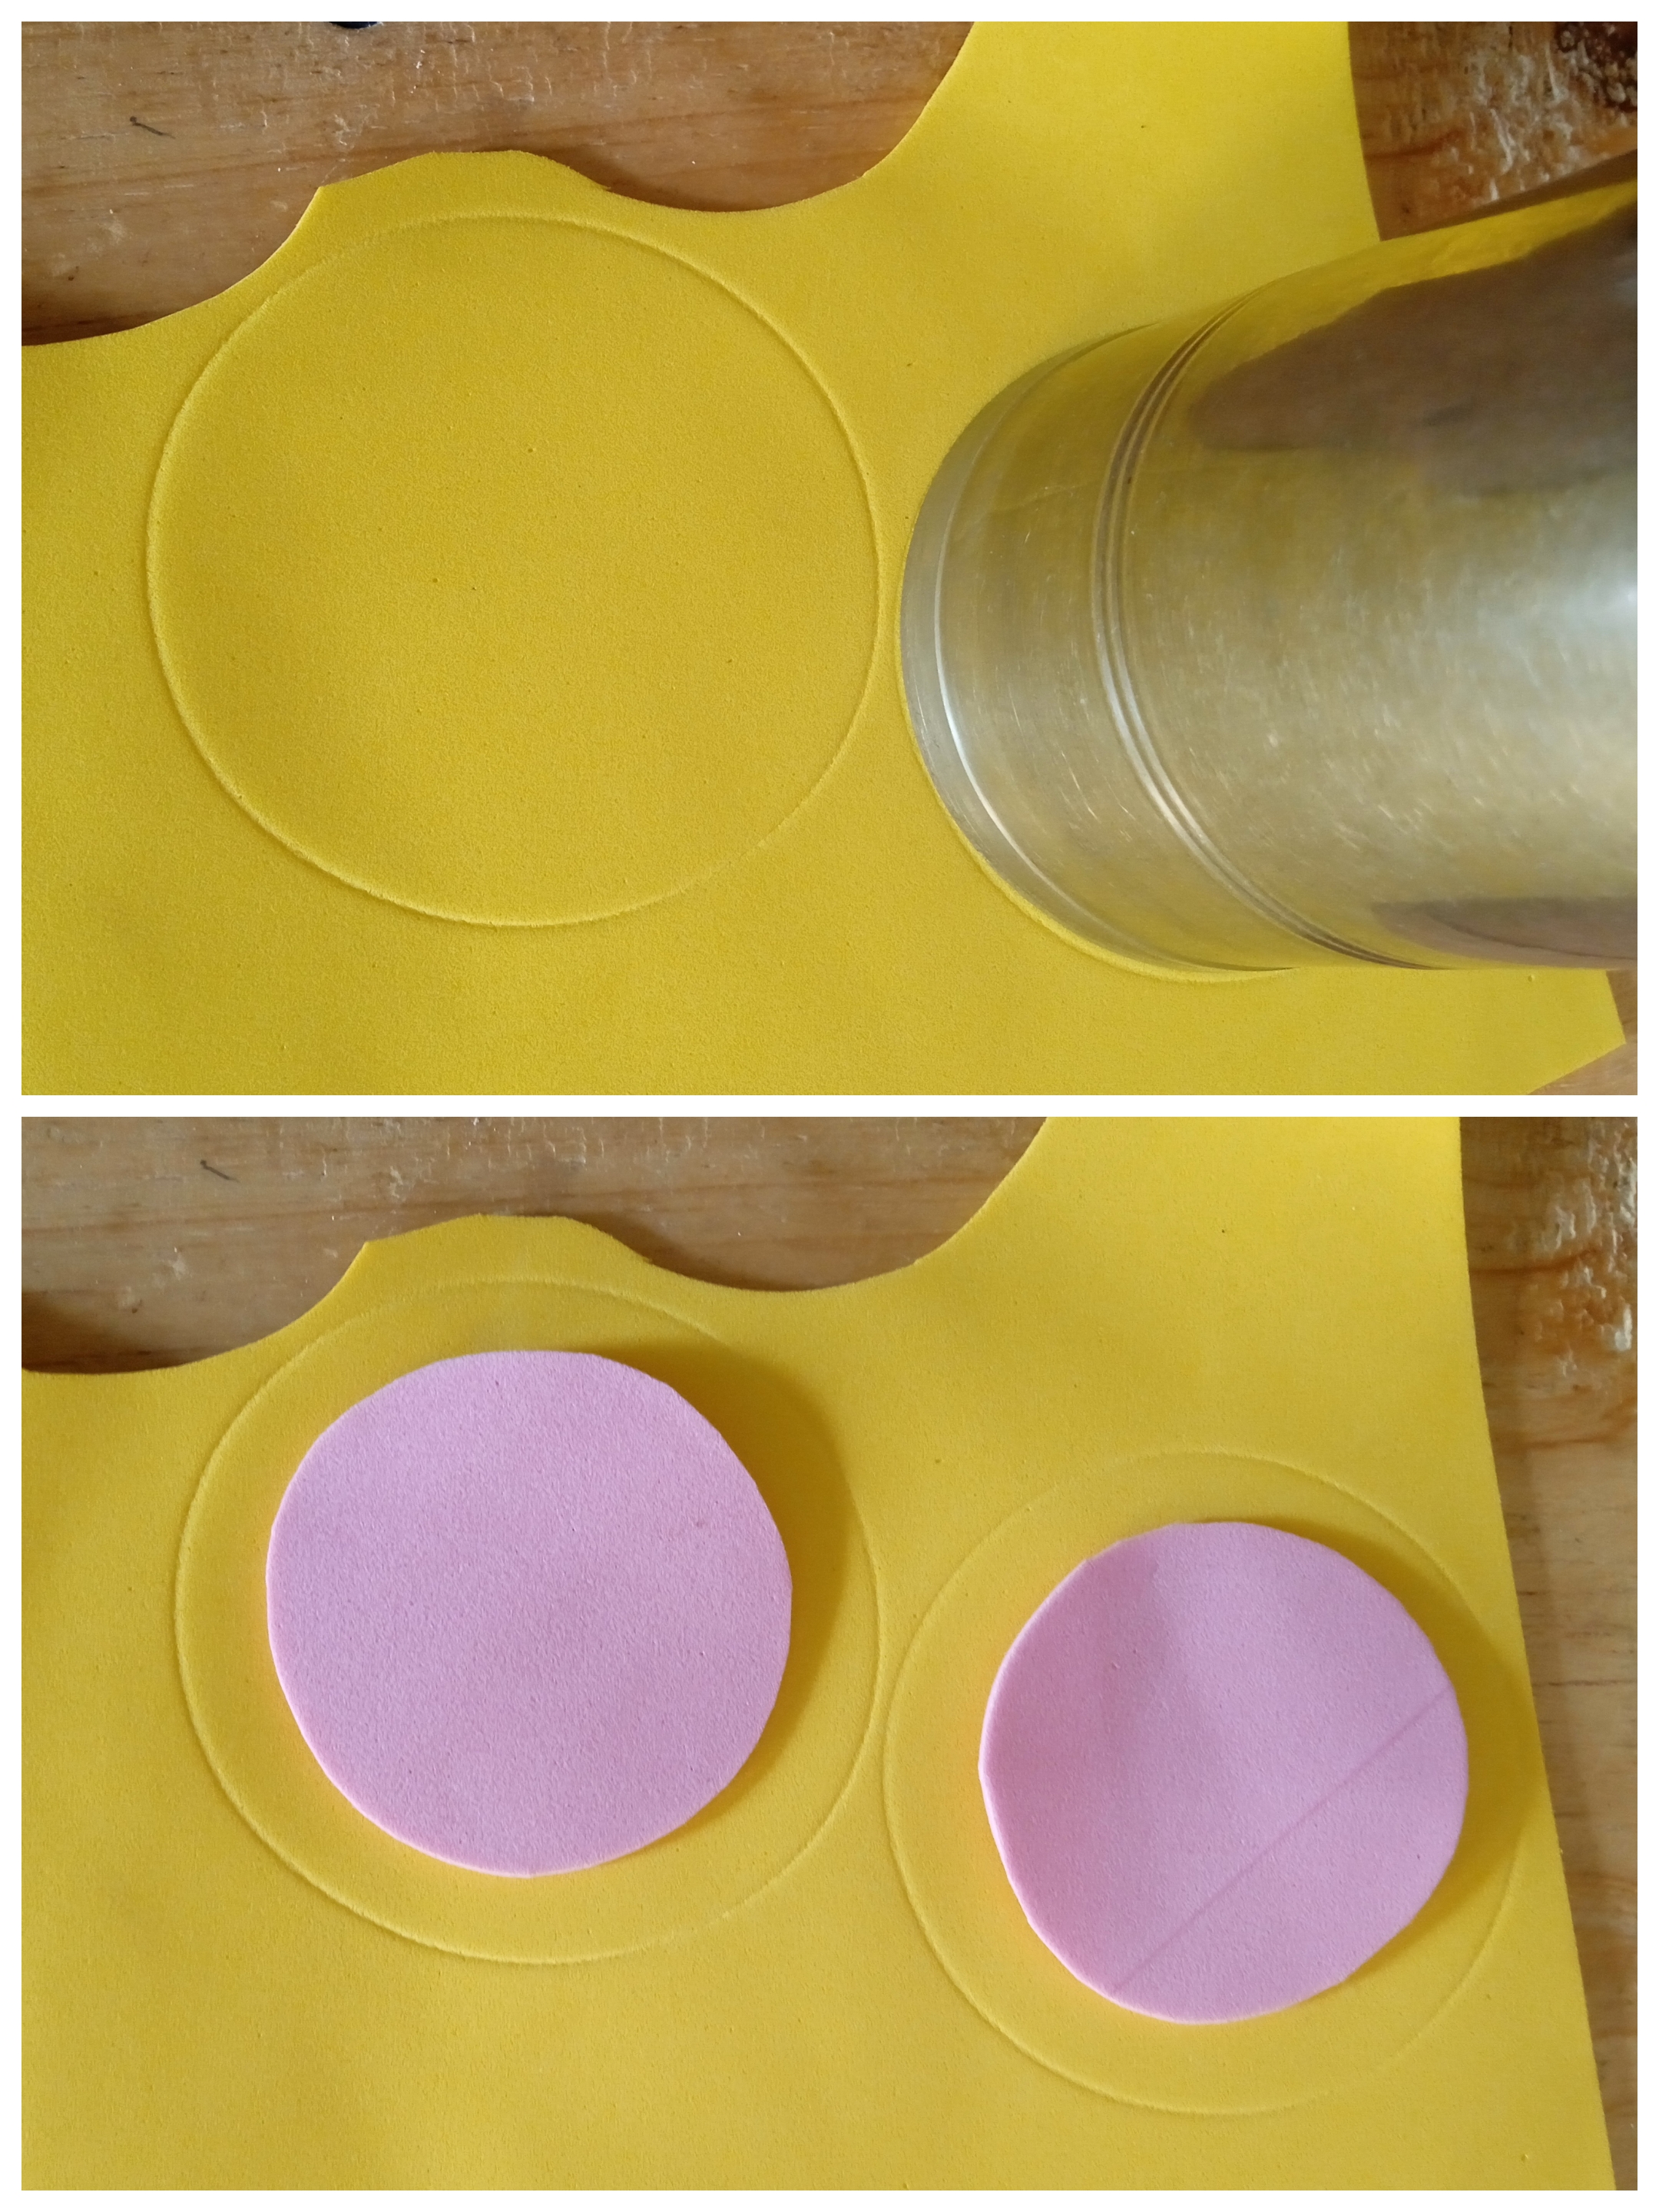
Paso 3.
Como les dije antes, marcamos pétalos en estos círculos amarillo y recortamos para darle la forma que buscamos.
Step 3.
As I told you before, we mark petals on these yellow circles and cut them out to give them the shape we are looking for.
Paso 4.
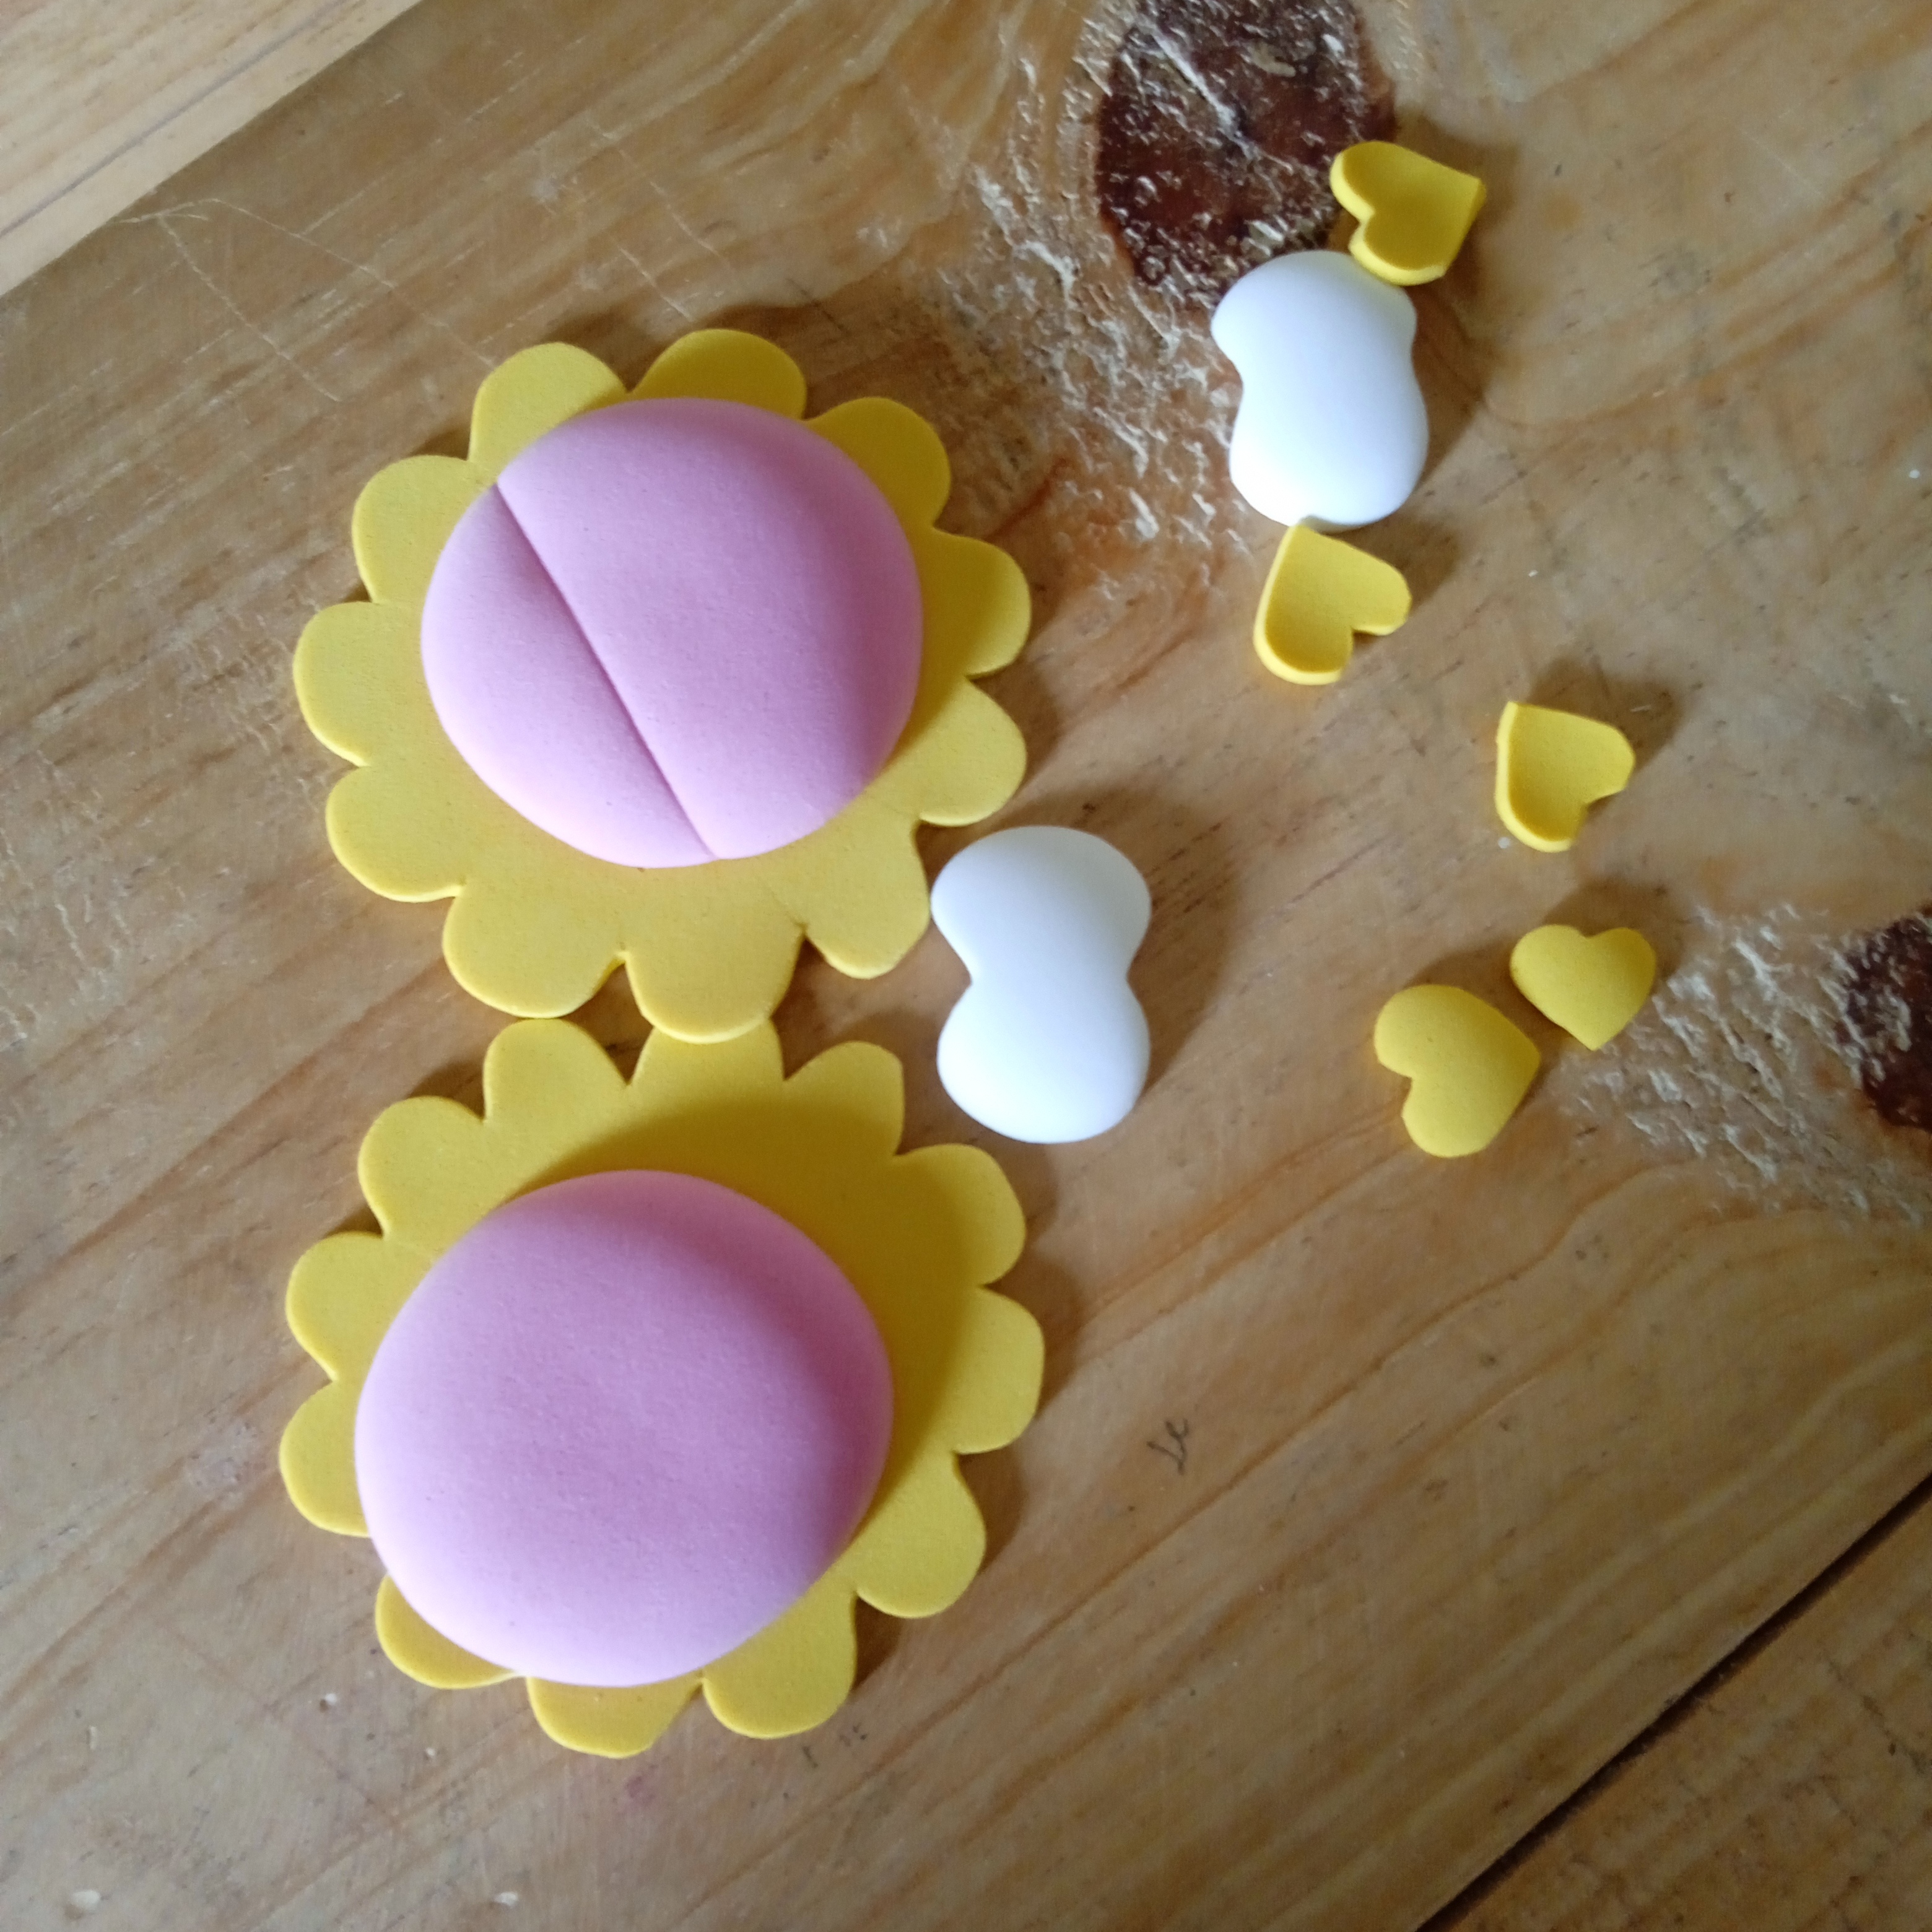
Ahora vamos a recortar los ojos en foami blanco y unos pequeños corazones amarillos que serán las mejillas. También vamos a colocar los círculos rosados sobre una plancha tibia para darle un poco de volumen.
Step 4.
Now we are going to cut out the eyes in white foam, some small yellow hearts that will be the cheeks. We're also going to place the pink circles on a warm iron to give it a little volume.
Paso 5.
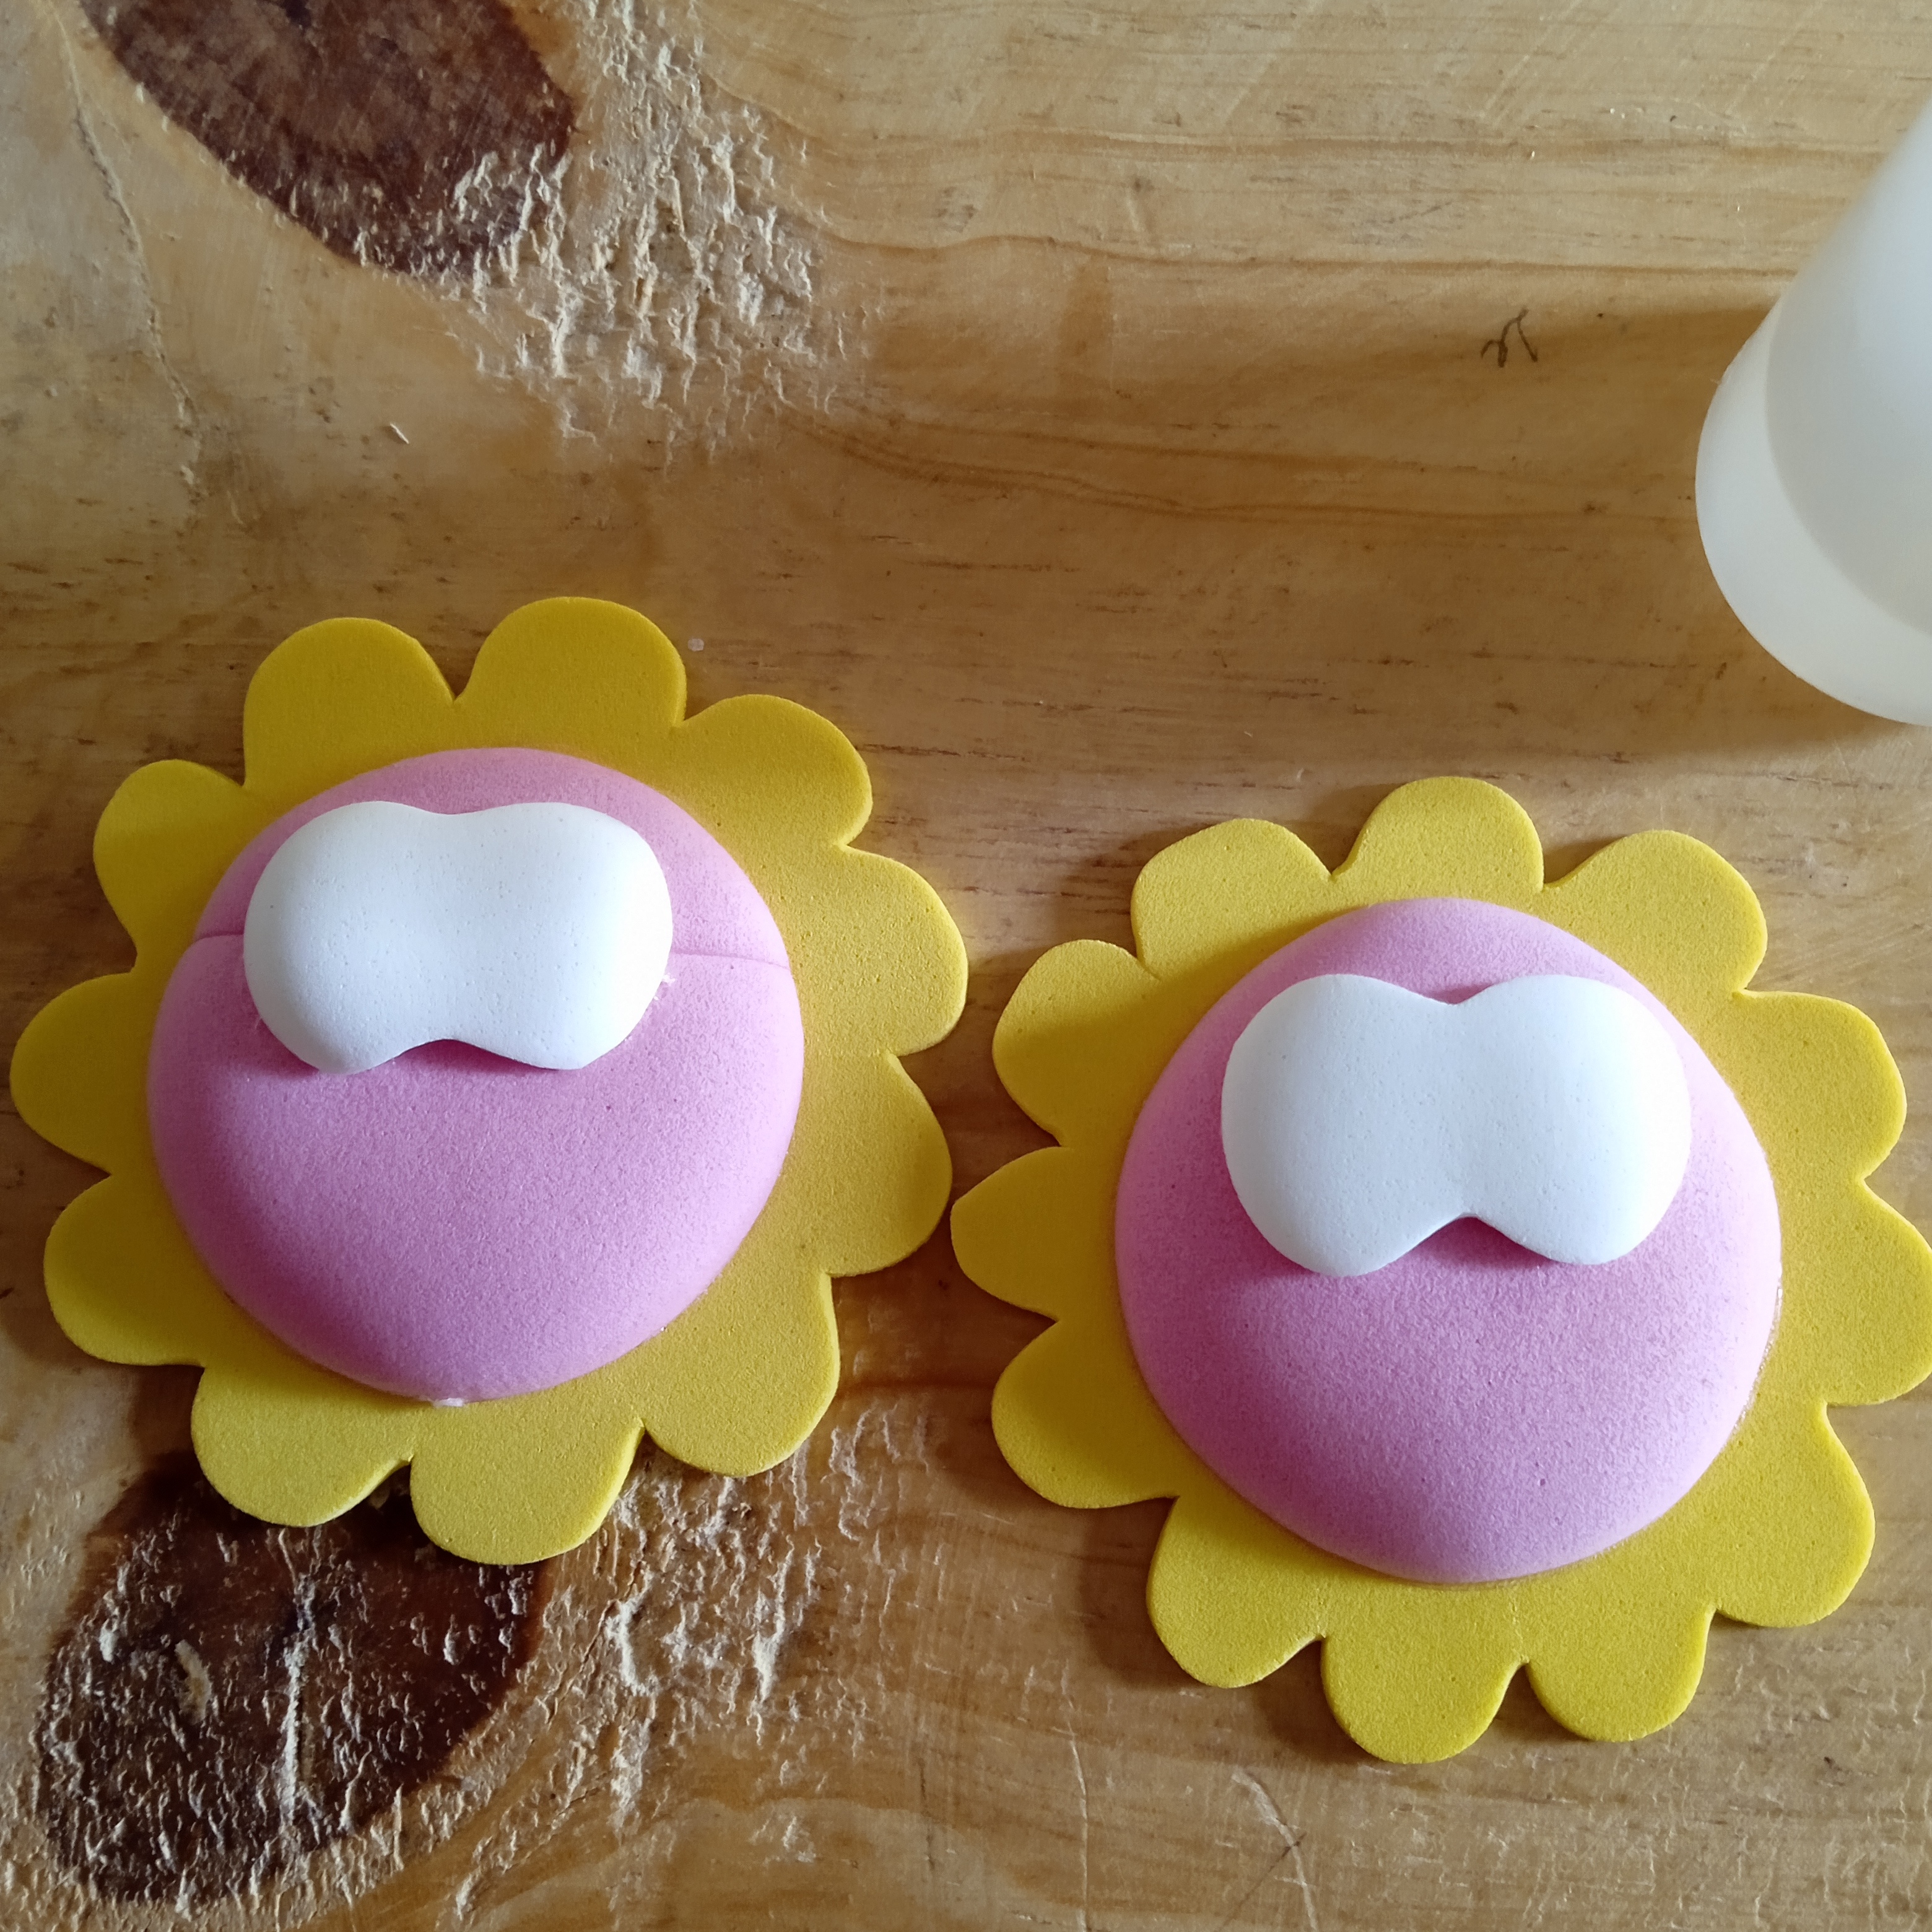
Ahora vamos a pegar los círculos rosados sobre la base amarilla utilizando silicona fría. Pegamos los ojos y así seguimos colocando cada pieza.
Step 5.
Now we are going to stick the pink circles on the yellow base, using cold silicone. We glue the eyes and continue placing each piece like this.
Paso 6.
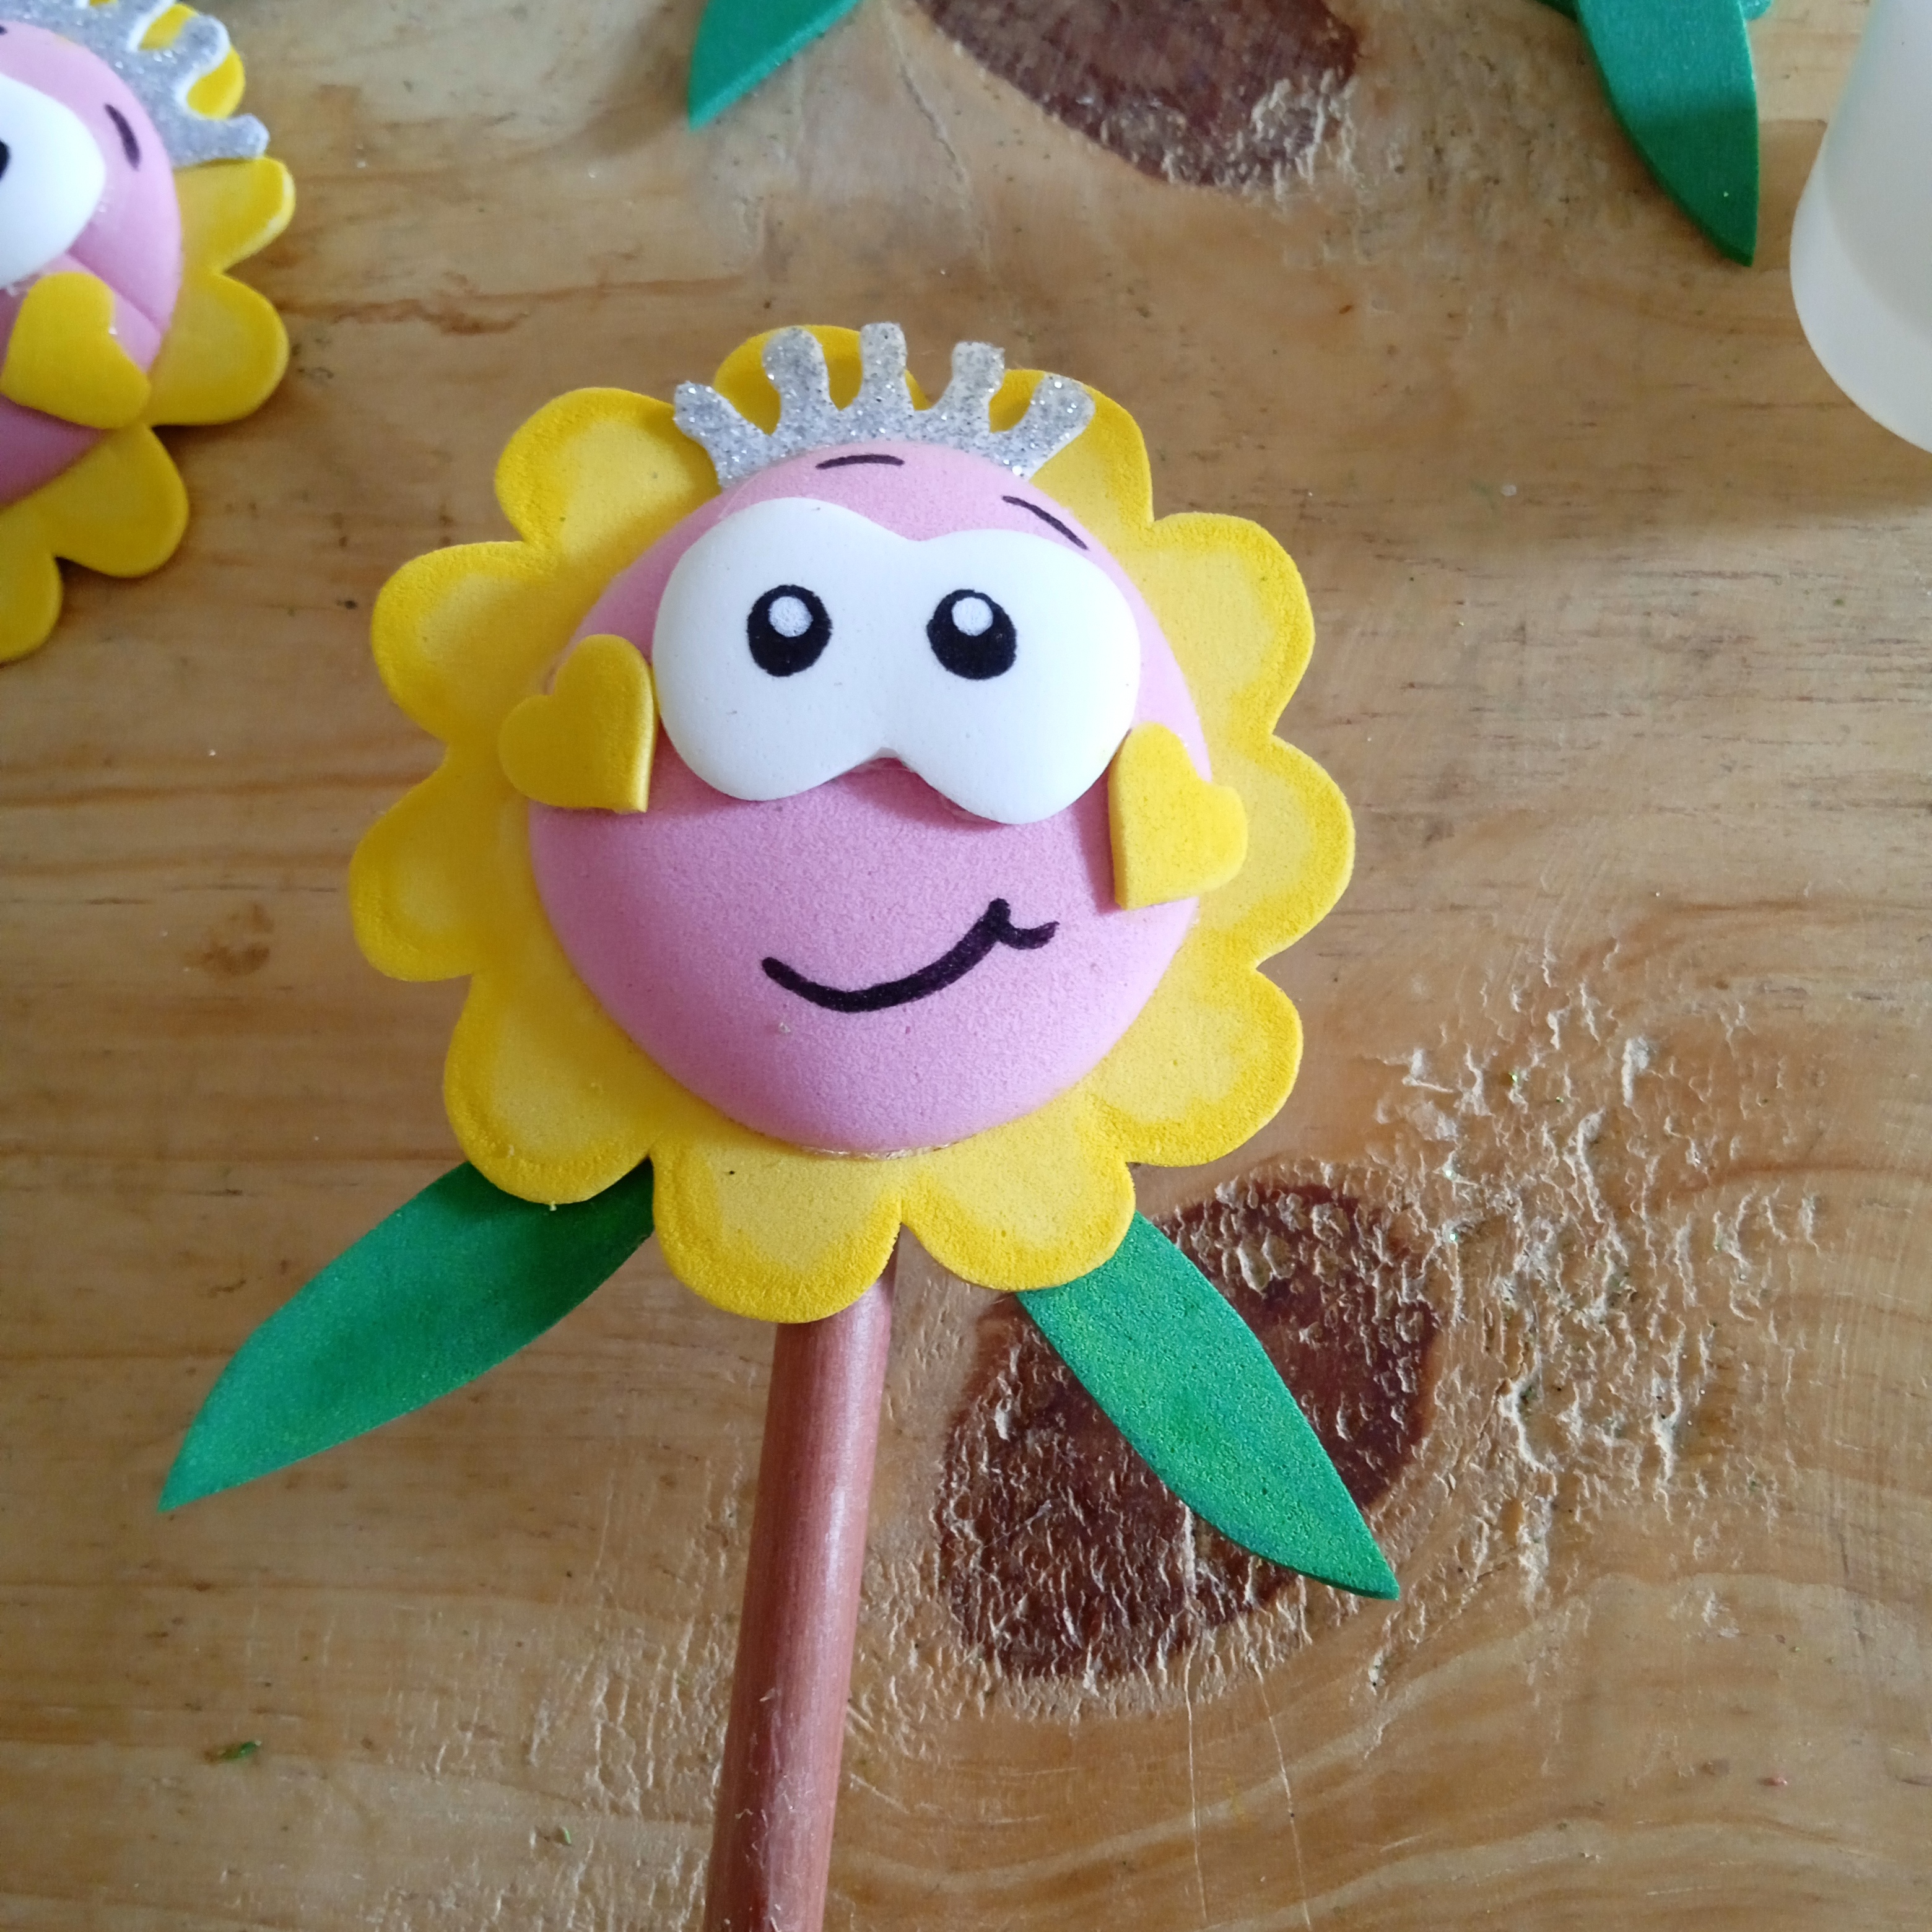
Ahora vamos a marcar los ojos utilizando marcador negro. Hacemos una coronita con foami con brillantina y la pegamos a está linda flor. Con un crayón amarillo resaltamos los bordes de los pétalos y mejillas.
Step 6.
Now we are going to mark the eyes using the black marker. We make a crown with glitter foam and glue it to this pretty flower. With a yellow crayon we highlight the edges of the petals and cheeks.

Paso 8.
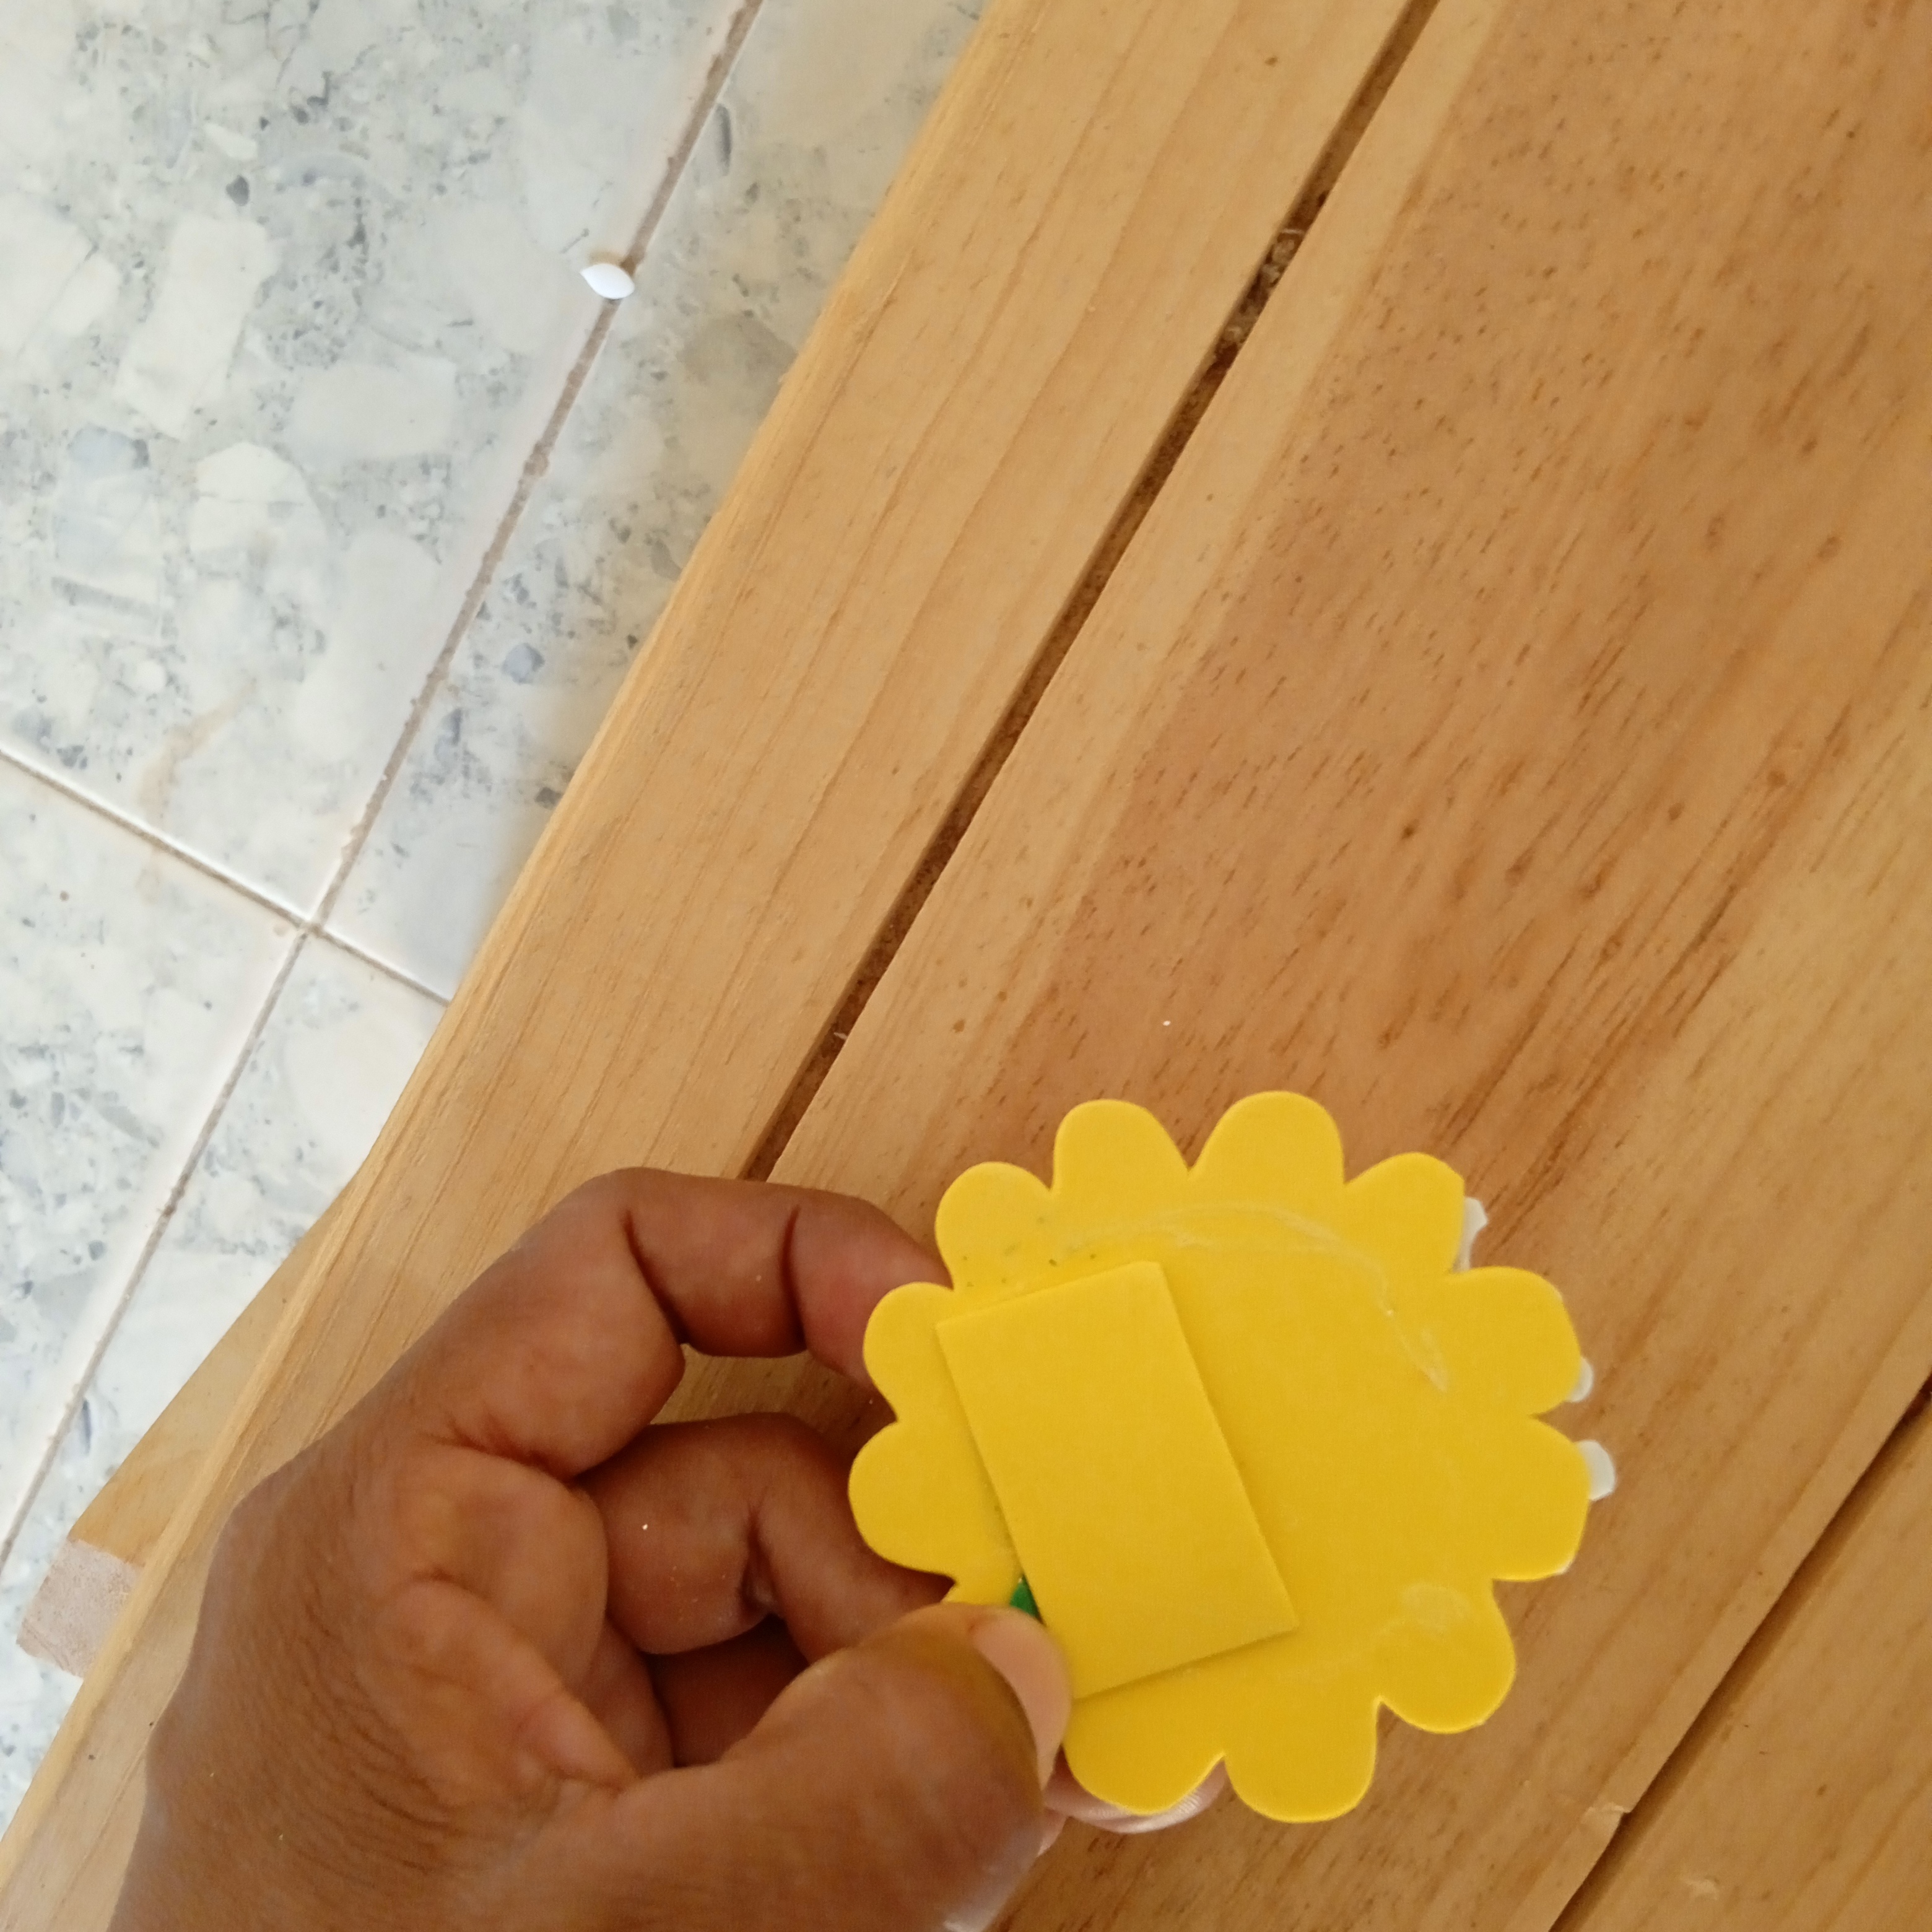
Para terminar con la flor pegamos un trocito de foami en la parte de atrás para poder colocar los lápices.
Step 8.
To finish with the flower we glue a small piece of foam on the back of the flower to be able to place the pencils.
Paso 9.
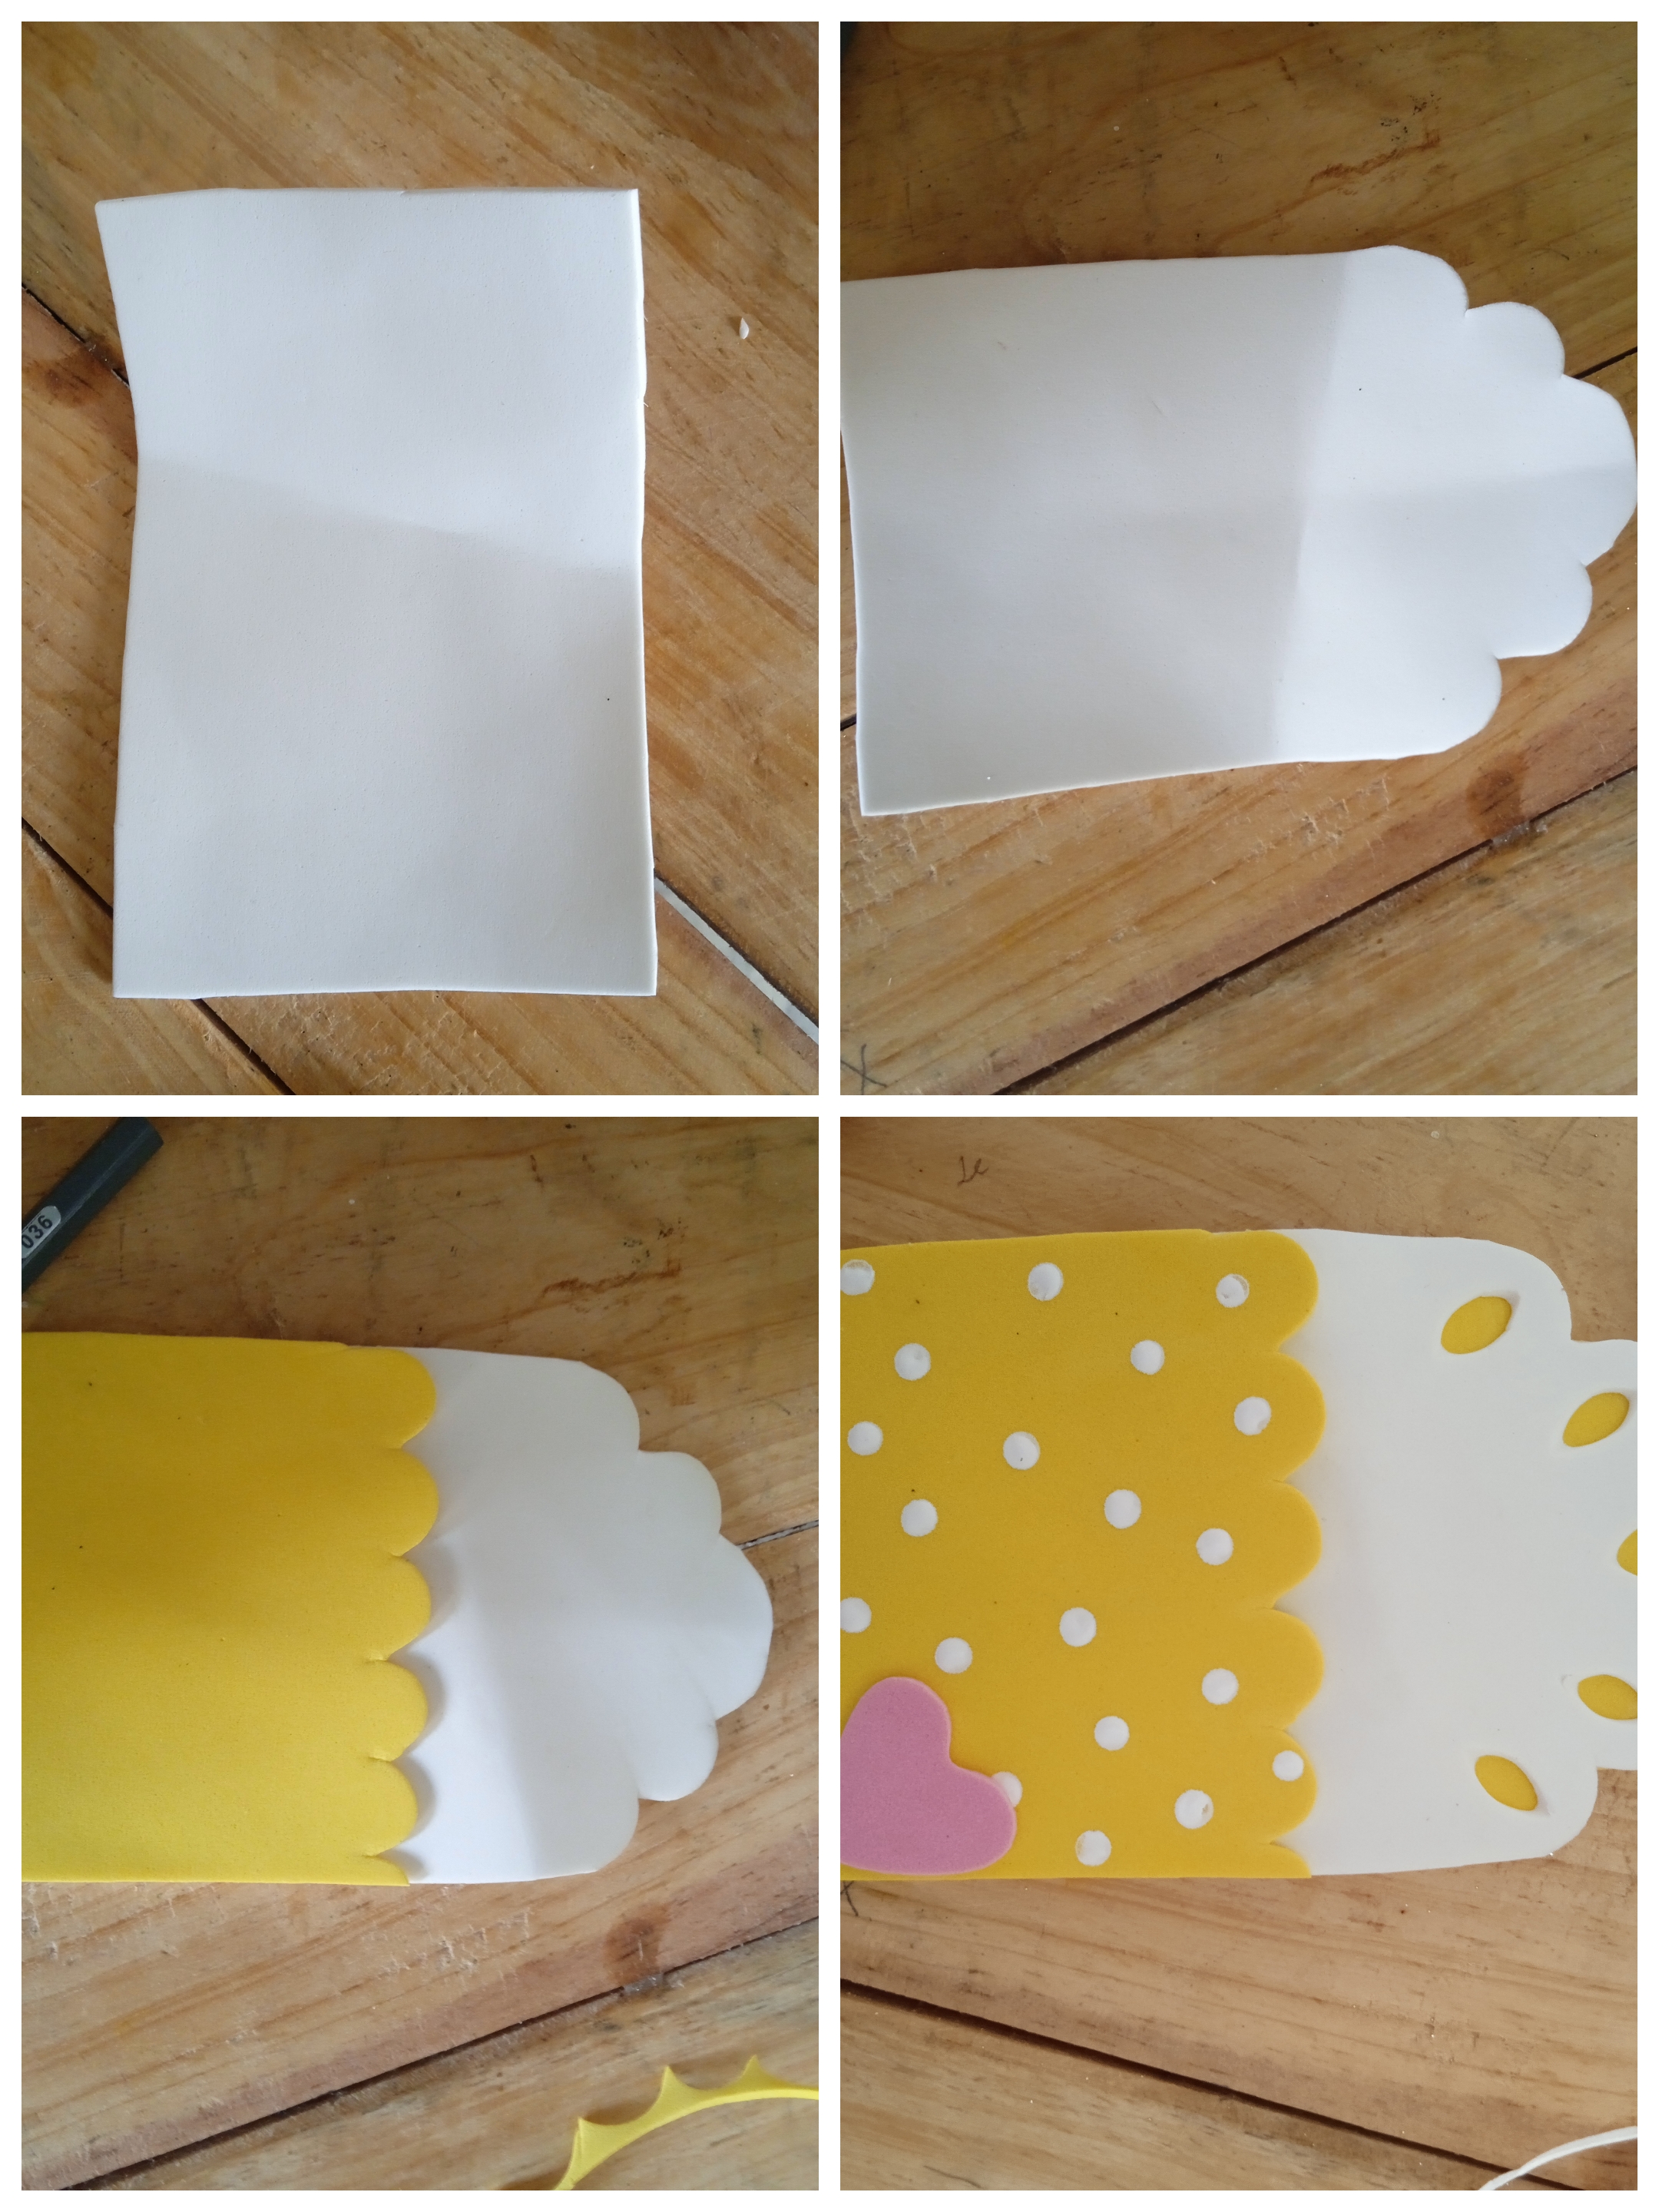
Para hacer este bolsillo, recortamos un rectángulo de foami blanco, le damos forma a la parte superior del rectángulo y pegamos la mitad de un rectángulo amarillo para hacer el bolsillo. Para terminar solo hacemos puntos blancos y pegamos un corazón rosado.
Step 9.
To make this pocket, we cut out a rectangle of white foam, we shape the top of the rectangle and glue half of a yellow rectangle to make the pocket. To finish we just make white dots and glue a pink heart.
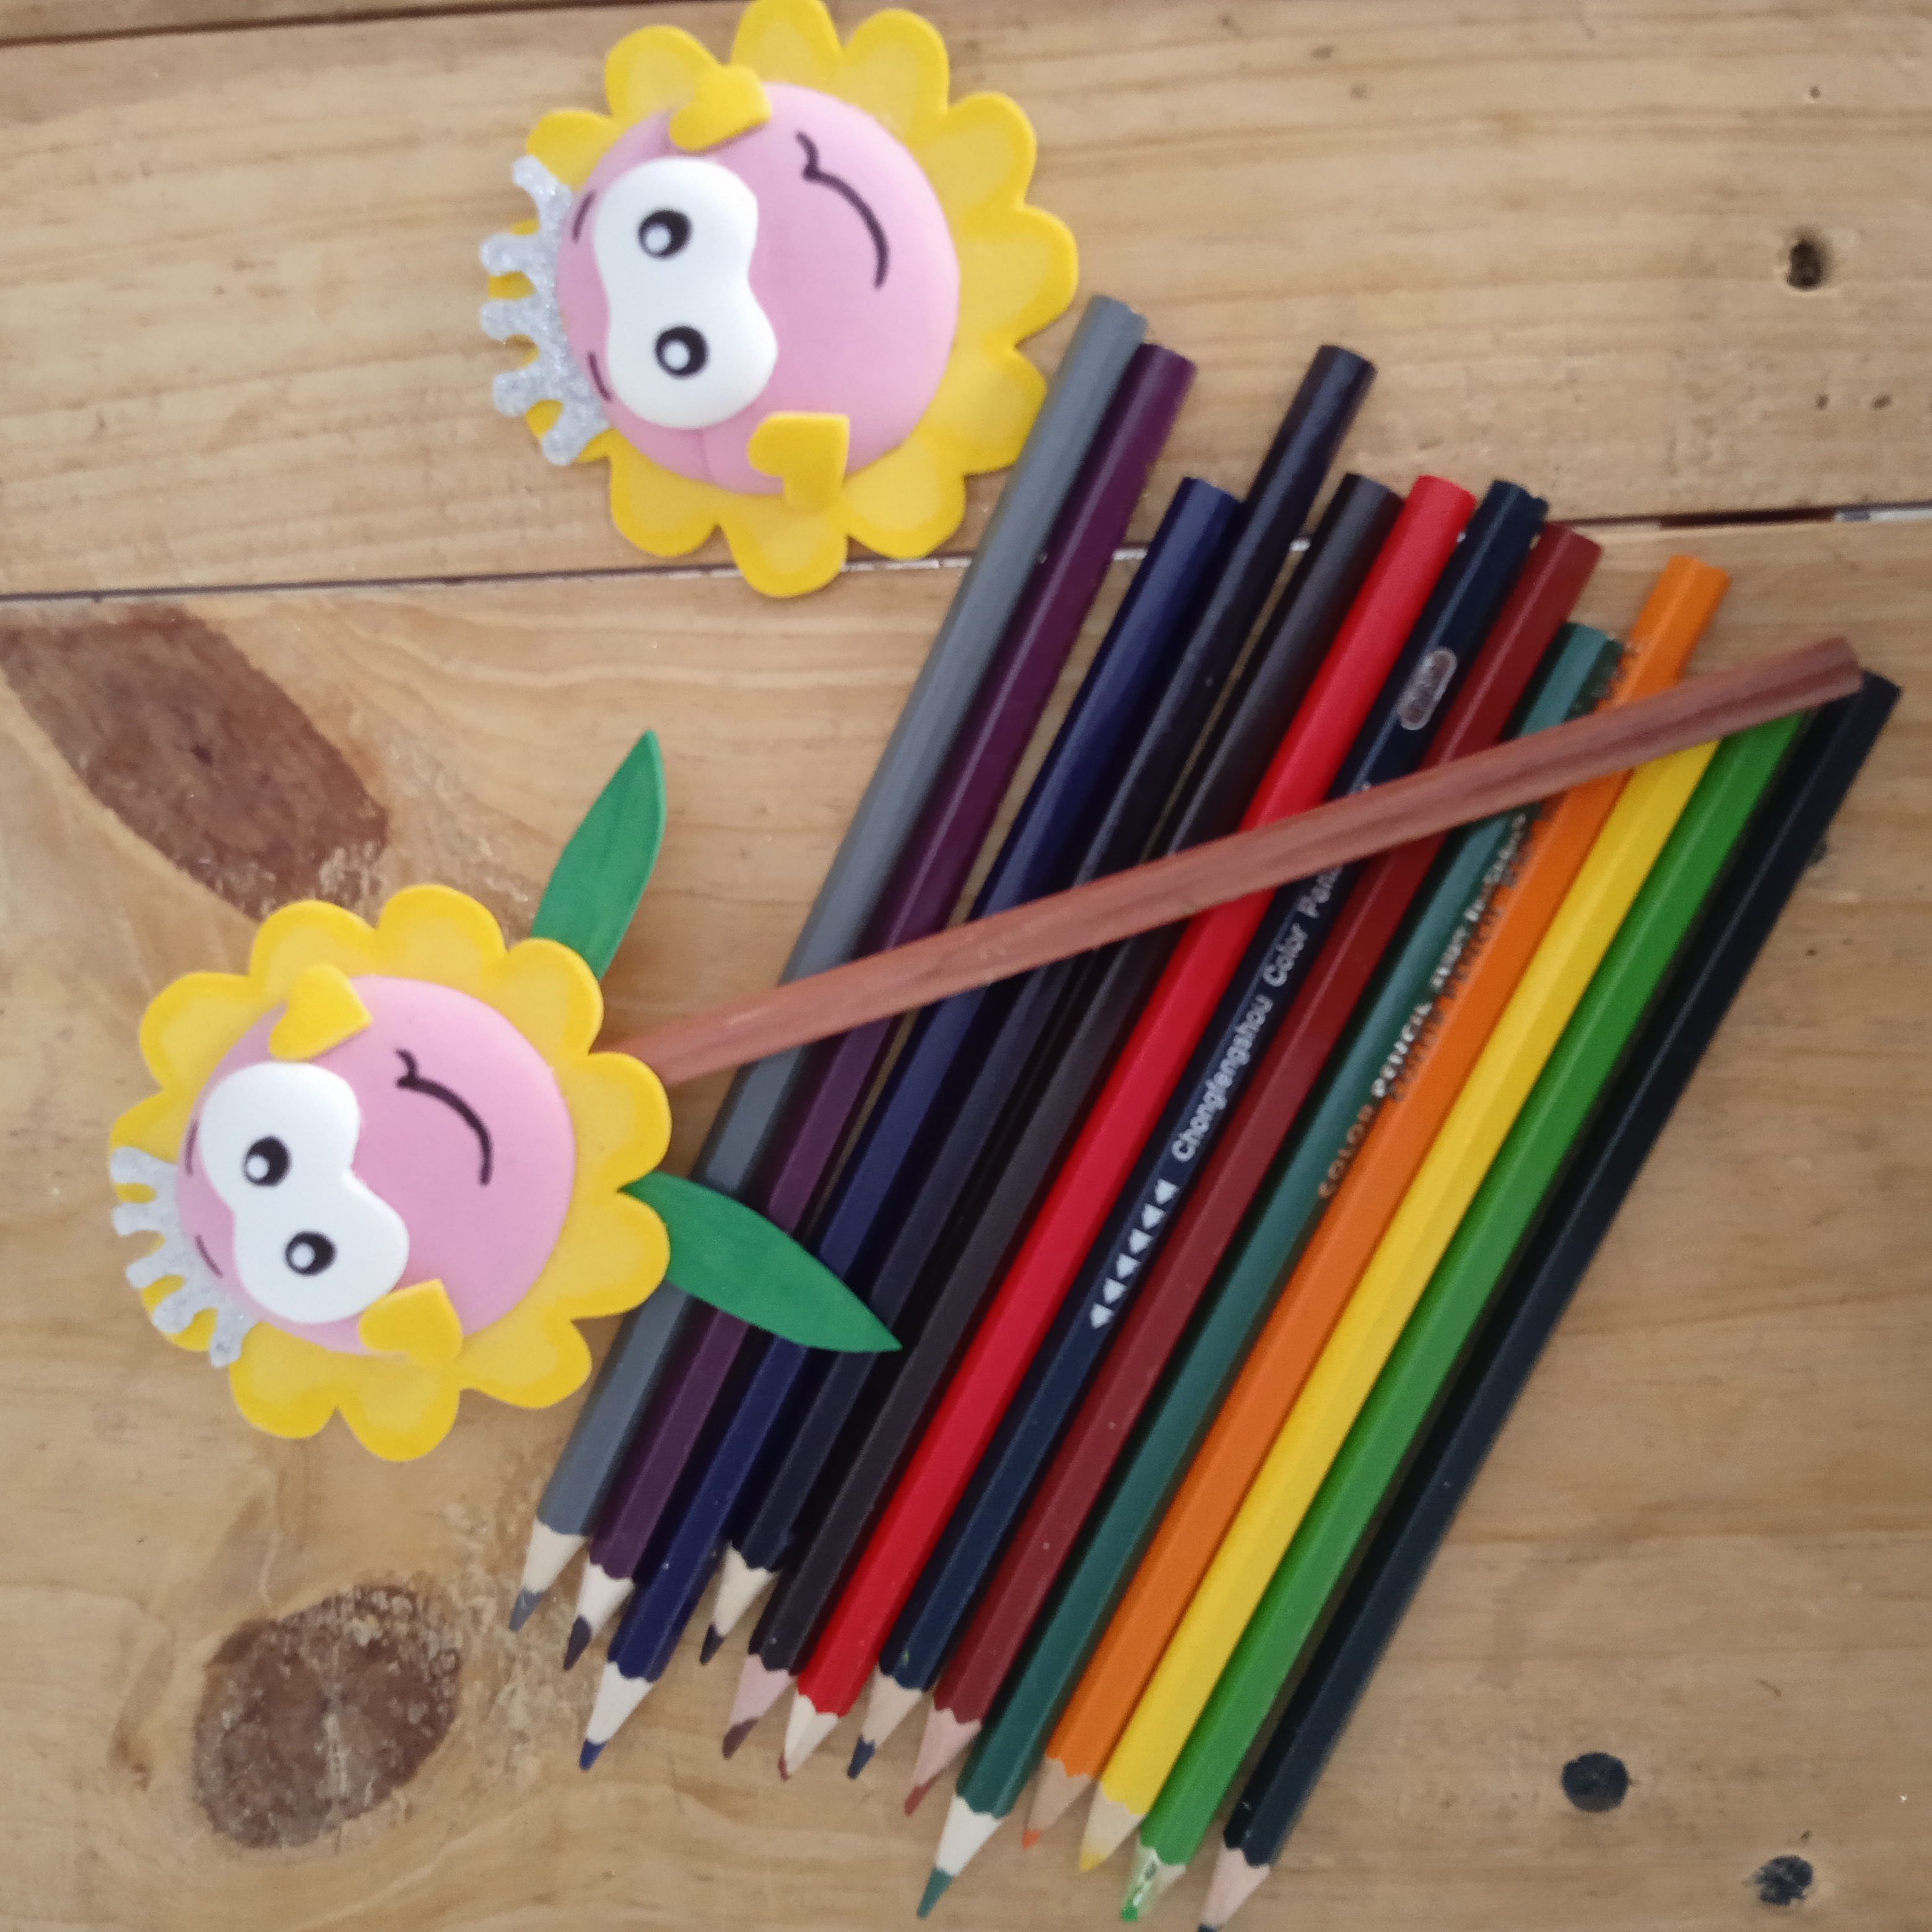
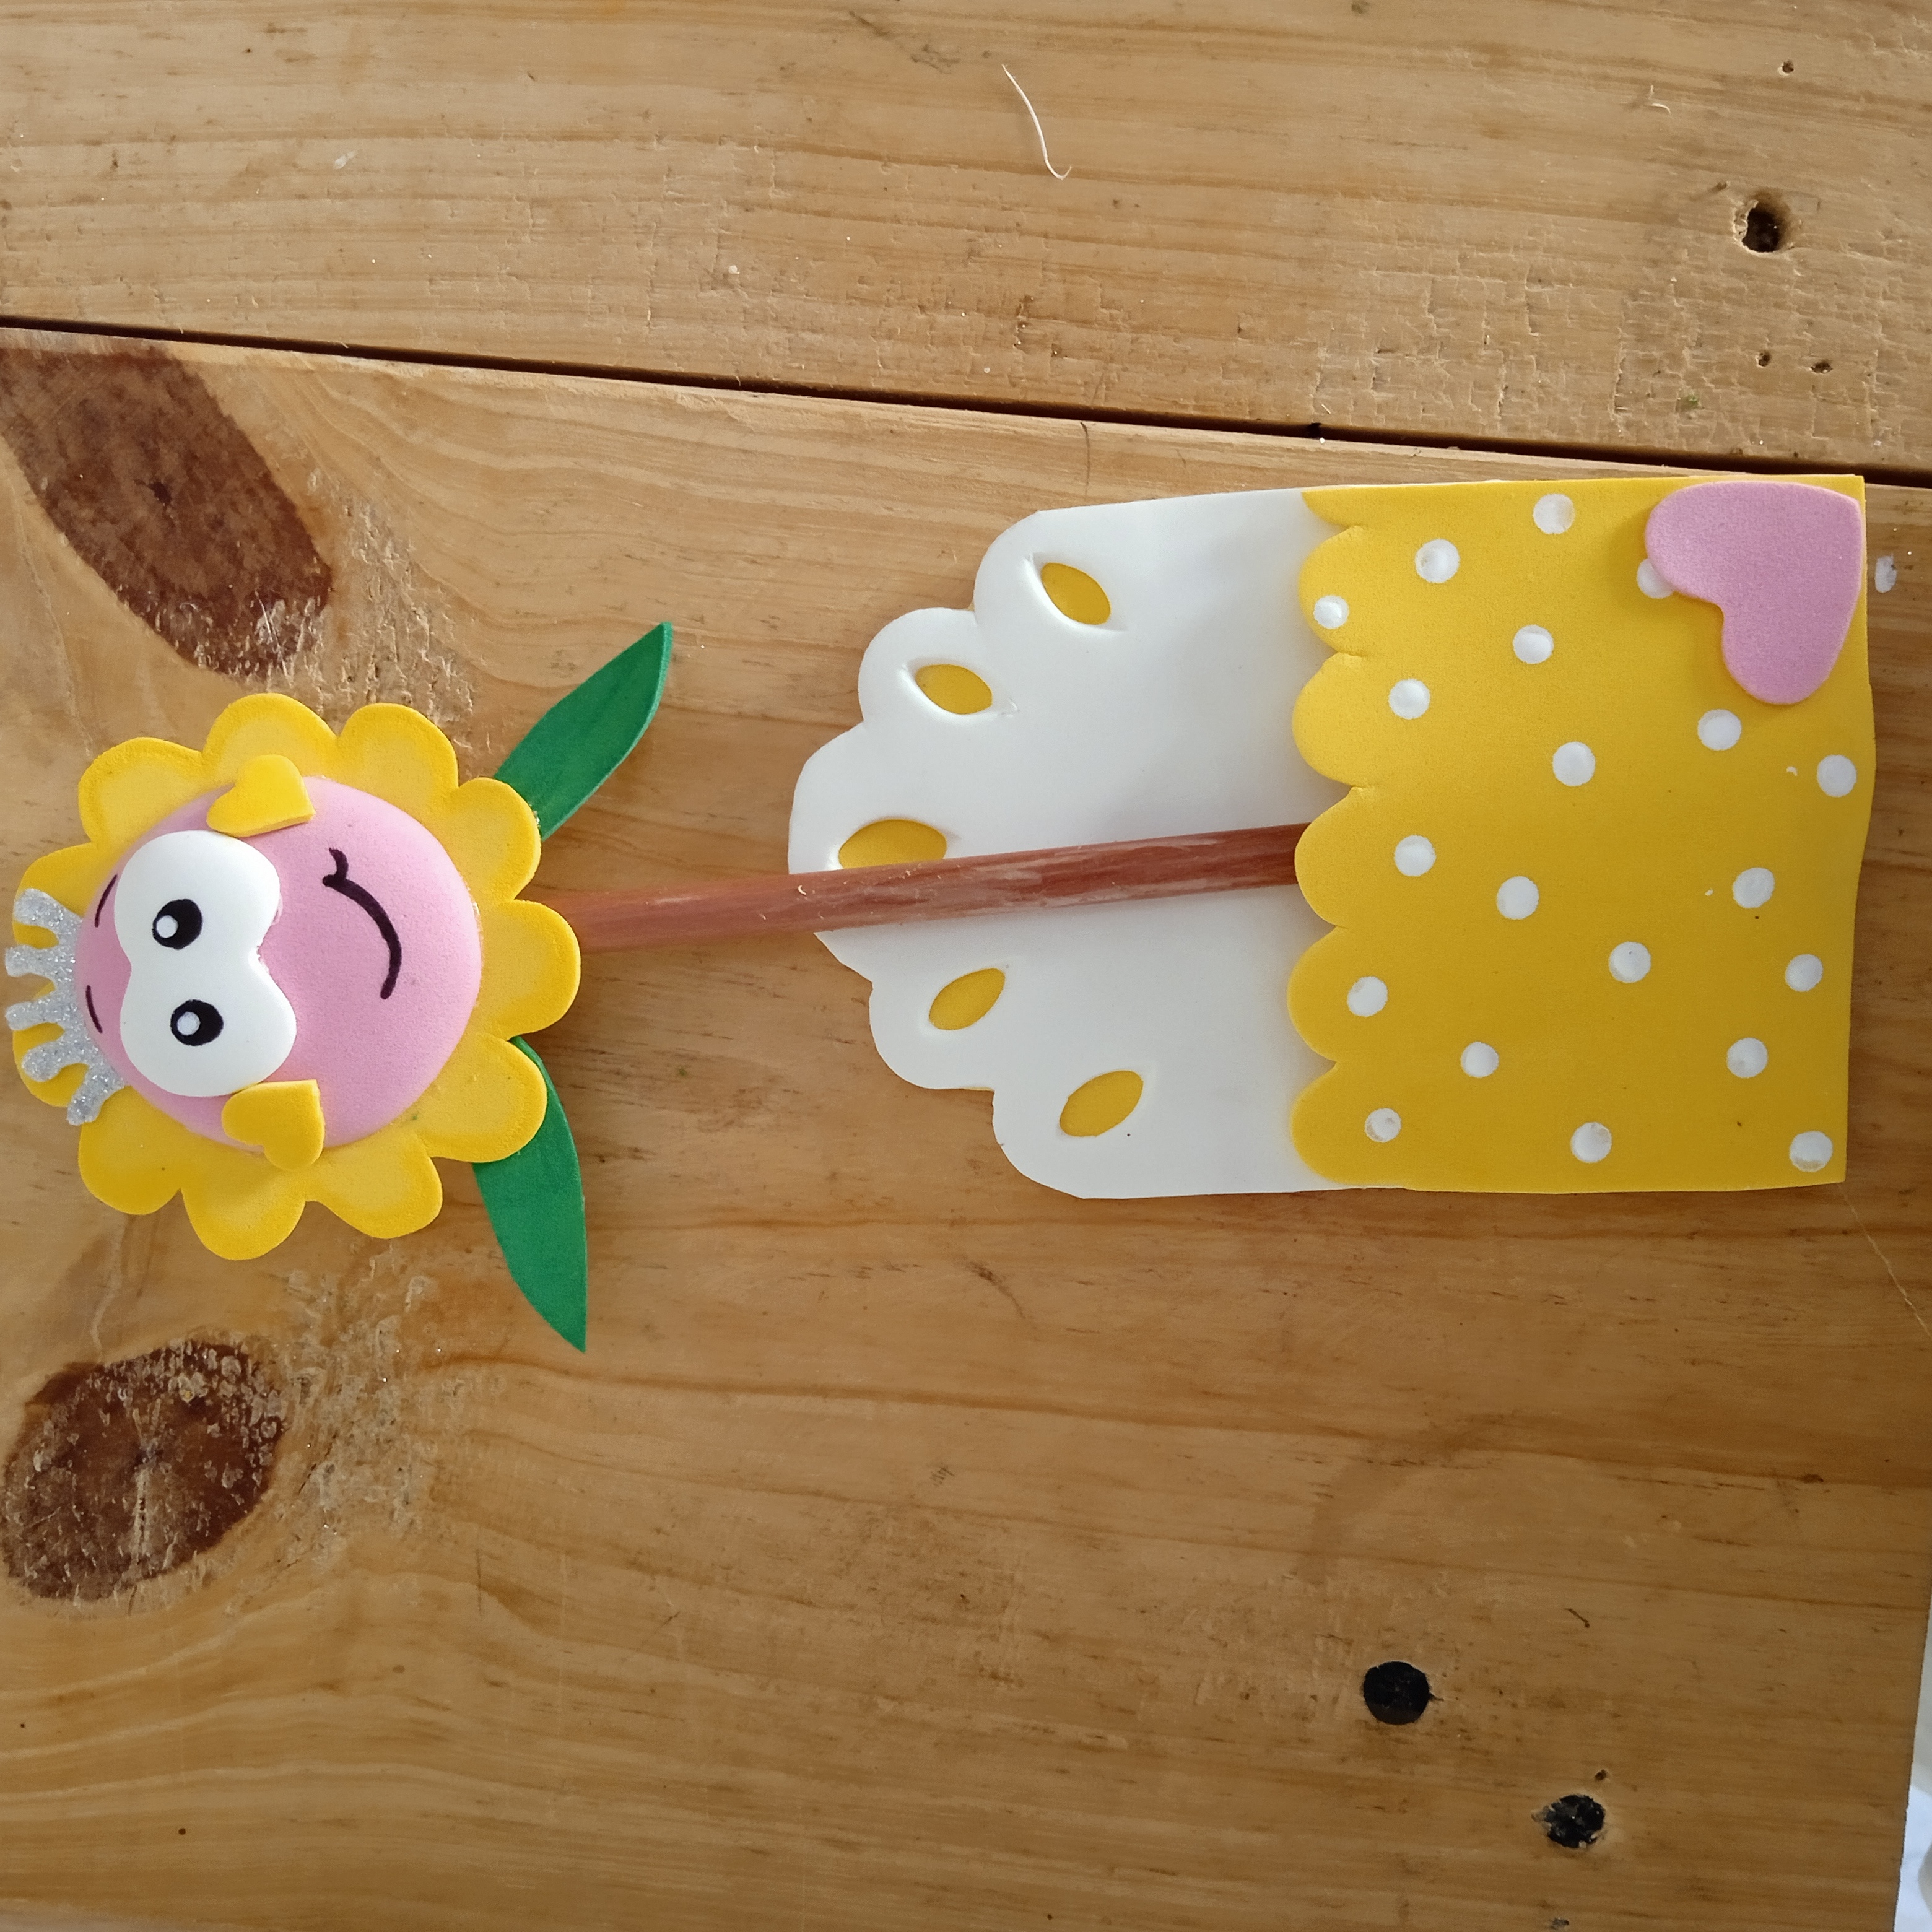
Este es el resultado, un lindo adorno para personalizar los lápices con su respectivo bolsillo para organizar. Espero que les haya gustado mucho para obsequiar a nuestras niñas.
This is the result, a nice ornament to personalize the pencils with their respective pocket to organize. I hope you liked it a lot to give to our girls.
Que lindo poder compartir un rato agradable con todos, es una alegría para mí Se les quiere mucho. Que tengan una linda noche en compañía de sus seres queridos. Espero volver pronto con más ideas, bendiciones.
How nice to be able to share a pleasant time with everyone, it is a joy for me. They are loved very much. Have a nice night in the company of your loved ones. I hope to return soon with more ideas and blessings.
Contenido de mi autoría.
Fotos capturas por teléfono Remi9 y editadas por Griart.
Traductor Google.com
Content of my authorship.
Photos captured by Remi9 phone and edited by Griart.
Google.com Translator
Sin duda una idea el inicio de clases y con un color bastante llamativo. Me encanta
Si, siempre hay que elegir esos colores llamativos, por qué a ellas les encanta. Muchas gracias por apoyar, saludos y bendiciones.
Todo muy bonito, es una linda y colorida forma de iniciar las clases yendo con una linda manualidad para los utiles escolares, me encanto el diseño y los colores 😍
Muchas gracias por comentar y apoyar este post, saludos.
Muy bonita idea que nos ayuda en la organización. Bendiciones 😘.
Muchas gracias, igualmente 😘😊