Feliz tarde mis apreciados amigos, ya casi oscurece, les saludo con mucho cariño y les envío un fuerte abrazo. Agradecía con Dios por permitirme compartir un rato agradable con personas talentosas como ustedes. Espero se encuentren bien.
Happy afternoon, my dear friends. I greet you with much affection and send you a big hug. I thank God for allowing me to share a pleasant time with talented people like you. I hope you are all well.
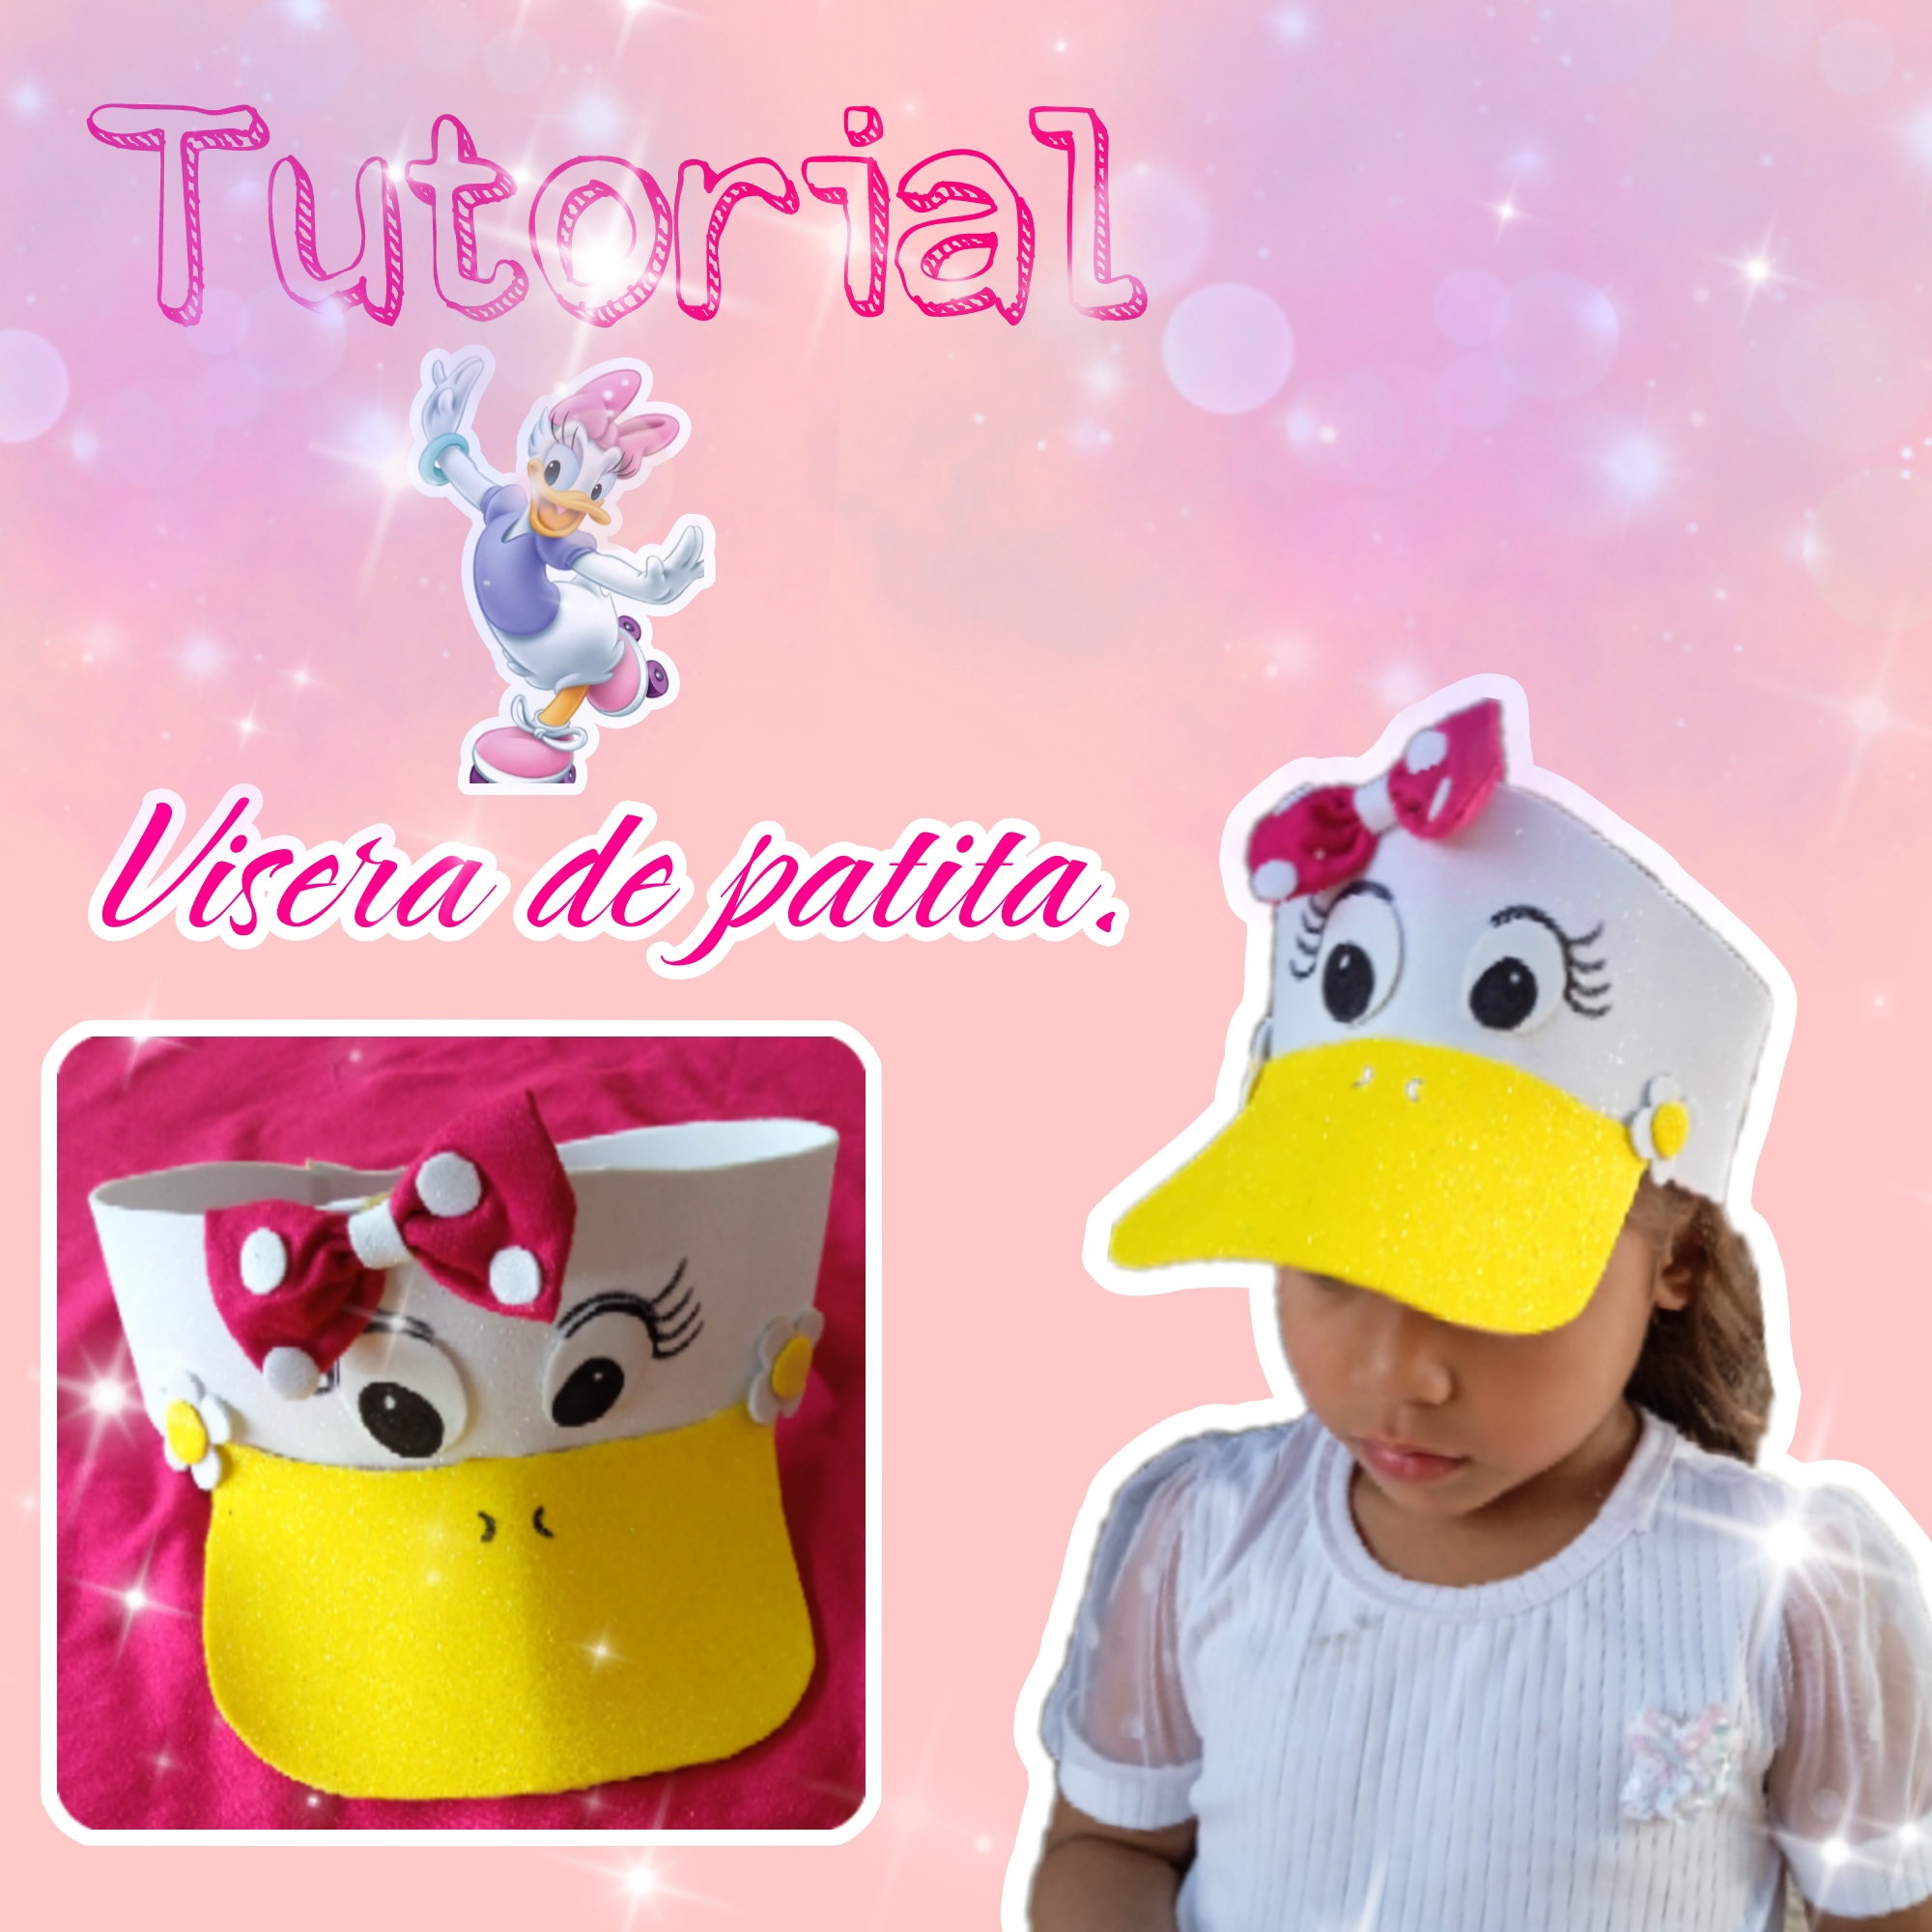
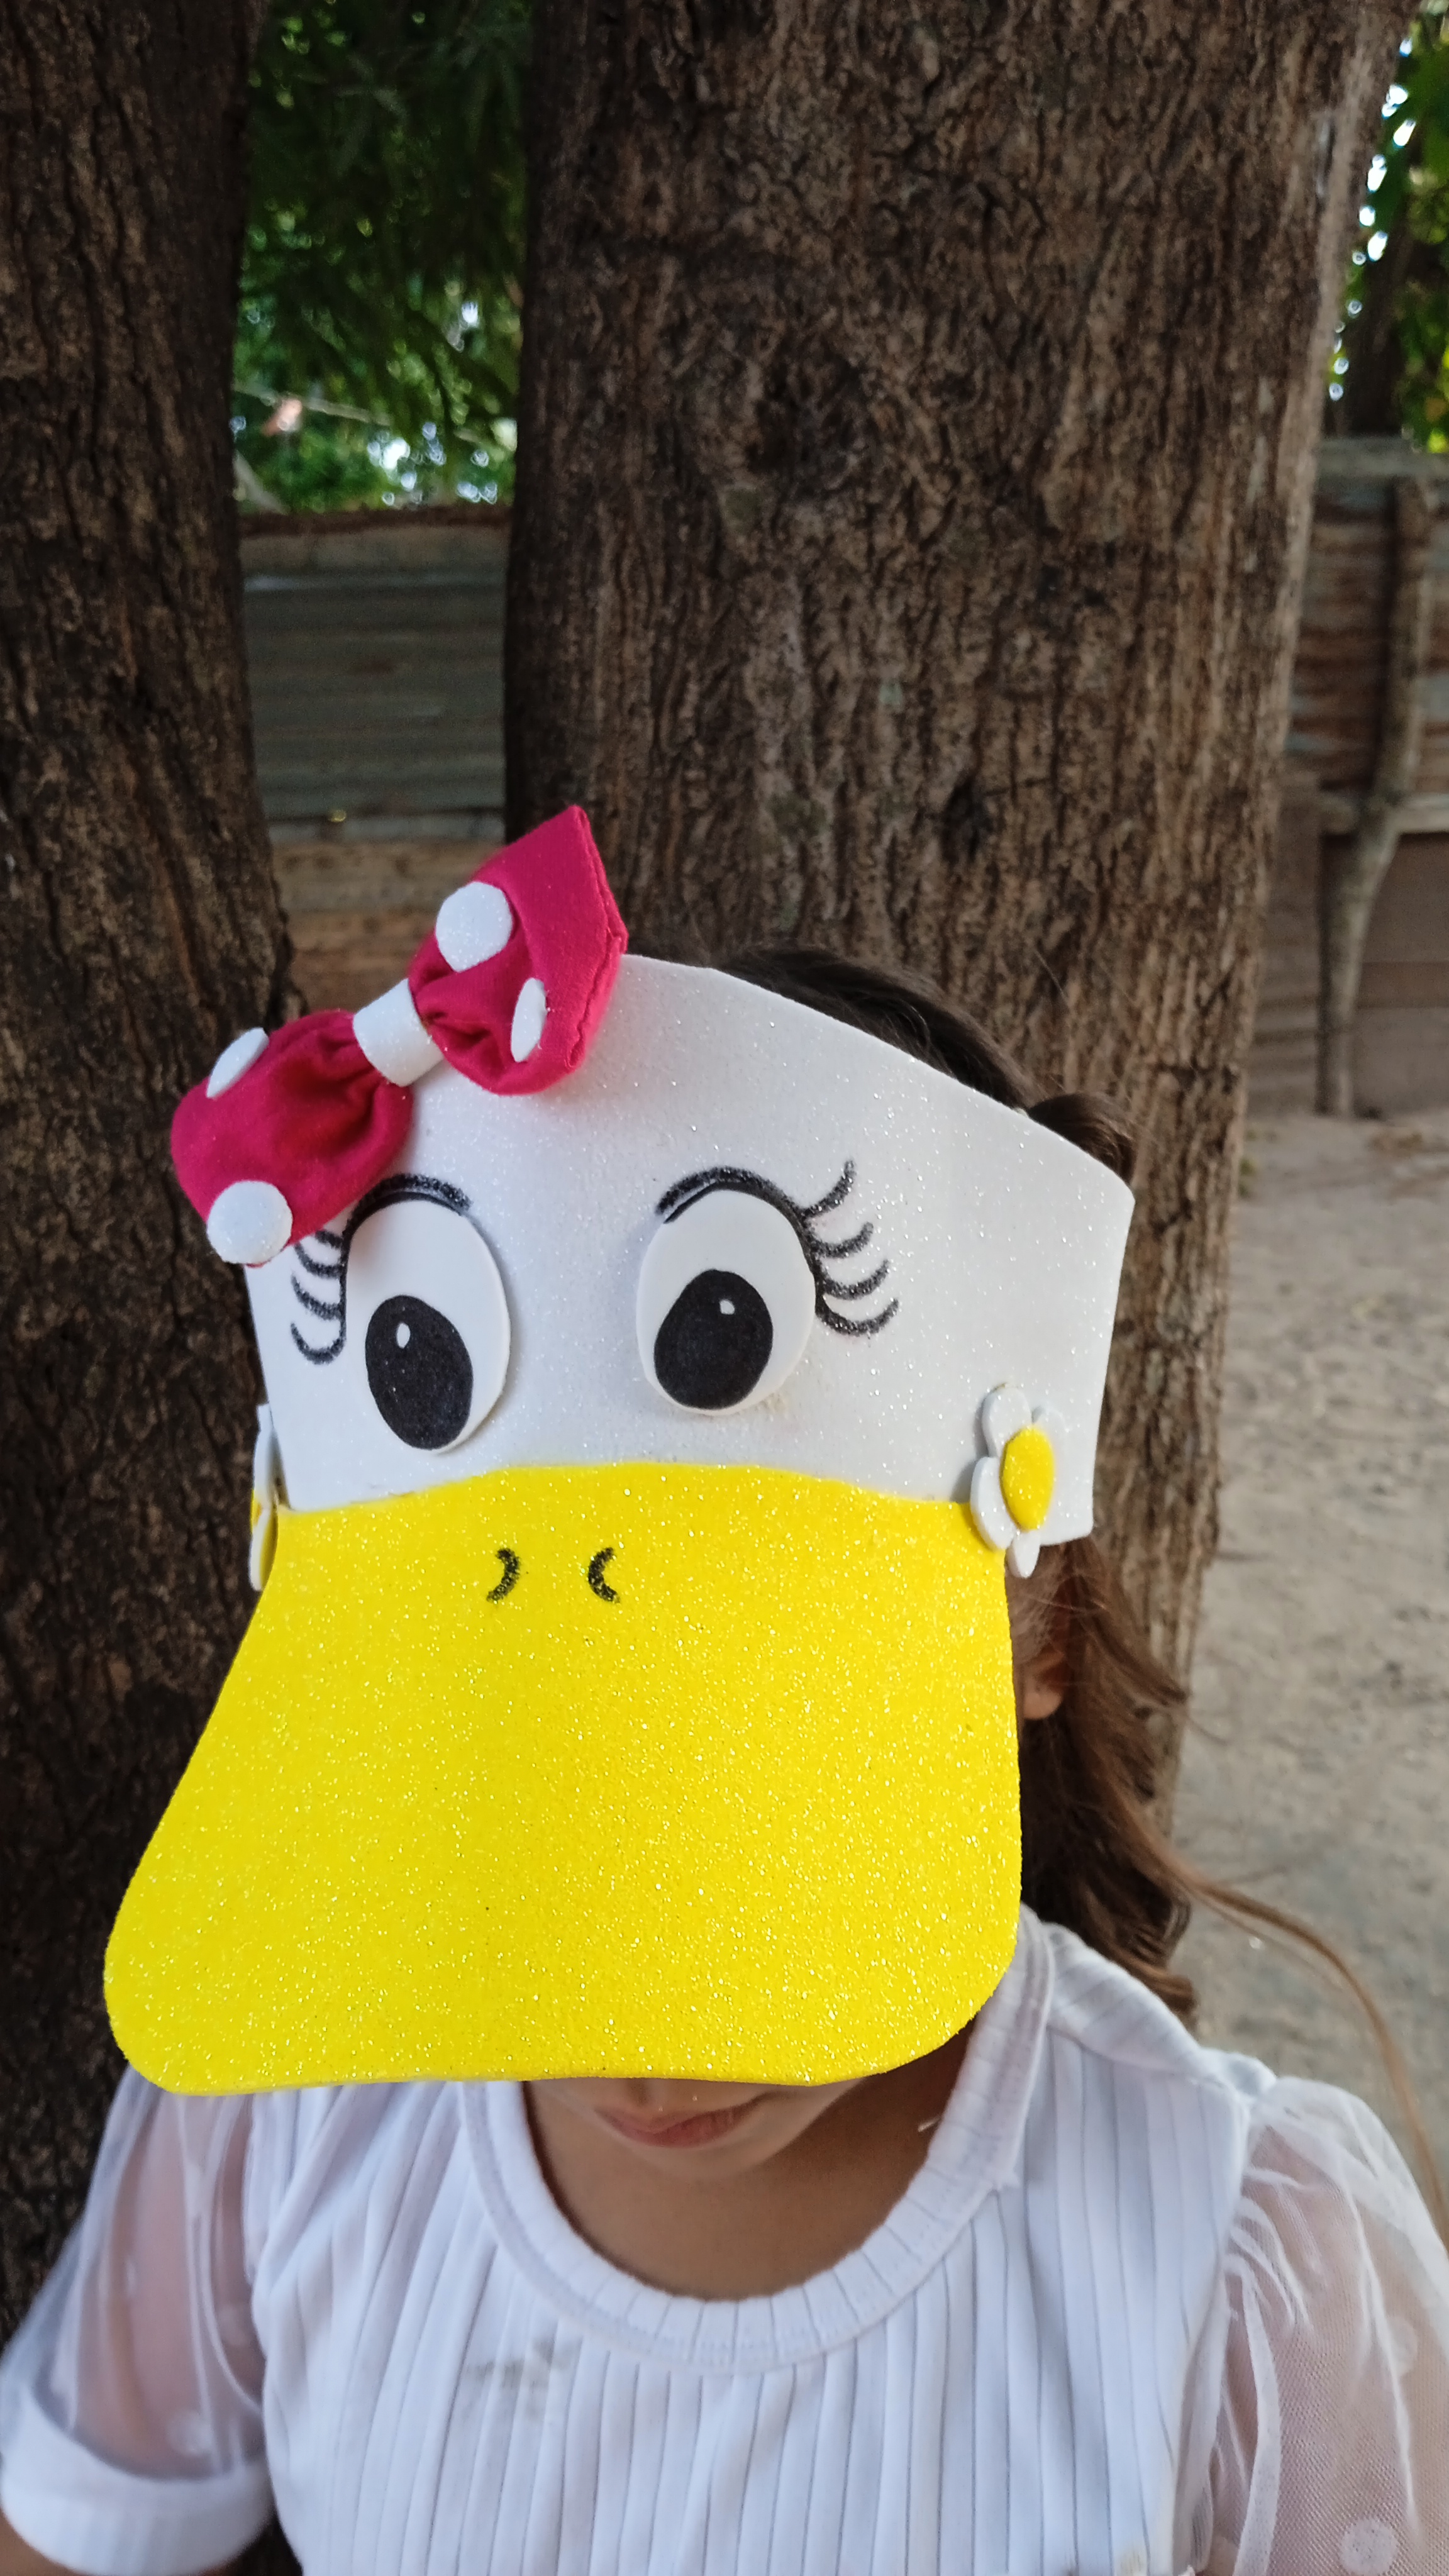
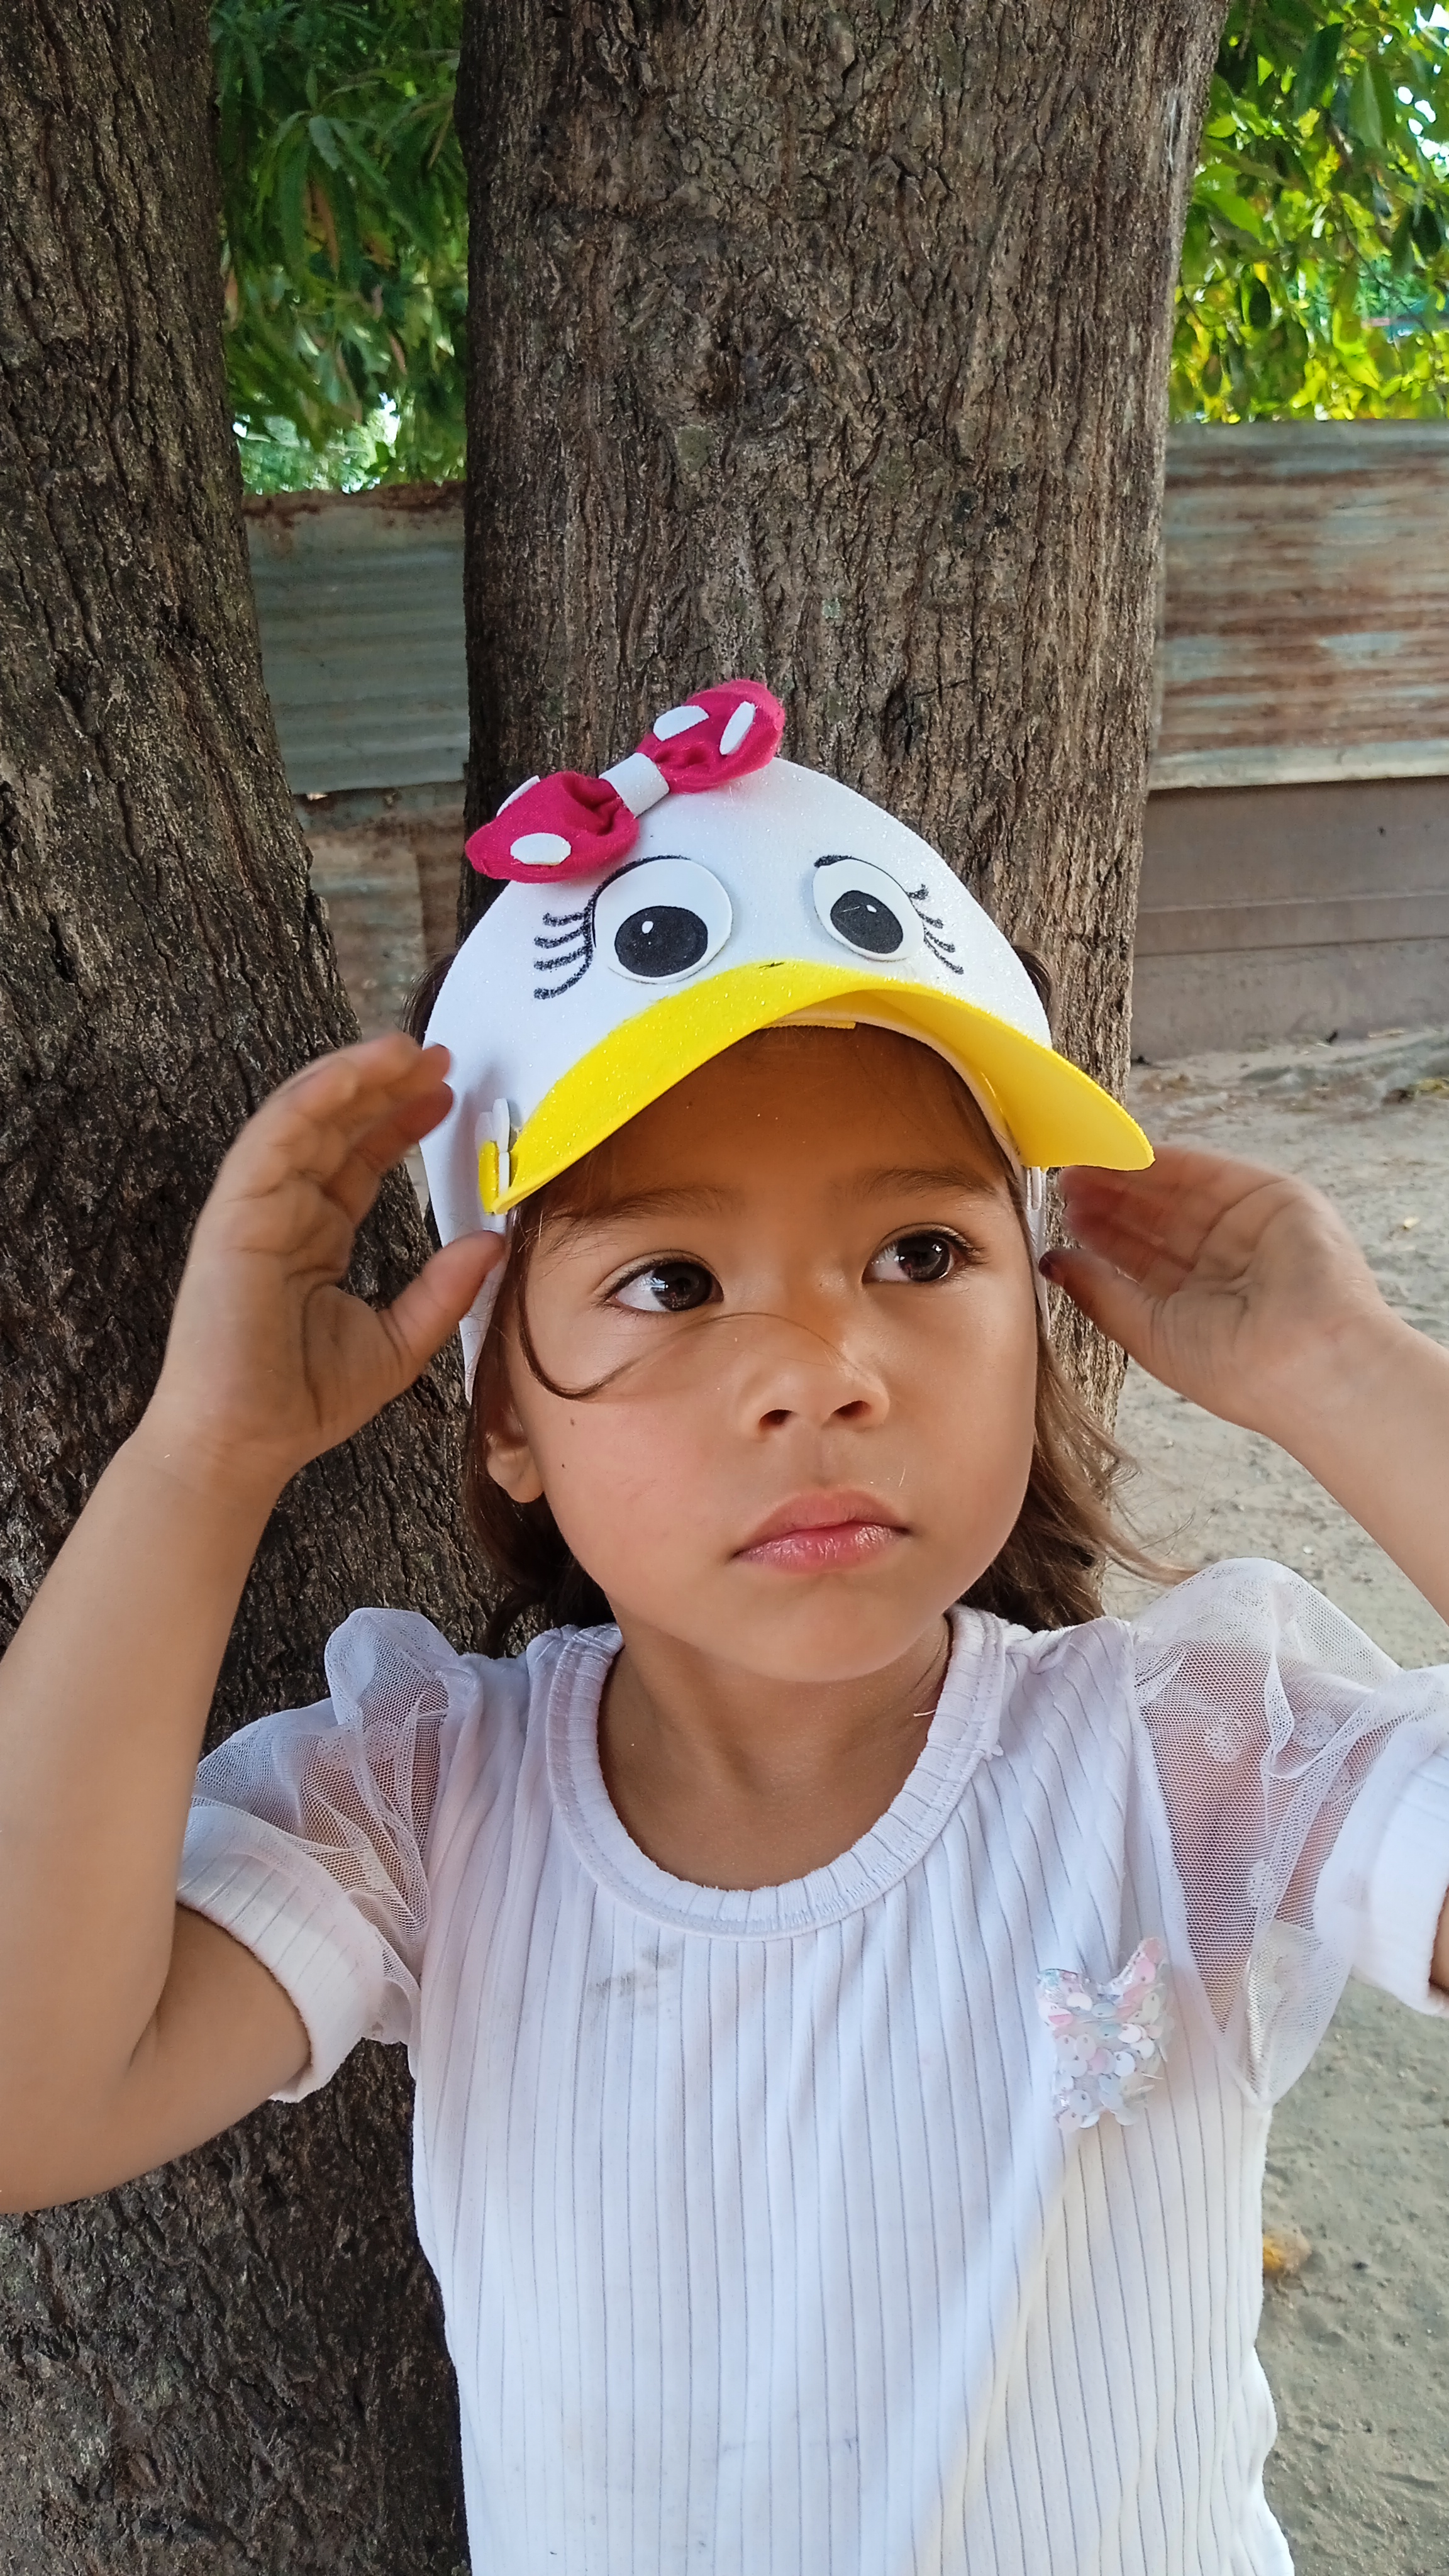
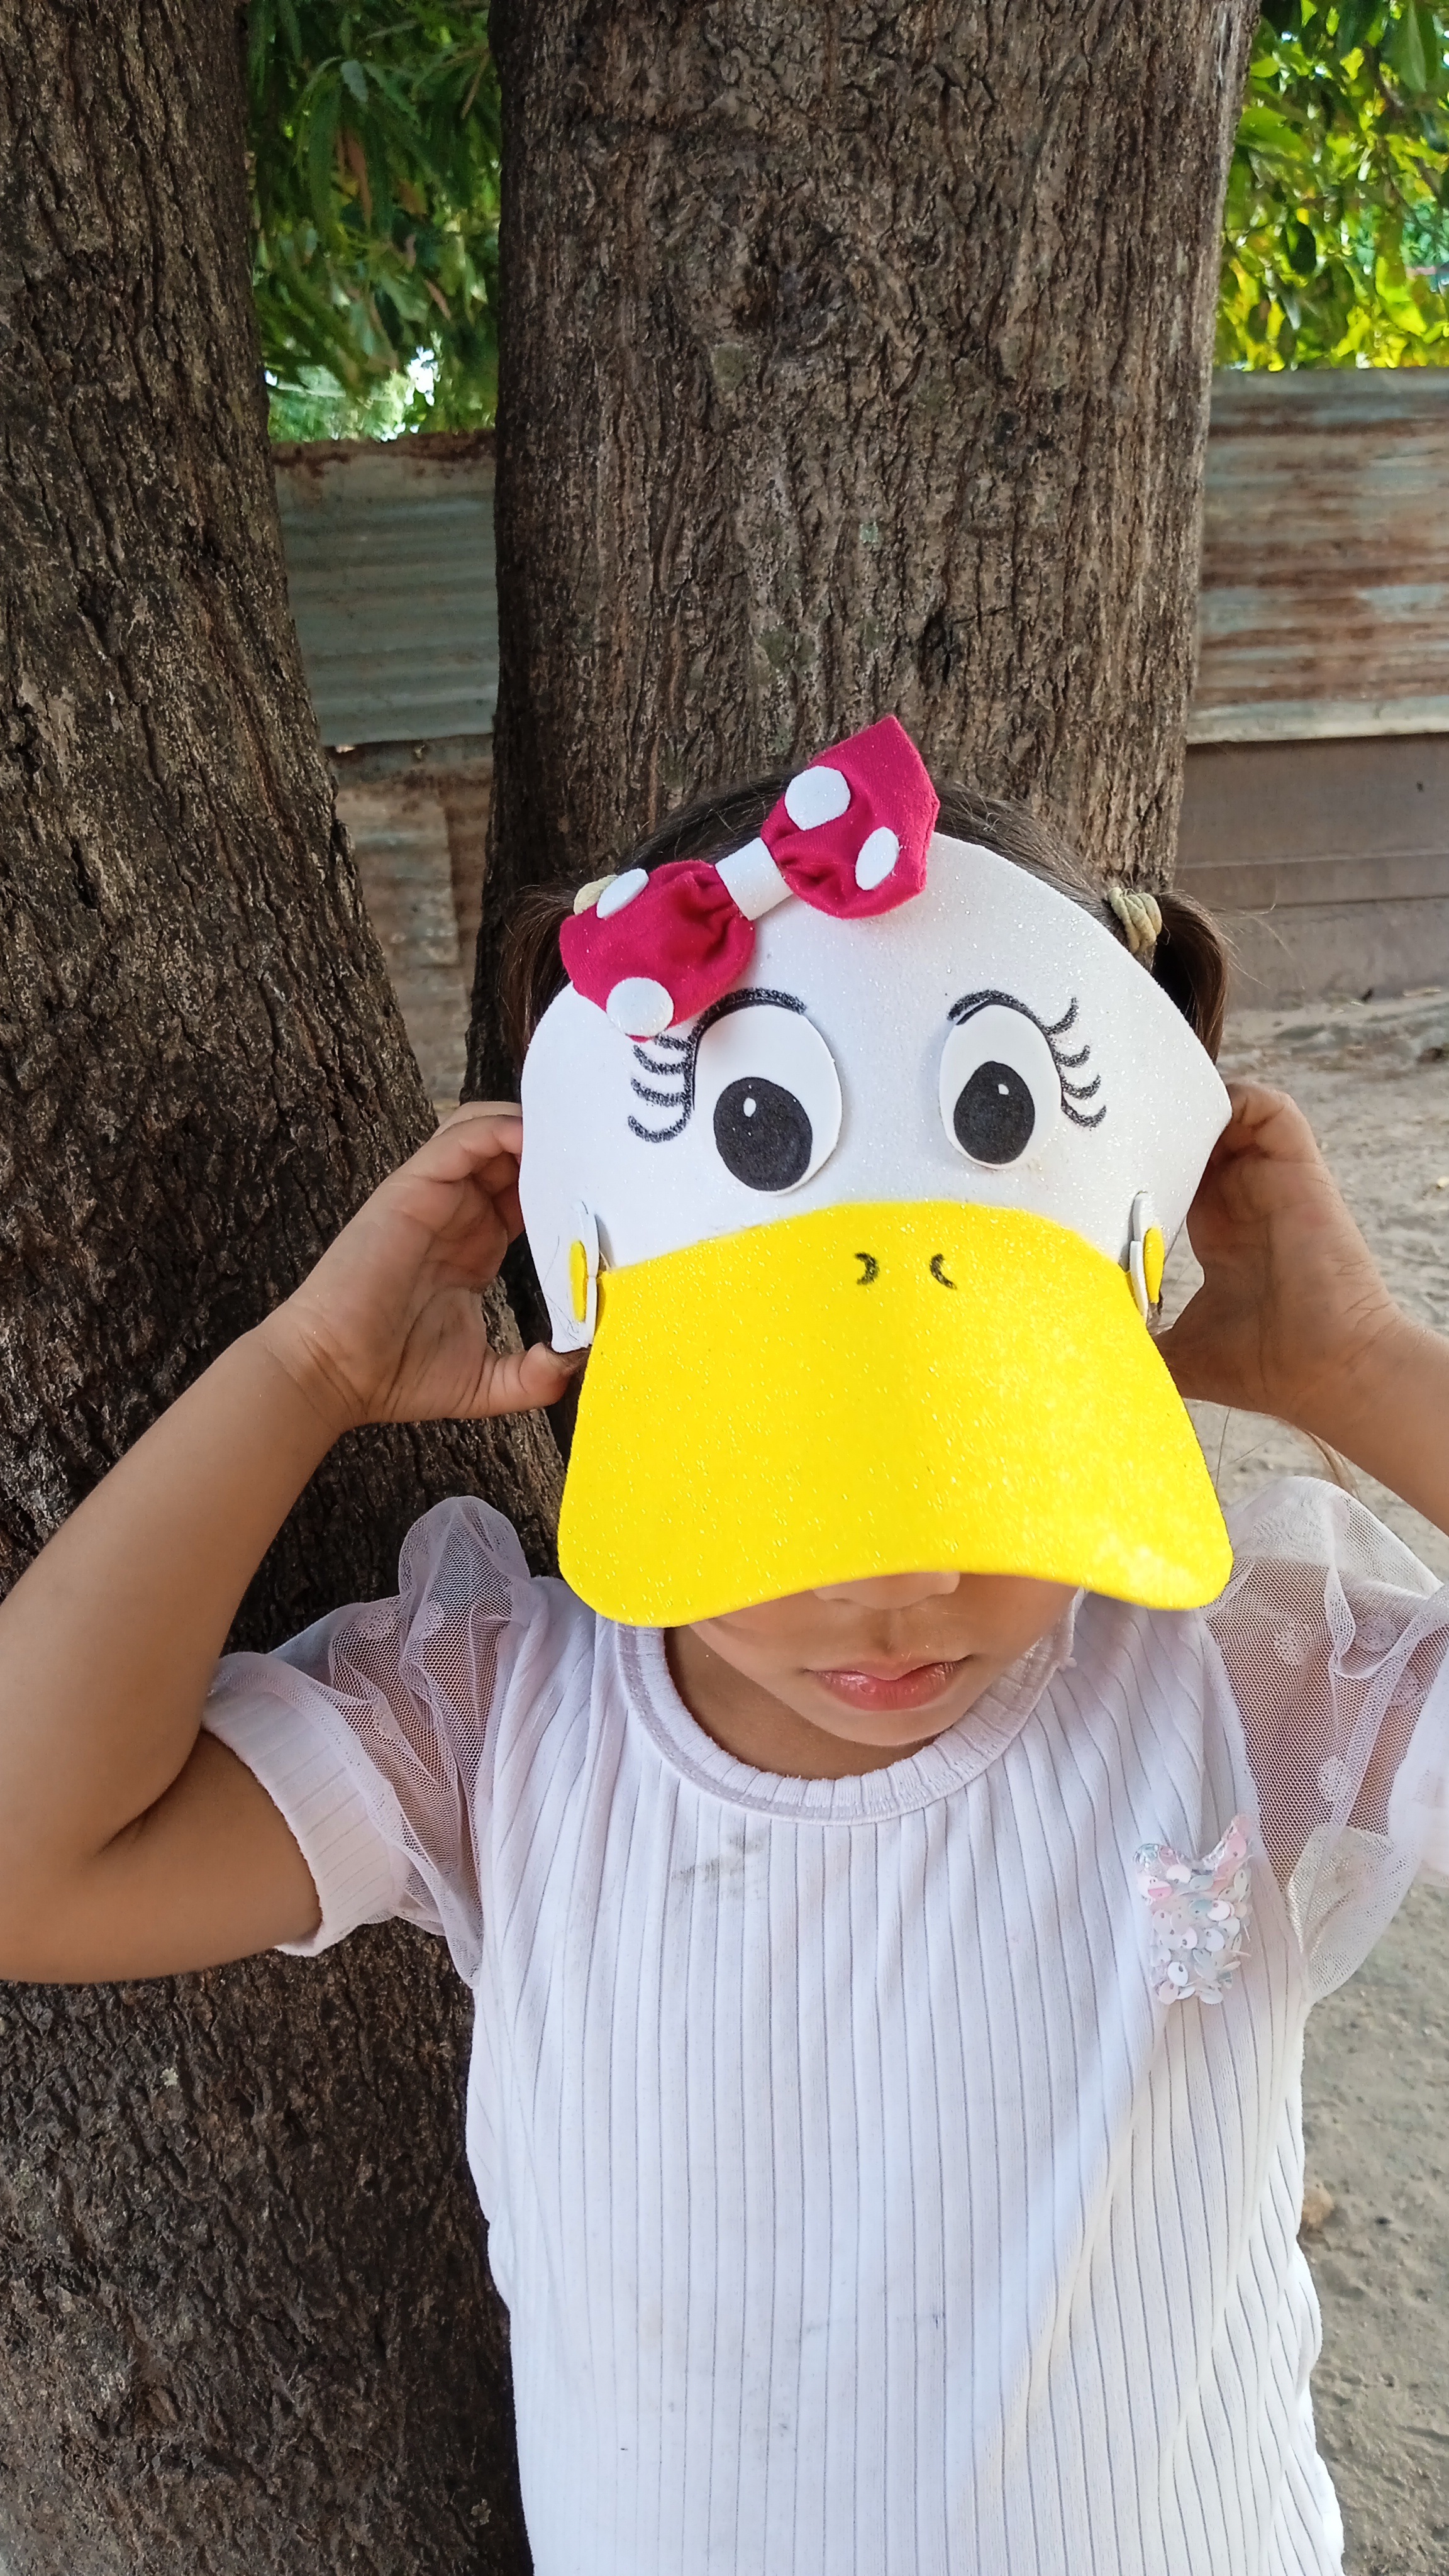
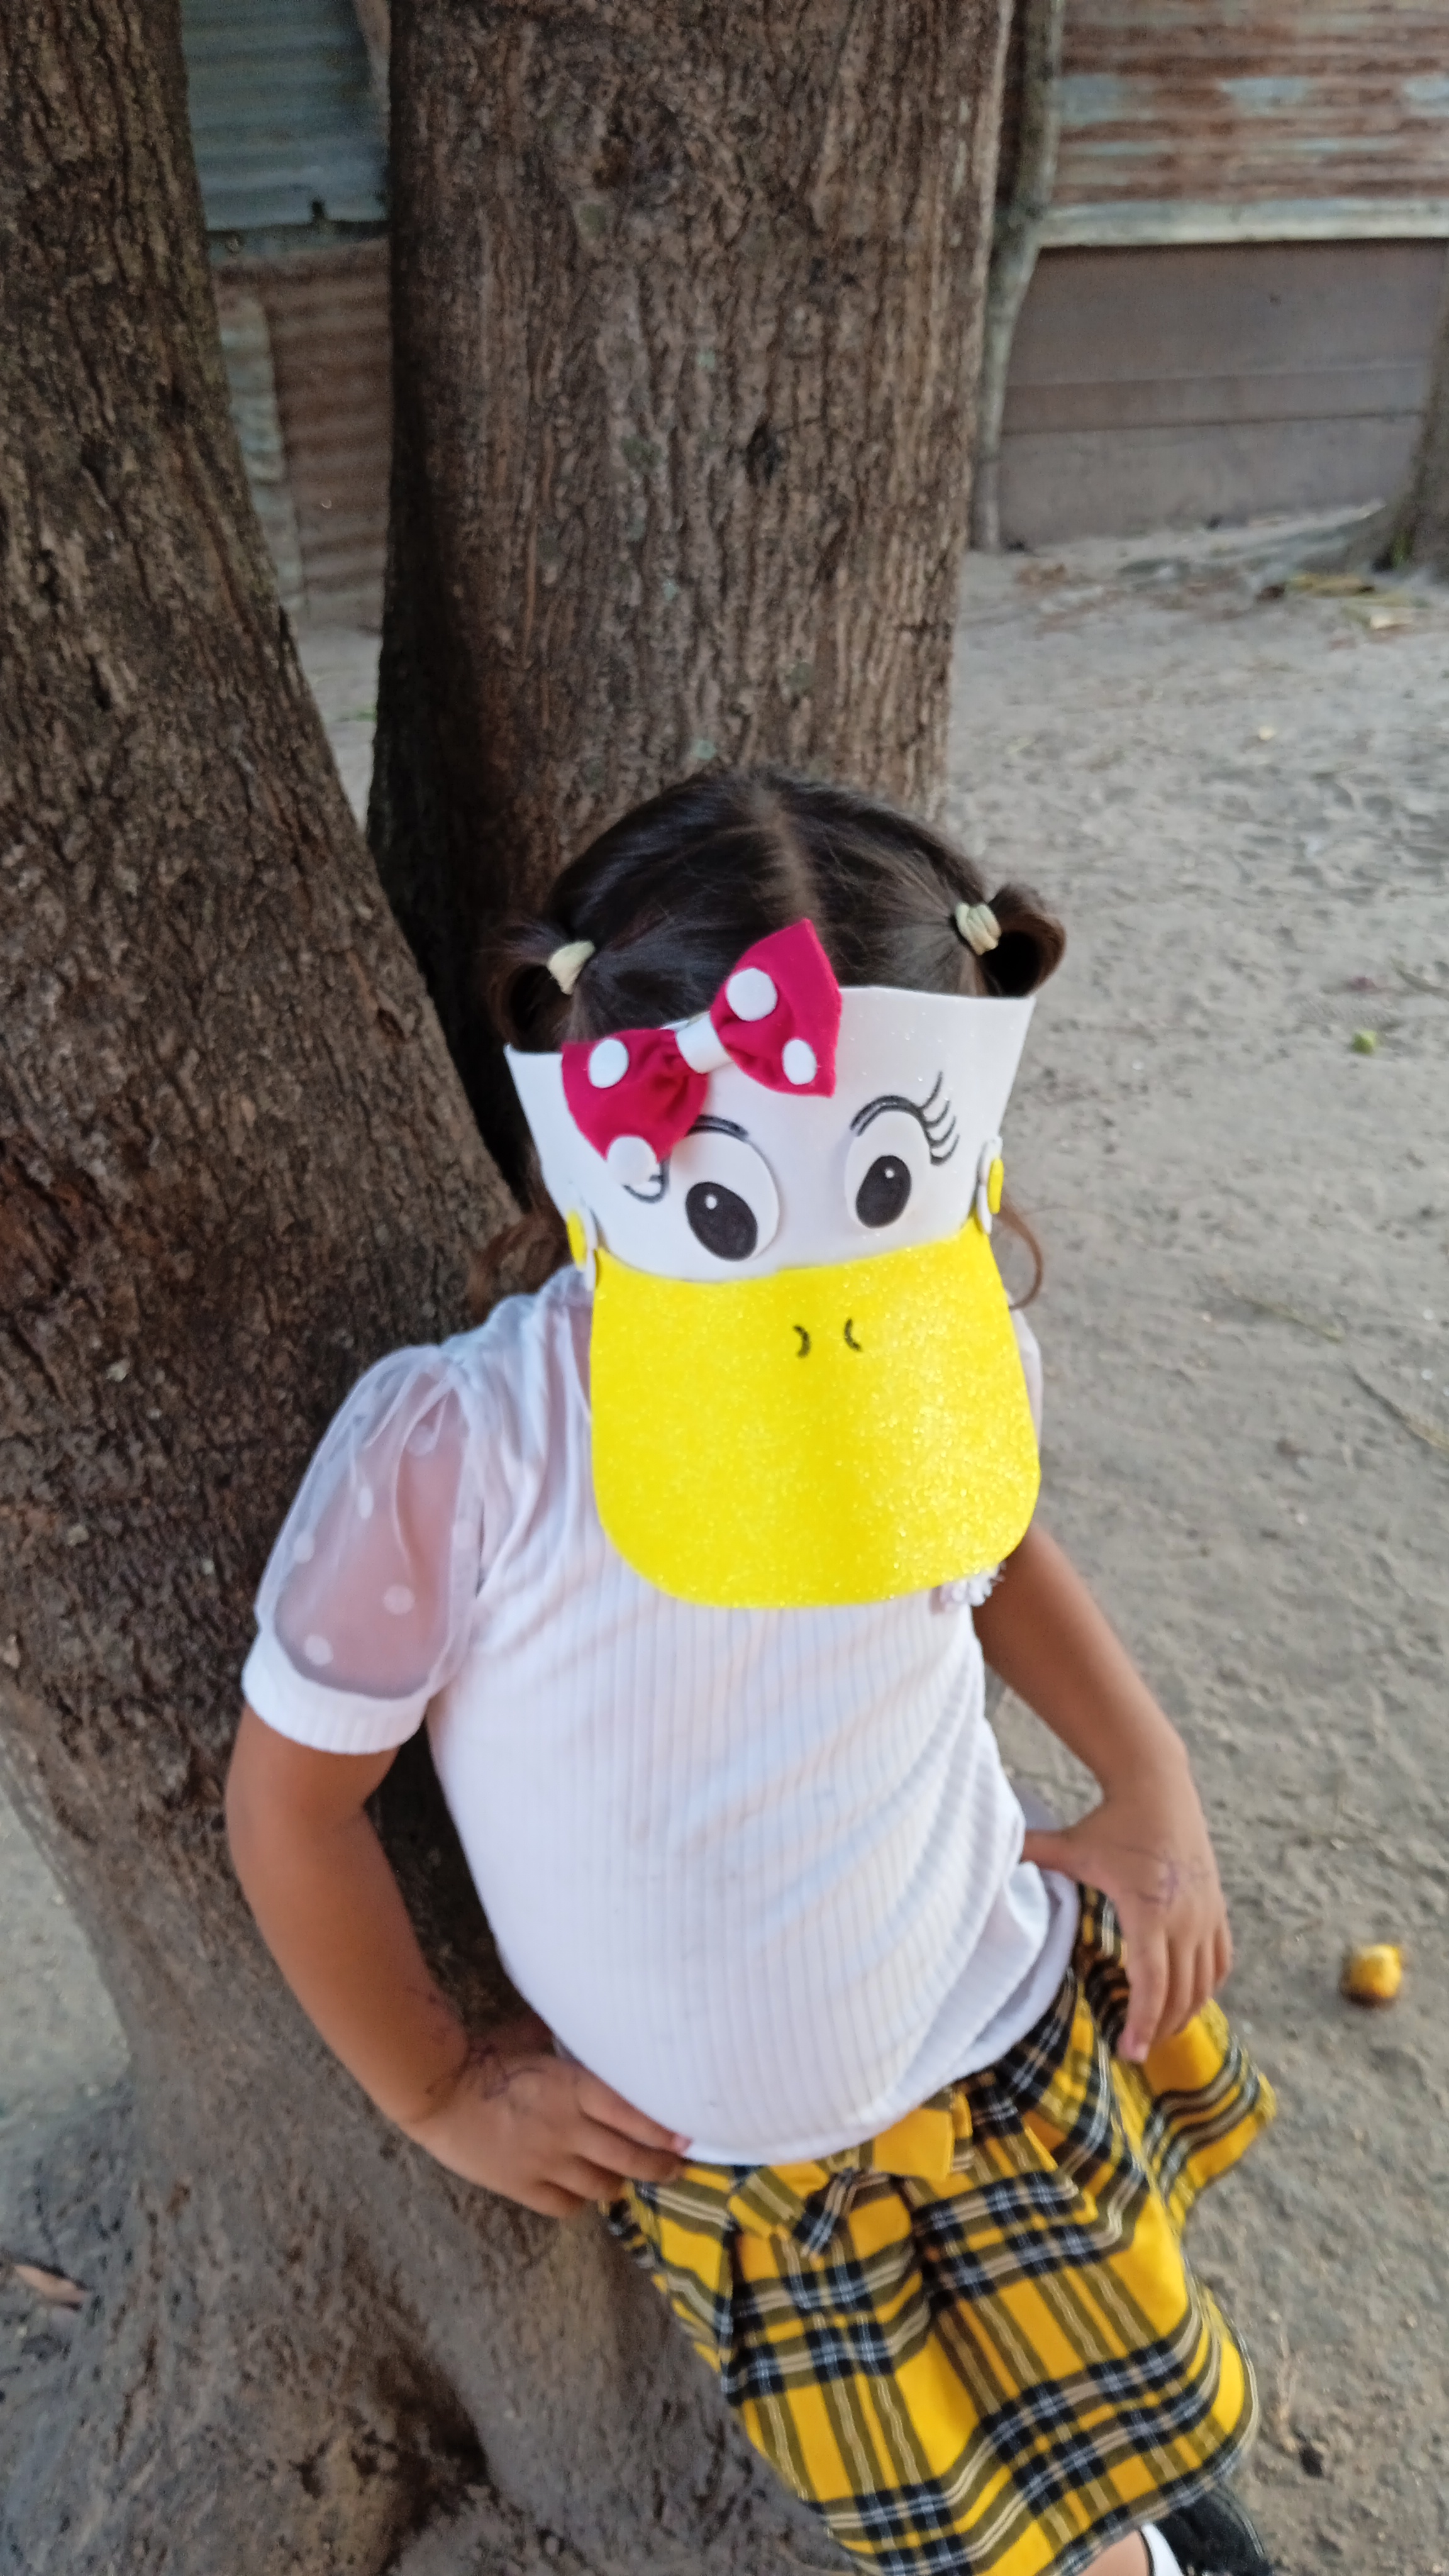
This time, I want to show you how to make an adorable project that you'll love. It's a duck visor for girls, but we can also make them for boys, but with a different animal. In this case, I made one for a friend who was glued to my work table yesterday; she's so excited to show it off. This cute craft is especially useful when we plan to go to the beach, the pool, or the river this Easter, so we should start preparing everything to protect our children from the sun. This visor is ideal for those moments, and it will attract all eyes because it looks so fun. Without further ado, let's start making it! Join me!
Materiales.
- Foami blanco 14cm x 21 cm o mas grande y foami amarillo.
- Tijera.
- Marcador negro.
- Silicona en barra o liquida.
Materials
- White foam 14cm x 21cm or larger and yellow foam.
- Scissors.
- Black marker.
- Silicone stick or liquid.
Paso 1.
Step 1.
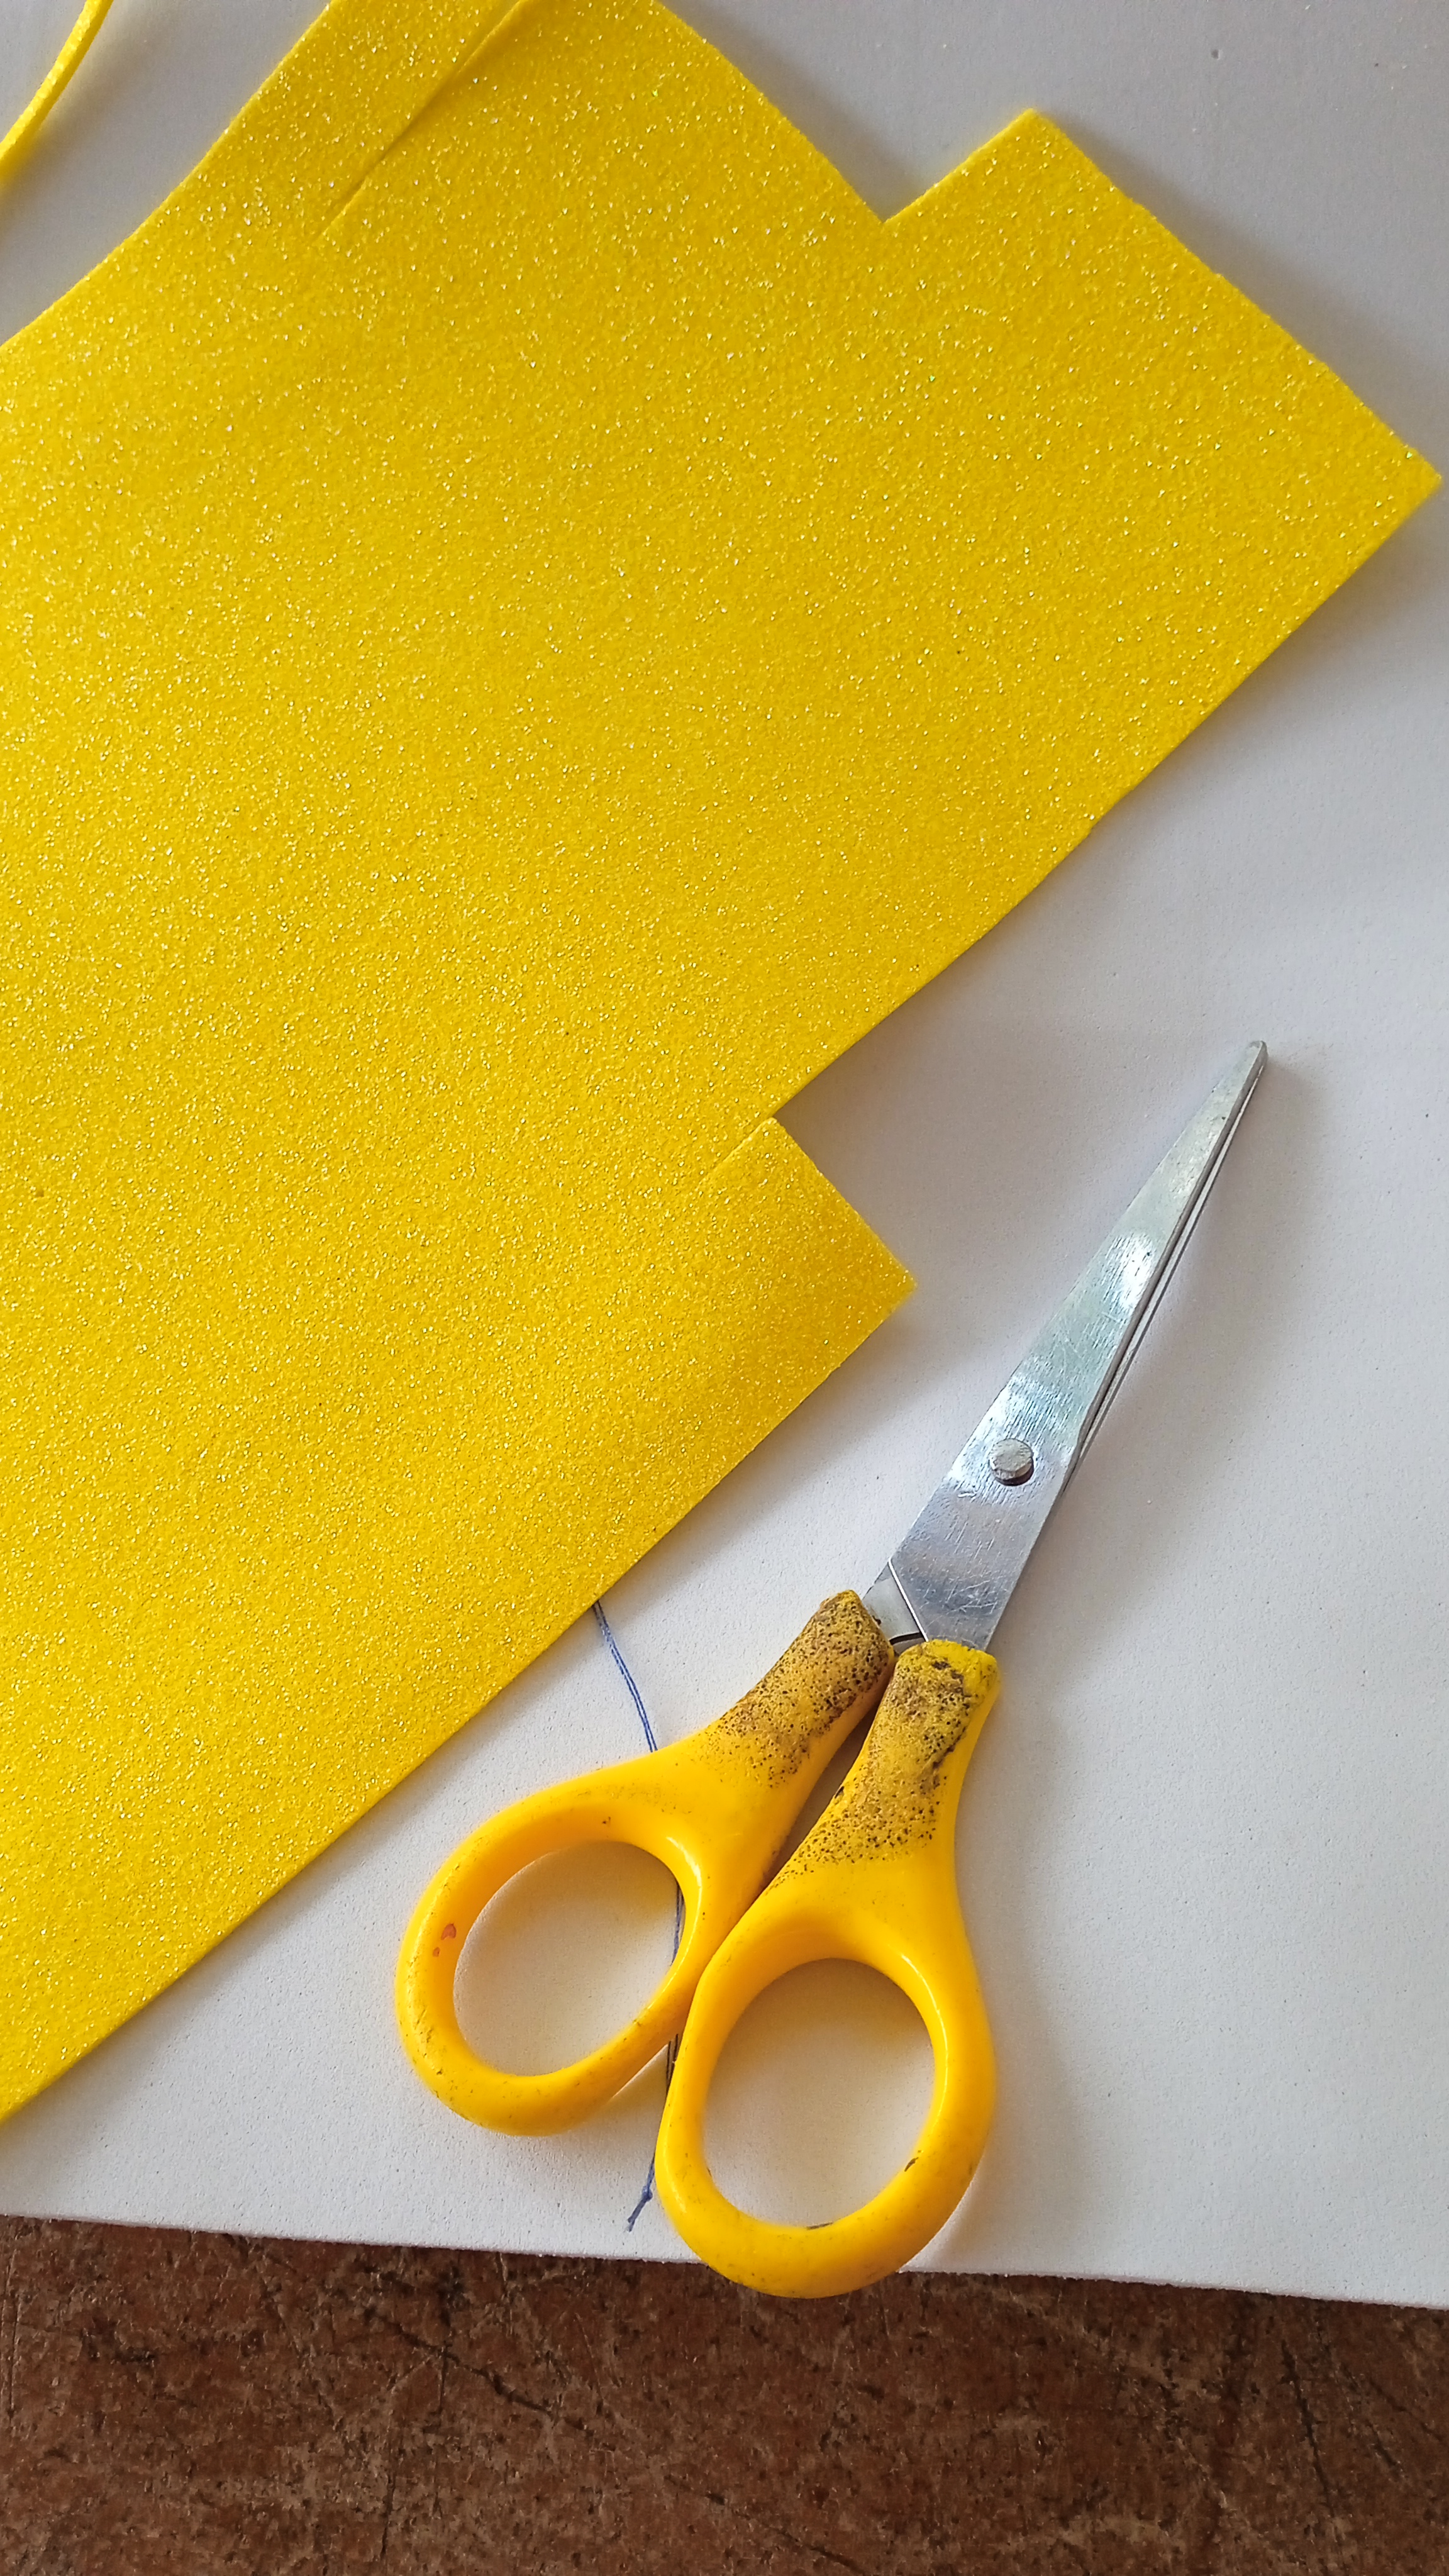
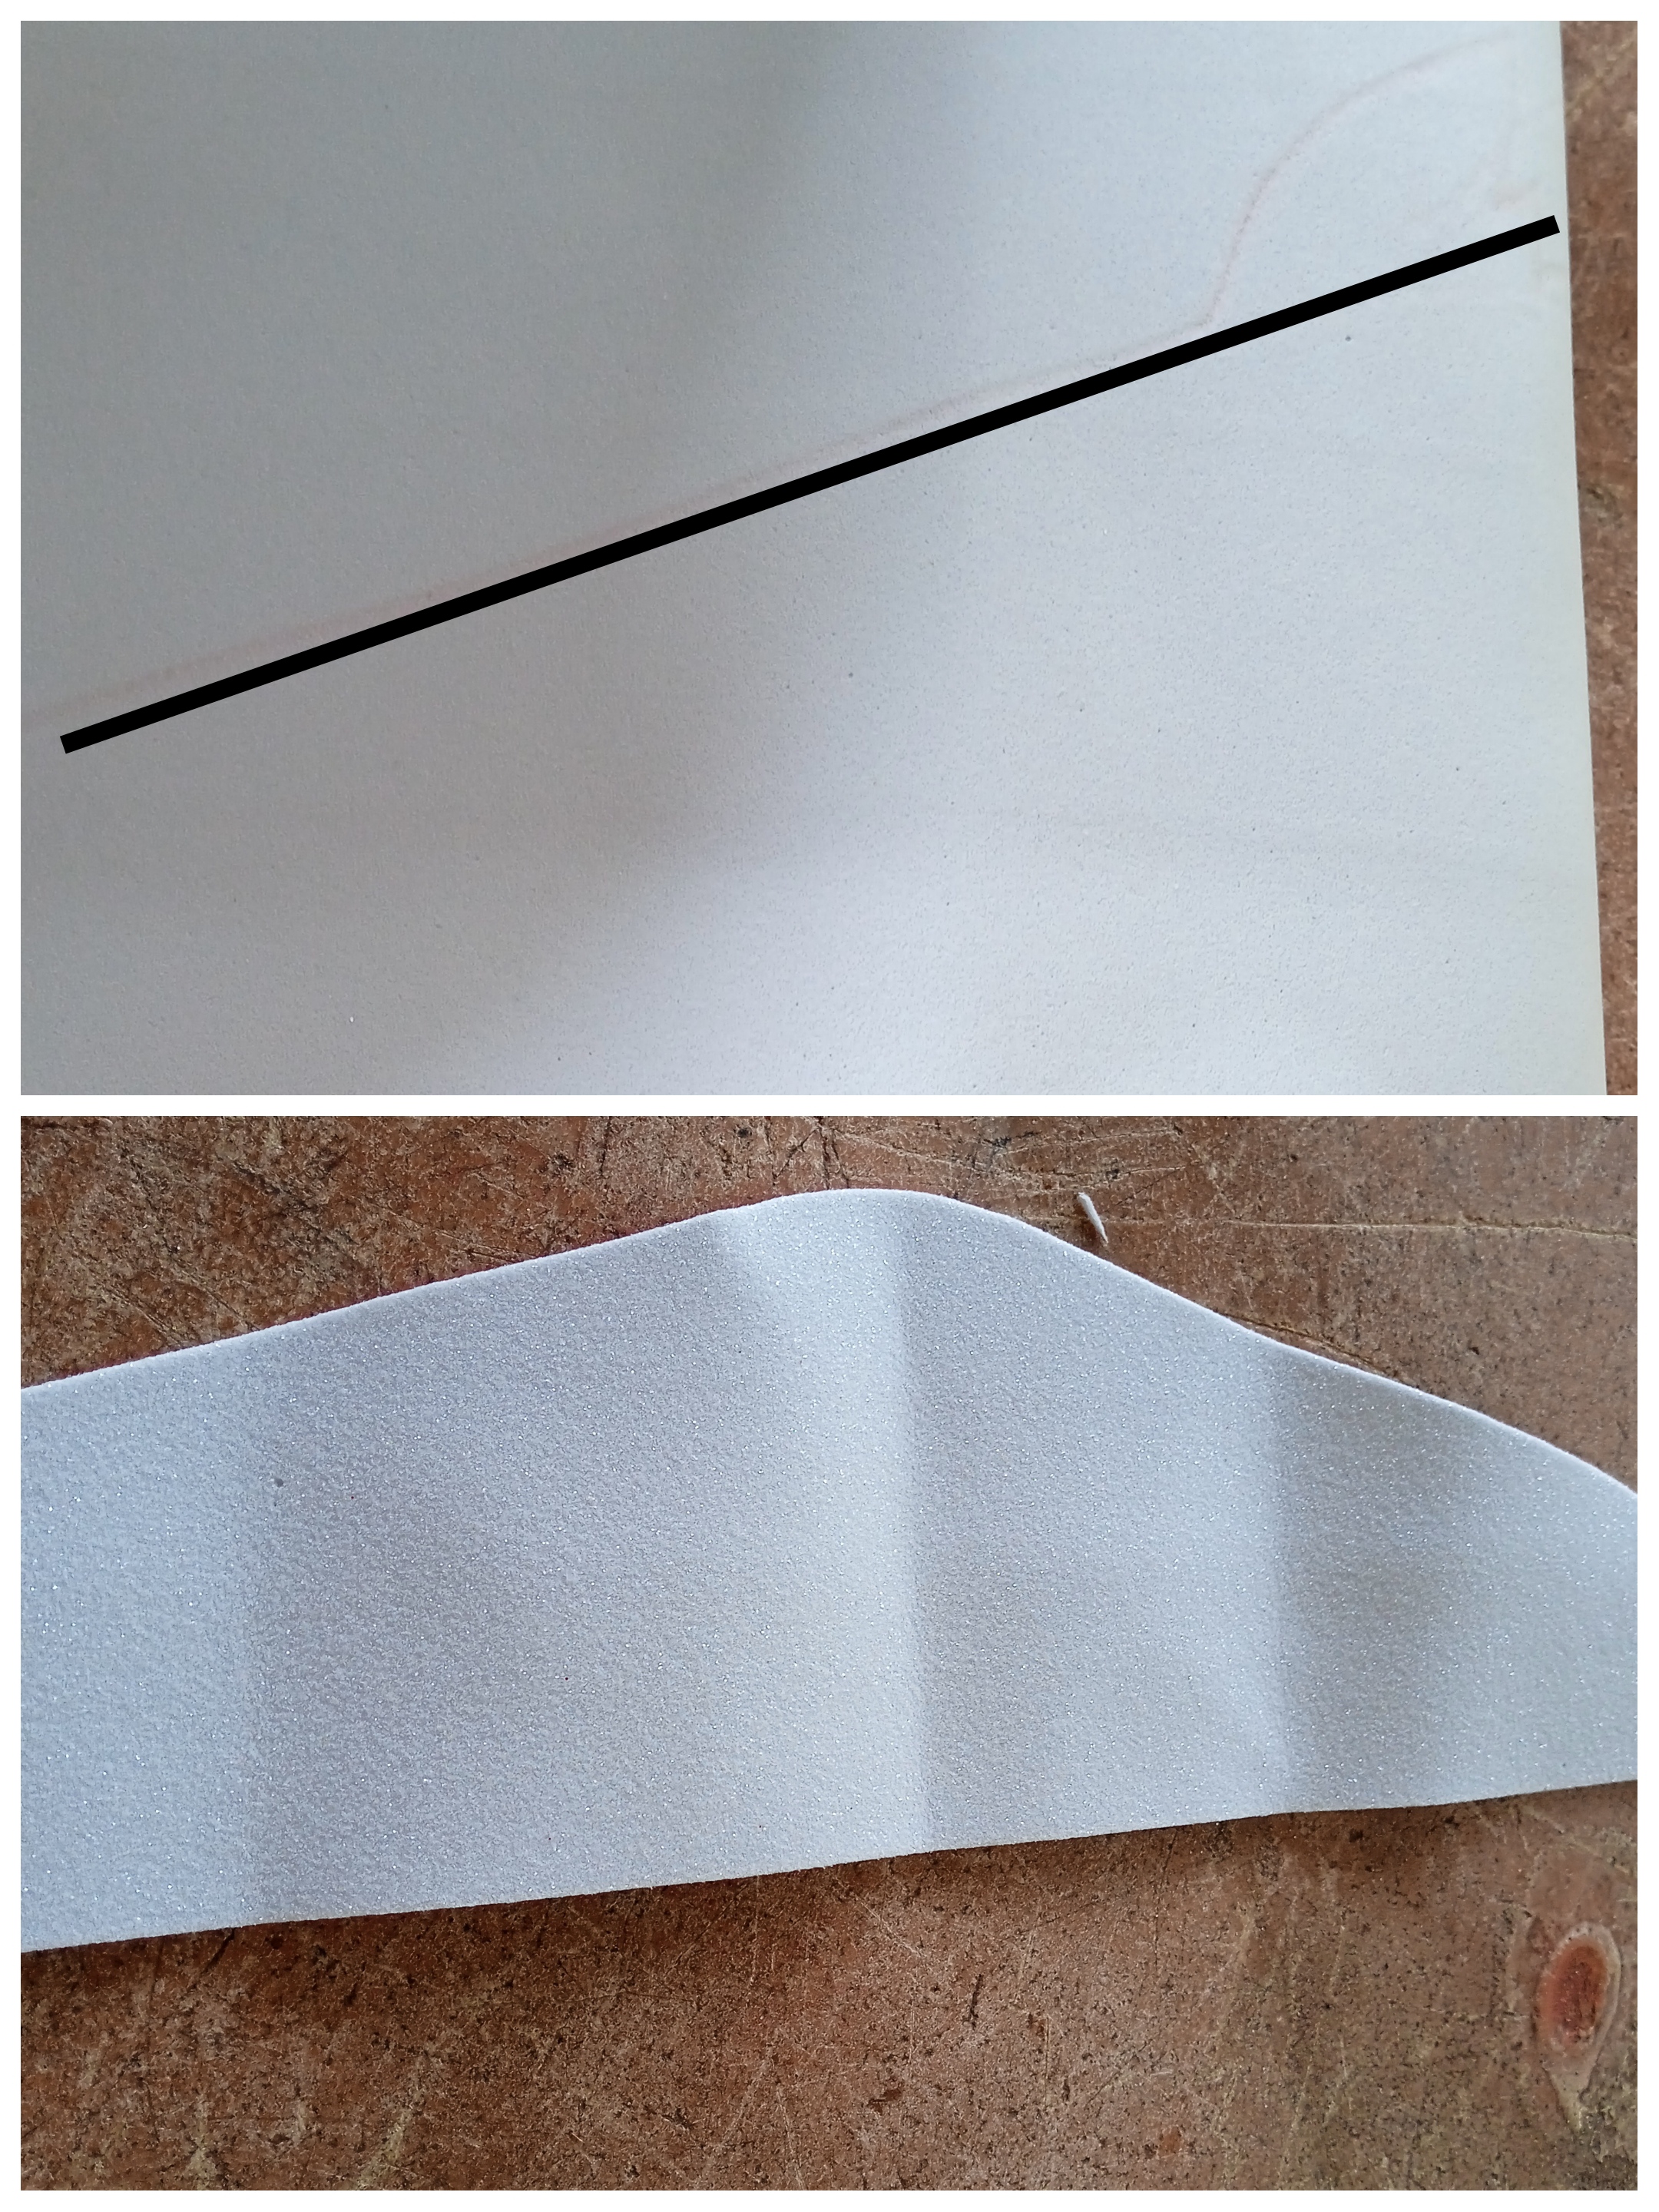
First, we'll take a piece of string or a flexible measuring tape and place it around our little girl's head to obtain the measurements. We'll mark the measurements on the foam to obtain the desired size. Once this is done, we'll mark a slanted line on the foam and cut it out.
Paso 2.
Step 2.
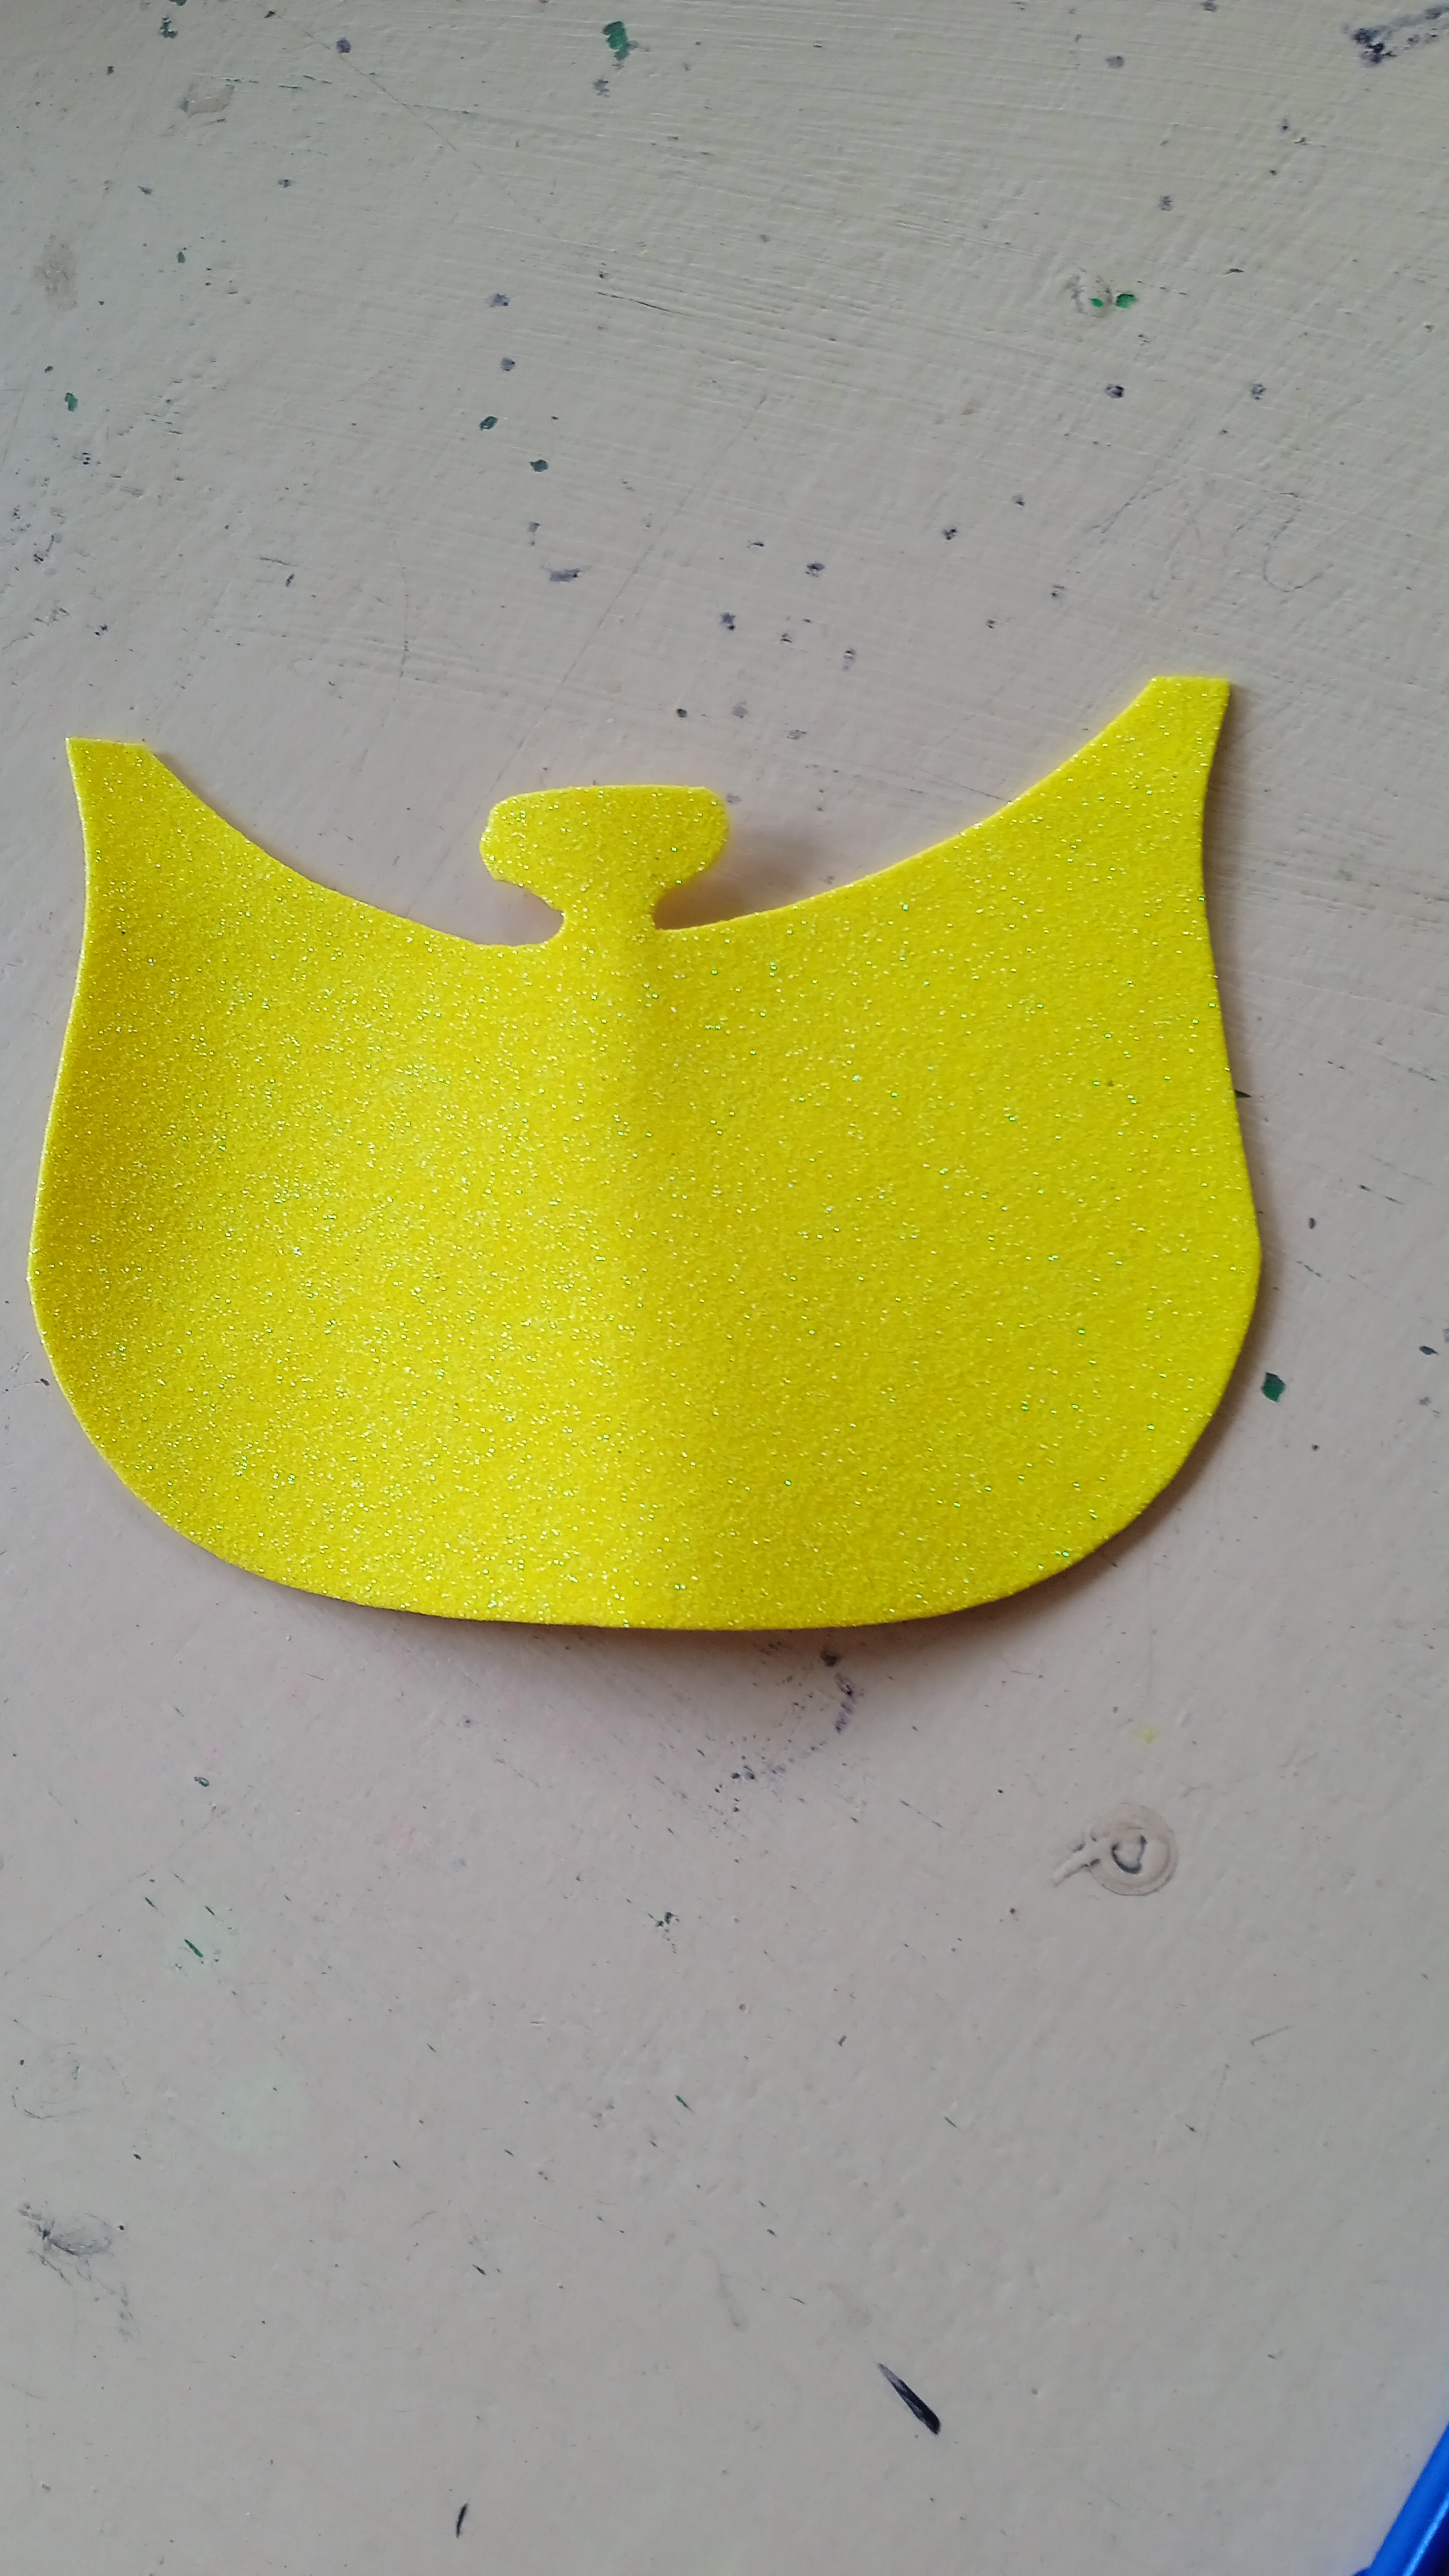
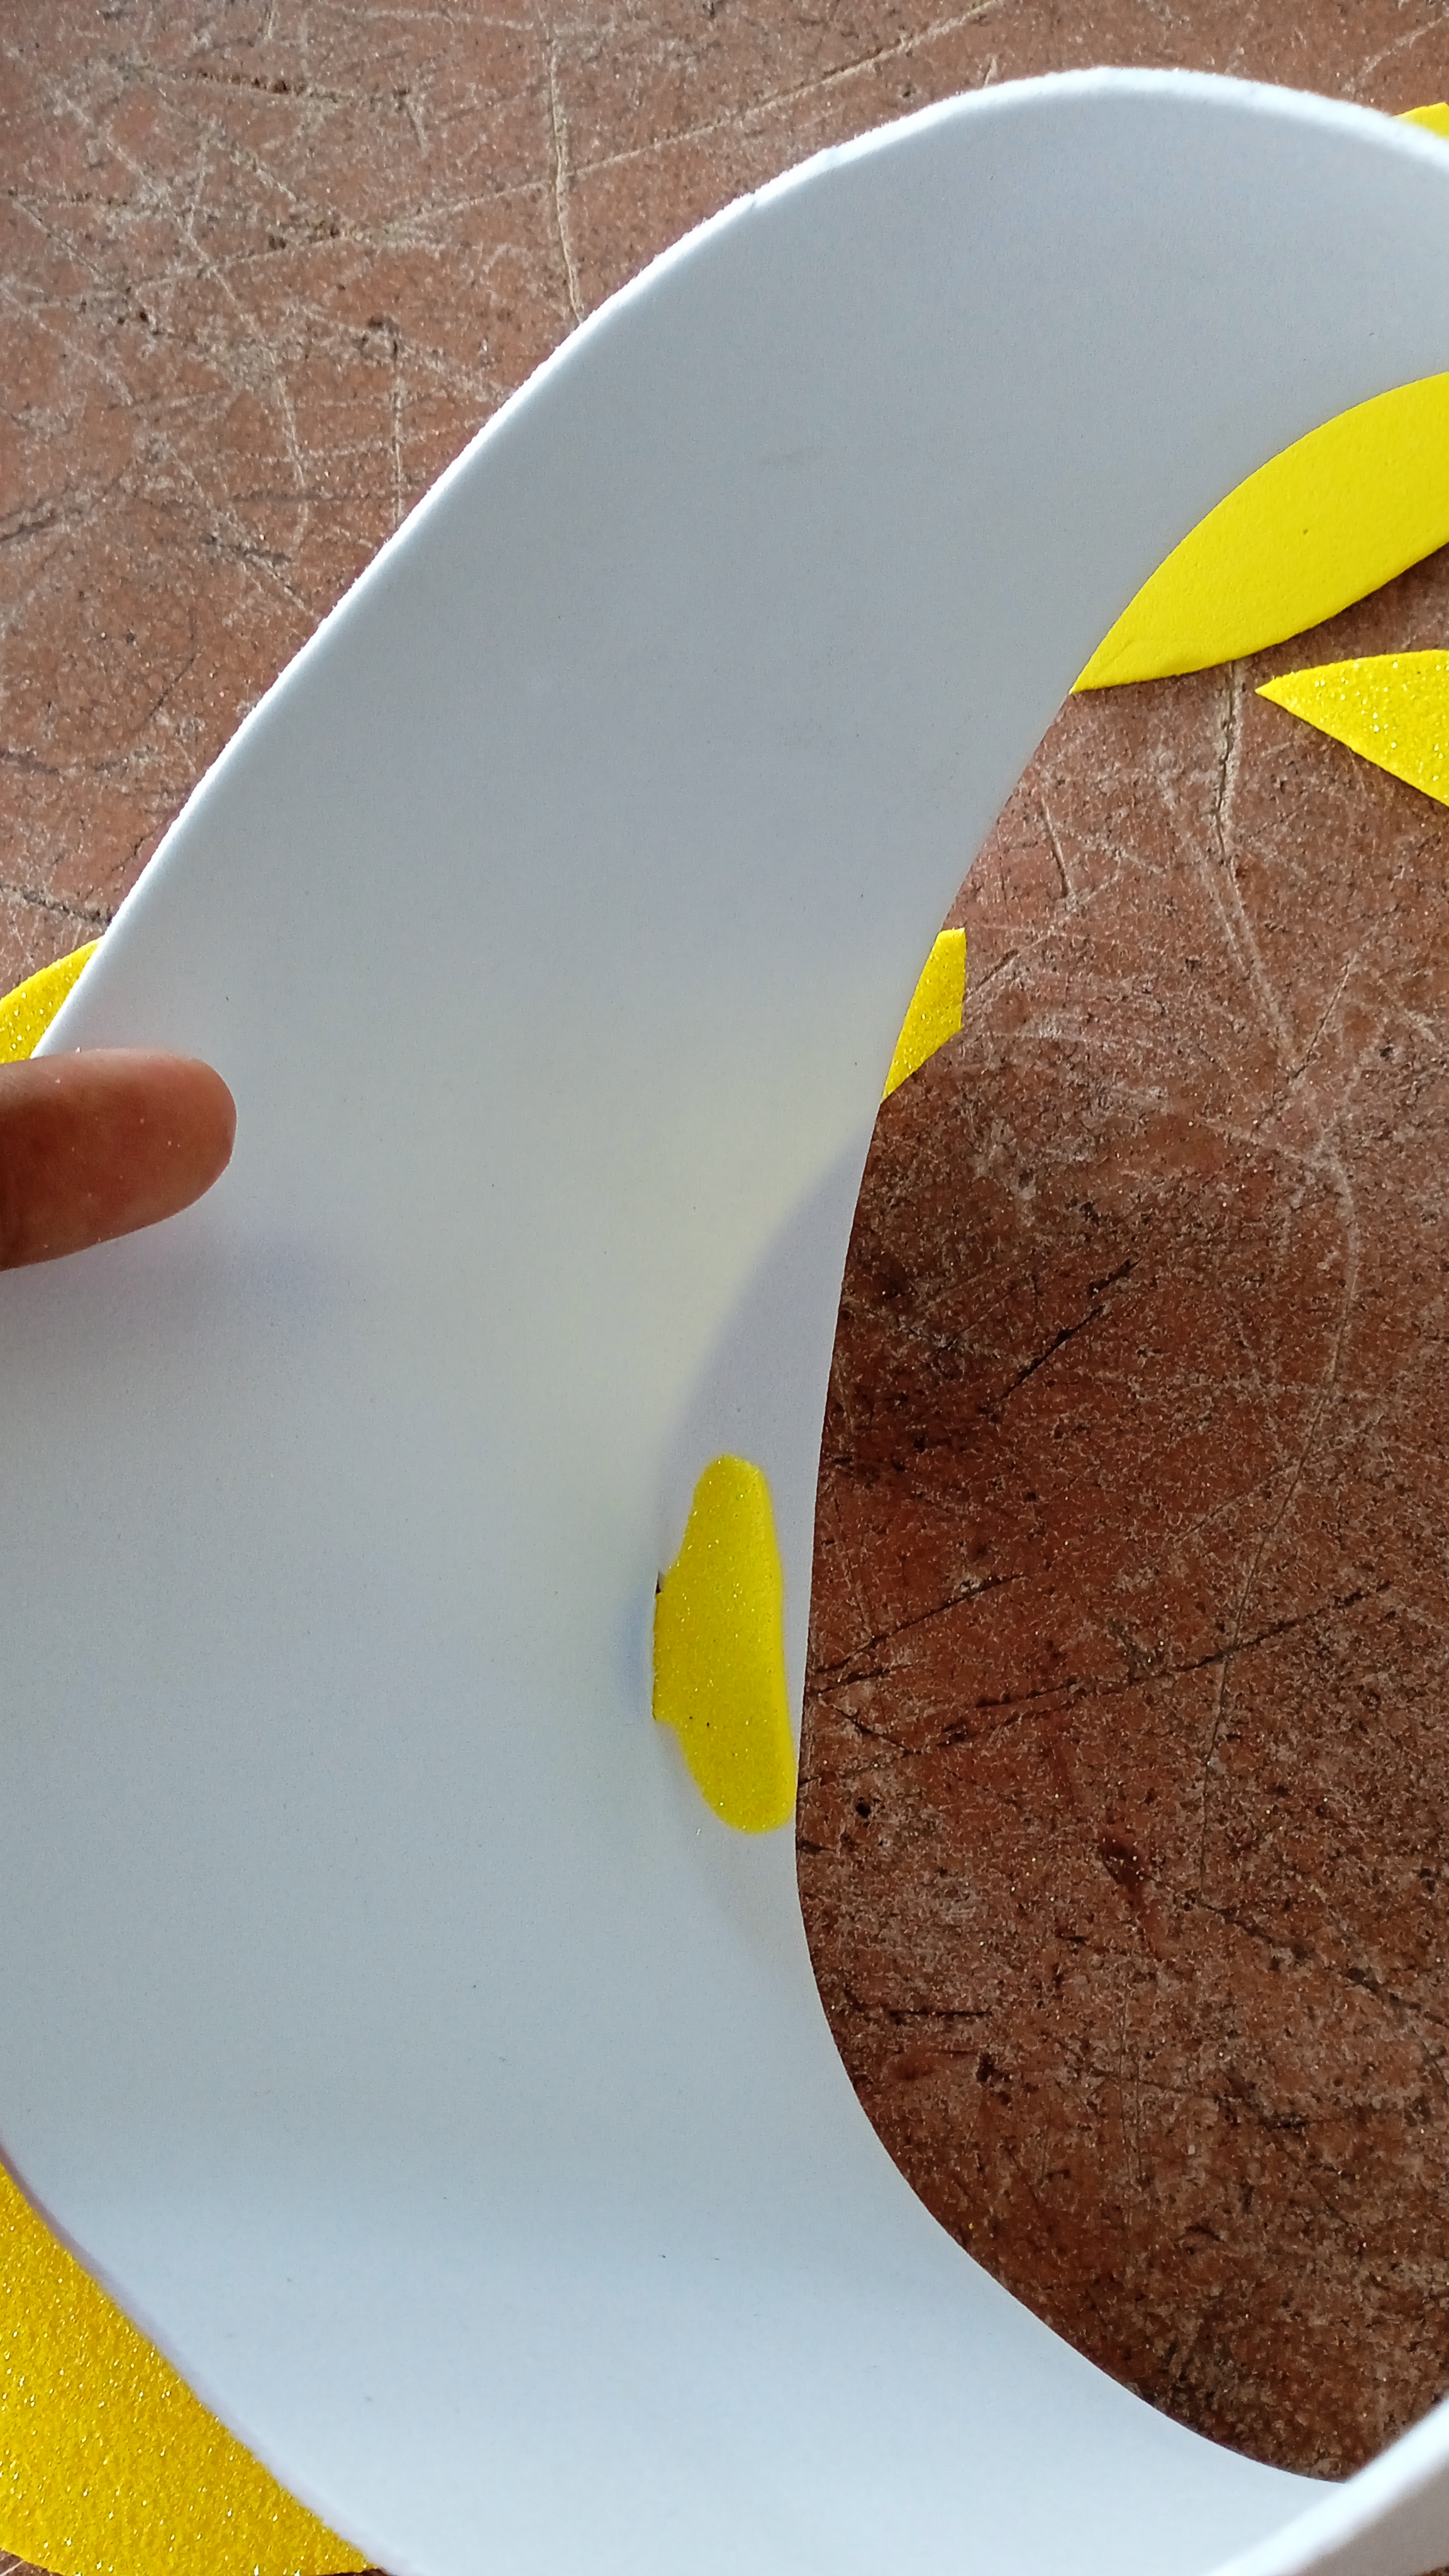
It's time to make the front part that protects the face from the sun. We can make it out of paper and then cut it out. We place the pattern on the yellow foam and cut it out to create this piece, leaving a small hook sticking out to insert it into the white piece.
Paso 3.
Step 3.
In this step, we join the yellow piece to the white one. We pierce a small hole in the front of the white piece and insert the hook through it.
Paso 4.
Step 4.
Add a little silicone to the edge of the yellow piece and glue it to the white piece.

Paso 5.
Step 5.
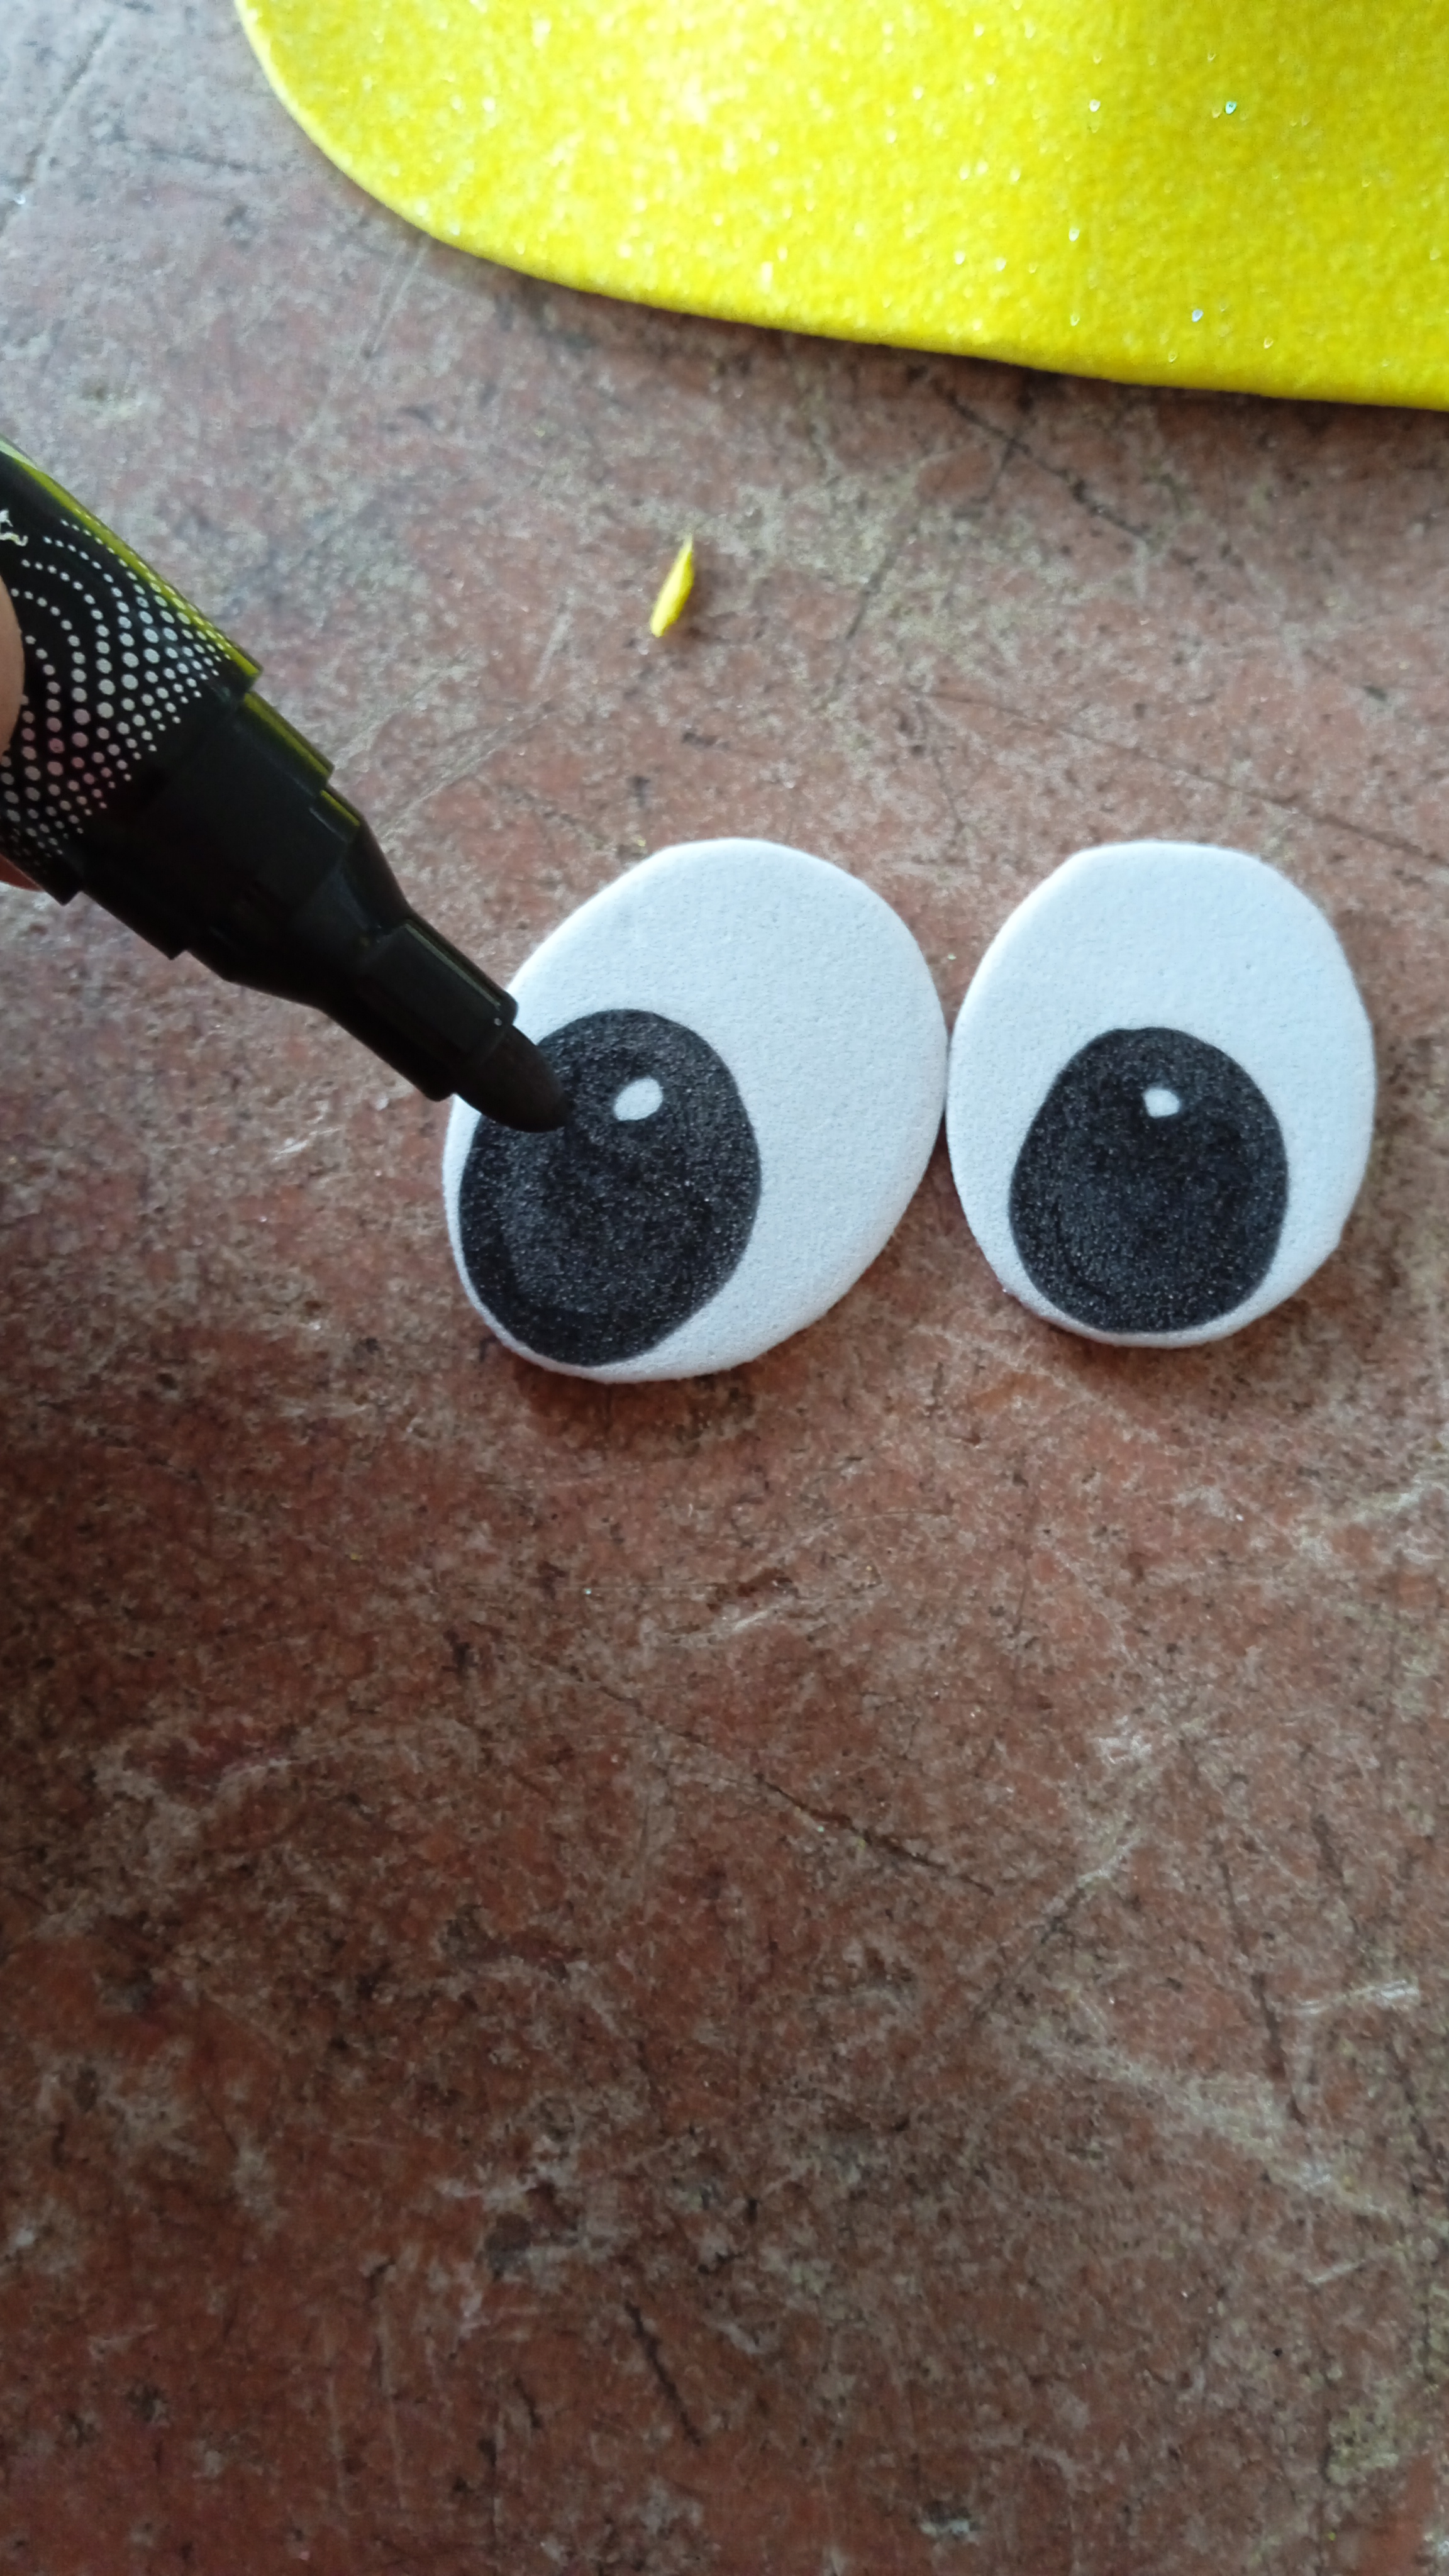
It's time to add the eyes to the visor. Cut out a pair of large white eyes and color in the center with the marker.
Paso 6.
Step 6.
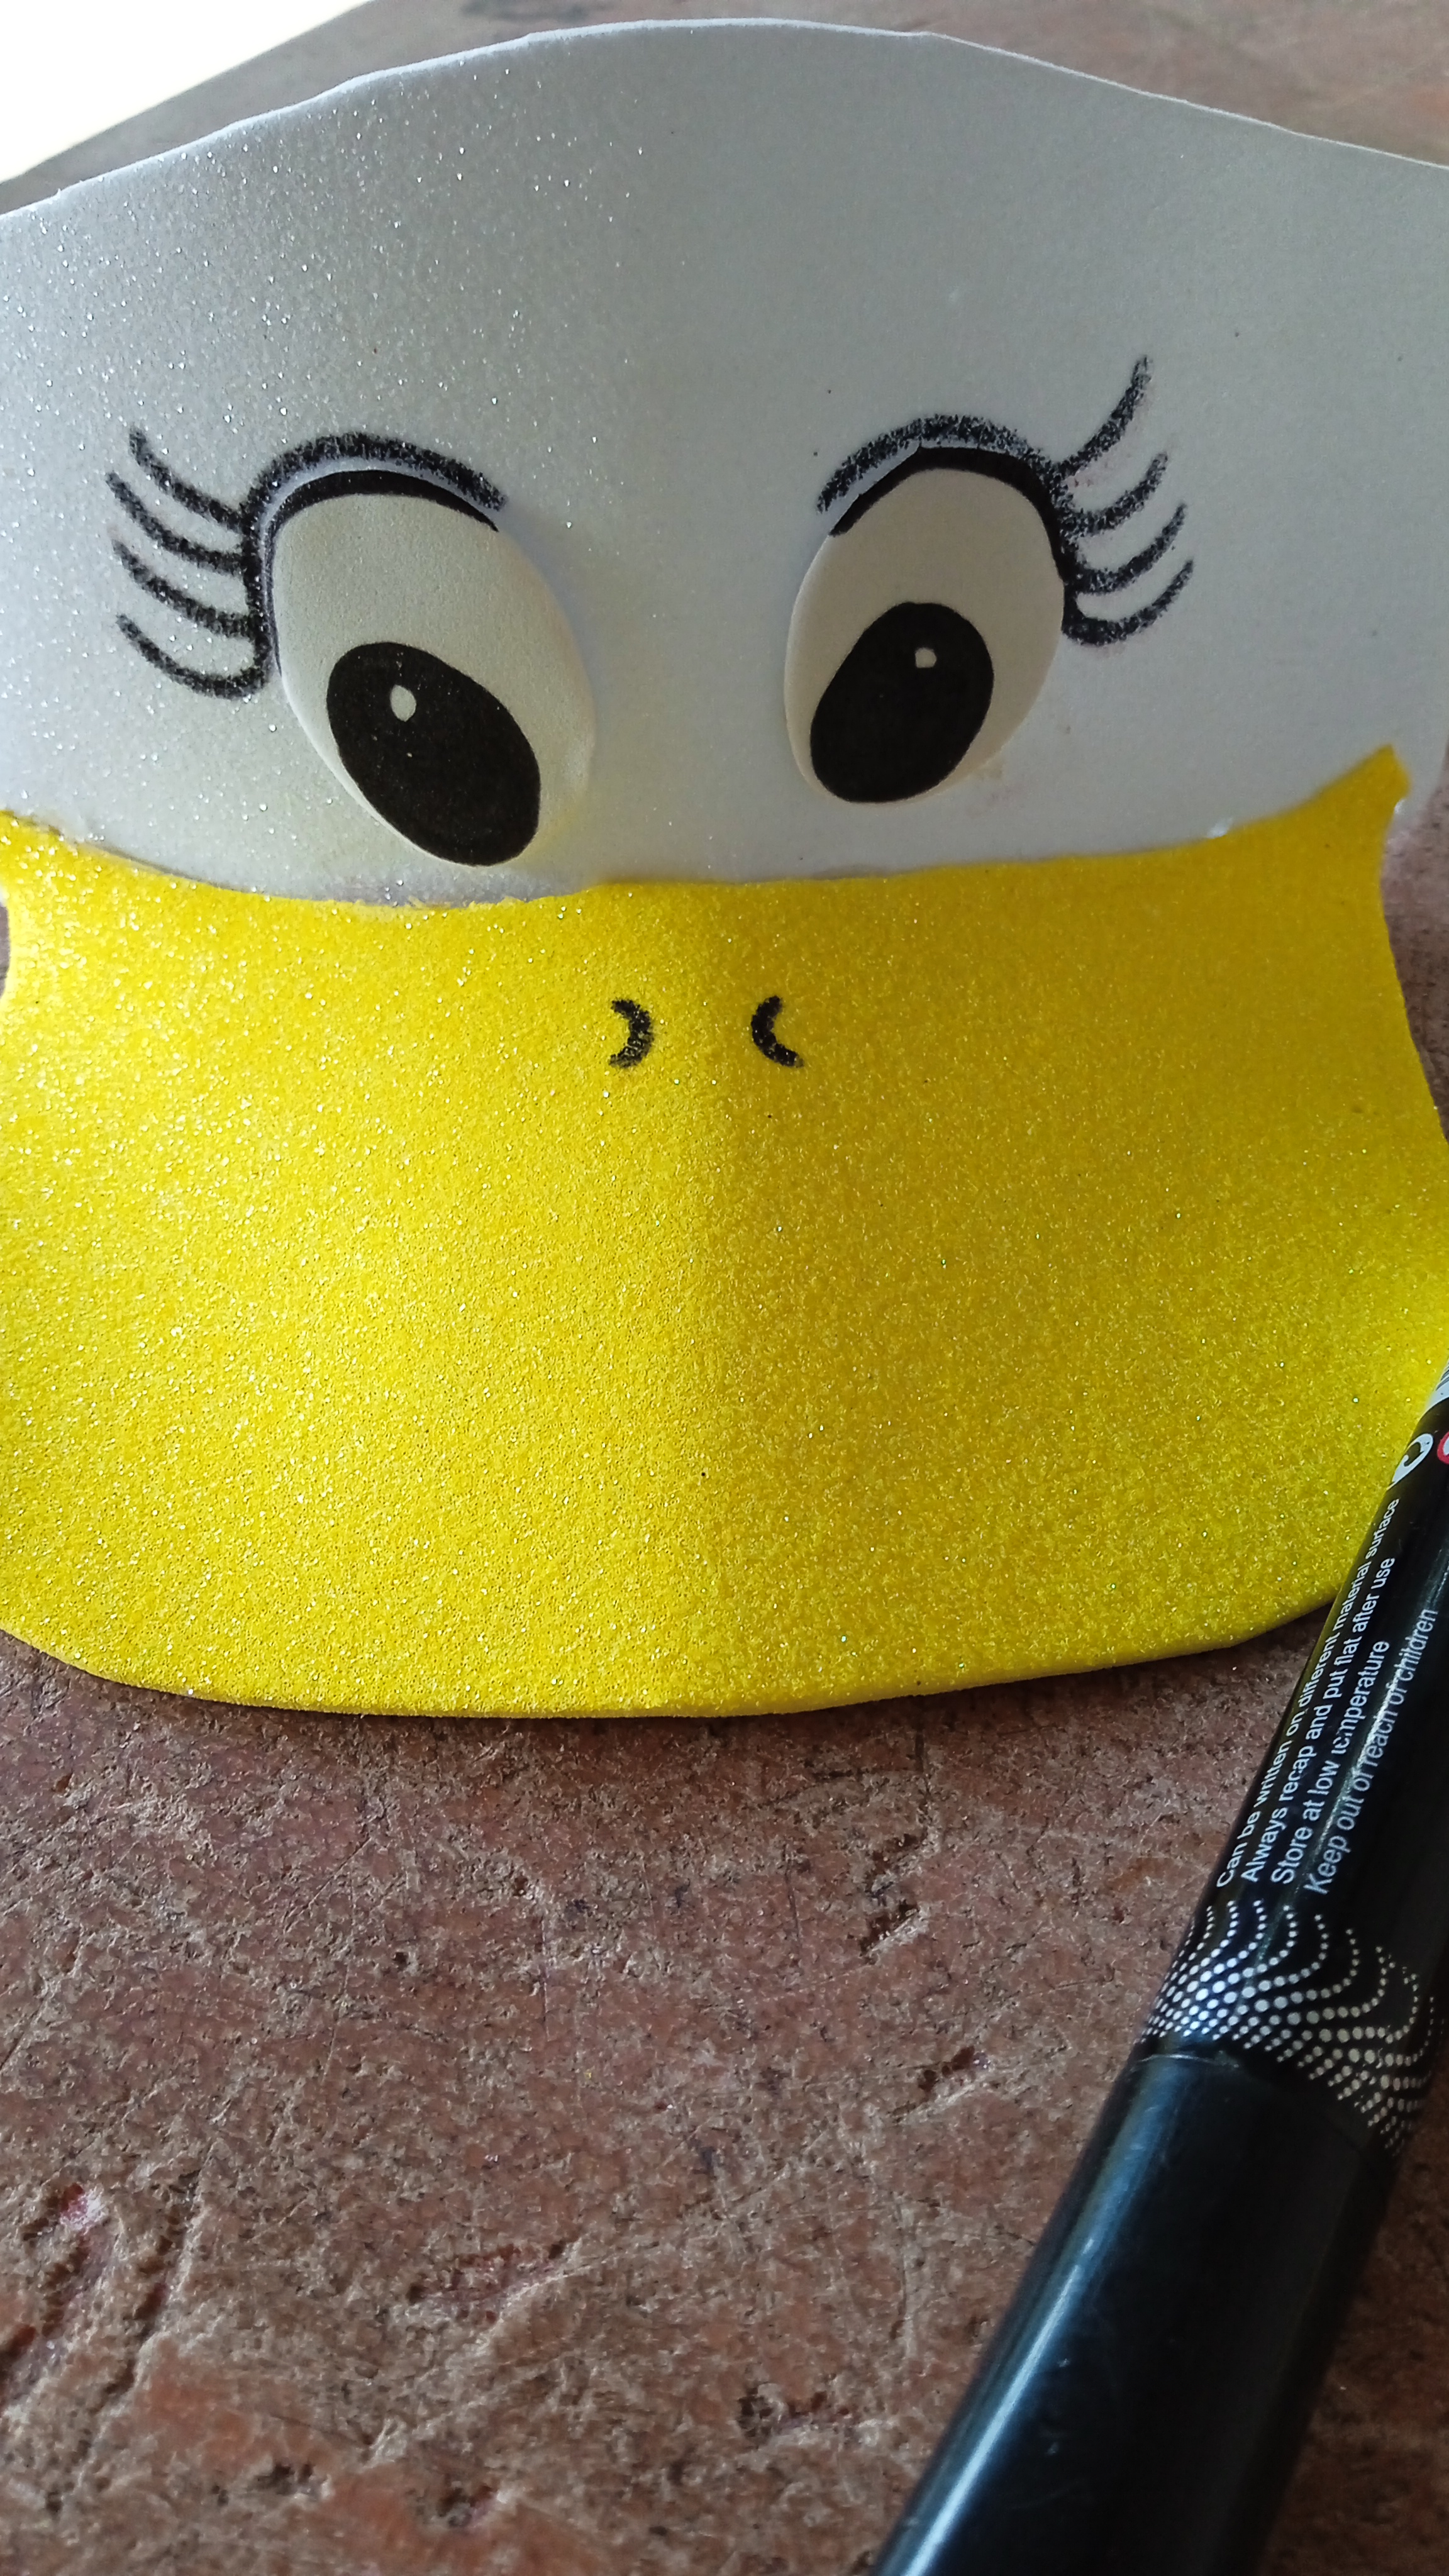
Glue the eyes to the front of the visor and add some eyelashes to give it that feminine touch.
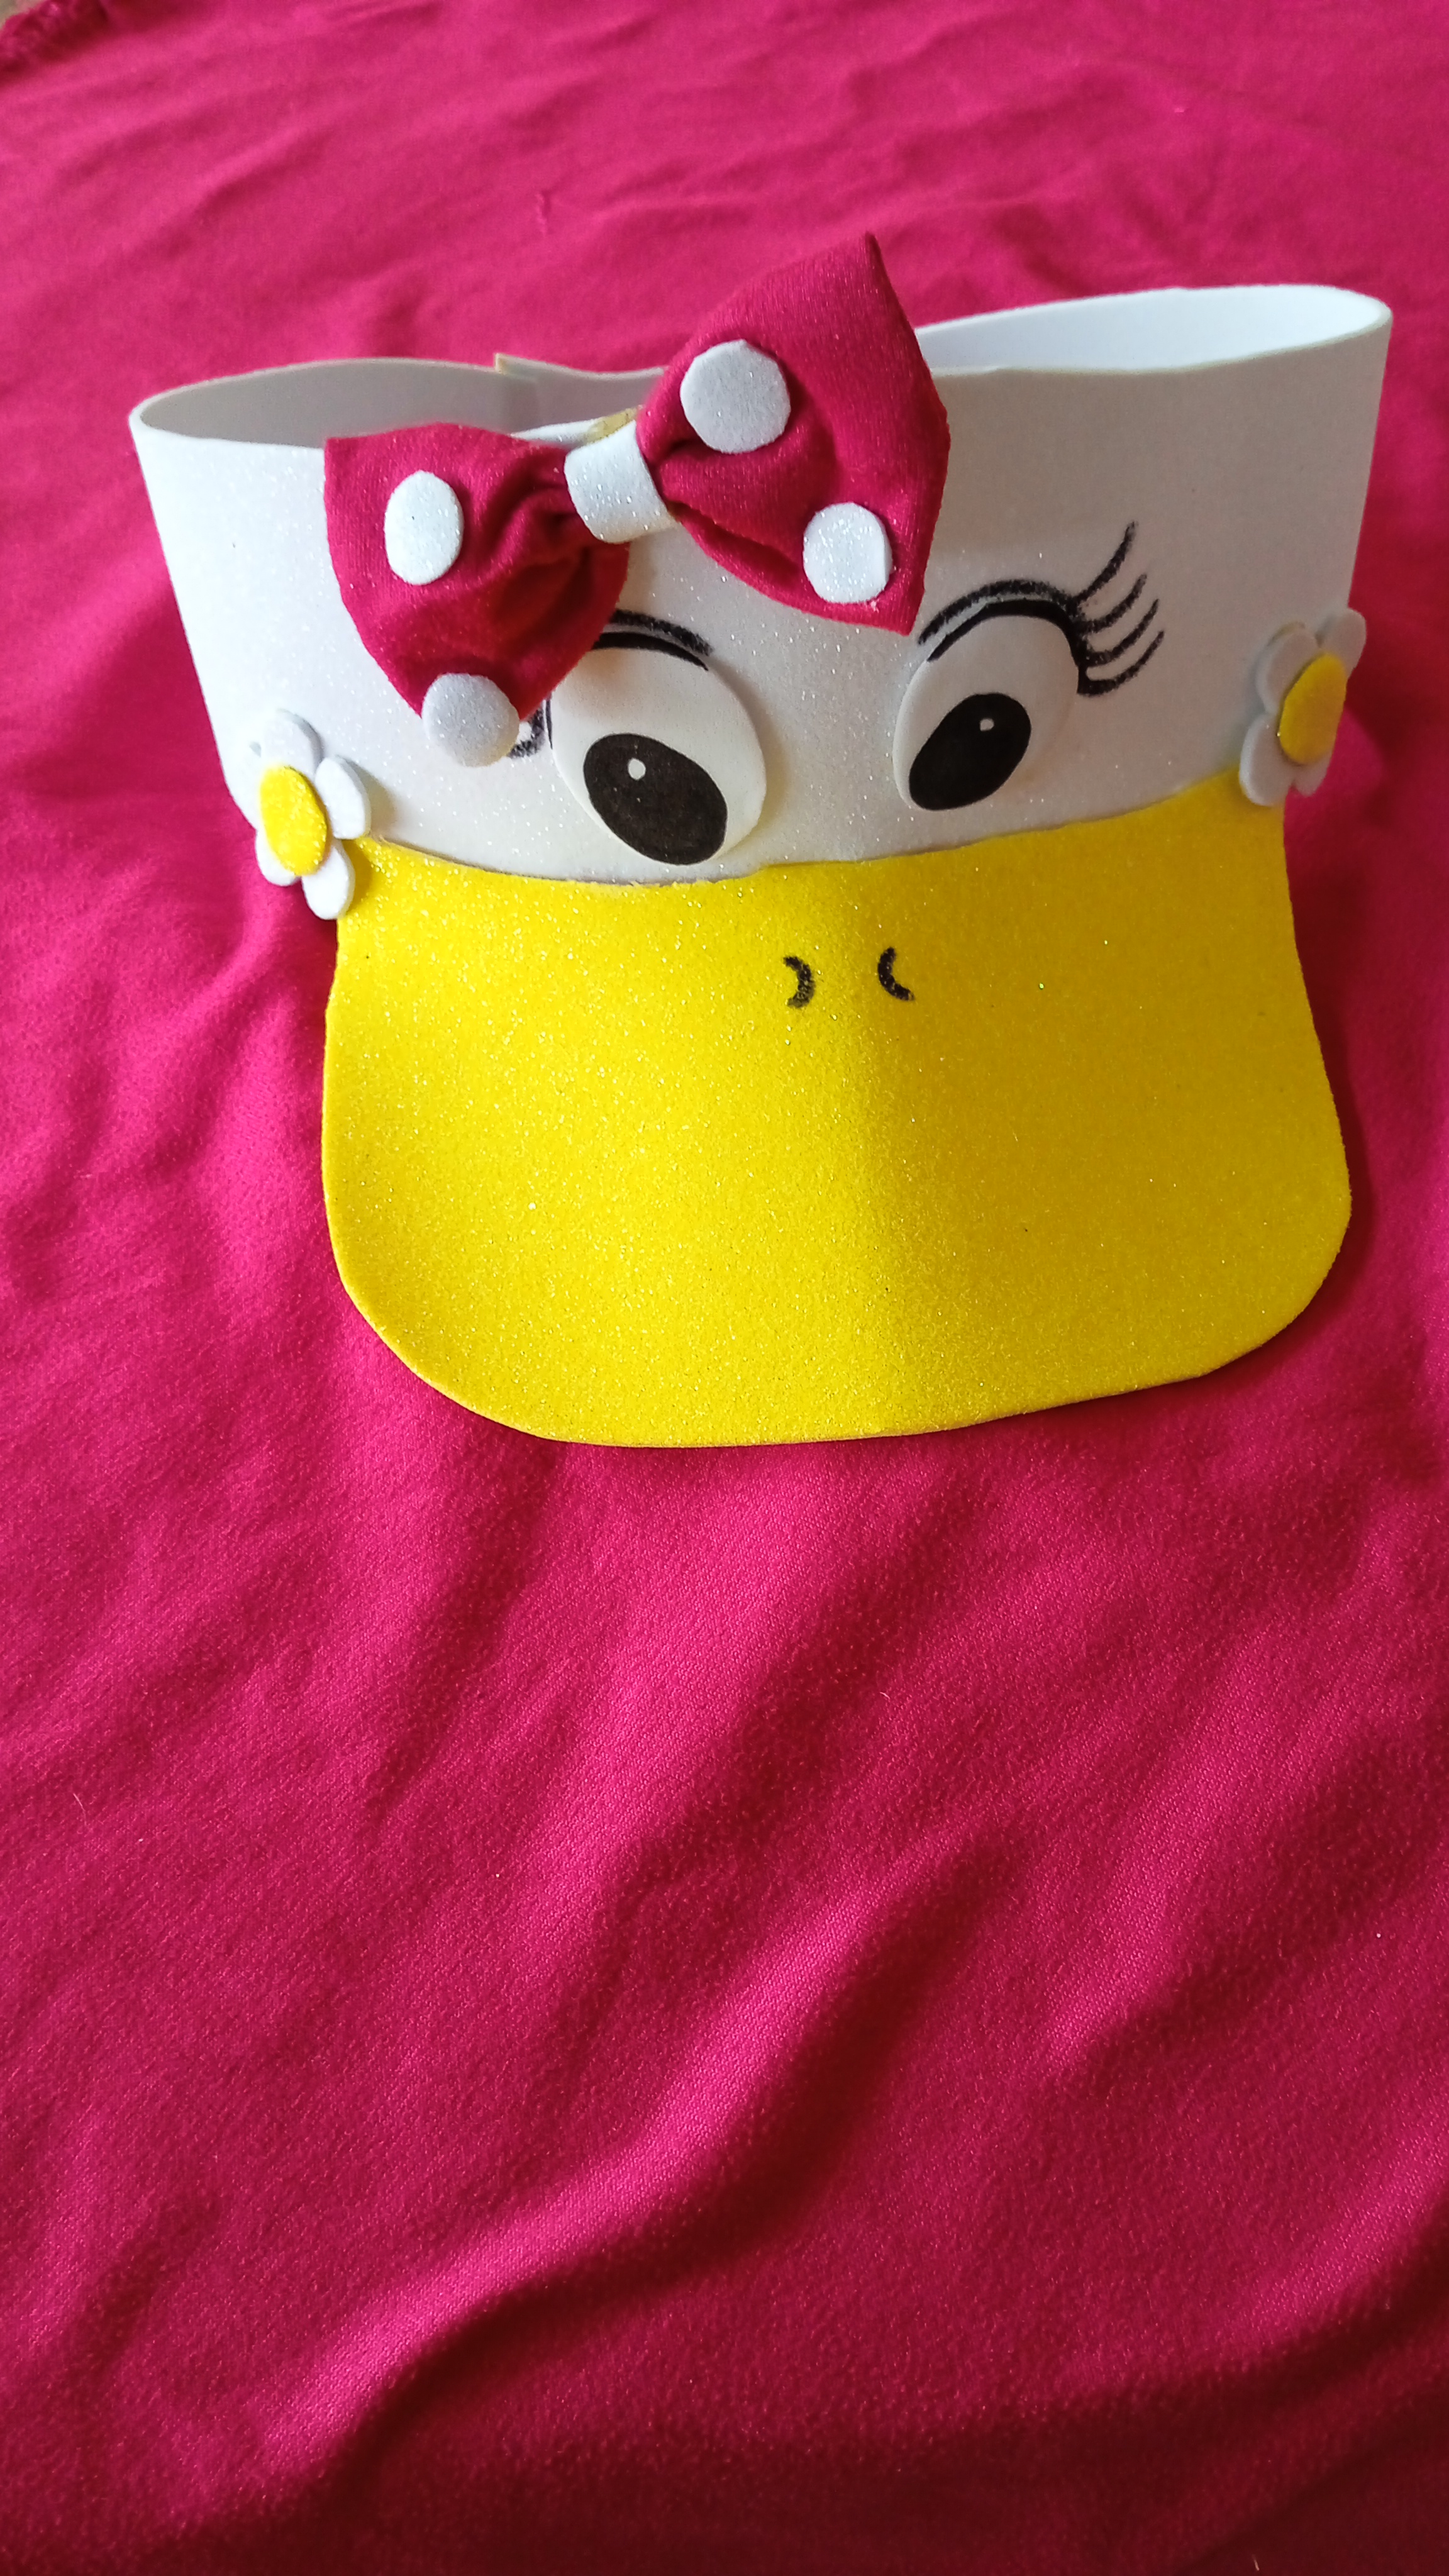
Finally, we make some little flowers and glue them to the sides of the visor to cover the details and make it look beautiful. Don't forget to add a pretty fuchsia bow. Done! This is how this beautiful visor turned out for the little ones in your house. I hope you like it and are inspired to make some for your children.
Here's my lovely model wearing her paw visor. It looks really cute on her, and the best part is, she loves it.
Friends, it's been a pleasure sharing this beautiful project with you. I hope you enjoyed it. I want to thank everyone who took the time to read this tutorial until the end. Thank you all so much. Take care, we love you.

Contenido de mi autoría.
Camara Xiaomi A10.
Editor de fotos y separadores en PicsArt.
Traductor Esp/Ing Google.com
Content written by me.
Xiaomi A10 Camera.
Photo editor and separators in PicsArt.
Google Translate.
Luce muy linda, gracias por compartir el paso a paso, saludos
Gracias a ustedes por el apoyo, saludos😊
so beautiful
Muchas gracias ☺️😊☺️
You're welcome♥️
Un tierno proyecto que luce esa linda modelo. Me gustó como quedó, saludos @anaarevalo01.
☺️😁muchas gracias por el apoyo!! Este proyecto es ideal para esas lindas princesas.
I saw the first picture of the post and I couldn't believe it, I loved the tenderness of the result and how well thought out the project was, plus you have documented the process very well, really excellent.
Yes, it's really nice. Thank you for supporting this post. Best regards and a big hug.
This is really impressive and neatly done, I think I will do one for my niece. Great job and keep it up
Thank you so much for the support. It's a great idea to make one for your niece. Greetings and blessings.
It looks pretty good. It is beautiful and stylish. It shows your skills. Well done! Keep it up!
selected by @rezoanulvibes
Thank you so much for supporting this post. I do it with much love.